21 Halloween Spider Cookies That Will Wow Your Guests
Halloween spider cookies turn an ordinary dessert table into the creepiest corner of the party, and this collection packs twenty one ways to bake them. Chocolate legs, candy eyes, and sugary webs make every cookie a tiny monster worth photographing. Guests of all ages grab them first.
Busy parents love these treats because they bake fast and decorate even faster on a hectic October afternoon. Mix a simple dough, shape round bodies, and add licorice legs while the cookies cool on the rack. Kids can press in the candy eyes while adults drizzle the chocolate webs.
In my experience, the secret sits in keeping the spiders cute rather than scary, since kids reach for friendly faces first. I have tested each of the twenty one ideas below for bold looks, simple steps, and party appeal. Line the tray with parchment, warm the oven, and get ready for empty plates. And for rich morning spreads, our 23 homemade hazelnut butter ideas make breakfast worth savoring.
Chocolate Leg Magic
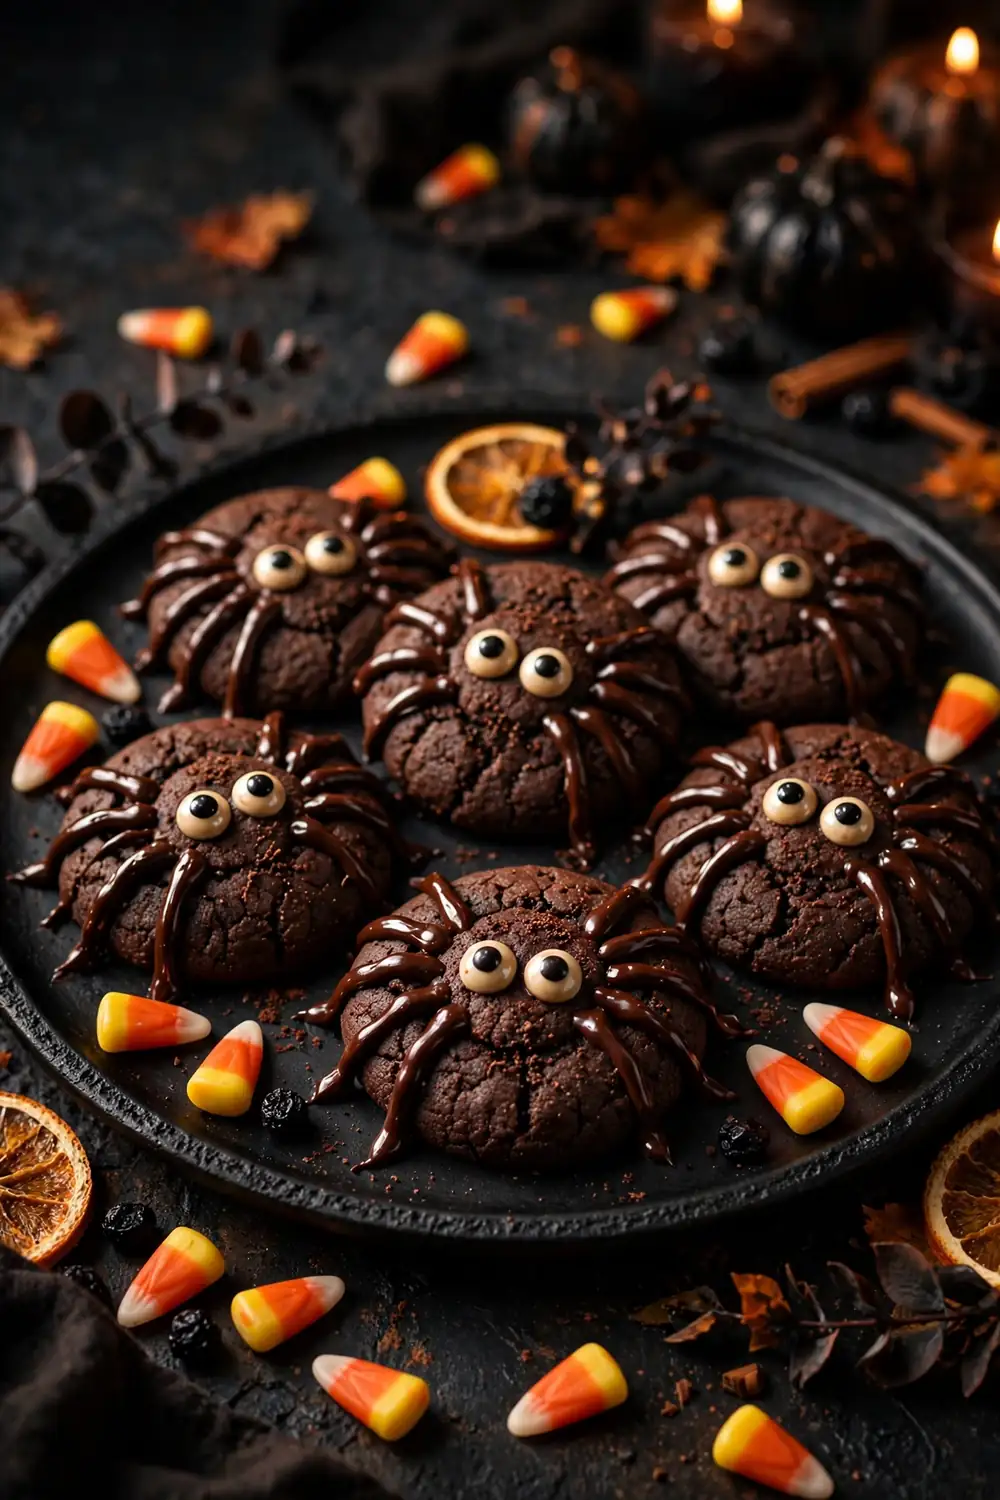
Melted chocolate piped into eight thin legs gives every cookie its signature creepy crawl without any fancy tools. Use a zip top bag with a tiny corner snipped off for steady lines that harden into glossy limbs. Dark chocolate tastes rich against a buttery sugar cookie base.
Let the legs set fully before moving the tray, since warm chocolate smudges at the slightest touch. A ten minute chill in the fridge locks every line in place for clean edges. Serve these on a black platter so the legs stand out against the dark background beautifully.
Pretzel Stick Bodies
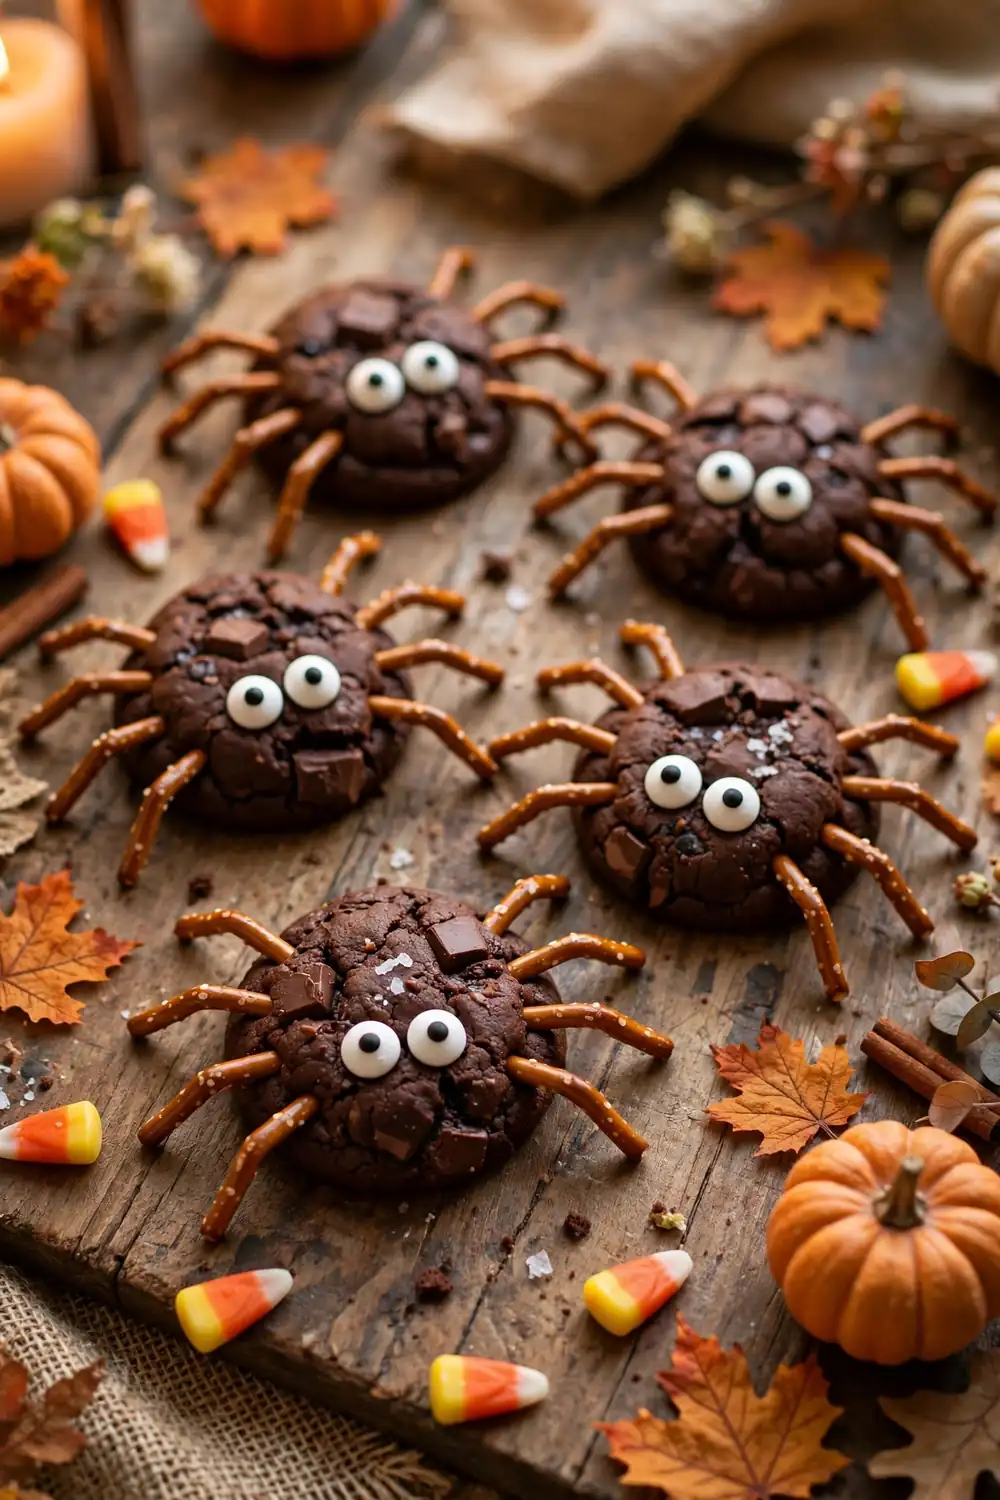
- Bake thick chocolate cookies, then press four pretzel sticks into each side while the centers stay soft.
- The salty crunch contrasts the sweet cookie and gives every spider sturdy, snap worthy legs.
- Dip the pretzel tips in melted chocolate for a finished look that hides any rough breaks.
- Arrange finished spiders on wax paper so the pretzels cool without sticking to the tray.
- Let kids attach the legs, since pressing pretzels into warm dough feels like building toys.
Pretzel legs survive party tables better than piped chocolate, holding their shape through hours of grabbing hands. The sweet salty mix keeps guests reaching for seconds without thinking twice. I have watched these vanish from a school party tray before the cupcakes even got noticed.
Candy Eye Sparkle
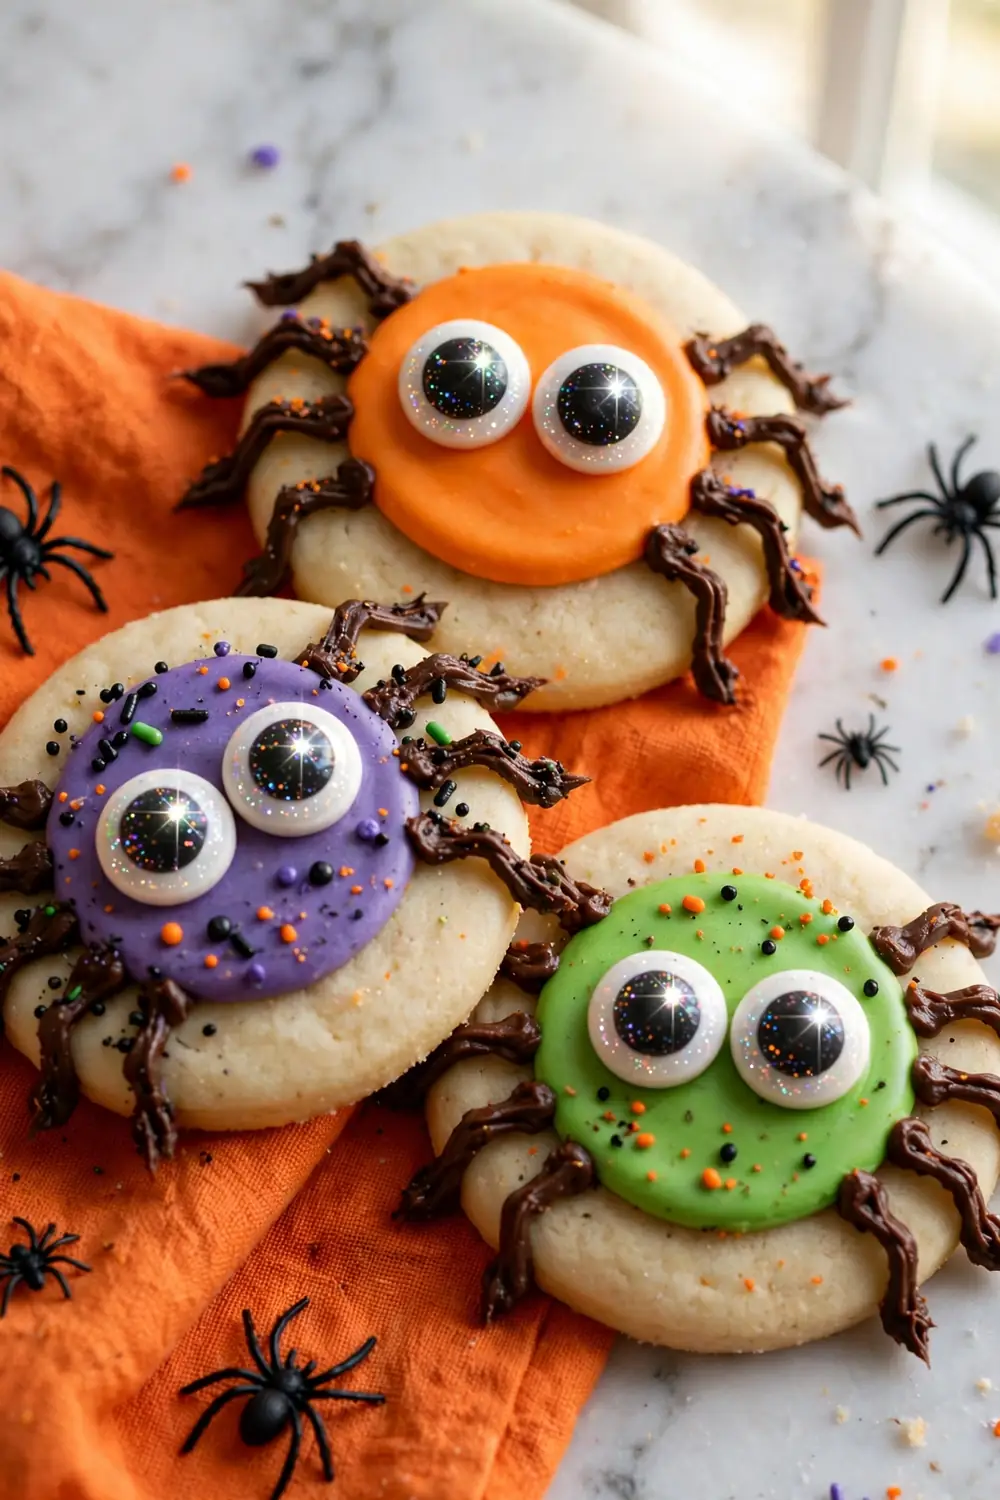
Quick Tip: Press candy eyes into soft frosting within two minutes of spreading it, while the surface still grips. Two eyes close together look curious, while wide set eyes look goofy and fun. Keep a spare bag handy since little helpers always sneak a few during decorating time.
Candy eyes turn plain round cookies into characters with personality in under a minute flat. The glossy white and black stare back at guests from the dessert table, daring them to take a bite. Mix large and small eyes across the batch for a whole family of spiders.
Peanut Butter Nests

Before: Plain peanut butter cookies look dull on a Halloween table, blending into the background next to flashier treats. Guests walk past them without a second glance, and the batch sits half full when the party ends.
After: A chocolate kiss pressed into the warm center becomes the spider body, with piped legs radiating outward. The cookies suddenly look like a nest of baby spiders, and the tray empties within minutes of hitting the table.
The peanut butter and chocolate pairing tastes like a classic candy bar in cookie form. Warm cookies accept the kiss press best, so work in small batches straight from the oven. Cool completely on the tray so the chocolate sets into a firm spider body.
Oreo Spider Crowns
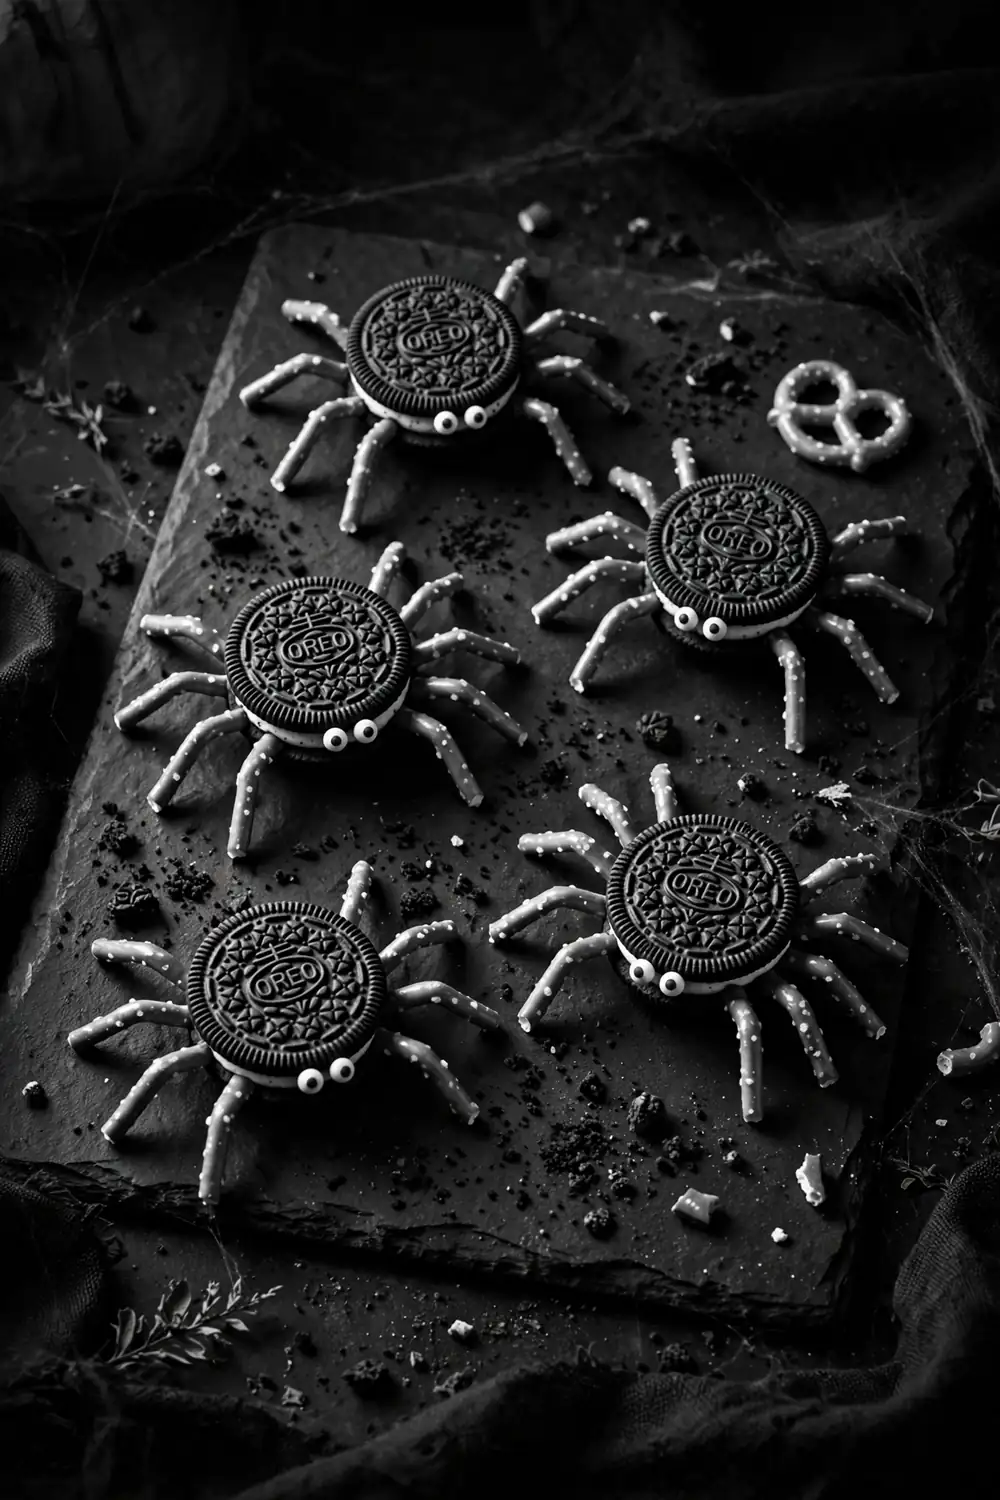
- Twist an Oreo apart and spread the filling side with a thick layer of chocolate frosting.
- Press eight thin pretzel sticks around the edges to form the spider legs.
- Sandwich the halves back together gently so the pretzels stay locked inside.
- Dot two candy eyes on top with a dab of frosting and chill until firm.
Oreo crowns skip baking entirely, making them the fastest spider on this list for last minute parties. The cookie crunch with creamy filling already tastes complete before any decoration begins. I have assembled two dozen of these with kids in under thirty minutes flat today.
Royal Icing Webs
| Thin Web Lines | Thick Web Lines |
|---|---|
| Delicate and elegant | Bold and dramatic |
| Best for small cookies | Best for large cookies |
| Dries in twenty minutes | Dries in one hour |
| Needs a fine tip | Works with a zip bag |
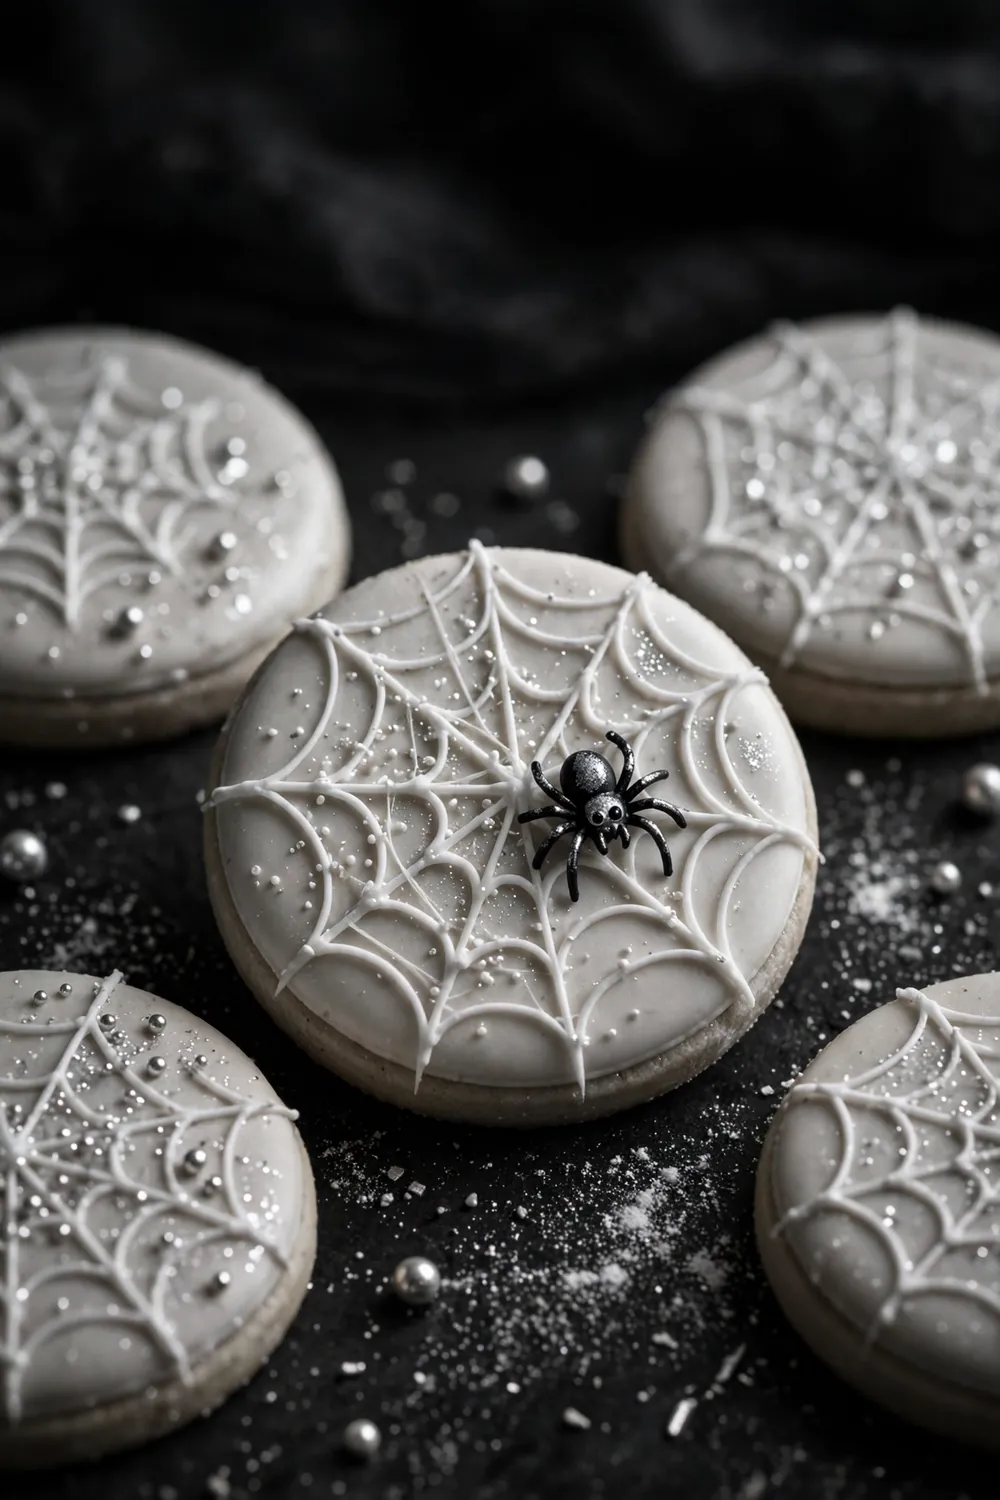
Royal icing webs turn each cookie into a tiny art piece that guests photograph before eating. Pipe the web first, let it crust over fully, then add the spider body on top. The matte white lines pop beautifully against dark chocolate cookies for stunning contrast.
Marshmallow Fuzzy Legs
Do:
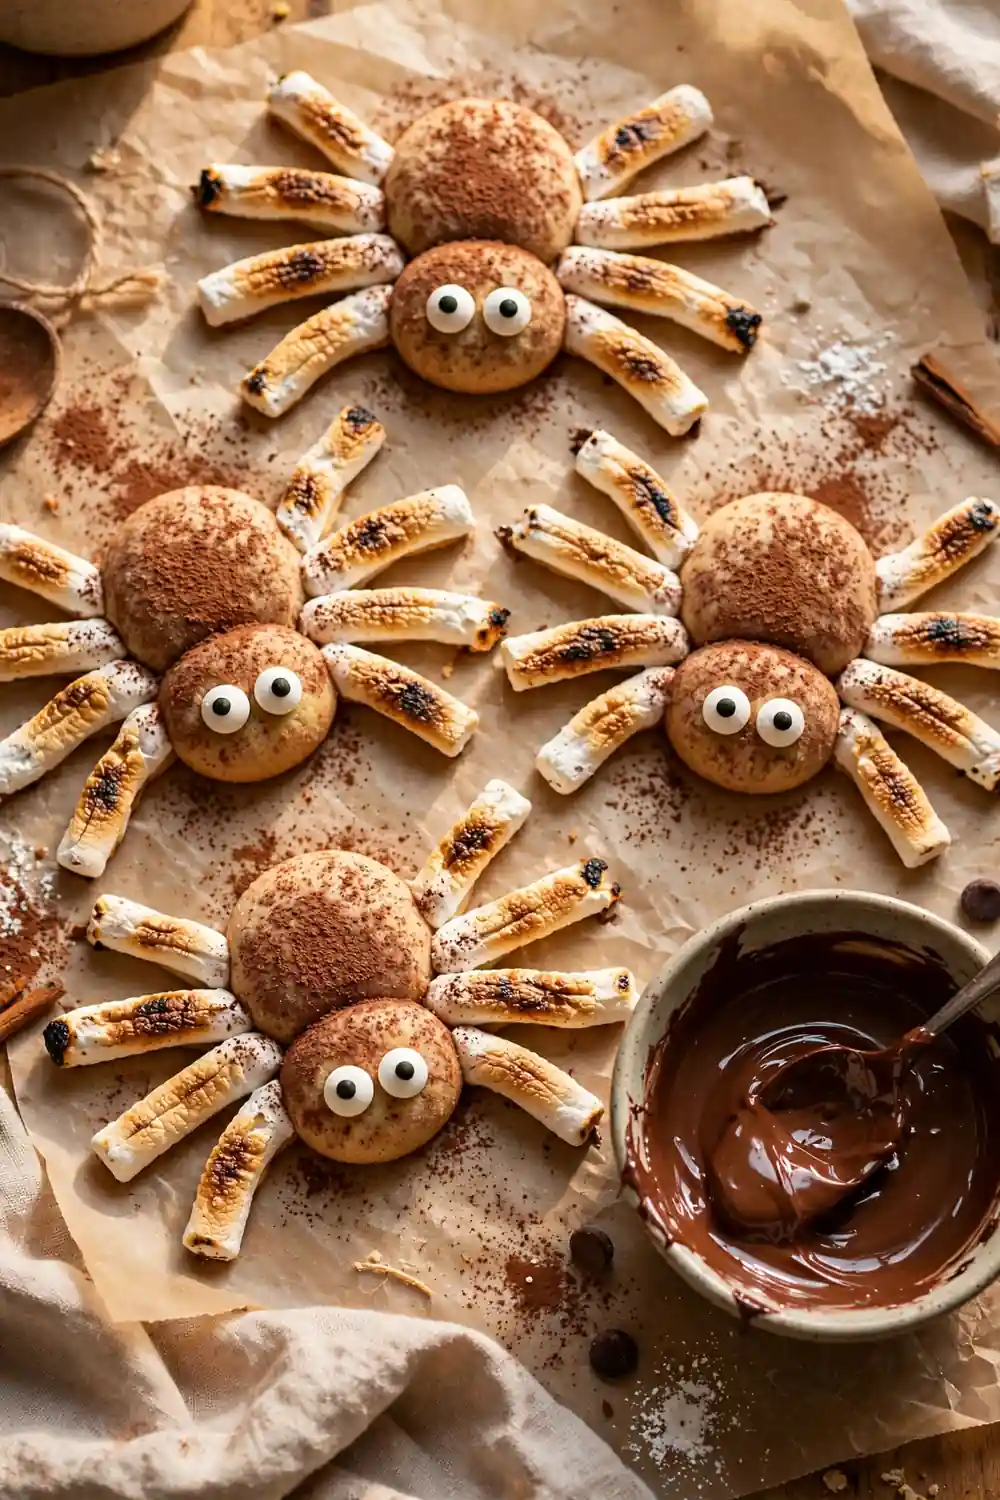
- Cut large marshmallows into thin strips for soft, bendable spider legs.
- Toast the strips lightly so the edges turn golden and slightly crisp.
- Press legs into warm frosting so they stick without extra glue.
- Dust finished spiders with cocoa powder for a fuzzy, textured look.
Don’t:
- Use mini marshmallows whole, since they look like pebbles instead of legs.
- Microwave the strips, because they puff up and lose their shape.
- Add the legs to cold cookies, or they slide right off.
- Store finished cookies stacked, since the legs stick together.
Marshmallow legs give spiders a soft, fuzzy look that feels friendly rather than frightening for young guests. The slight chew contrasts nicely with a crisp sugar cookie base underneath. Keep a bowl of water nearby for sticky fingers, since marshmallow grabs skin fast during decorating.
Licorice Twist Limbs
Cost: Low | Time: 20 minutes | Skill Level: Easy | Best For: Chewy texture fans
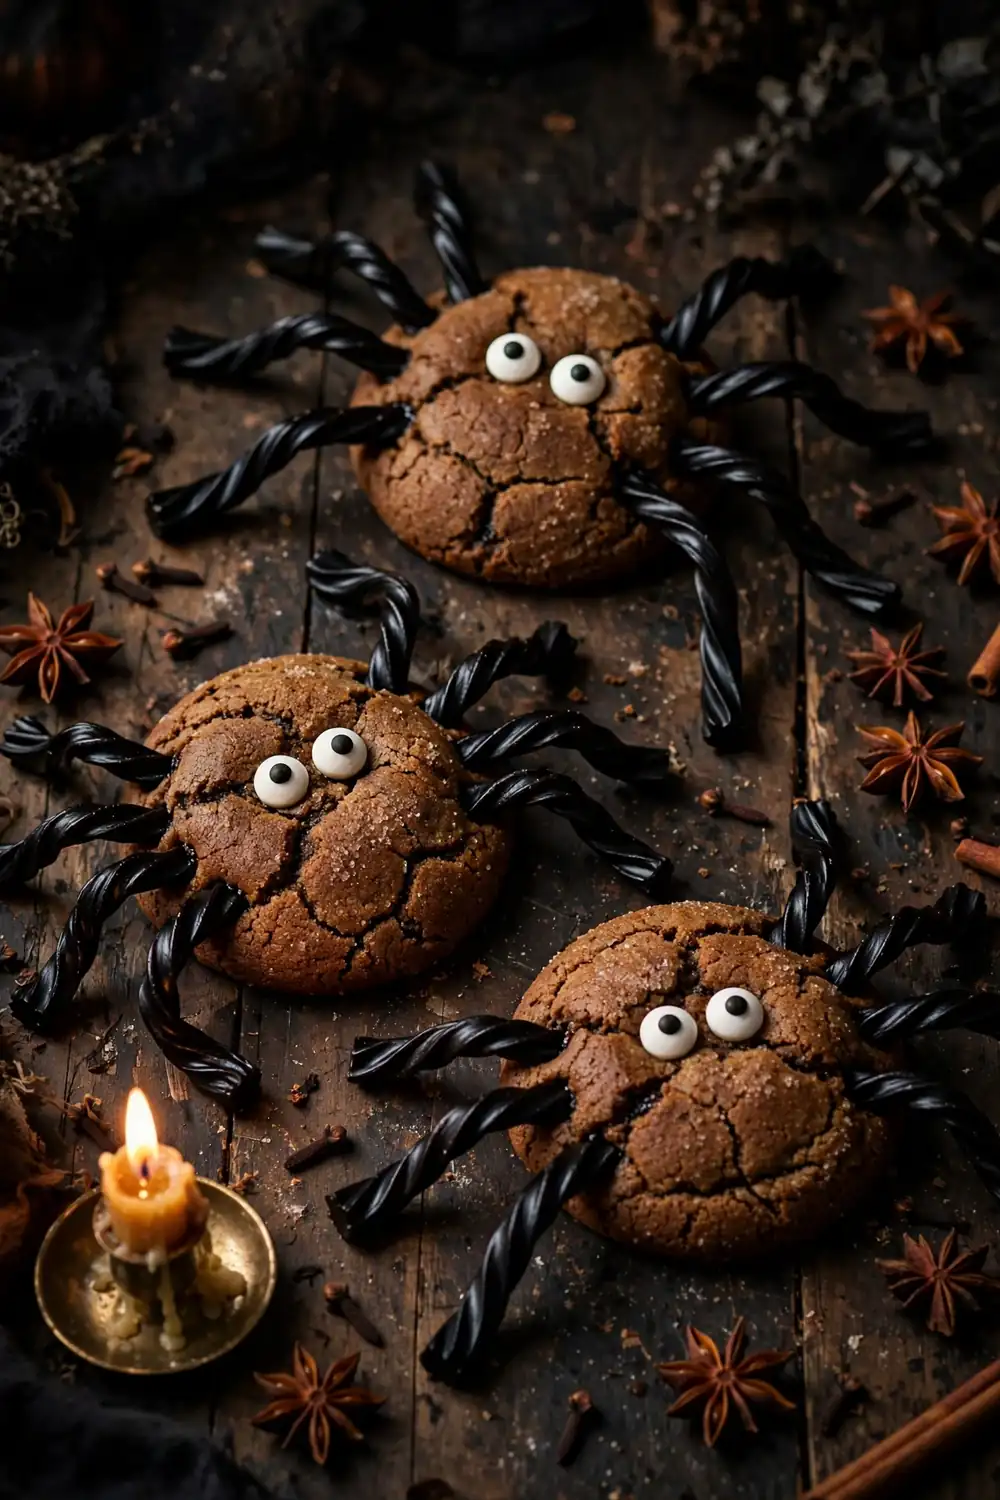
Black licorice twists bend into the curviest spider legs of any candy on this list. Snip each twist into eight equal pieces with kitchen scissors for uniform limbs. The chewy bite pairs surprisingly well with a soft molasses cookie base underneath that complements the anise flavor.
Mini Cupcake Spiders
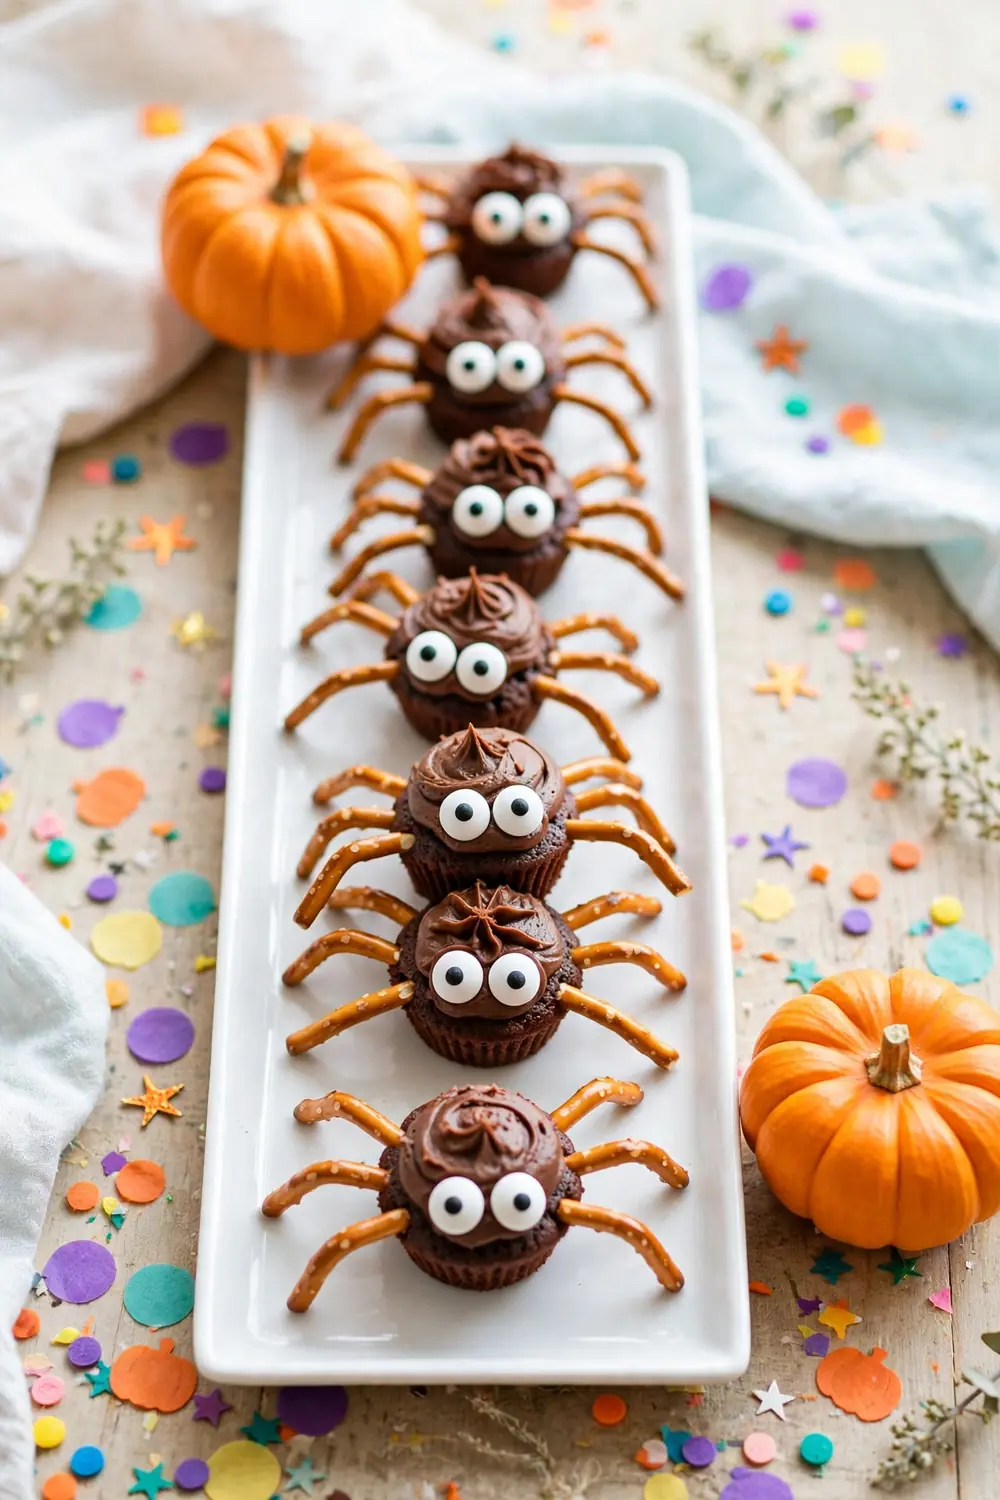
Bake chocolate batter in mini muffin tins for round, domed bodies that need no shaping at all. The small size makes them perfect for little hands at a crowded party table. Frost each dome with dark ganache while still slightly warm from the oven for best results.
Stick pretzel legs into the frosting ring and crown each spider with two bright candy eyes on top. The domed shape photographs beautifully from above, showing off every leg in perfect detail. Arrange them marching across a long tray for a parade effect that guests love.
Sprinkle Belly Dots
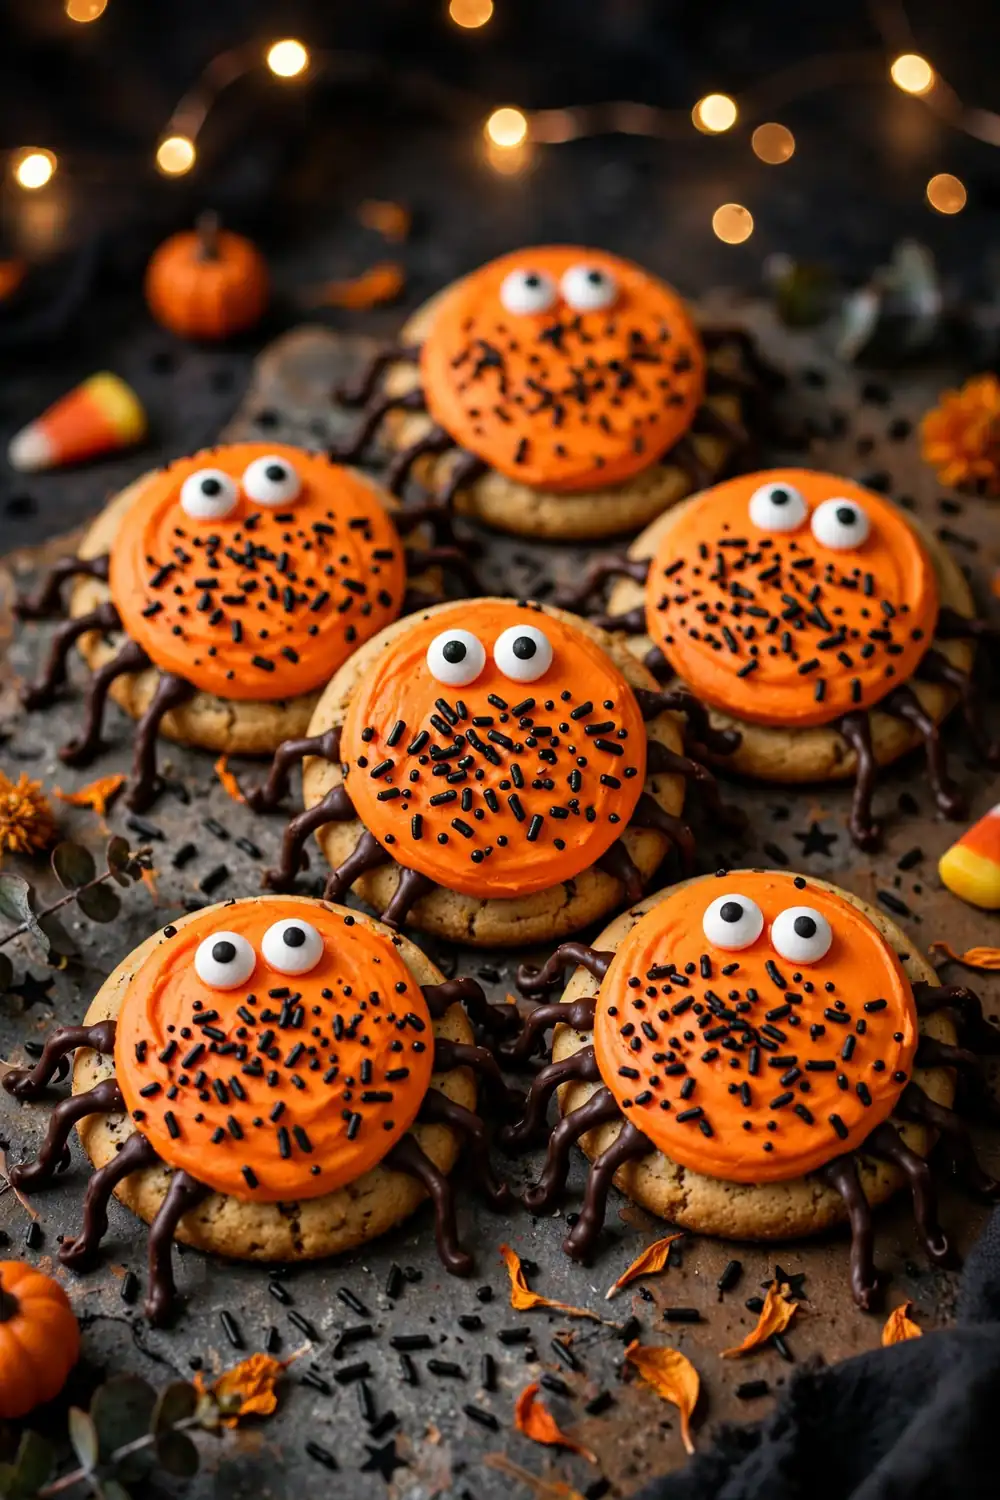
- Spread orange frosting on round cookies for a bright, glowing spider belly.
- Press black nonpareils into the frosting in dot clusters for texture.
- Add a single row of dots down the center like a ladybug pattern.
- Chill the cookies for fifteen minutes so the sprinkles lock in place.
- Pair dotted bellies with chocolate legs for a classic Halloween color scheme.
Sprinkle bellies add color pops that draw eyes from across the room at any party. The tiny dots catch light beautifully under string lights and candles. I have noticed kids always pick the brightest bellies first, leaving the plain ones for last on the crowded tray.
Coconut Fur Coats
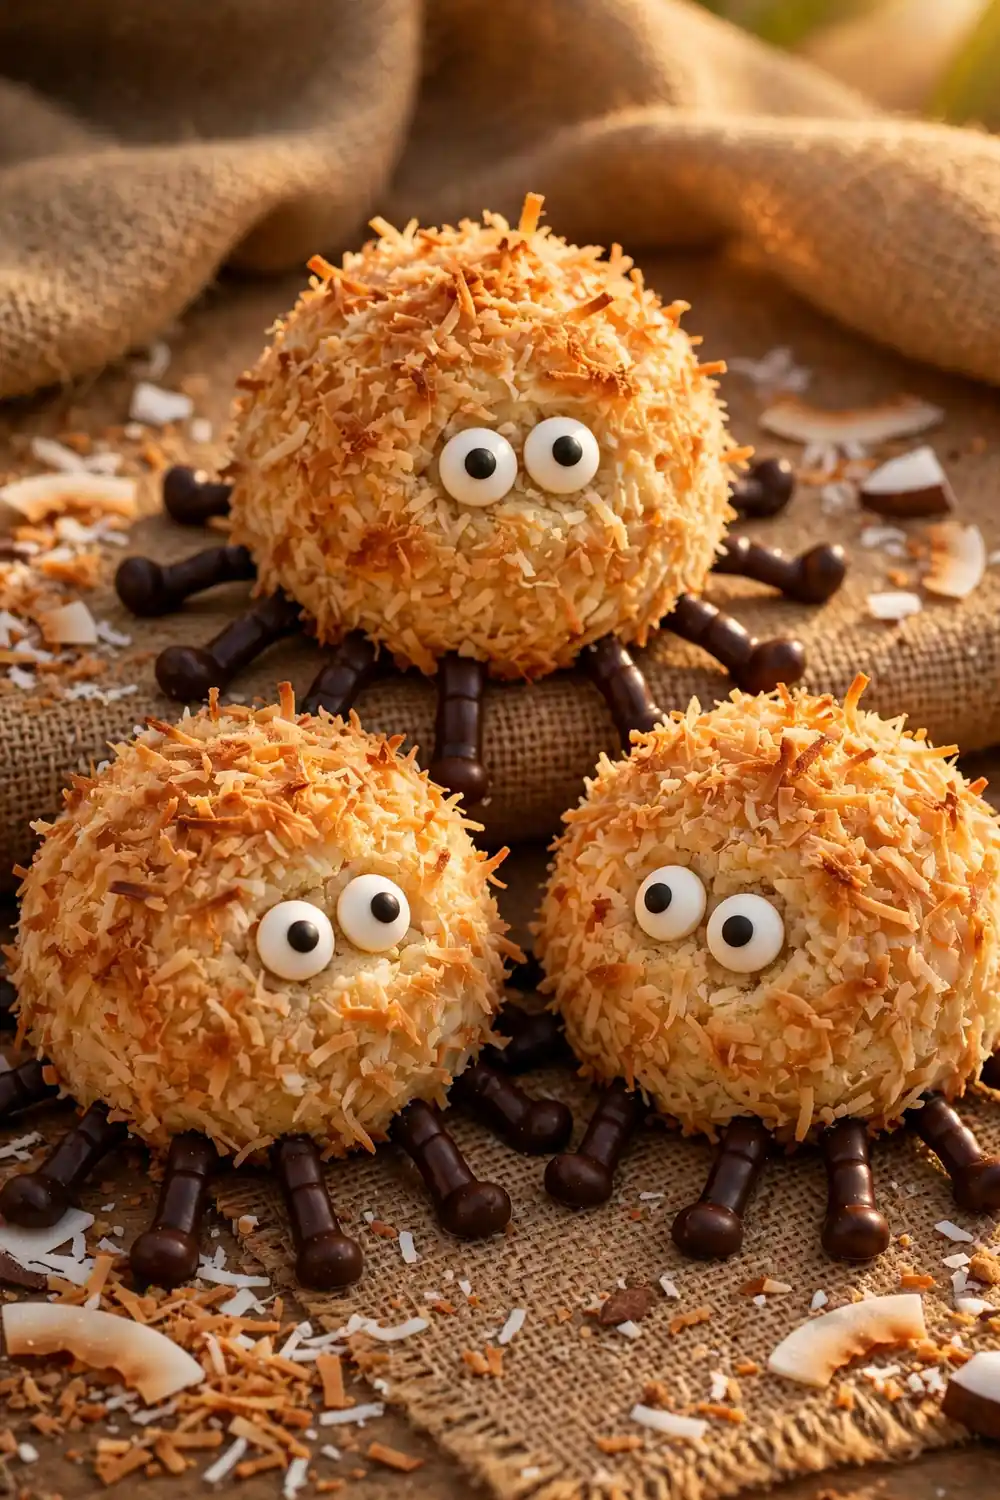
Quick Tip: Toast shredded coconut in a dry skillet until golden, stirring constantly so it browns evenly. Press the warm flakes into frosted cookies immediately, since cold frosting will not grip them. The toasted flakes create a fuzzy fur effect that looks wild and fun on the tray.
Coconut fur turns neat cookies into shaggy little monsters with real texture and satisfying crunch. The golden flakes smell like toasted paradise while you decorate the whole batch with happy helpers. Guests always touch them first, curious about the fuzzy surface before that first eager bite.
Caramel Web Drizzles
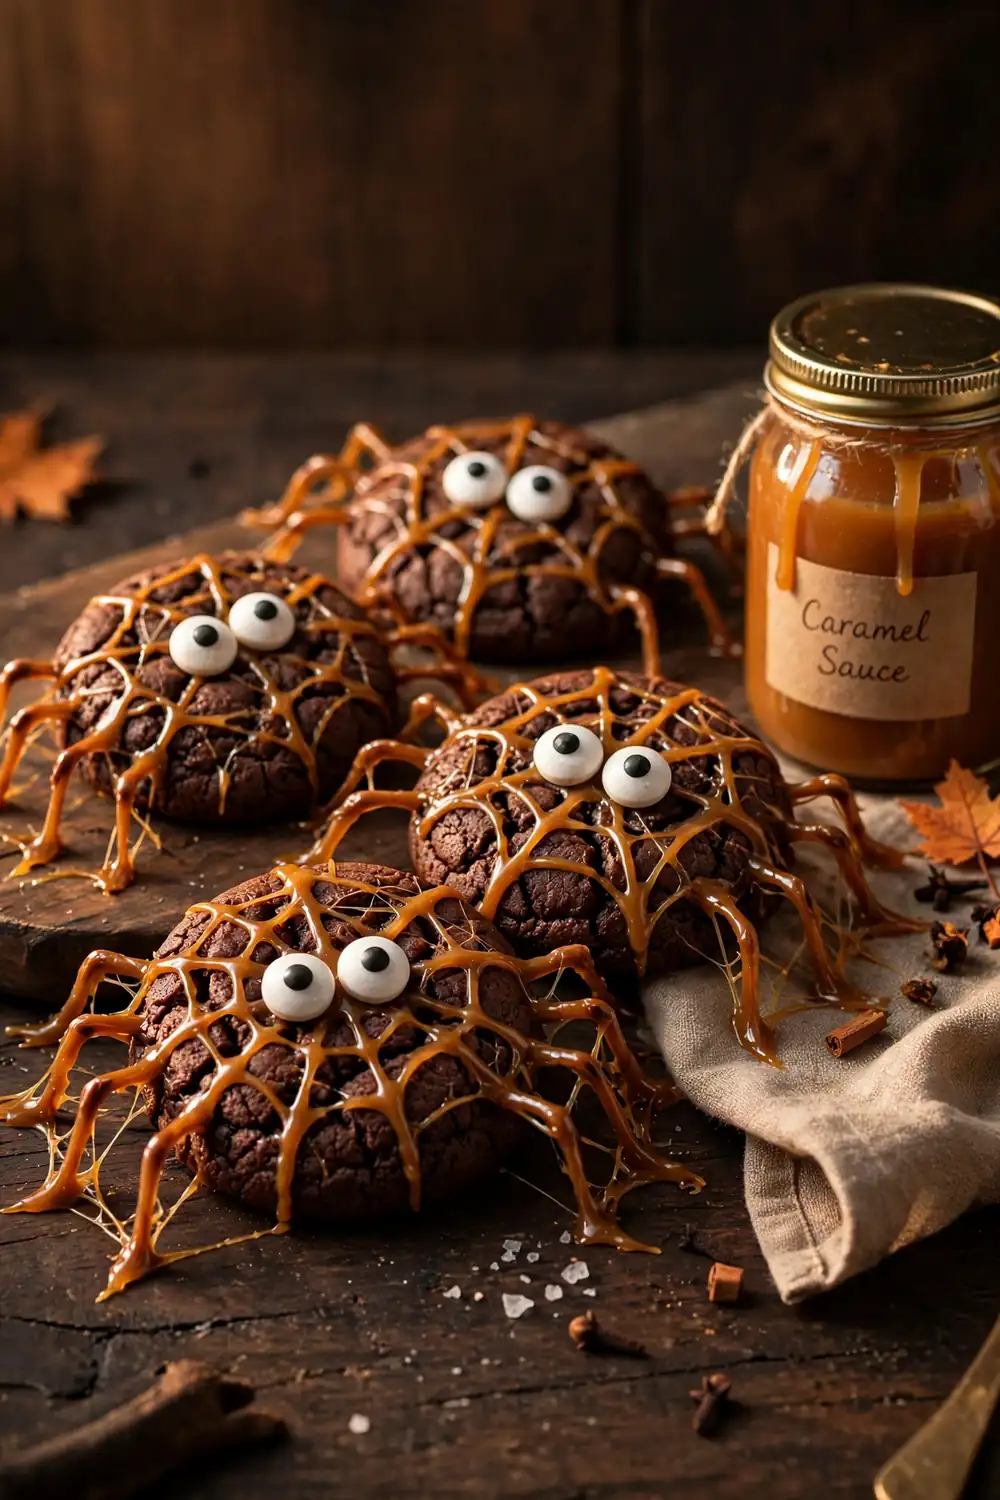
Before: Naked spider cookies look unfinished, like the baker ran out of time before the party started. The plain tops show every fingerprint and flaw, making the whole batch look homemade in the wrong way.
After: A lattice of warm caramel drizzled over each spider looks like morning dew on a real web. The glossy strands catch the light and add buttery sweetness in every bite. Suddenly the cookies look bakery worthy and intentional.
Caramel drizzle adds a grown up flavor note that balances all the candy sweetness elsewhere. Warm the sauce just enough to pour in thin, steady streams from a spoon. Let it set for ten minutes before stacking, since sticky layers glue together fast on the tray.
Edible Glitter Shine
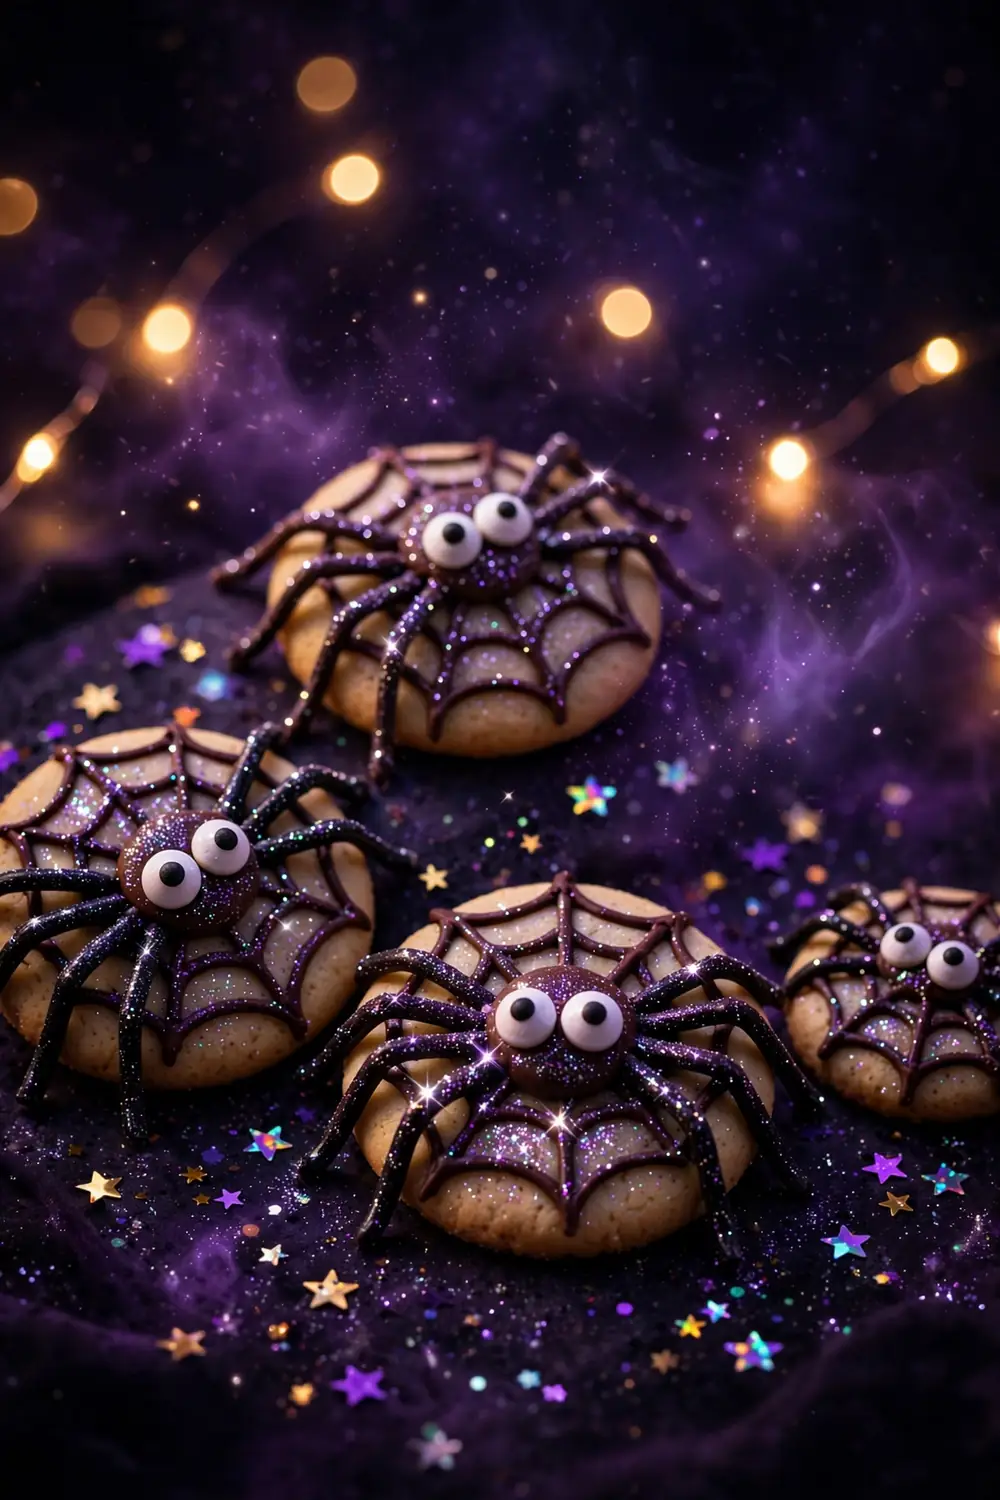
- Bake and cool your spider cookies completely before adding any glitter.
- Brush the tops lightly with clear corn syrup as an edible glue.
- Dust edible glitter over the syrup with a small dry brush.
- Tap off the excess over a sheet of parchment to reuse it.
Edible glitter turns ordinary spiders into magical creatures that shimmer under bright party lights. A light dusting goes surprisingly far, so resist the urge to pour handfuls over everything. The sparkle photographs incredibly well, making these the most saved cookies of the entire spooky night.
Brownie Bite Bodies
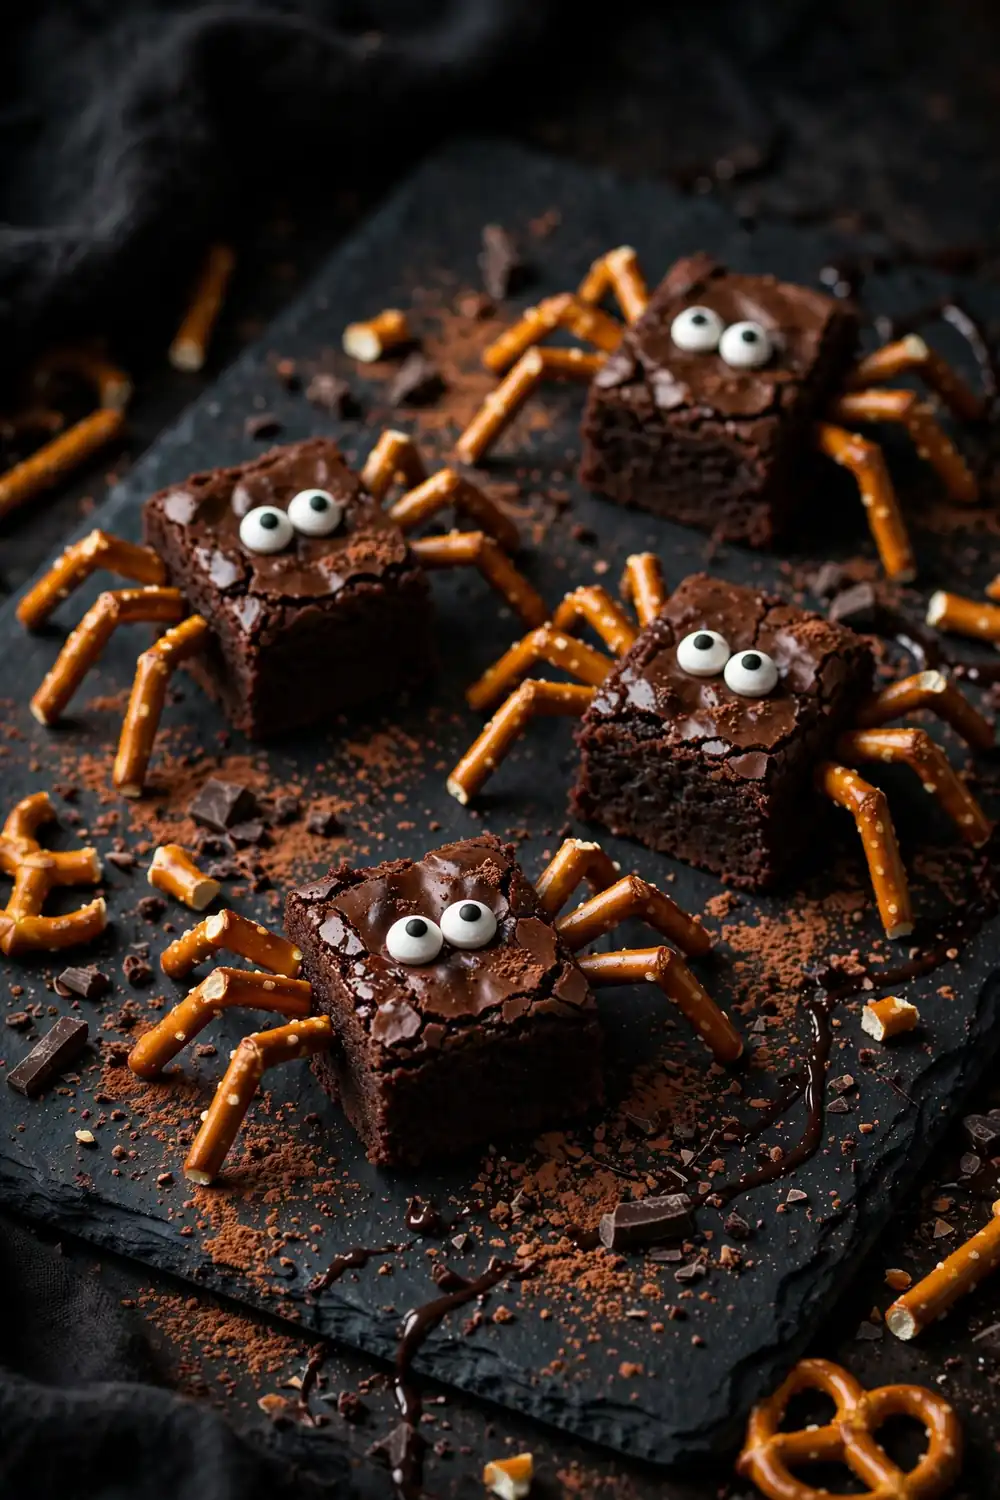
| Cookie Base Bodies | Brownie Bite Bodies |
|---|---|
| Crisp and buttery | Fudgy and rich |
| Holds piped details | Best with chunky toppings |
| Stays fresh five days | Stays fresh three days |
| Easy to ship | Best served same day |
Brownie bites bring deep chocolate intensity that plain cookie dough simply cannot match on Halloween. Their dense centers hold candy eyes and pretzel legs firmly without cracking apart. Cut them small for parties, since rich brownies satisfy guests faster than light sugar cookies ever could.
White Chocolate Ghosts
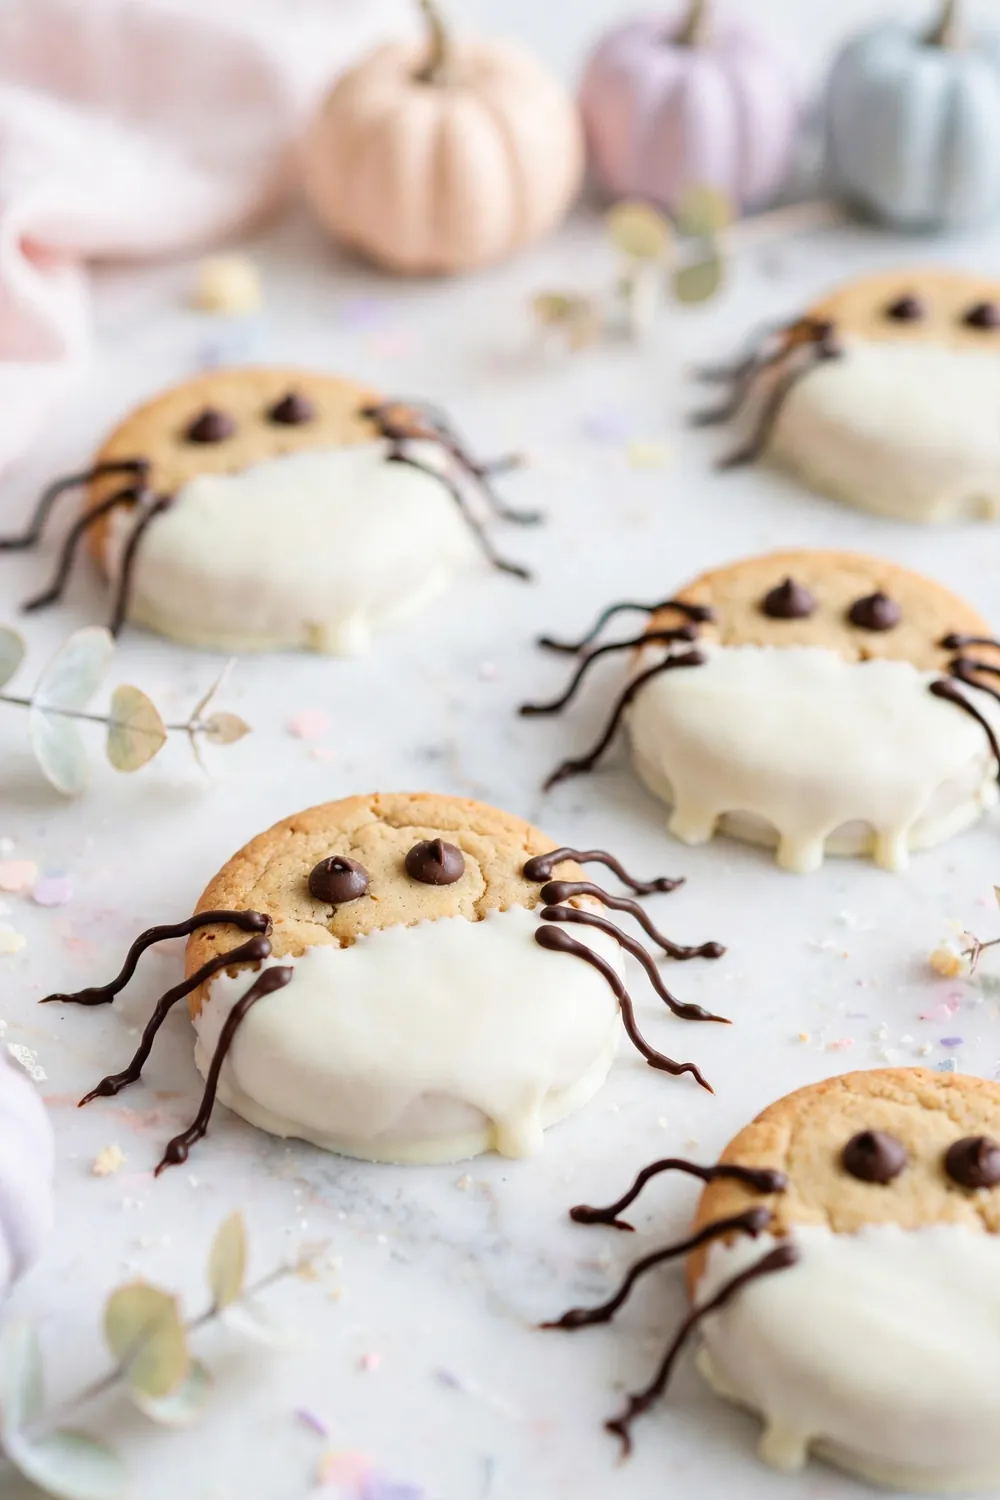
Do:
- Melt white chocolate gently over low heat to avoid scorching.
- Dip round cookies fully for a smooth, ghostly white coat.
- Add two chocolate chip eyes while the coating stays wet.
- Let the shells harden on parchment for clean, easy release.
Don’t:
- Use candy melts past their date, since old melts turn grainy.
- Rush the cooling, or fingerprints will mar the white surface.
- Add water to the chocolate, because it seizes instantly.
- Stack the ghosts before fully set, or they stick together.
White chocolate ghosts offer a friendly alternative for guests who prefer cute over creepy spiders. The creamy coating tastes like vanilla fudge against a chewy cookie center underneath. I have seen these disappear first at mixed age parties where toddlers outnumber the teens every time.
Gumdrop Eye Pops
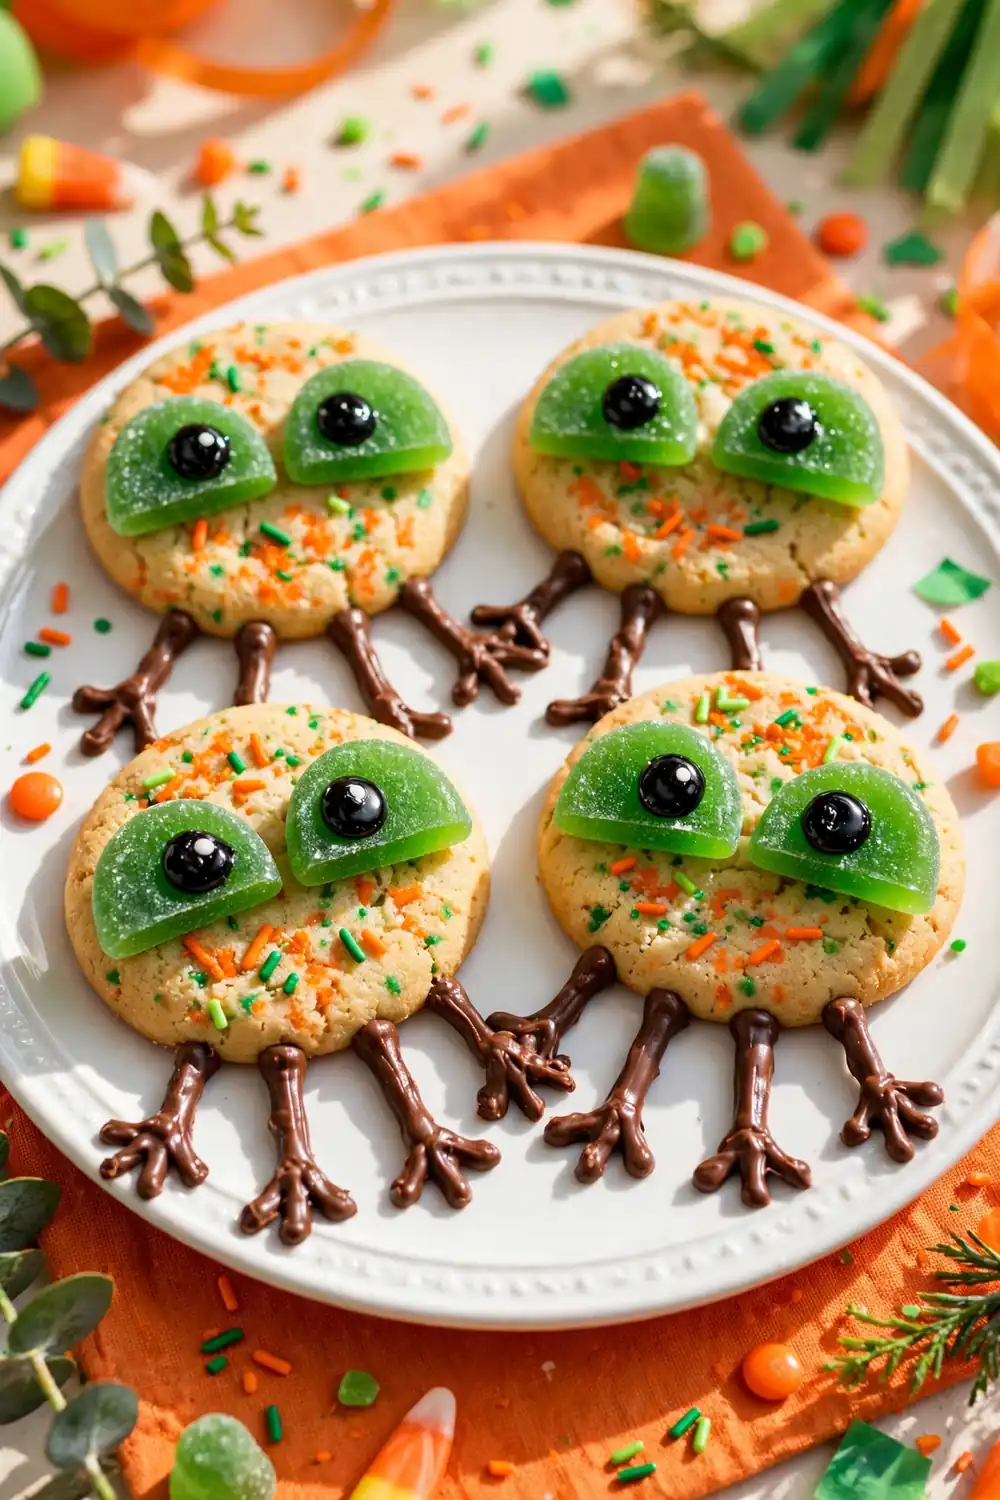
Cost: Low | Time: 15 minutes | Skill Level: Beginner | Best For: Kid helpers
Gumdrop halves make the buggiest eyes of any candy, big and glossy on every single spider. Slice green or orange gumdrops in half and press the sticky side down firmly. Dot each half with black gel for pupils that stare back dramatically. Kids love choosing the eye colors themselves.
Churro Crunch Legs
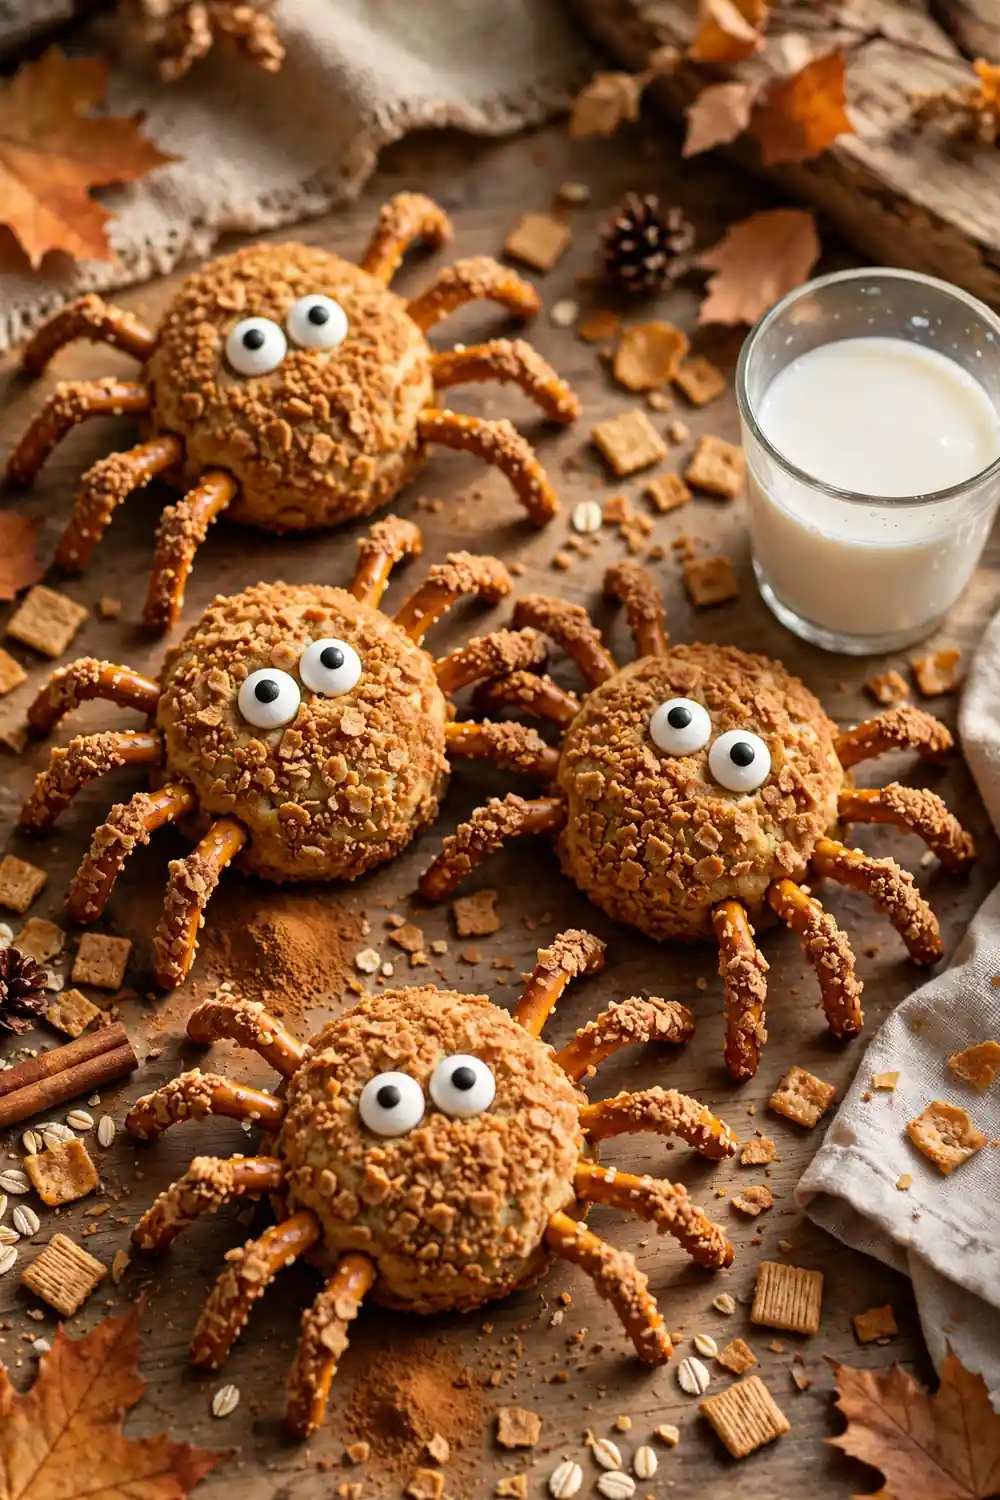
Crushed cinnamon cereal makes the crunchiest spider legs with zero piping skill required at all. Roll warm chocolate covered pretzels in the crumbs for a churro inspired coating that sticks beautifully. The cinnamon sugar sparkle looks incredible against dark cookie bodies on the party tray.
The cinnamon crunch adds a breakfast cereal nostalgia that both kids and adults recognize instantly at parties. These legs stay crisp for hours, unlike piped chocolate that softens in warm rooms. Make extra crumbs, since snacking hands always steal a few during the decorating process.
Fondant Web Plates
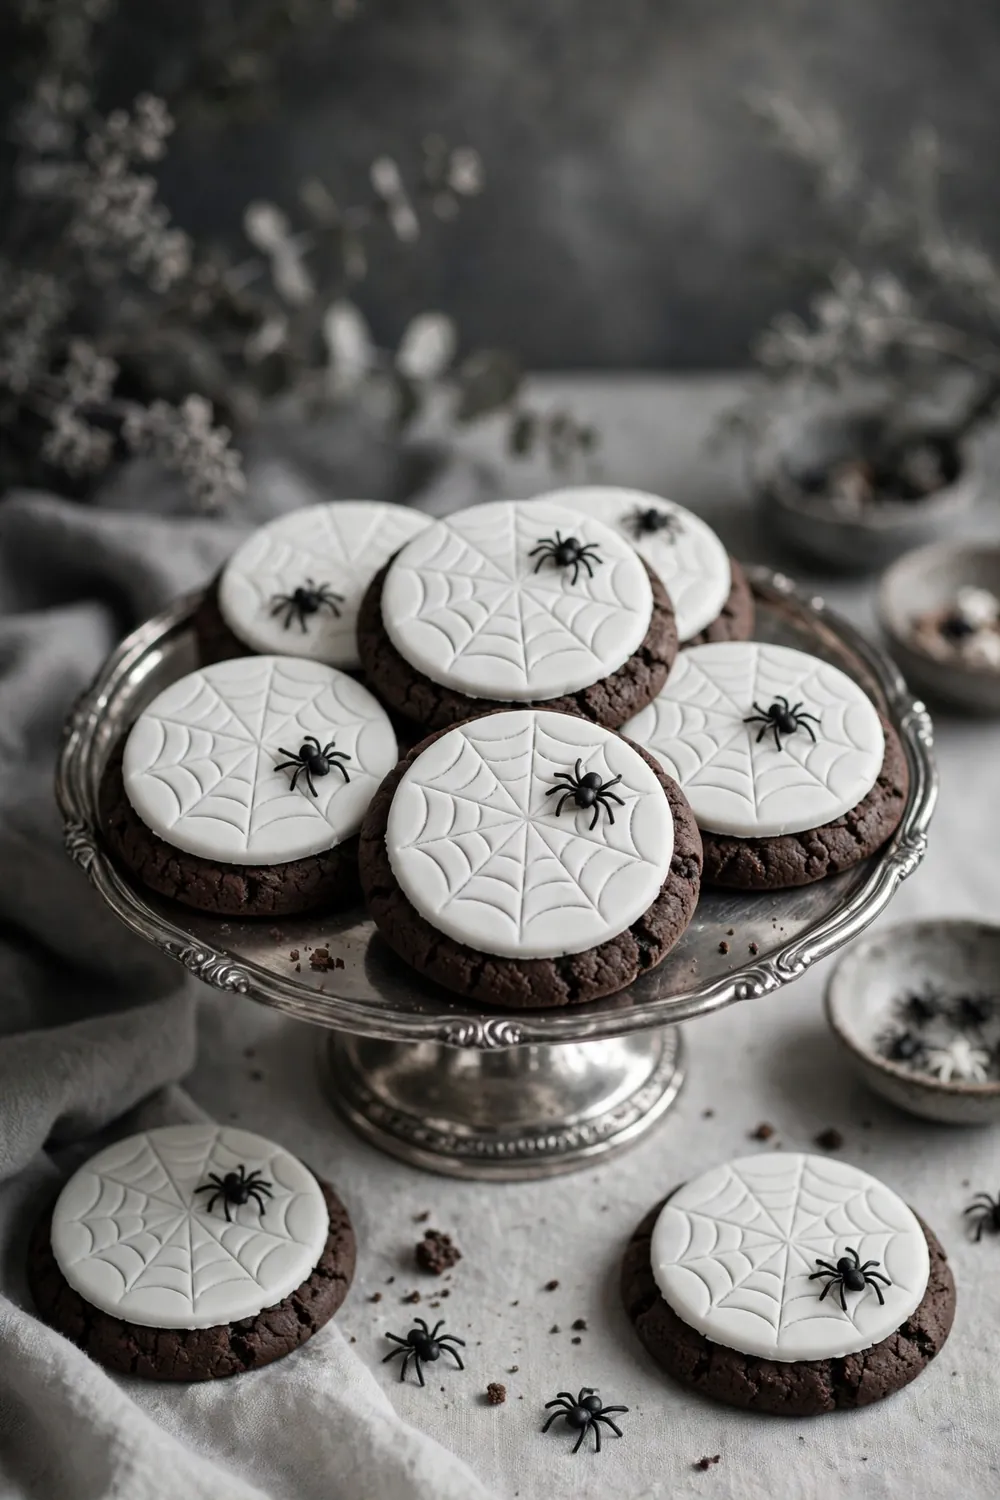
- Roll white fondant paper thin and cut it into round plates with a cookie cutter.
- Use a toothpick to etch web lines from the center outward.
- Lay the fondant plate on a chocolate cookie like a doily.
- Set a small candy spider in the middle for the full effect.
- Brush the edges with edible pearl dust for a moonlit glow.
Fondant plates give cookies a polished, bakery window look with minimal actual skill needed. The smooth white surface makes the etched webs look professional and clean. I have used this trick for paid party orders when time runs short but expectations always run incredibly high.
Mint Chip Crawlers
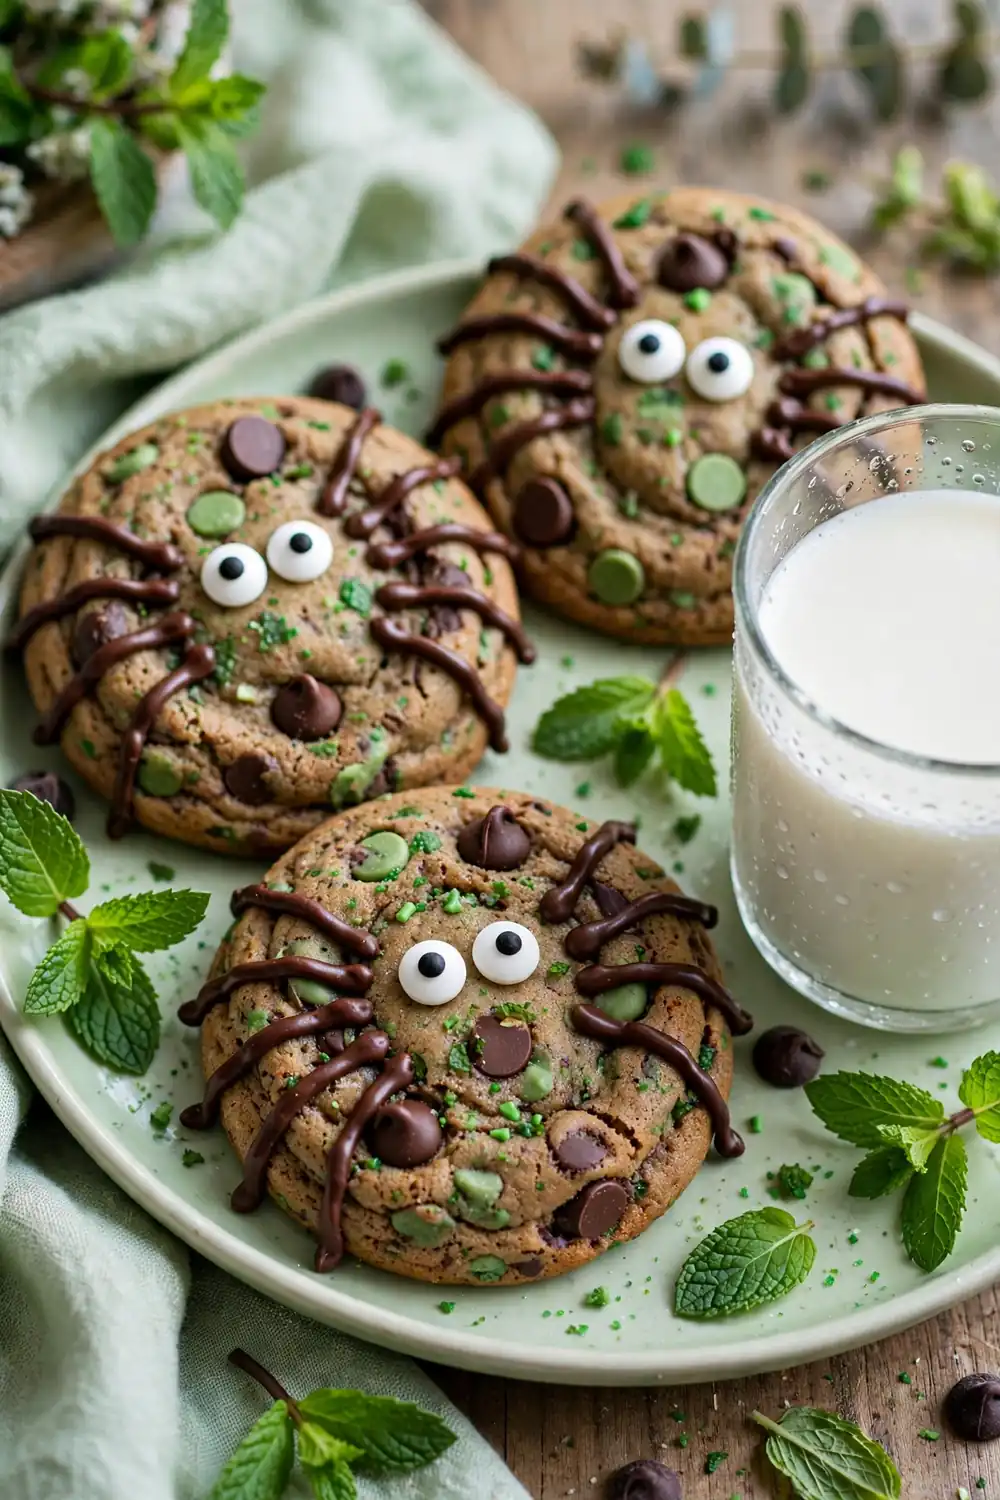
Quick Tip: Chop mint chocolate chips finely and fold them into the dough for cool, refreshing crawlers. The green flecks look like tiny leaves stuck to the spider bodies. Chill the dough for thirty minutes so the chips hold their shape while baking in the hot oven.
Mint chocolate brings a cool freshness that cuts through the richness of a candy loaded party table. The pale green flecks surprise guests who expect ordinary chocolate chip flavor inside. Serve these with cold milk for the ultimate after school Halloween treat. Kids request these by name every October.
Butterscotch Leg Swirls
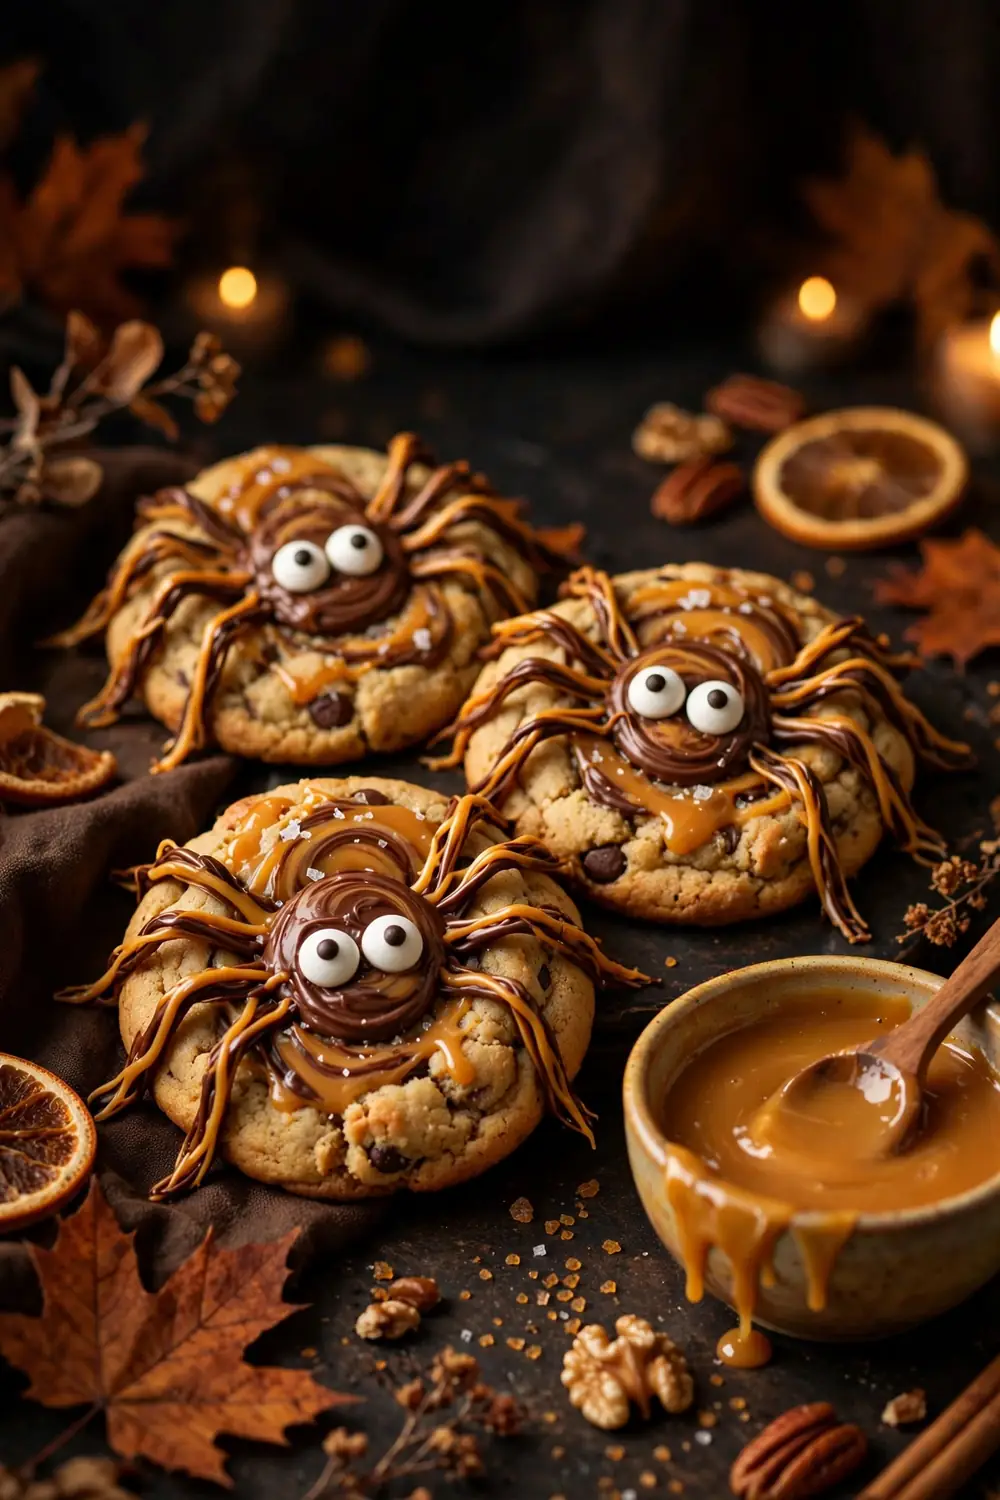
Before: Spider legs made only from dark chocolate can look harsh and flat against pale cookie dough. The monochrome design lacks warmth, and the cookies blend together on the tray without visual variety.
After: Swirling butterscotch chips into the leg chocolate creates golden marbled limbs with real depth. The warm amber tones glow against the cookie base, making each spider look handcrafted. Guests notice the upgrade immediately.
Butterscotch adds a caramel sweetness that rounds out the bitterness of dark chocolate legs beautifully. Melt the two together slowly over gentle heat, since butterscotch scorches faster than chocolate alone. Pipe a test swirl onto parchment first to check the marbled pattern before decorating the batch.
Party Platter Scares
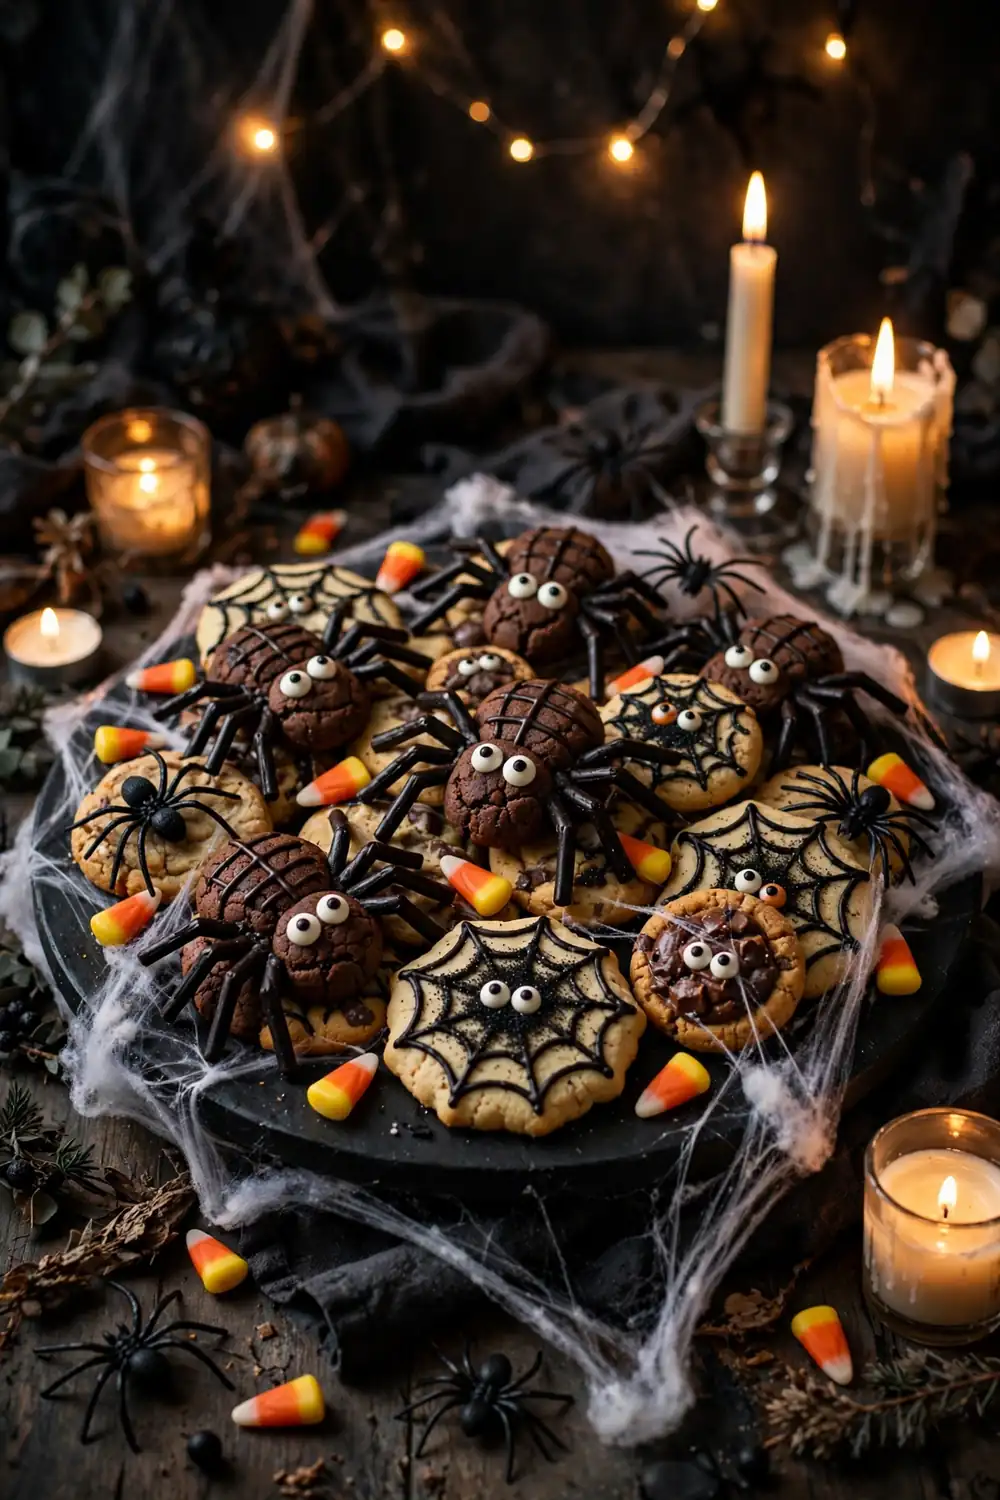
- Line a large black tray with parchment for a dramatic serving base.
- Arrange the spider cookies in winding rows like a marching parade.
- Tuck plastic spiders and cotton webbing between the cookies.
- Scatter candy corn and wrapped chocolates in the empty gaps.
- Place a small card with the cookie names at the tray corner.
A styled platter turns simple cookies into the centerpiece of the whole spooky dessert table instantly. The black background makes every color pop, from orange bellies to glittery webs. Guests crowd around it first, phones out, before anyone dares to take that first eager bite.
Conclusion
Now you have twenty one creepy ways to bake halloween spider cookies that steal the show at every October gathering. Each idea keeps the decorating simple while delivering maximum spooky charm. Pick a favorite tonight, warm the oven, and watch guests grab them by the handful.
Save this collection to your Halloween board on Pinterest for instant inspiration all season. Try one new spider each week and share the post with a friend who loves baking. When savory cravings strike later, our 24 spicy sesame hummus ideas make the perfect bold follow up. Happy haunting!