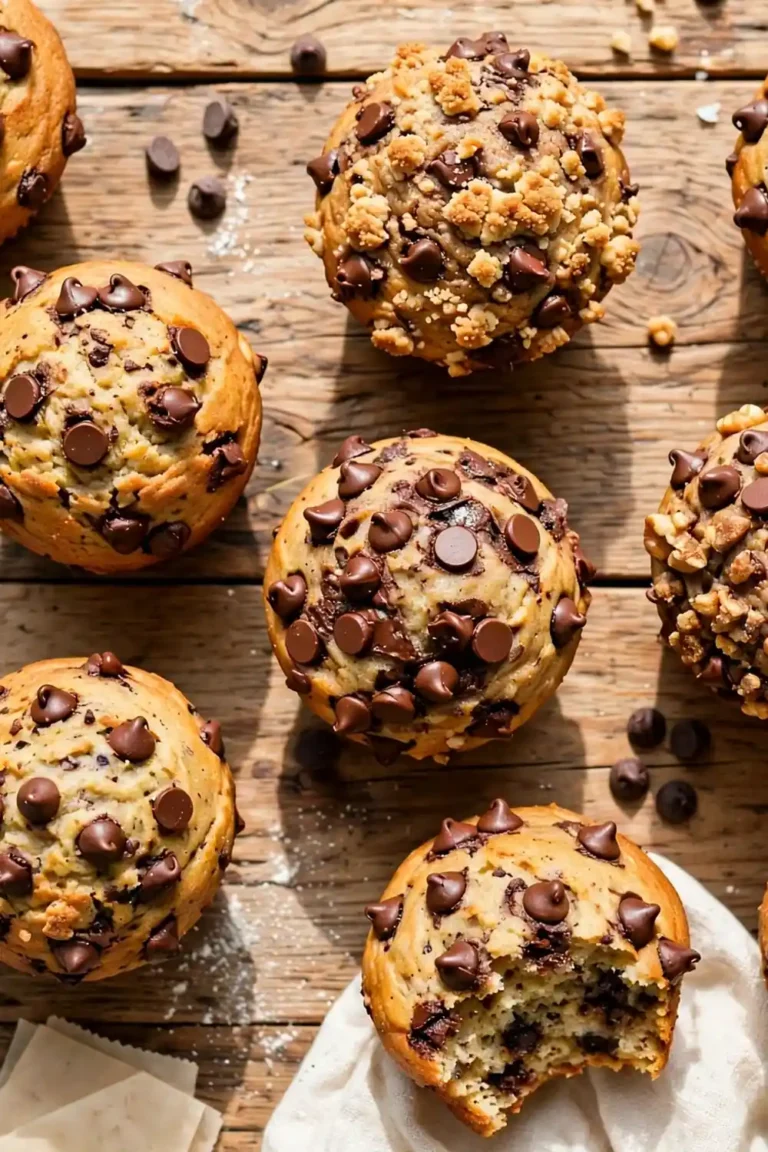
Why Your Cookies Come Out Flat and Greasy (Easy Fix)
Nothing beats the letdown of pulling a tray of flat greasy cookies from the oven when you wanted thick, soft treats. The good news is that each cause has a clear fix, and most of them cost nothing but a little care.
Most cookies spread too far for a few small reasons. Butter that is too warm, a little too much sugar, or an oven that runs cool can each flatten a batch. Small measuring slips add up fast, and a warm baking sheet makes the spread worse.
This guide walks through each cause in order, with a fix you can use right away. If your banana bread also turns gummy, this guide on fixing gummy banana bread shows the easy fixes.
Why Cookies Spread
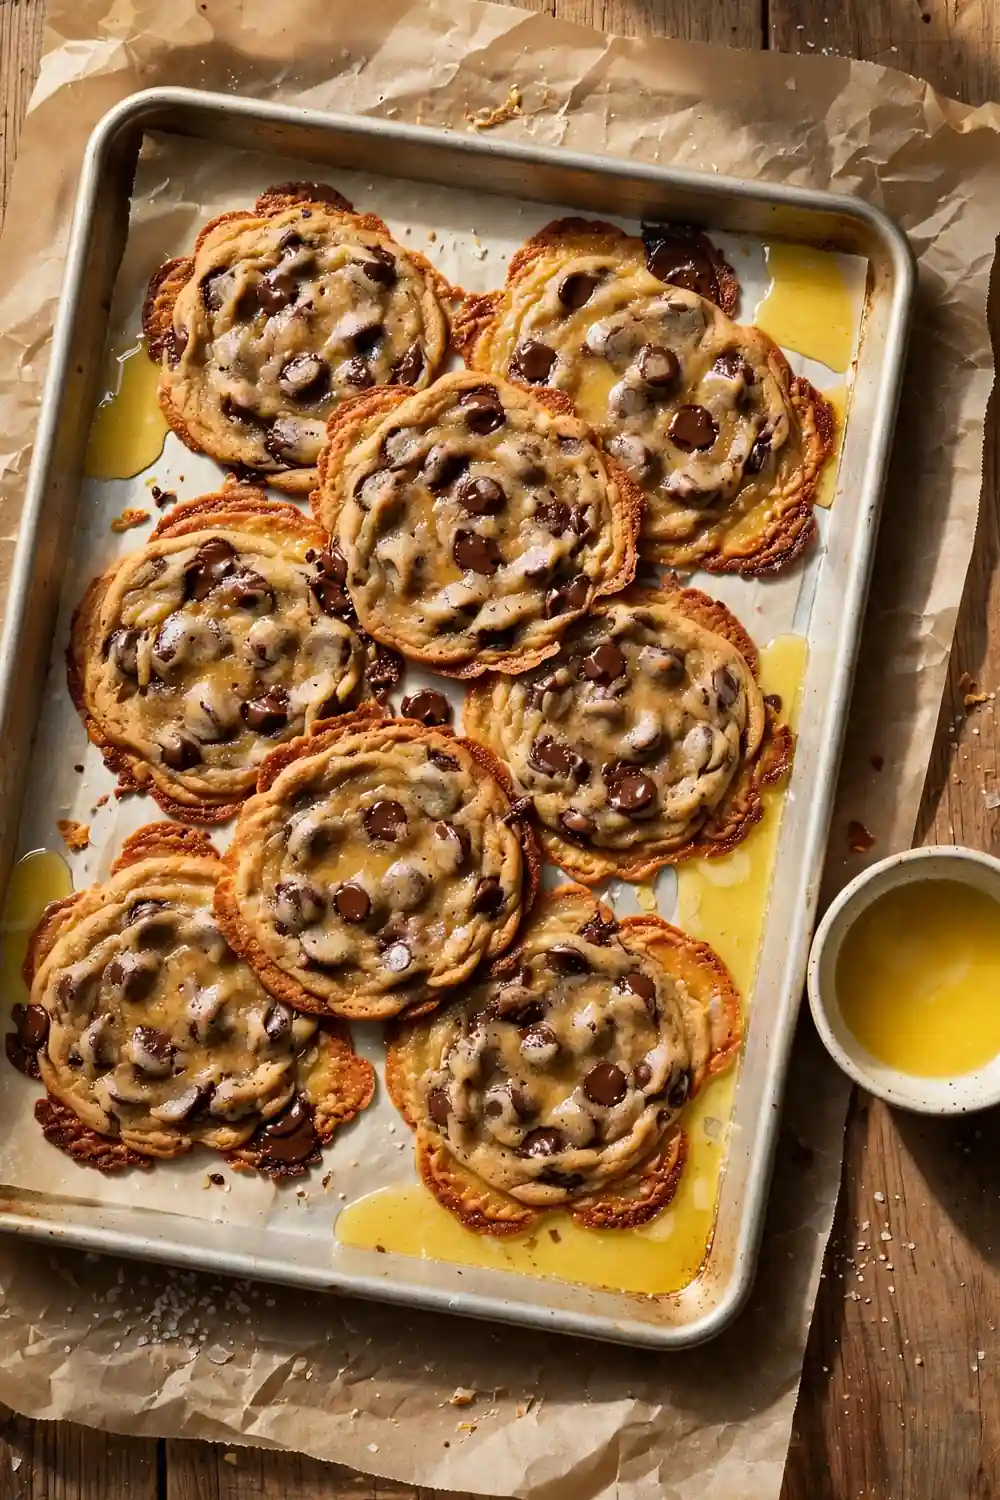
You followed the recipe, yet the tray still came out thin and greasy, nothing like the photo. The cause is rarely one big mistake. Most of the time, a few small things add up in the oven, and the dough spreads before the edges can set.
Butter melts, sugar liquefies, and flour is the only thing holding the shape together. When any of those three is off, the cookie loses structure and flattens fast. The good news is that each cause has a simple fix you can use on your very next batch.
Measure Flour Right
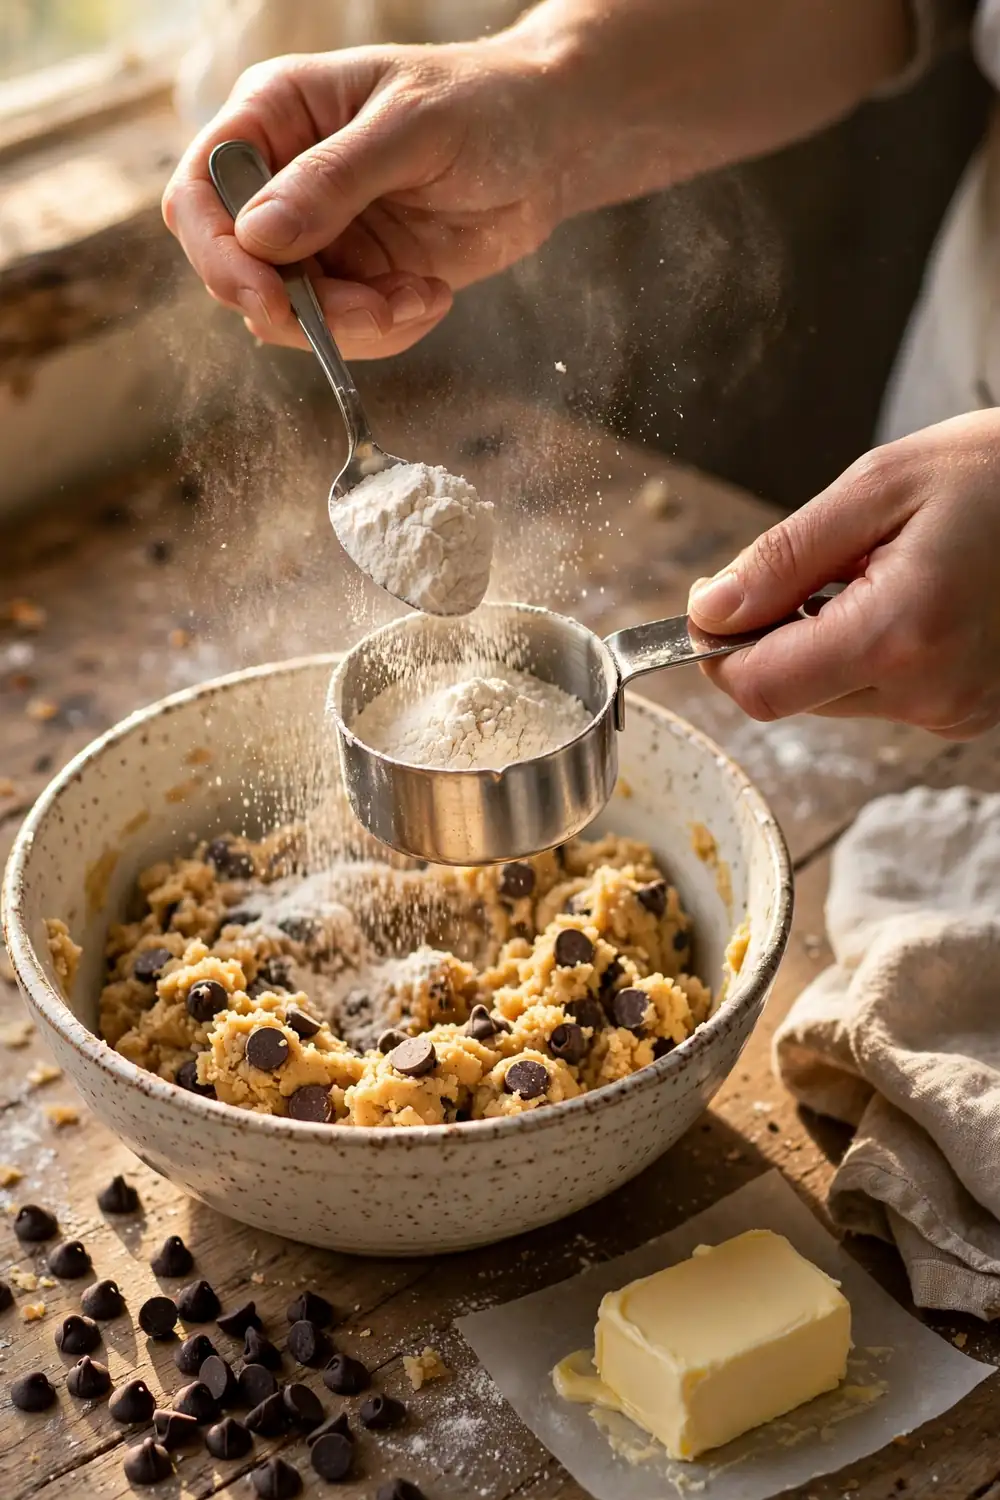
Flour gives cookies their structure, so the amount has to be right. Scooping packs the flour down, so one cup can hold far more than it should. That hidden extra, or a short cup, changes how much the dough spreads in the oven.
- Spoon flour into the measuring cup instead of scooping from the bag.
- Level the top with a straight knife for the same amount every time.
- Check the dough after mixing, since sticky slack dough often needs a spoonful more.
- Use the same spoon and level method for every cup in the recipe.
Fix Butter First
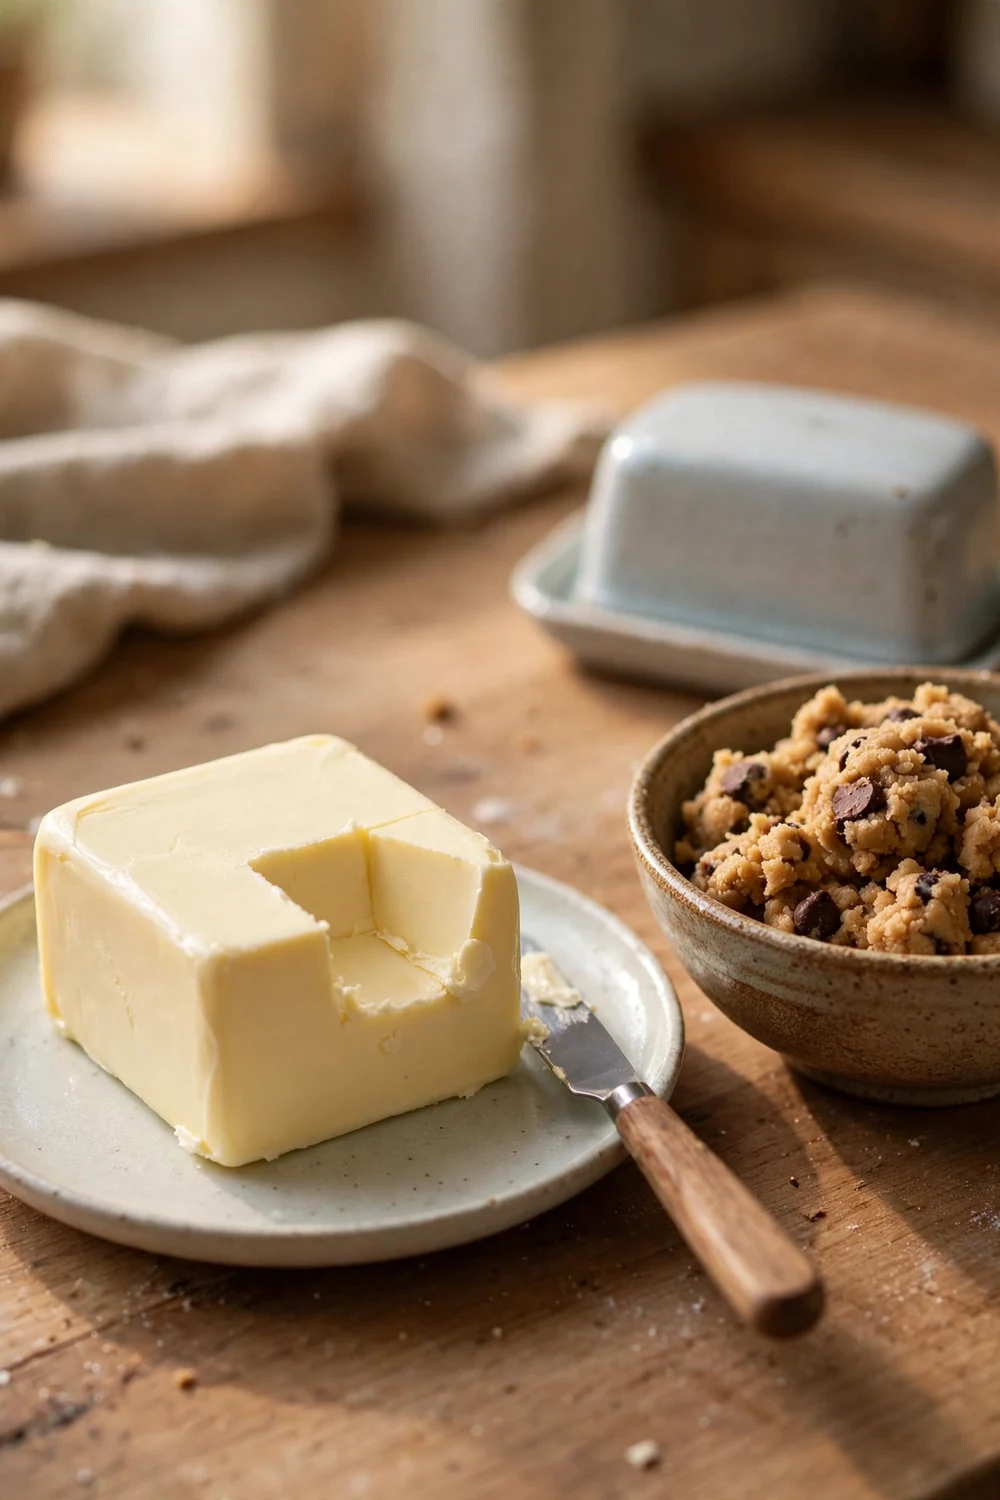
Quick Tip: Use butter that is cool and soft enough to dent with a finger, yet still holds its shape. Melted butter soaks the flour and flattens the batch before it can bake. In my experience, getting the butter right fixes more flat batches than any other single change.
Cut the butter into small cubes and let it sit for about fifteen minutes instead of melting it. Cream it with sugar just until the mixture turns pale and fluffy, then stop. Measure the butter exactly as the recipe lists, since even two extra tablespoons add too much fat.
Chill Dough Well
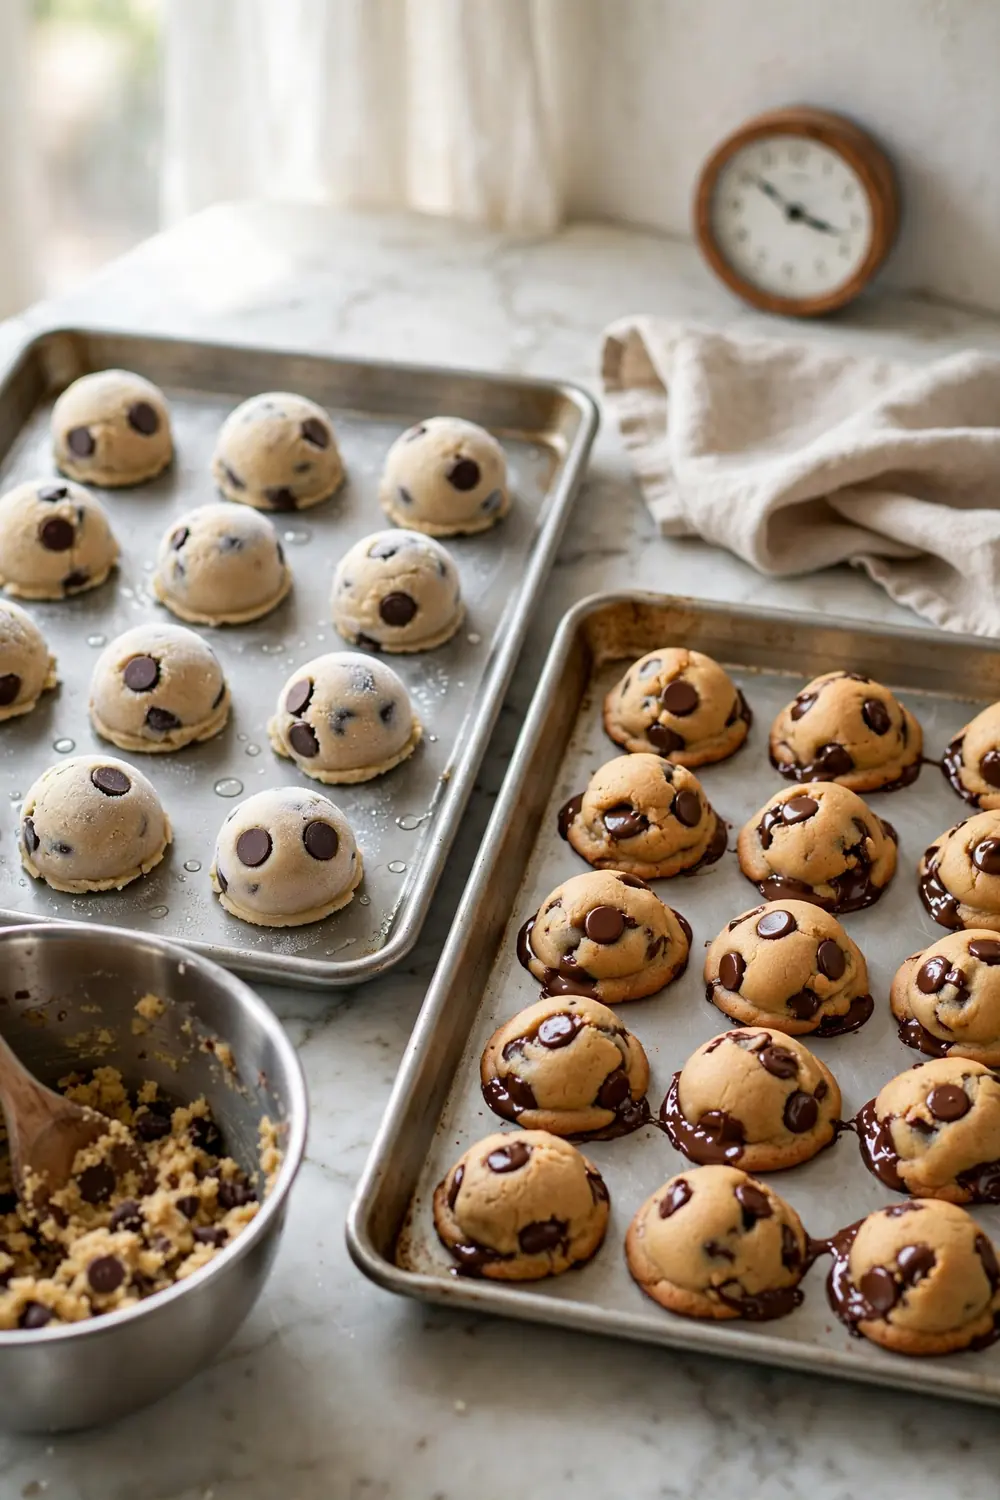
Common Mistake: Most bakers skip chilling because the recipe does not demand it loudly enough. Warm dough goes straight into a hot oven, and the butter melts before the edges can set.
The Fix: Chill the shaped dough for at least thirty minutes before baking. The cold fat melts slowly, so the edges firm up while the centers stay thick and soft.
Chilling is the easiest fix on this list, and it costs nothing but a little patience. If your kitchen is warm, chill the dough for up to an hour. This one step rescues more flat batches than any other change, so give it time to work.
Check Oven Heat
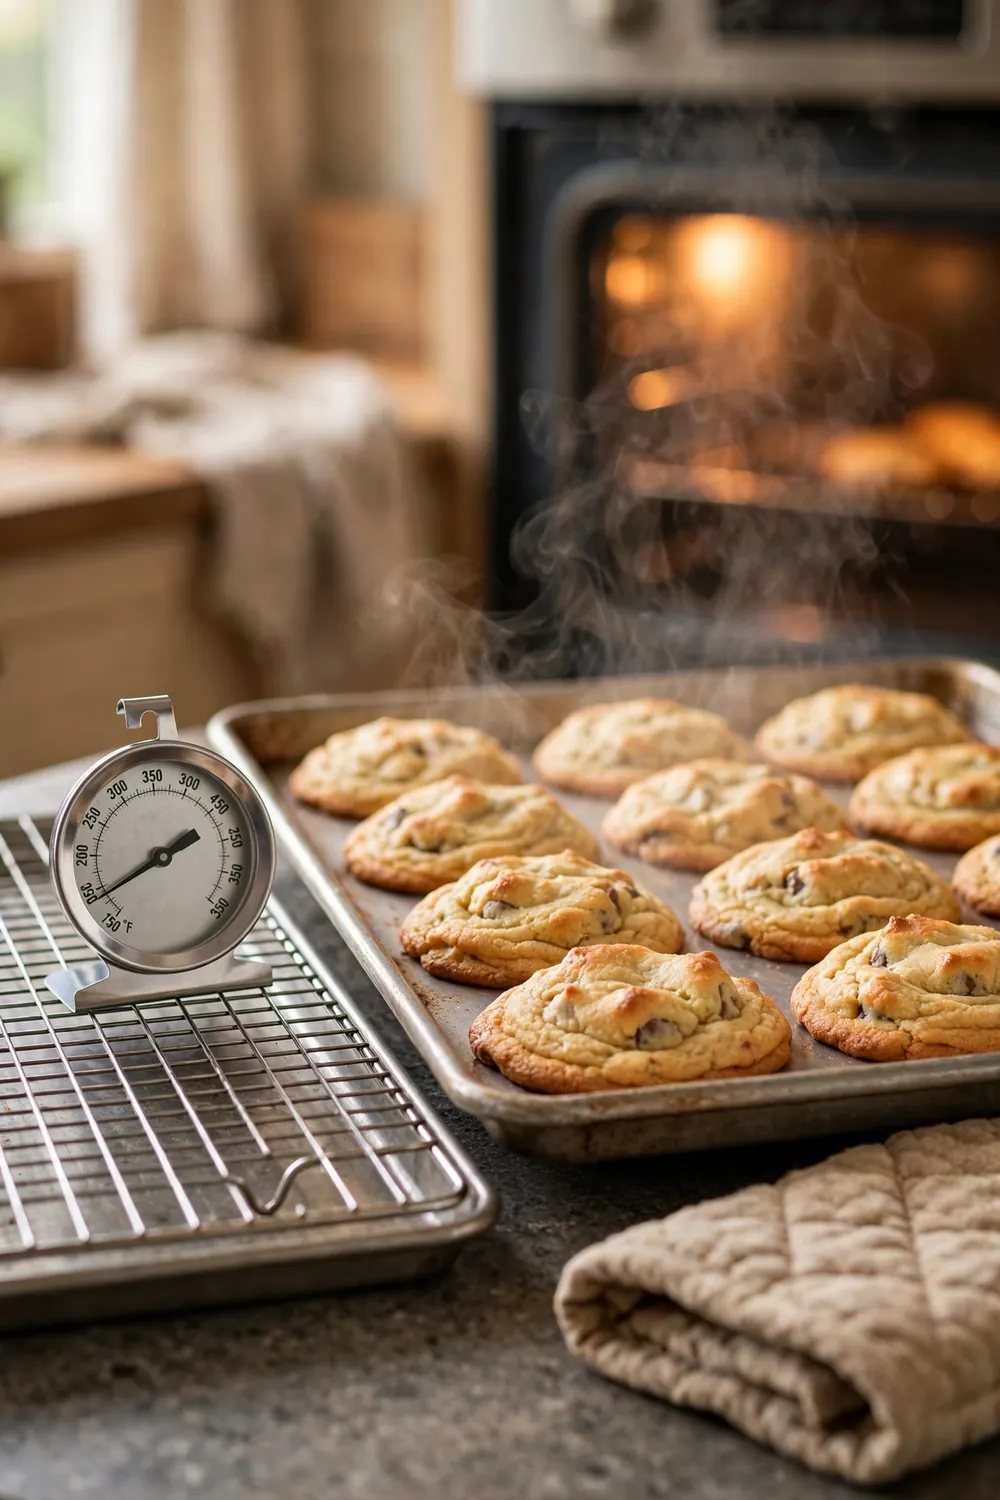
What You Need:
- Oven thermometer: Most ovens run hotter or cooler than the dial says.
- One test cookie: Bake one first to check spread before the whole tray.
- Timer: Keep the test bake on time while you watch the edges.
- Phone note: Record the real temperature for next time.
A cool oven lets butter melt long before the dough sets, and that gap is where flat cookies are born. A thermometer removes the guesswork and keeps every batch honest. Bake one test cookie first, adjust the heat, and the rest of the tray will follow.
Balance Sugar and Leavening
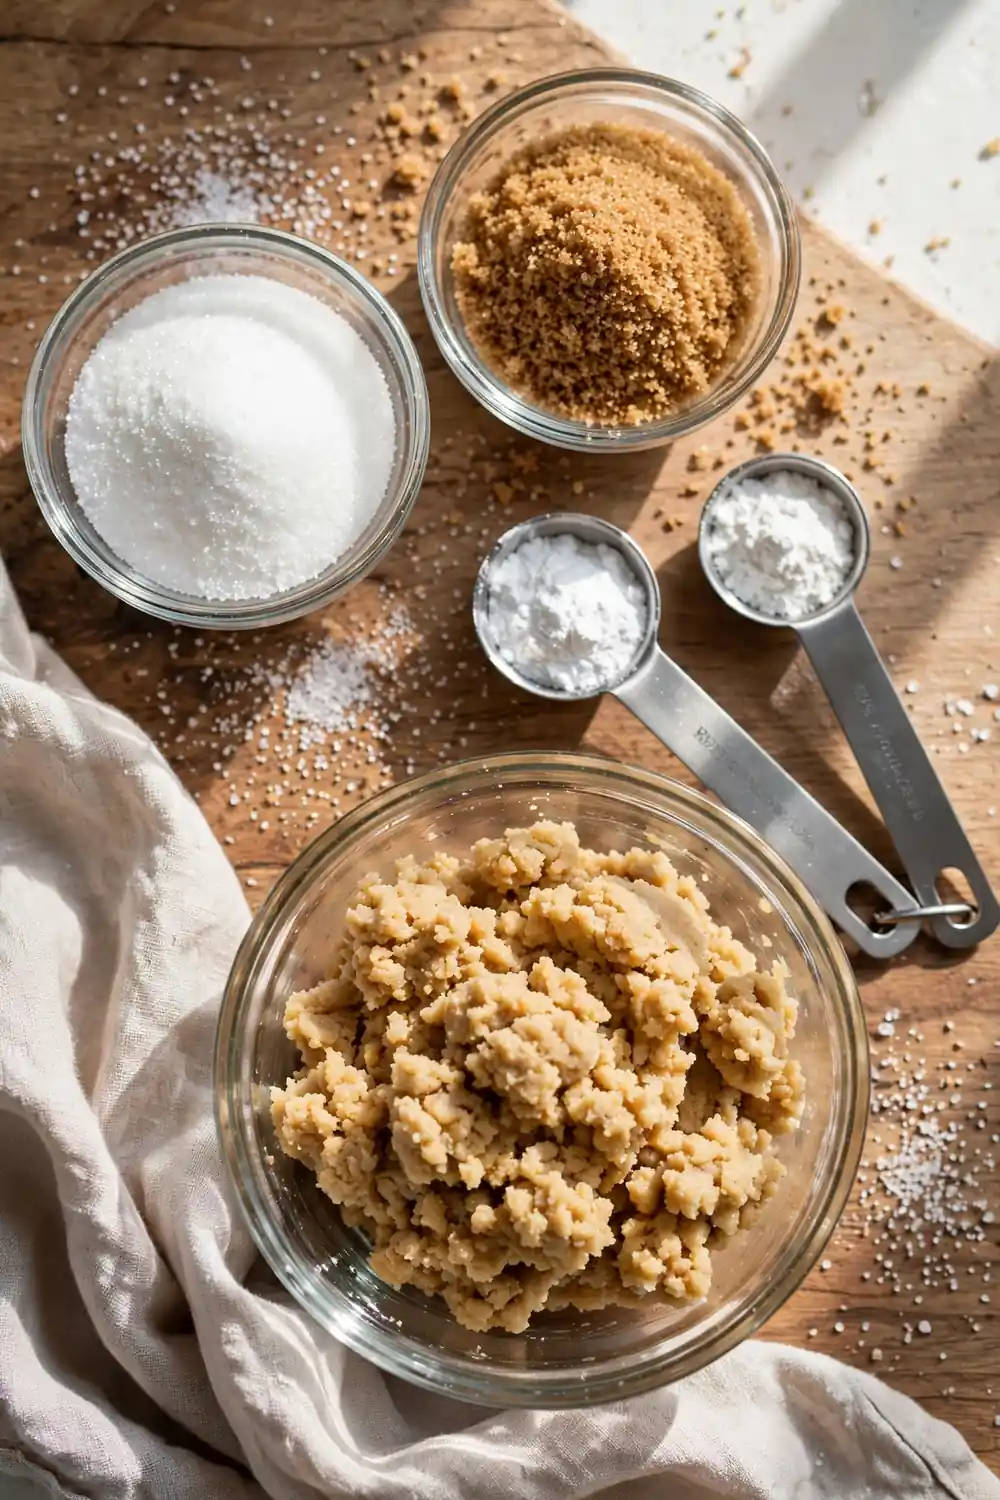
Before: Too much sugar or leavening pushes the dough up fast, then lets it collapse into a thin, greasy disc. The cookies taste overly sweet and look dark around the edges.
After: With the right balance, the cookies rise gently and hold their shape. The flavor stays clean and sweet, and the color turns an even golden brown.
Sugar melts and feeds spread, while leavening lifts the dough, so both need care. Follow the recipe amounts exactly and level every spoon before it goes in. Small excesses here cause more spread than most bakers expect, and fixing the balance costs nothing on your next batch.
Mix Dough Gently
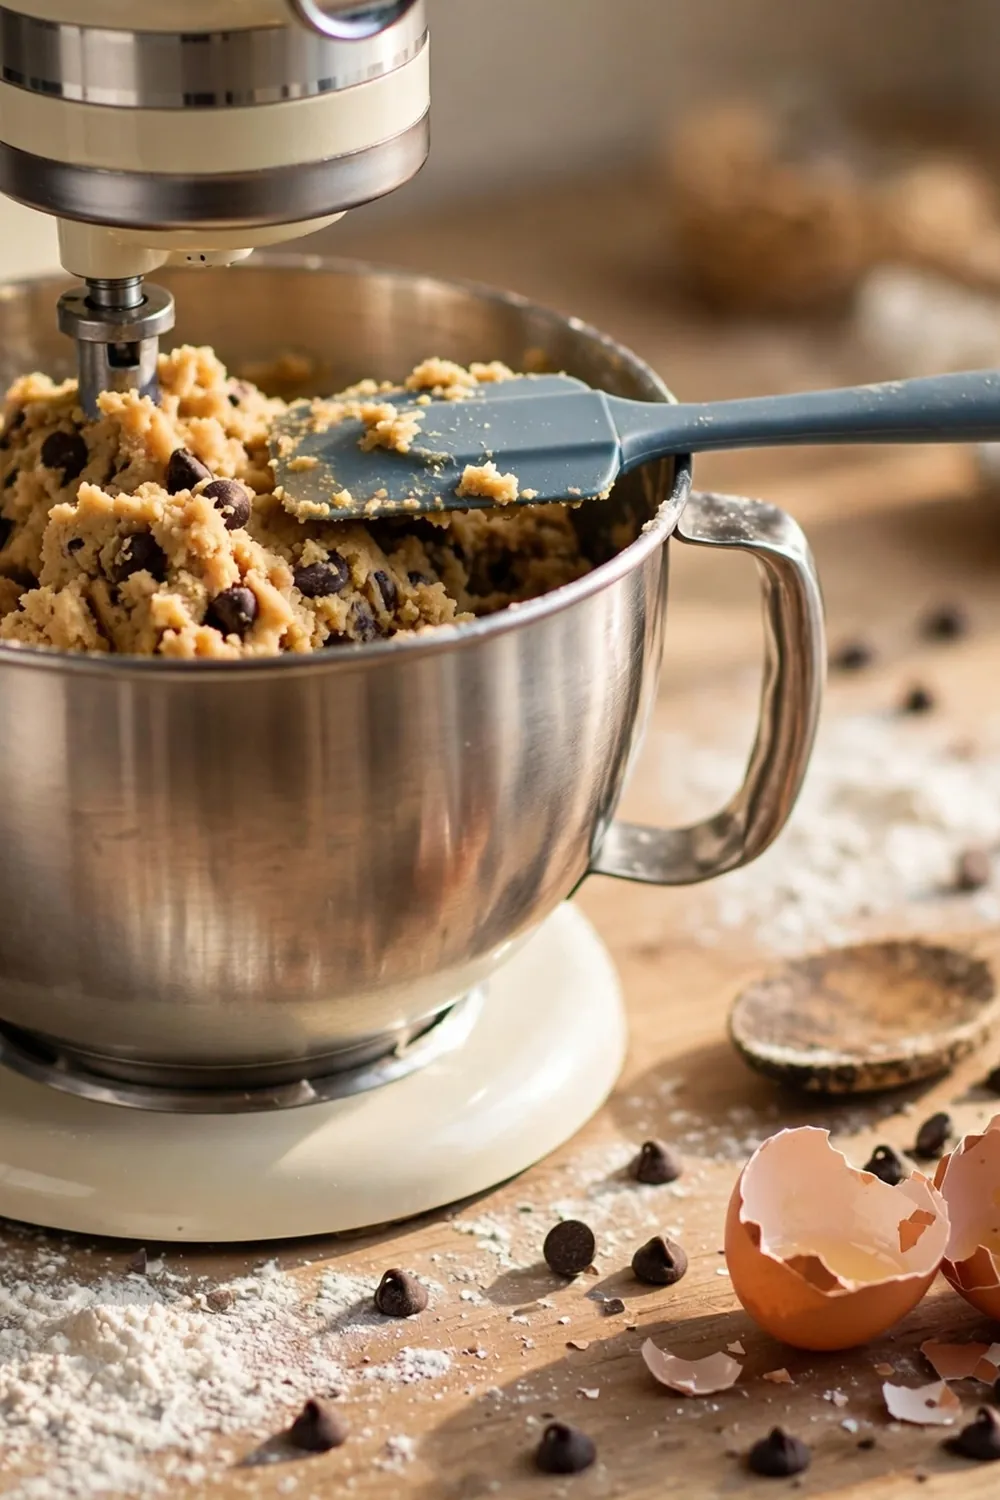
Do This:
- Use low mixer speed or a wooden spoon for the whole dough.
- Stop mixing the moment the flour disappears into the dough.
- Fold the chips in by hand with a spatula.
Avoid This:
- Do not mix on high speed after the flour goes in.
- Do not keep mixing until the dough looks smooth and shiny.
- Do not add extra flour just because the dough looks soft.
Gentle mixing keeps the texture tender and the shape thick. Mix only until the ingredients come together, then stop and fold in the chips. This small habit protects every other fix on this list, so the dough stays soft, rises well, and bakes tall on every tray.
Baking Sheet Setup
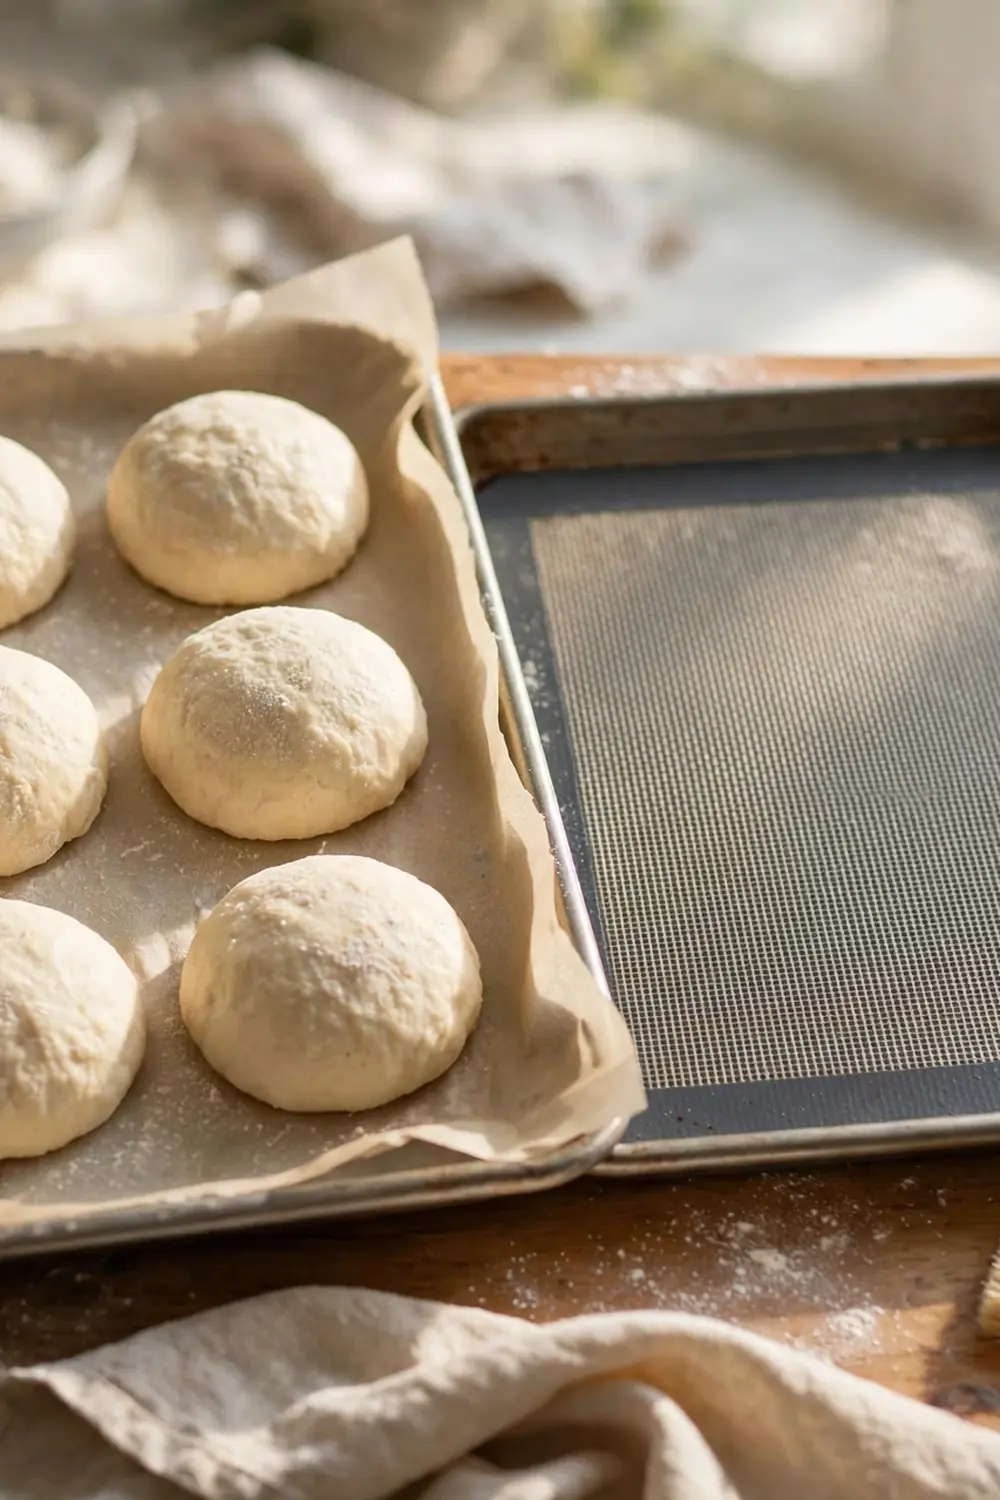
Best setup: Parchment paper or a silicone mat on a light sheet
Sheet temperature: Room temperature before each batch
Spacing: About two inches between dough balls
Extra help: A second sheet so trays can rotate
The sheet under the dough matters as much as the dough itself. A cool, lined, well-spaced tray gives every cookie the same fair start. Fix the setup once, and every batch after it behaves better, with thicker edges and softer centers on every tray you bake.
Shape Thick Dough
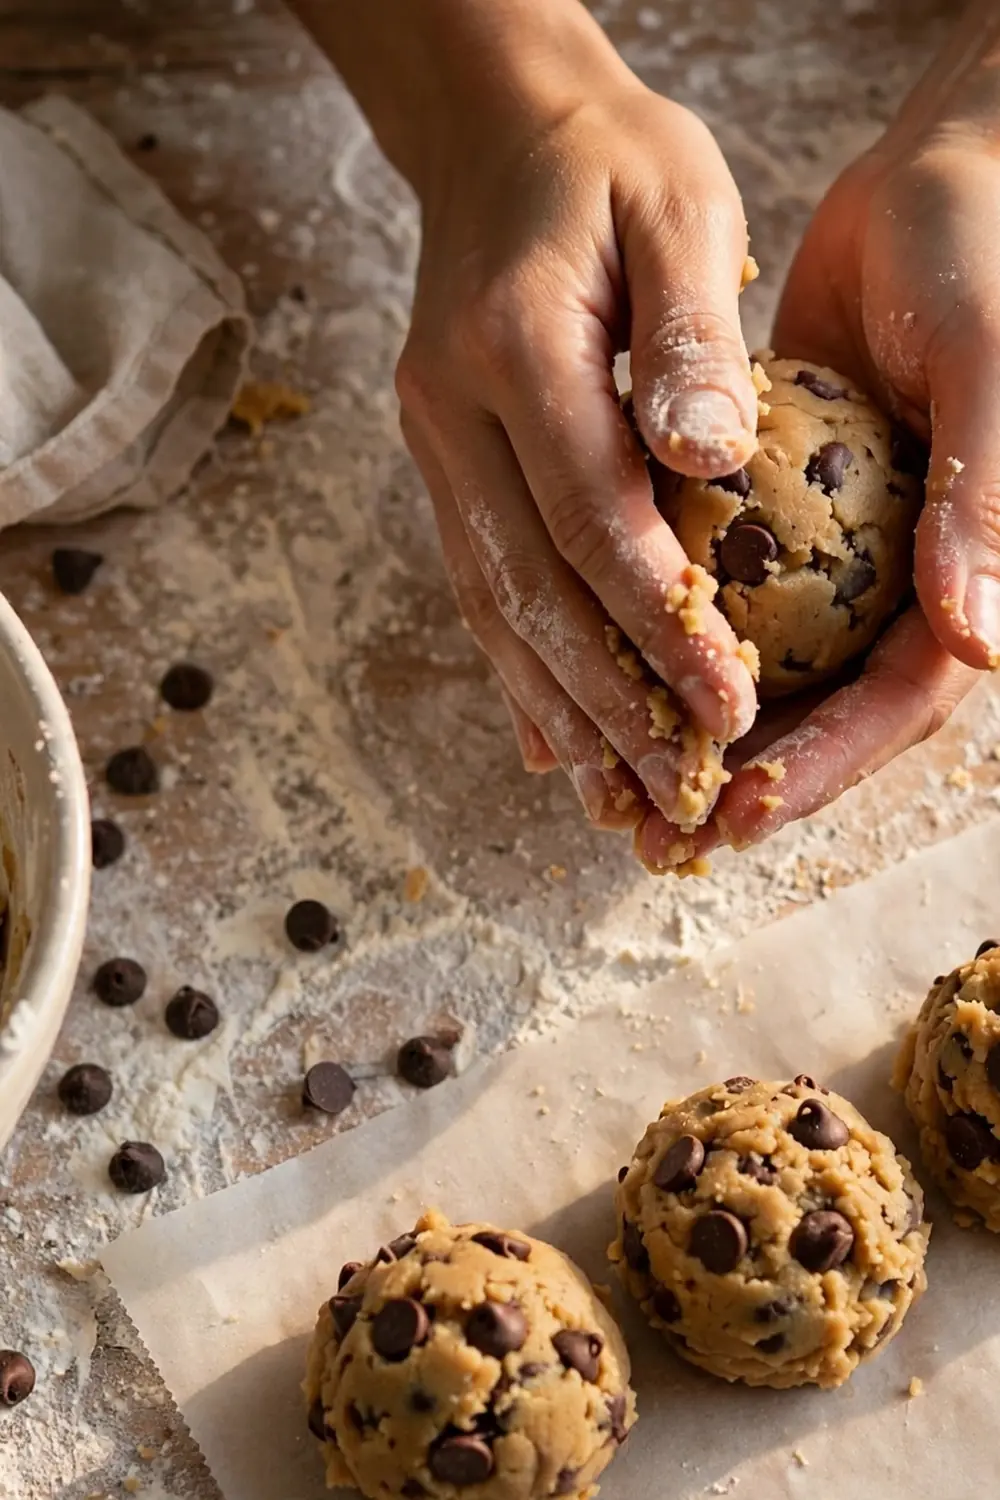
Shape matters as much as the recipe, and it takes less than a minute to fix. Tall balls of dough melt downward slowly, so the edges set before the cookie can spread wide. Scoop the dough, then roll each piece tall instead of flattening it.
Keep the spacing generous, about two inches apart, so the cookies have room to grow without touching. If the dough feels soft, chill the shaped balls for fifteen minutes before they go in. The oven does the rest, and the batch bakes up thick every time.
Common Mistakes to Avoid
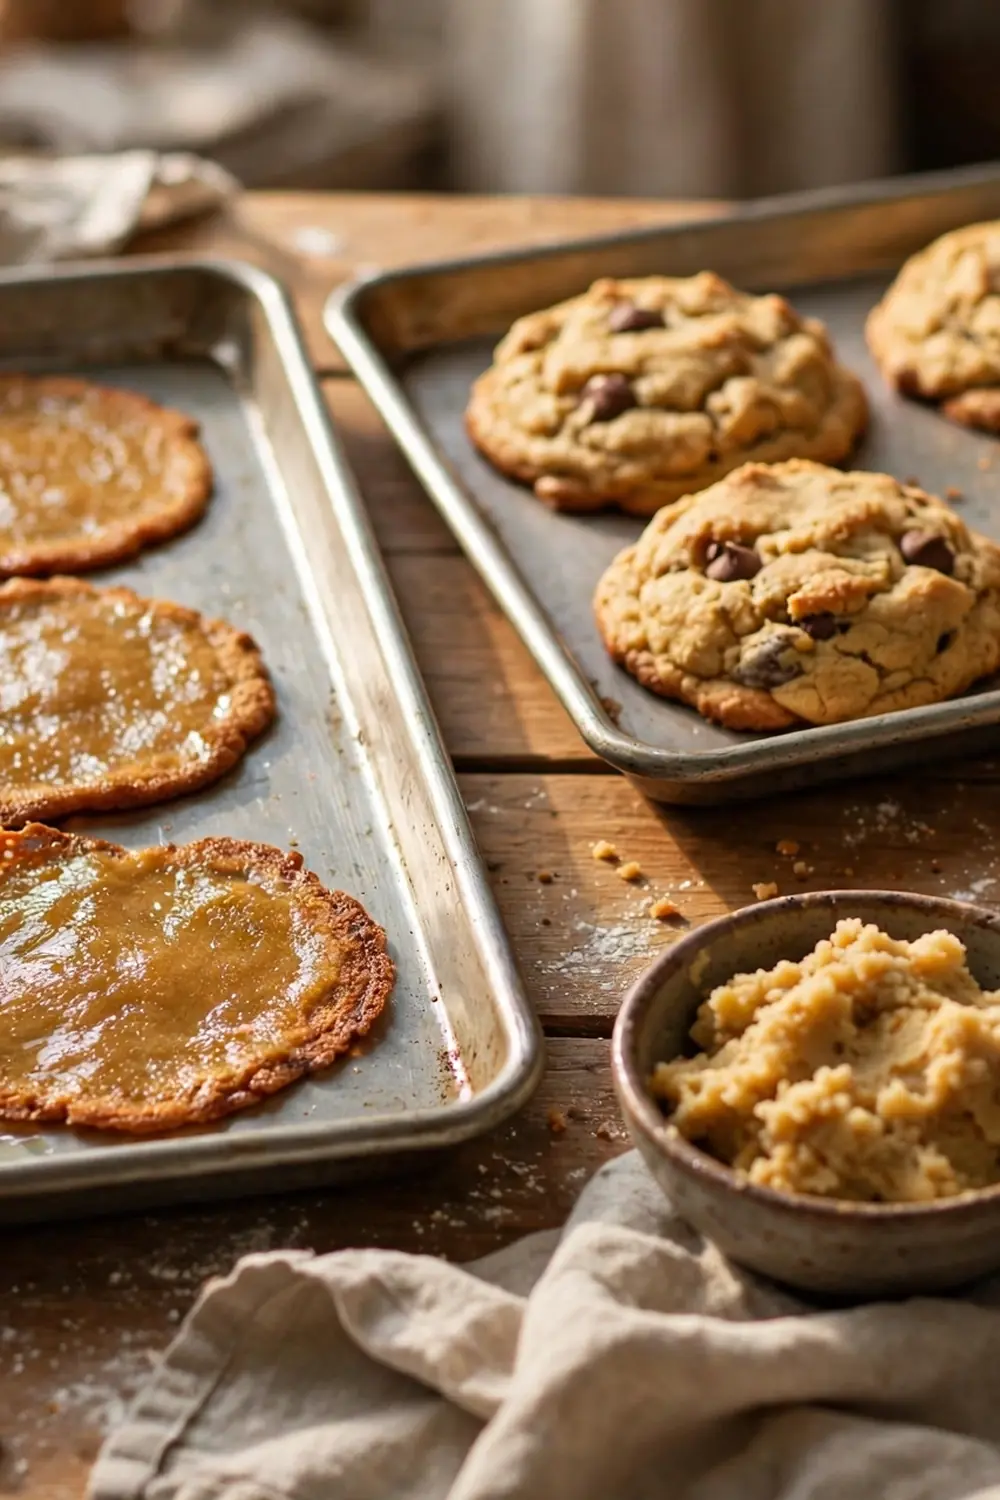
Most flat batches come from a few repeatable everyday habits, not bad luck or a bad recipe. Fix one mistake at a time, starting with the butter, then the chill, then the flour. That way you can see which single fix made the real difference.
- Do not melt the butter, since liquid fat soaks the flour and the dough cannot hold its shape.
- Do not skip the chill, which lets warm dough spread the moment it hits the heat.
- Do not scoop flour from the bag, since scooping packs it down and throws off the amount.
- Do not bake on a warm sheet, since the dough starts melting before the edges can set.
Cool and Check Cookies
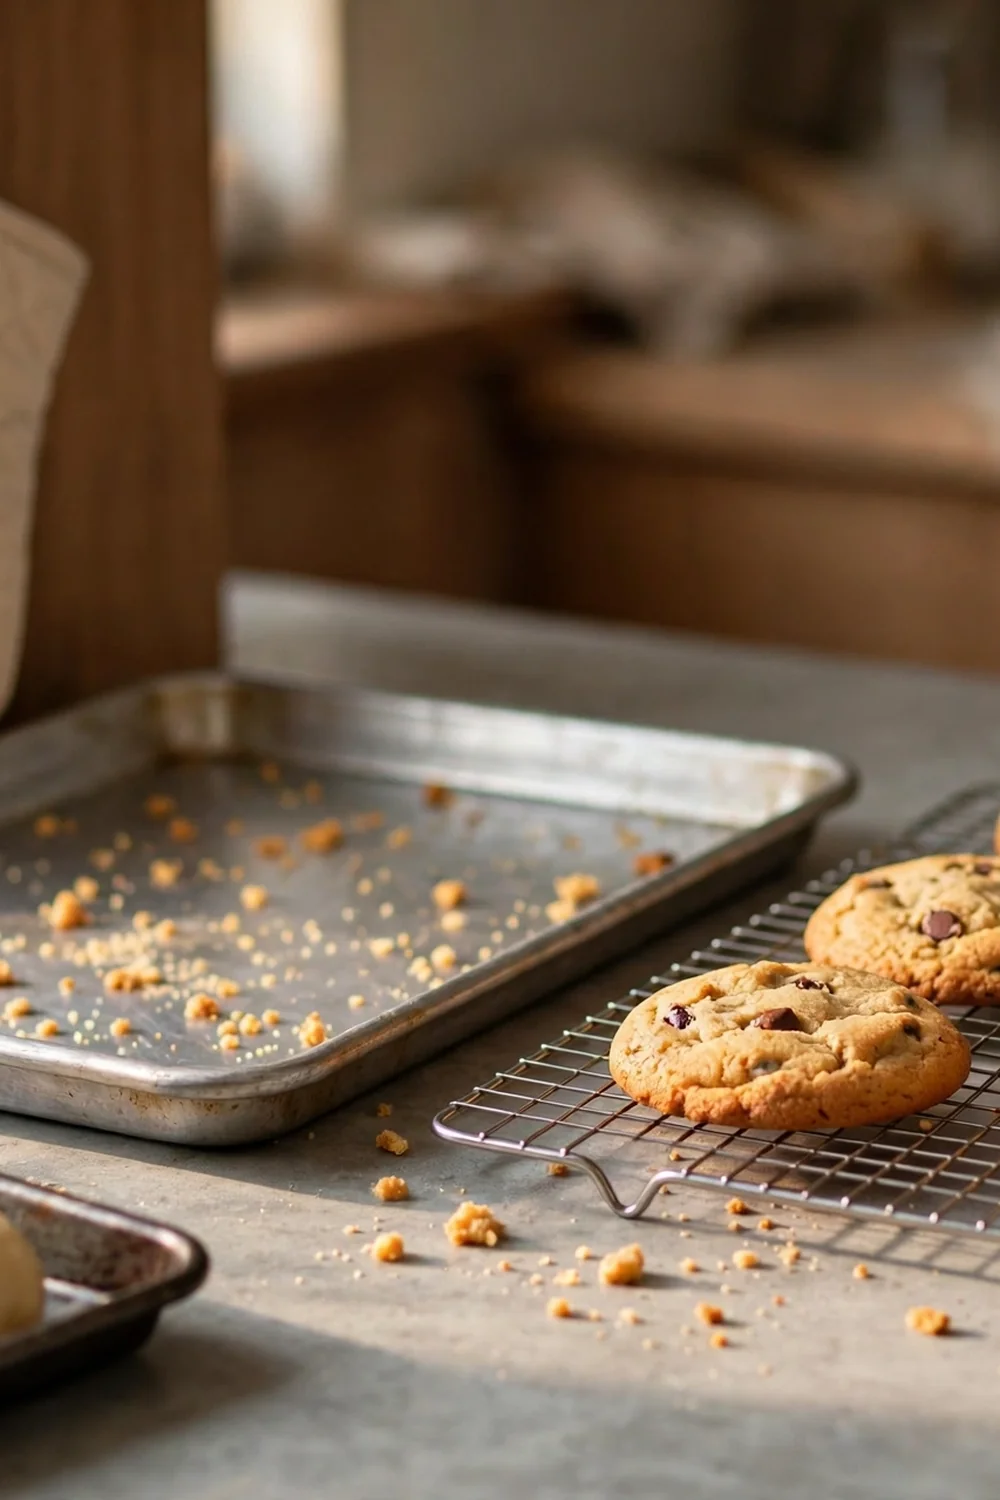
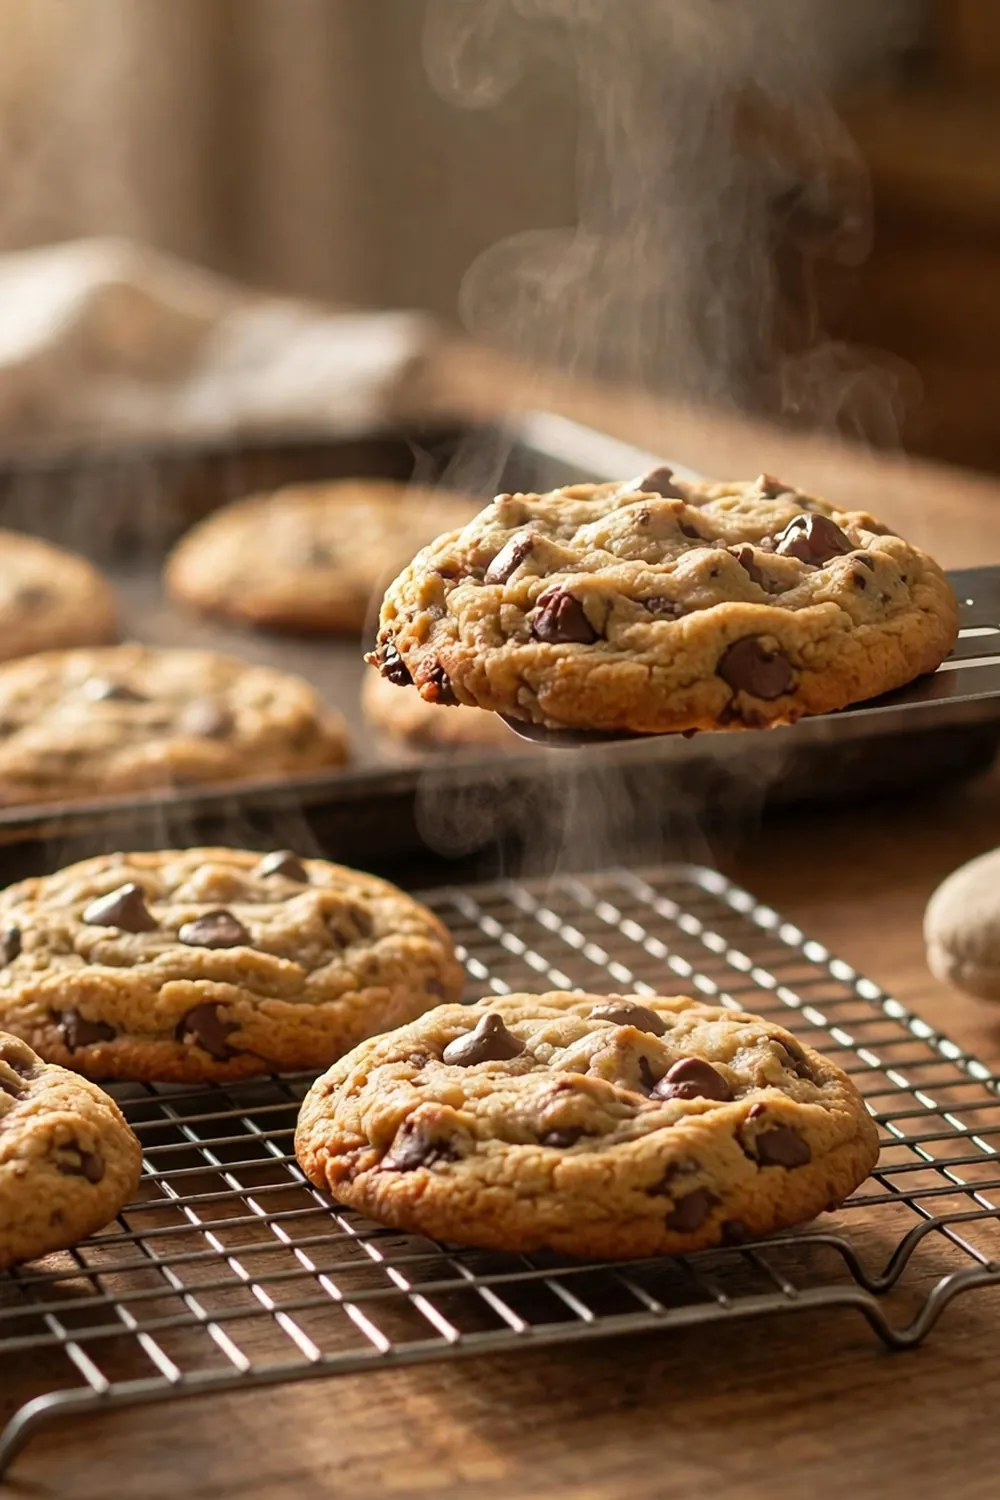
Quick Tip: Trust the edges, not the centers, when you judge doneness. When the edges look set and golden, take the tray out and let the centers finish on the hot sheet. Pulling the tray too late overbakes the batch and flattens the cookies.
Cookies keep baking on a hot sheet long after the timer ends. Leave them on the sheet for five minutes, then move them to a wire rack so air can reach the bottoms. A good batch shows set golden edges, soft slightly puffed centers, and cookies that hold their height on the rack.
Conclusion
Flat greasy cookies are not a sign of bad luck in the kitchen. They come from small, fixable causes, and now you know each one. Chill the dough, measure with care, and give your oven a fair chance, and the next tray can surprise you.
Pick one fix from this guide and try it on your next batch. Save this post on Pinterest so the fixes are there when you need them, and share it with anyone whose cookies spread too far.
I have seen how making this one change can completely shift the result. Bake your next batch with these fixes and enjoy thick, golden cookies.