Why Do My Cupcakes Stick to the Liners? Easy Fix Guide
Cupcakes sticking to liners can spoil a batch you baked with care. You bake a tray, wait for them to cool, and peel a liner. The paper clings, and half the cake tears away with it. Damp cake and weak paper usually cause the trouble.
Most stuck batches trace back to damp centers, cheap liners, or peeling too soon. Each one bonds cake to paper, so the liner tears. In my experience, one weak step is enough to ruin the whole tray.
This guide walks through each cause, from liners to cooling, with a fix for every step. Follow the fixes for clean, neat cupcakes. And if your frosting also turns runny, see why runny frosting happens and how to fix it.
Why Cupcakes Stick to Liners
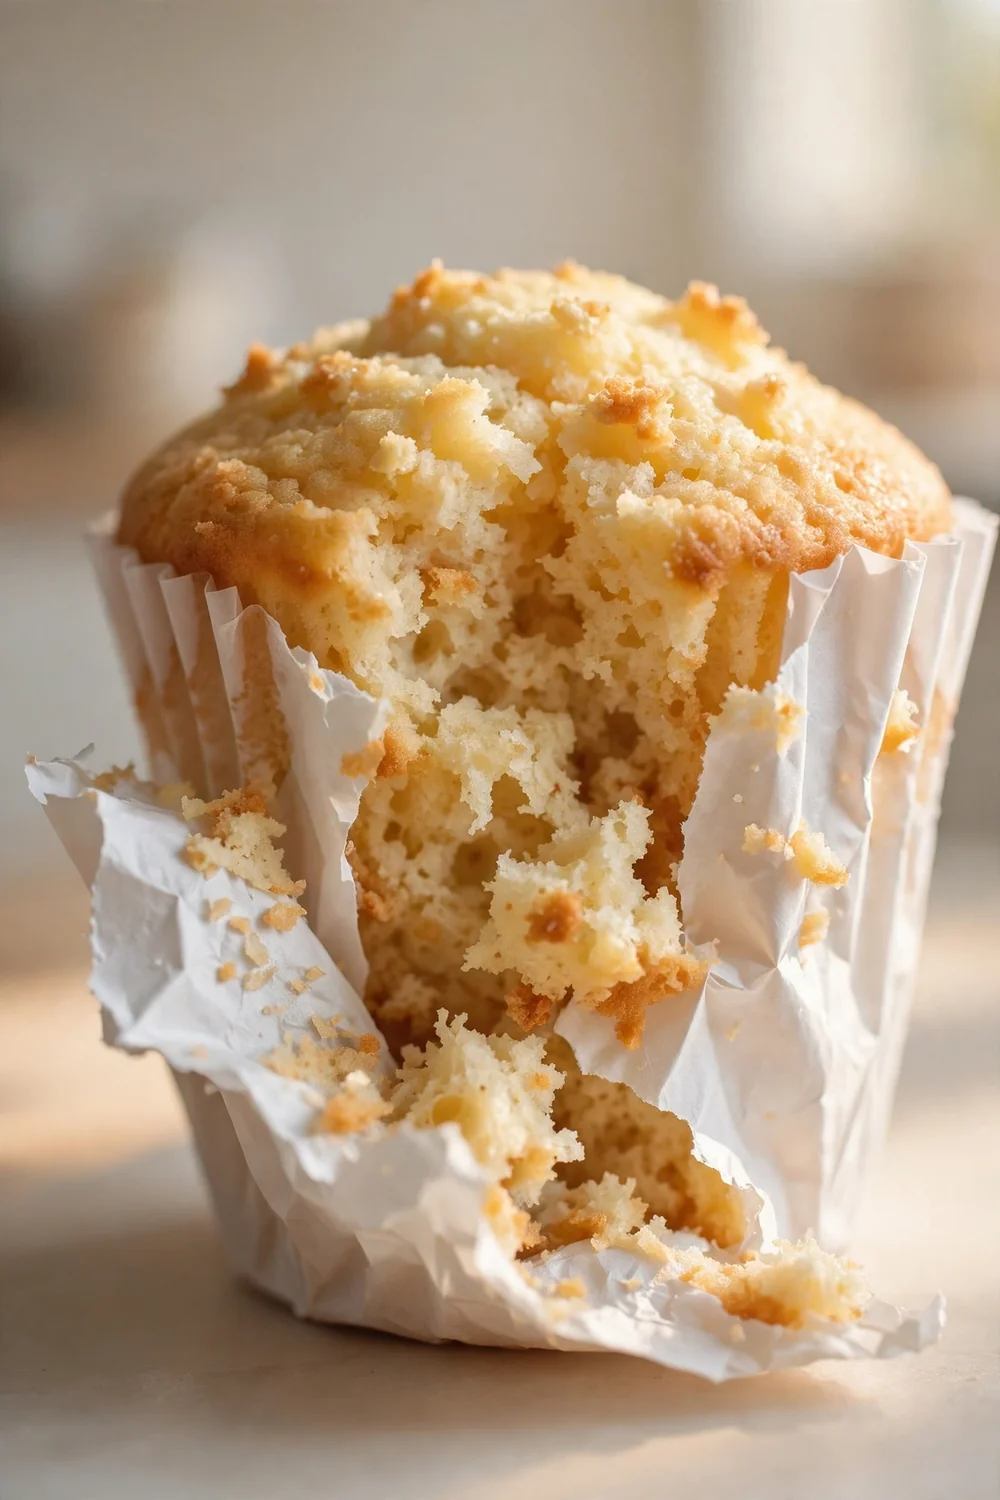
Cupcakes stick when steam and sugar glue the cake to the paper. Wet batter, cool ovens, and long cooling can each make them cling. The cake bakes, but the clean peel never comes. Stuck liners tear the cake, and the smooth side never shows. Check the moisture first.
Stuck liners do not mean the batter went bad, and the batch stays usable. The damp paper grips first, then the cake tears with time. A dry bake peels clean, and a damp bake stays stuck. Check the moisture before you toss them. One fix at a time works best.
Use Quality Liners
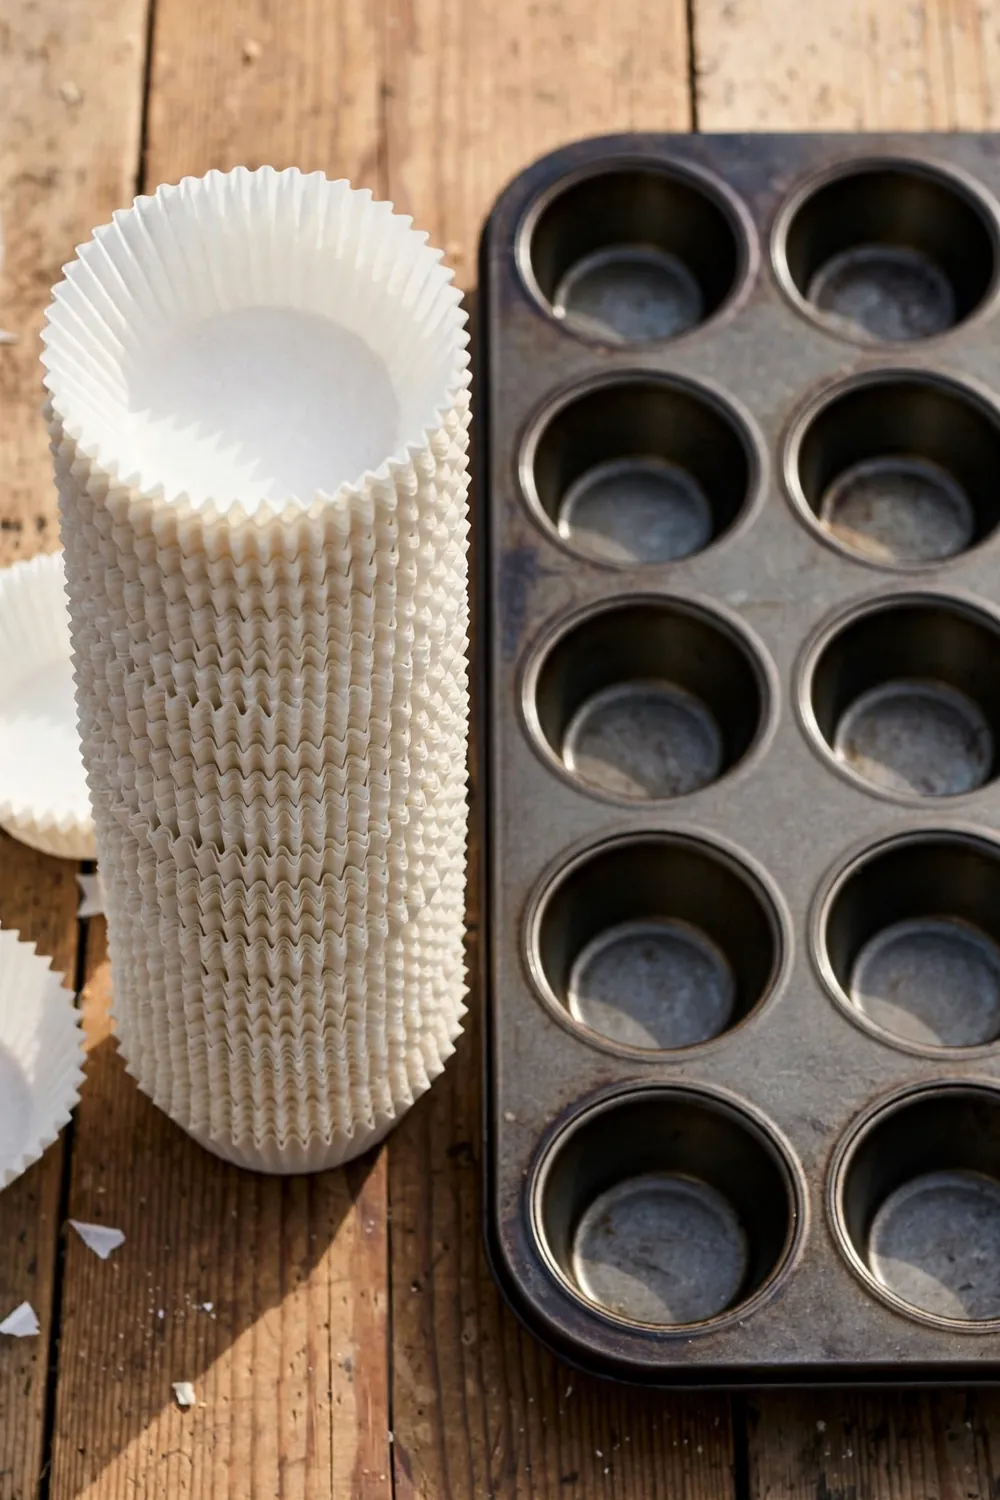
Liner quality decides the peel, since cheap paper soaks fast and bonds to the cake. Sturdy parchment liners hold firm and release clean. Pick liners made for baking, and the peel turns easy. Good liners save the whole batch. Quality paper makes the cleanest cupcake.
- Buy sturdy parchment liners, and check the label for baking use.
- Skip thin craft paper, since it soaks fast and tears.
- Match the liner size to the pan, so the paper sits flat.
- Keep the liners dry in storage, so they stay strong.
Grease the Liners Light
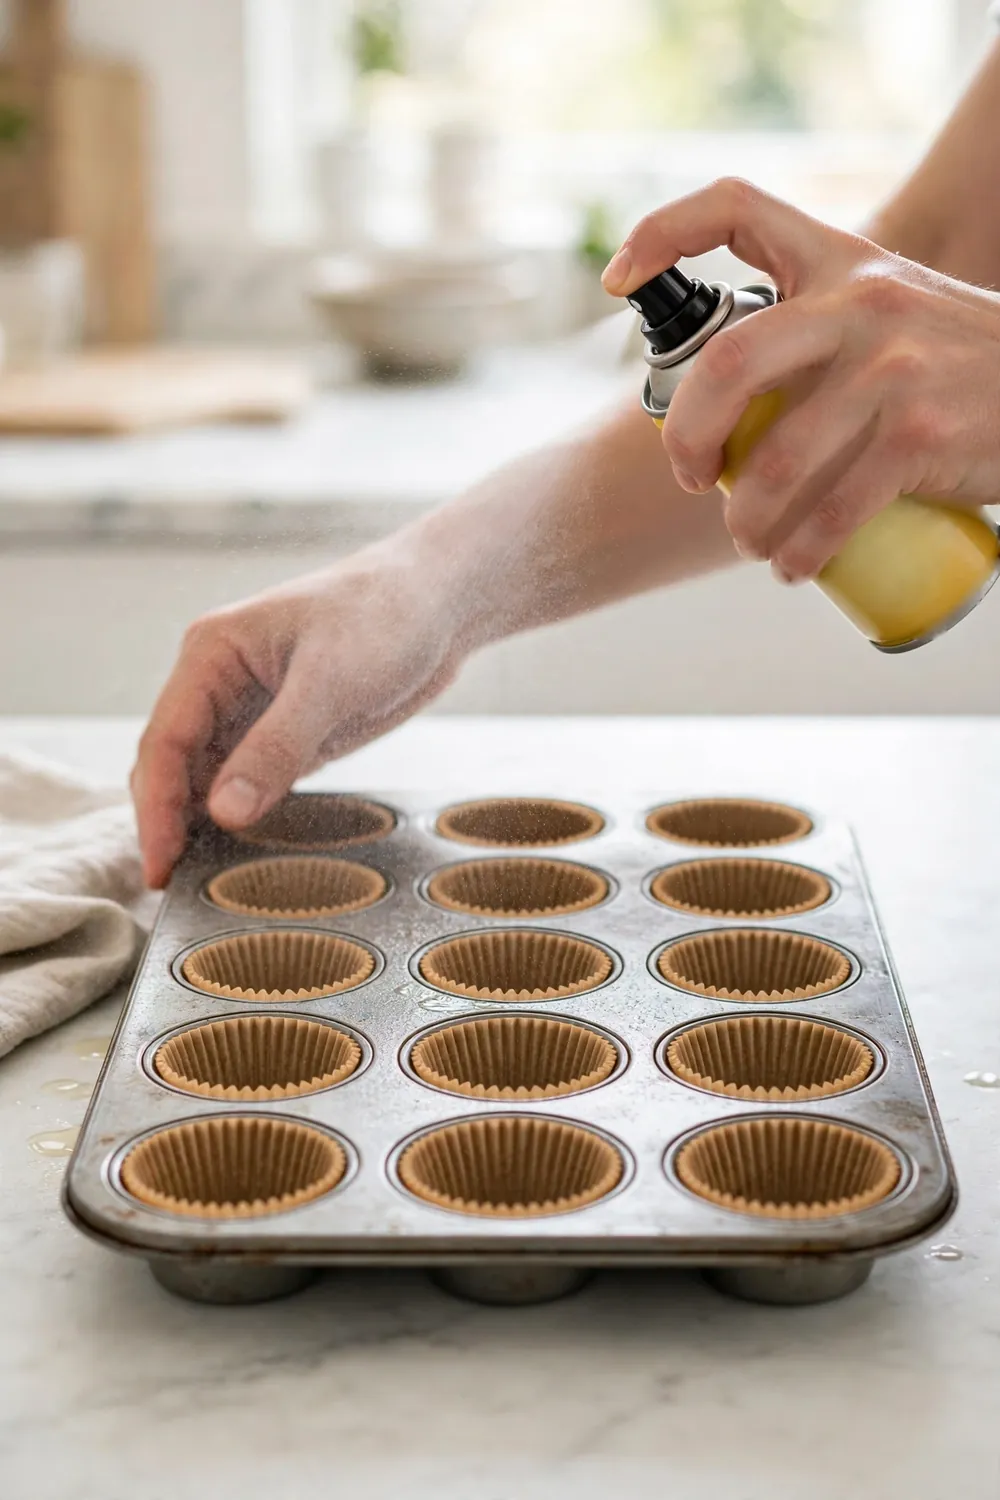
Quick Tip: Hold the spray can a short distance away, and mist each liner once. A thin coat lifts clean, while a heavy coat soaks the paper. Light grease makes the cleanest peel.
A light coat of spray keeps the paper from bonding to the cake. A dry liner grips fast, and the cupcake tears off in bits. Spray each liner with a thin mist, and let it settle. A greased liner keeps the cupcake smooth, and the peel stays clean.
Bake Them Fully
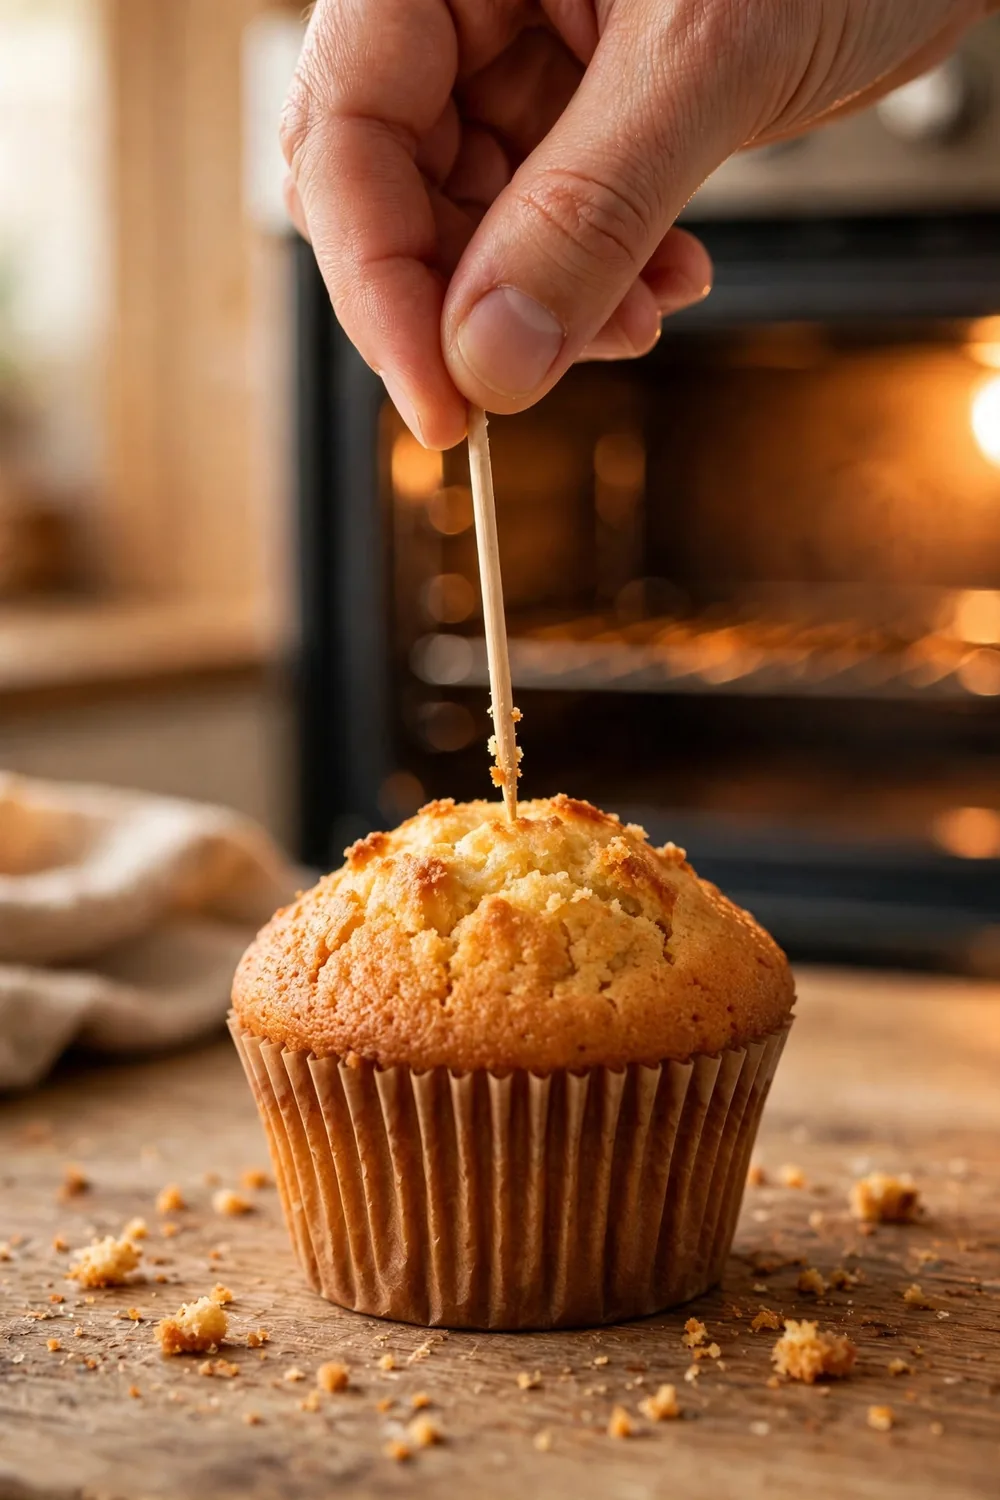
Common Mistake: Many bakers pull the tray early to keep the cupcakes soft. A damp center sticks fast, and the liner tears off in bits. The soft crumb looks moist, but it bonds to the paper.
The Fix: Bake until a toothpick comes out clean, then check again. A fully baked cupcake peels clean, and the crumb stays firm. Trust the toothpick, not the clock.
A fully baked cupcake peels clean, and the crumb stays firm. A damp center sticks fast, and the liner tears off in bits. Keep the oven door shut while the cupcakes bake, and check the heat. Steady heat makes the cleanest peel. Hot ovens give a cleaner cupcake every time.
Fill the Cups Right
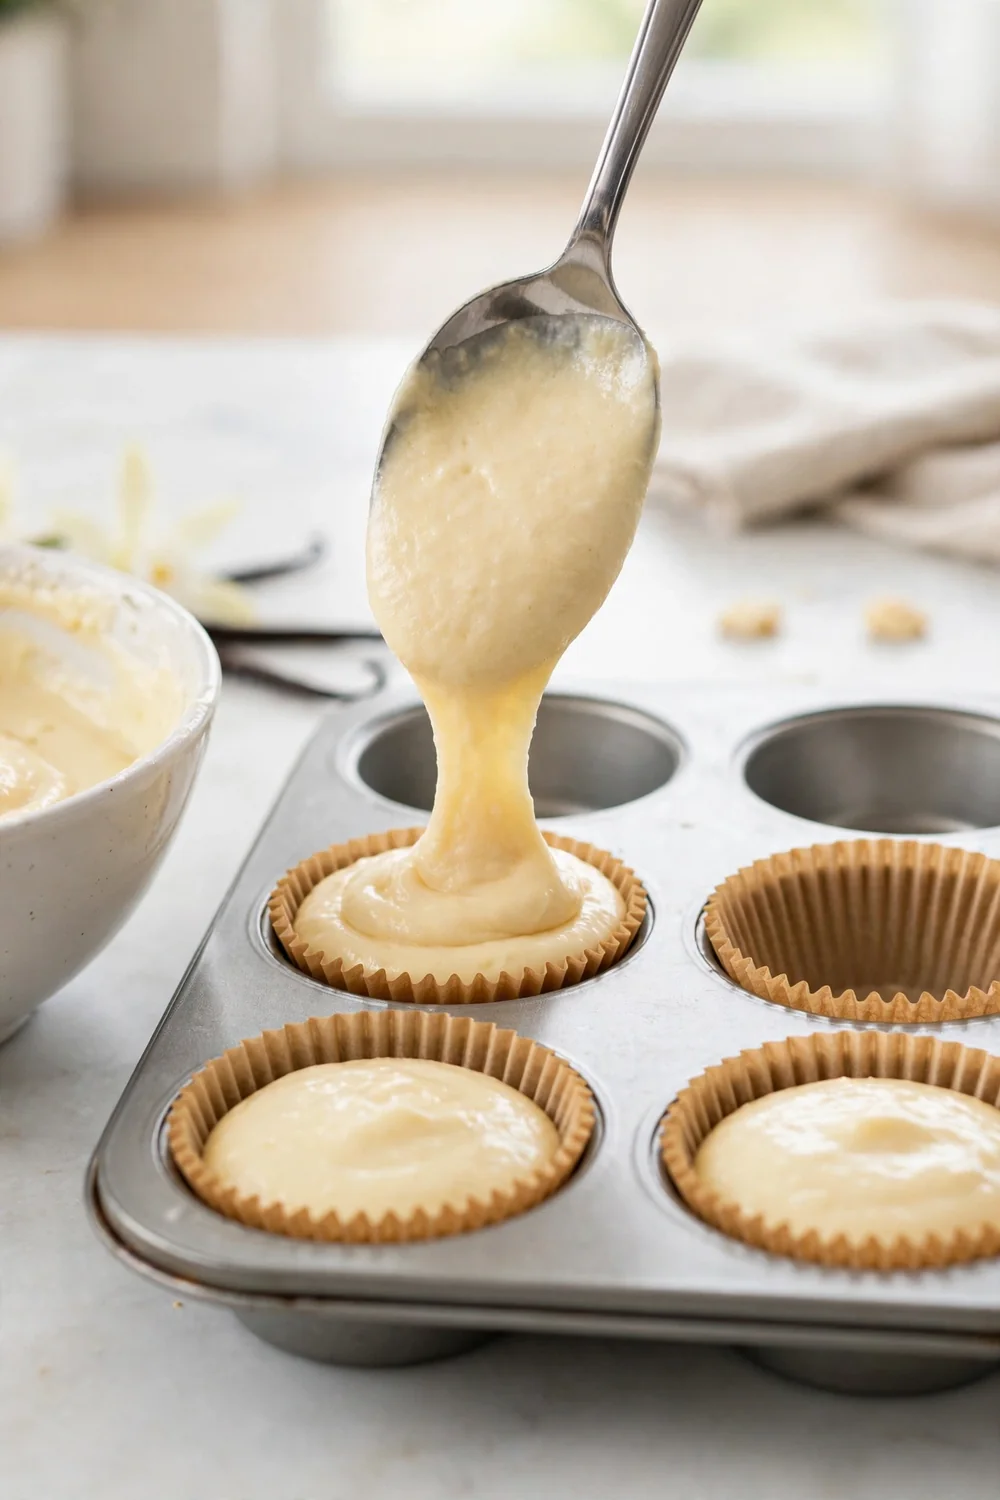
What You Need:
- Scoop: Fills each cup even, so the tray bakes level.
- Paper liners: Hold the batter and keep the cups neat.
- Two thirds fill: Leaves room to rise without spilling over.
- Level tray: A flat pan keeps the fill even in every cup.
Filling the cups right keeps the cake from spilling over the paper. An overfilled cup bakes over the edge, and the liner sticks fast. Fill each cup two thirds full, and smooth the top. A right fill keeps the cupcake neat, and the peel stays clean.
Skip the Foil Cups
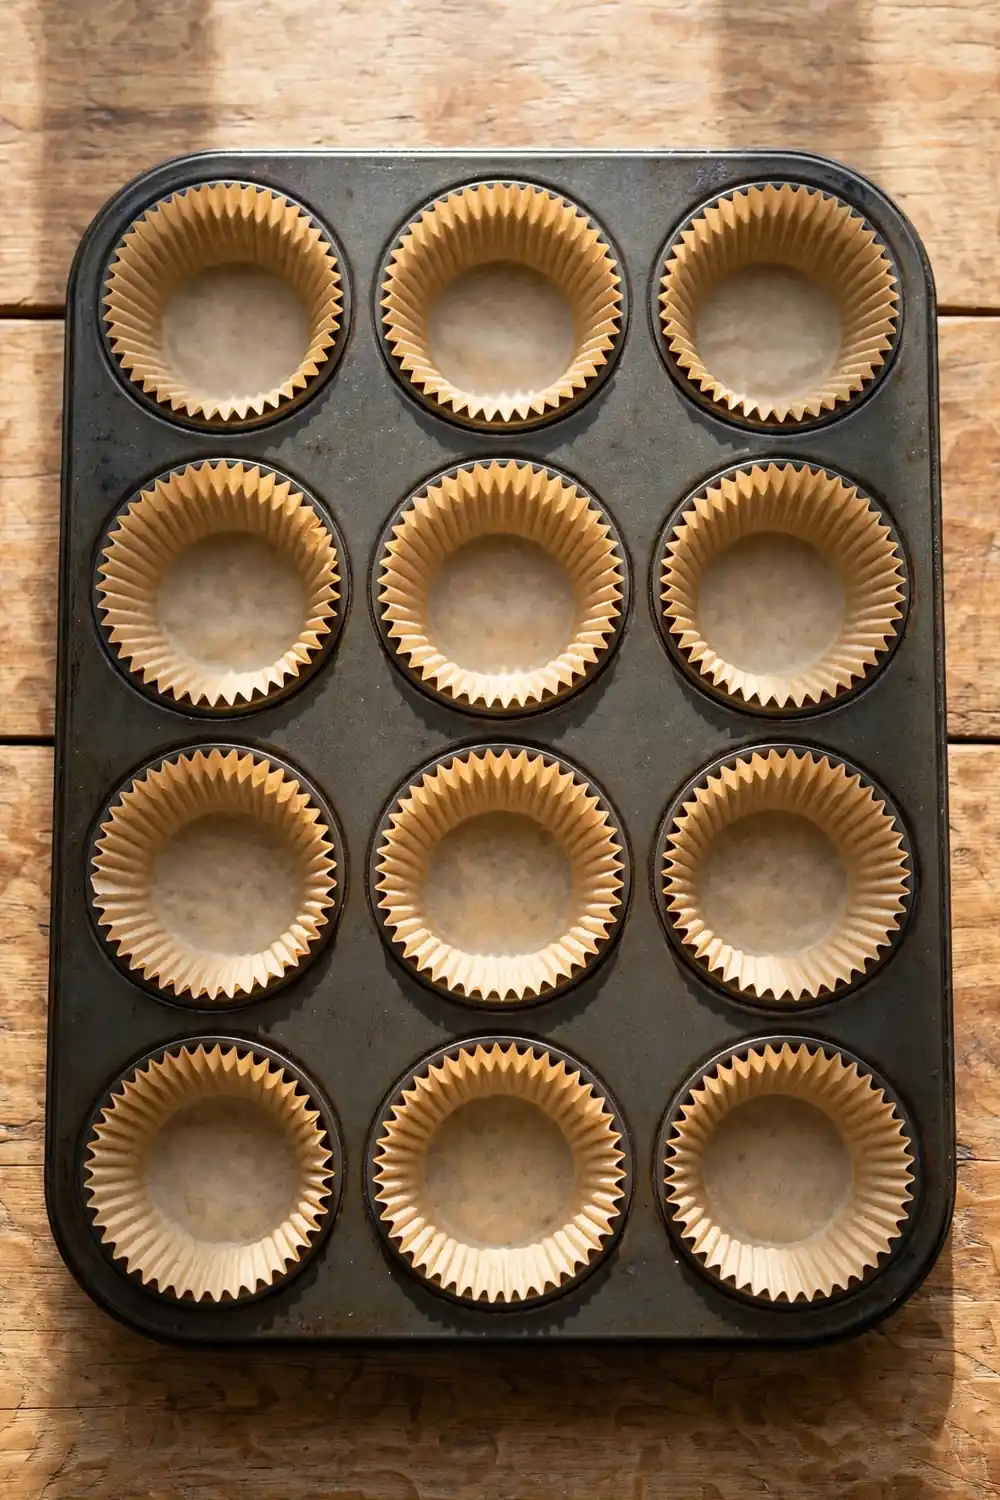
Before: Foil cups trap steam, and the cake bonds to the paper inside. A foil cup bakes hot, and the liner sticks tight. The steam stays locked in, and the cake stays damp.
After: Paper liners in a metal pan let steam escape, and the cake bakes dry. The liner peels clean, and the cupcake stays neat. The pan holds its shape, and the bake stays even.
Skip the foil cups, and use paper liners in a metal pan. A foil cup holds steam, and the cake stays damp. Paper liners keep the cupcake neat, and the peel stays clean. A good pan makes the cleanest peel every time. Skip foil for the cleanest peel.
Cool Them in the Pan
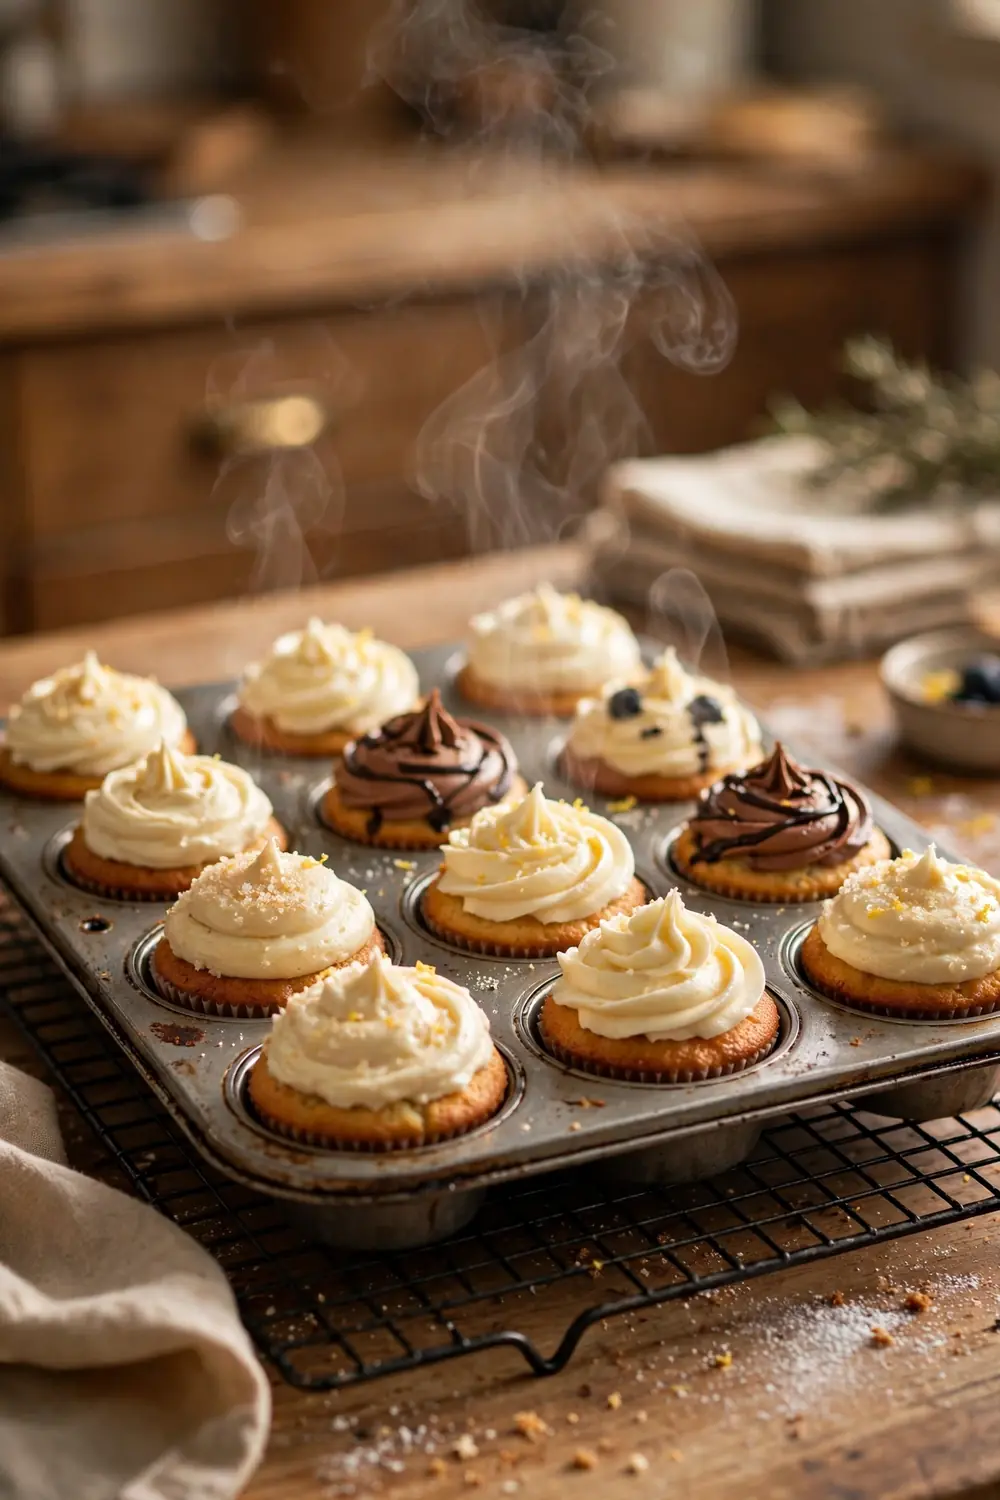
Do This:
- Leave the pan on a rack for ten minutes after baking.
- Keep the pan level, so the cupcakes cool even.
- Lift the cupcakes out only after the short rest.
Avoid This:
- Do not peel a hot cupcake, since the soft cake tears fast.
- Do not leave the cupcakes in the pan for an hour, since steam builds up.
- Do not tilt the pan, since it cools the cupcakes uneven.
Cooling in the pan lets the cake firm up before you peel it. A hot cupcake tears fast, and the liner sticks tight. Leave the pan on a rack for ten minutes, then lift them out. A short rest keeps the cupcake smooth, and the peel stays clean.
Cool on a Rack
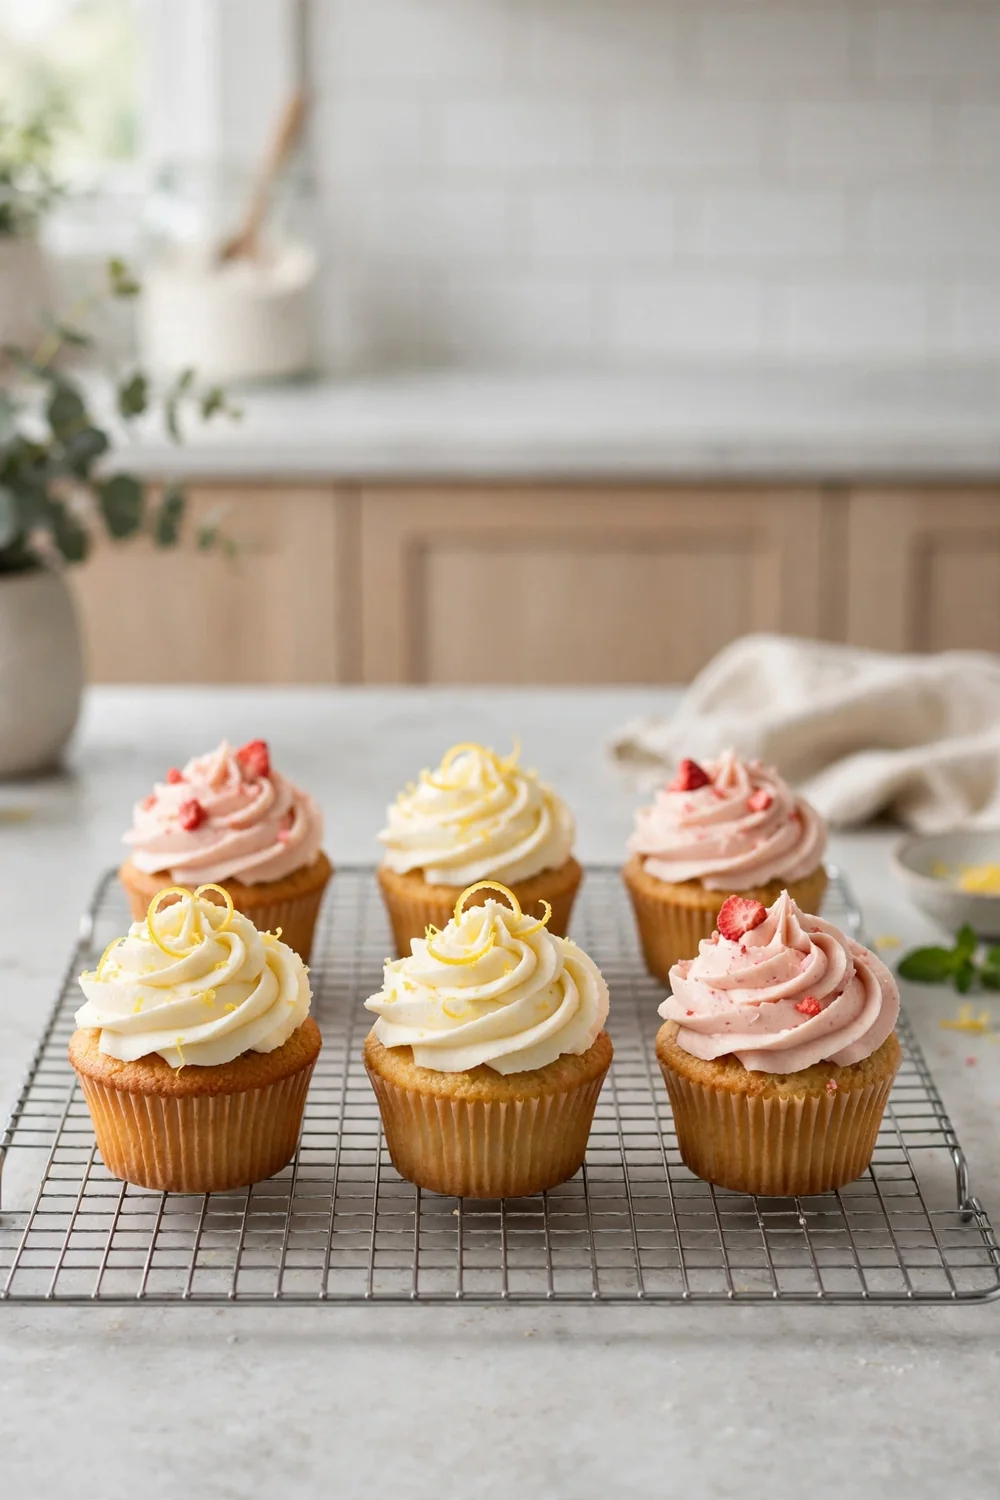
Time Needed: 30 minutes
Difficulty: Easy
Tools Required: Wire rack
Result: Dry cupcakes that peel clean
Cooling on a rack lets air flow under the cupcakes. A pan left on the counter traps steam, and the liners stick fast. Move each cupcake to a wire rack, and space them out. A rack keeps the cupcake dry, and the peel stays clean.
Test One Batch
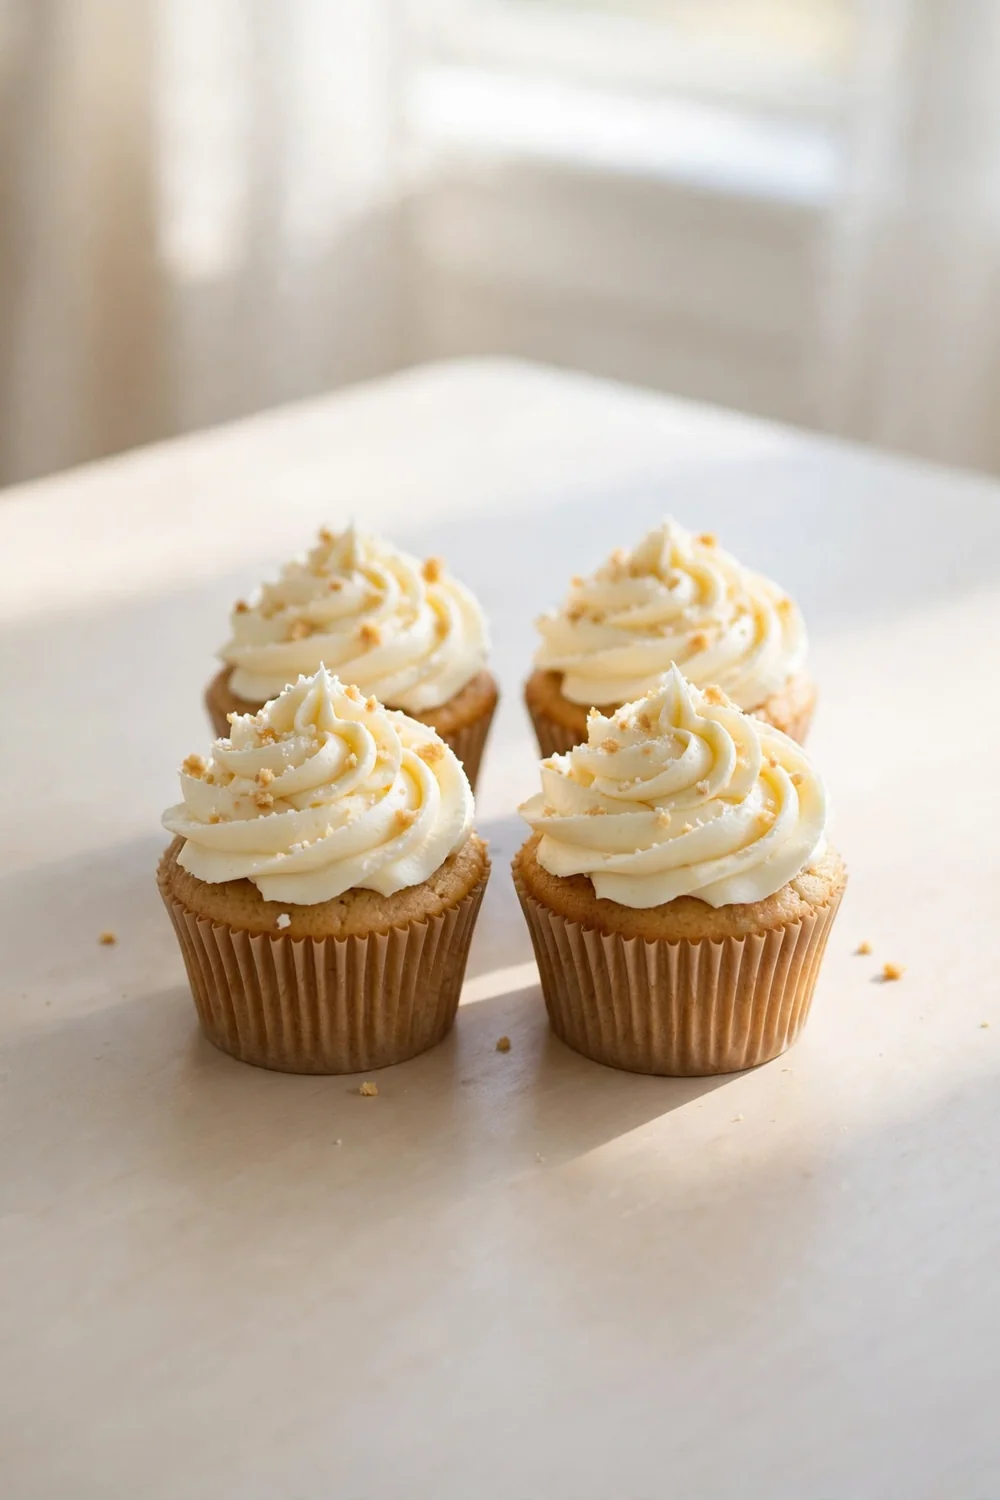
Bake one small batch first, and check the peel before you commit a full batter. A test shows whether the cupcakes need more bake time, better liners, or less fill. One batch costs little, and the answer saves the whole batter. Testing is a habit that pays off every time.
Peel the test cupcake after cooling, and check it for sticking. Bake it longer if it feels damp, and grease the liners if it tears. Bake the rest only when the test peels clean. A quick fix keeps the cupcake smooth, and the peel turns clean.
Common Mistakes to Avoid
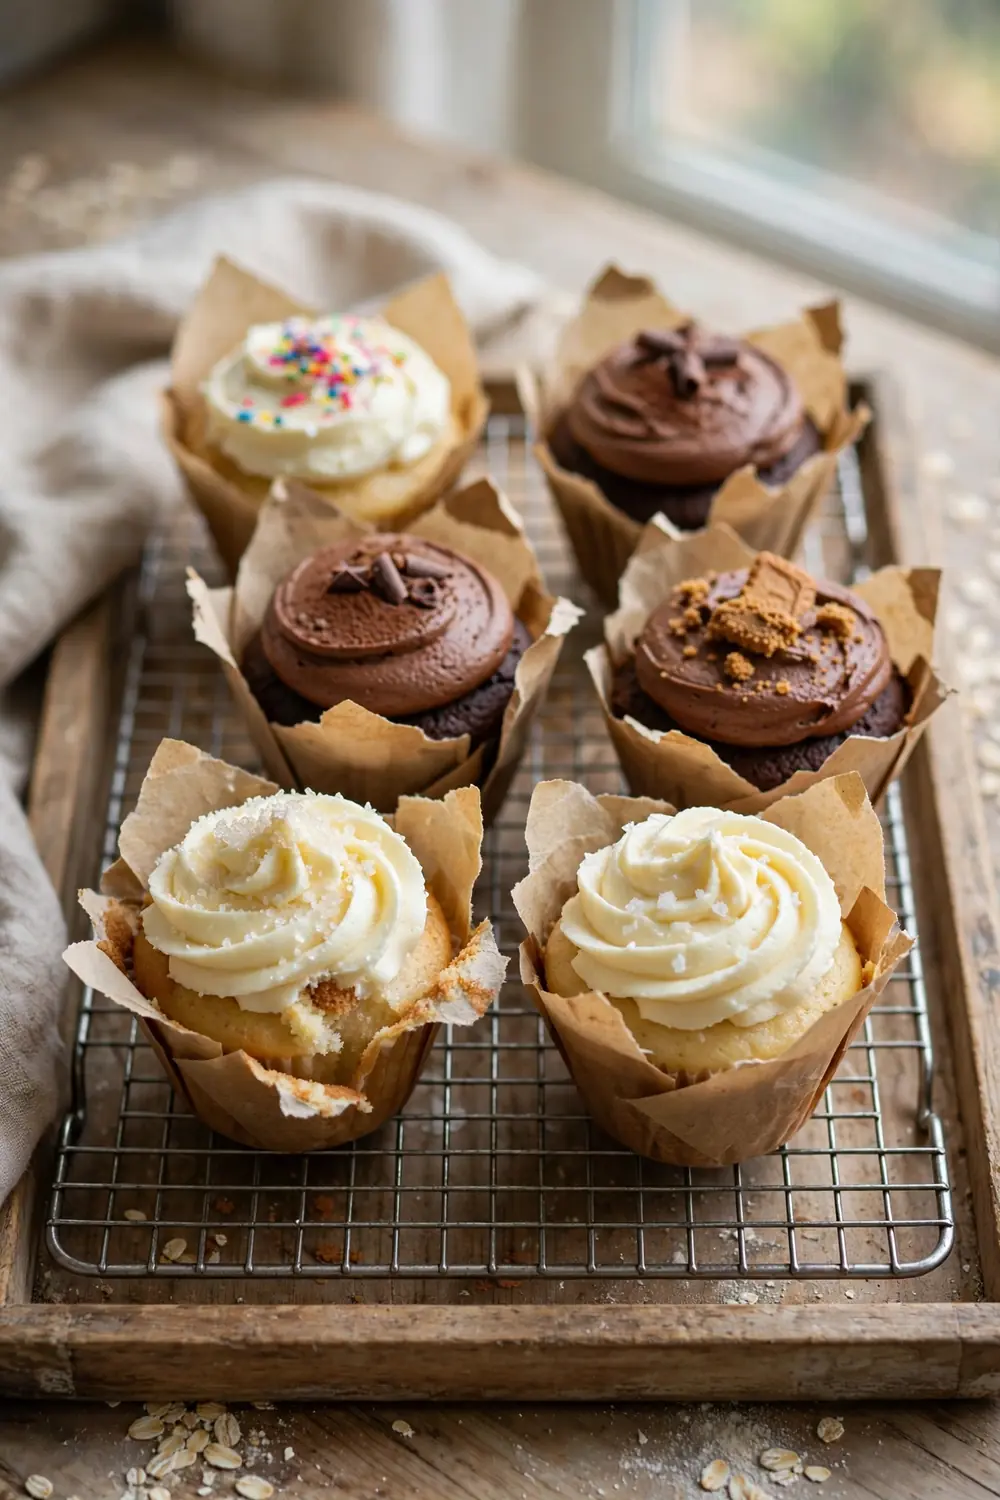
Most stuck trays come from a few repeatable habits, not bad batter. The list below covers the ones I see most often in home kitchens. Fix one habit at a time, starting with cooling and liners. Small fixes stack up fast.
- Do not peel the cupcakes while hot, since the soft cake tears.
- Do not store the cupcakes warm, since trapped steam keeps them damp.
- Do not use cheap thin liners, since they soak and bond to the cake.
- Do not overfill the cups, since spilled batter glues the liner.
What Clean Cupcakes Look Like
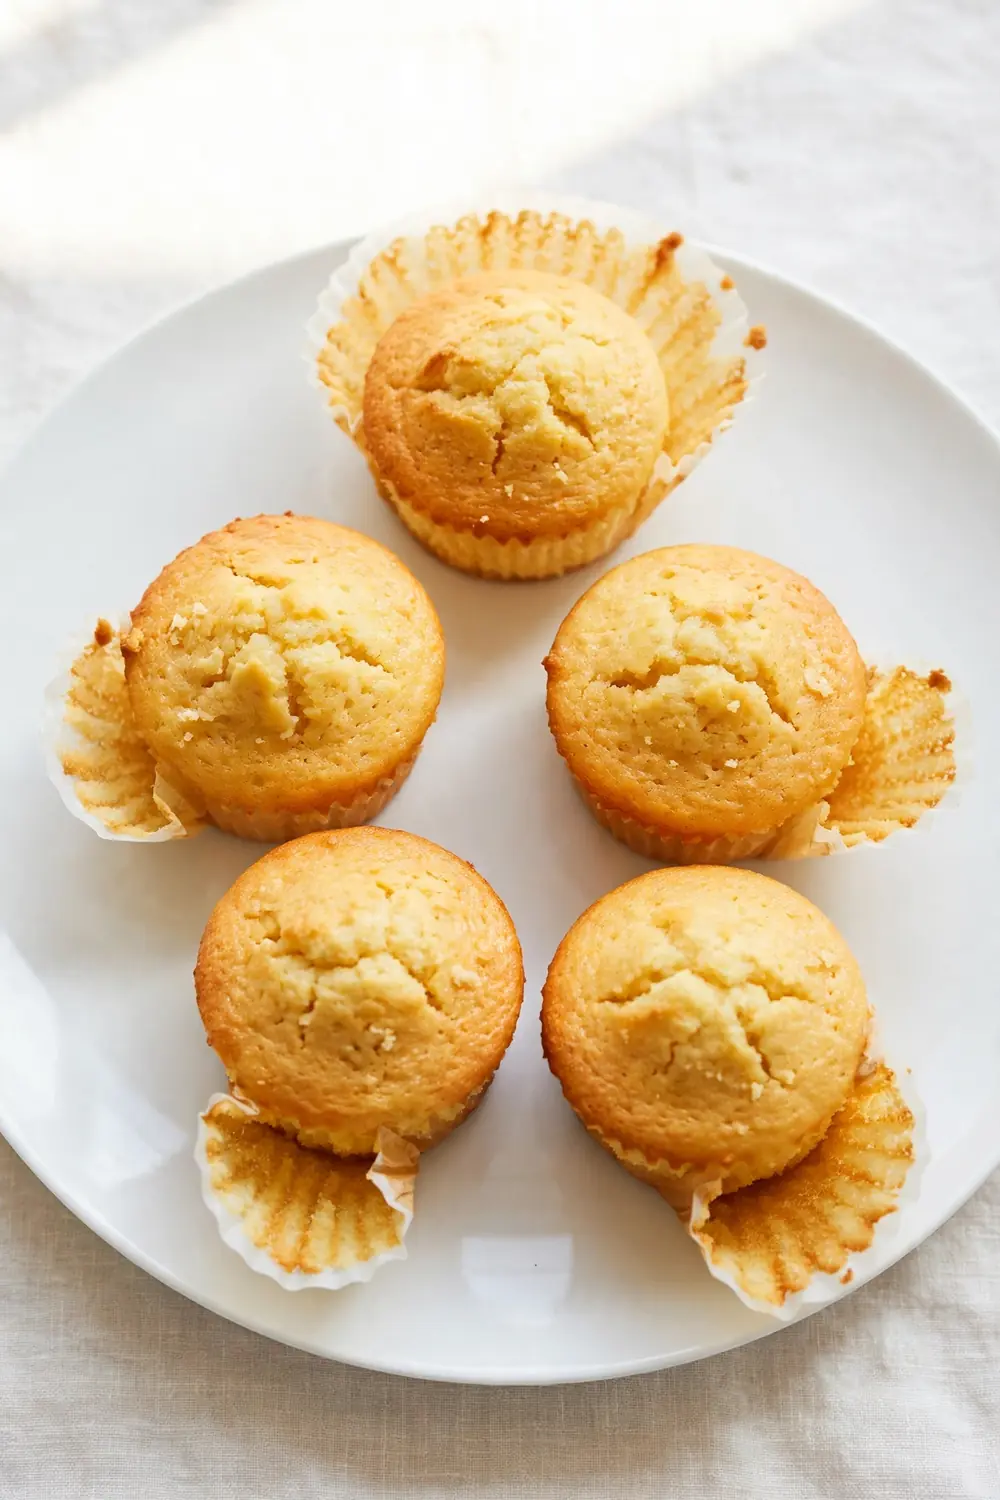
Quick Tip: Judge the peel after the cupcakes cool fully, not while they feel warm. A warm cupcake always clings more than a cooled one. Cool first, then peel.
Clean cupcakes show a smooth side, and the liner peels off in one piece. The cupcake holds its shape, and the paper falls away clean. Clean cupcakes look inviting, and the flavor stays sweet. A good cupcake holds its shape and stays neat. Serve them fresh for the best bite.
Conclusion
Cupcakes sticking to liners are not a sign of bad batter. They come from damp cakes and weak liners. Match the fix to your tray, and the next batch can surprise you.
Light grease, good liners, and full baking each keep the cupcakes neat. Pick the method that fits your kitchen, and the cupcakes peel clean. Small steps keep the cupcakes neat, and the paper falls away clean.
Grease the liners, bake them fully, and cool them on a rack. The cupcakes peel clean. Save this guide for next time. If your muffins also bake flat, read our guide on flat muffin tops for tall, domed muffins at home.
One Comment