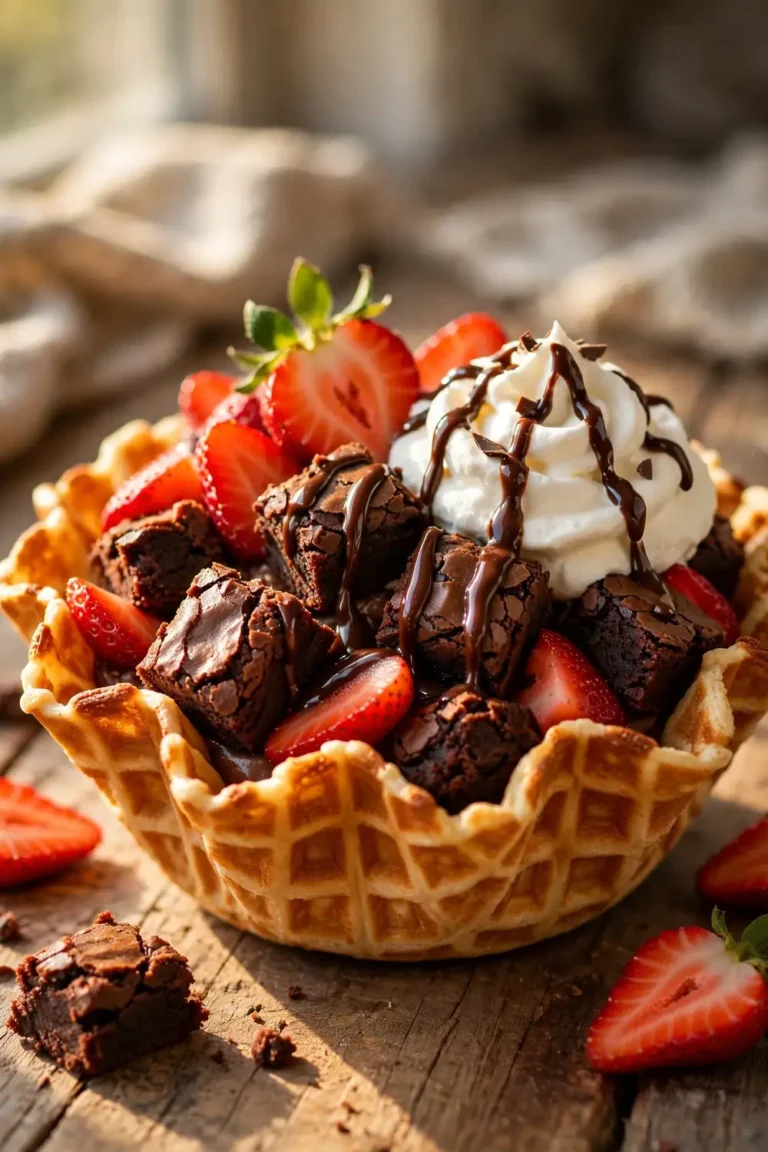
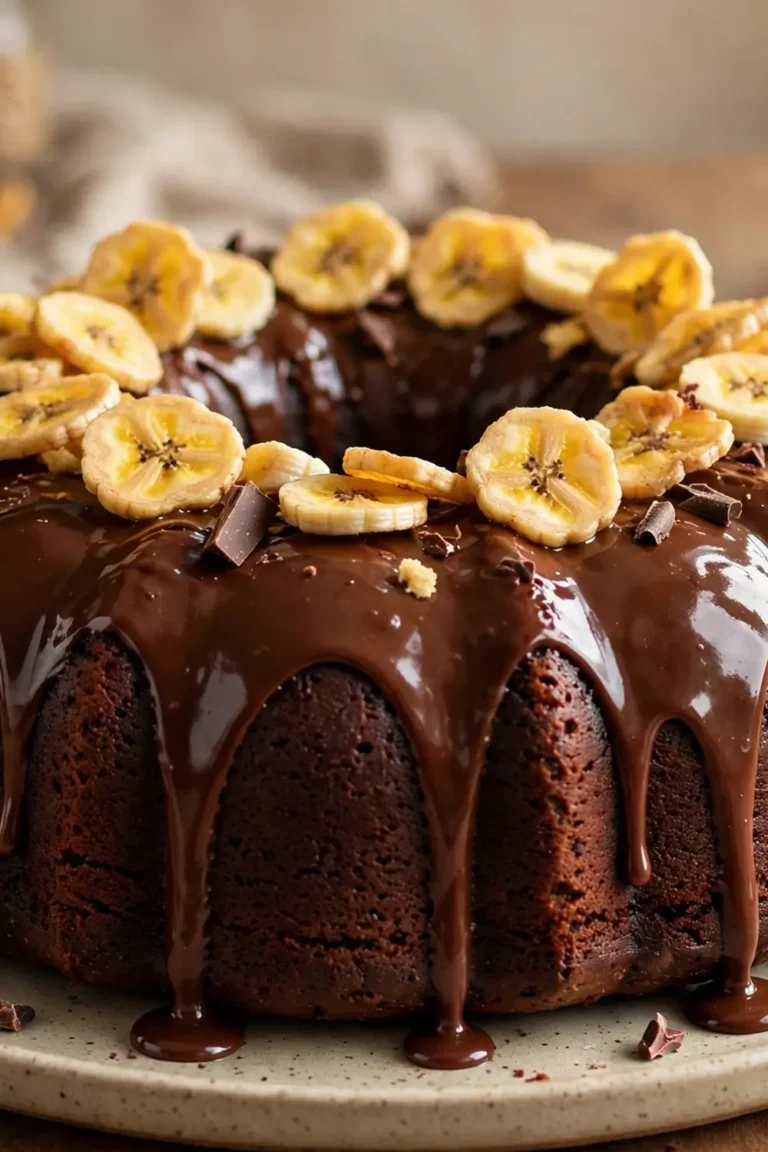
23 Chocolate Cherry Dump Cake Ideas for Easy Dessert Nights
If you love desserts that practically bake themselves, this chocolate cherry dump cake roundup will make your week easier. These easy dessert night ideas layer rich cocoa, sweet dark cherries, and buttery cake mix with almost no prep. In my experience, dump style bakes are the most forgiving treats a busy cook can attempt.
Each idea below takes the same simple concept and gives it a fresh twist for parties, holidays, and quiet evenings. You will find slow cooker versions, crowd sized pans, gluten free swaps, and fun single serve jars. Every variation keeps the ingredient list short and the method easy for weeknight baking.
Grab a box of chocolate cake mix and a couple cans of cherry pie filling to start your baking. Most of these desserts need only four or five ingredients and one pan from start to finish. By the end of this list, you will own a go to recipe for potlucks, holidays, and cozy nights.
Classic Black Forest Style
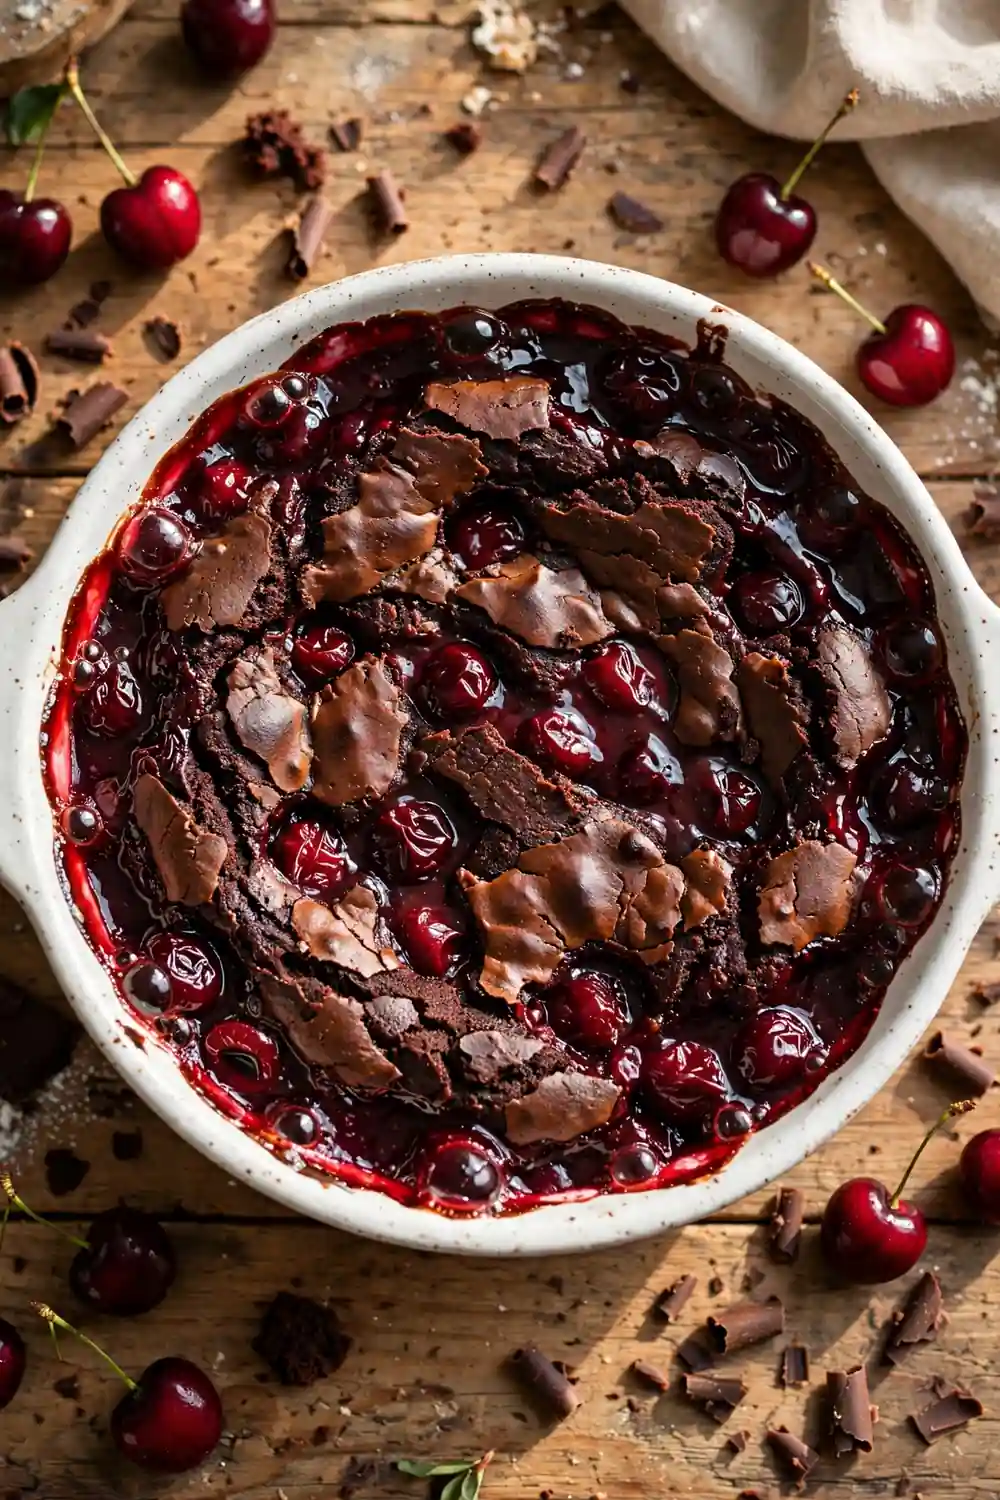
A traditional black forest approach turns this simple bake into something that tastes straight from a bakery case. You layer chocolate cake mix over dark cherry pie filling, dot the top with cold butter, and let the oven do everything else. The result comes out with crisp edges and a gooey center that draws compliments.
Serve each portion warm with a spoonful of whipped cream and a few fresh cherries on top. The contrast between the hot cake and the cool cream is what makes people reach for seconds. I have noticed that letting it rest ten minutes before serving helps the layers set beautifully.
Slow Cooker Cherry Bliss
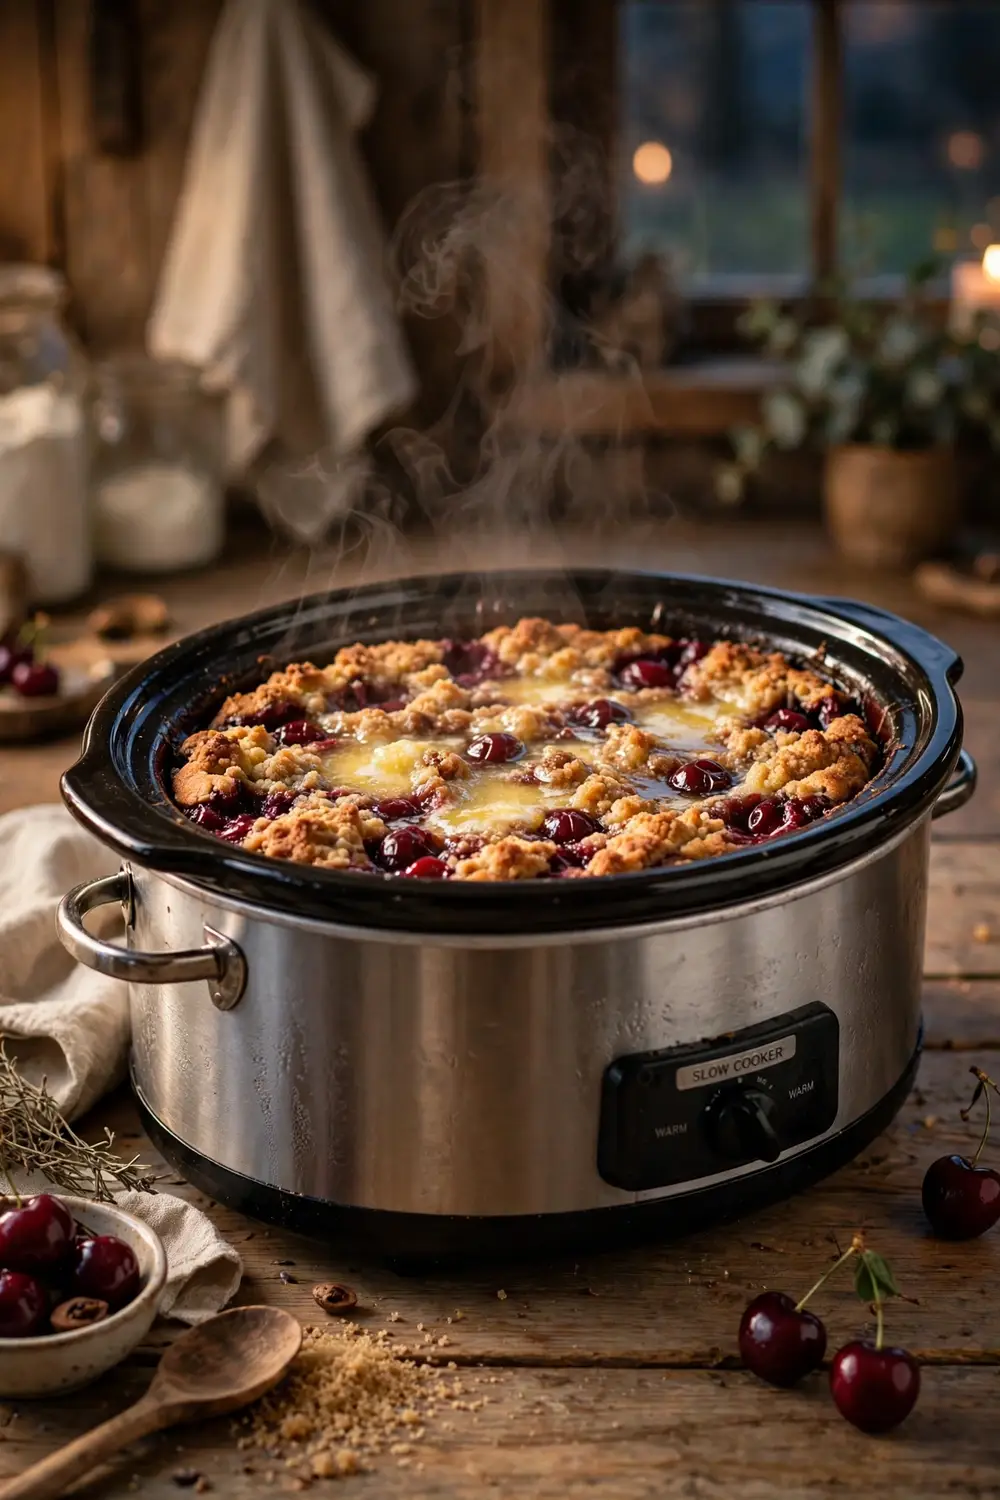
- Spray the inside of your slow cooker with cooking spray so the sticky cherry filling releases easily after hours of gentle heat.
- Spread cherry pie filling across the bottom, then sprinkle dry chocolate cake mix evenly over the fruit without stirring the layers.
- Dot thin slices of cold butter across the dry mix, cover, and cook on high for two hours until the top looks set.
- Spoon into bowls while warm and add vanilla ice cream for a comforting dessert that tastes like it took all day.
The slow cooker method keeps your oven free for dinner while dessert quietly takes care of itself in the background. This approach works perfectly for parties because the warm setting holds everything at serving temperature. Guests can help themselves whenever they are ready for something sweet and comforting.
Gluten Free Simplicity
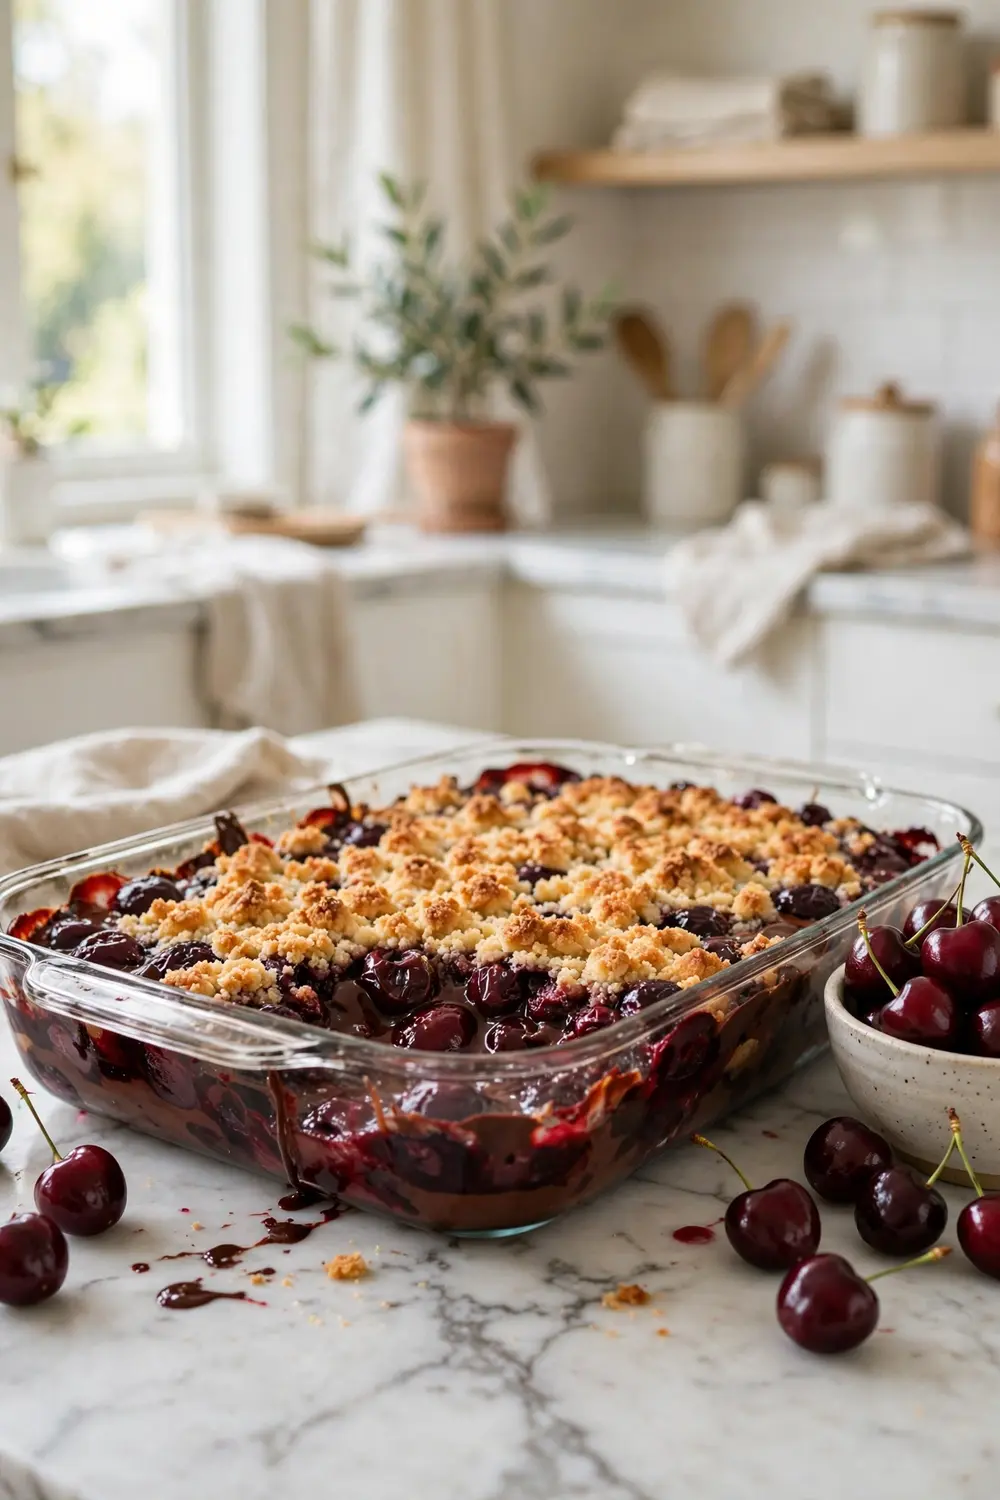
Quick Tip: Use a certified gluten free chocolate cake mix and check that your cherry pie filling is labeled gluten free as well. The method stays exactly the same, so nobody at the table will guess this version fits a gluten free diet.
Family members with dietary needs deserve the same easy desserts everyone else enjoys on busy weeknights. This simple swap proves that small ingredient changes can keep family traditions alive without extra work in the kitchen. Keep a gluten free mix in the pantry so you are always ready for guests.
Double Fudge Layers
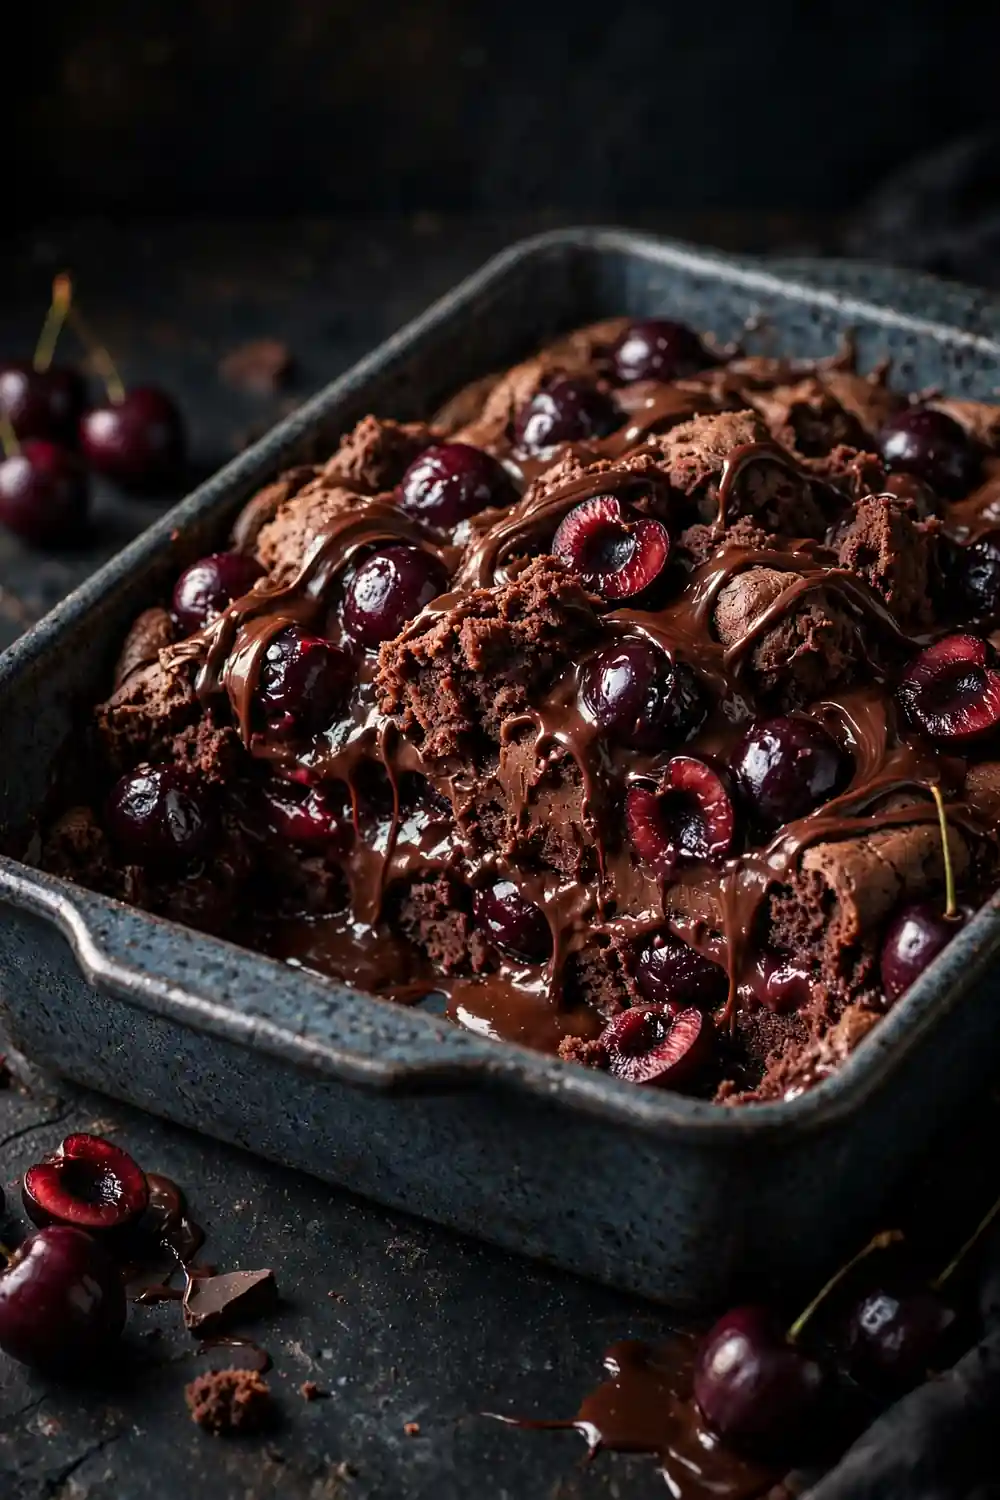
BEFORE: A standard dump cake can taste a little one note when the chocolate flavor stays mild and the cherry filling dominates every single bite. The texture is pleasant enough, but it rarely satisfies a serious chocolate craving on its own merits after a long day.
AFTER: Adding a layer of fudge sauce between the cherries and the cake mix creates deep, rich pockets of chocolate in every serving. The finished dessert tastes truly decadent and bakery worthy with almost no additional effort from the cook, which makes it perfect for busy hosts.
Warm the fudge sauce slightly so it spreads easily over the cherry layer before you add the dry mix on top. This small step takes two extra minutes and completely changes the finished dessert. Chocolate lovers will ask for this version by name at every gathering.
Vanilla Bean Pairing
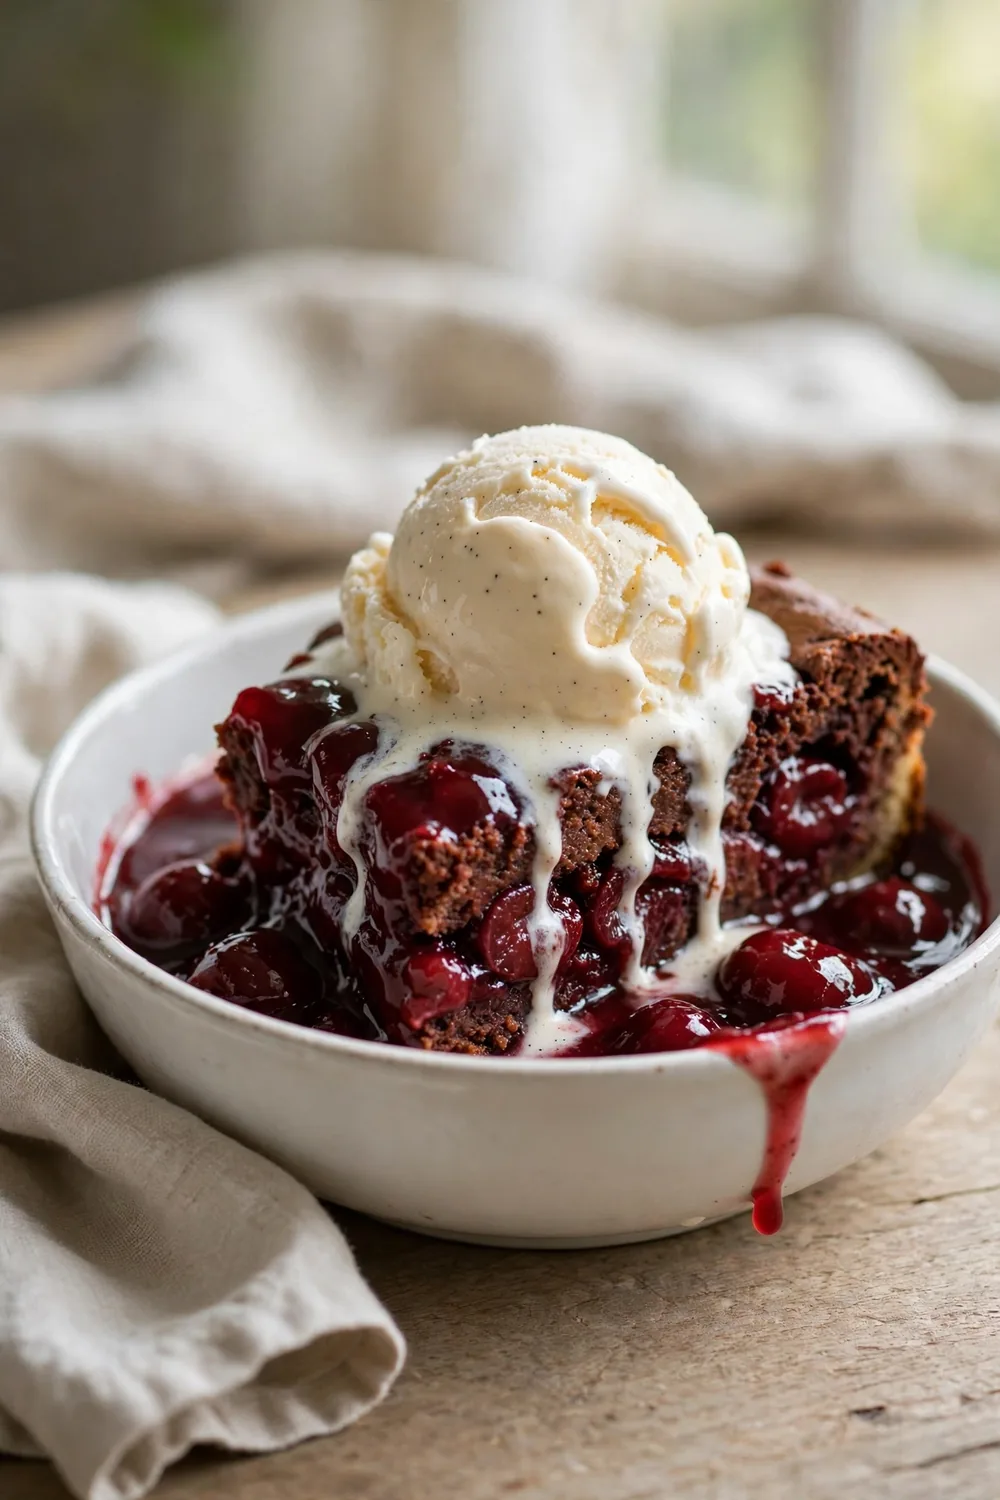
- Bake the dessert as usual until the top is golden and the cherry filling bubbles around the edges of the pan.
- Let the pan cool for ten minutes so the layers firm up enough to scoop clean portions.
- Scoop generous servings into bowls while the cake is still warm from the oven.
- Top each bowl with a scoop of real vanilla bean ice cream and serve right away.
The cold ice cream melting into the warm cake creates a sauce that ties every single bite together beautifully. Real vanilla bean adds tiny specks of flavor that plain vanilla simply cannot match. This classic pairing turns a humble pantry dessert into a memorable event.
Toasted Pecan Crunch
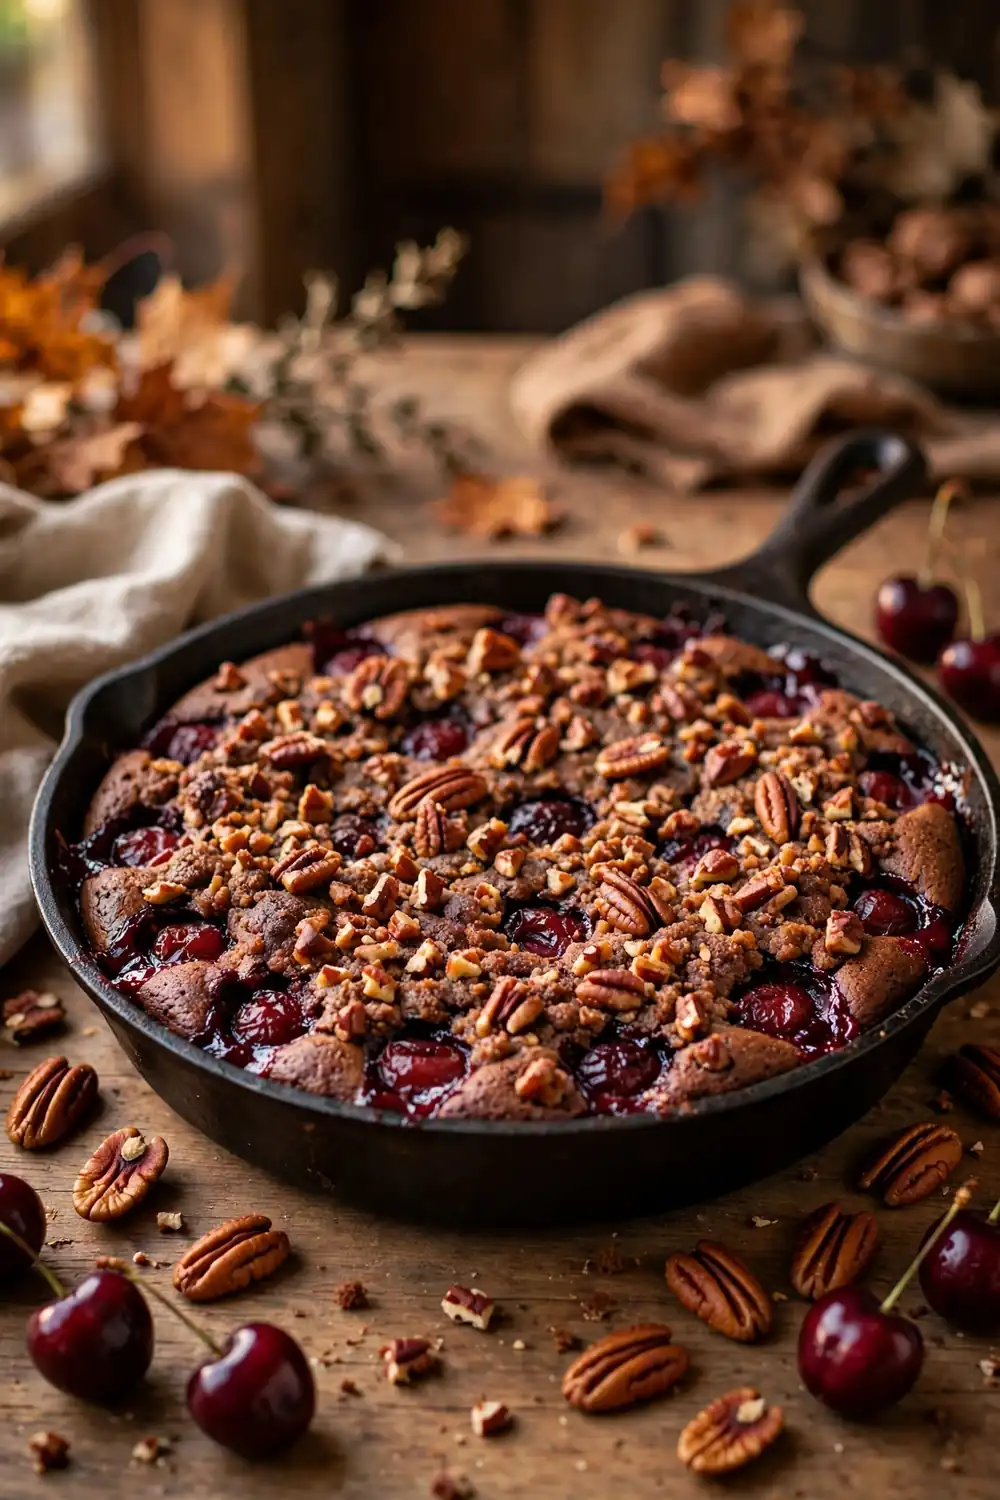
| Feature | Plain Version | Pecan Crunch Version |
|---|---|---|
| Texture | Soft and uniform | Crisp nutty topping |
| Flavor depth | Sweet and simple | Toasty and complex |
| Prep time | Five minutes | Eight minutes |
| Crowd appeal | Kid friendly | Adult dinner parties |
Toast the pecans in a dry skillet for three minutes before scattering them over the butter layer on top. The heat wakes up their natural oils and adds a crunch that contrasts the soft cake beneath. Skip this step only if nut allergies are a concern for your guests.
Campfire Dutch Oven

DO: Line your Dutch oven with parchment for easy lifting and faster cleanup after the fire dies down. DO: Use about twice as many coals on the lid as underneath for even baking. DO: Rotate the oven every fifteen minutes. DO: Check for bubbling edges before serving.
DON’T: Skip the parchment or the sugary filling will weld itself to the cast iron permanently. DON’T: Use too many bottom coals or the fruit layer will scorch before the top sets. DON’T: Lift the lid constantly since precious heat escapes fast. DON’T: Forget long mitts for safe handling.
Camping desserts feel magical because the fire adds a faint smokiness that no kitchen oven can copy. Kids love watching the coals glow while dessert bakes nearby in the Dutch oven. Bring extra spoons because neighboring campers always wander over when they smell melting chocolate.
Mini Mason Jars
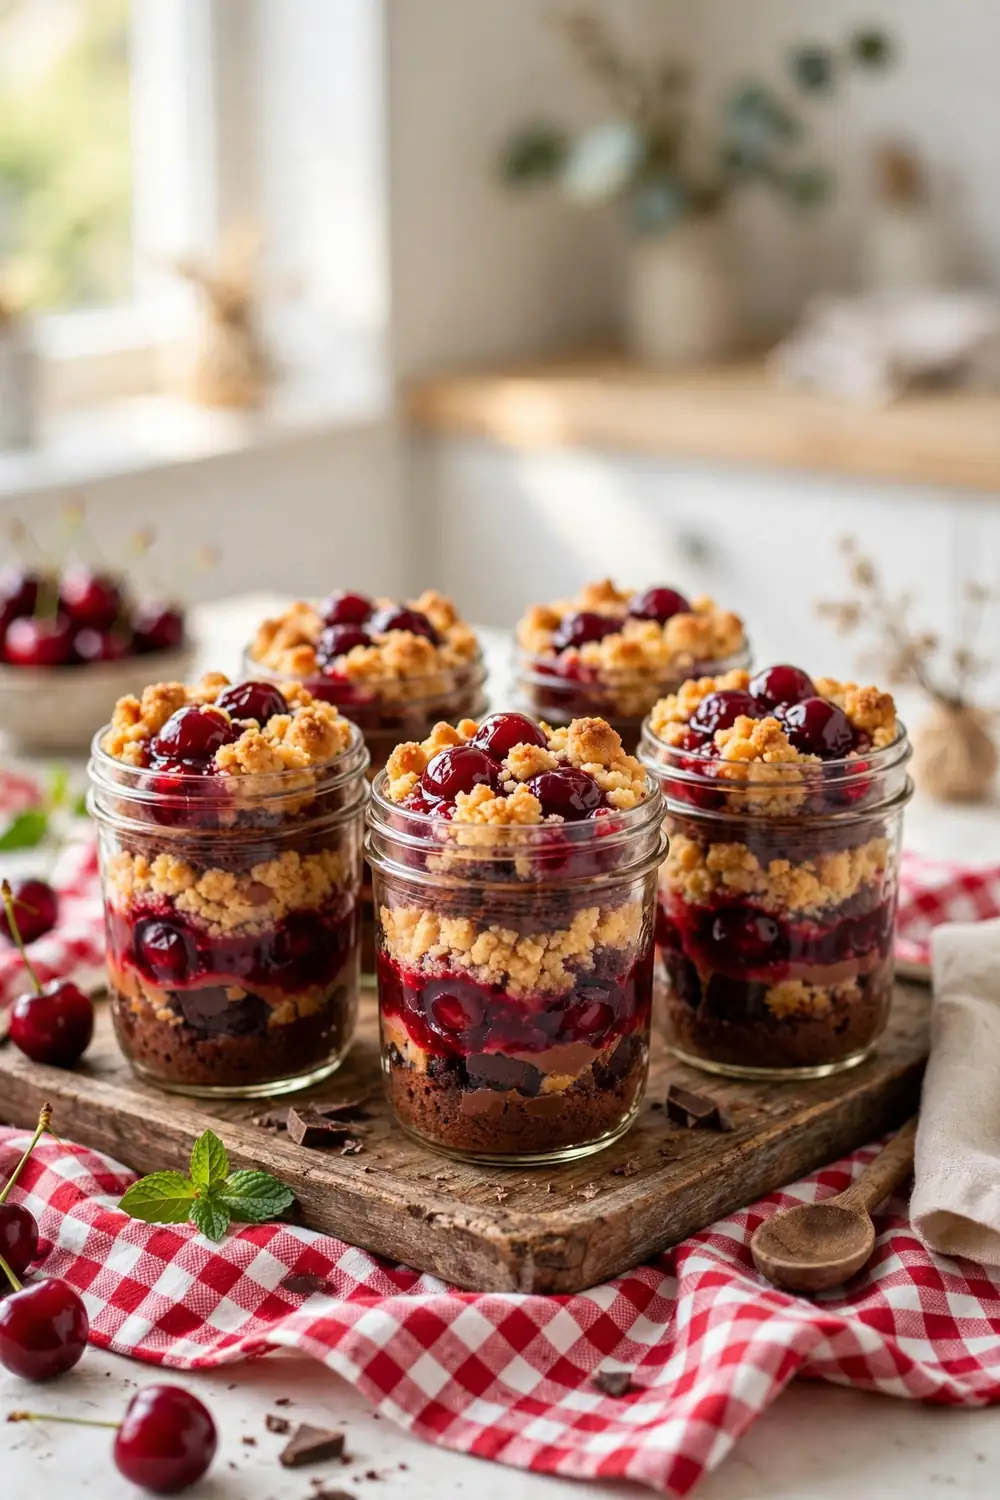
Cost: Low | Time: Thirty minutes | Skill Level: Beginner | Best For: Parties and gifts
Layer the ingredients directly in oven safe mason jars instead of one large pan for adorable single servings. Fill each jar halfway with cherry filling, add cake mix and butter, then bake until golden. Guests get their own portion with zero slicing or serving fuss.
These jars travel well to picnics and potlucks because the lids keep everything contained and warm during transport. Tie a ribbon around each jar for an instant party favor guests will love. I have seen this cute presentation disappear faster than any sheet cake at gatherings.
Pie Filling Upgrade
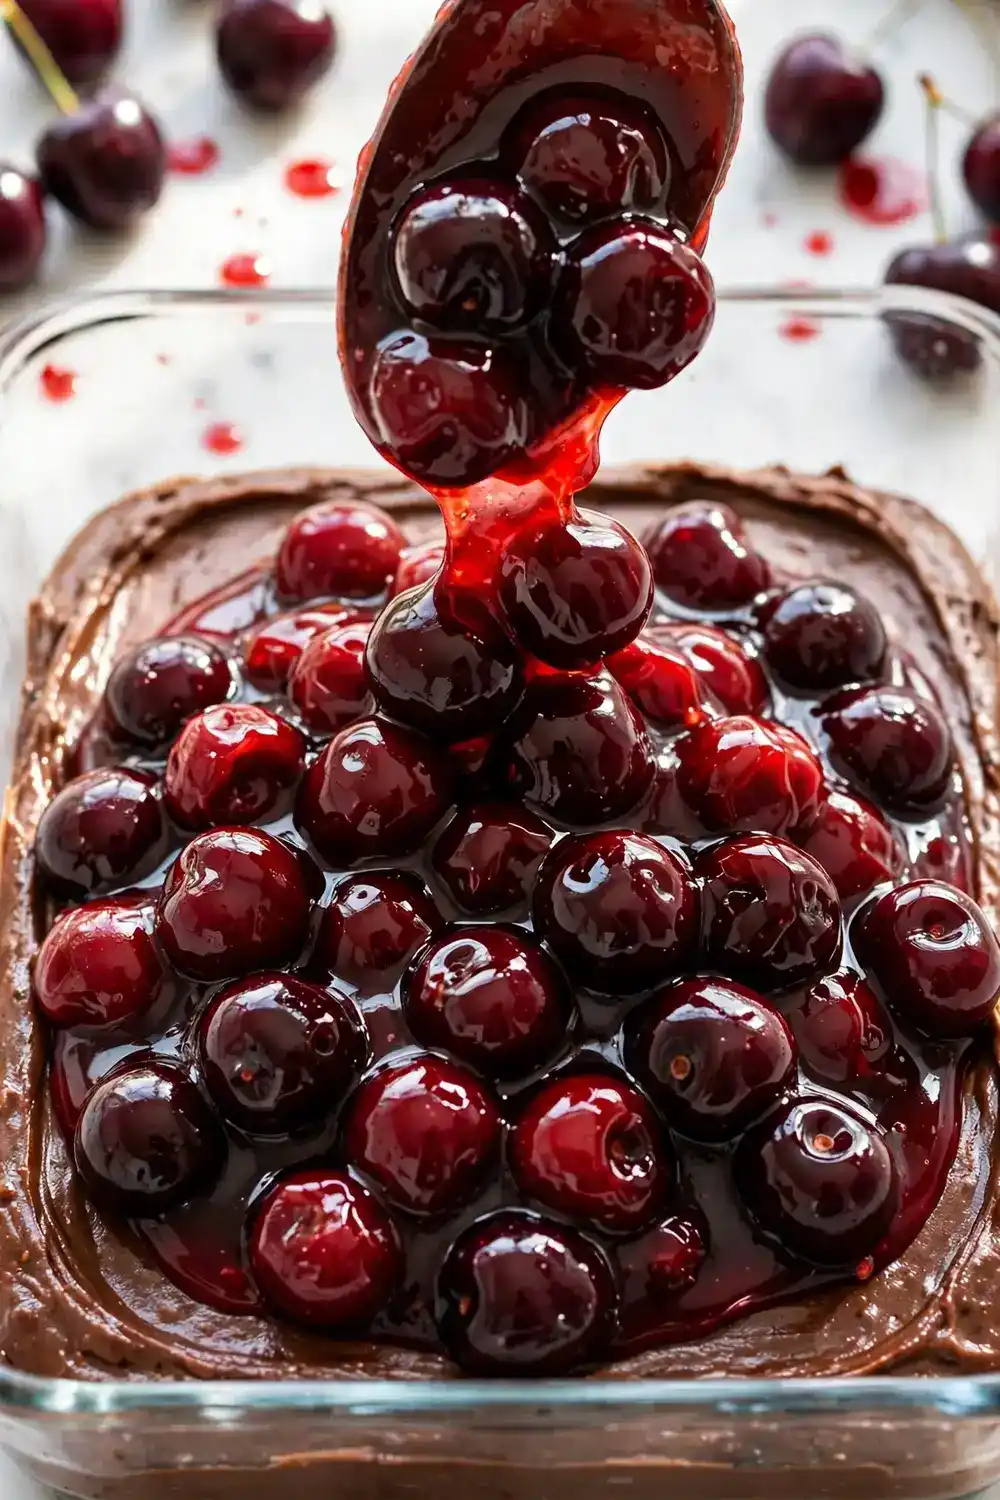
Not all canned cherry fillings taste the same, and the brand you choose shapes the final dessert. Premium fillings pack more whole cherries and less syrupy gel, which gives each bite better texture. Taste a spoonful from the can before you commit to a double batch.
A quick upgrade trick is stirring a spoonful of almond extract into budget filling before layering it in the pan. The almond notes make canned cherries taste remarkably closer to fresh ones. This tiny addition costs almost nothing and improves the entire pan noticeably for guests.
Bourbon Soaked Cherries
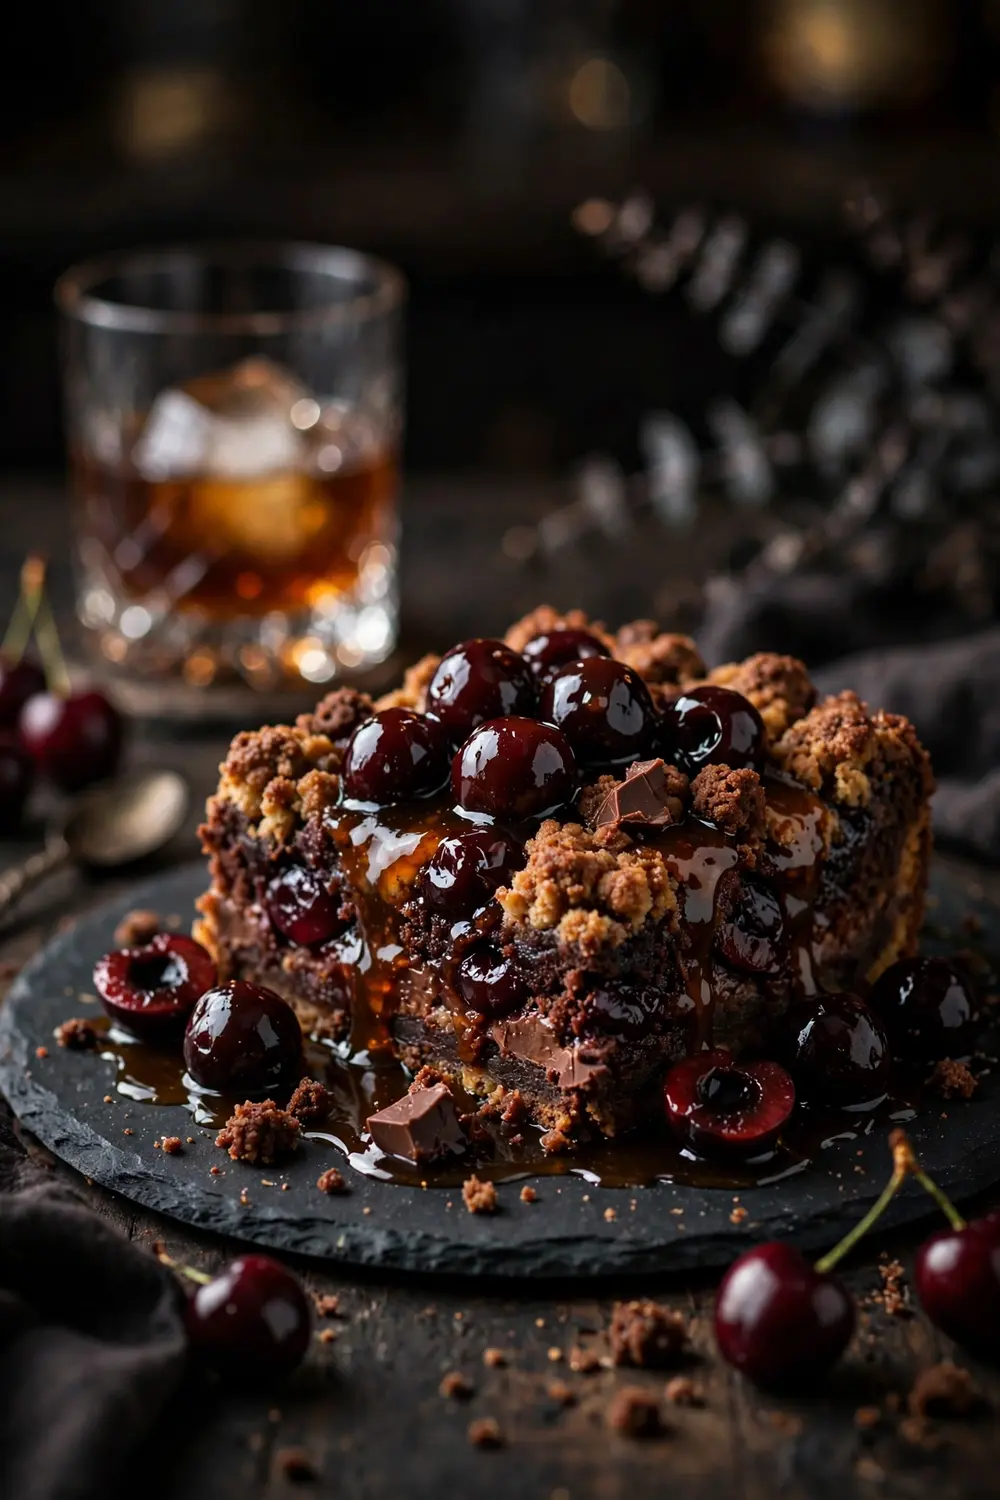
- Drain one can of cherry pie filling slightly, then stir in two tablespoons of bourbon for a grown up flavor twist.
- Let the mixture sit for twenty minutes so the fruit absorbs the warm caramel notes from the bourbon.
- Layer as usual with chocolate cake mix and butter, then bake until the top turns crisp and golden brown.
- Serve in small portions since the rich flavor is intense, and add whipped cream to mellow each bite.
- Keep this version clearly labeled at parties so guests know it contains alcohol before they dig in.
The bourbon bakes off mostly, leaving behind deep vanilla and oak notes that pair beautifully with dark chocolate layers. This is the version I bring to adult dinner parties when I want something truly memorable. One pan of this rich dessert always sparks lively conversation.
White Chocolate Drizzle
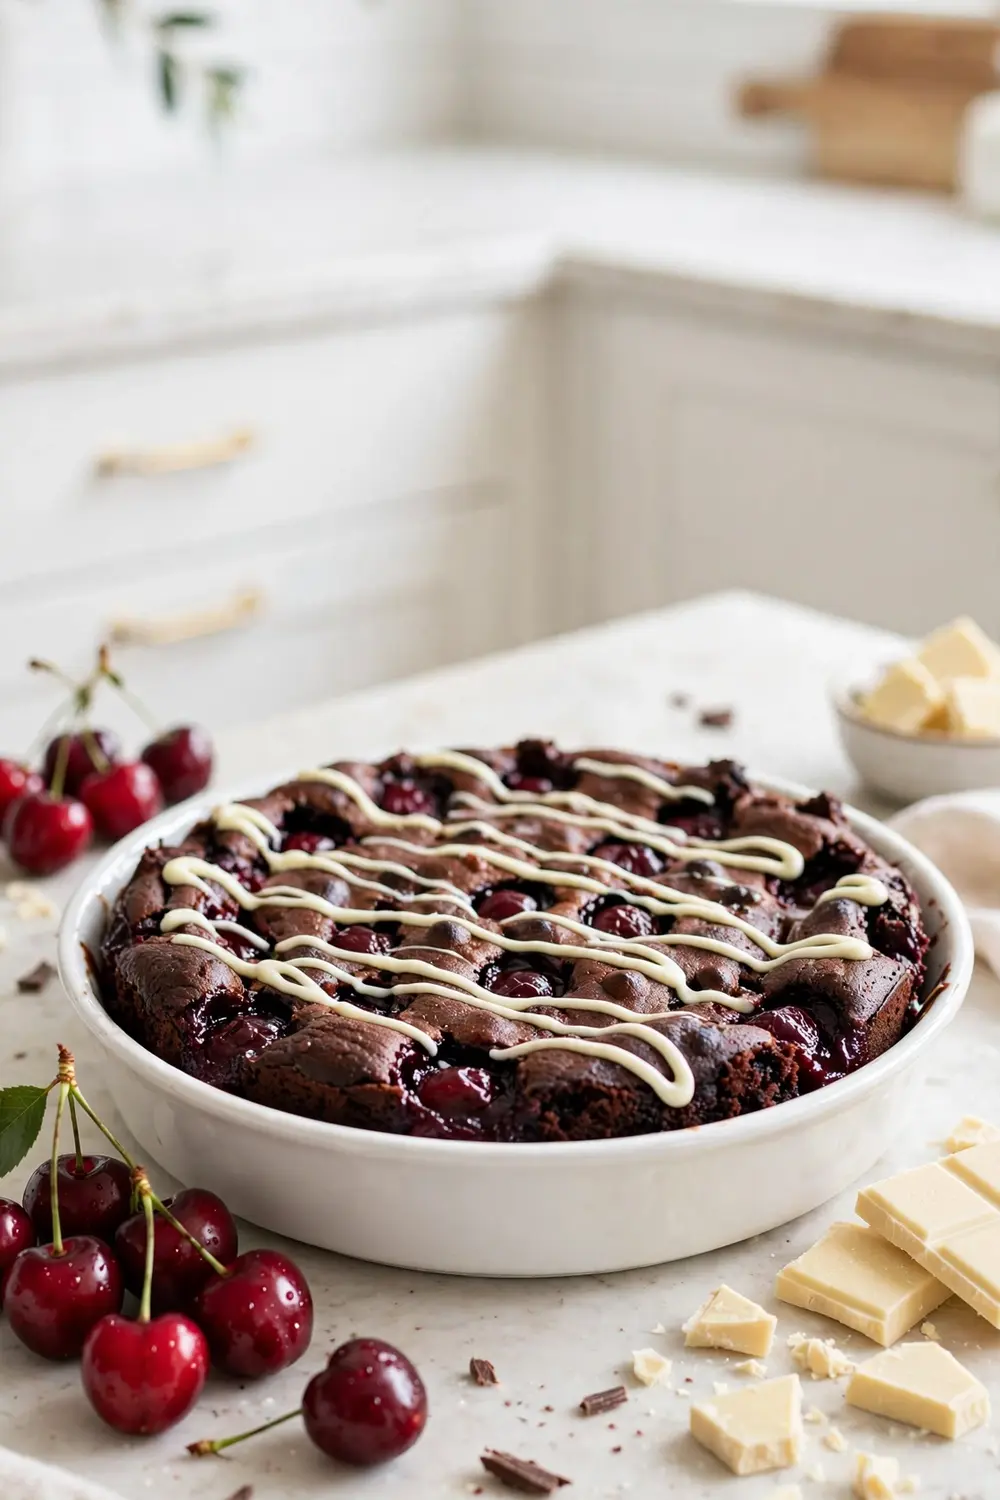
Quick Tip: Melt white chocolate chips with a teaspoon of coconut oil for a smooth drizzle that sets with a pretty sheen. Pour it into a zip bag, snip the corner, and zigzag over the cooled dessert.
White chocolate adds creamy sweetness that balances the tart cherries in every single bite you take. Apply the drizzle after the dessert cools slightly so it does not melt into the warm surface. This simple finishing touch makes a humble dump cake look professionally bakery made.
Coconut Cherry Twist
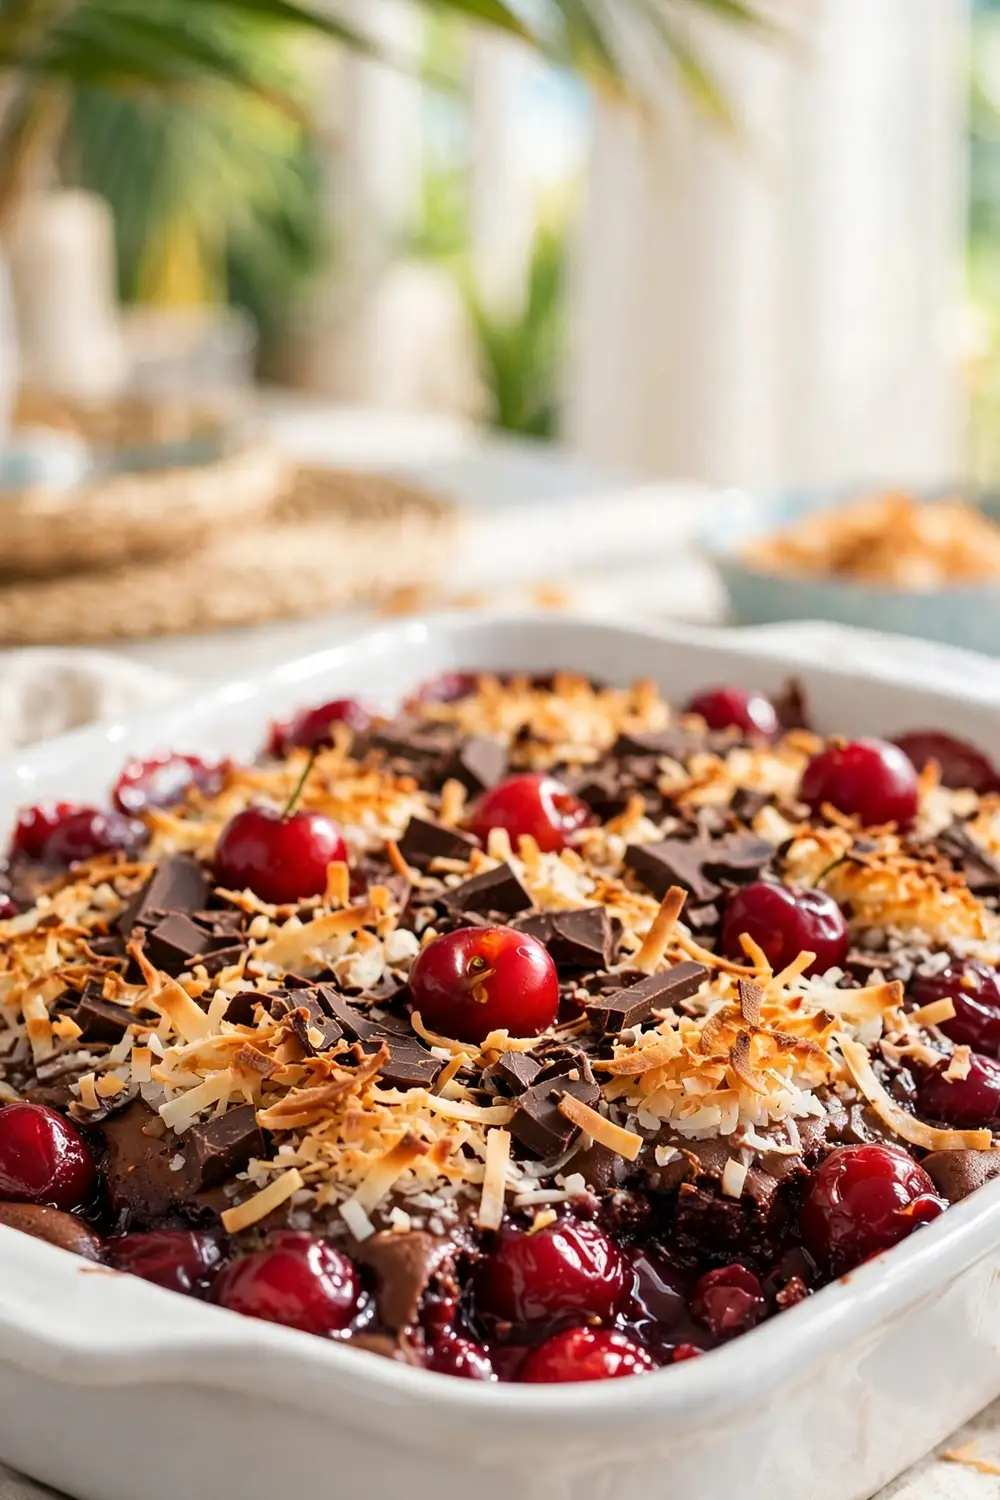
BEFORE: The standard recipe leans heavily on chocolate and cherry, which tastes wonderful but familiar to anyone who has tried it many times before. The flavor profile stays safe and predictable across every single serving you dish out to family and friends on busy weeknights.
AFTER: A handful of sweetened shredded coconut scattered over the cake mix adds tropical chew and toasty golden edges. The coconut browns beautifully in the oven and brings a completely new dimension that surprises first time tasters every time they try a warm delightful spoonful.
Toast half the coconut in a skillet first for deeper flavor, then mix it with the untoasted portion before topping. This combination gives you both chewy and crisp textures in one delicious topping. Coconut fans will claim this version as their favorite immediately at the party.
Holiday Party Pan
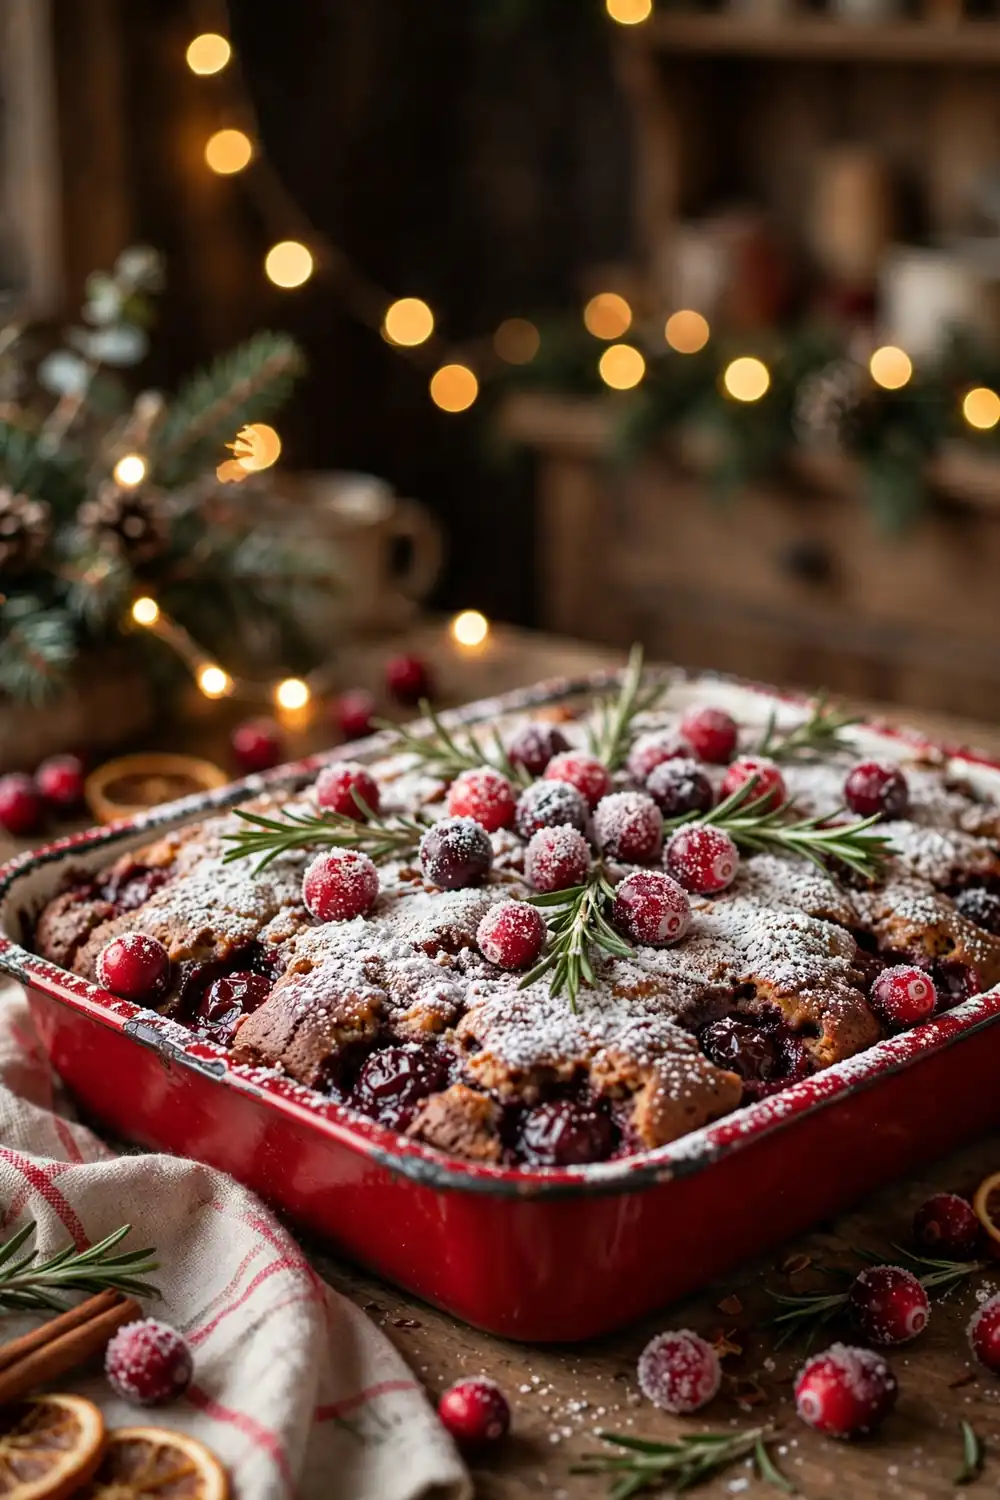
- Choose a festive 9 by 13 pan and line it with parchment so the dessert lifts out for clean holiday slices.
- Layer cherry filling, chocolate cake mix, and butter exactly as usual, then bake until bubbling at the edges.
- Cool completely, then dust the top lightly with powdered sugar for a snowy holiday look.
- Add sugared cranberries and rosemary sprigs around the edges just before serving for color.
- Cut into small squares since holiday spreads already offer plenty of rich food for guests.
A dessert table feels complete when something chocolate sits beside the cookies and pies during the holidays. This pan feeds a crowd for very little money, which matters during expensive holiday seasons. Make it the night before and reheat gently before guests arrive at the door.
Crushed Oreo Base
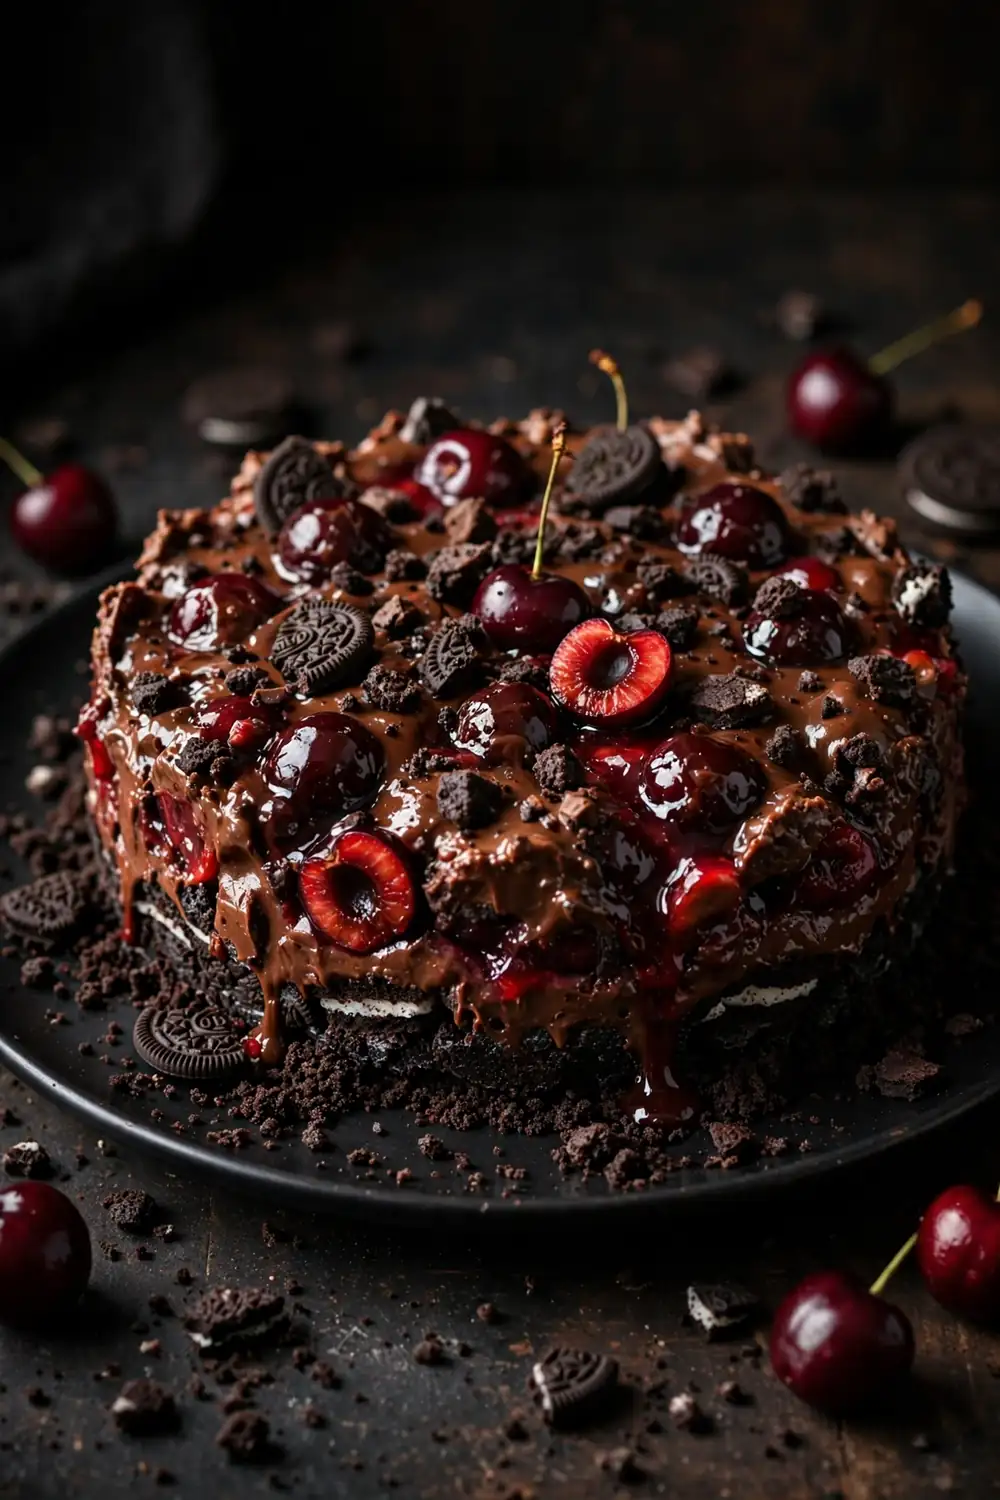
| Feature | No Crust | Oreo Base |
|---|---|---|
| Bottom texture | Soft fruit layer | Crunchy cookie crust |
| Chocolate intensity | Moderate | Extra rich |
| Extra prep | None | Five minutes |
| Kid appeal | High | Off the charts |
Press crushed Oreos mixed with melted butter into the pan before adding the cherry filling on top. The cookie layer bakes into a firm base that holds each slice together neatly for serving. This version eats more like a bar dessert than a spoonable cobbler.
Lazy Sunday Baking
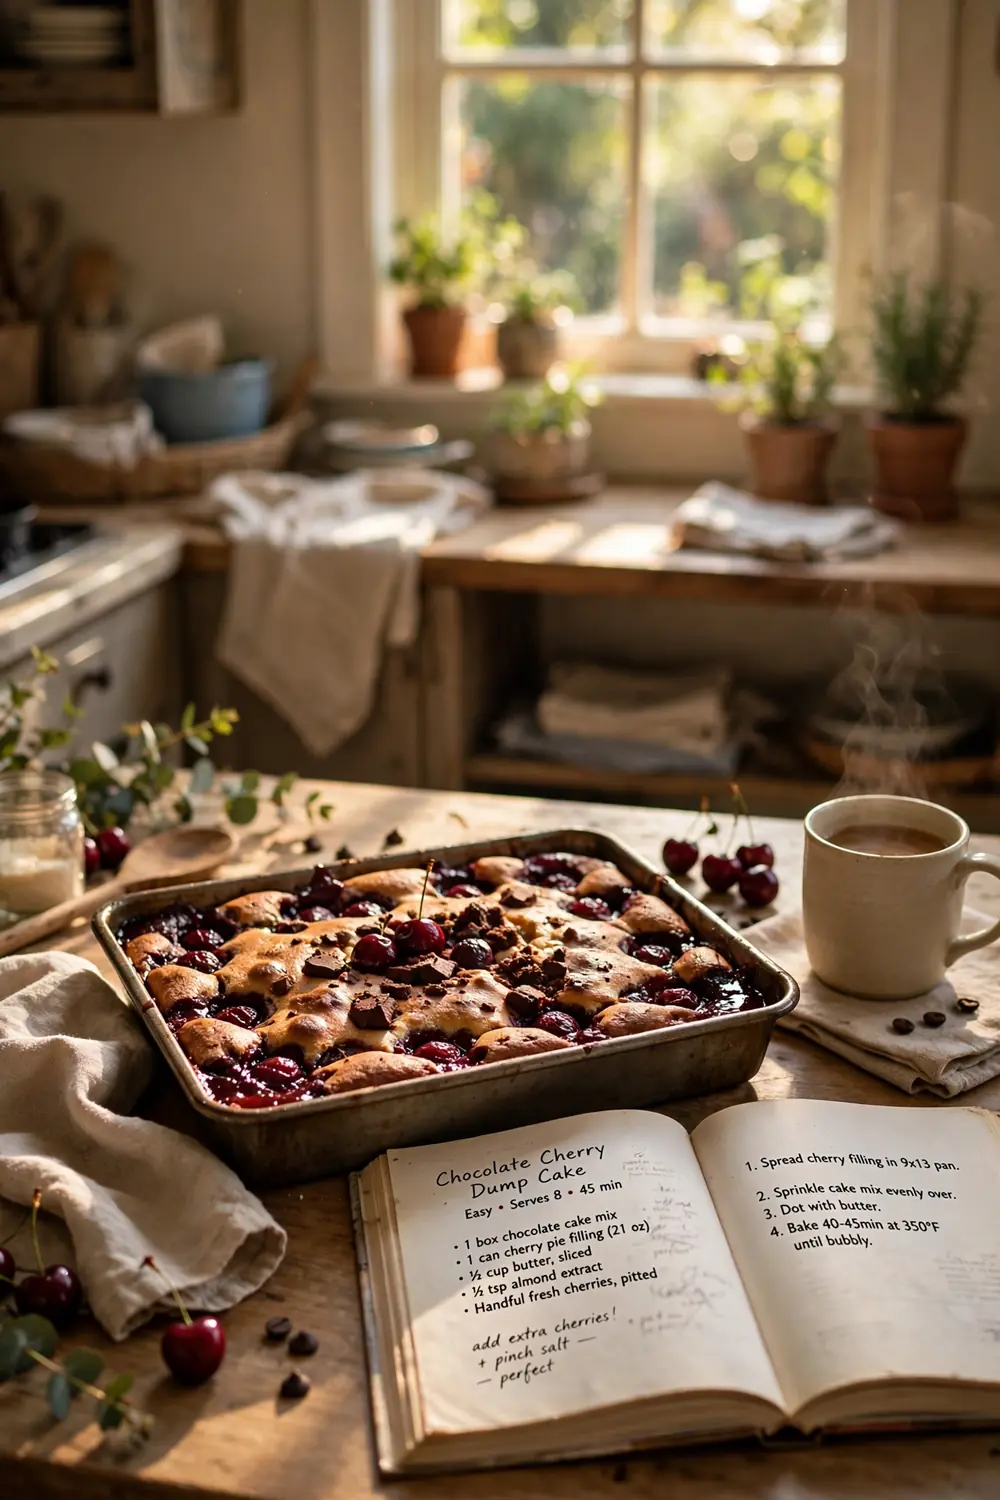
DO: Keep cake mix and cherry filling stocked so this dessert is always ten minutes away from the oven. DO: Use a glass pan to watch the edges bubble as it bakes. DO: Set a timer and walk away confidently. DO: Serve straight from the pan for zero dishes.
DON’T: Overthink the layering because precision does not matter here at all for the final result. DON’T: Open the oven early since the top needs steady heat to crisp properly. DON’T: Skip the resting time or servings will fall apart when scooped. DON’T: Stress about perfect slices ever.
Sunday afternoons were made for desserts that bake while you relax with a good book nearby. The whole house fills with the smell of chocolate and cherries within twenty minutes of baking. That wonderful aroma alone makes the lazy approach completely worth it every single time.
Salted Caramel Swirl
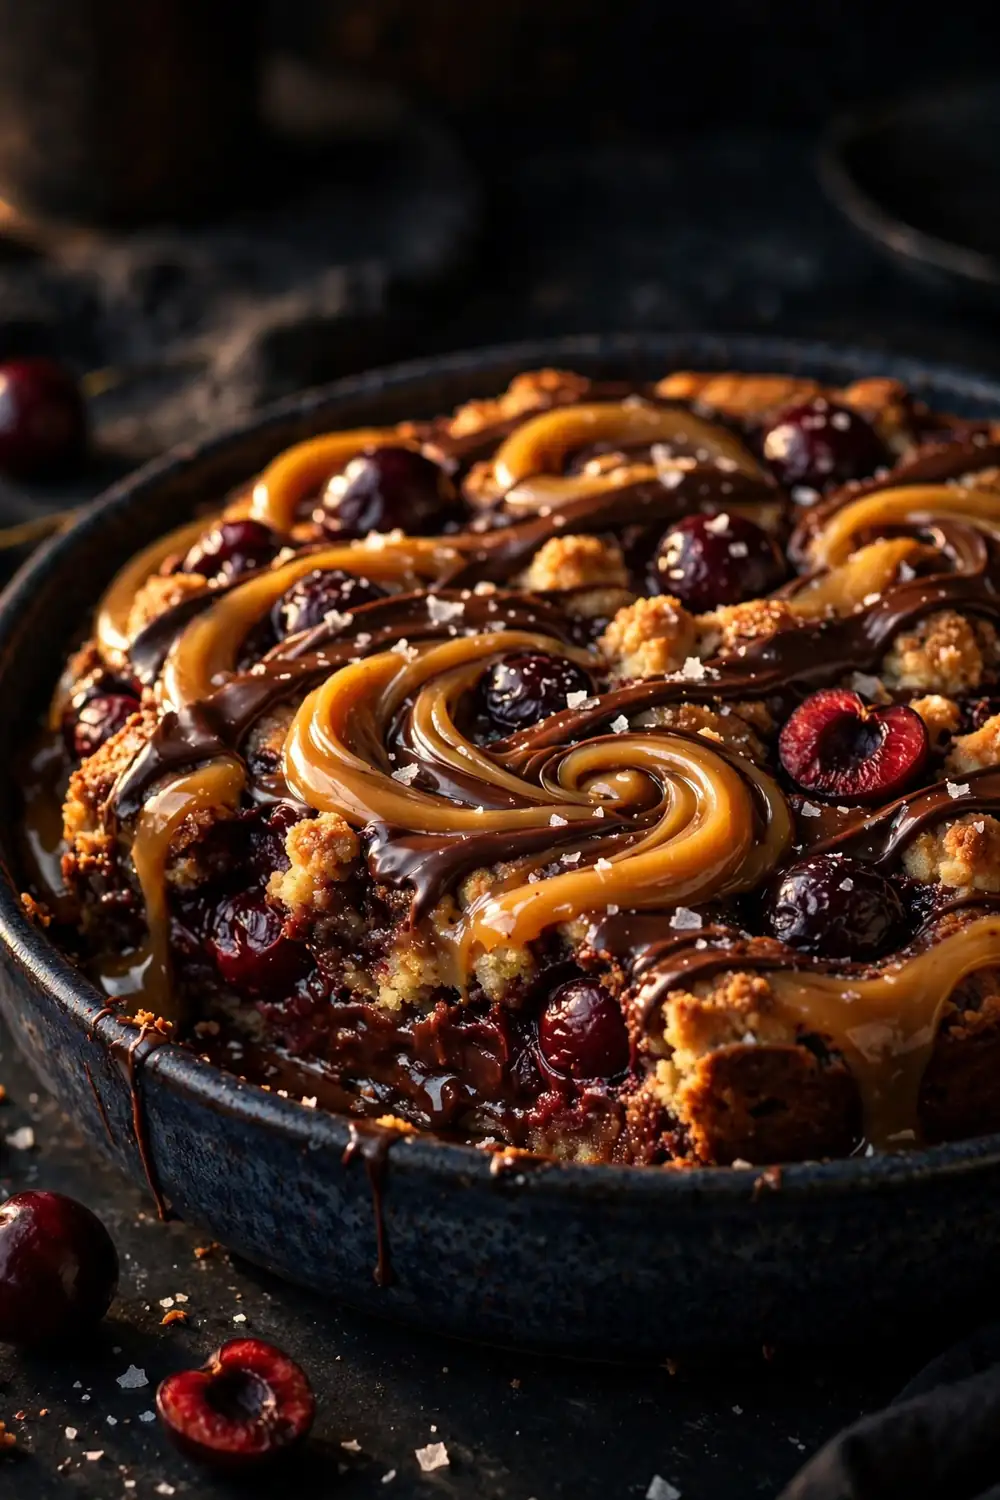
Cost: Medium | Time: Fifty minutes | Skill Level: Easy | Best For: Fall gatherings
Drizzle salted caramel sauce over the cherry layer before adding the dry cake mix for pockets of buttery sweetness. The salt sharpens the chocolate flavor and keeps the dessert from tasting one dimensional. Use a thick caramel so it does not sink completely to the bottom.
Finish with a pinch of flaky sea salt on top right after baking for sparkle and crunch in every bite. That final salty hit makes each bite more interesting than the last one. Guests will ask what your secret ingredient was at the party tonight.
Nutella Batter Boost
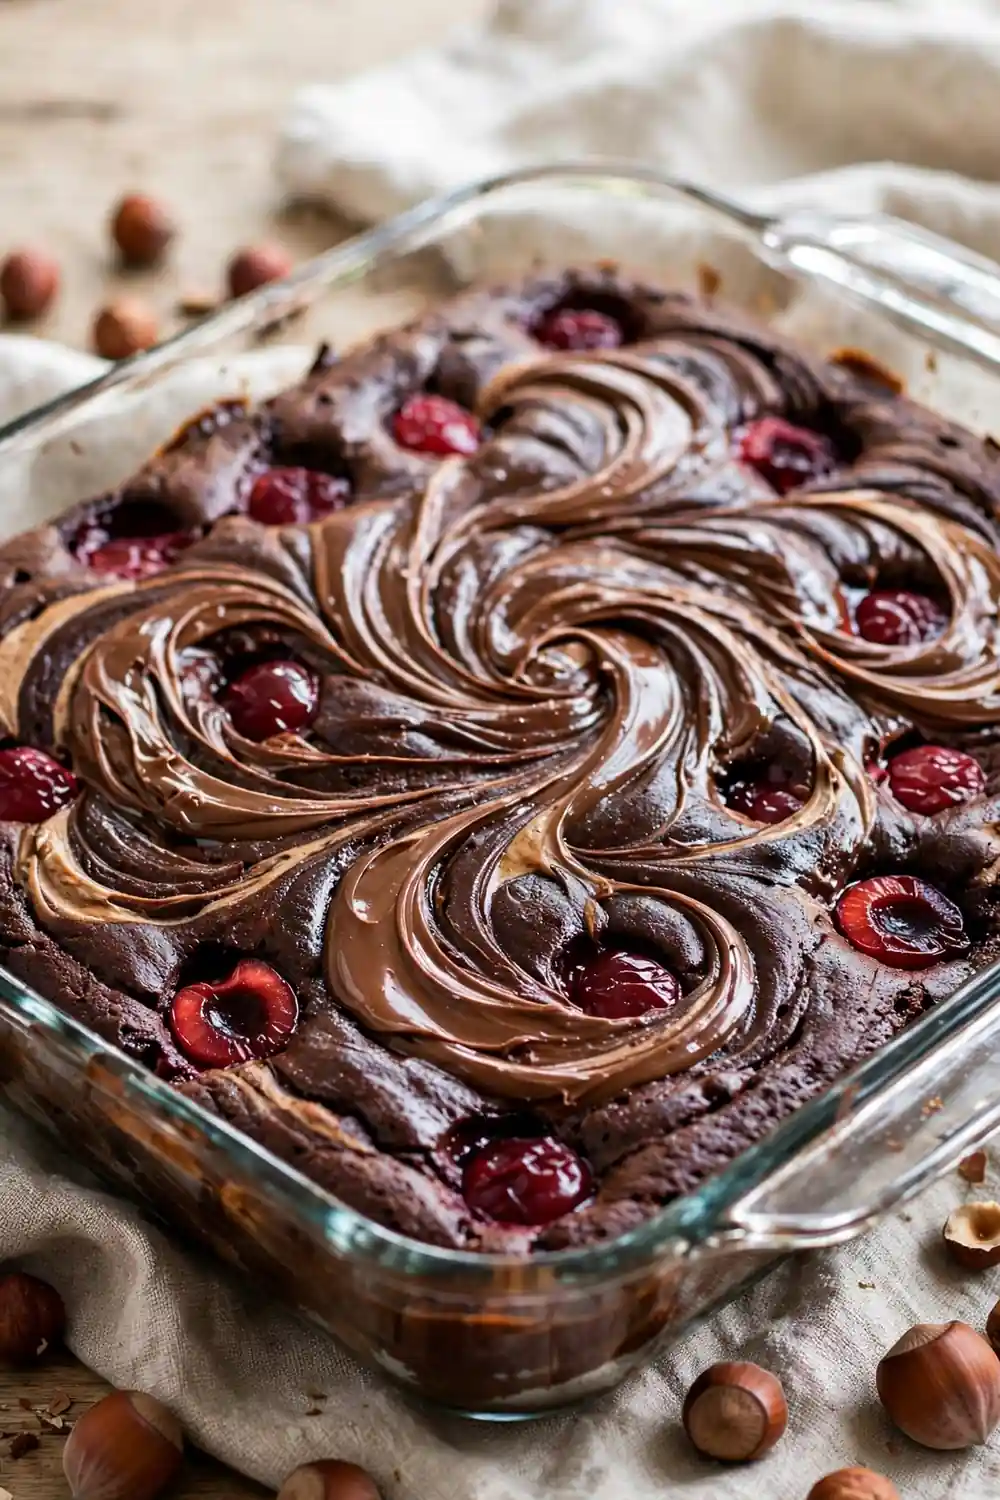
Swirling spoonfuls of Nutella through the dry cake mix before baking adds hazelnut richness that plain chocolate cannot match alone. The spread melts into marbled ribbons that look impressive when you scoop warm servings. Use a knife to drag gentle swirls across the surface on top.
Do not overmix or the marbled effect disappears into a uniform brown layer without any visual appeal. A few bold streaks give the best visual payoff and flavor contrast in each serving. Hazelnut lovers will recognize the upgrade immediately and ask for the trick used here.
Fresh Cherry Swap
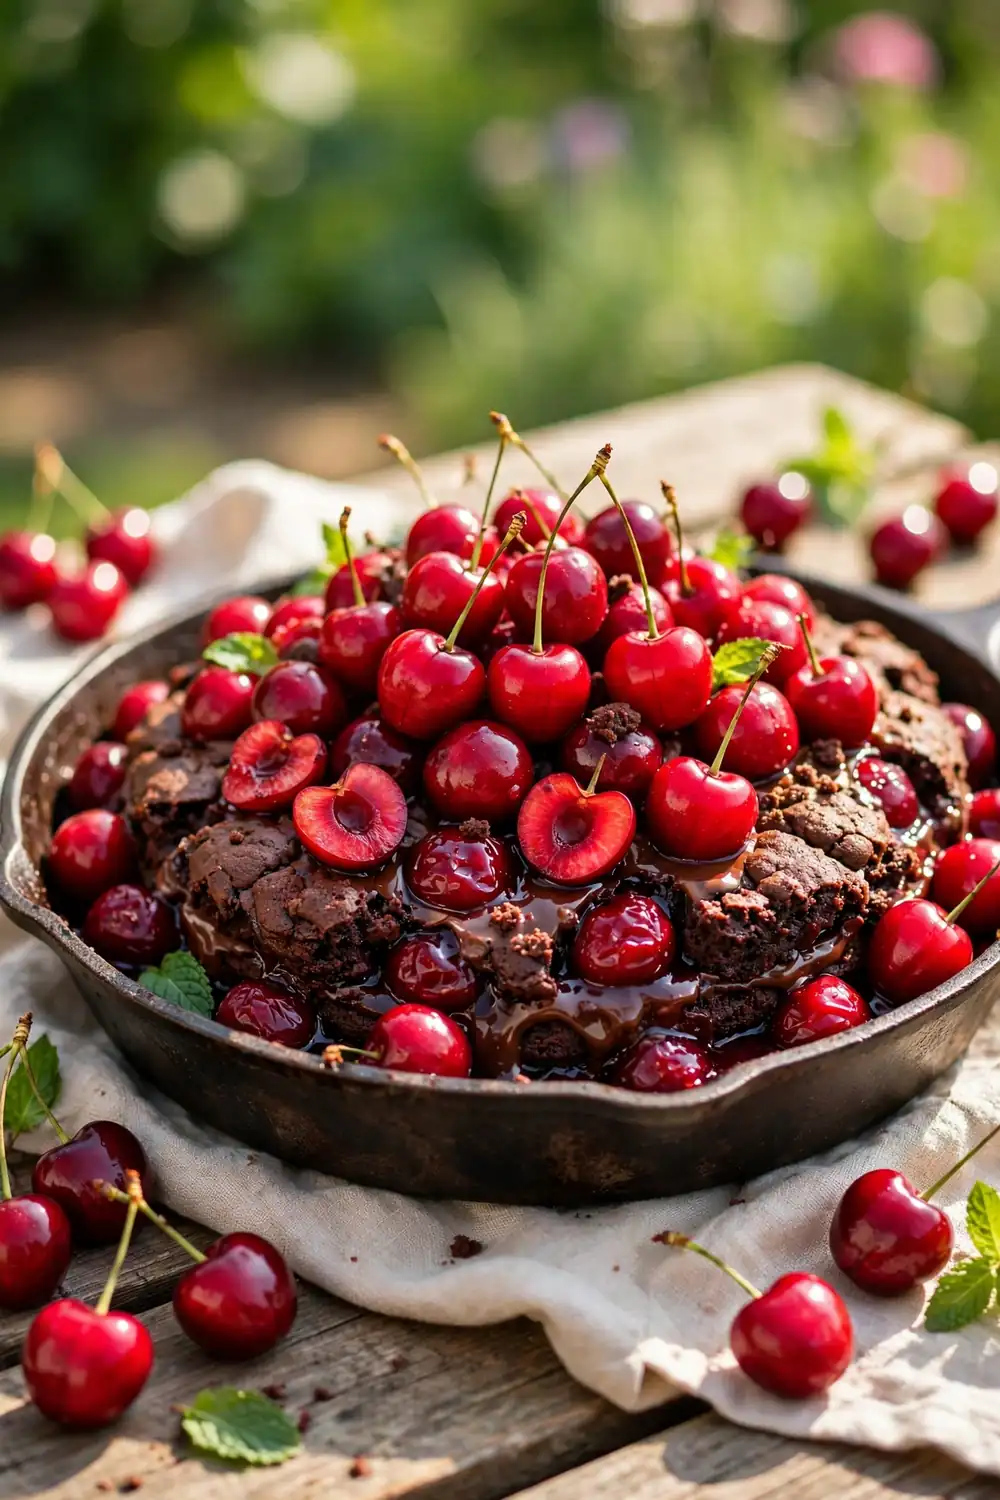
- Pit about four cups of fresh sweet cherries and toss them with a third cup of sugar and a spoonful of cornstarch.
- Let the mixture sit for fifteen minutes until the cherries release their juices and the coating turns glossy.
- Spread the fresh cherry mixture in the pan and continue with cake mix and butter exactly as usual.
- Bake five minutes longer than the canned version since fresh fruit releases more liquid during baking.
Fresh cherries in summer taste brighter and less syrupy than anything from a can on the shelf. Farmers market season is the perfect excuse to try this delicious upgrade at home. The extra pitting time pays off in a dessert that tastes genuinely homemade and fresh.
Cool Mint Finish
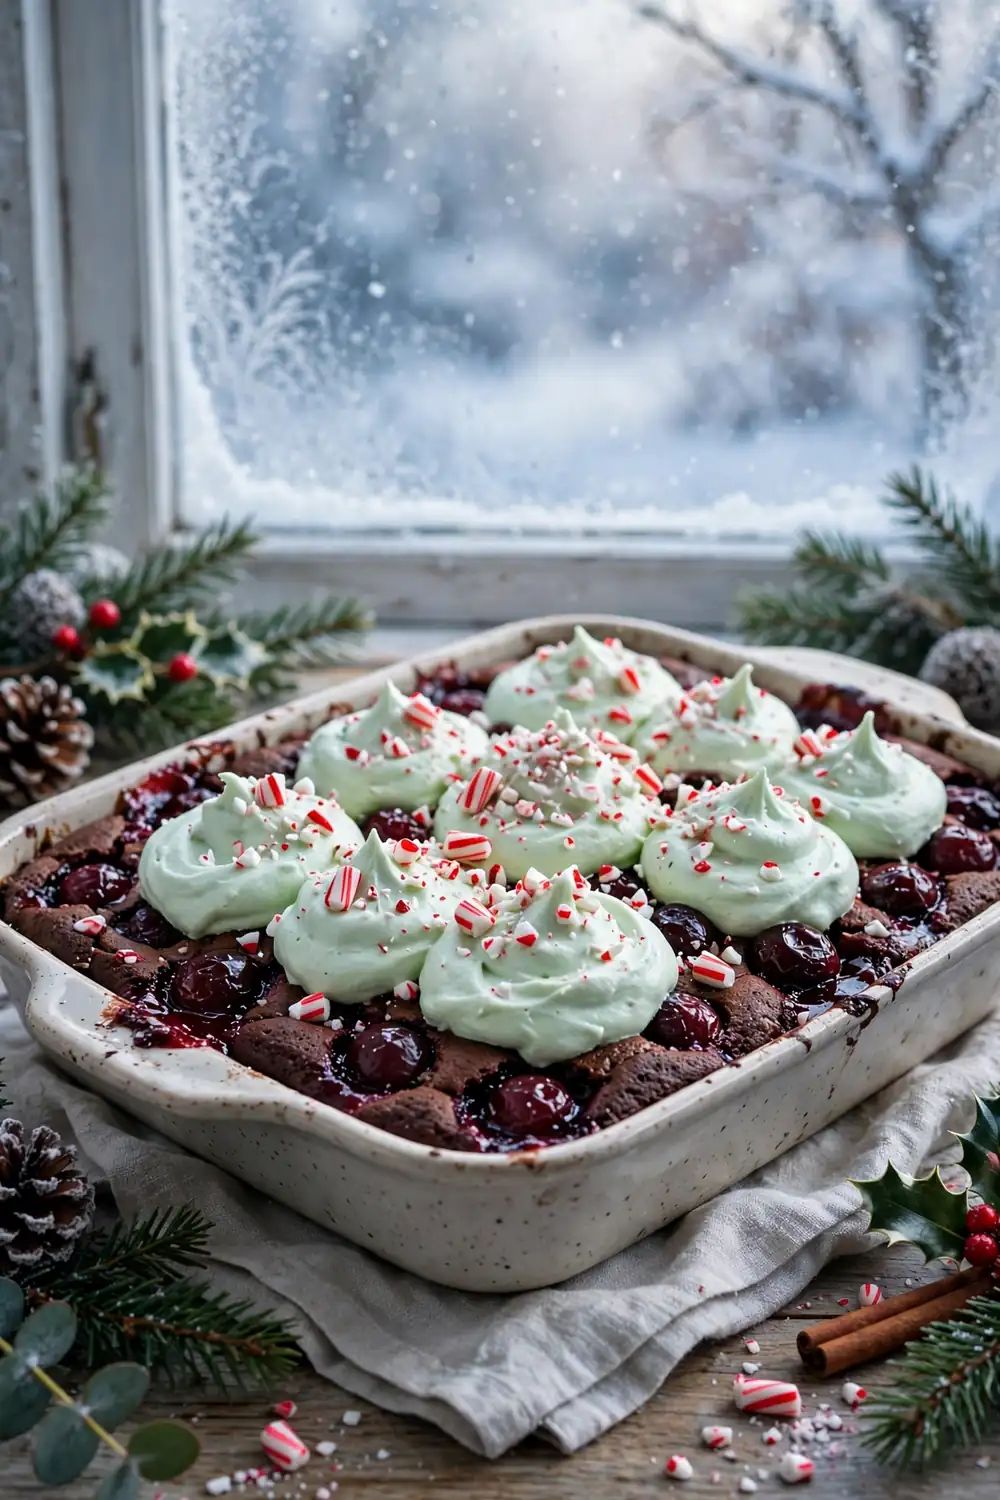
Quick Tip: Add half a teaspoon of peppermint extract to the whipped cream topping instead of the cake itself. This keeps the mint flavor fresh and bright rather than baked and muted.
The cool mint against warm chocolate and cherry tastes like a classic holiday candy in dessert form. Serve this version at winter parties when peppermint feels perfectly seasonal and festive. Crushed candy canes on top add beautiful crunch and bright color that guests will admire before tasting.
Peanut Butter Marble
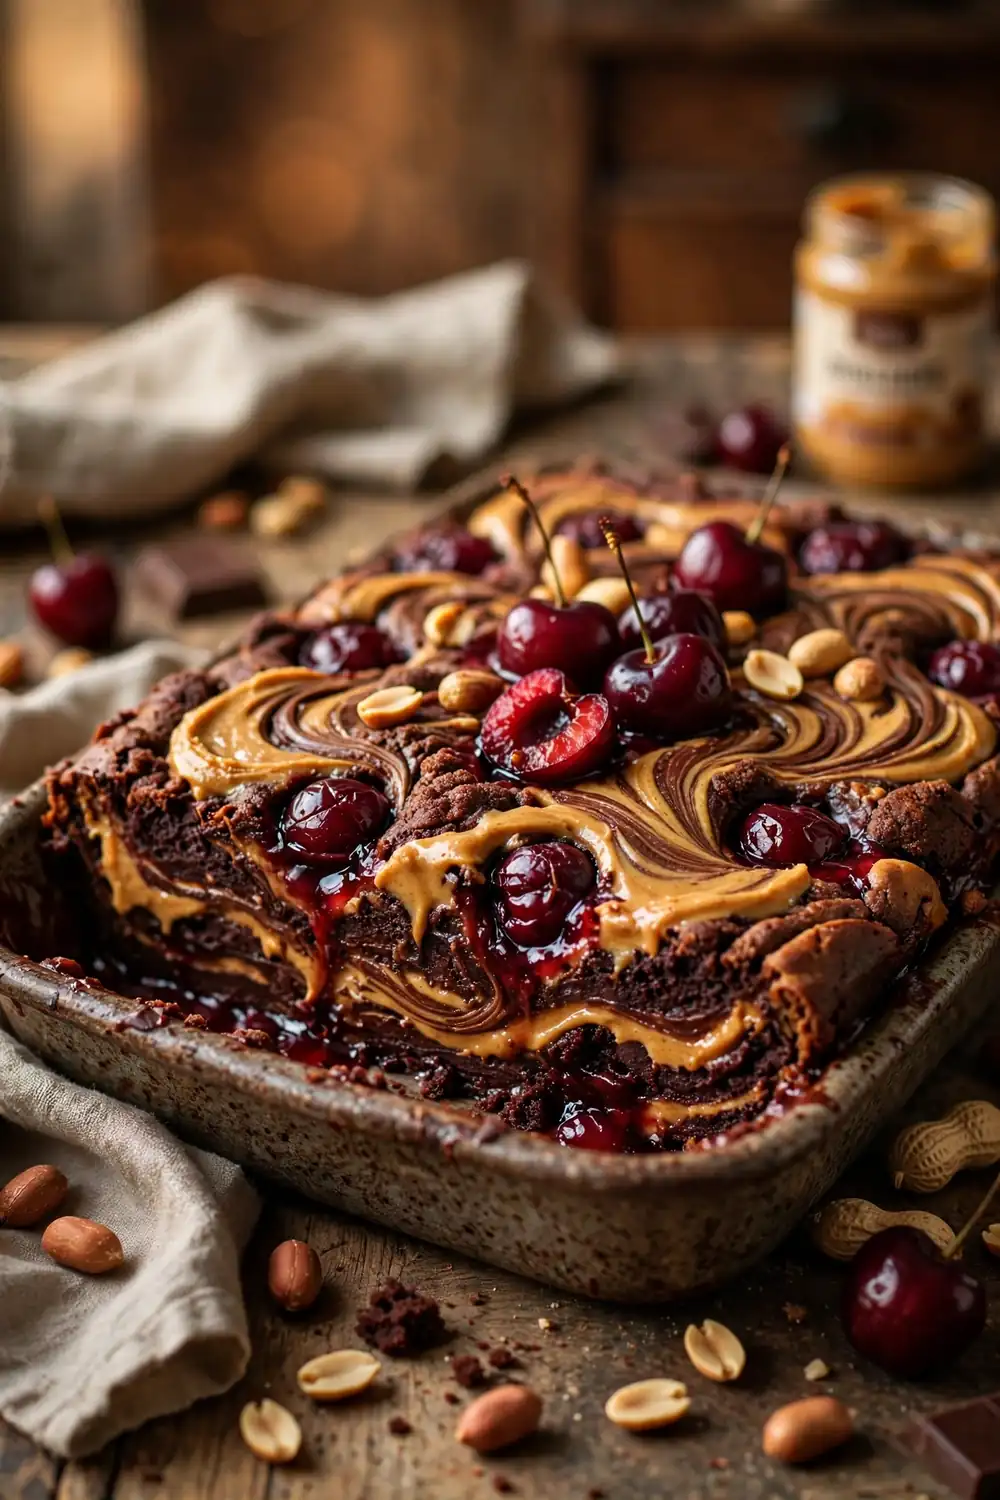
BEFORE: Chocolate and cherry make a beloved pair, but the combination can feel expected after you have served it several times to the same guests. Regulars at your table may stop getting excited about the same familiar dessert appearing again on the table this month.
AFTER: Dollops of peanut butter swirled through the batter add salty richness that transforms the entire flavor profile completely. The nutty streaks bake into the cake and create a candy bar inspired dessert that everyone remembers fondly long after the pan is empty at the party.
Warm the peanut butter for twenty seconds so it drizzles easily across the dry mix in ribbons. Use a skewer to marble it gently without stirring the layers beneath the surface. This version disappears fastest whenever I bring it to busy potlucks with friends nearby.
Big Sheet Pan
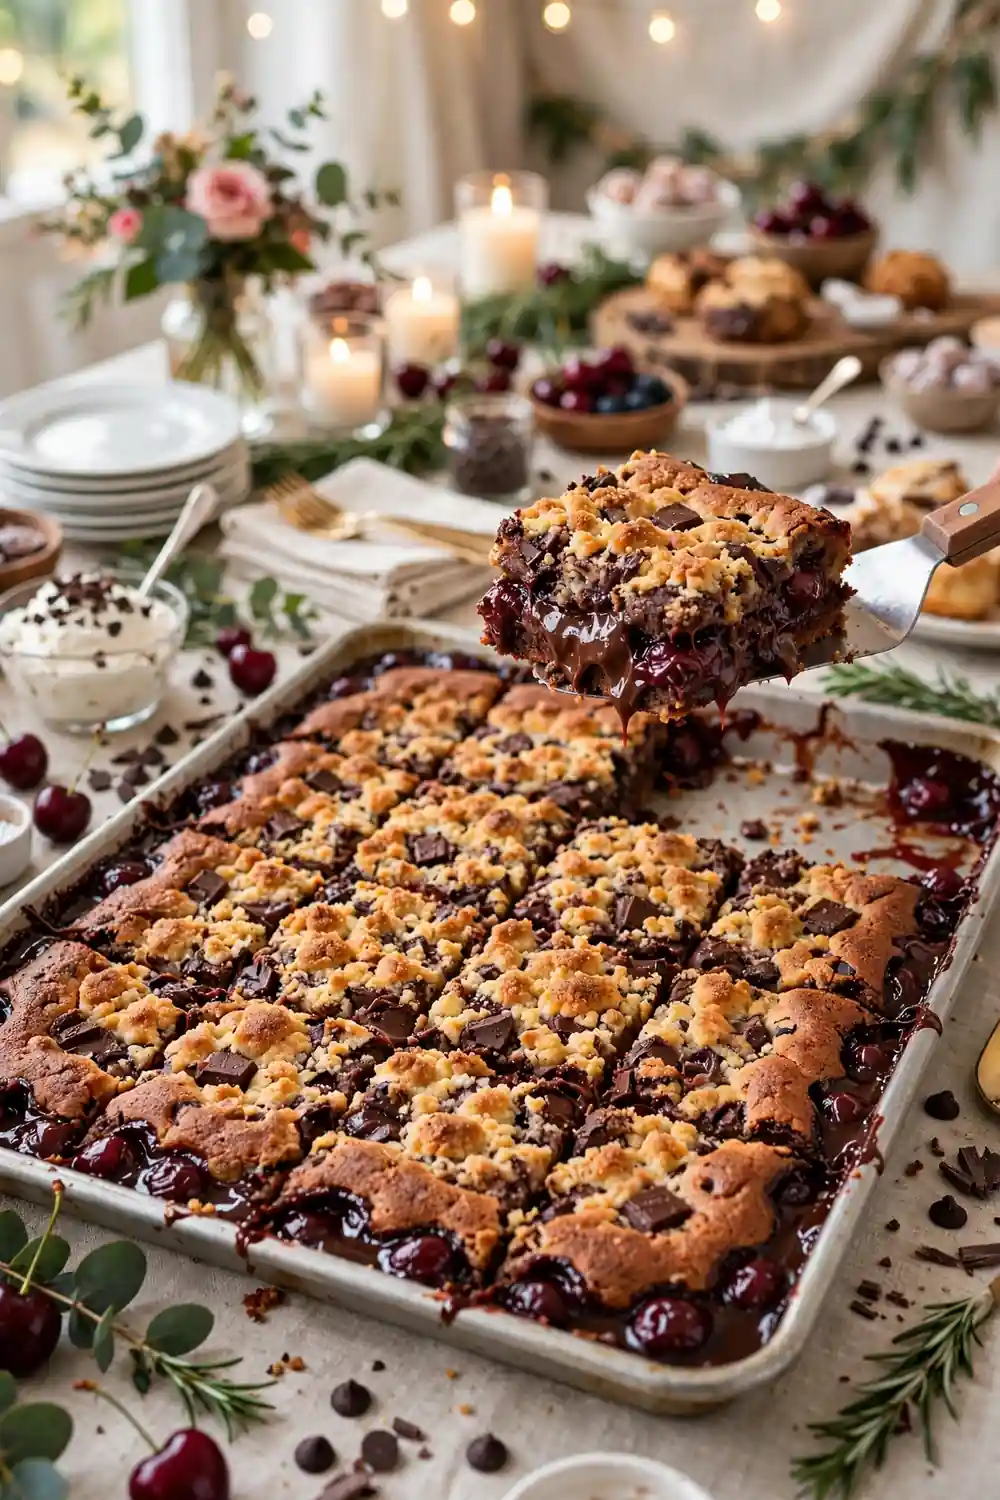
- Double every ingredient and spread them across a rimmed half sheet pan for the biggest possible crowd.
- Keep the layers thin and even so the cake mix crisps properly instead of staying powdery in spots.
- Bake until the entire surface turns golden and the fruit bubbles visibly around all edges.
- Cool slightly, then cut into small squares that are easy to grab at busy buffet tables.
Sheet pan scaling feeds thirty people from one oven batch, which beats baking two separate pans on busy days. The thinner layers also mean more crispy topping per bite for everyone. Church suppers and school events are ideal occasions for this smart approach to try.
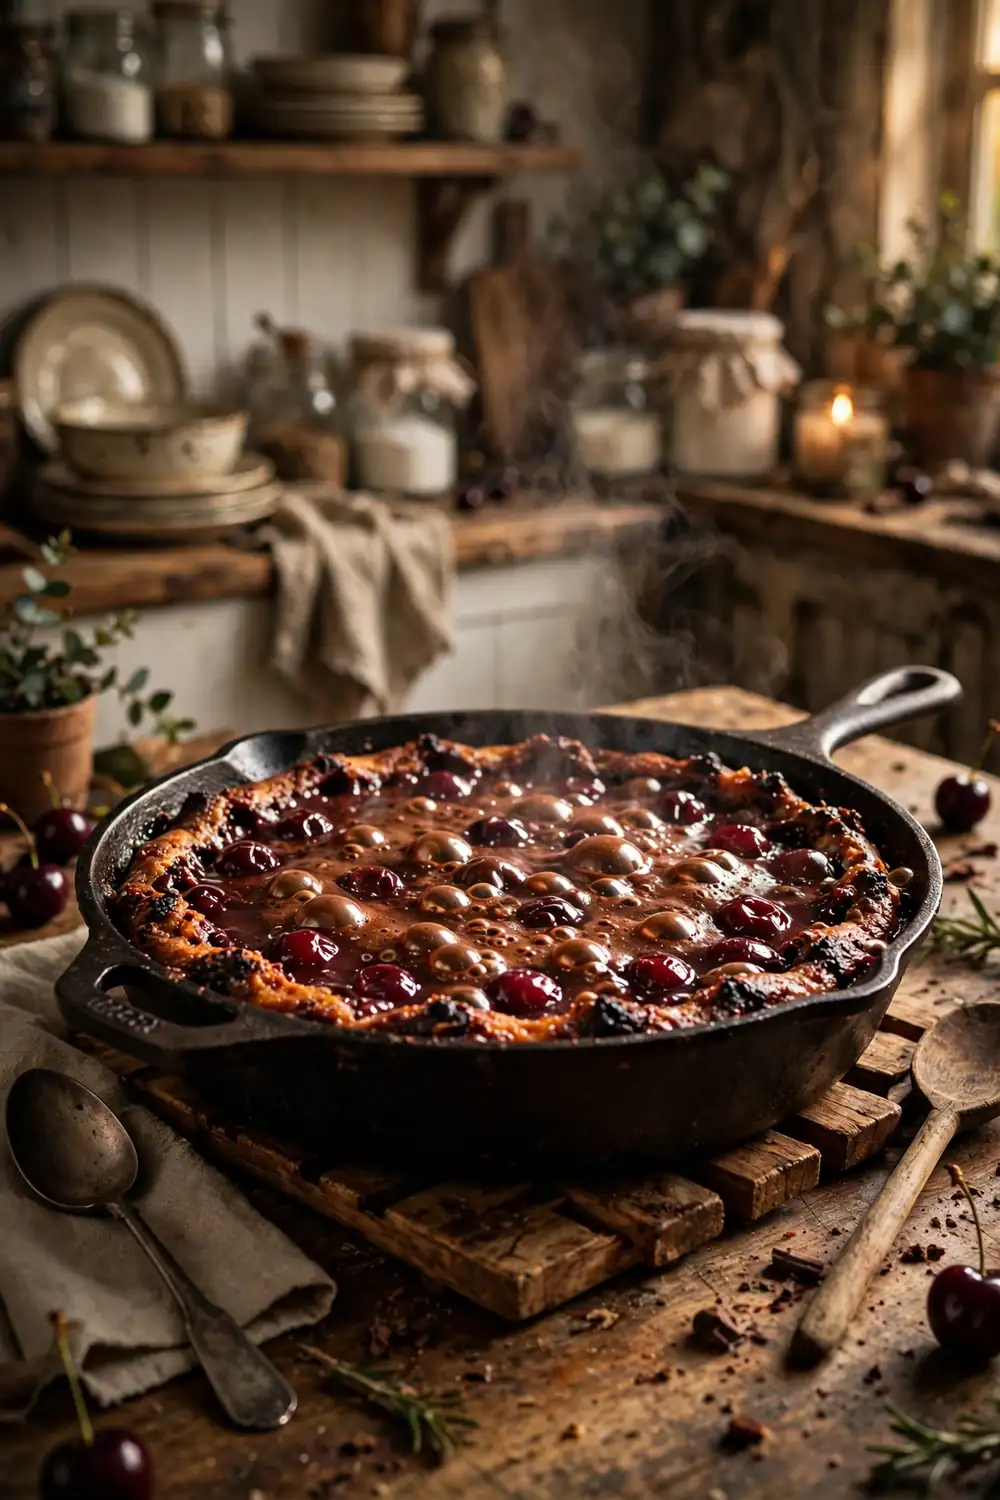
Warm Skillet Serving
| Feature | Baking Dish | Cast Iron Skillet |
|---|---|---|
| Edge crispness | Good | Exceptional |
| Table presentation | Homey | Rustic and dramatic |
| Heat retention | Moderate | Stays warm longer |
| Serving style | Sliced portions | Spooned at table |
A cast iron skillet gives you deeply caramelized edges that a glass dish simply cannot produce at all. Bring the whole skillet to the table on a trivet for a dramatic reveal guests love. The sizzling presentation makes an ordinary weeknight feel truly special indeed.
Freezer Friendly Batch
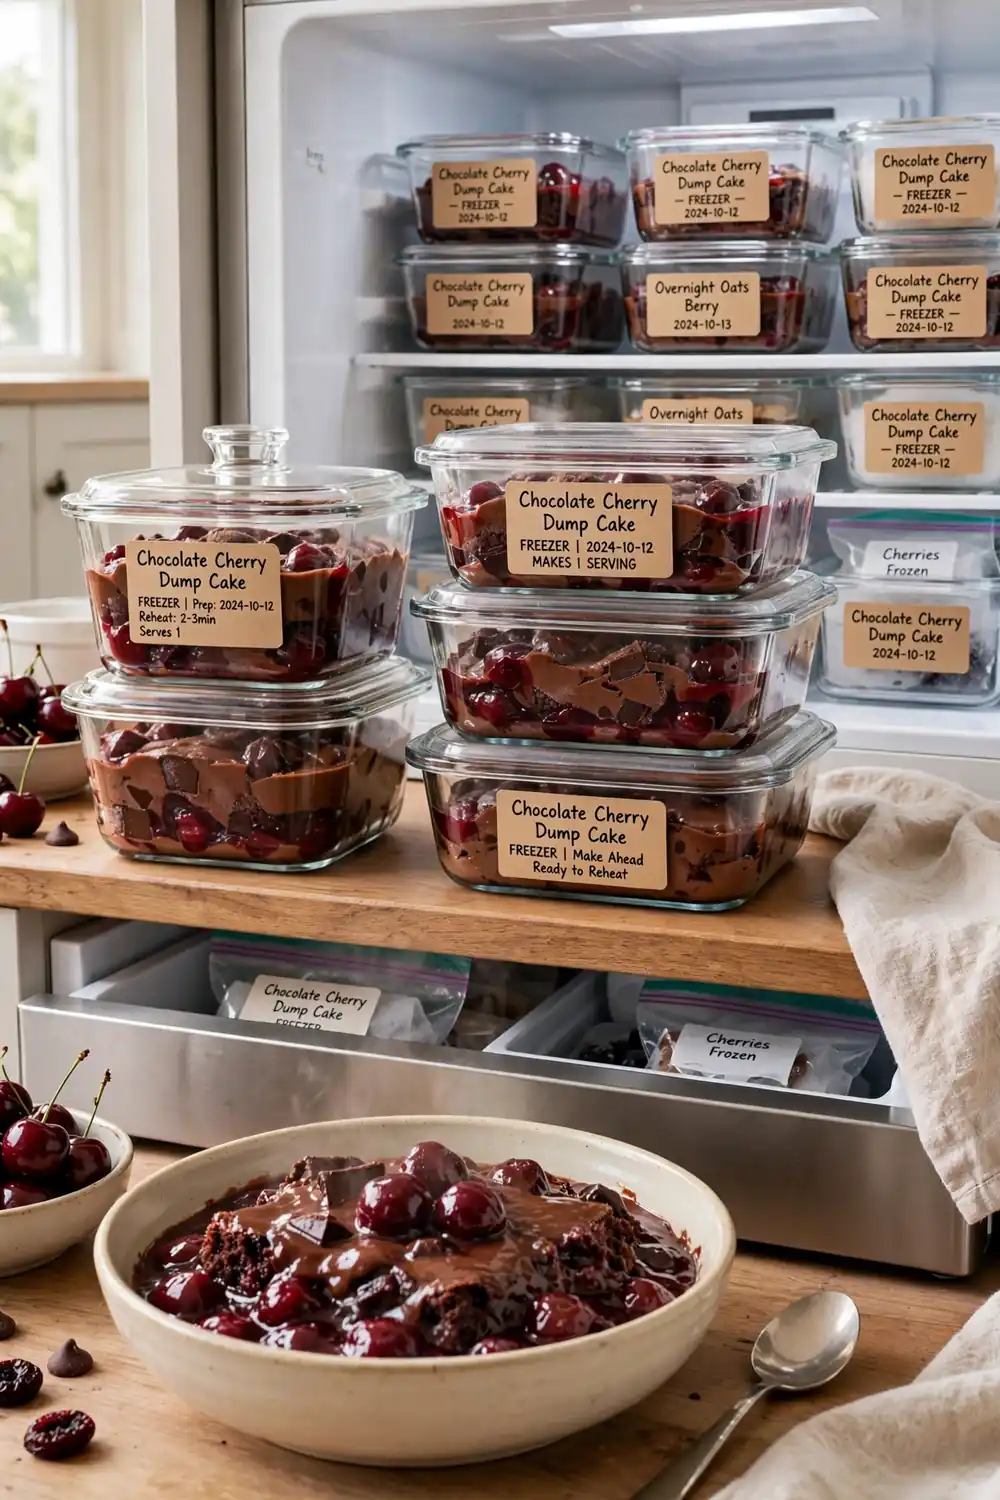
DO: Cool the baked dessert completely before wrapping it tightly for the freezer to protect texture. DO: Freeze in portion sized containers for easy thawing later. DO: Label with the date and use within three months. DO: Reheat covered so the topping stays crisp and golden.
DON’T: Freeze the unbaked layers since the cake mix turns gummy from the fruit juices over time. DON’T: Microwave from frozen or the texture suffers badly every time. DON’T: Add fresh whipped cream before freezing it. DON’T: Forget to thaw overnight in the fridge for safety.
Having a dessert ready in the freezer removes all stress from surprise guests and last minute invitations. Thaw a portion while dinner cooks and warm it gently before serving dessert tonight. Future you will be grateful for those ten minutes of weekend prep work today.
Conclusion
These 23 ideas prove that one humble pan of chocolate cherry dump cake can anchor countless easy dessert nights. From campfire skillets to elegant holiday pans, the same simple layers adapt to every occasion and craving you might have throughout the busy year ahead of you.
If this collection sparked your next baking project, save your favorites to Pinterest and try one this weekend. For a cozy dinner before dessert, explore these 22 Stracotto Ideas for Slow-Cooked Italian Comfort that pair beautifully with a sweet finish. Share the warm results with people you love.