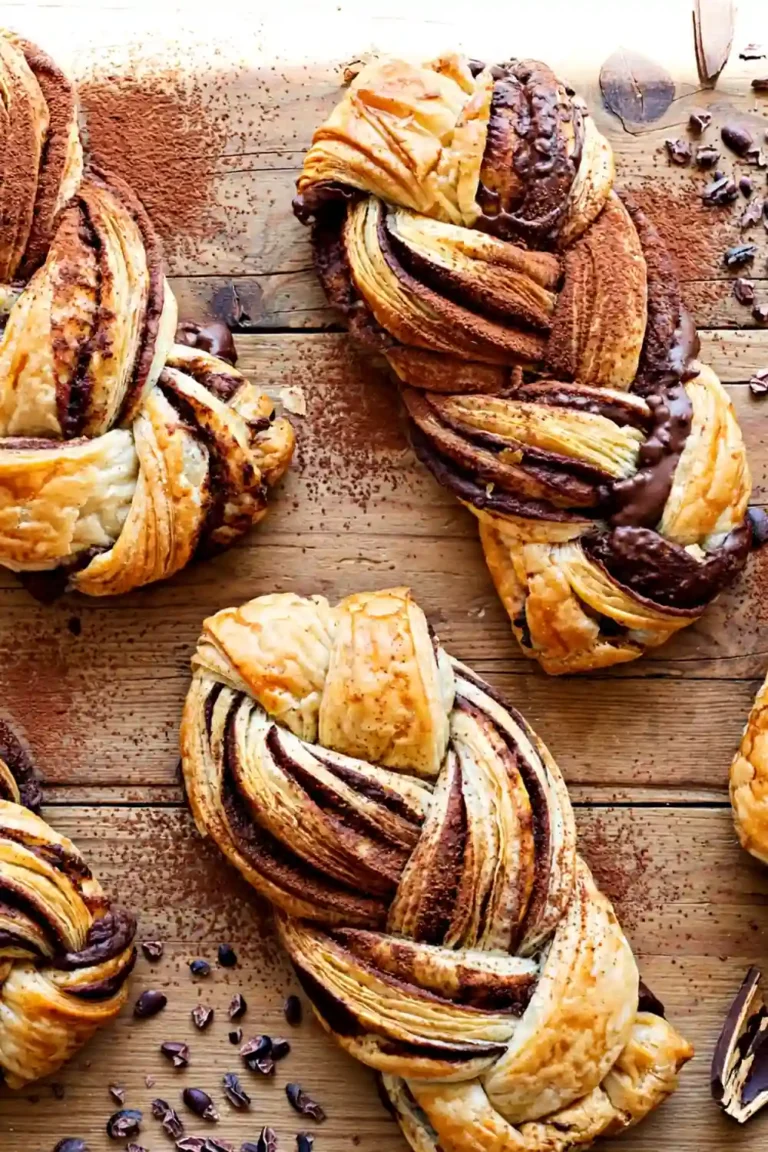
Why Is My Pie Crust Tough and Chewy? Easy Fix Guide
Nothing ruins a fresh pie faster than a tough pie crust that turns chewy instead of flaky. You slice in hoping for tender layers and meet resistance instead. The good news is that a chewy crust has clear causes and a simple fix.
Most crusts turn tough for a handful of reasons. Too much mixing, too much water, or warm butter can each build gluten and spoil the flakes. Small handling slips add up fast, and skipping the chill makes things worse.
This guide walks through each cause with a fix you can use right away. You need no special tools or fancy ingredients. If your bread turns out heavy instead of light, see this guide on fixing dense bread for the same kind of simple fixes.
Why Crust Turns Tough
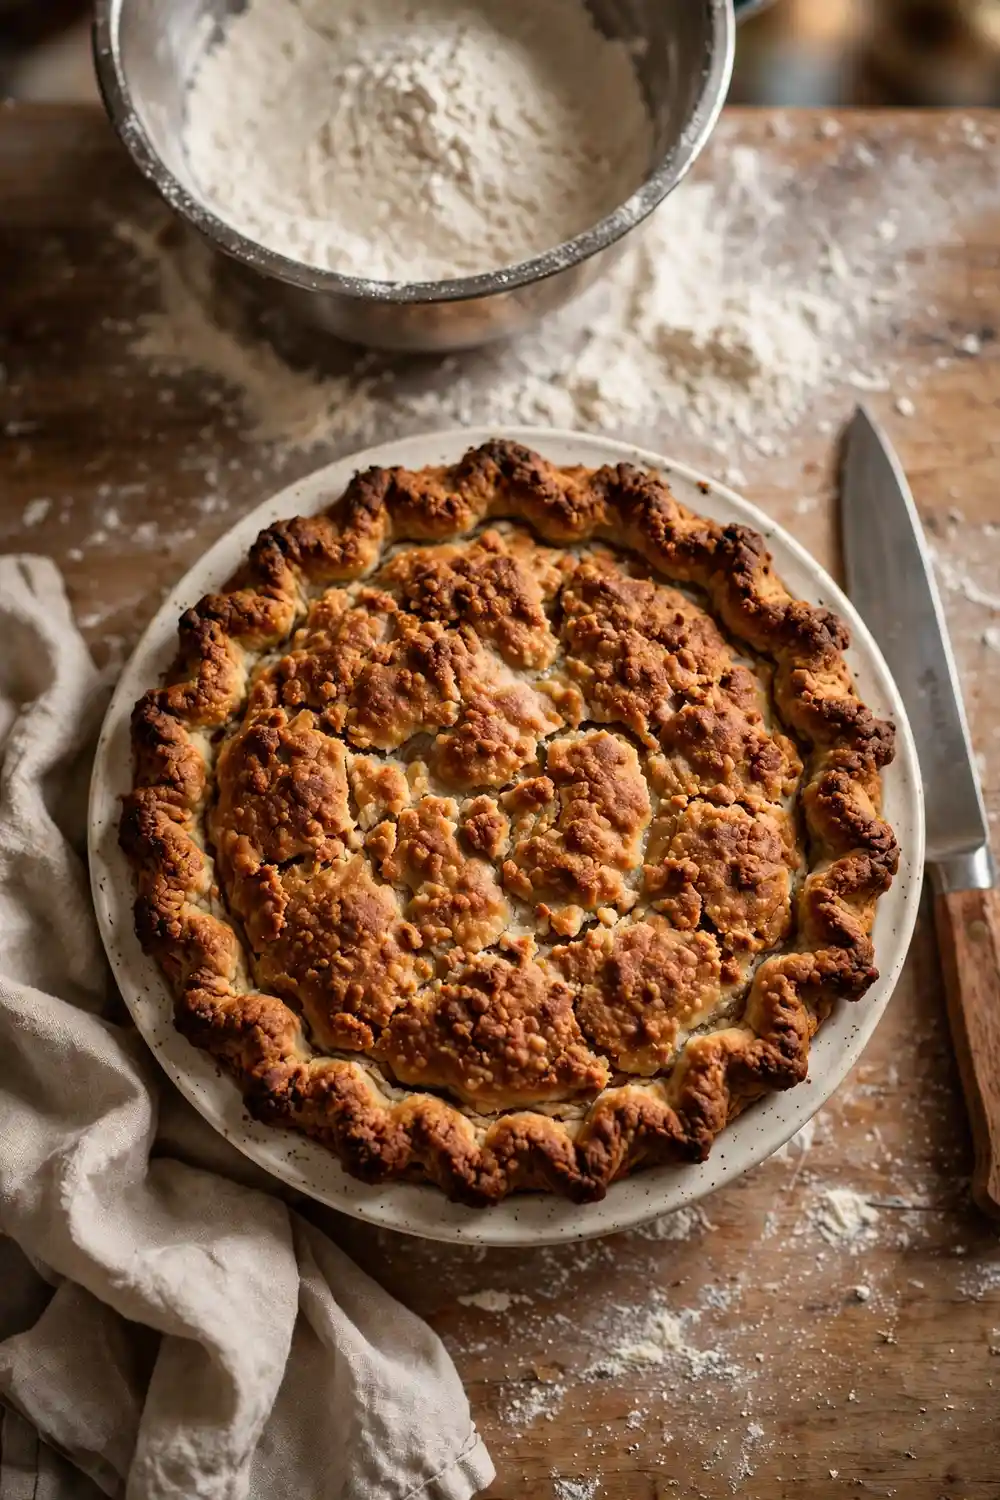
You slice into a fresh pie hoping for a flaky, tender crust, even when the filling tastes perfect. Instead, the crust feels chewy, firm, and hard to cut clean. The trouble rarely comes from one big mistake, and it starts with how the dough gets handled.
Too much water, too much mixing, and warm butter each push the crust toward chewy. When any of those three runs off, the dough builds gluten and bakes firm instead of flaky. The good news is that each cause has a simple fix for your very next pie.
Keep Butter Cold
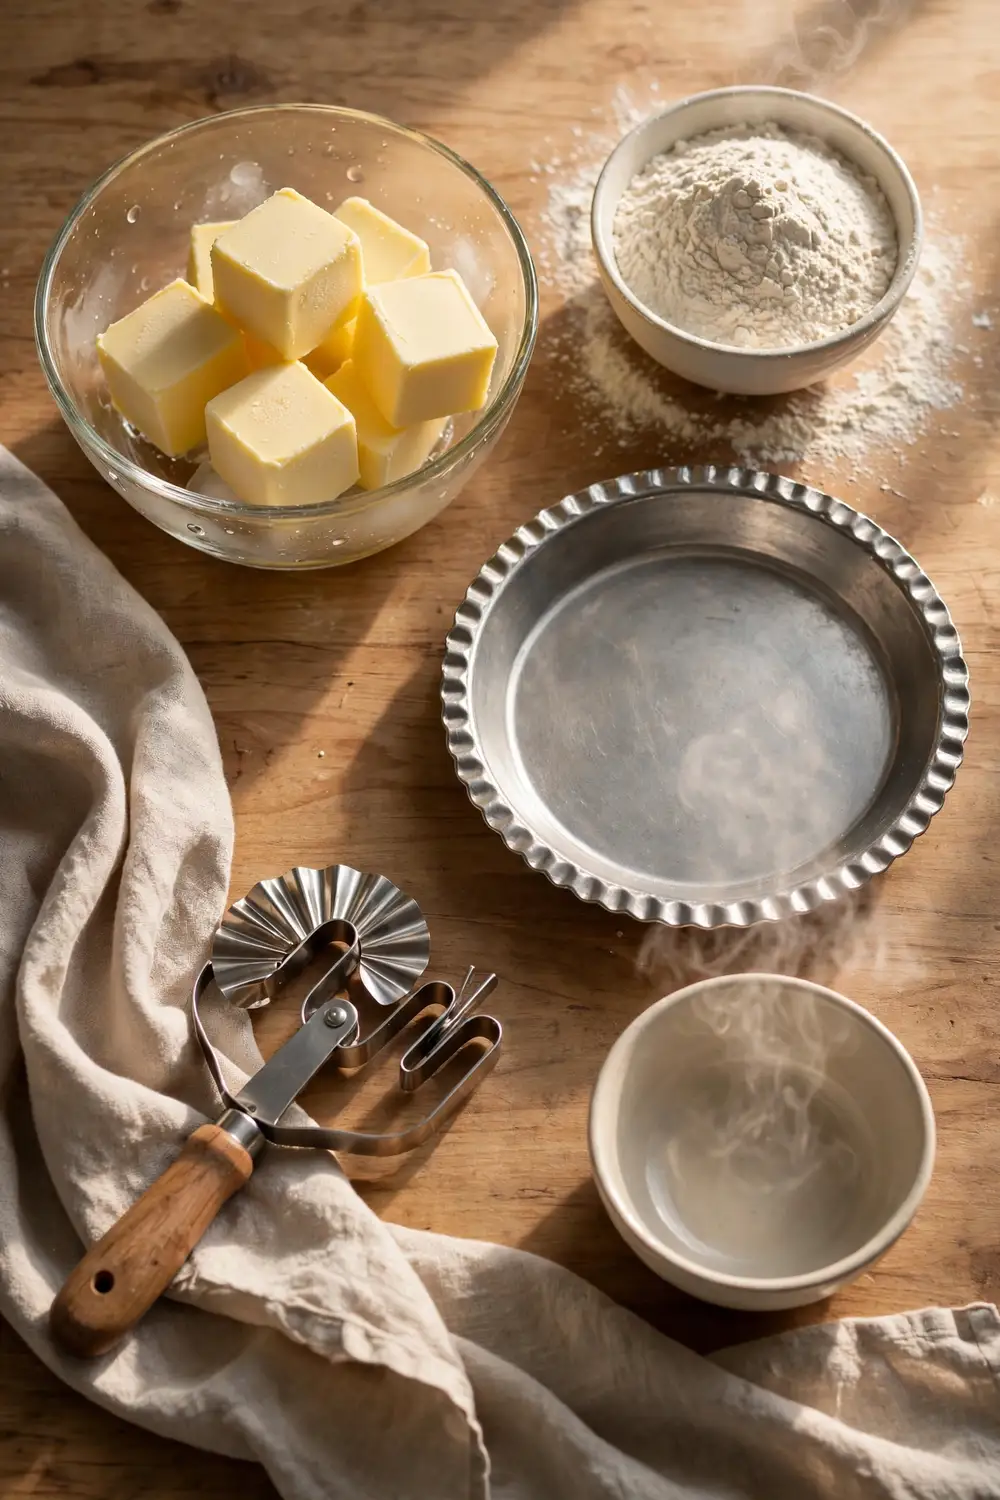
Cold butter is the secret behind a flaky crust. It melts in the oven and leaves tiny pockets that turn into crisp layers. Warm butter blends into the flour instead and bakes up firm and chewy, so chill it well.
- Cut the butter into small cubes and chill them for fifteen minutes before you start.
- Toss the cold cubes with the flour until the mix looks like coarse crumbs.
- Work fast, and chill the dough again if the butter starts to soften.
- Chill the shaped crust in the pan for thirty minutes before baking.
Pick Right Flour
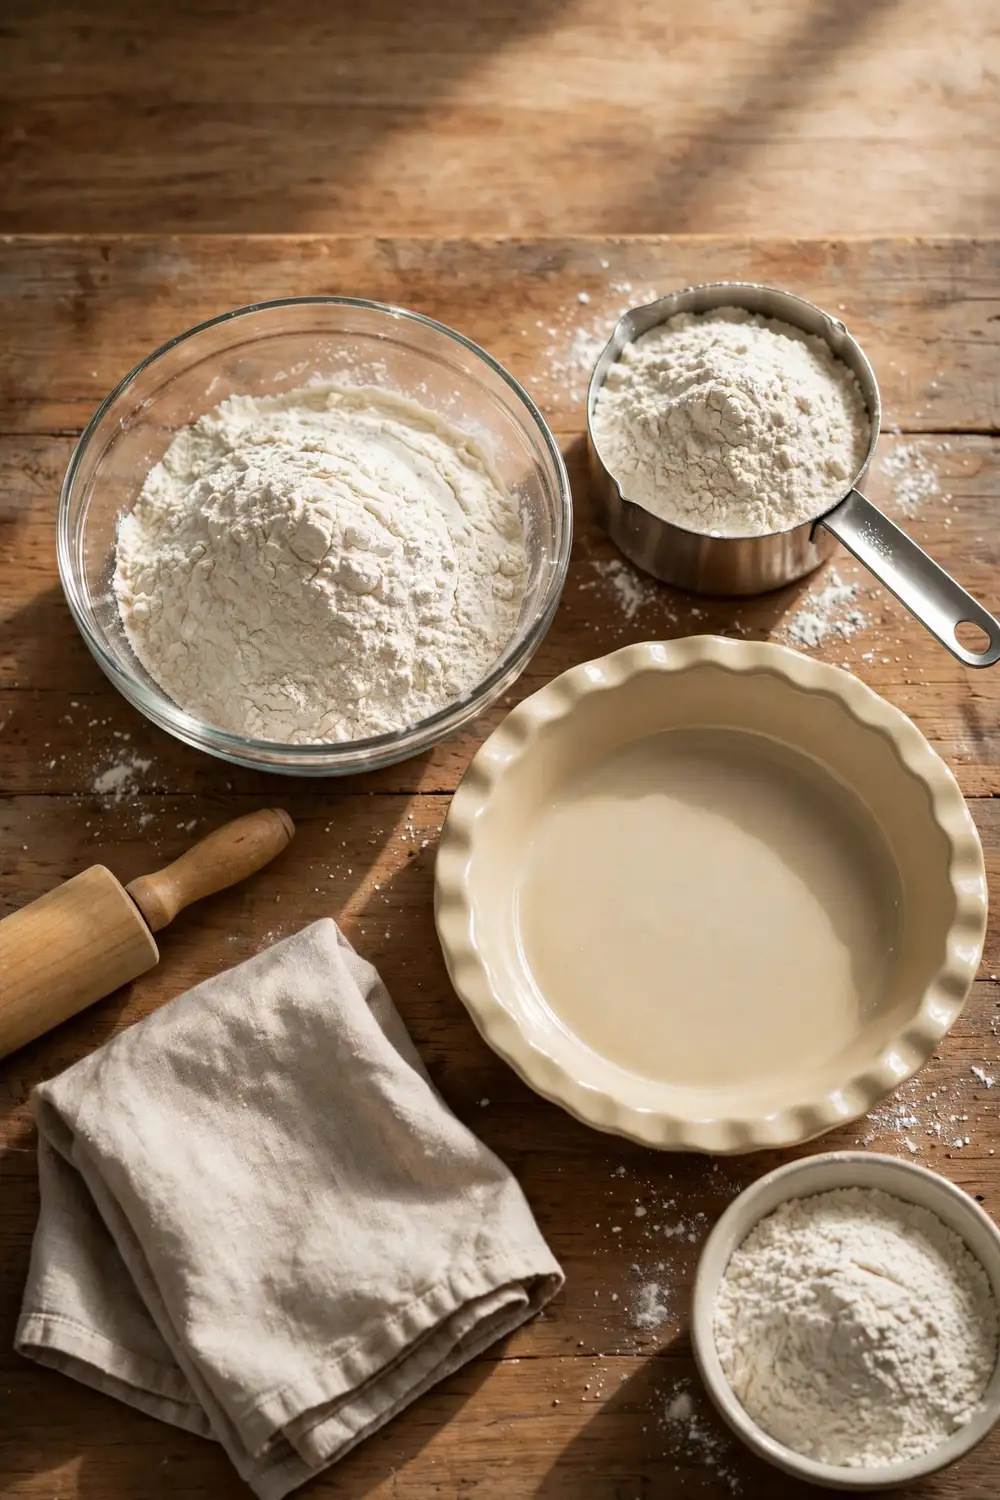
Quick Tip: Spoon all purpose flour into the cup and level it with a knife. Scooping packs the flour down and adds too much to the bowl. A light measure keeps the crust tender.
Flour gives crust its structure, so the type matters more than most bakers expect. All purpose flour bakes tender and flaky, while bread flour builds too much gluten and turns firm. Measure the same way every time, and the crust stays steady from one pie to the next.
Fix Water Amount
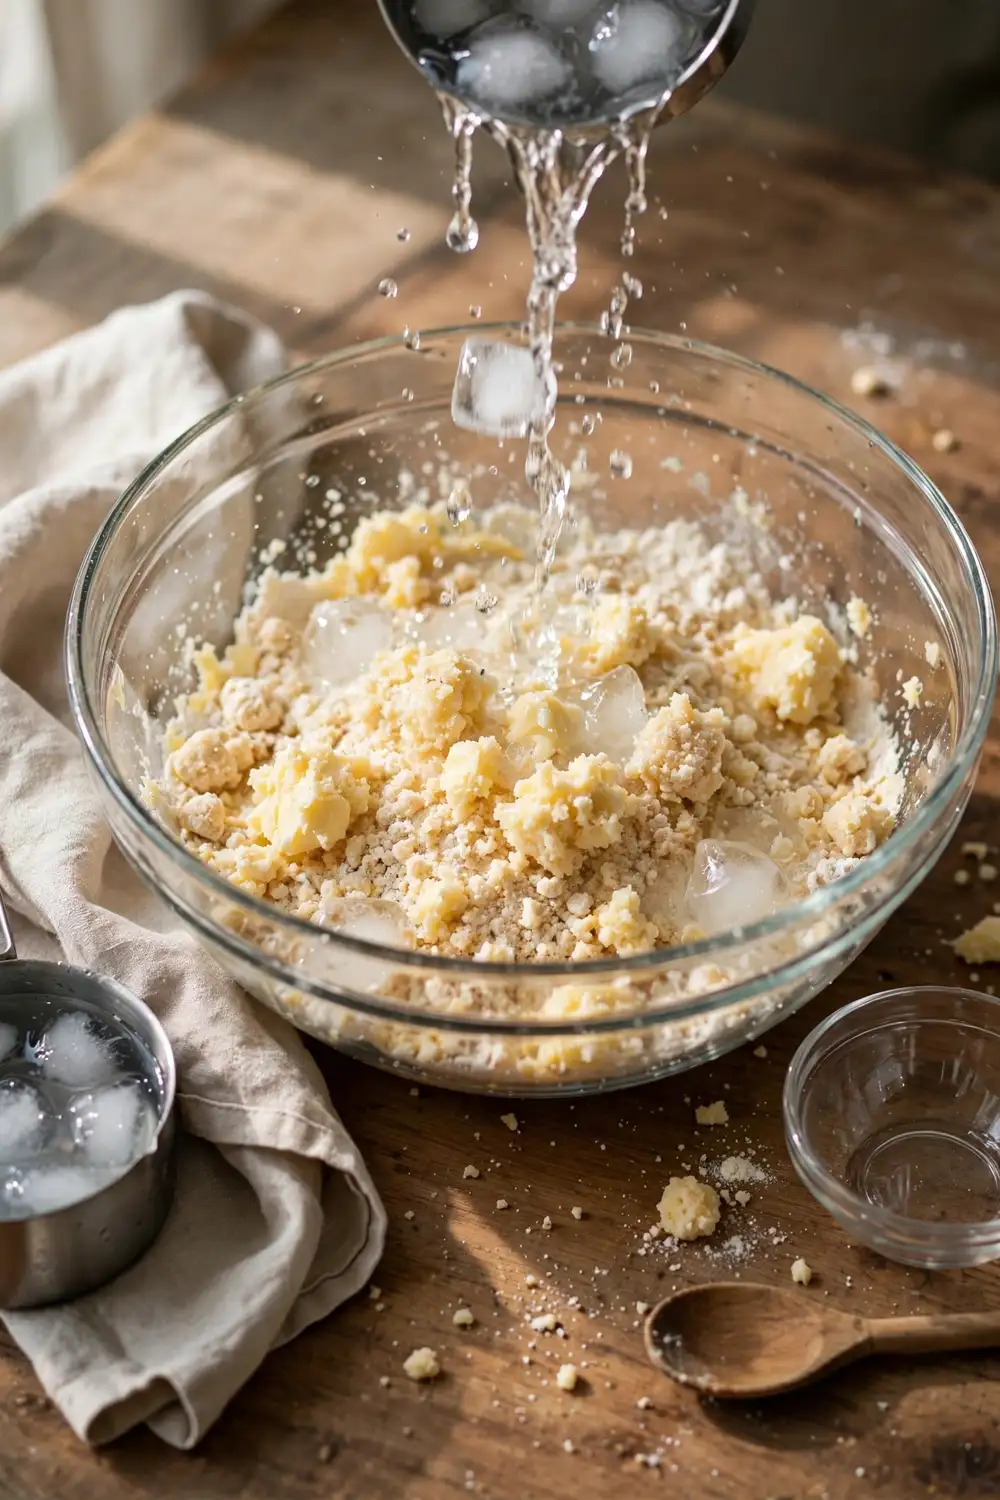
Common Mistake: Many bakers add too much water to make the dough easier to roll. Extra water builds gluten, which turns the crust firm and chewy. The dough should feel barely moist, not wet or sticky.
The Fix: Add ice water one tablespoon at a time and toss the flour with a fork after each spoon. Stop as soon as the dough holds together when pressed. A dry looking mix with a few crumbs is fine.
Water binds the flour, so the amount matters more than most bakers expect. One extra spoon can turn a flaky crust firm and chewy. Fix the water once, and every pie after it will bake tender, flaky, and light from edge to center each time.
Stop Overworking Dough
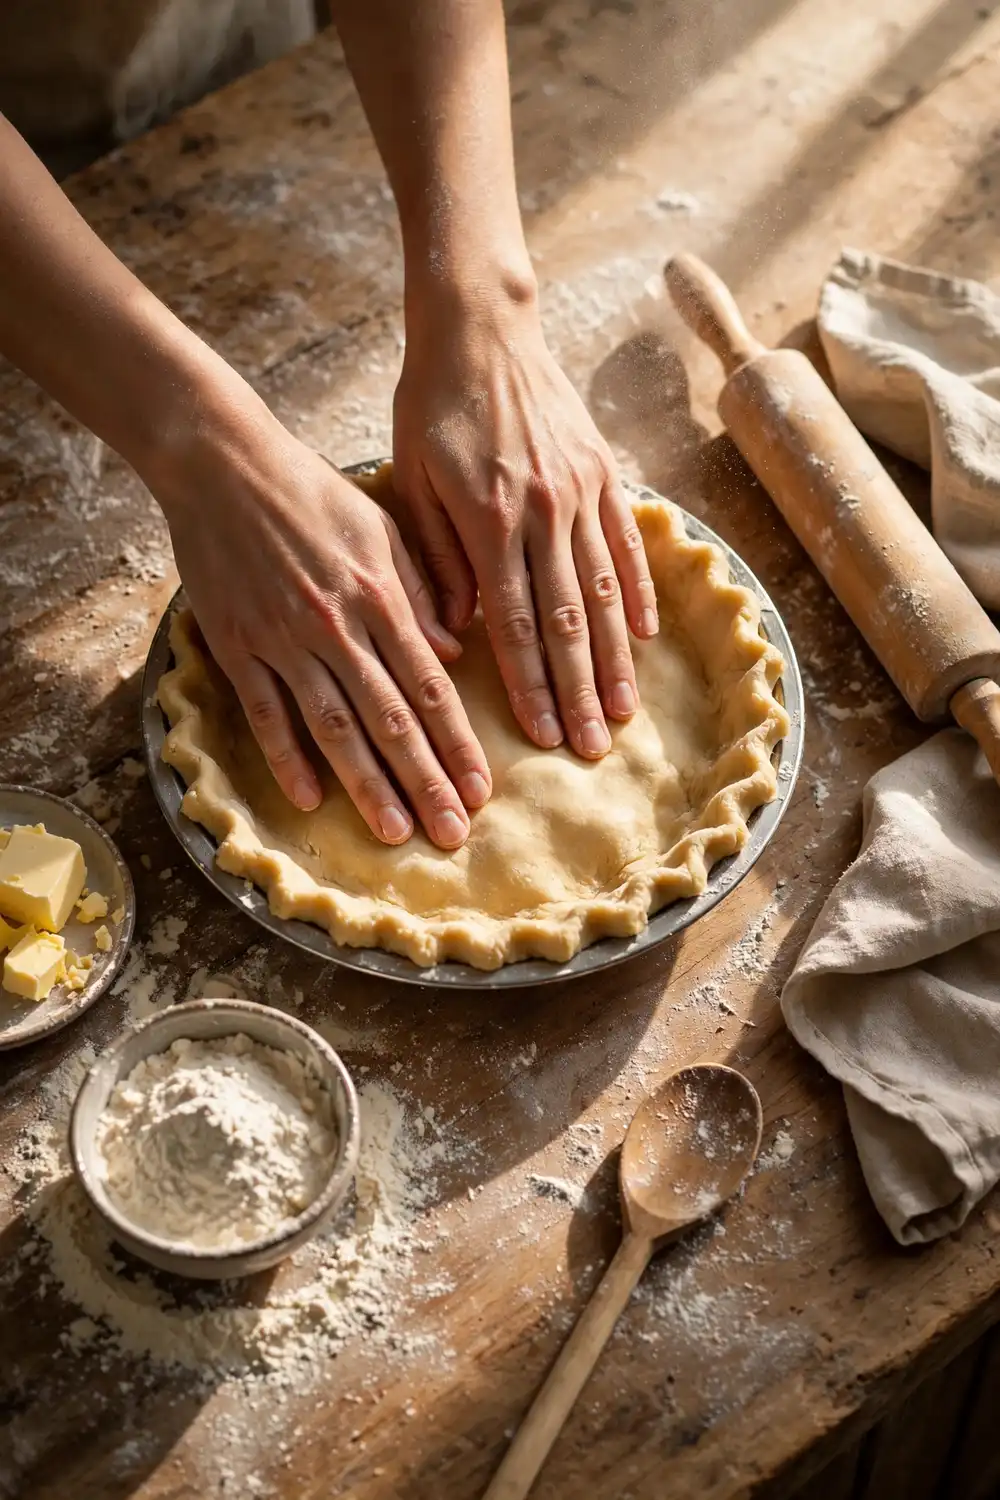
What You Need:
- A light touch: Handle the dough briefly so gluten stays low and the crust stays tender.
- A fork: Toss the flour and water together without pressing the dough hard.
- A cool counter: A cool surface keeps the butter firm while you work.
- Plastic wrap: Wrap the disk tight so it chills evenly in the fridge.
Overworking is the biggest reason crust turns firm, and it takes very little extra handling to spoil the flakes. Every extra fold and press builds gluten, which makes the crust chewy instead of flaky. Mix briefly, gather the dough, and stop while it still looks rough.
Chill Dough Well
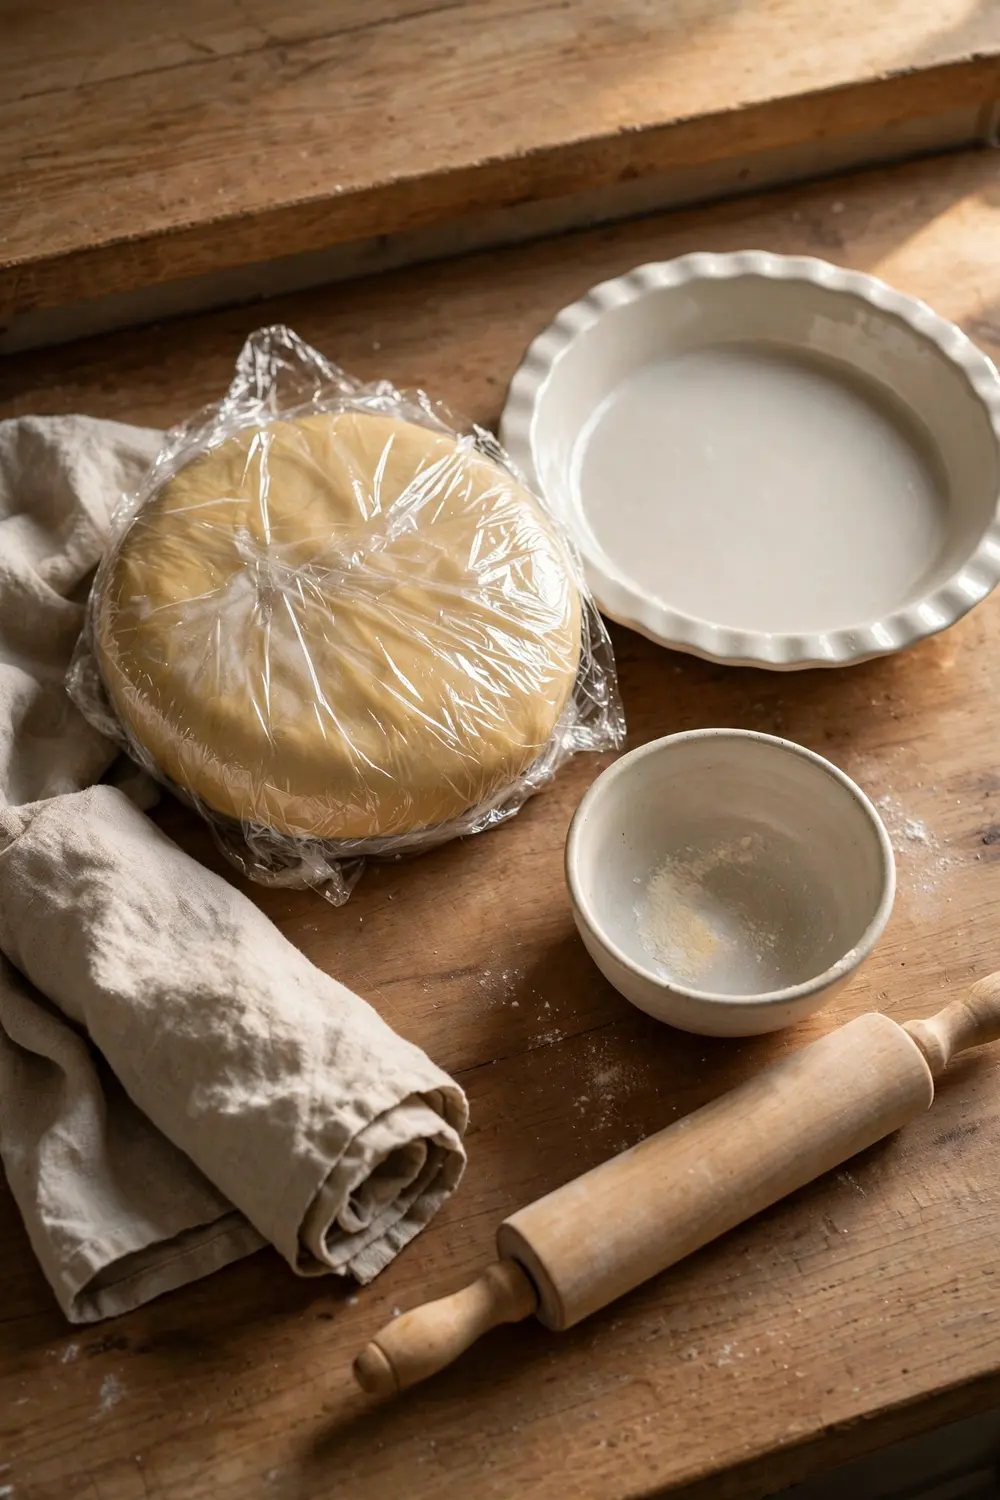
Before: Skipping the chill lets the butter melt into the flour before baking. The crust bakes firm, shrinks in the pan, and loses its flakes. The edges slump, and the bottom turns chewy.
After: With a good chill, the butter stays firm and the dough relaxes. The crust bakes flaky and golden, holds its shape, and stays tender after cooling. Each slice cuts clean and lifts out whole.
Wrap the dough disk in plastic and chill it for at least one hour. Chill the shaped crust in the pan for thirty minutes more. Cold dough bakes flaky and tender, and the crust holds its shape through slicing. Give the fridge time to do its work before you roll.
Roll Dough Right
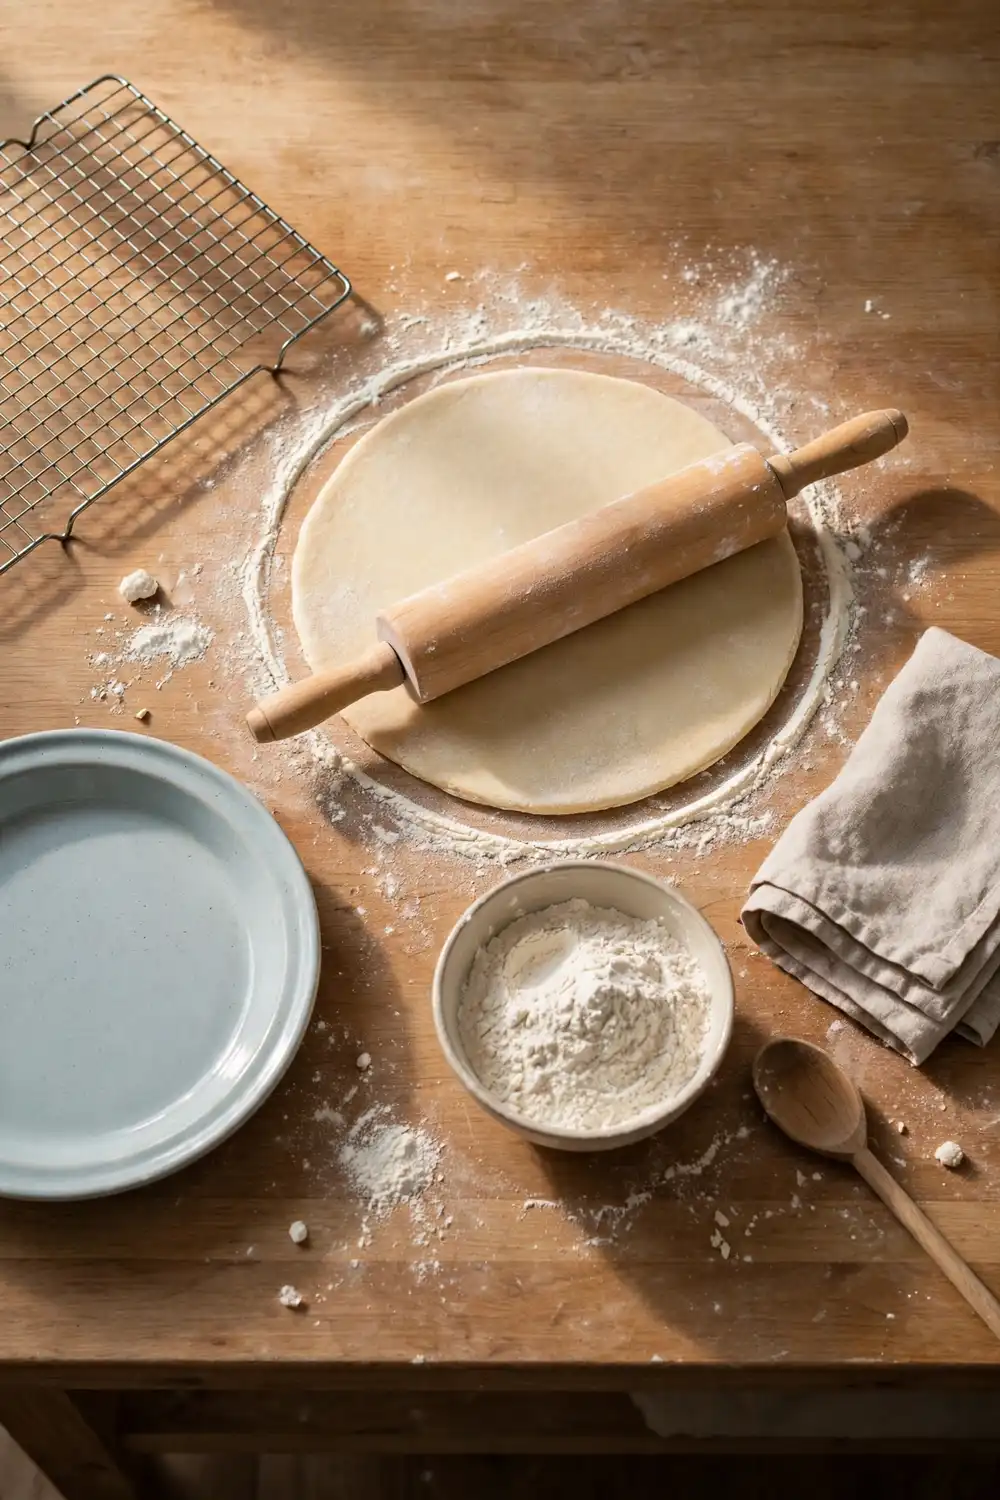
Do This:
- Roll from the center outward in one direction.
- Turn the dough a quarter turn after each pass.
- Dust the counter lightly with flour, not heavily.
- Roll the dough to an even thickness all over.
Avoid This:
- Do not roll back and forth over the same spot.
- Do not press hard or stretch the dough thin.
- Do not re-roll scraps more than once.
- Do not roll warm dough straight from mixing.
Rolling shapes the crust, and rough rolling builds gluten fast. Gentle, even rolling keeps the dough tender and the crust flaky. Fix the rolling once, and every crust after it bakes light and tender from edge to center. Let the rolling pin do the work, and keep your hands light.
Bake Right Heat
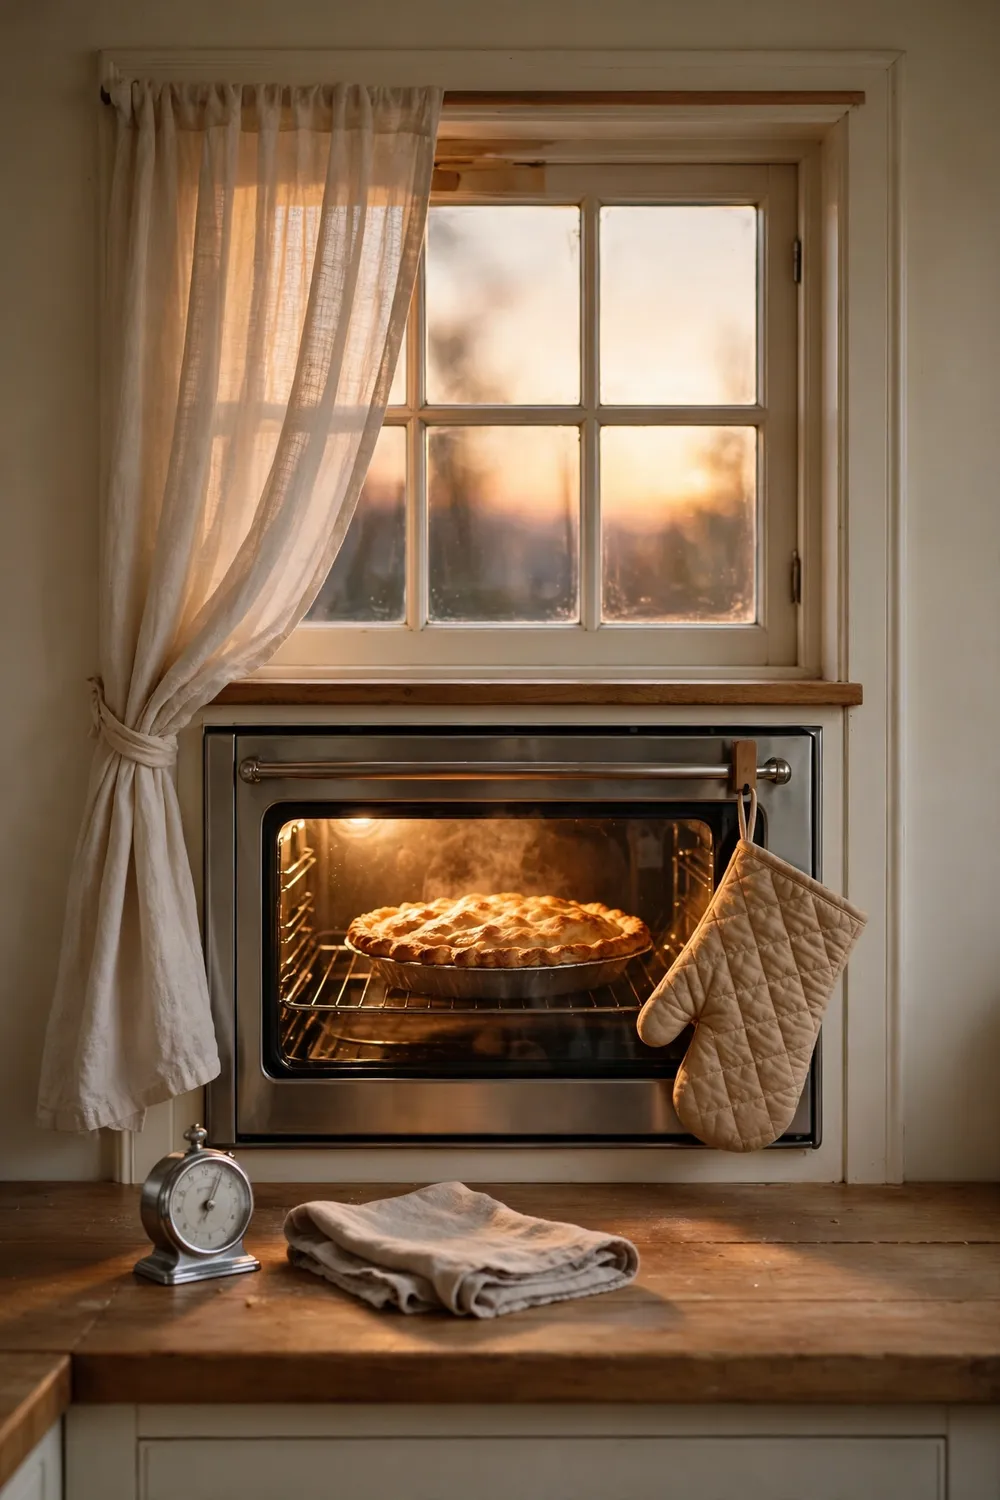
Oven heat: Hot, so the crust sets fast
Check time: Peek once near the end
Risk: A cool oven melts butter early
Result: A flaky, golden crust
A cool oven melts the butter before the crust can set, so the layers never form. The crust bakes firm and chewy instead of flaky. Trust the oven heat and the timer, and bake the pie until the crust turns deep golden. A hot start locks the flakes in place.
Let Pie Cool
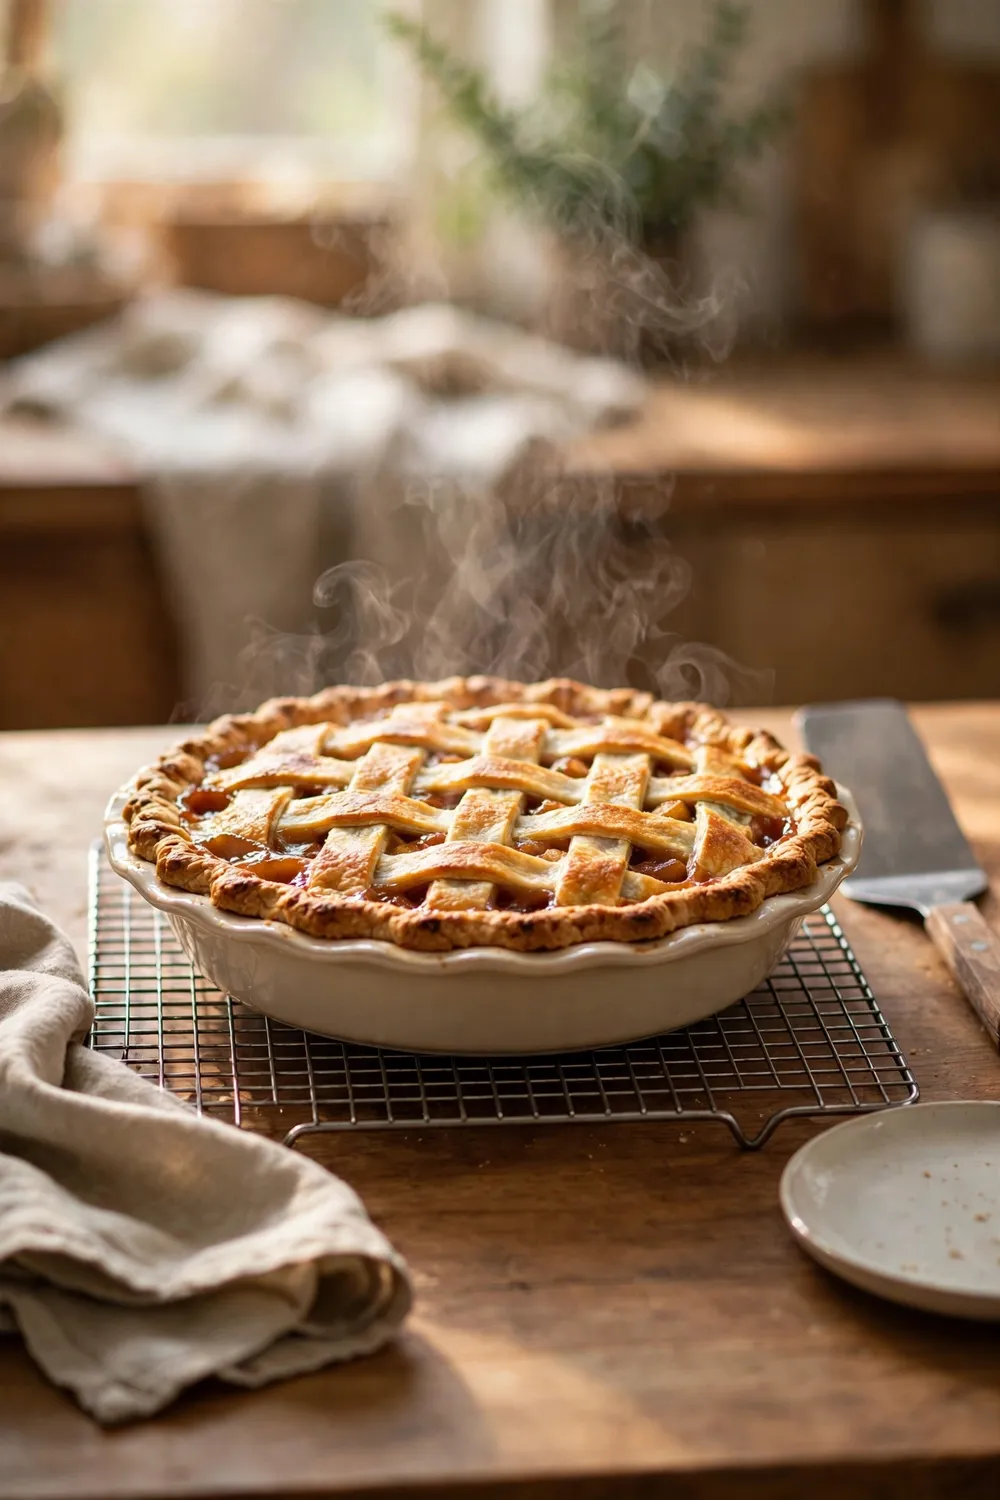
A hot pie tempts every baker to slice early, even when the bake was perfect. The filling is still bubbling, and the crust has not set yet. A rushed slice crumbles, and the crust turns soggy and chewy as it cools. Resist the urge and let it rest.
Let the pie cool on a wire rack for at least two hours, then slice it. Wait until the filling looks set and the pie feels barely warm. Patience here keeps the crust flaky, crisp, and tender at the table. The wait is worth it for a clean slice.
Common Mistakes
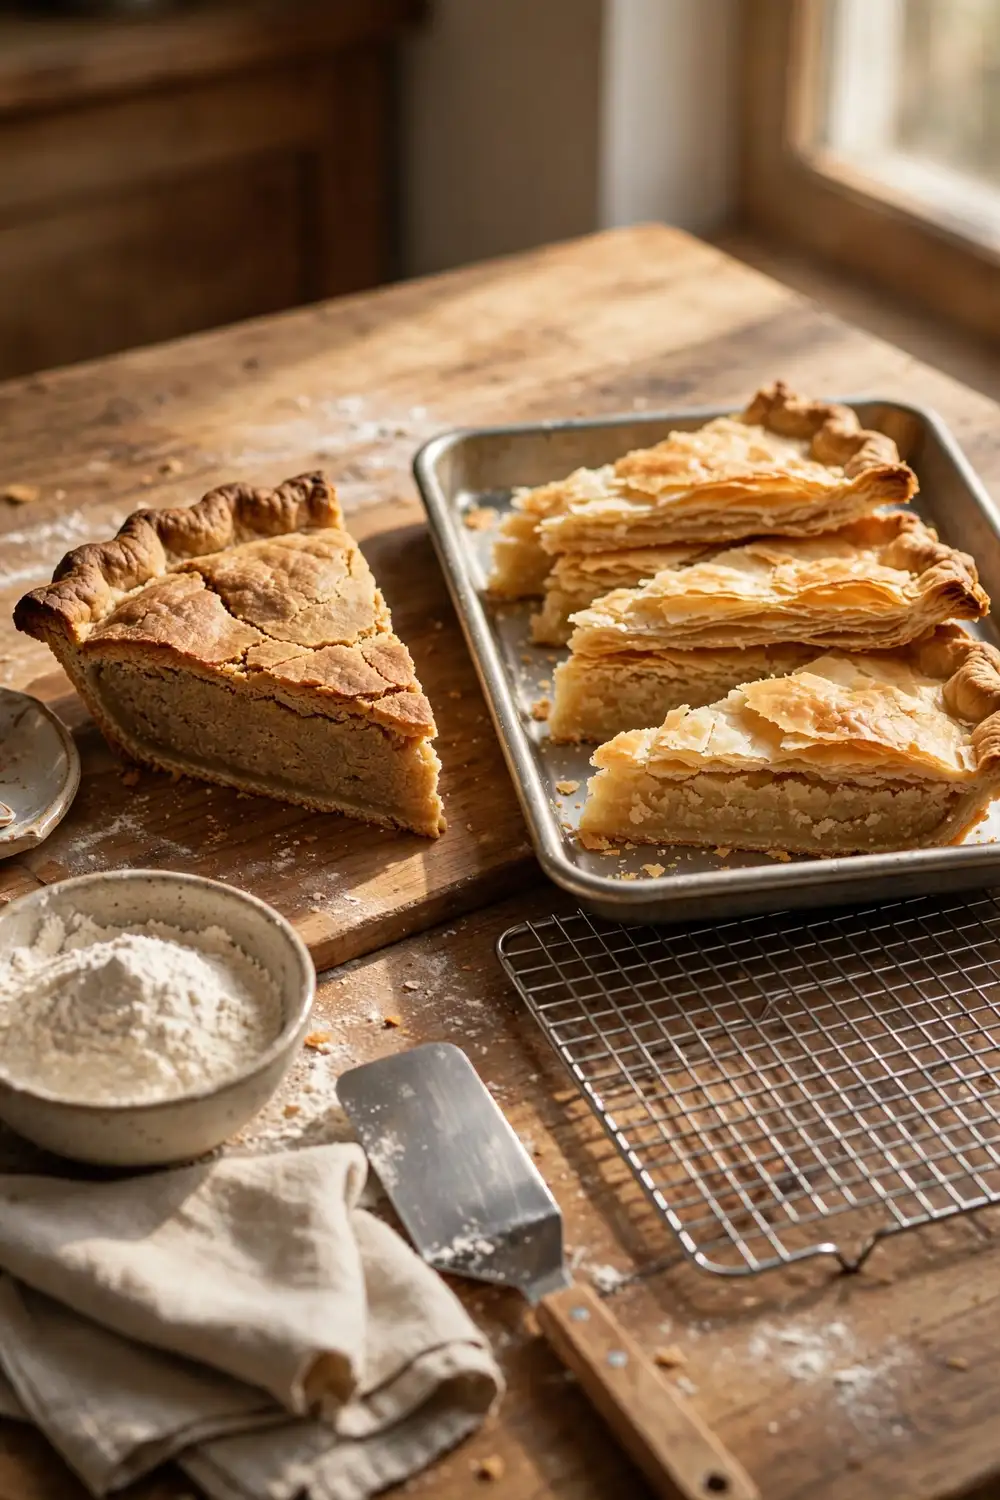
Most firm crusts come from the same few mistakes, and all of them are easy to fix. Change one thing at a time so you can see which fix made the difference. Start with the mixing, then the water, then the chilling.
- Do not knead the dough like bread dough.
- Do not add warm water to the flour.
- Do not use warm or melted butter.
- Do not skip chilling the dough before rolling.
Perfect Crust Signs
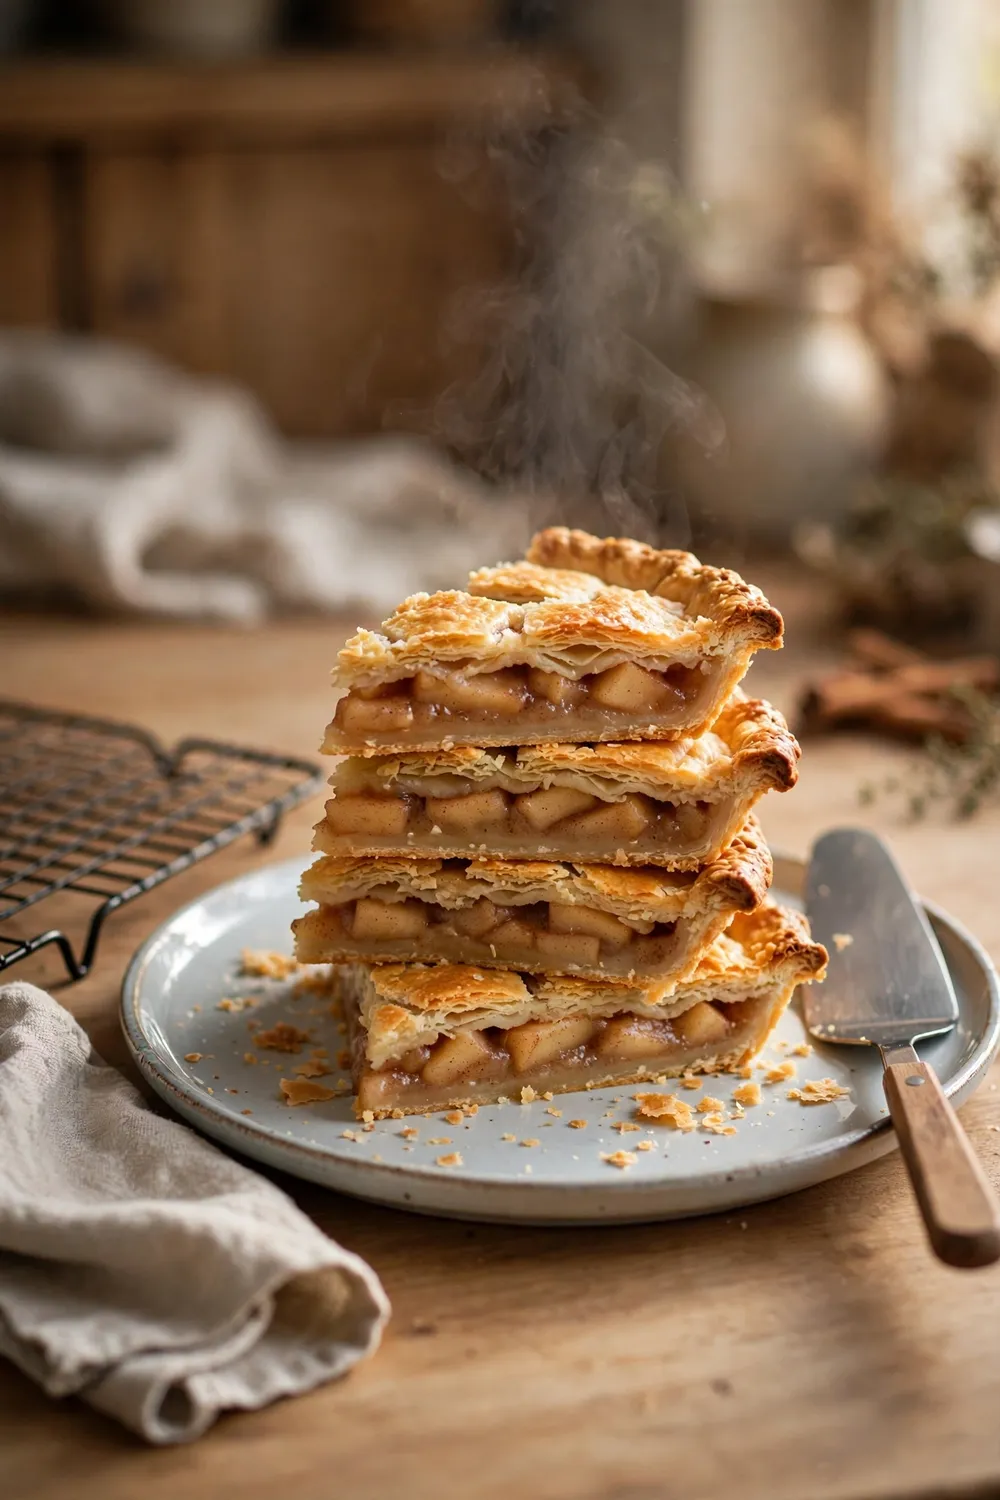
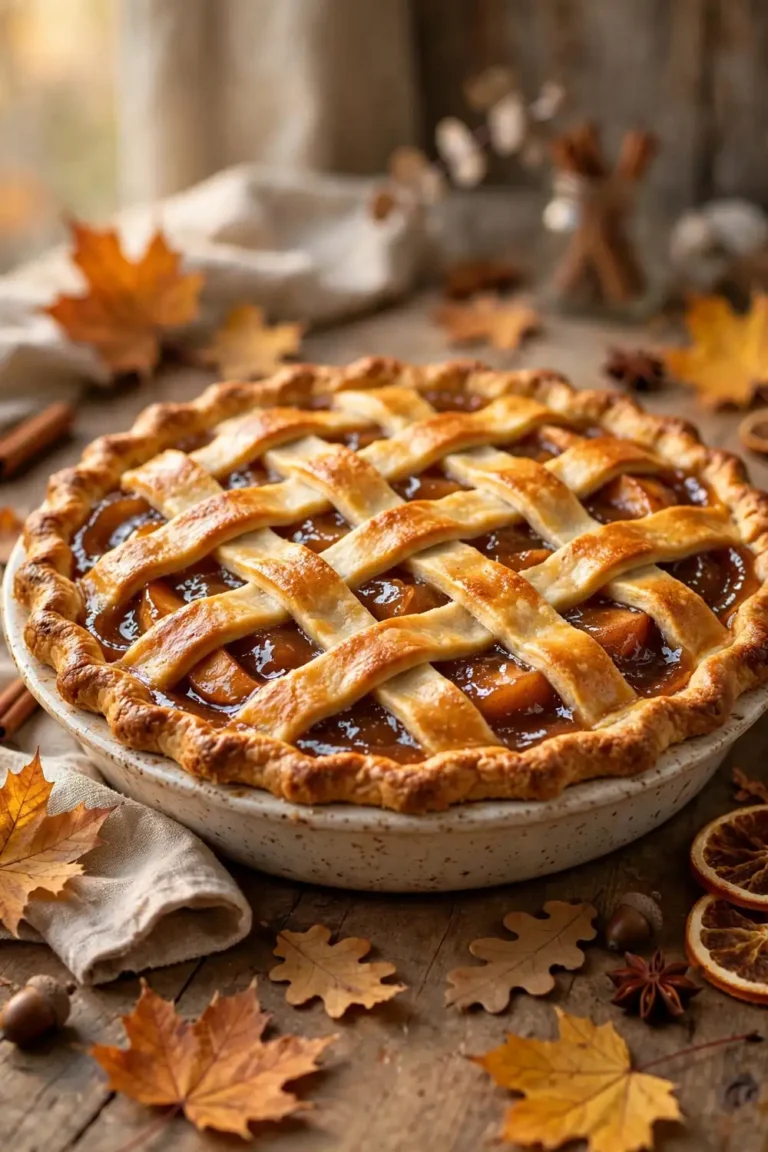
Quick Tip: A perfect crust looks golden and flaky, with clear layers at the cut edge. The bottom feels crisp, never soggy or chewy. Trust these signs more than the color of the top crust.
A good crust tells you it worked before you taste it. The top looks golden and crisp, the layers flake apart easily, and every slice holds its shape on the plate. That finish is what every fix on this list is working toward. Watch for it on your next pie.
Conclusion
A tough pie crust is not a sign of bad luck in the kitchen. It comes from small, fixable causes, and now you know each one. Handle the dough gently, keep it cold, and the next pie can surprise you.
Pick one fix from this guide and try it on your next pie. Save this post on Pinterest so the fixes are there when you need them, and share it with anyone whose pie crust turns out firm.
I have seen how making this one change can completely shift the result. Bake your next pie with these fixes and enjoy a flaky, golden slice.