Why Is My Chicken Breast Always Dry and Rubbery? Easy Fix Guide
Cutting into a breast you cooked with care should feel rewarding, yet dry chicken breast often turns up tough and rubbery instead of juicy. The fault is rarely your skill. Heat, timing, and small habits decide the texture.
Most breasts dry out for the same few reasons. Too much heat squeezes out juice, a missed rest lets it run onto the board, and skipping a brine leaves less moisture to start with. Each slip is easy to correct.
This guide walks through each cause in order, with a fix you can use tonight. You need no special tools and no fancy ingredients. If a slow cooker roast gives you the same trouble, see our guide to fixing tough pot roast for easy fixes.
Why Chicken Turns Dry
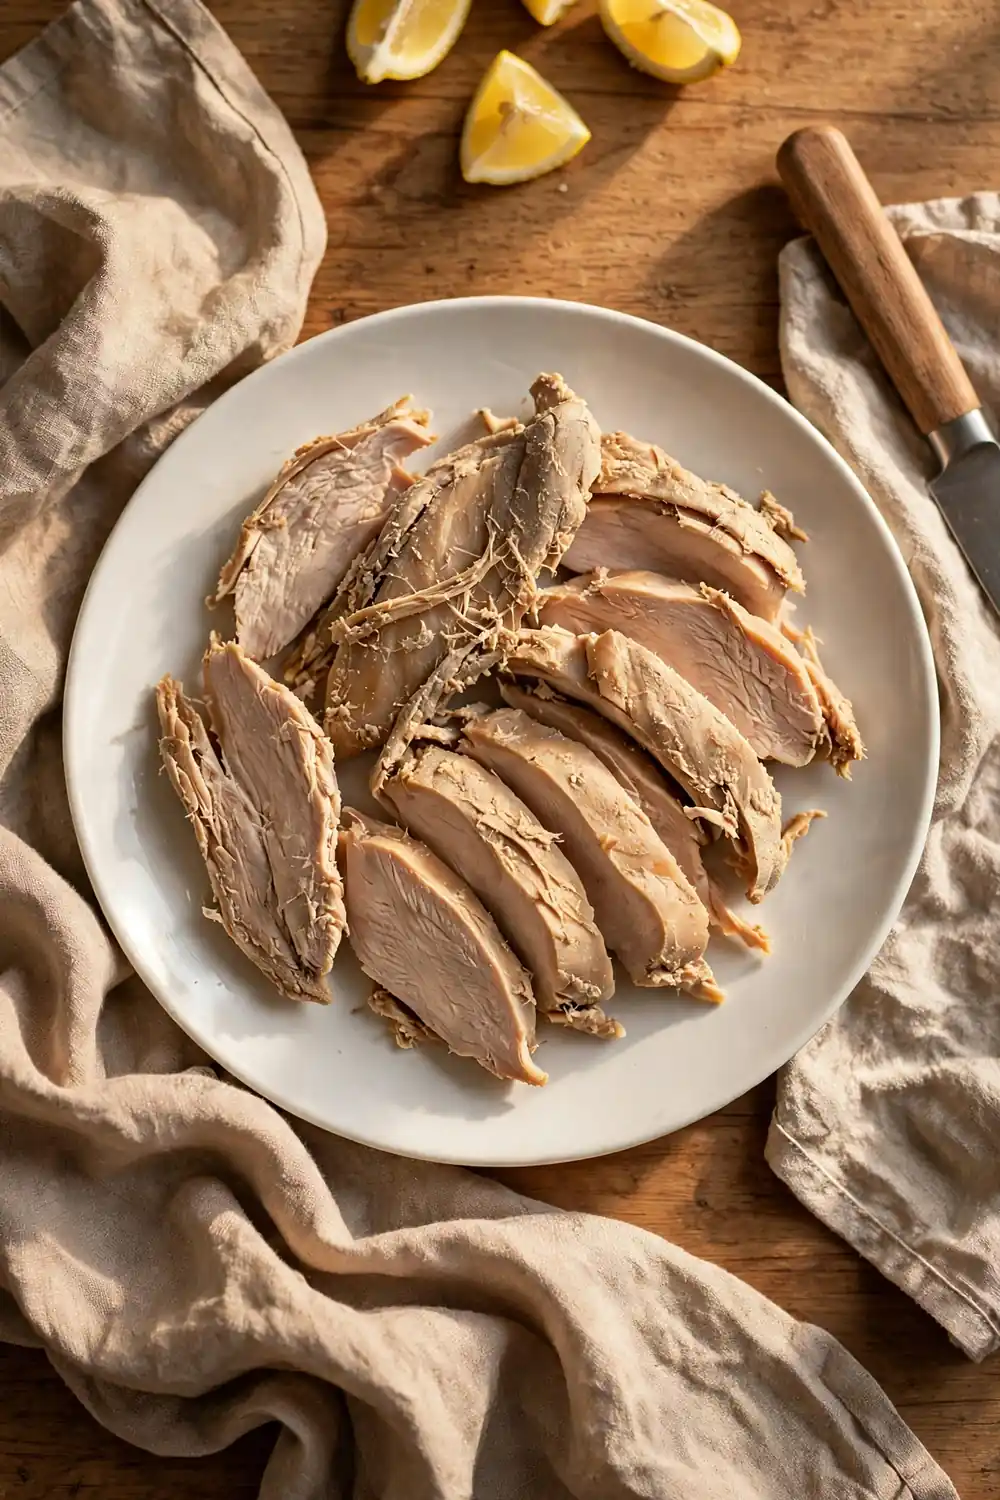
A breast dries out when heat drives its juices out faster than the meat can hold them. The thick end and the thin end cook at different speeds, so one part turns tough while the other is still catching up. The result feels rubbery even when the flavor is fine.
Three habits cause most of the damage: too much heat, no rest, and a skipped brine. When any one of them is off, moisture escapes and the slices turn firm. The good news is that each cause has a simple fix for your next breast.
Brine for Juiciness
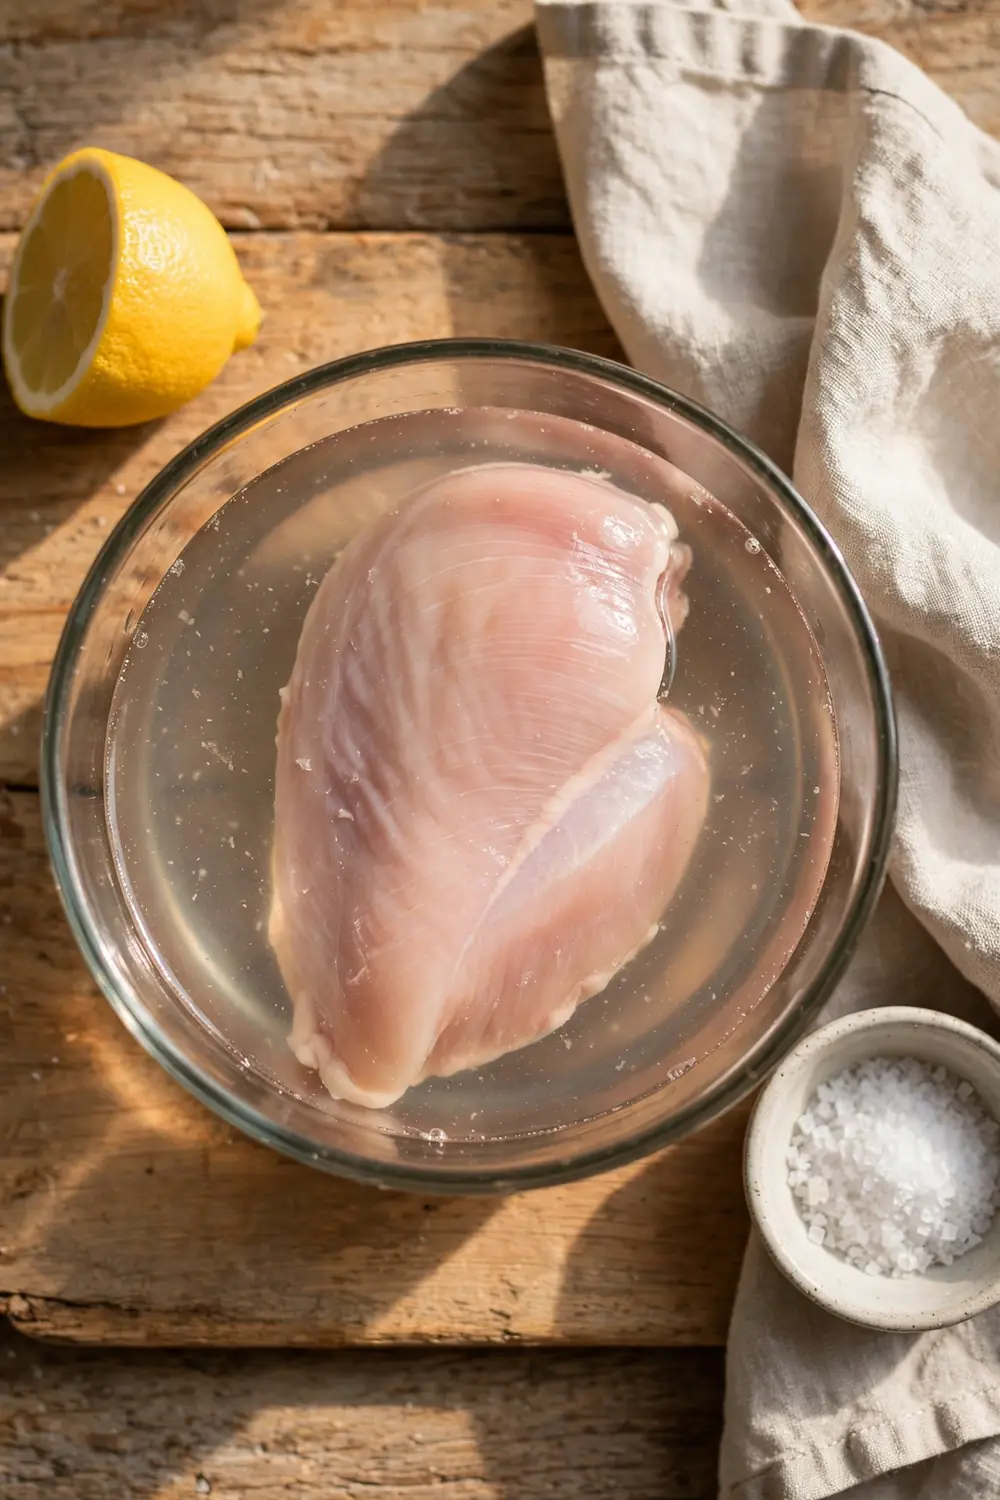
A brine gives the breast extra moisture before it ever meets heat. Salt water seasons the meat from the inside and helps it hold juice through the cook. Thirty minutes is enough to make a clear difference, so start here when your chicken keeps turning out dry.
- Stir two tablespoons of salt into four cups of cool water until it dissolves.
- Submerge the breast, cover the bowl, and chill it for thirty minutes.
- Lift the breast out, rinse it briefly, and pat it fully dry.
- Season lightly and cook as planned, since the meat is already seasoned inside.
Pound It Even
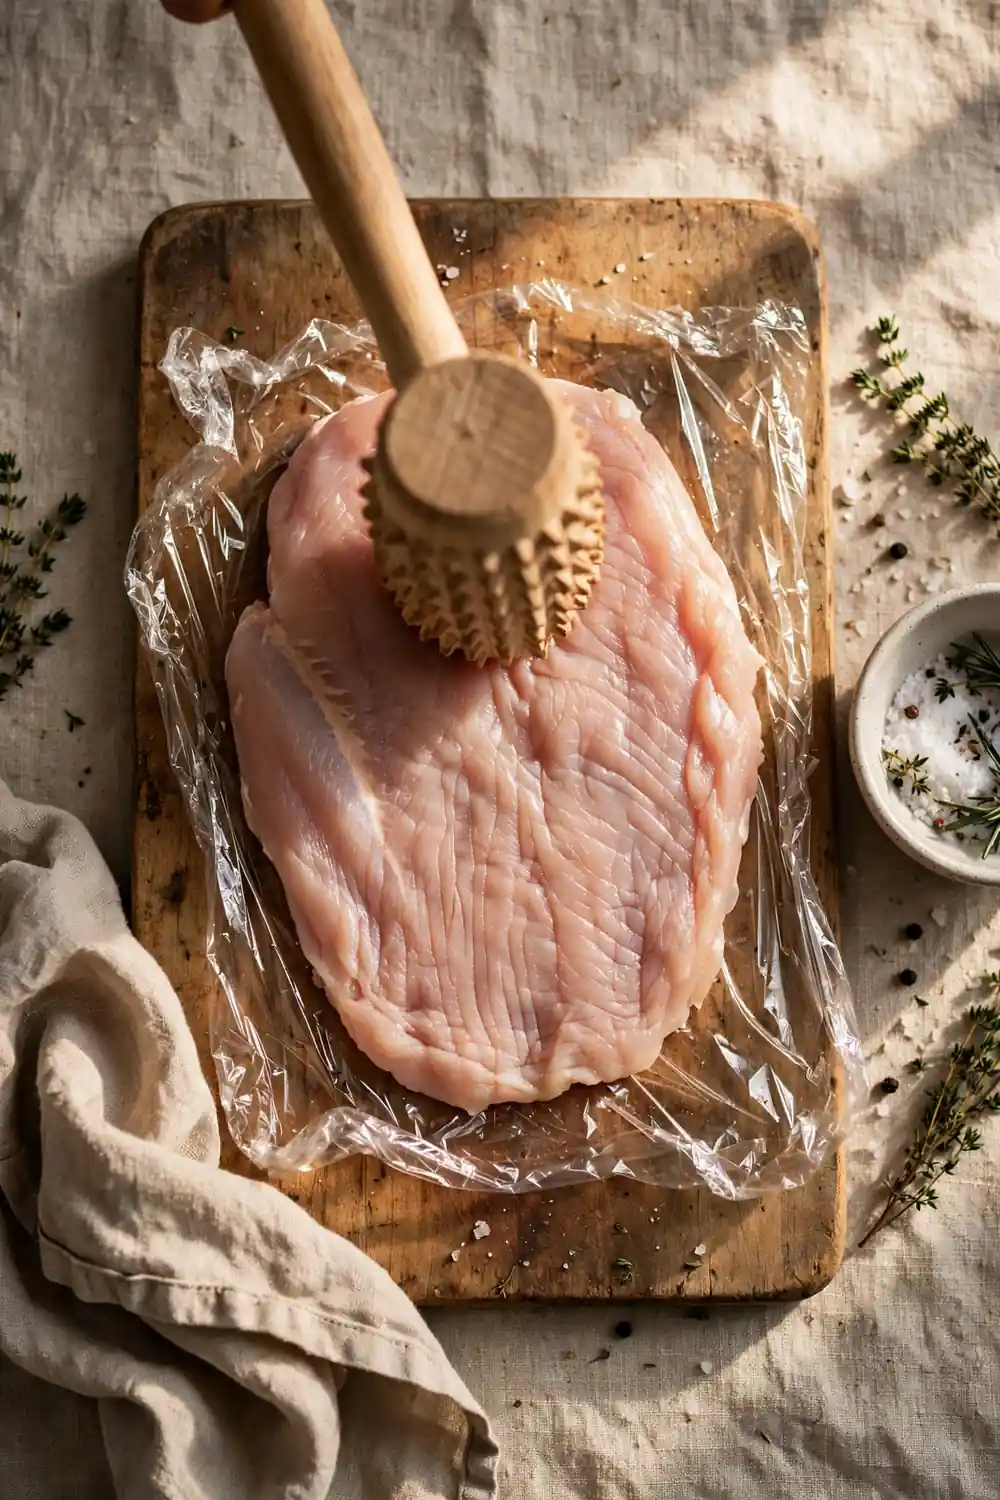
Quick Tip: An uneven breast cooks unevenly, so the thin end dries out before the thick center is done. Pound the breast to one even thickness and the whole piece finishes at the same time.
Lay the breast between two sheets of plastic wrap and tap gently from the center outward. Aim for about three quarters of an inch thick, with no thin torn spots. Even thickness means even cooking, so the center turns done just as the edges stay juicy.
Pick the Right Pan Heat
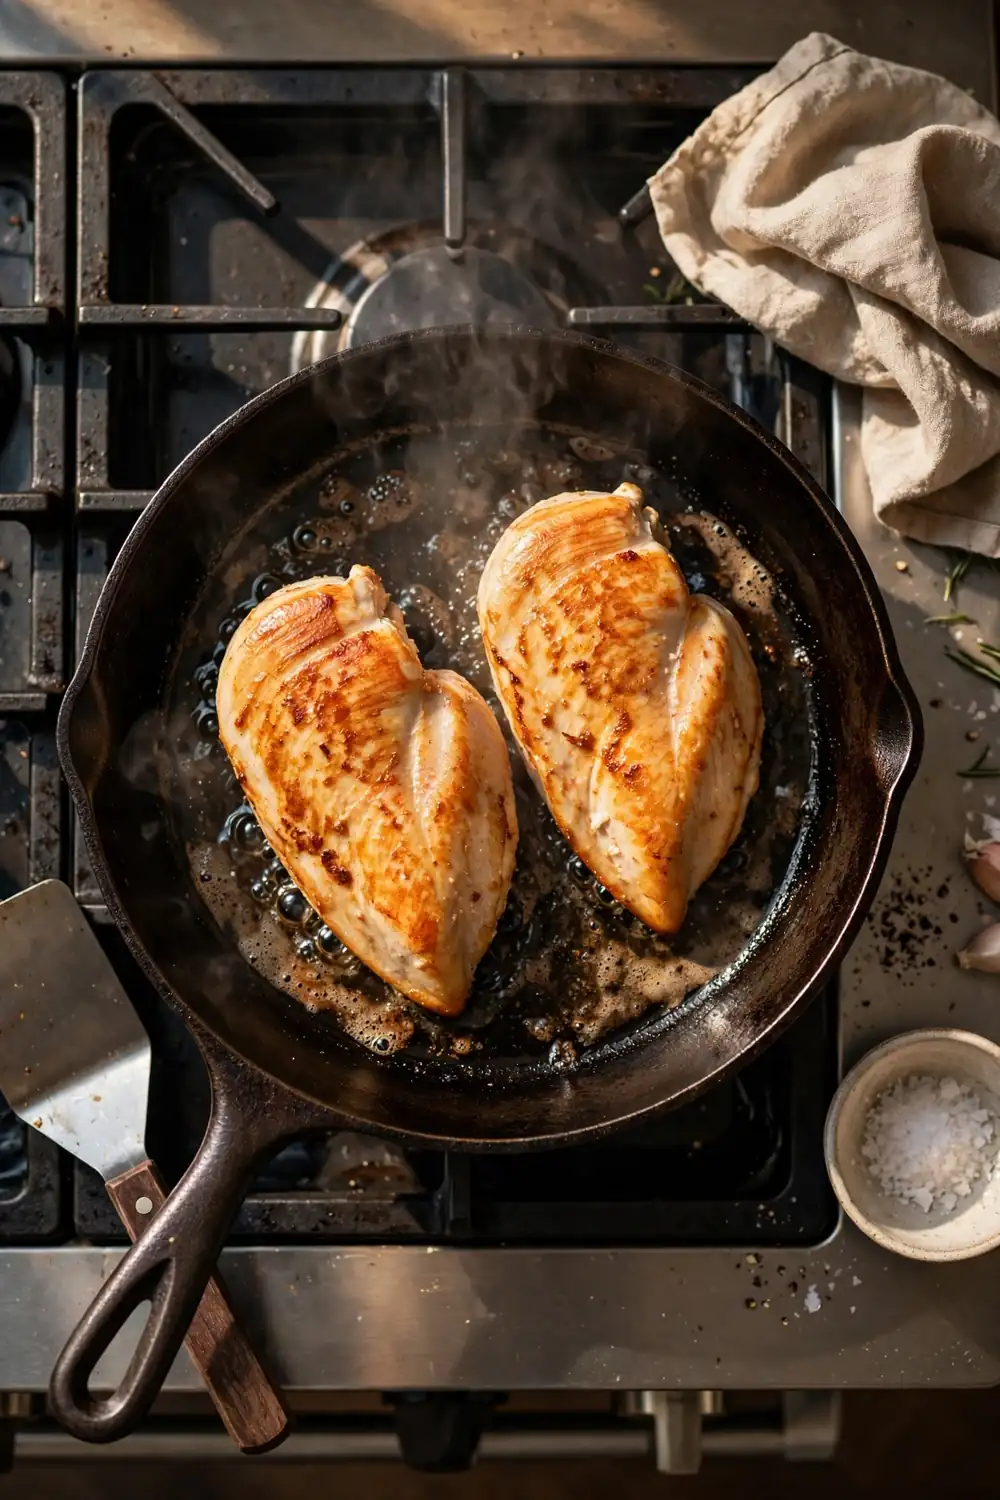
Common Mistake: Many cooks start the breast in a cold pan or blast it on high heat the whole time. A cold pan steams the meat instead of searing it, and high heat burns the outside before the center cooks.
The Fix: Heat the pan first, then add the oil and wait for a light shimmer. Sear on medium high for a golden crust, then lower the heat to finish the center gently.
Pan heat decides the crust and the juices at the same time. Too hot, and the outside burns while the center stays raw. Just right, and the breast sears golden, then finishes gently without drying out. Let the pan do the work, and resist the urge to press the meat flat.
Stop Overcooking It
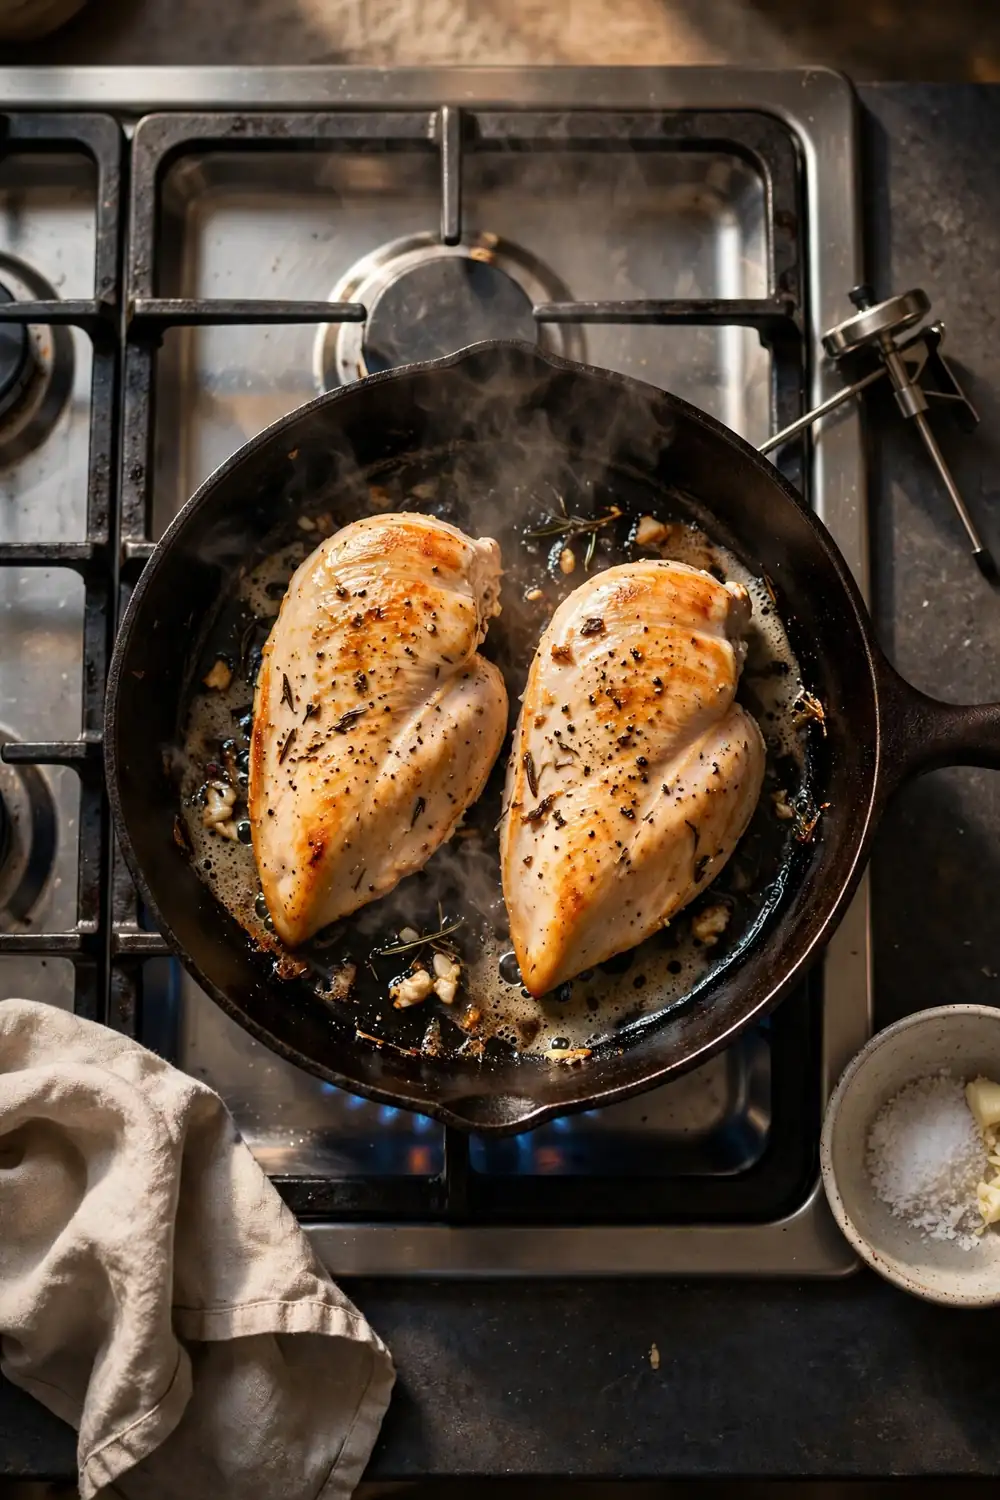
What You Need:
- A heavy skillet: It holds steady heat so the breast cooks evenly.
- A meat thermometer: It tells you the exact moment to pull the breast.
- Tongs: They turn the breast without piercing the meat.
- A plate: It holds the breast while it rests after cooking.
Overcooking is the biggest reason chicken turns dry, and just a few degrees past done can ruin the texture. One minute too long squeezes out juice for good, and no sauce can fully bring it back. Pull the breast at the right moment, and it stays juicy every time you cook.
Use a Meat Thermometer
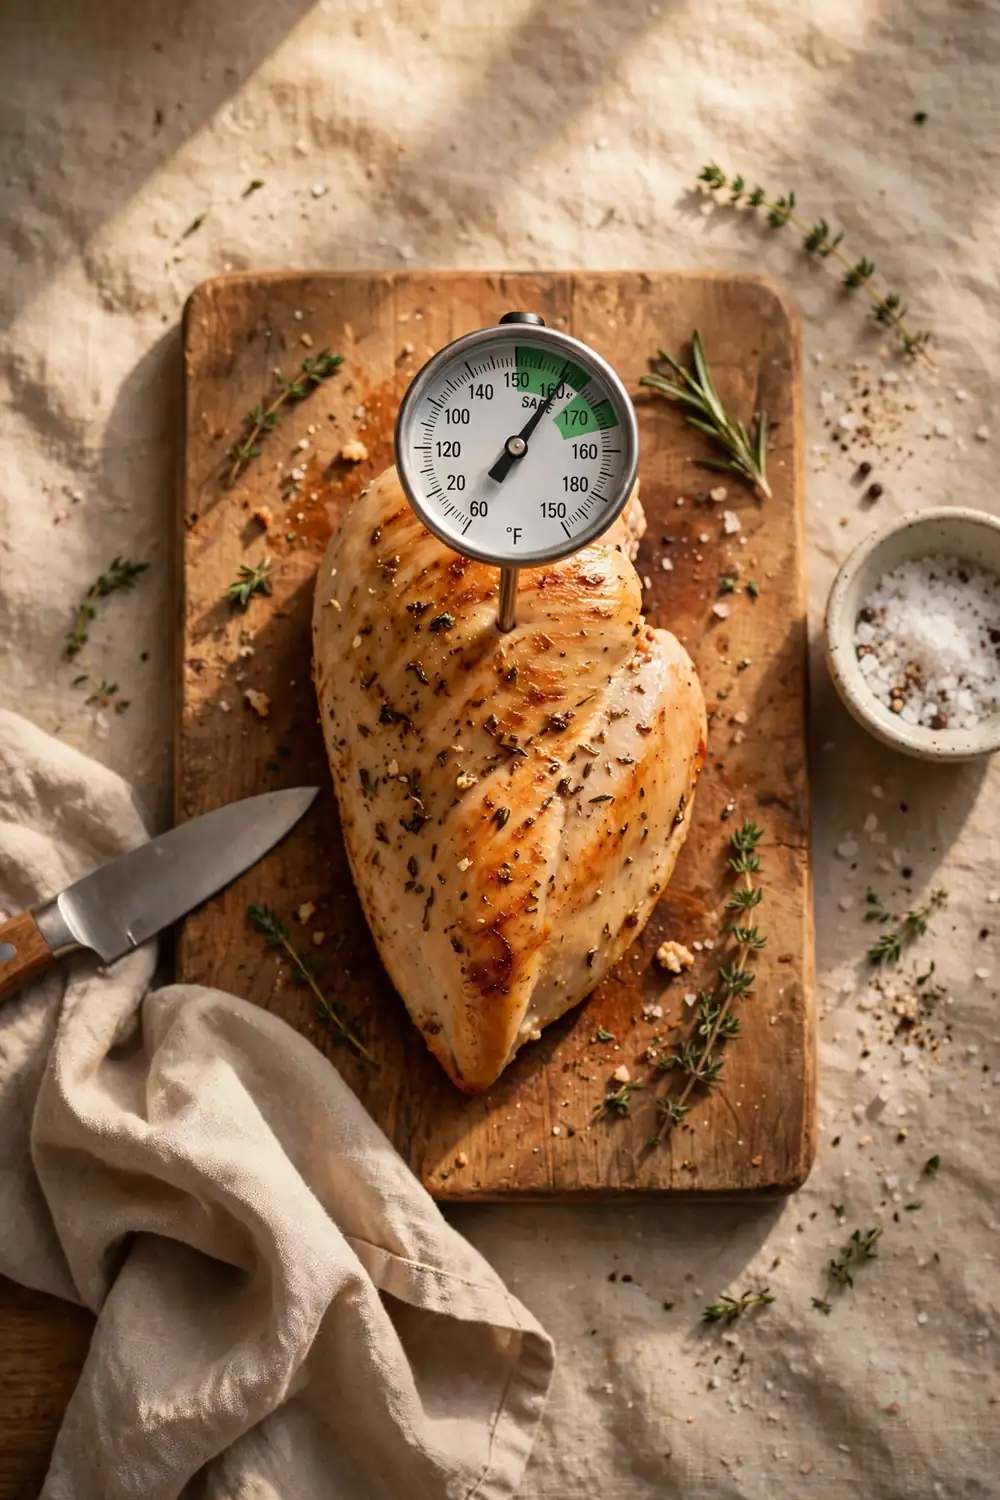
Before: Guessing doneness by color leaves you with two bad outcomes. The outside can look done while the center is still raw, or the breast can cook far past done while you wait for a safe color.
After: A thermometer removes the guesswork and gives you one clear number. Push the probe into the thickest part, read it once, and pull the breast at the right moment. Every breast turns out the same way.
Check the thickest part and trust the number, not the color. A thermometer keeps the cook honest, so the breast stays juicy and tender. In my experience, this single tool fixes more dry chicken than any other change, and it costs far less than one ruined dinner.
Rest Before Slicing
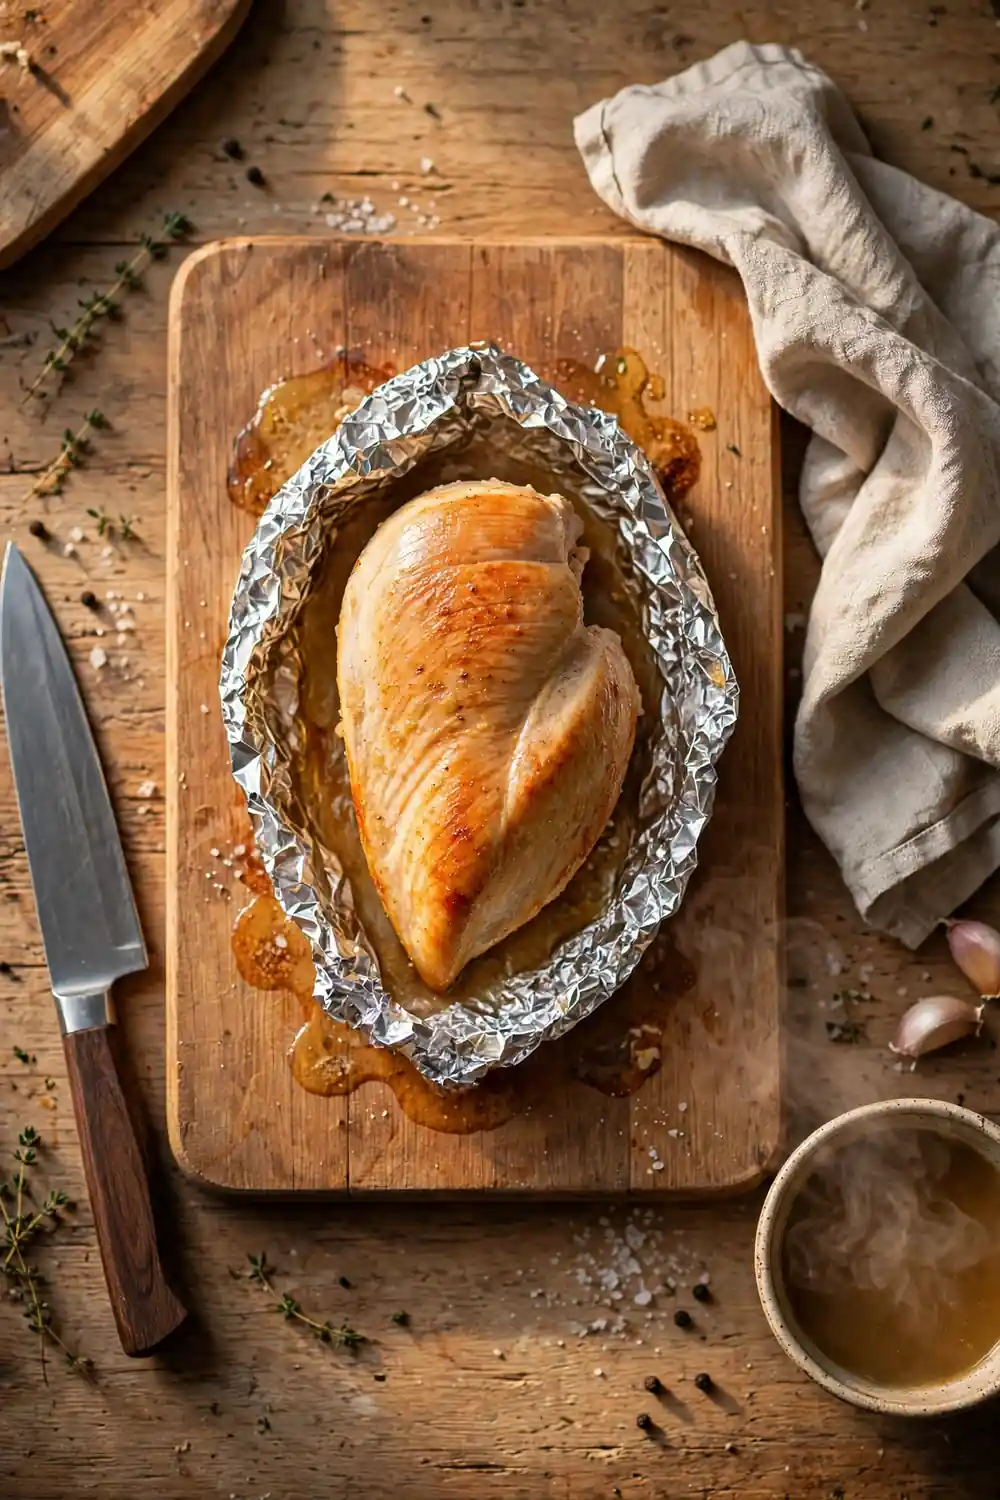
Do This:
- Move the breast to a clean plate as soon as it leaves the pan.
- Let it rest for five full minutes before you slice.
- Slice against the grain for the most tender bite.
Avoid This:
- Do not cut the breast right off the heat.
- Do not tent it tight in foil, since the crust turns soggy.
- Do not press the slices to squeeze out more juice.
Cutting the breast right off the heat lets the juices run out onto the board. With a five minute rest, the juices settle back into the meat and the slices stay moist. Resting keeps the juices inside, and the breast stays soft and tender every time.
Fix Dry Chicken Fast
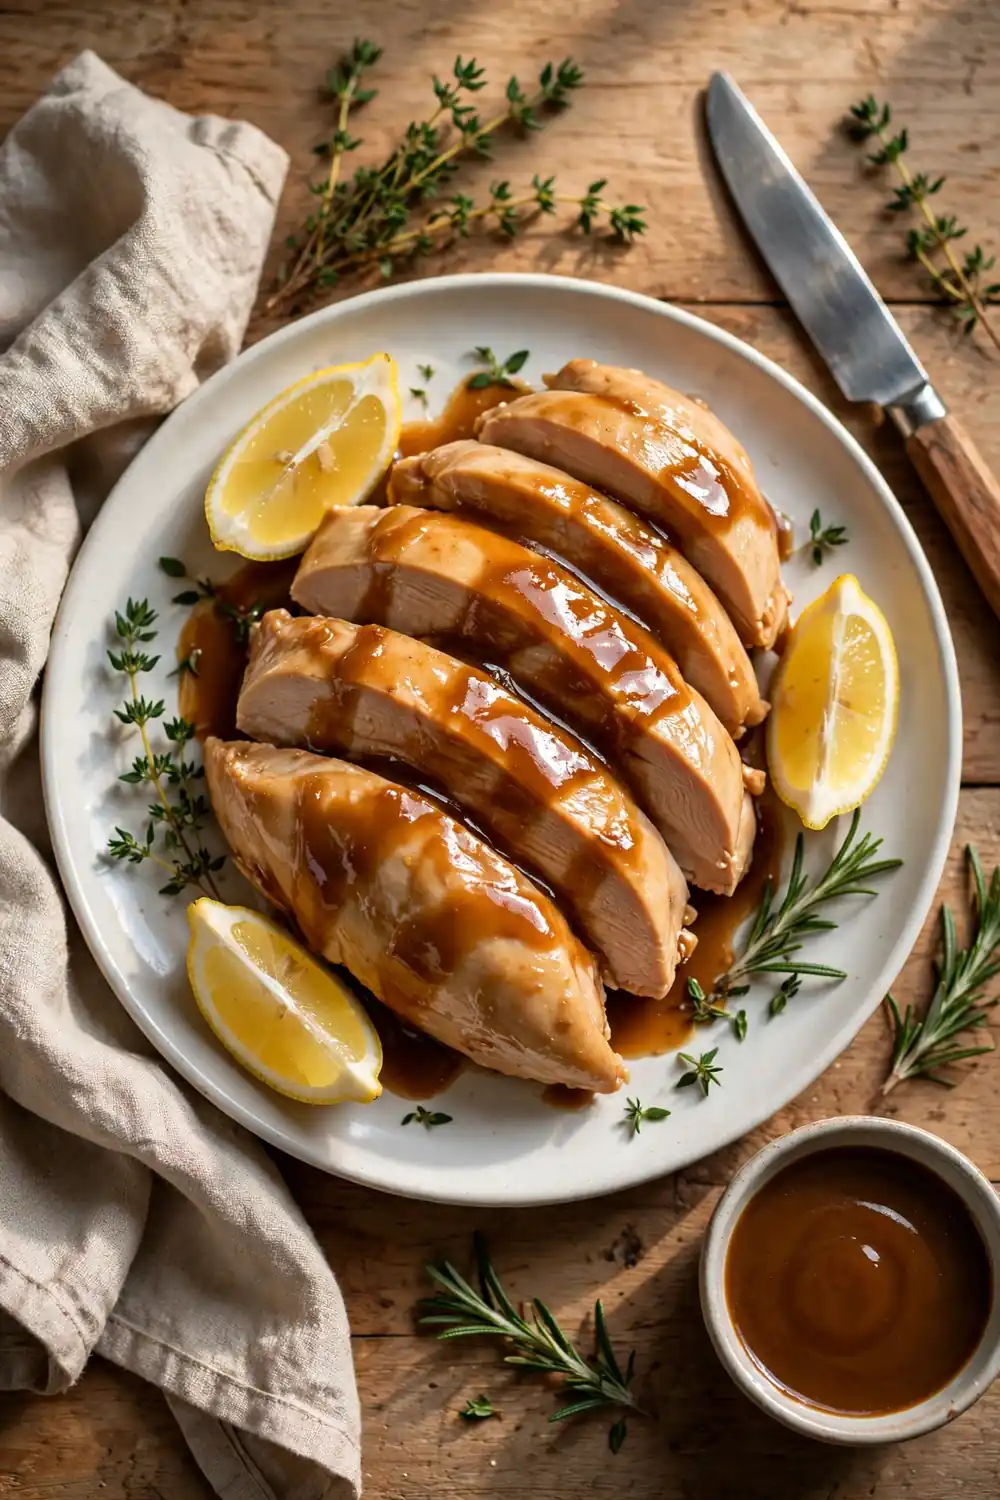
Best rescue: Slice thin and warm gently in broth.
Heat level: Low, never a hard boil.
Time needed: Five to eight minutes.
Result: Moist slices that serve well tonight.
Dry chicken is not lost, and a gentle warm up in broth can still save dinner. Slice the meat thin, warm it low, and let each piece soak up the liquid. Trust the slow fix, and the breast turns soft and tender again. Serve it at once, while the slices are still moist.
Store Chicken the Right Way
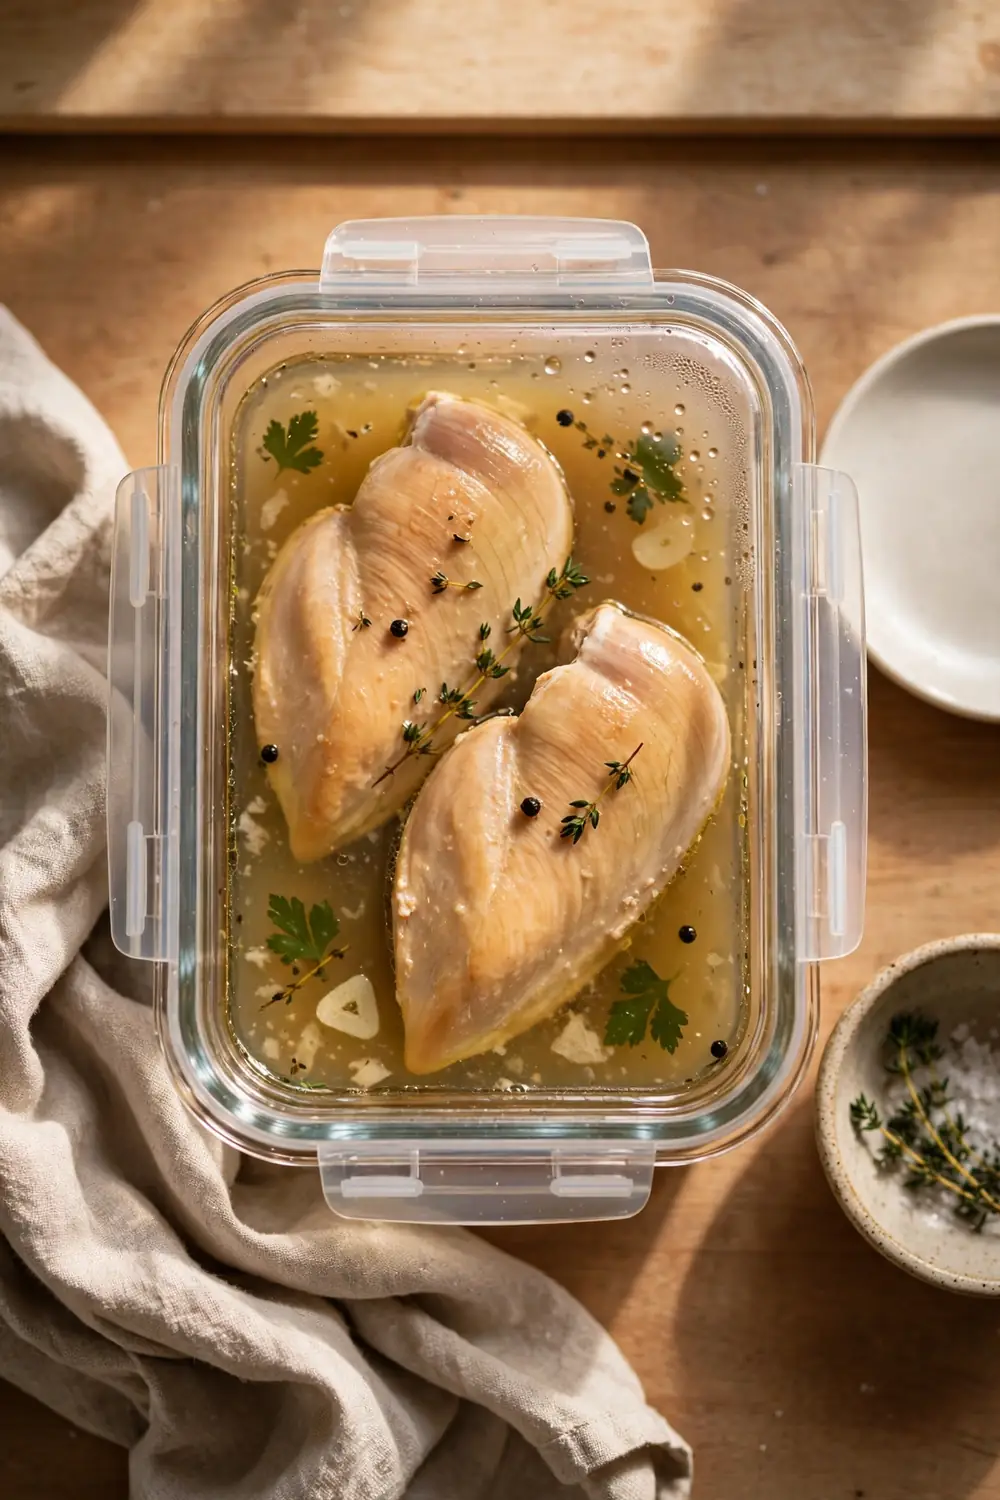
Storing chicken in the fridge uncovered is the fastest way to dry it out, even when the breast was perfect. Cold air pulls moisture from the slices, and the texture turns hard and tough. A dry slice feels rubbery, and the chicken loses its juicy bite as it sits.
Keep the chicken in a sealed container with a splash of broth for up to three days, then reheat it gently. Layer the slices flat so they never stick together. Good storage keeps the chicken moist, soft, and juicy for the next meal.
Common Mistakes to Avoid
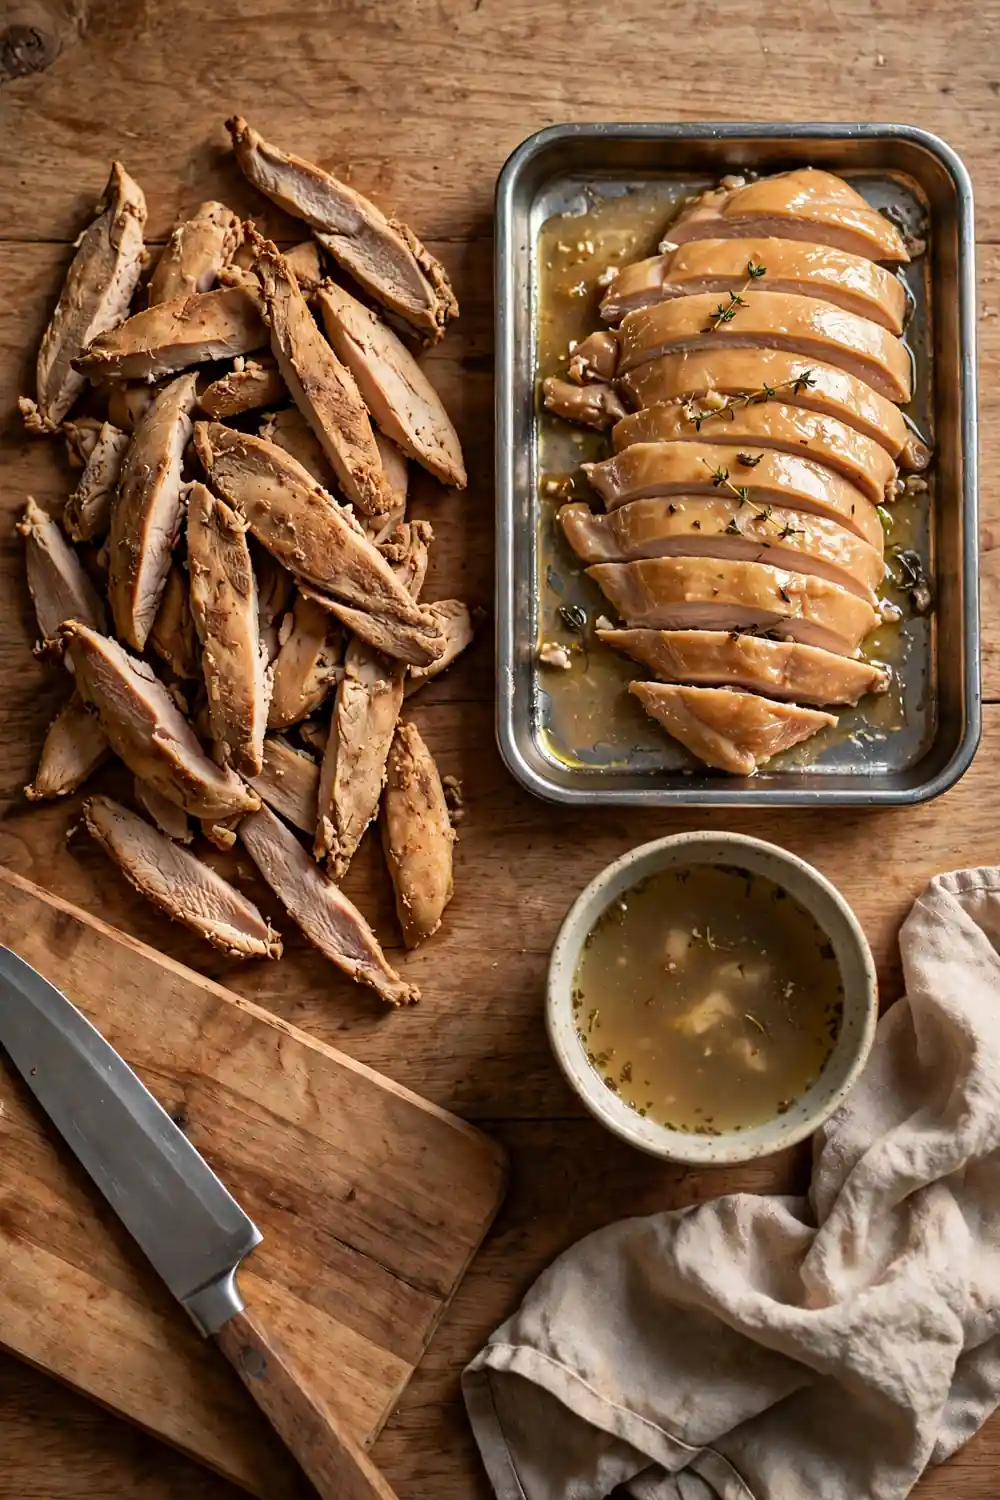
Most dry breasts come from the same few mistakes, and all of them are easy to fix. Change one habit at a time to see which fix made the difference. The list below covers the mistakes I see most often.
- Do not cook the breast on high heat the whole time.
- Do not skip the rest before slicing.
- Do not slice the breast to check doneness.
- Do not store the chicken uncovered in the fridge.
What Perfect Chicken Looks Like
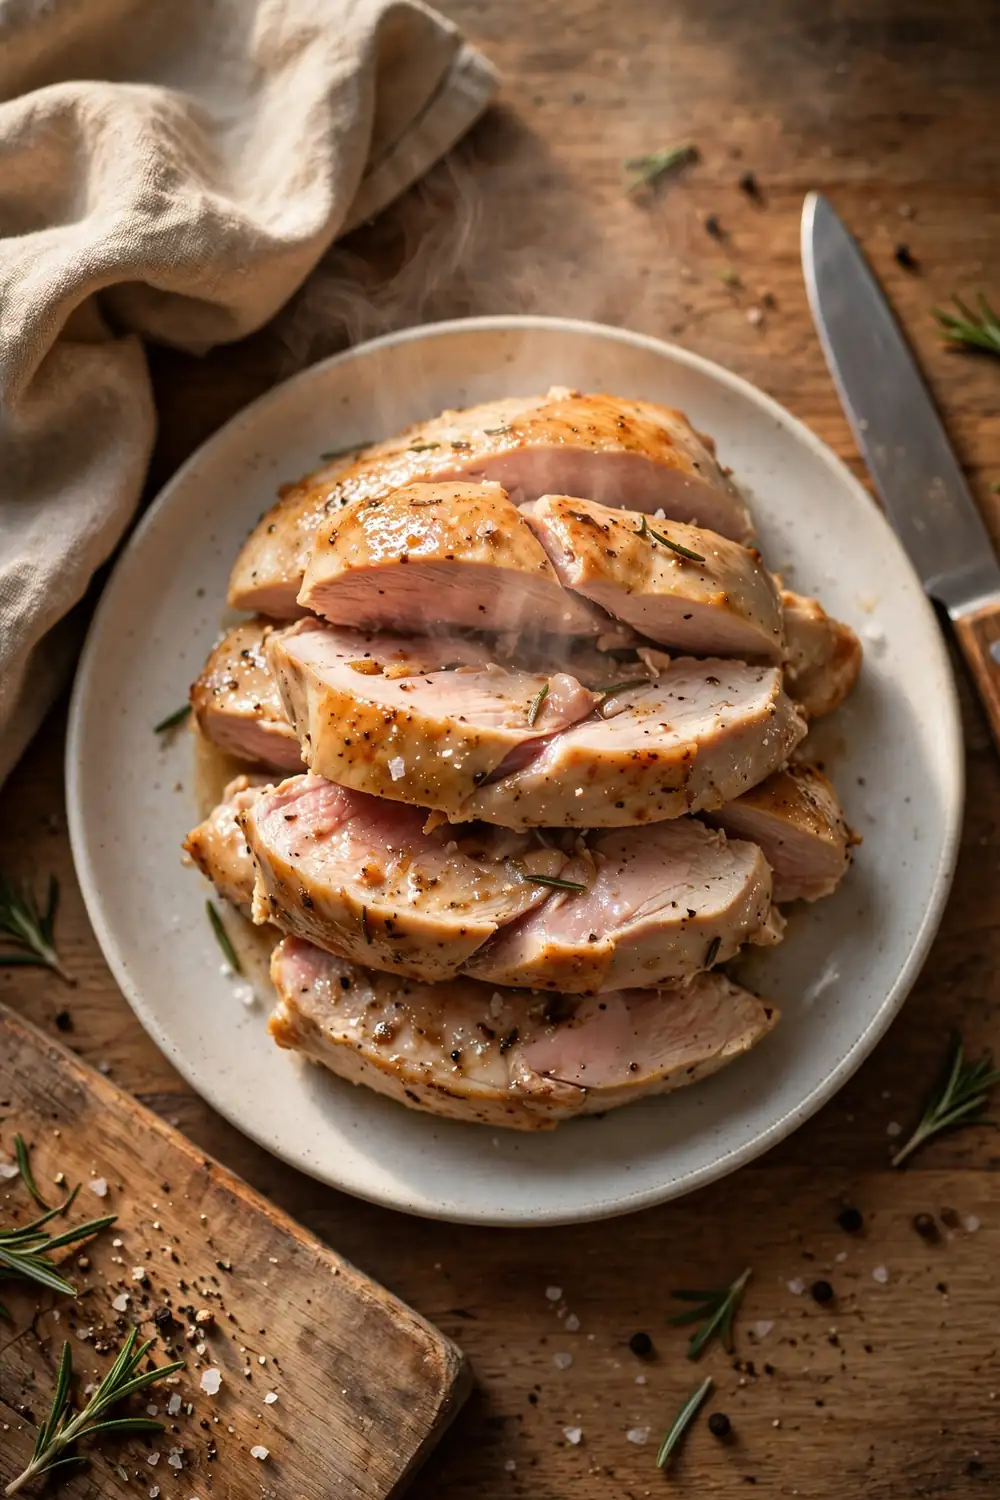
Quick Tip: Perfect chicken looks juicy and tender, with clear juices running. The center feels soft, never tough or rubbery. Trust these signs more than the color of the outside.
Good chicken tells you it worked before you taste it. The slices look moist and tender, the juices run clear, and every piece holds its shape on the plate. That is the finish every fix in this guide is working toward on your next breast.
Conclusion
Dry chicken breast is not a sign of bad luck in the kitchen. It comes from small, fixable causes, and now you know each one. Watch the heat, rest the meat, and the next breast can surprise you.
Pick one fix from this guide and try it on your next breast. Save this post on Pinterest so the fixes are there when you need them, and share it with anyone whose chicken turns out dry.
I have seen how making this one change can completely shift the result. Cook your next breast with these fixes and enjoy a juicy, tender slice.