Why Is My Fudge Grainy and Not Smooth? Easy Fix Guide
Nothing is more disappointing than cutting into a fresh batch, only to find grainy fudge that feels rough and sandy instead of smooth and creamy. The good news is that a rough batch has clear causes, and each one has a simple fix.
Most batches turn rough for one of a handful of reasons. Undissolved sugar, wrong heat, or stirring at the wrong time can each grow crystals and ruin the texture. Small timing slips add up fast, and skipping the cooling step makes the problem worse.
This guide walks through each cause with a fix you can use right away. If your chicken turns out dry instead of juicy, see this guide on fixing dry chicken breast for the same kind of simple fixes.
Why Fudge Turns Grainy
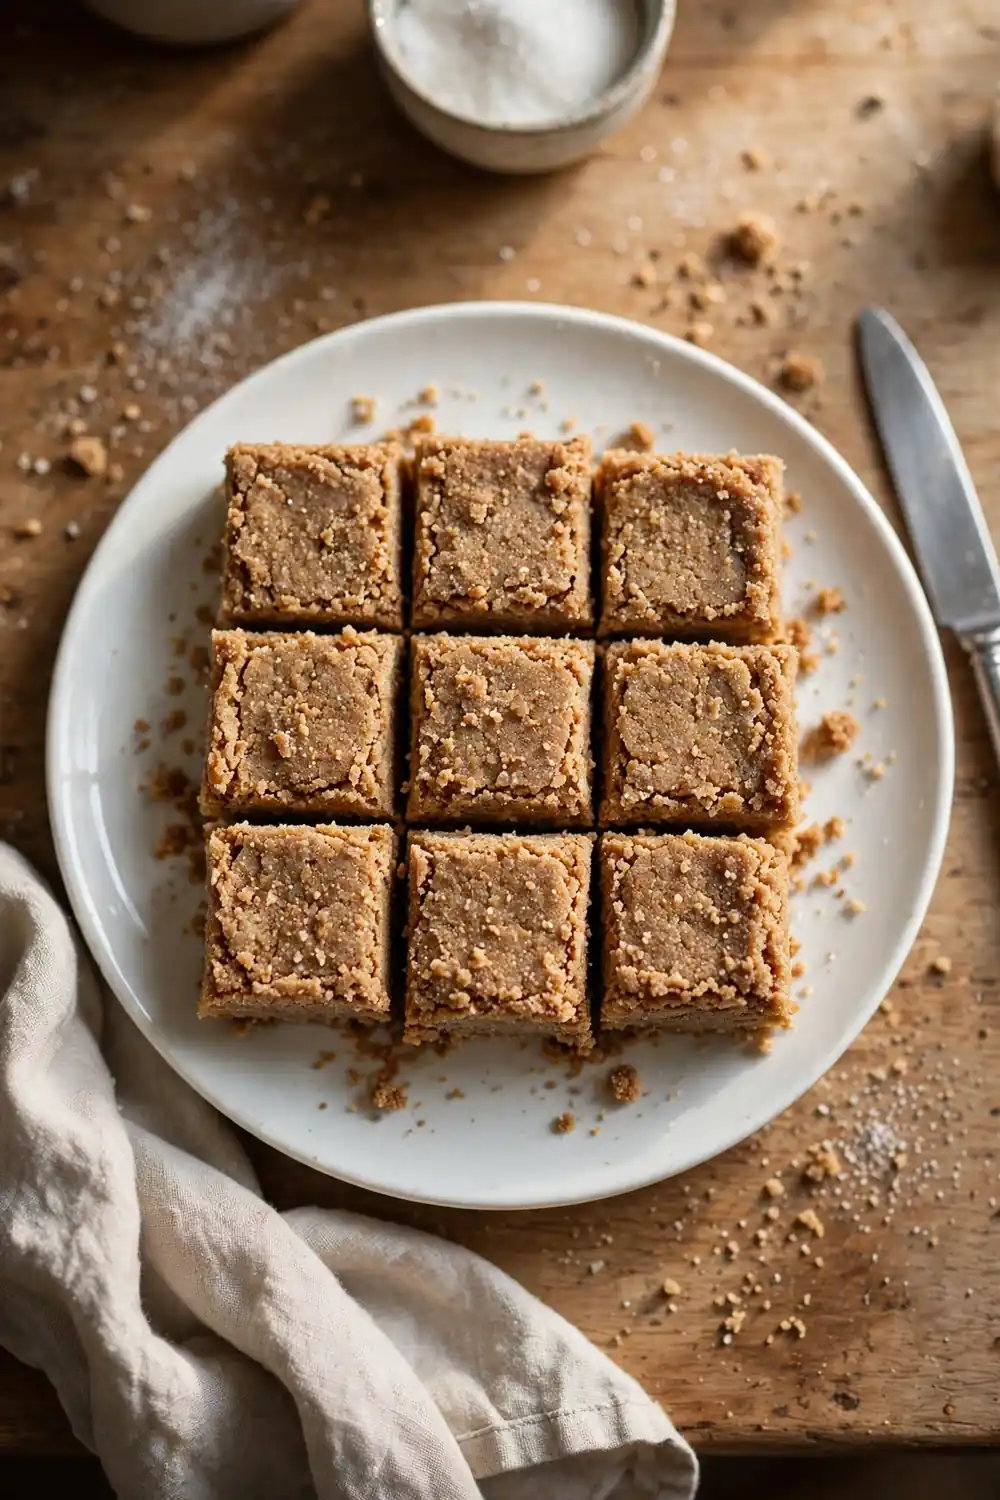
You cut into a fresh batch, hoping for smooth, creamy fudge, even when the flavor is perfect. Instead, the texture feels rough, sandy, and gritty on the tongue. The problem is rarely one big mistake, and it starts with how the sugar is handled in the pot.
Undissolved sugar, wrong heat, and stirring at the wrong time each push the batch toward rough. When any of those three is off, sugar crystals grow and the texture turns gritty instead of smooth. The good news is that each cause has a simple fix for your very next batch.
Use the Right Pot
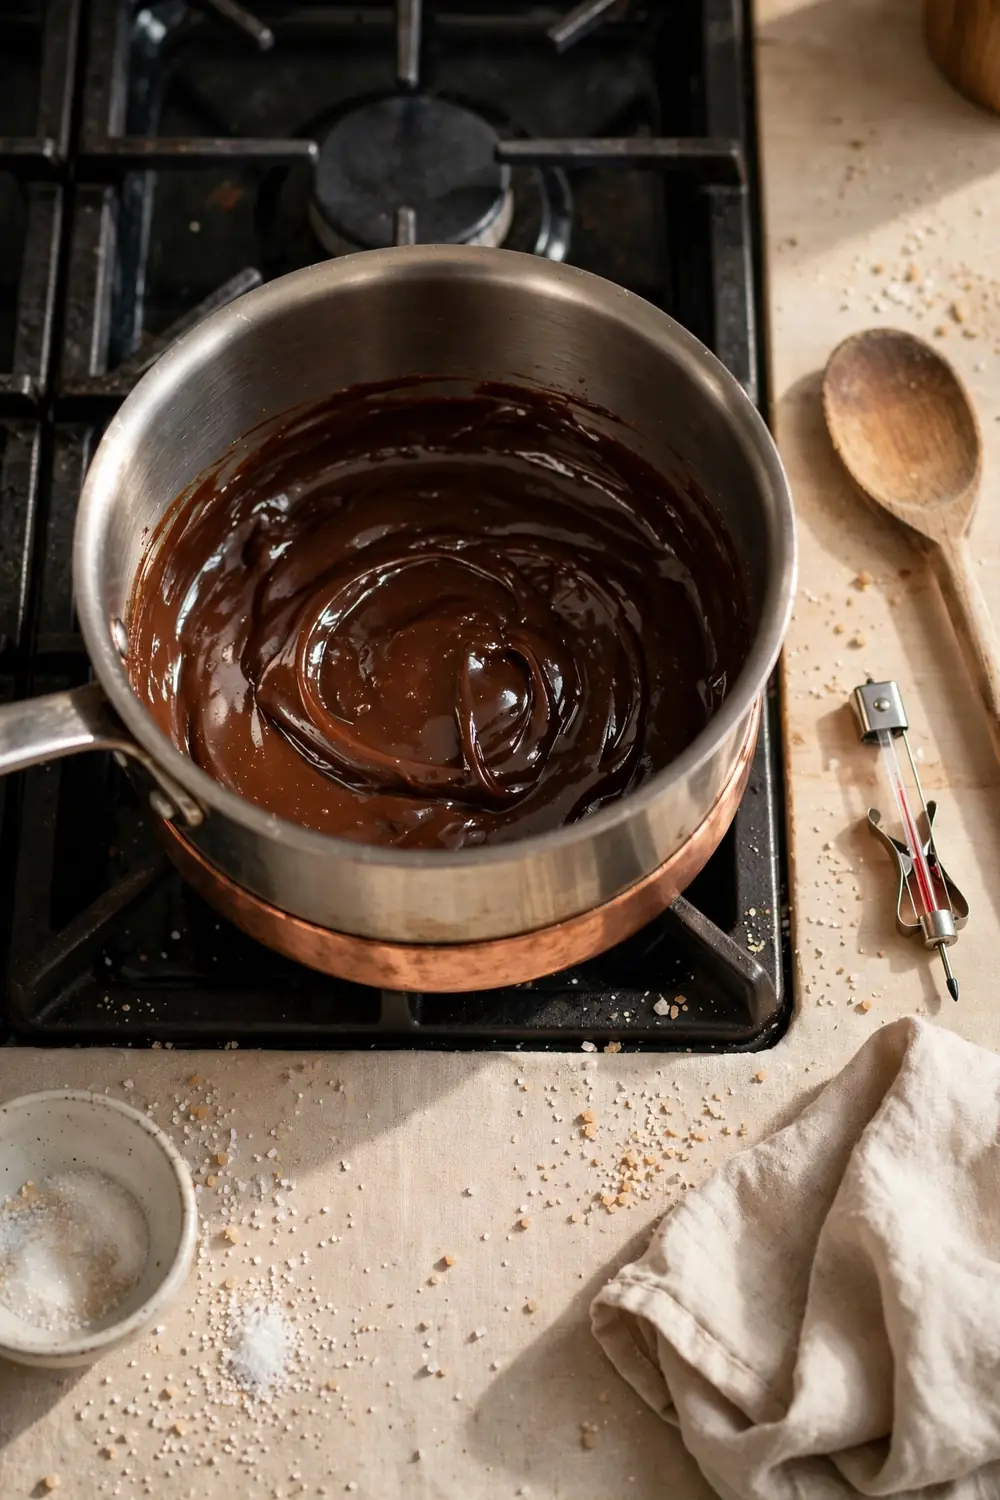
The pot shapes the cook, so its weight matters more than most cooks expect. A thin pot scorches the sugar and grows crystals fast, while a heavy pot spreads the heat evenly. Pick the right pot first, and the rest of the cook gets easier.
- Choose a heavy bottomed saucepan that holds heat without hot spots.
- Pick a pot big enough that the mixture never climbs near the rim.
- Use a wooden spoon, since metal can scratch the pan and stir up crystals.
- Keep a wet pastry brush nearby to wipe crystals from the pan sides.
Dissolve the Sugar Fully
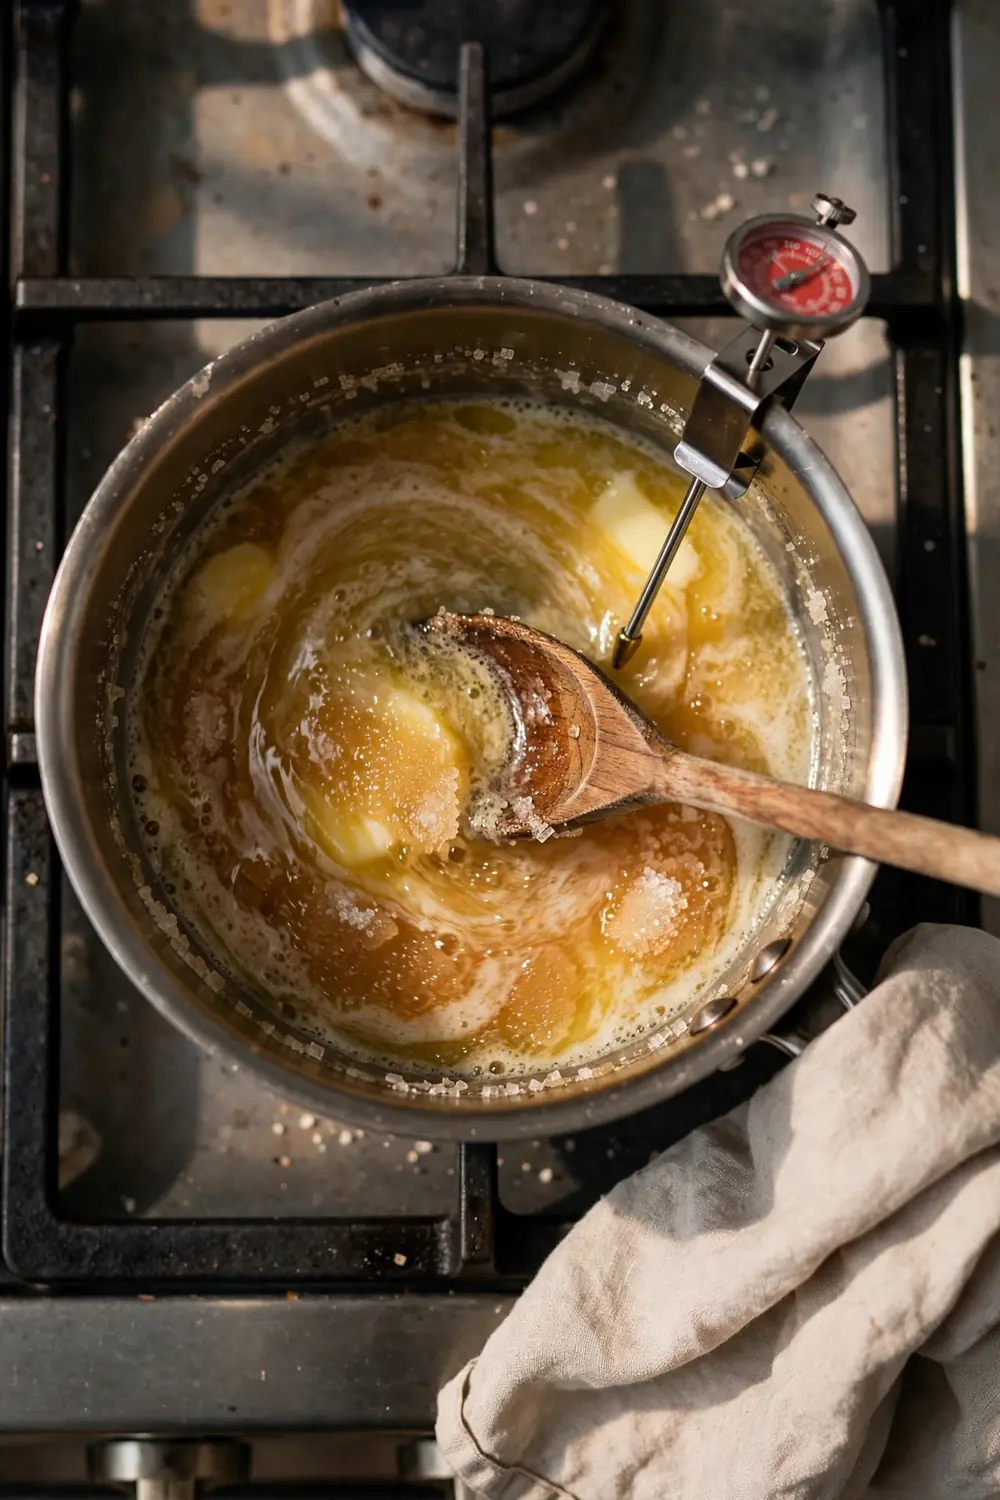
Quick Tip: Stir the sugar, butter, and milk over low heat until no crystals remain on the spoon. Wipe the pan sides with a wet brush to catch stray crystals. One stray crystal can seed the whole batch, so take your time here.
Undissolved sugar is the biggest reason fudge turns rough, and very few crystals can spoil the batch. Dissolve every crystal before the mixture boils, then stop stirring and let the heat work. A fully dissolved base sets silky, and the squares cut clean without a gritty bite.
Control the Heat
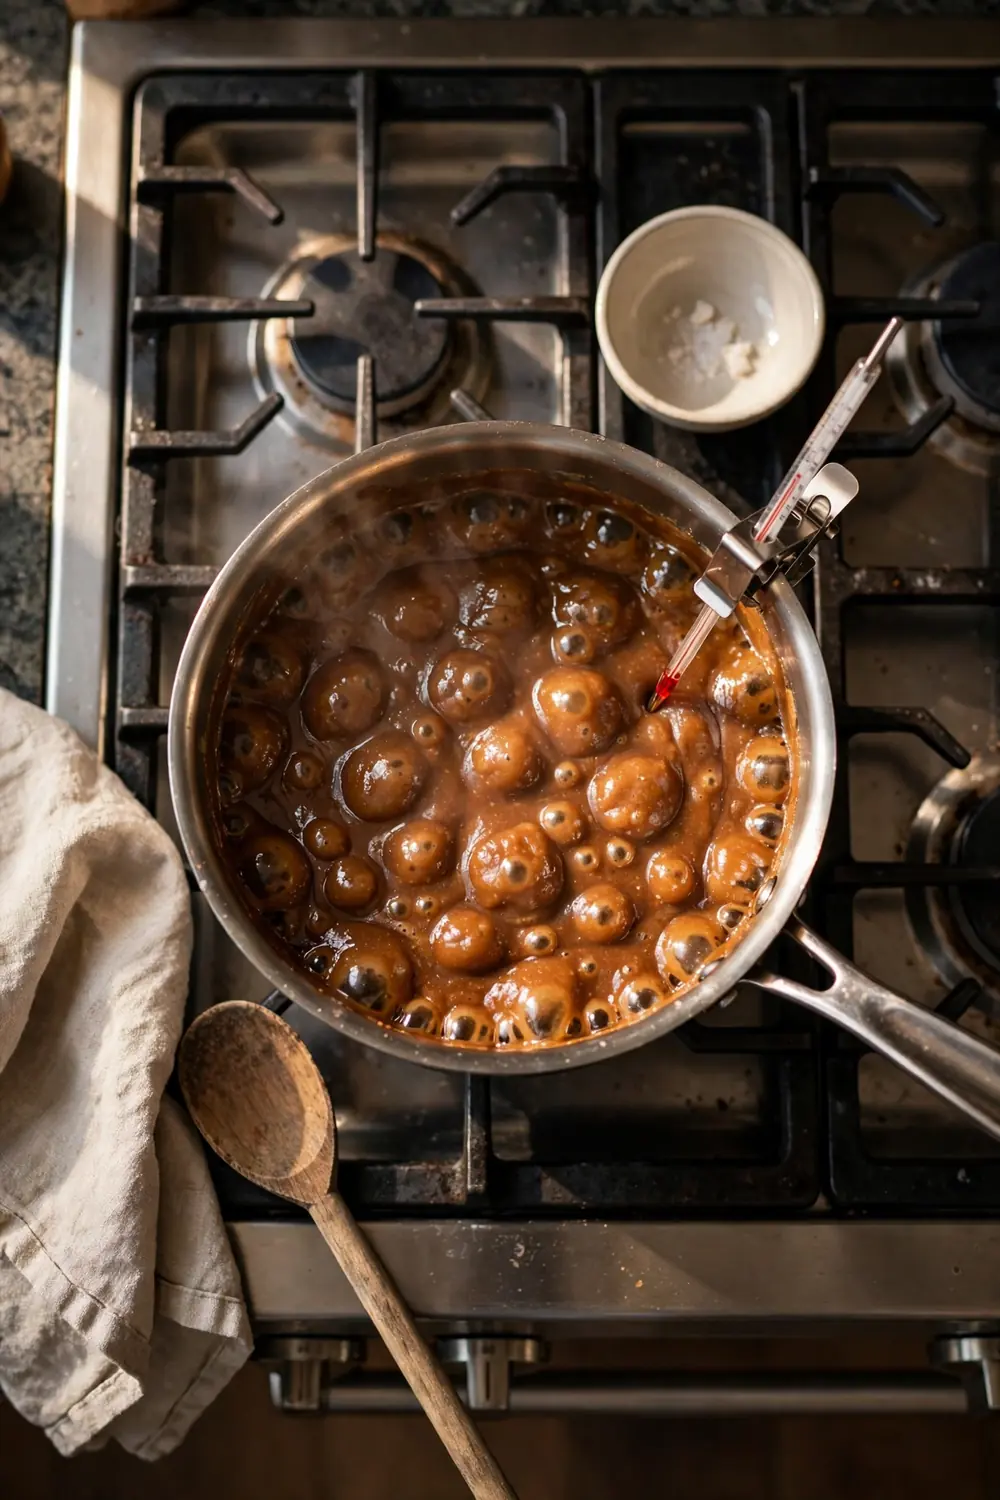
Common Mistake: Many cooks crank the heat to speed up the cook. High heat scorches the sugar and grows crystals fast. The batch sets dry, crumbly, and rough, no matter how good the flavor is.
The Fix: Bring the mixture to a steady boil over medium heat and hold the target temperature. A candy thermometer takes out the guesswork and keeps the heat honest. Watch the reading closely instead of watching the clock.
Heat decides the final texture more than any other step. Too hot, and the fudge turns dry and crumbly. Too cool, and it never sets firm. A steady boil at the right temperature gives a smooth, firm set that slices clean every time you cut it.
Stop Stirring Early
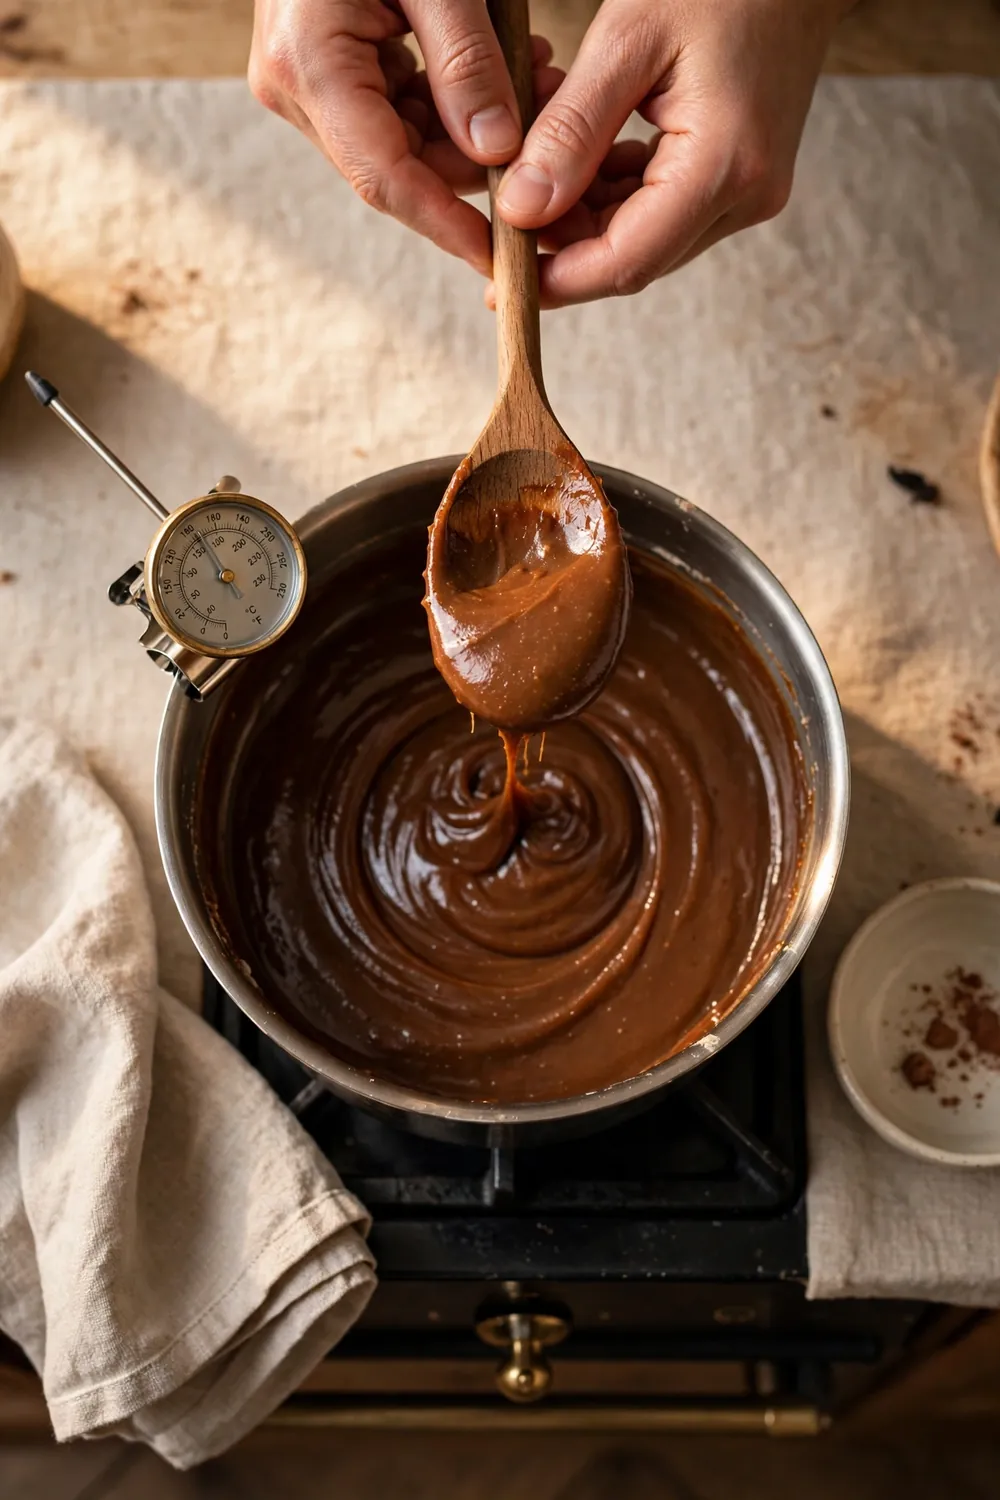
What You Need:
- A heavy saucepan: Even heat keeps the sugar from scorching while you stir.
- A wooden spoon: Gentle strokes dissolve the sugar without scratching the pan.
- A wet pastry brush: Wipe stray crystals from the pan sides before the boil.
- A candy thermometer: It tells you when the boil starts, so you know when to stop.
Stir early to dissolve the sugar, then stop once the mixture reaches a full boil. Each stir after the boil drags crystals through the syrup and seeds the whole batch. Leave the pan alone while it boils, and the sugar stays smooth for a silky set.
Cool the Fudge Slowly
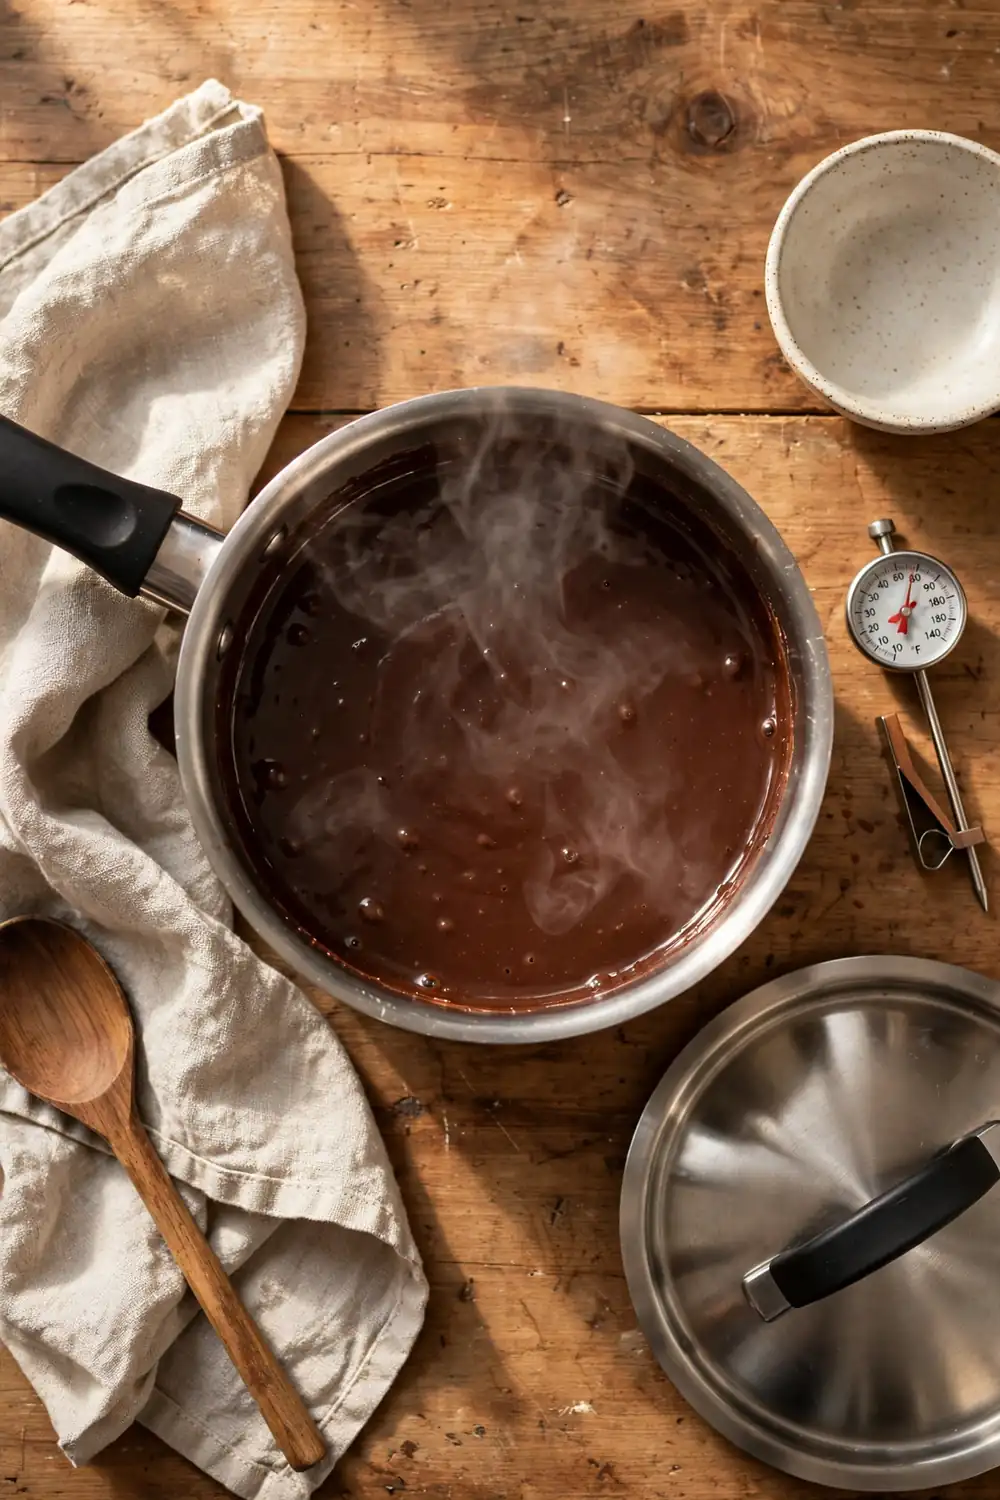
Before: Rushing the cool down forces the sugar to crystallize in large, rough grains. The fudge sets fast but turns sandy and crumbly. The squares crack, and the texture feels gritty on the tongue.
After: With a slow cool, the crystals stay tiny and the texture turns silky. The fudge sets firm and smooth, and the squares cut cleanly. The flavor stays rich, and the mouthfeel turns creamy.
Cool the pan on the counter until it reaches room temperature before beating. Do not chill it in the fridge to save time, or the texture turns rough. Slow cooling keeps the crystals small, and the fudge sets smooth and firm, ready for beating and a clean cut.
Beat the Fudge Right
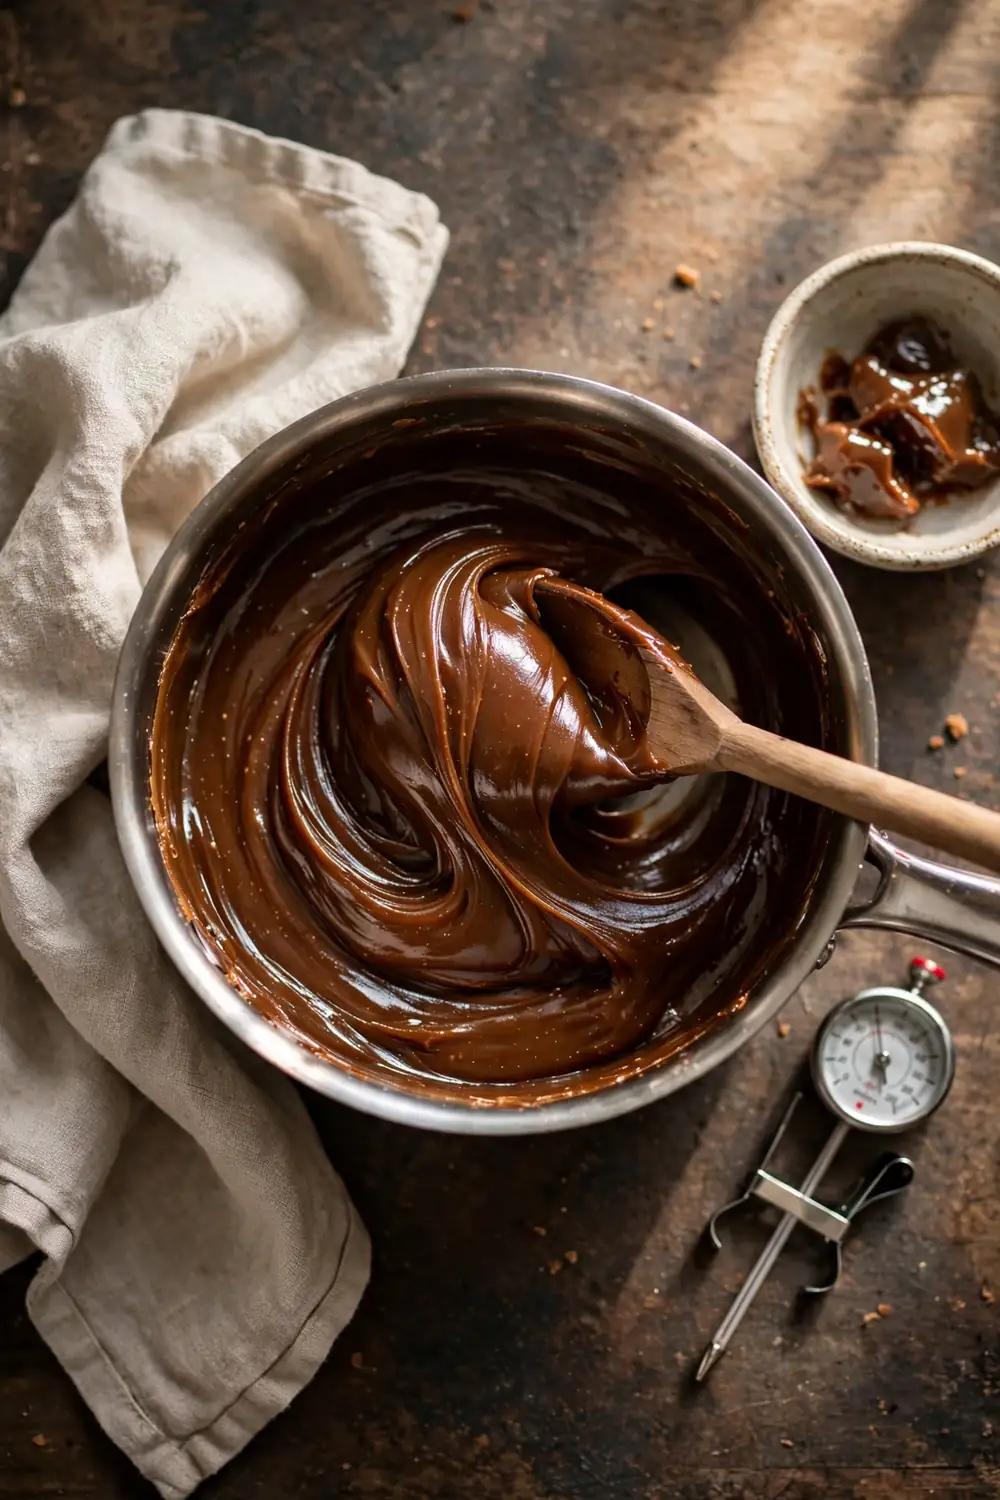
Do This:
- Beat only after the fudge cools to room temperature.
- Beat with steady, even strokes until the gloss fades.
- Stop as soon as the fudge thickens and loses its shine.
- Pour at once into a lined pan and smooth the top.
Avoid This:
- Do not beat hot fudge straight off the heat.
- Do not beat past the thick, matte stage.
- Do not scrape the pan sides while beating.
- Do not leave the fudge sitting after beating.
Beating sets the final texture, and the timing decides smooth or rough. Beat too early, and the fudge turns rough and sandy on the tongue. Beat just right, and the batch sets silky and creamy from edge to center, with clean squares that hold their shape.
Fix the Texture Fast
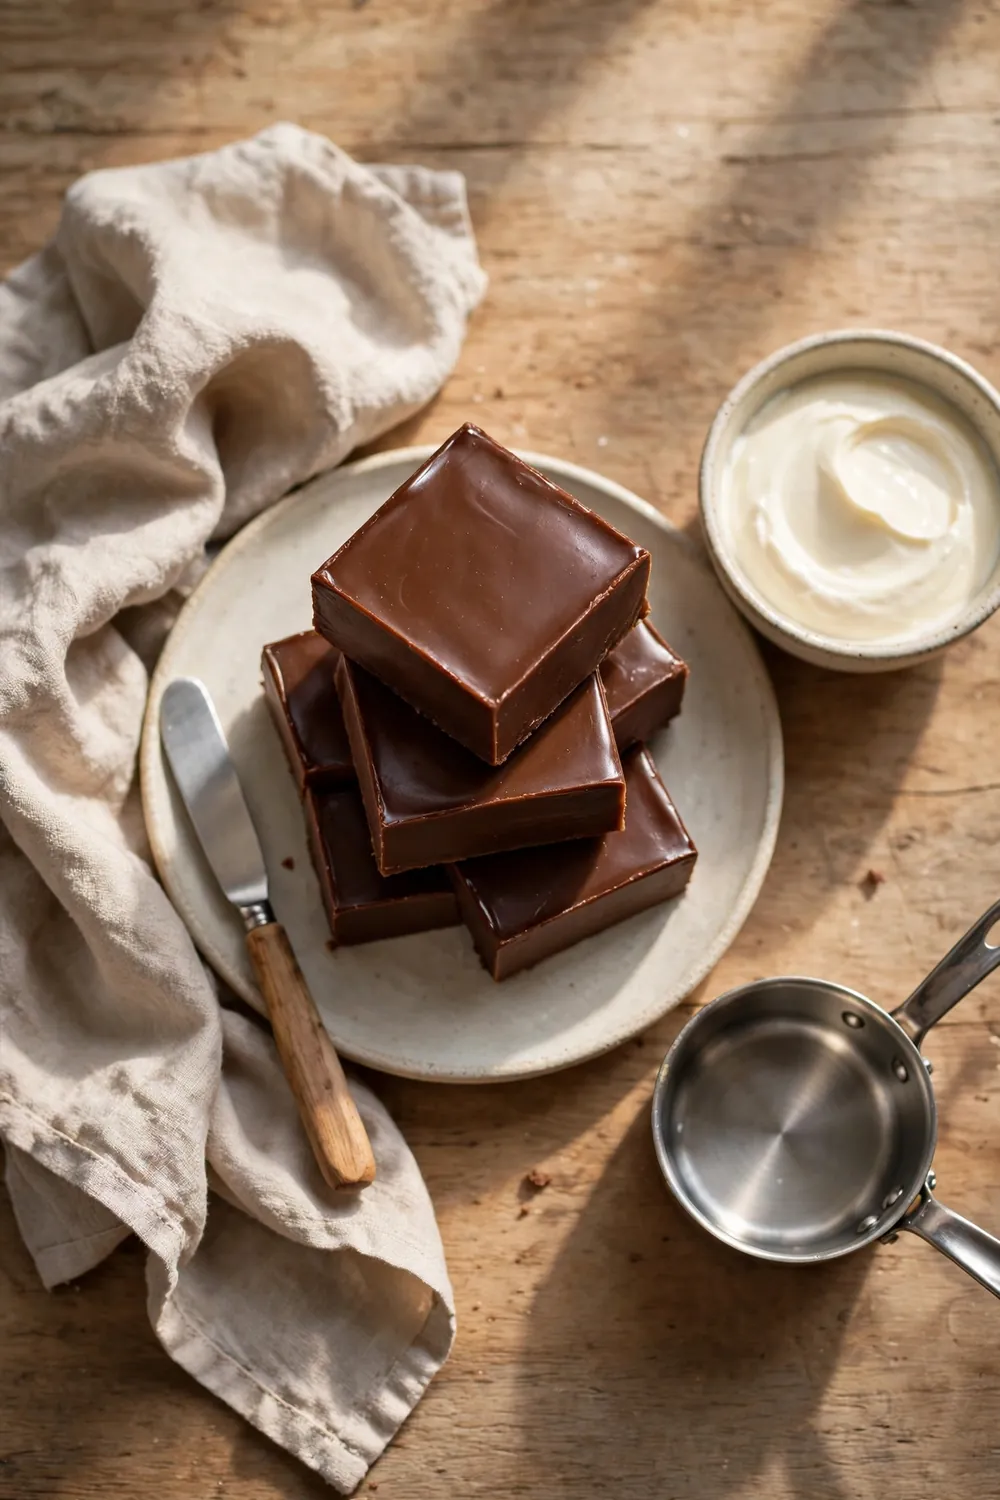
Best rescue: Reheat gently with a splash of cream
Stir count: Once, then stop and check the texture
Risk: High heat seizes the sugar and makes it worse
Result: Smooth, creamy fudge that cuts cleanly
A rough batch is not lost, and a gentle reheat can still save it. Warm it low with a little cream, stir once, and let it cool slowly. Trust the slow fix, and the batch turns smooth and creamy again, ready to cut and serve.
Store Fudge the Right Way
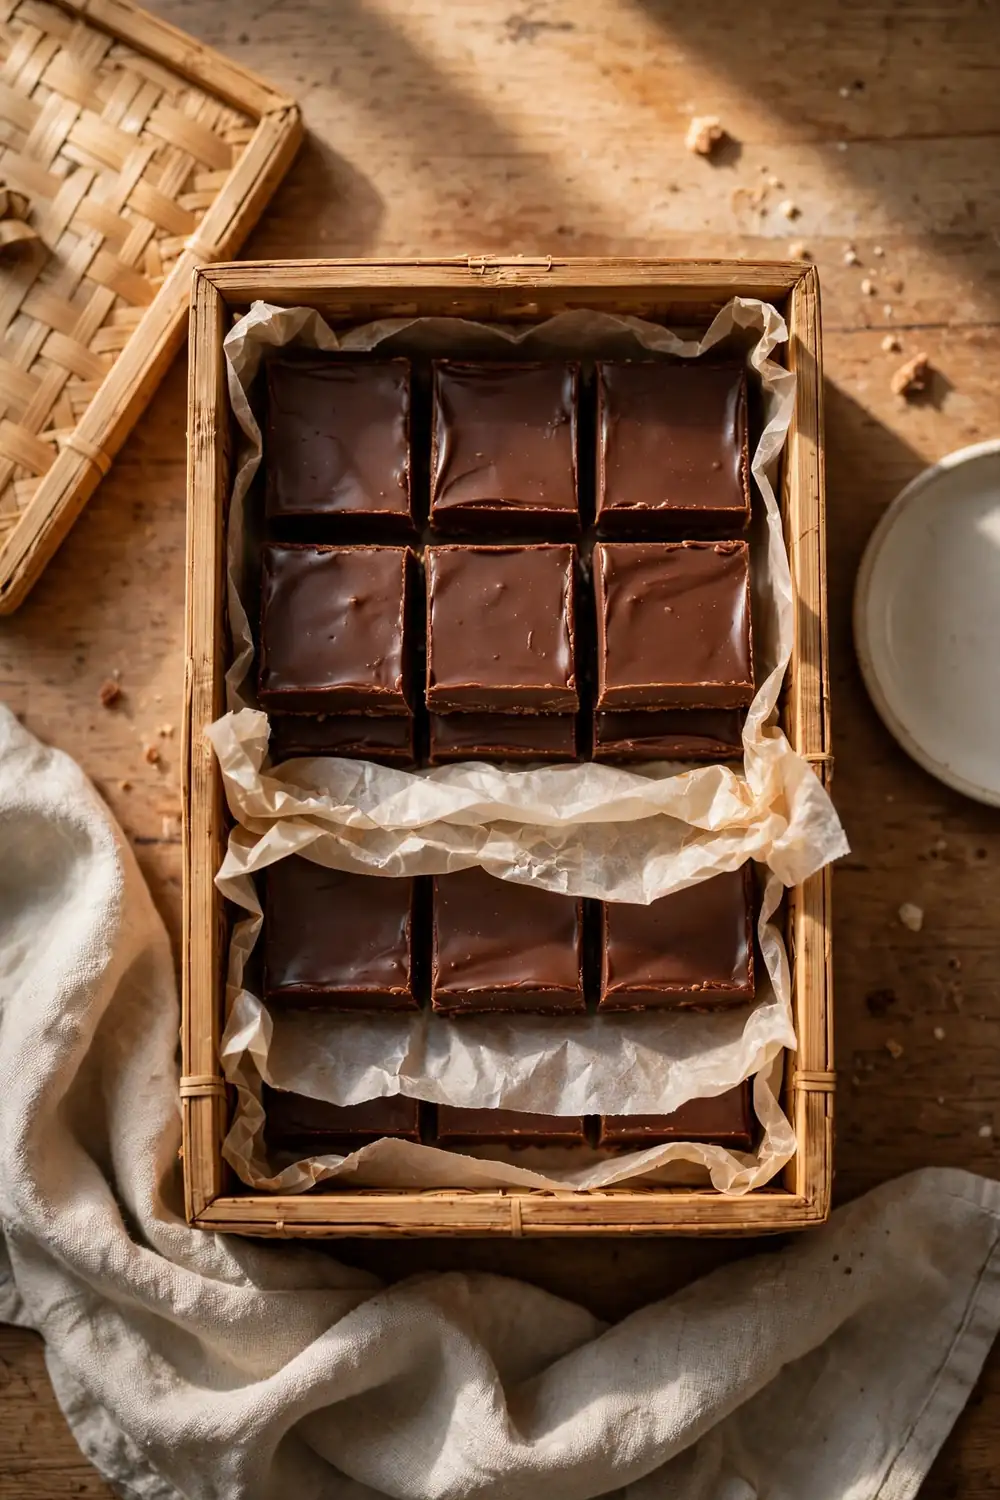
Storing fudge in the fridge is the fastest way to dry it out, even when the batch was perfect. The cold pulls moisture from the squares, and the texture turns hard and crumbly. A dry square feels rough, and the fudge loses its creamy bite as it sits.
Keep the fudge in a sealed container at room temperature for up to one week, then share what is left. Layer wax paper between the squares so they never stick together. Good storage keeps the fudge soft, smooth, and creamy until the last square is gone.
Common Mistakes to Avoid
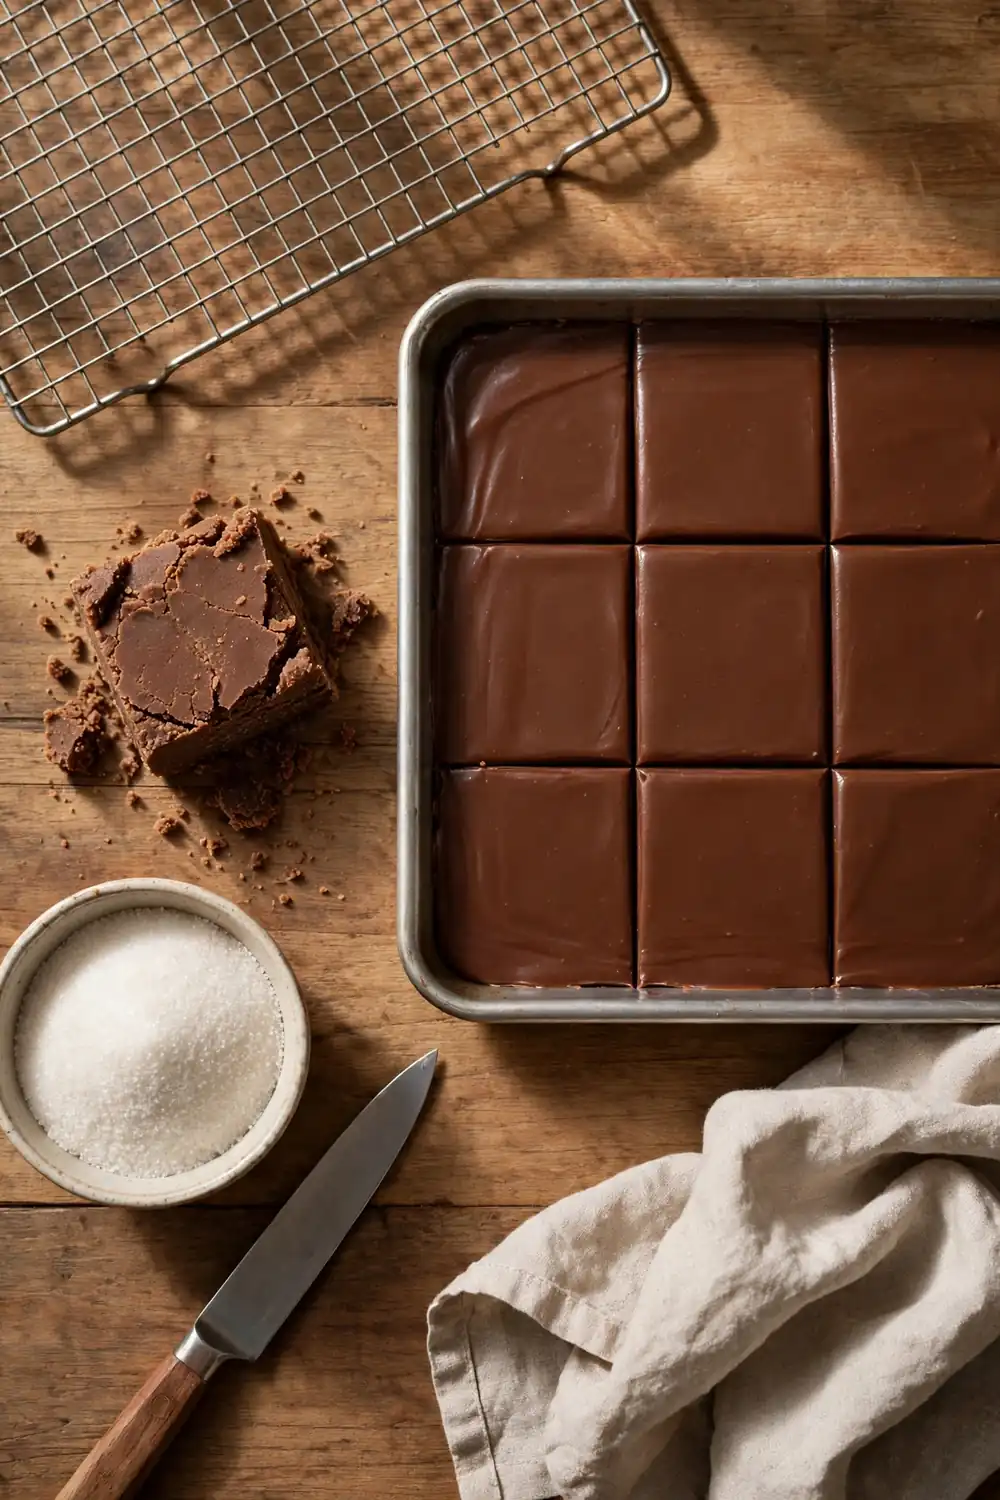
Most rough batches come from the same few mistakes, and all of them are easy to fix. Change one thing at a time to see which fix made the difference. Start with the sugar, then the heat, then the stirring, in that order.
- Do not stir the fudge after the boil starts.
- Do not use a thin pot that scorches the sugar.
- Do not beat the fudge while it is still hot.
- Do not chill the fudge in the fridge to cool it fast.
What Perfect Fudge Looks Like
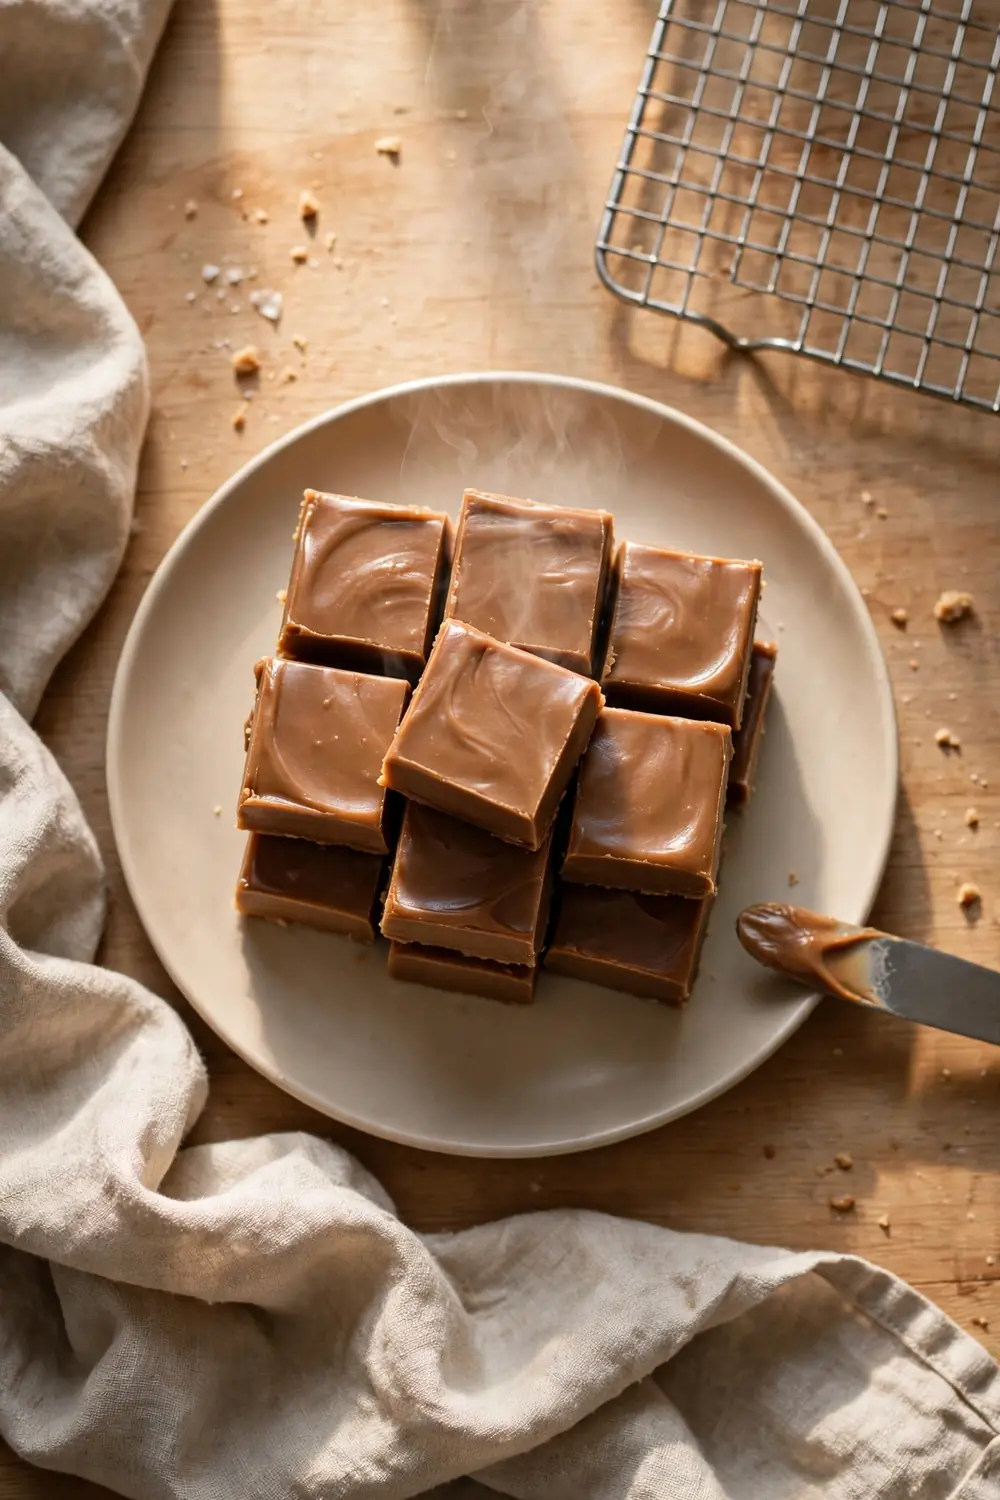
Quick Tip: Perfect fudge looks glossy and smooth, with clean cut edges. The center feels creamy, never gritty or sandy. Trust these signs more than the color of the top.
Good fudge tells you it worked before you taste it. The top looks glossy and smooth, the squares cut cleanly, and every piece holds its shape on the plate. That is the finish every fix on this list is working toward, so judge each new batch by these signs.
Conclusion
Grainy fudge is not a sign of bad luck in the kitchen. It comes from small, fixable causes, and now you know each one. Dissolve the sugar fully, watch the heat, and the next batch can surprise you.
Pick one fix from this guide and try it on your next batch. Save this post on Pinterest so the fixes are there when you need them, and share it with anyone whose fudge turns out rough.
I have seen how making this one change can completely shift the result. Make your next batch with these fixes and enjoy a smooth, creamy square.