Why Does My Fried Chicken Coating Fall Off? Easy Fix Guide
Chicken coating falling off ruins many home fried chicken dinners. You season the flour, coat each piece with care, and slide it into hot oil. Then the crisp shell slides right off, and bare chicken sits in the pan.
Most slips happen when the chicken is wet or the dredge is rushed. Water on the skin keeps flour from gripping, and a thin coat breaks apart in hot oil. Small mistakes add up fast, and the wrong method leaves the coating loose.
This guide walks through each cause, then gives simple fixes you can use today. Follow the steps, and your chicken turns crisp and golden. And if your fish also sticks, see why fish sticking to pan happens and how to fix it with simple kitchen tricks.
Dry the Chicken First
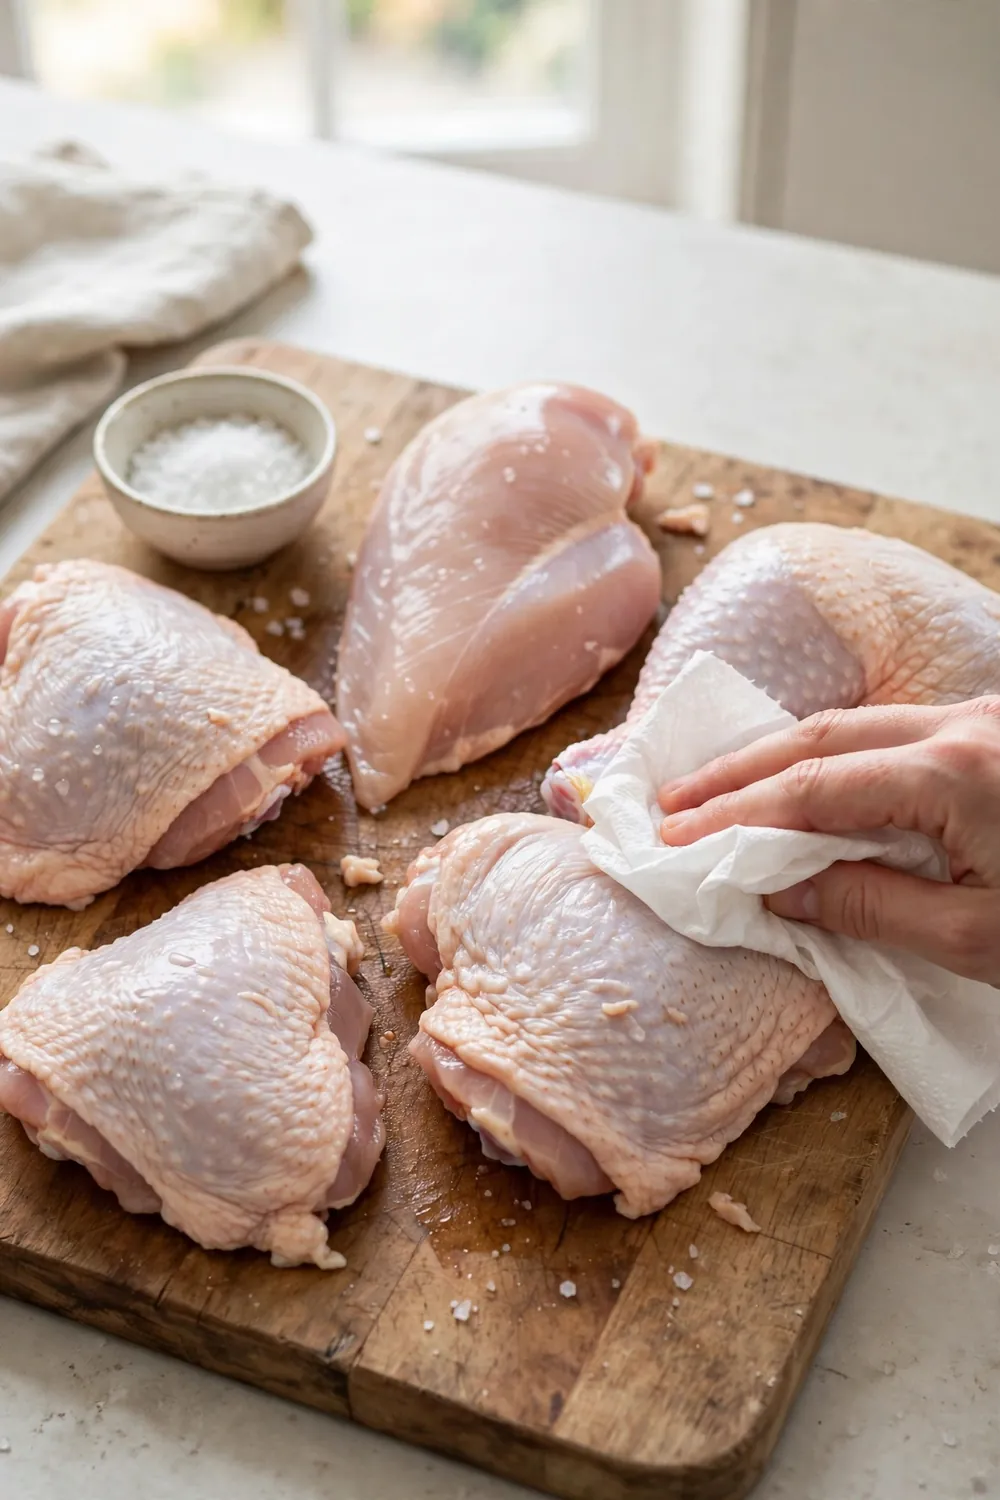
Dry chicken holds flour, and wet chicken lets it slide. Pat each piece with paper towels until the skin feels dry to the touch. Water left on the skin turns to steam, and the steam pushes the coating off. Dry skin grips flour, and the coat stays firm.
- Pat both sides of every piece.
- Dry the folds and skin creases.
- Never skip this step when rushed.
- Check that the skin feels dry.
Use the Three-Step Dredge
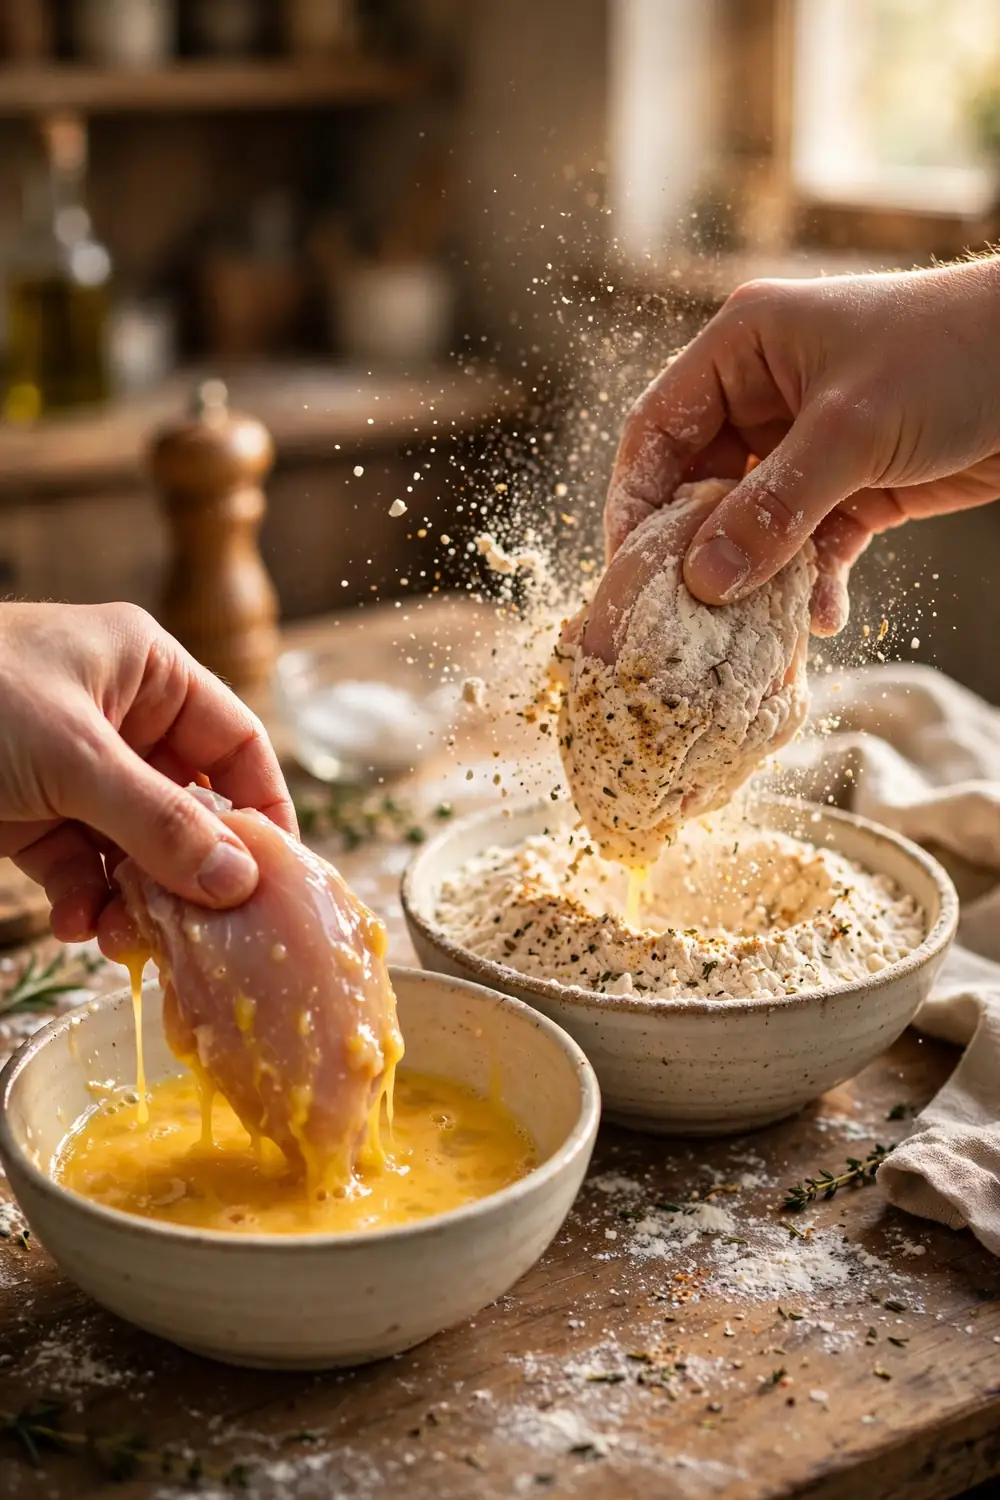
A three-step dredge builds a thick coat that grips the chicken. First dust the chicken in plain flour, then dip it in beaten egg, then press it into seasoned flour. Each layer bonds to the next, and the coat turns thick. Press the flour in with firm hands.
- Dust the chicken in plain flour first.
- Dip it in beaten egg next.
- Press it into seasoned flour firmly.
- Press flour into any bare spots.
Why Coating Falls Off
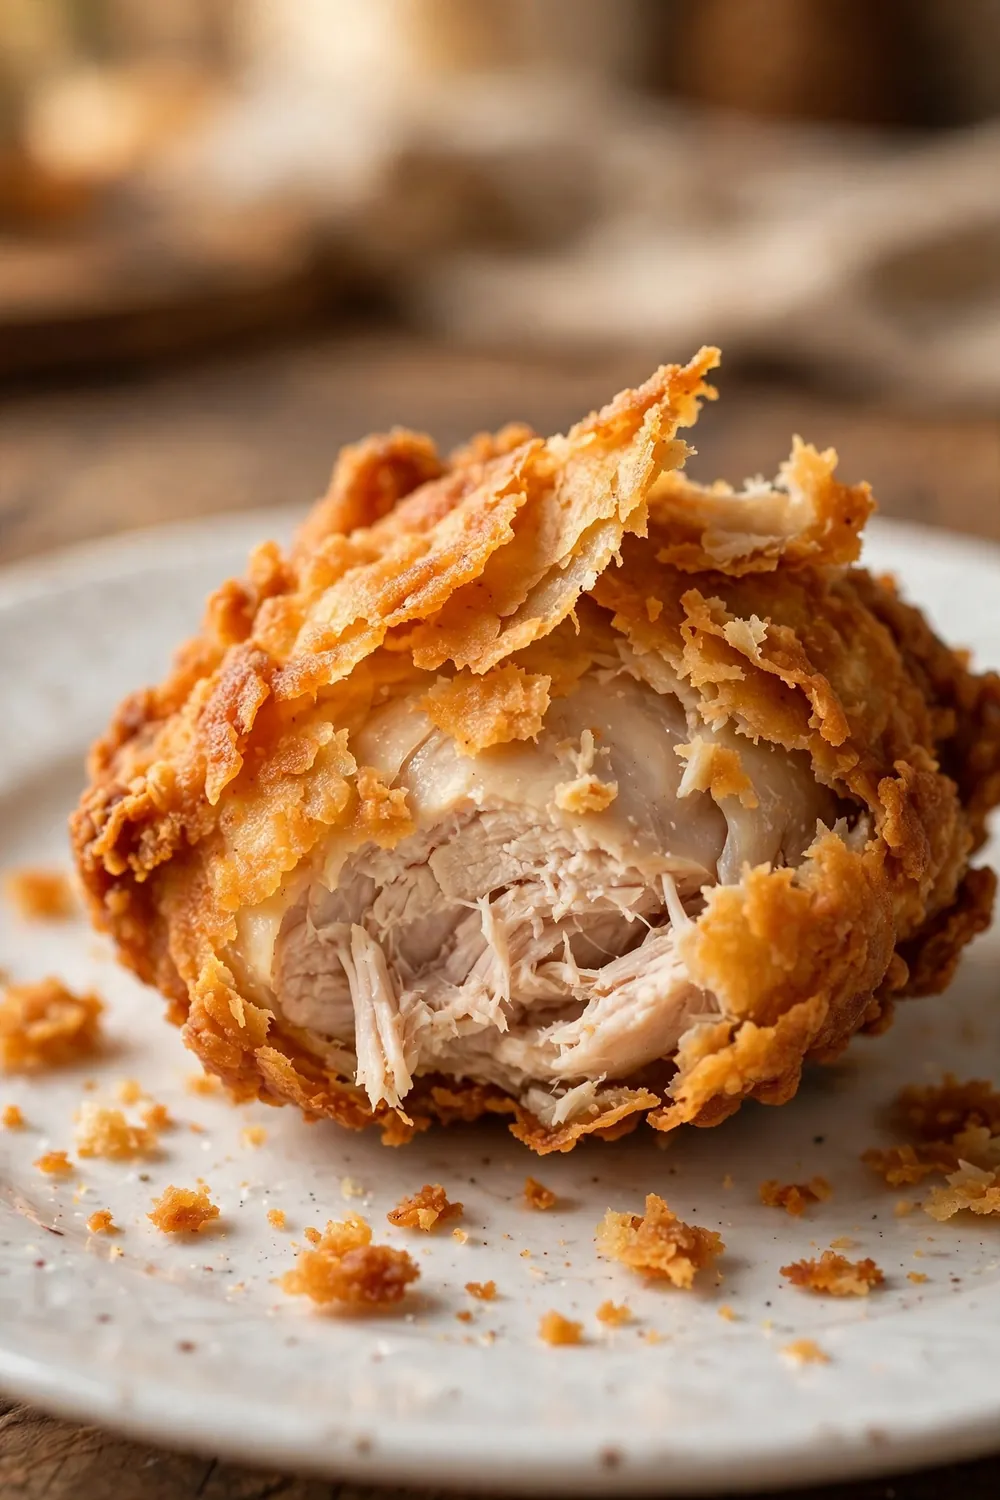
Coating falls off when the bond between chicken and flour stays weak. Wet skin, cold chicken, and a rushed dredge all break that bond. The flour sits on top instead of gripping, and hot oil strips it away. The chicken looks coated, yet the shell slides off in the pan.
A loose coat does not mean the chicken went bad, and the chicken stays usable. The bare spots fry first, then the chicken dries out with more time. A firm coat keeps juices in, and a loose coat lets them out. Fix the bond before you fry the next batch.
Heat the Oil Right
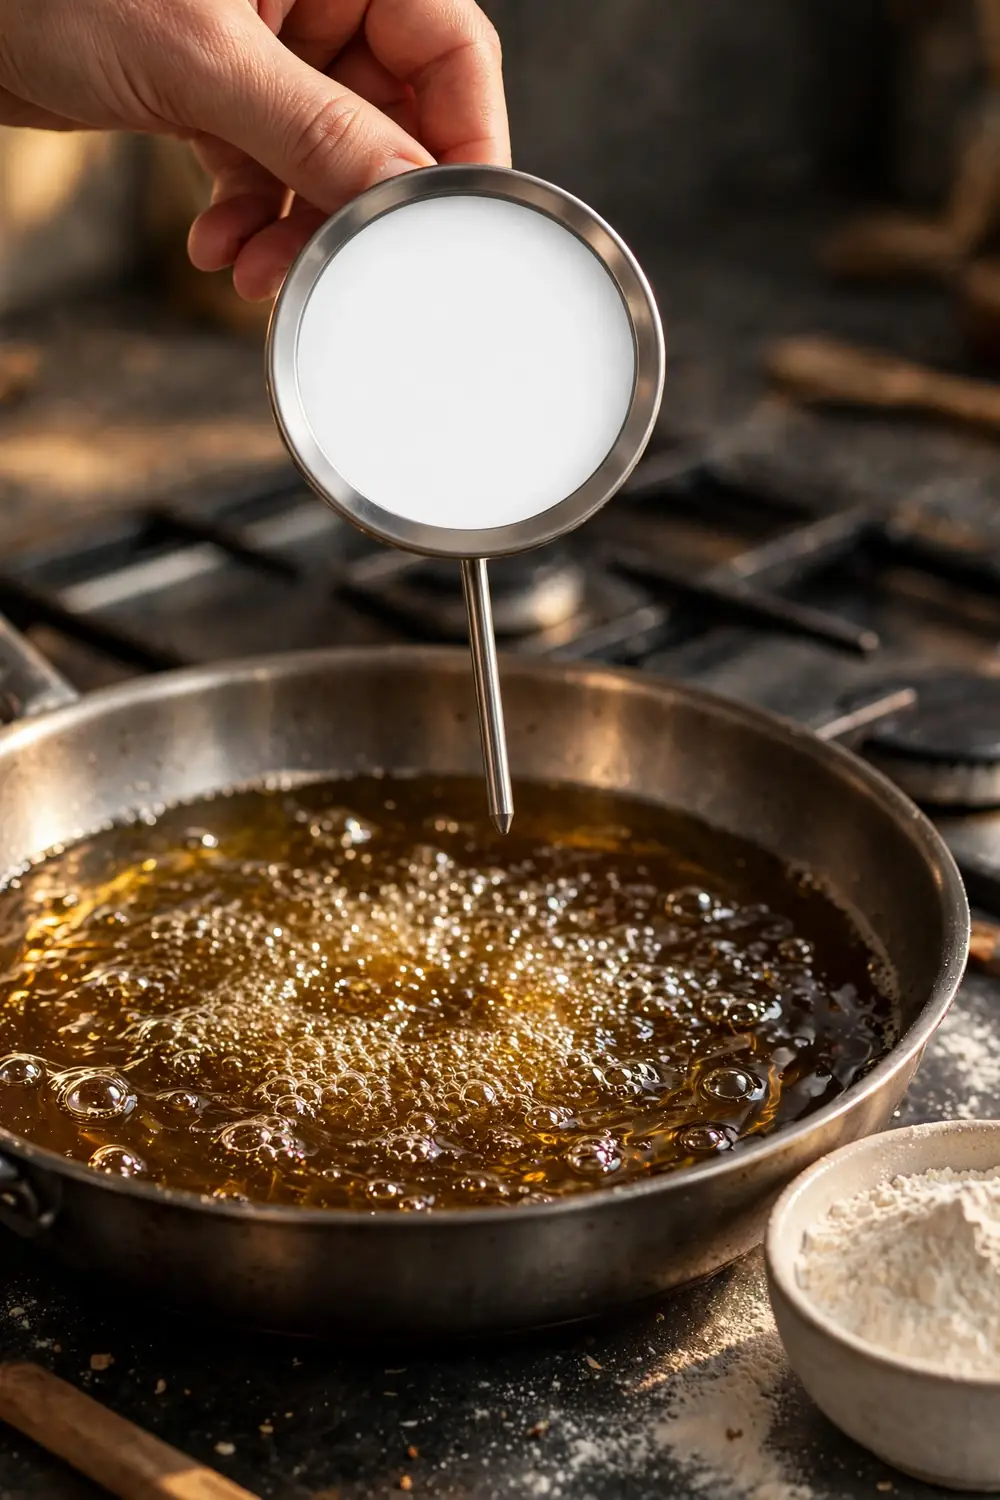
Best Temp: Heat the oil to 350 degrees.
Check It: Use a thermometer before frying.
Between Batches: Let the oil heat back up.
Result: Hot oil seals the crust fast.
Oil that is too cool soaks the coating, and the coat slides off in a soggy mess. Hot oil seals the crust fast, and the coating stays crisp. Trust the thermometer, not the look of the oil. Steady heat keeps the crust crisp, and the texture turns golden.
Flip It Only Once
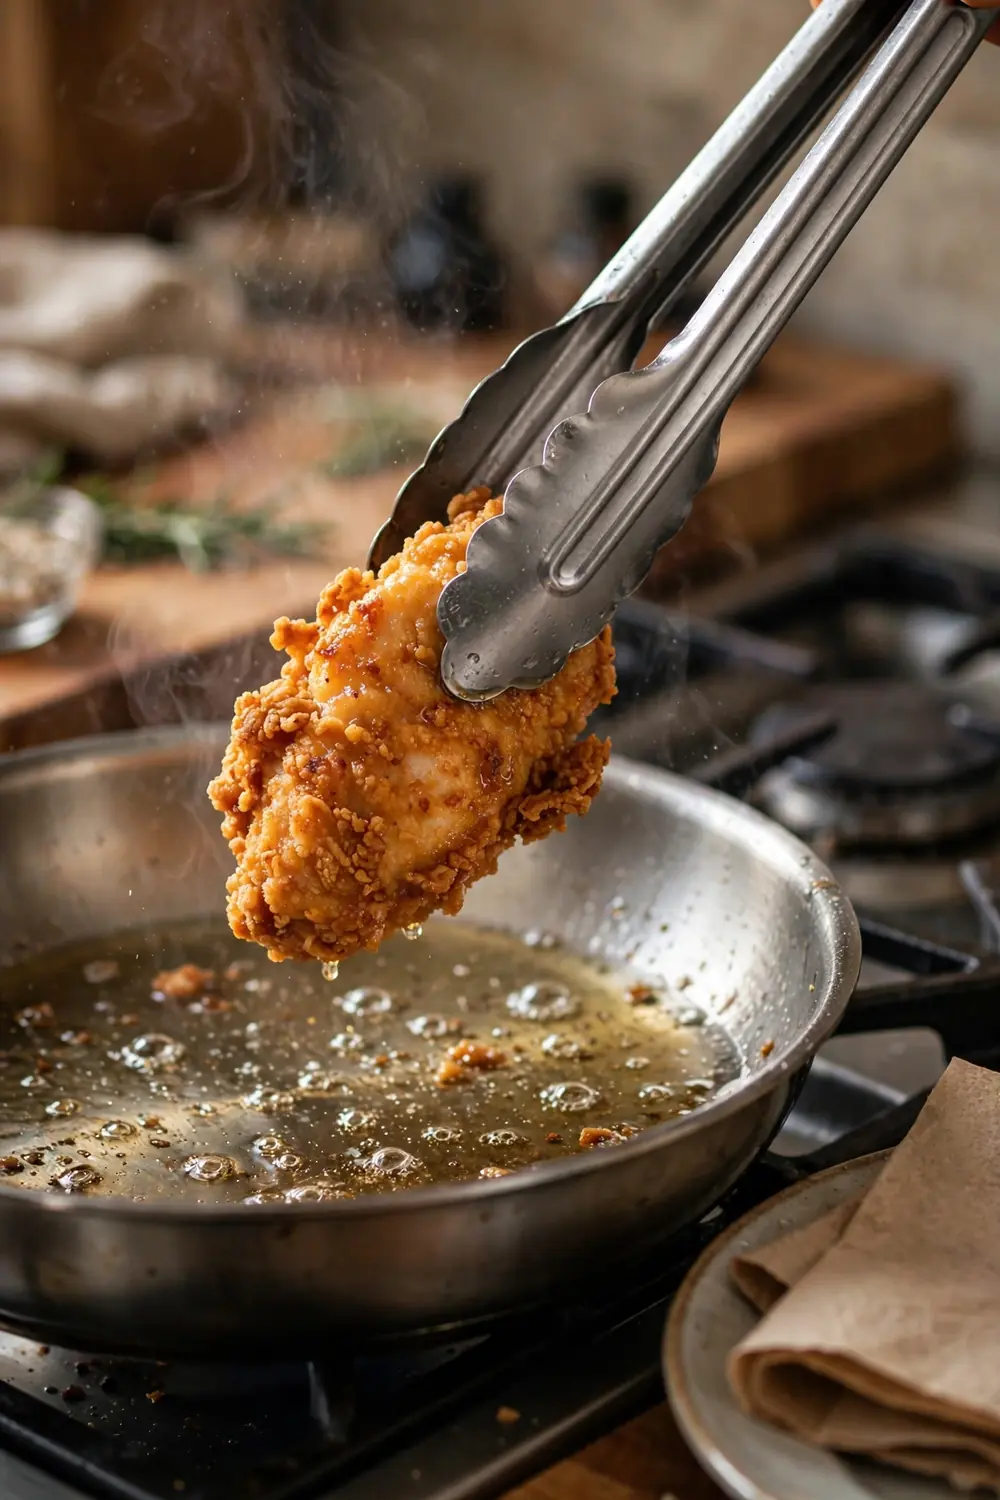
Quick Tip: Let each piece fry undisturbed, then flip it once halfway through. The crust hardens on one side, and the flip seals the other. One flip keeps the coating whole and crisp every time. Handle each piece gently from pan to plate. Use tongs for the flip, since a fork pokes holes.
Flipping the chicken again and again tears the soft coating before it sets. The crust needs time to harden, and each extra flip breaks it. Tongs grip the edge, and the crust stays whole. Gentle hands make the crispiest chicken at home every single time.
Rest the Coated Chicken
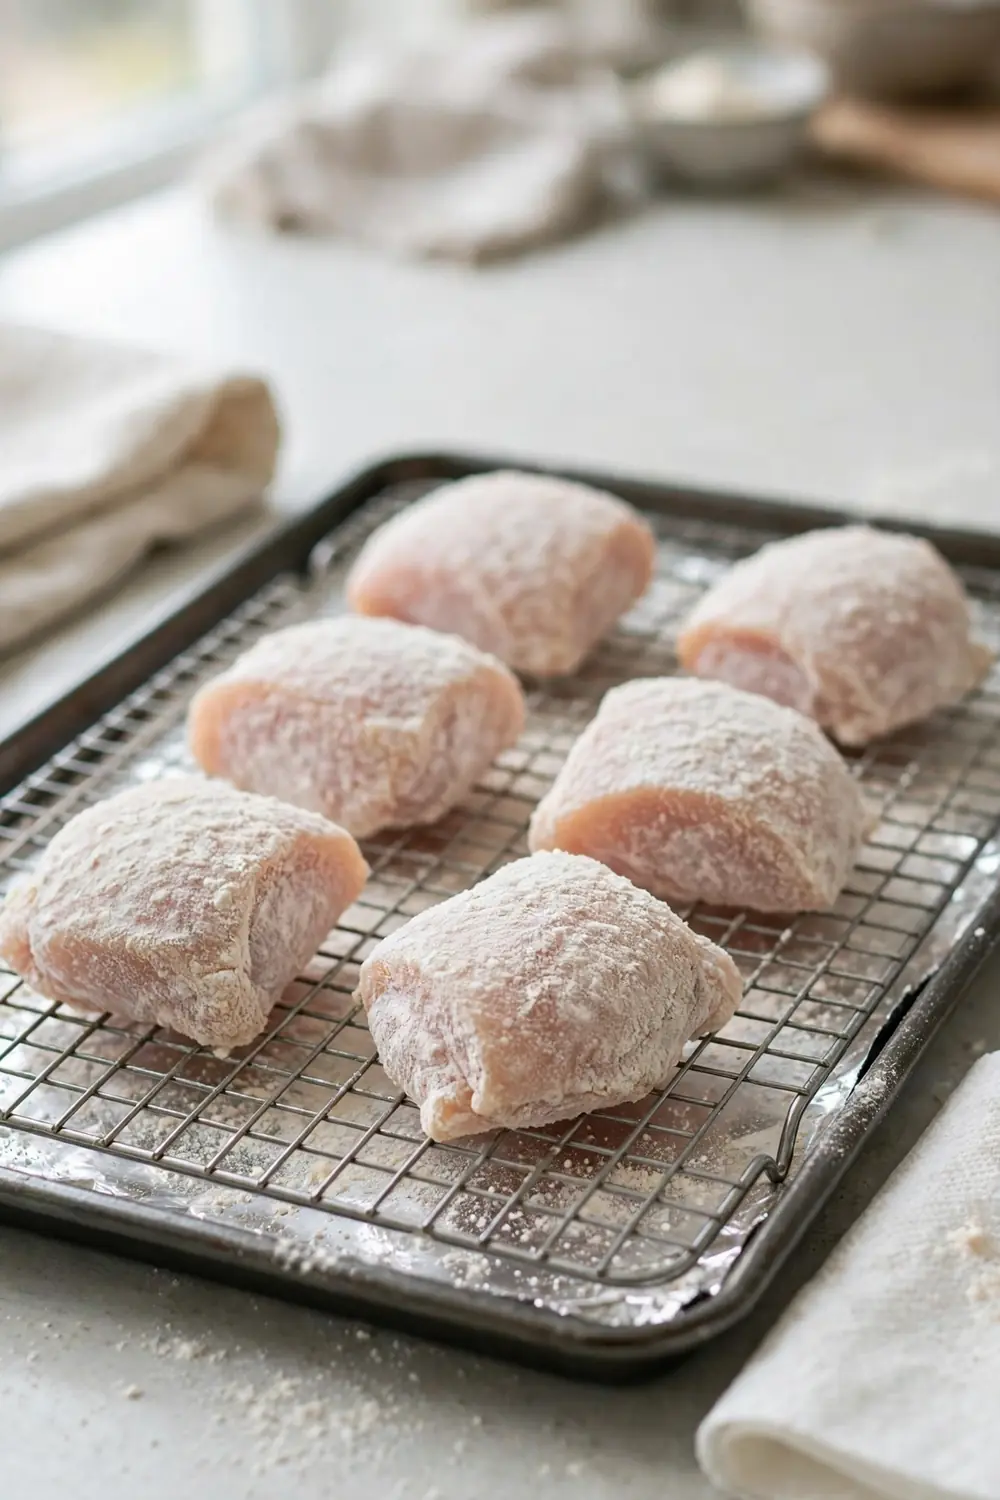
Before: Frying coated chicken at once leaves the flour loose, and the coat slides off in the oil. The flour never sets, and the crust stays weak. A rushed batch looks coated, yet the shell falls away in the pan. Patience gives the flour time to bond.
After: Resting the coated chicken sets the flour so it grips tight. Lay the dredged pieces on a rack, and let them sit for fifteen minutes. The flour absorbs moisture, and the coat turns firm. A rested coat stays put, and a rushed coat falls off.
Keep the pieces apart on the rack so they do not stick together. Crowded pieces turn soggy, and the coating tears when you lift them. Space keeps the coat dry, and the texture turns crisp. Rest every batch at home, even when you feel rushed.
Season the Flour Well
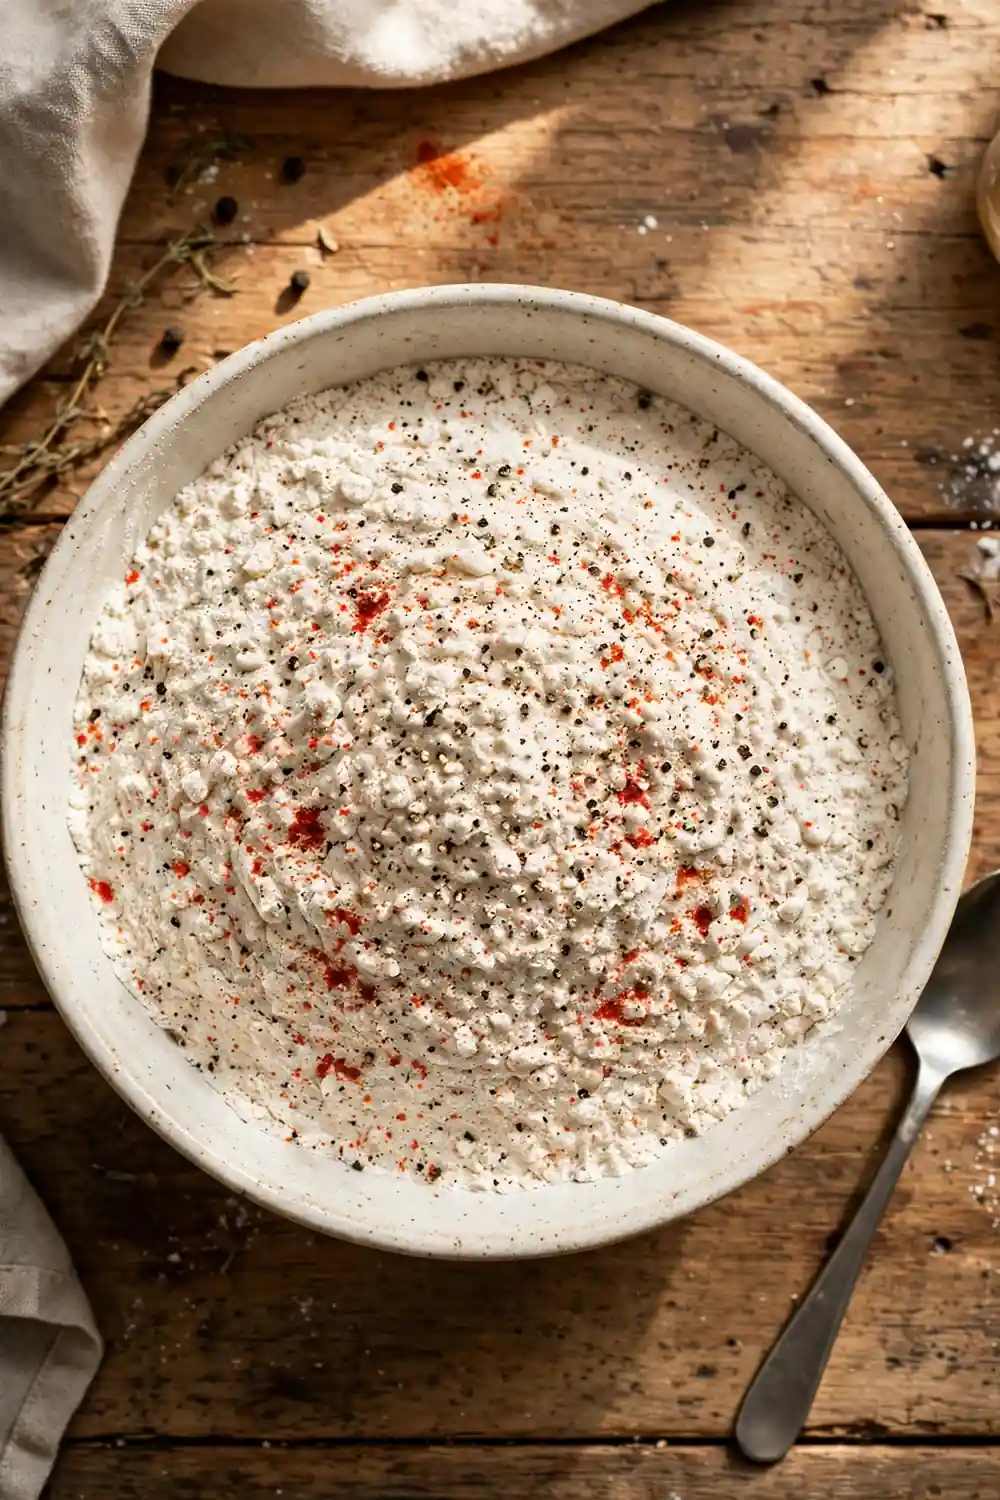
Plain flour makes a bland, weak coat that breaks apart in the oil. Seasoned flour sticks better, and the flavor stays rich. Taste the flour mix before you coat the chicken. Bold seasoning keeps the crust tasty, and the texture turns crisp. Season every batch the same way for steady results.
| Flour | Result |
|---|---|
| Plain flour | Bland, weak coat that breaks |
| Salted flour | Better grip, richer flavor |
| Fully seasoned flour | Crisp crust, bold taste |
Fry in Small Batches
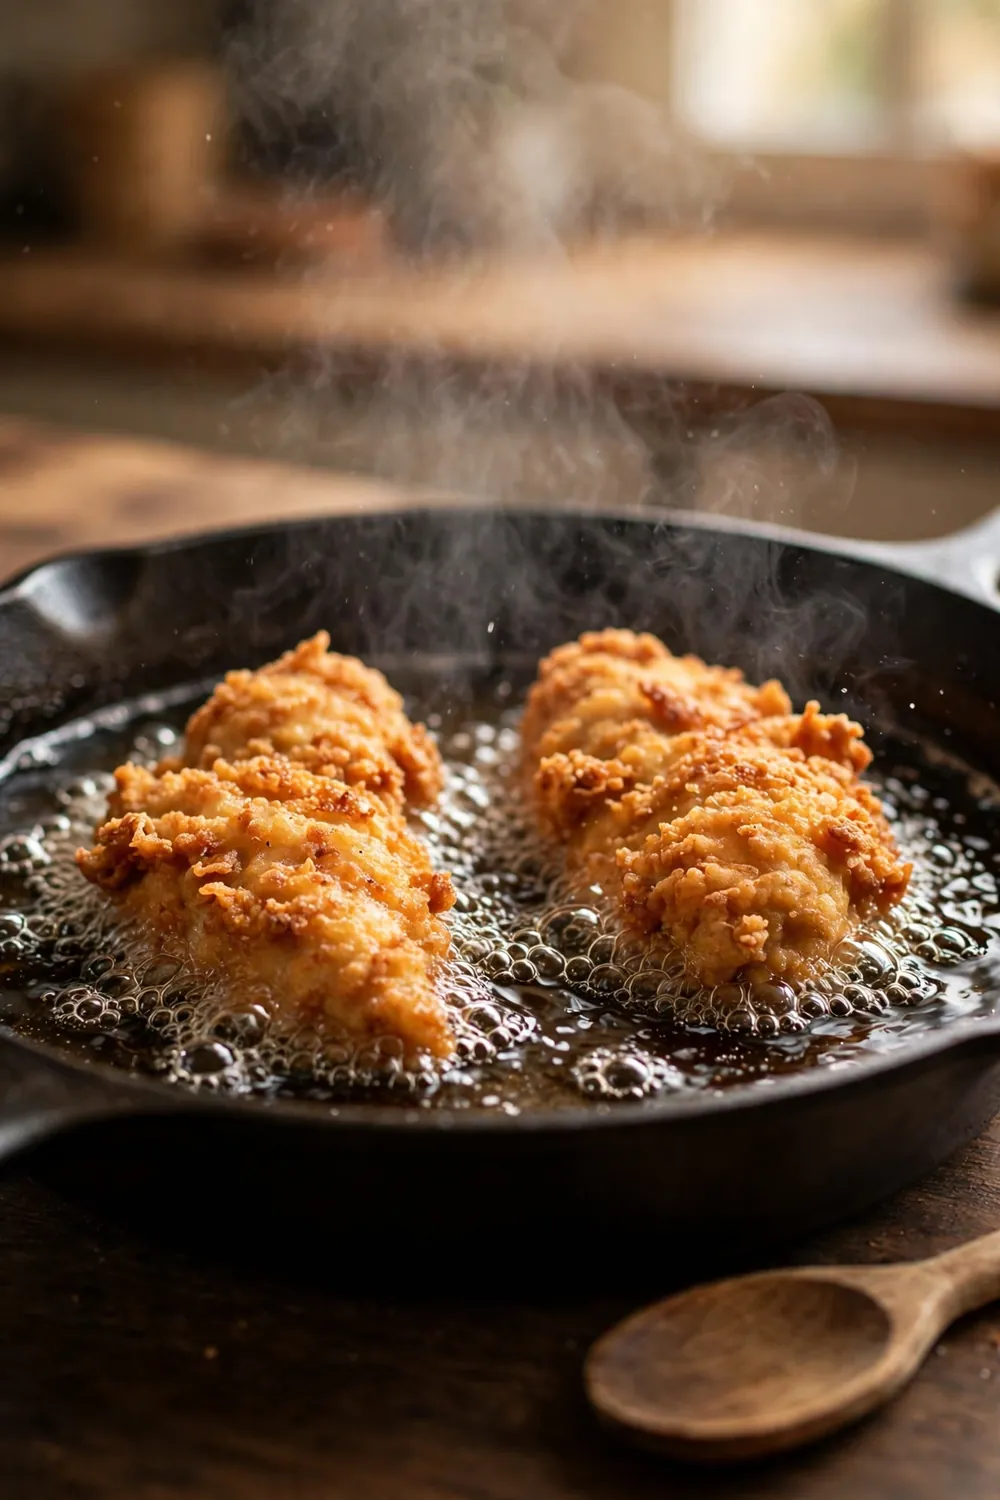
Crowding the pan drops the oil temperature, and the coating turns soggy and loose. Fry two or three pieces at a time, and leave space between them. The oil stays hot, and the crust sets fast. Small batches keep the coating crisp and golden every time.
Check the pan, and lift out each piece when the crust turns deep golden. A pale crust means the oil ran cool, and the coating stays soft. Golden crust holds firm, and the texture turns crisp. Patience beats speed on fry day. Give it time.
Drain It the Right Way
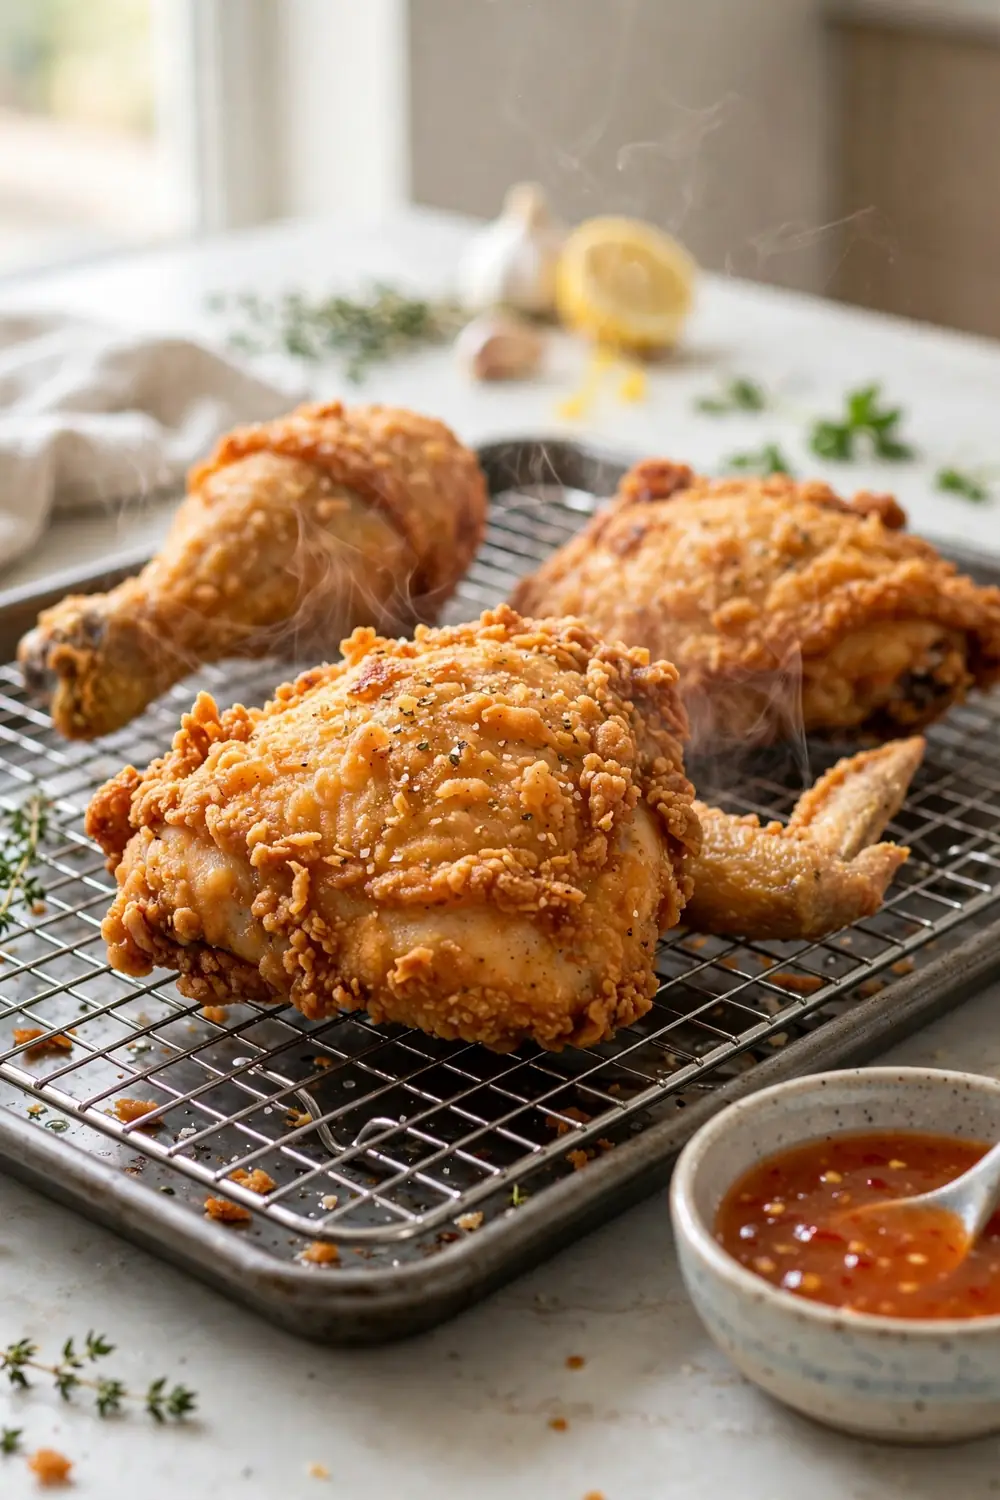
Do This:
- Drain each piece on a wire rack.
- Keep the pieces apart while draining.
- Let air move around each piece.
- Serve the chicken fresh and hot.
Avoid This:
- Do not stack hot chicken on a plate.
- Do not drain the chicken on paper towels.
- Do not crowd the pieces while draining.
- Do not cover the chicken while it rests.
Stacking hot chicken on a plate traps steam, and the steam softens the coating until it slides off. A rack keeps every piece crunchy, and the coating holds firm. Space keeps the crust dry, and the texture turns crisp. Drain every batch on the rack for the best bite.
Common Mistakes to Avoid
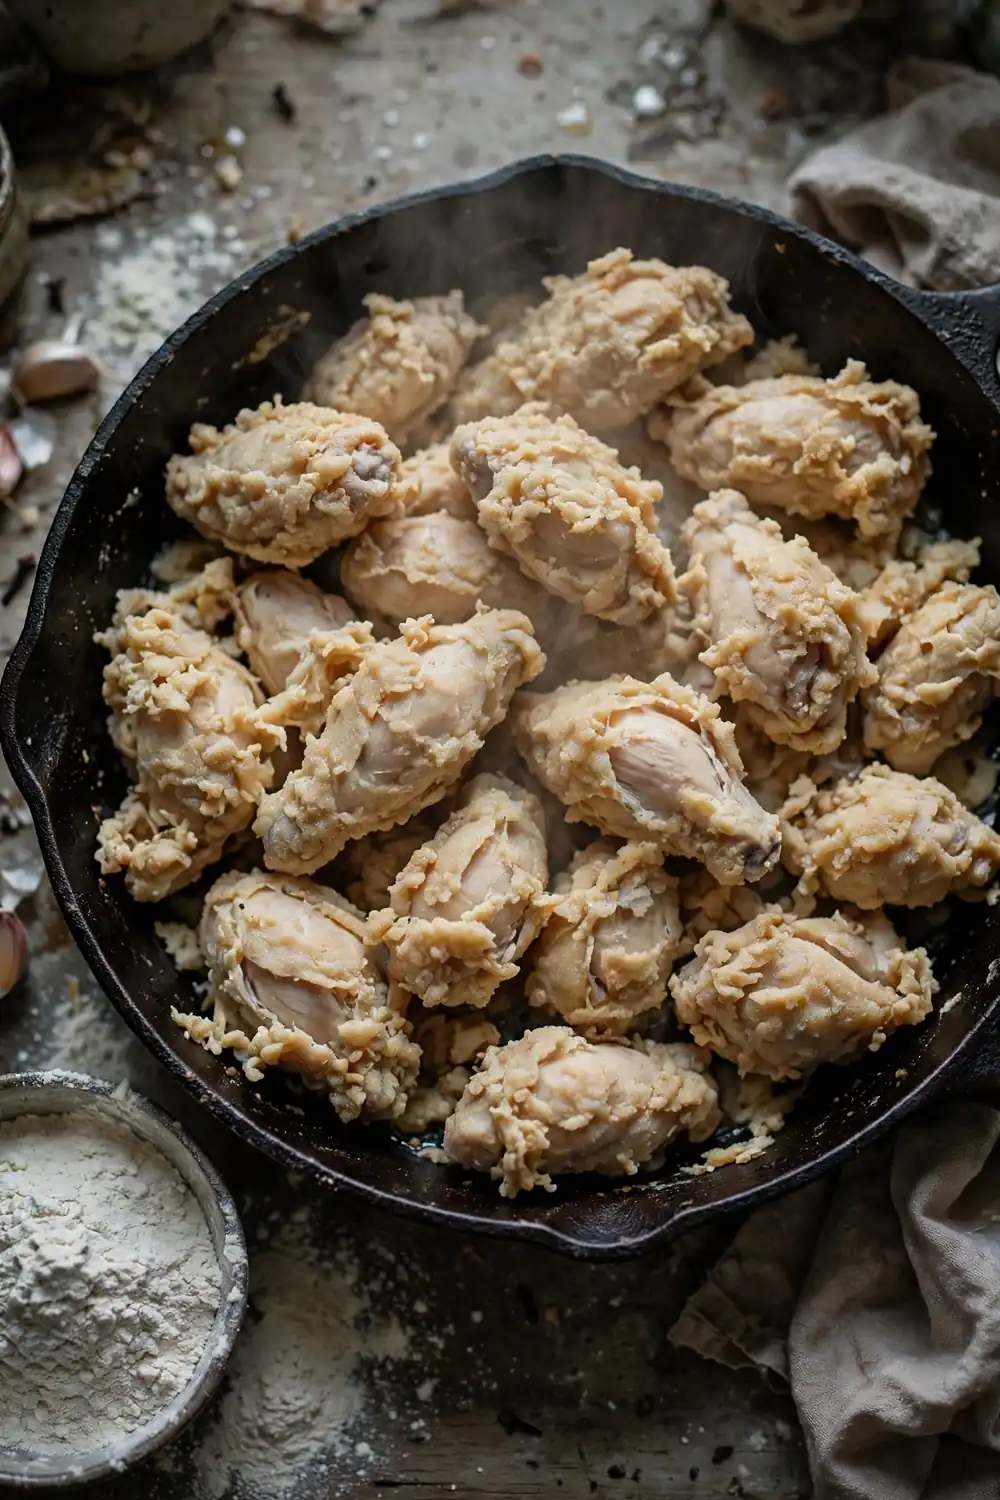
Most coating failures come from the same few mistakes, and all of them are easy to fix. Change one habit at a time, and you will see which fix made the difference. Start with drying, then the dredge, then the oil heat. Small changes change the whole fry.
- Do not fry wet chicken.
- Do not skip the rest.
- Do not crowd the pan.
- Do not flip the chicken twice.
What Crisp Coating Looks Like
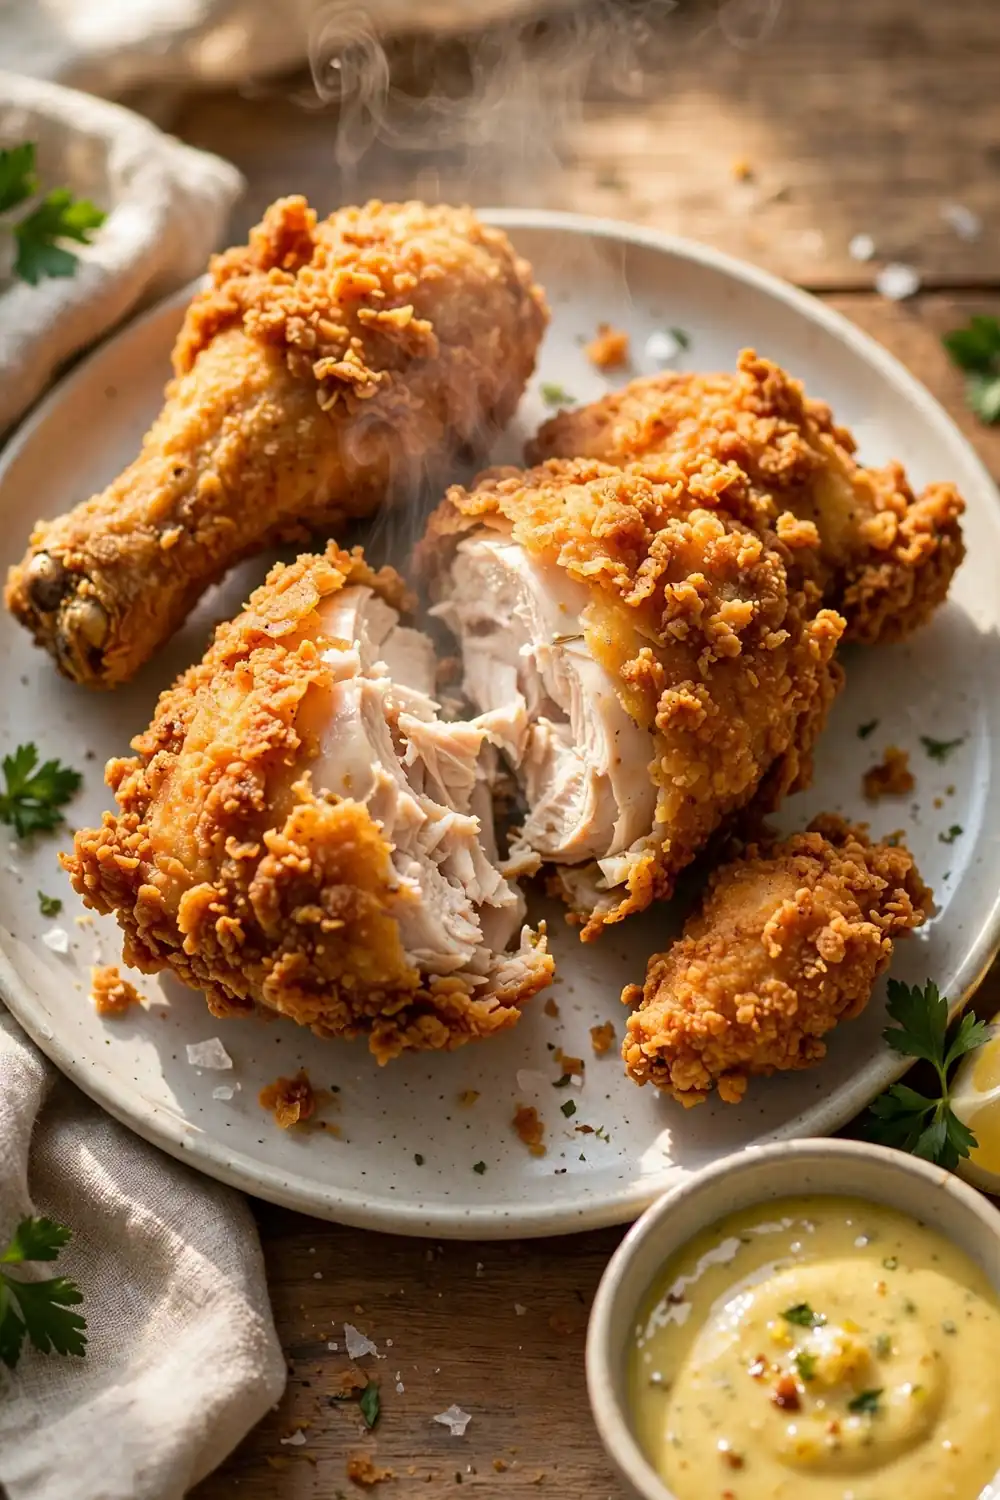
Quick Tip: A good coat shows a deep golden crust, and the coating stays firm. The chicken cracks when you bite, and the meat stays juicy inside. Look for even color and a dry, crunchy crust. Serve it fresh for the best bite every single time.
A good coat shows no bare spots, and the color stays even from edge to edge. The surface looks crisp, and the chicken stays juicy. Crisp chicken looks inviting, and the flavor stays rich. A good coat holds its shape and stays crisp. That finish is what every fix in this guide works toward.
Conclusion
Chicken coating falling off usually comes from wet chicken and rushed dredging. Dry chicken, a firm dredge, and hot oil fix it every time.
Pick the method that fits your plan, and the chicken turns crisp. Small steps keep the coating firm. Use one method at a time, and the coating stays put.
Pat the chicken dry, rest the coated pieces, and fry them hot. The coating turns crisp, and the texture looks fresh. Save this guide for your next fry day. If your potato also stays hard, read our guide on hard baked potato for fluffy baked potatoes at home every time.
2 Comments