Why Is My Sourdough Starter Not Bubbling? Easy Fix Guide
Sourdough starter not bubbling can worry any baker, but you are not alone. Many bakers see a quiet jar in the first days, and most starters recover with steady care. This guide explains the common causes and the simple fixes that bring back bubbles.
A starter is a live mix of flour and water that needs food, warmth, and time to grow. When any need falls short, the yeast and bacteria slow down and gas drops.
Work through the checks below one at a time, starting with warmth, flour, and water. Small steady changes are easier to track than a full overhaul. And if a watery pie is your trouble instead, see why runny fruit pie filling happens and how to thicken it.
Why Your Starter Stays Flat
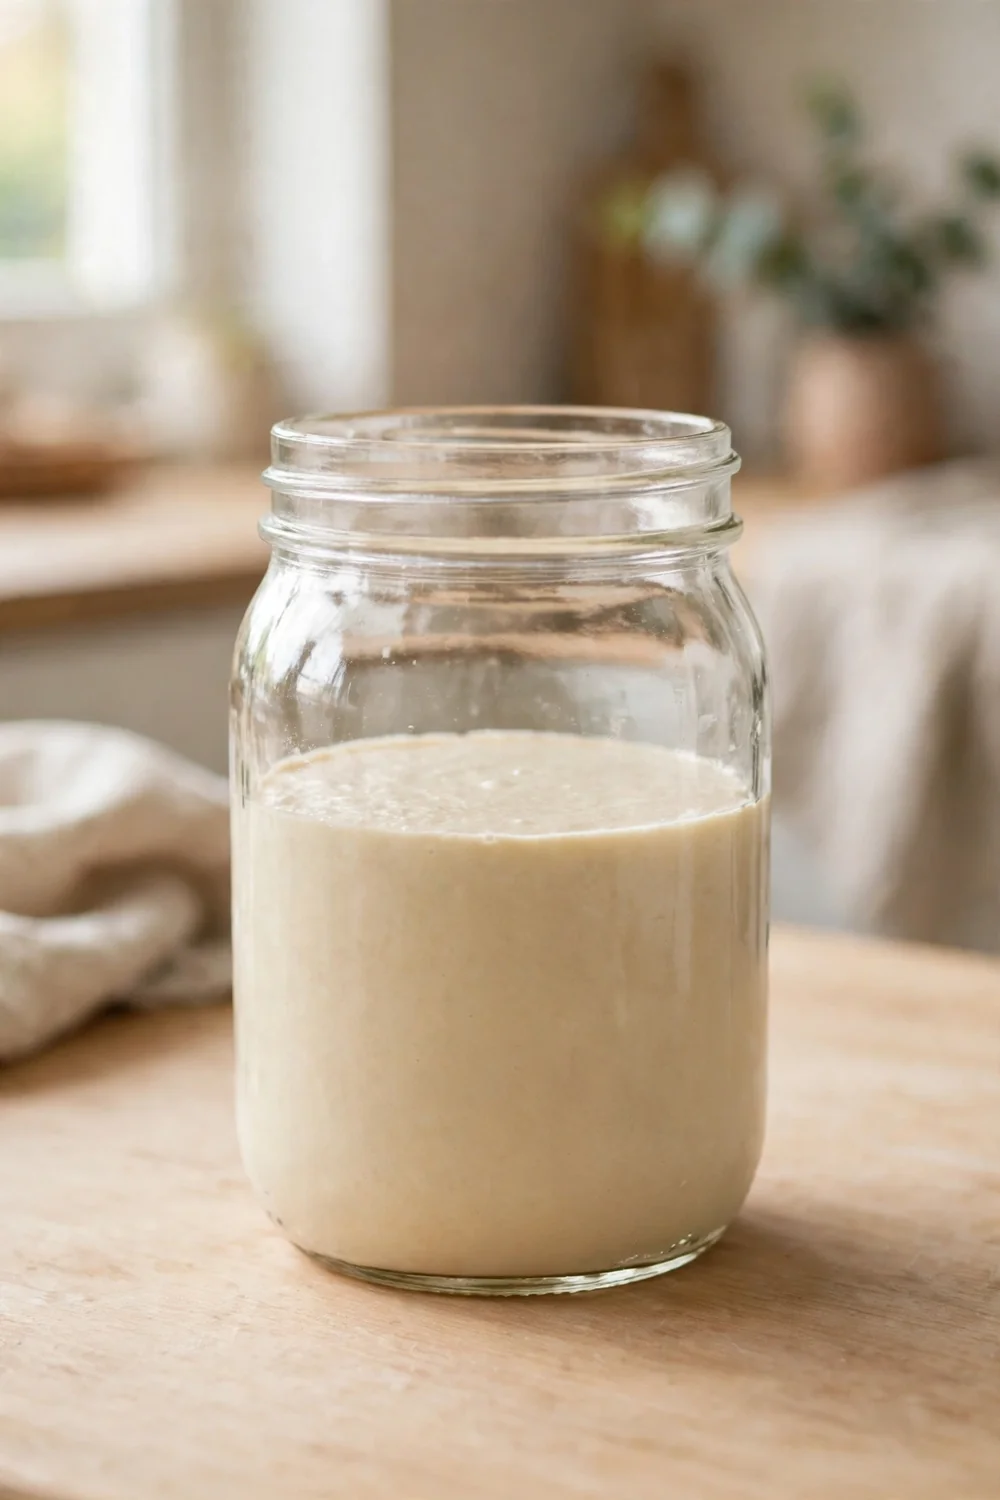
A flat starter often means the culture is hungry, cold, or young, not broken. Yeast and bacteria need steady food to make gas, and cool rooms slow that work to a crawl. A new starter also needs days to build a strong population.
- Check food, warmth, and age first when the jar shows no bubbles.
- Watch the jar across a full day before you change more than one thing.
- Note the smell, since a sharp scent often means hunger.
Keep It Warm Enough
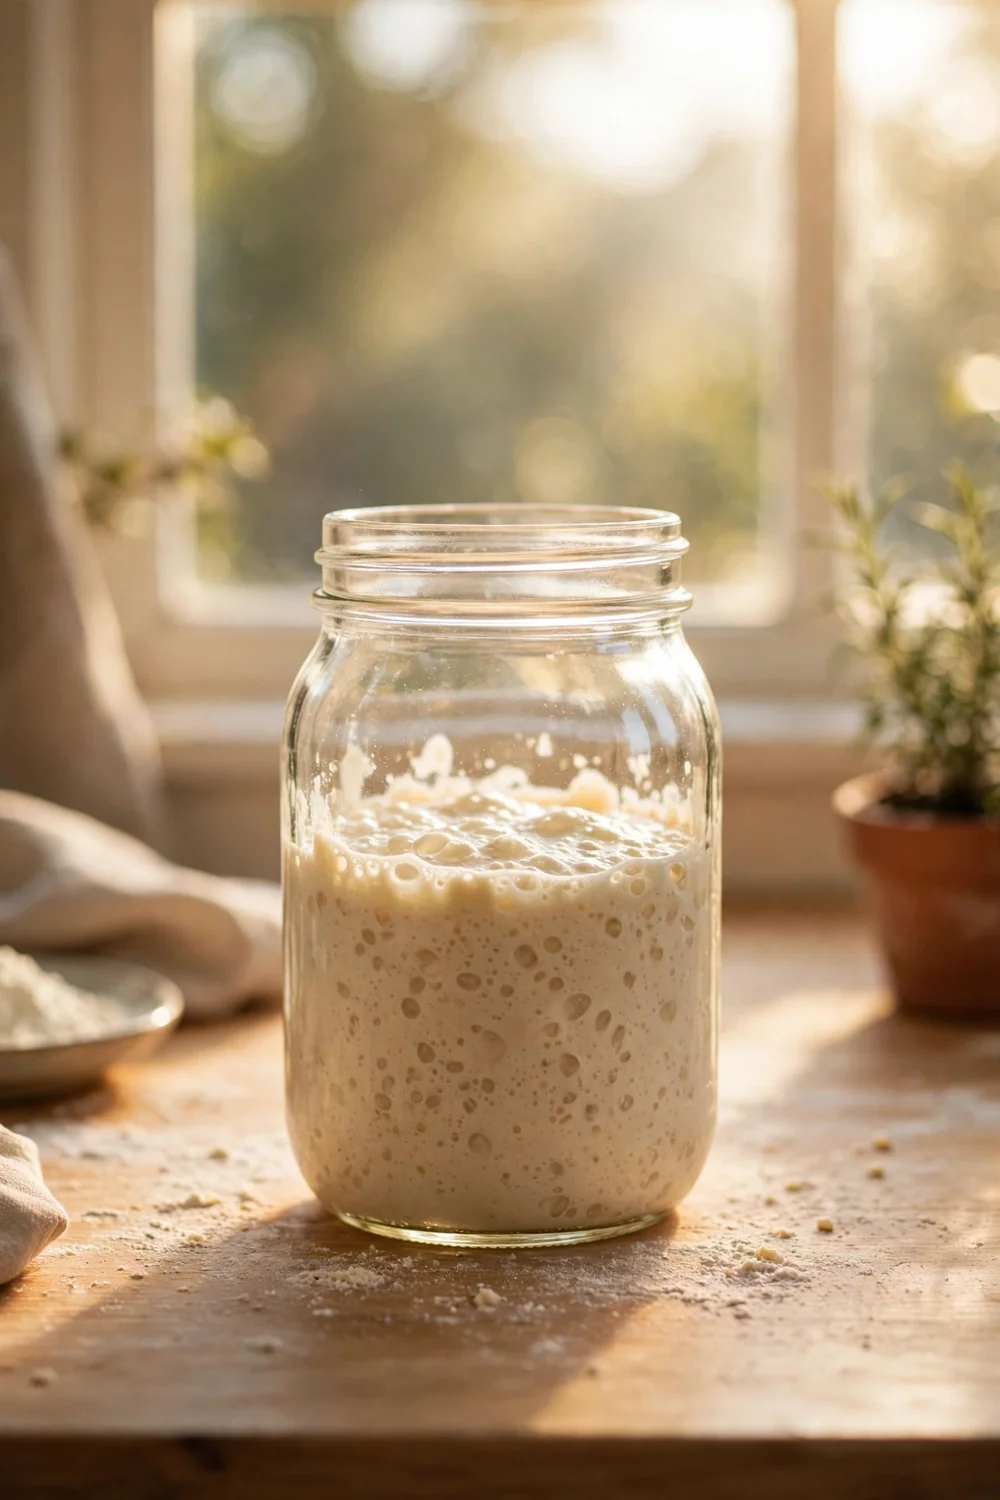
Common Mistake: Many bakers keep the jar near a cold window or on a chilly counter, then wonder why it stays flat. Cool rooms slow fermentation to a crawl, so even a well fed starter rises slowly.
The Fix: Move the jar to a warm spot at 75 to 78 degrees Fahrenheit, such as on top of the fridge or in an oven with only the light on. Avoid drafts, cold windows, and direct heat.
Check the jar hours after feeding to see if warmth is helping. The surface should show small bubbles, and the level should climb a little. If the room stays cold, wrap the jar in a towel for insulation. Do not place the jar on a hot surface, since excess heat can weaken the culture.
Feed It the Right Flour
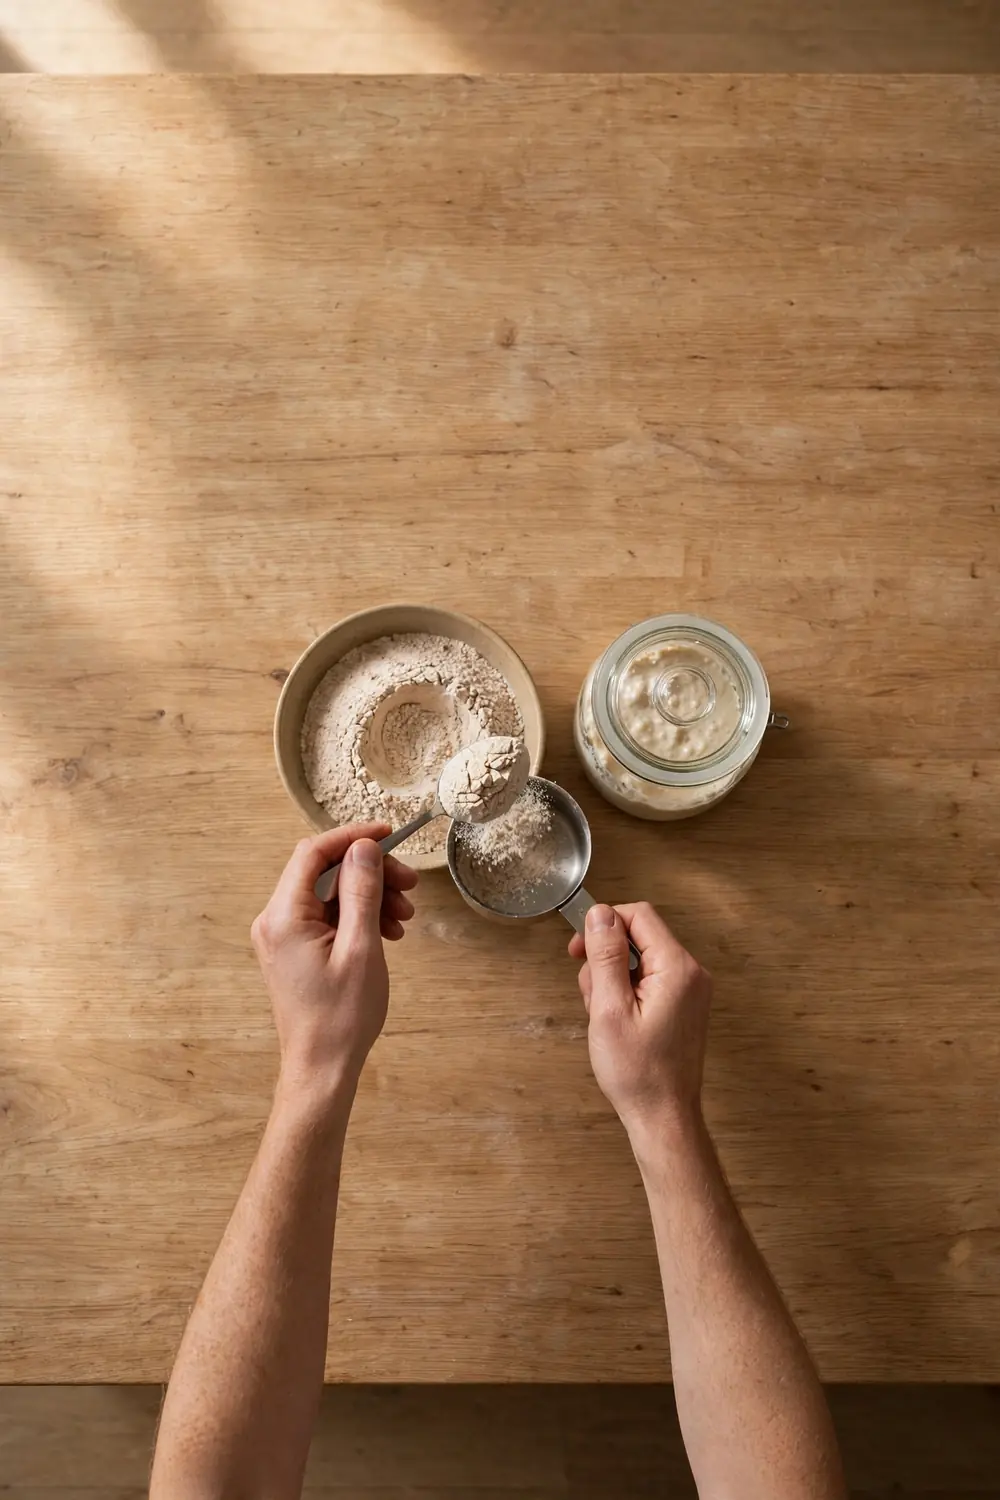
Flour is the food your starter lives on, so weak flour can starve the culture. Unbleached all purpose flour works well for feeds, and a spoonful of whole wheat or rye adds nutrients that boost activity. Bleached flour can slow the culture, so leave it out.
Switch flours slowly rather than all at once, since a sudden change can confuse a young culture. Mix the new flour with the old for two or three feeds, then move fully to the new blend. Watch for more bubbles and a faster rise each day.
Use Clean Water
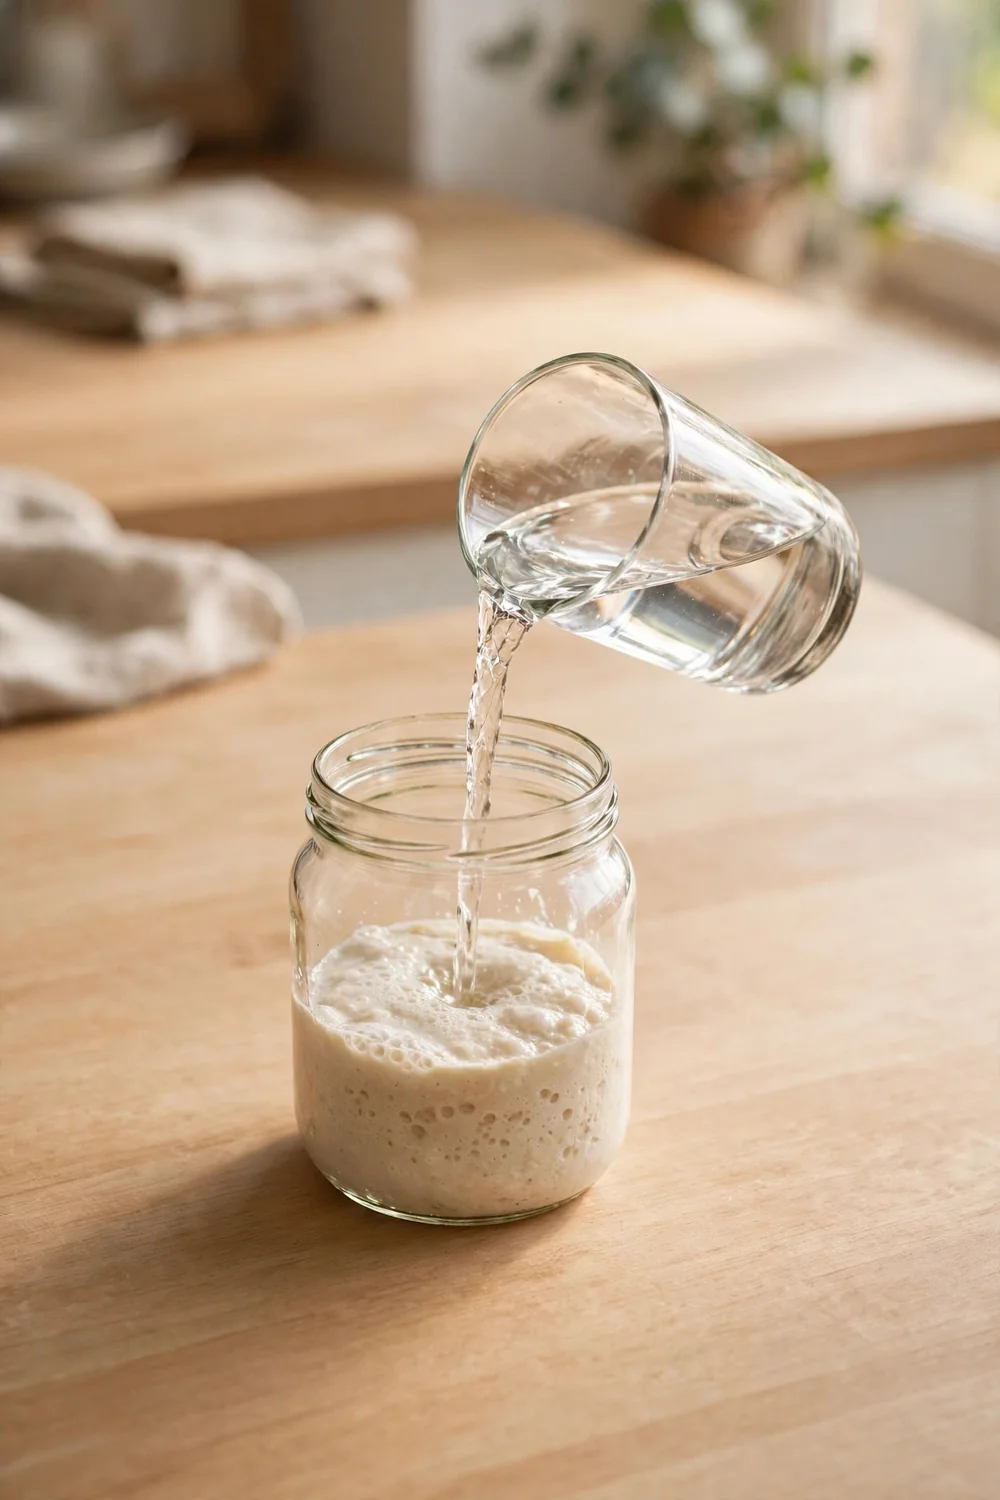
Before: Chlorinated tap water can slow yeast and bacteria, so a starter fed with it stays sluggish. Cold water chills the culture, and hot water can harm it. The jar rises slowly even with good flour.
After: Filtered water at room temperature gives the culture a stable base to grow. Feeds stay steady, bubbles return, and the rise turns predictable within a few days.
Let tap water sit uncovered for a day so chlorine can fade, or use filtered water when you can. Keep the water plain and simple, with no additives or mineral boosters. Stick with the same water source for a week so you can judge the change.
Feed It on Schedule
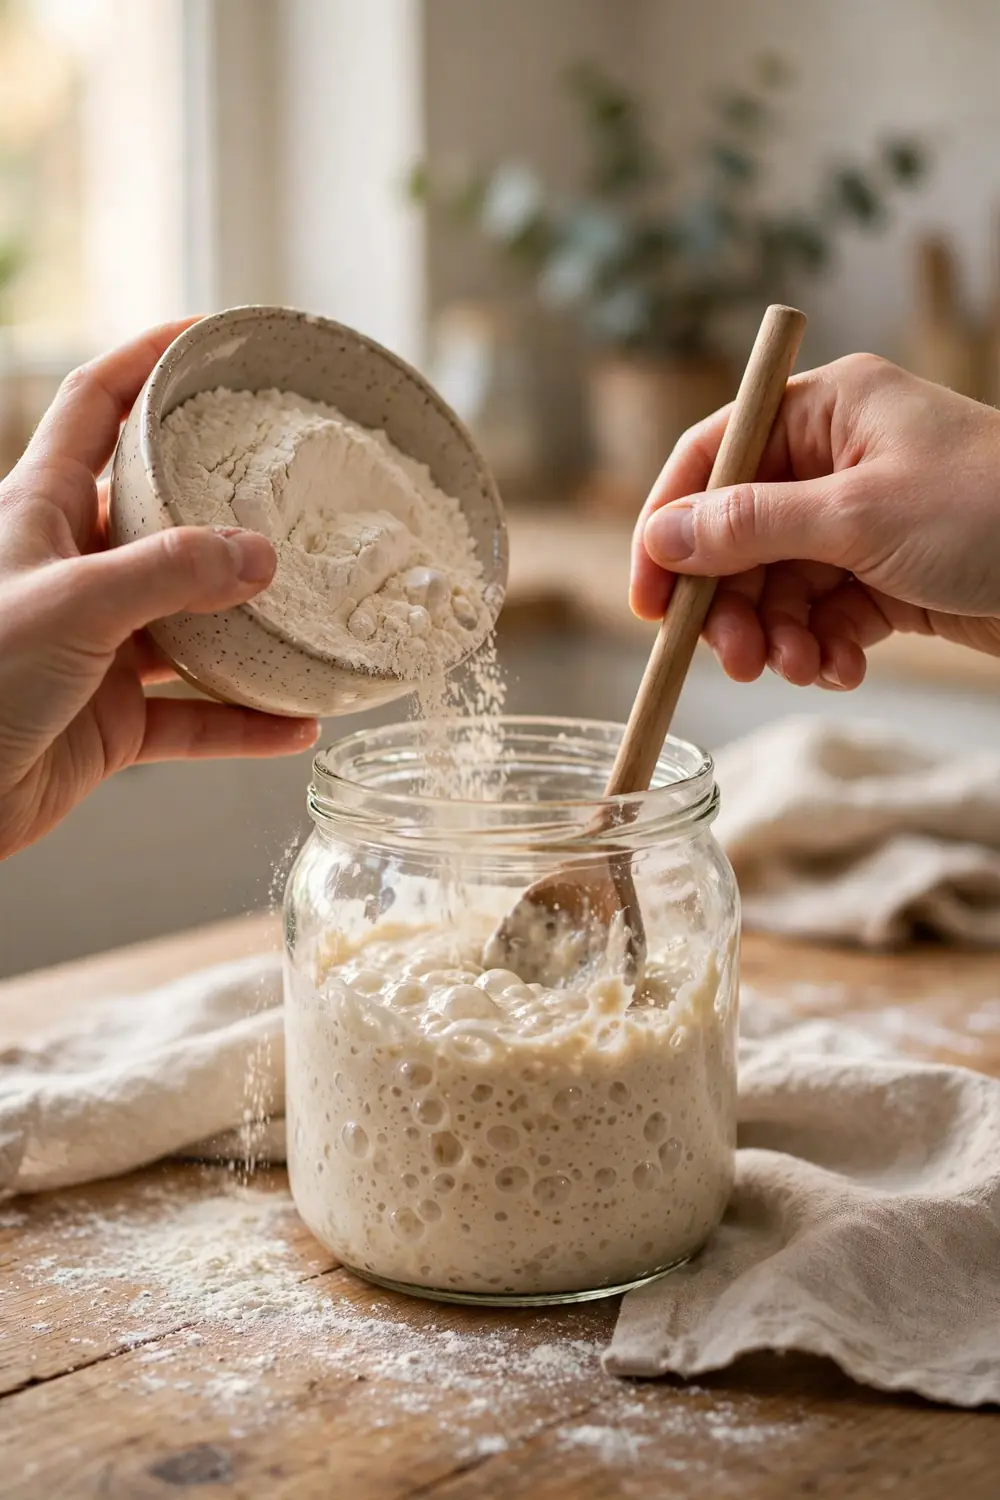
Quick Tip: Feed a room temperature starter once a day, and feed a young or weak starter twice a day until it turns active. Pick set times, such as morning and evening, and stick to them.
A starter needs meals, and long gaps between feeds leave the culture hungry and flat. Watch the rise and fall to time each feed well. Feed again when the starter has peaked and just starts to fall, since that point shows clear hunger without stress.
Fix the Feeding Ratio
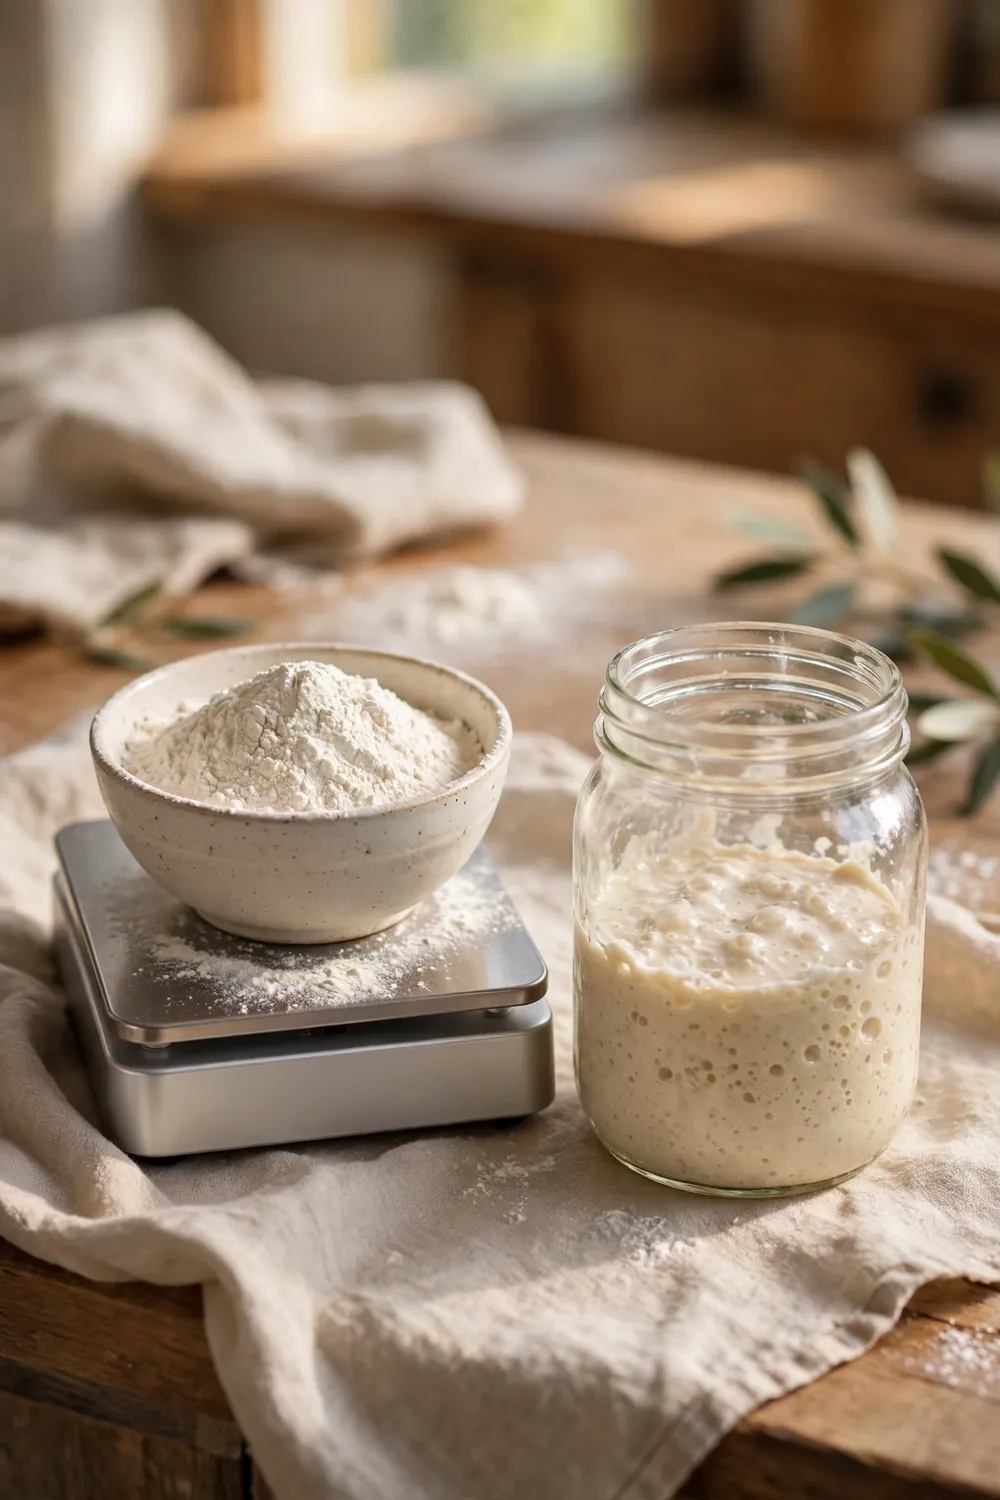
Ratio: 1 part starter to 1 part flour to 1 part water
Method: Weigh the parts, since cups pack flour unevenly
Discard: Remove half before every feed
Best For: Weak or sluggish starters
The feeding ratio sets how much food the culture gets. Discard half, then add equal weights of flour and water to the rest. This one to one to one mix gives food without drowning the culture. Keep the ratio for several feeds in a row.
Revive a Neglected Starter

What You Need:
- Clean jar: Gives the weak culture a fresh home without residue.
- Unbleached flour: Feeds the culture with nutrients that boost activity.
- Filtered water: Keeps chlorine away while the culture rebuilds.
- Warm spot: Holds the jar near 75 degrees so fermentation runs well.
- Rubber band: Marks the level so you can see even a small rise.
A neglected starter often looks flat with dark liquid on top, yet it can recover with care. Pour off the liquid, discard half of the starter, and feed the rest with equal weights of flour and water. Move the jar to a warm spot and give it time to respond.
Give It More Time
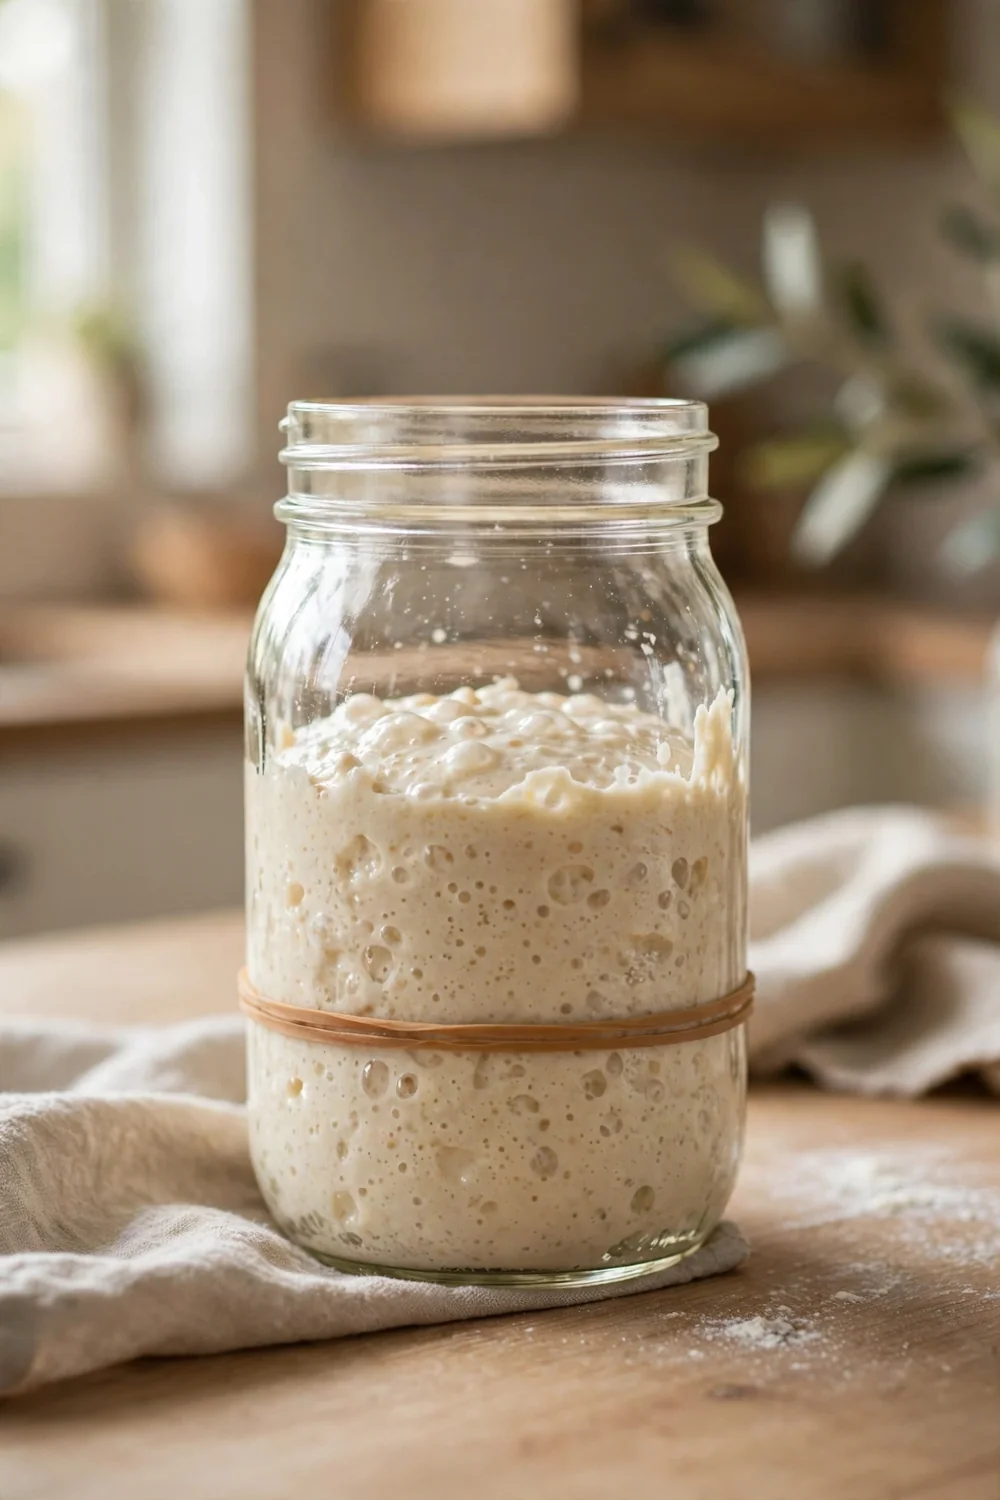
Do This:
- Keep feeding on schedule through the quiet phase.
- Mark the jar with a rubber band after each feed.
- Take notes on bubbles, smell, and rise each day.
Avoid This:
- Do not judge the starter by one feed alone.
- Do not change flour, water, and warmth all at once.
- Do not bake with the starter until it rises after two feeds in a row.
A new starter needs time to build a stable culture, and most take seven to fourteen days. Early bubbles may fade as the bacteria balance shifts, and that dip is normal. A starter that looks flat on day four can turn strong by day ten.
Use a Clean Jar

Quick Tip: Move the starter to a clean jar once a week, or sooner if flour crusts the sides. Wash the jar with hot water and soap, rinse well, and let it dry before adding the starter back.
A dirty jar can hold residue that affects smell and growth, so a clean jar helps each feed. Use a wide mouth glass jar so feeding and stirring stay easy. Loosely cover the jar with a lid or cloth so gas can escape while dust stays out.
Common Mistakes to Avoid
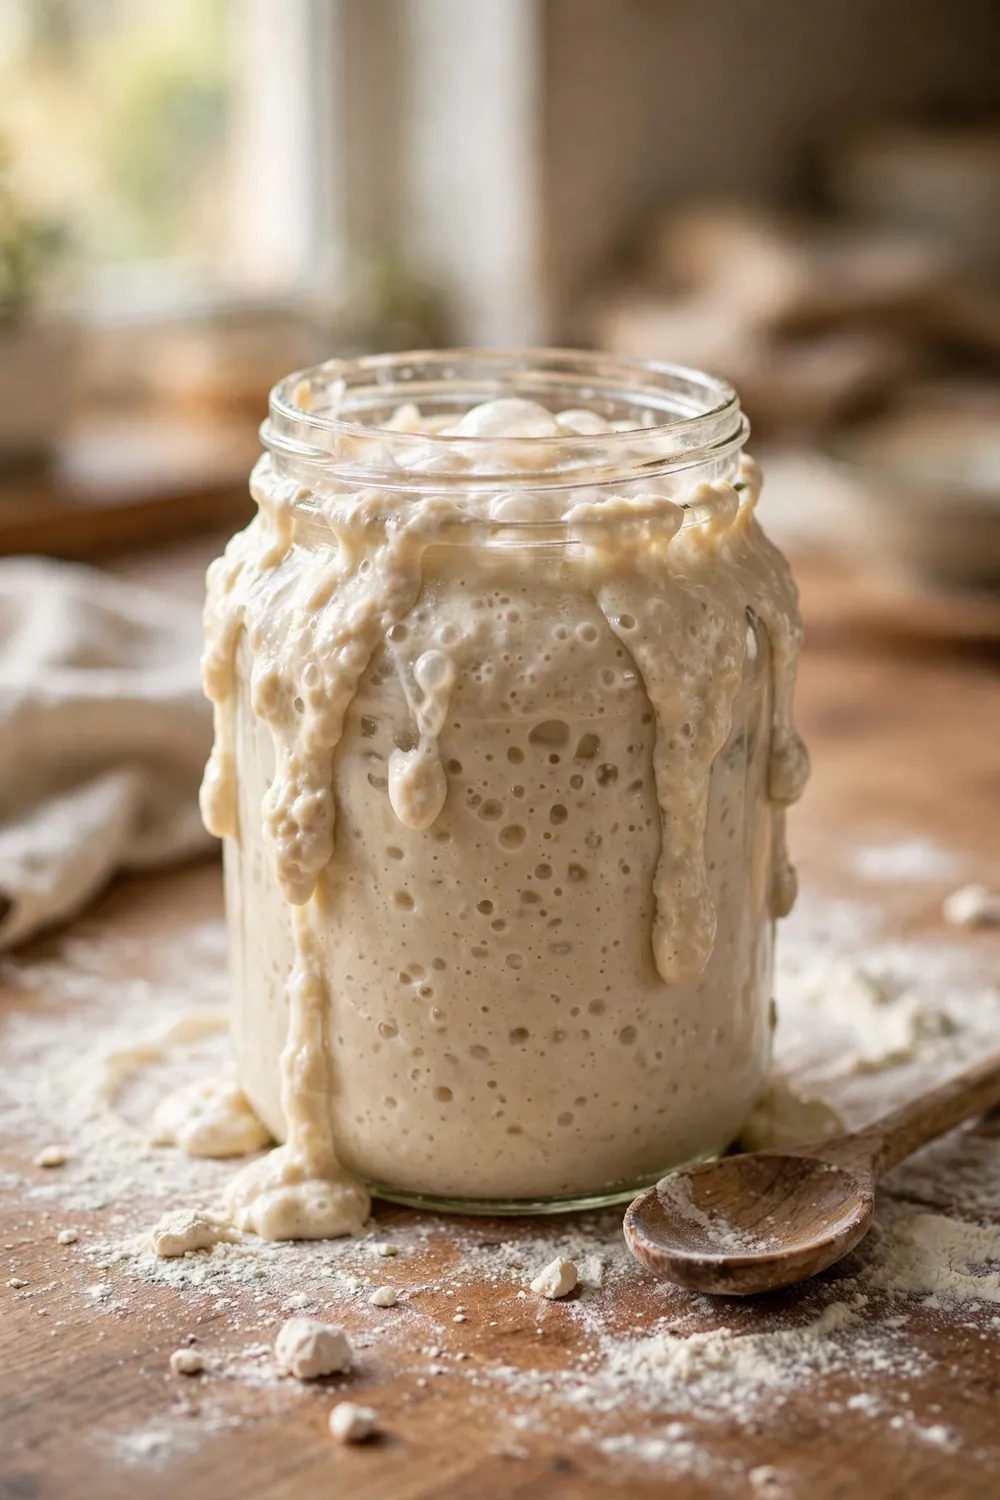
Most stalled starters come from a few repeatable habits, not a broken culture. Fix one habit at a time, starting with the checks below. A steady routine for a full week beats a fast overhaul. Change one thing at a time so you can tell which fix helped.
- Do not change flour, water, and warmth all at once.
- Do not feed with bleached flour or chlorinated water.
- Do not skip feeds or skip the discard step.
- Do not keep the jar in a cold spot and expect a fast rise.
What a Bubbly Starter Looks Like

Common Mistake: Many bakers judge readiness by smell alone, but a tangy jar can still lack gas. Others bake too early, before the starter rises on schedule, and the loaf falls flat.
The Fix: Use the float test after the starter peaks. Drop a small spoonful in water, and if it floats, the starter holds enough gas to leaven bread. If it sinks, feed it again and wait for the next peak.
A healthy starter shows many small bubbles across the surface and through the sides of the jar. It rises to near double its fed level within four to eight hours in a warm room. The top looks domed, and the smell turns mildly tangy and yeasty.
Conclusion
When sourdough starter not bubbling leaves the jar flat, the cause is simple: weak flour, chlorinated water, a cool spot, missed feeds, or too little time. Feed with the right flour, use clean water, keep the jar warm, discard half, feed equal parts, and give it days to strengthen.
Stay steady and change one habit at a time so you can see what helps. Watch for bubbles, a domed top, and a steady rise after each feed. Those signs mean the culture is growing stronger.
If you enjoy fixing tricky bakes, you may also like our guide on cracked macarons for another clear fix.





2 Comments