Why Is My Fruit Pie Filling Runny? Easy Fix Guide
Runny fruit pie filling can turn a lovely bake into a soggy letdown, even when the crust looks golden. Most thin results come from a few fixable causes. Once you see why juice escapes, you can bake pies that slice clean.
Fruit gives up juice as it heats, and that juice needs the right balance of thickener, sugar, and baking time to set. Too little thickener leaves liquid free, while too much sugar pulls out extra juice.
This guide walks through each fix, from fruit choice to cooling. You will learn how to measure thickener, when to macerate or precook, and how long to bake and cool. And if a wet quiche base is your trouble instead, see why a soggy quiche bottom happens and how to crisp it.
Why Pie Filling Turns Runny
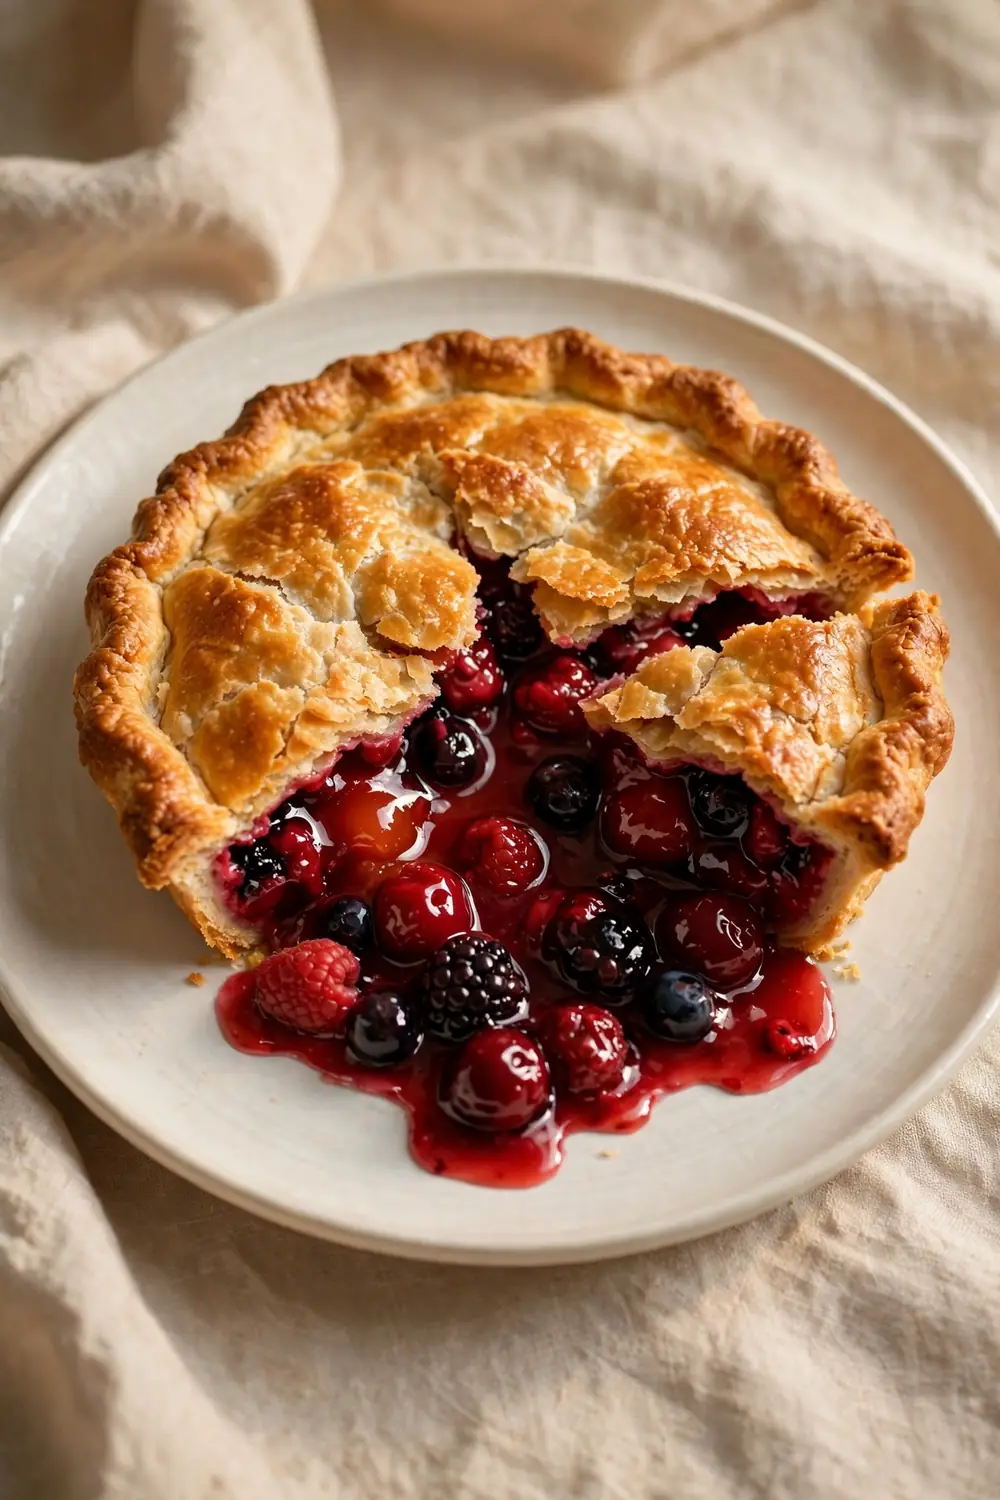
Fresh fruit is mostly water, and heat squeezes that water out as cell walls soften in the oven. Without enough thickener or baking time, the juice stays thin and pools under the crust. Sugar adds to the problem by drawing out more liquid before starch can trap it.
A pie can look done while the center still simmers below a boil, so starch never gels. Cutting too soon makes things worse, since hot filling has not set yet. Cooling gives starch time to firm up and hold juice in place. Once you see these causes, the fixes feel simple.
Pick the Right Fruit
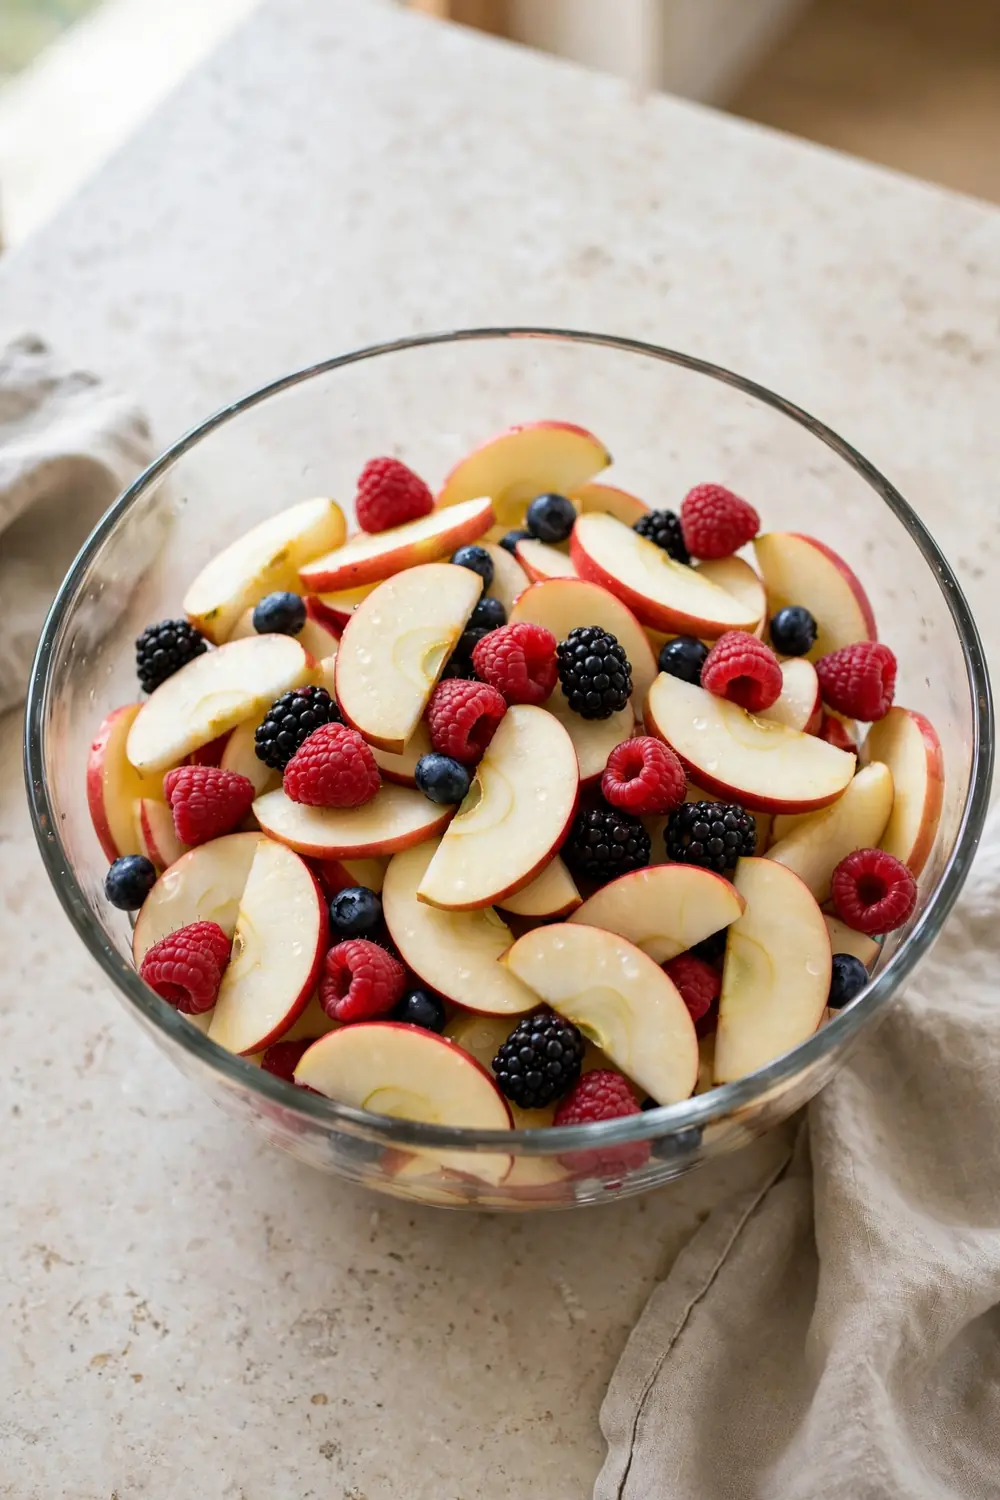
Quick Tip: Taste the fruit before you sweeten it, since tart fruit needs more sugar and sweet fruit needs less. Frozen fruit works too, but thaw and drain it first so melted ice does not flood the filling. Measure fruit after prep, not before, so thickener ratios stay accurate.
Some fruits release far more juice than others, so your choice shapes the result before baking starts. Berries, peaches, and very ripe plums are juicy and need extra thickener or draining. Firmer apples, pears, and slightly underripe stone fruit hold their shape better in the oven.
Macerate the Fruit
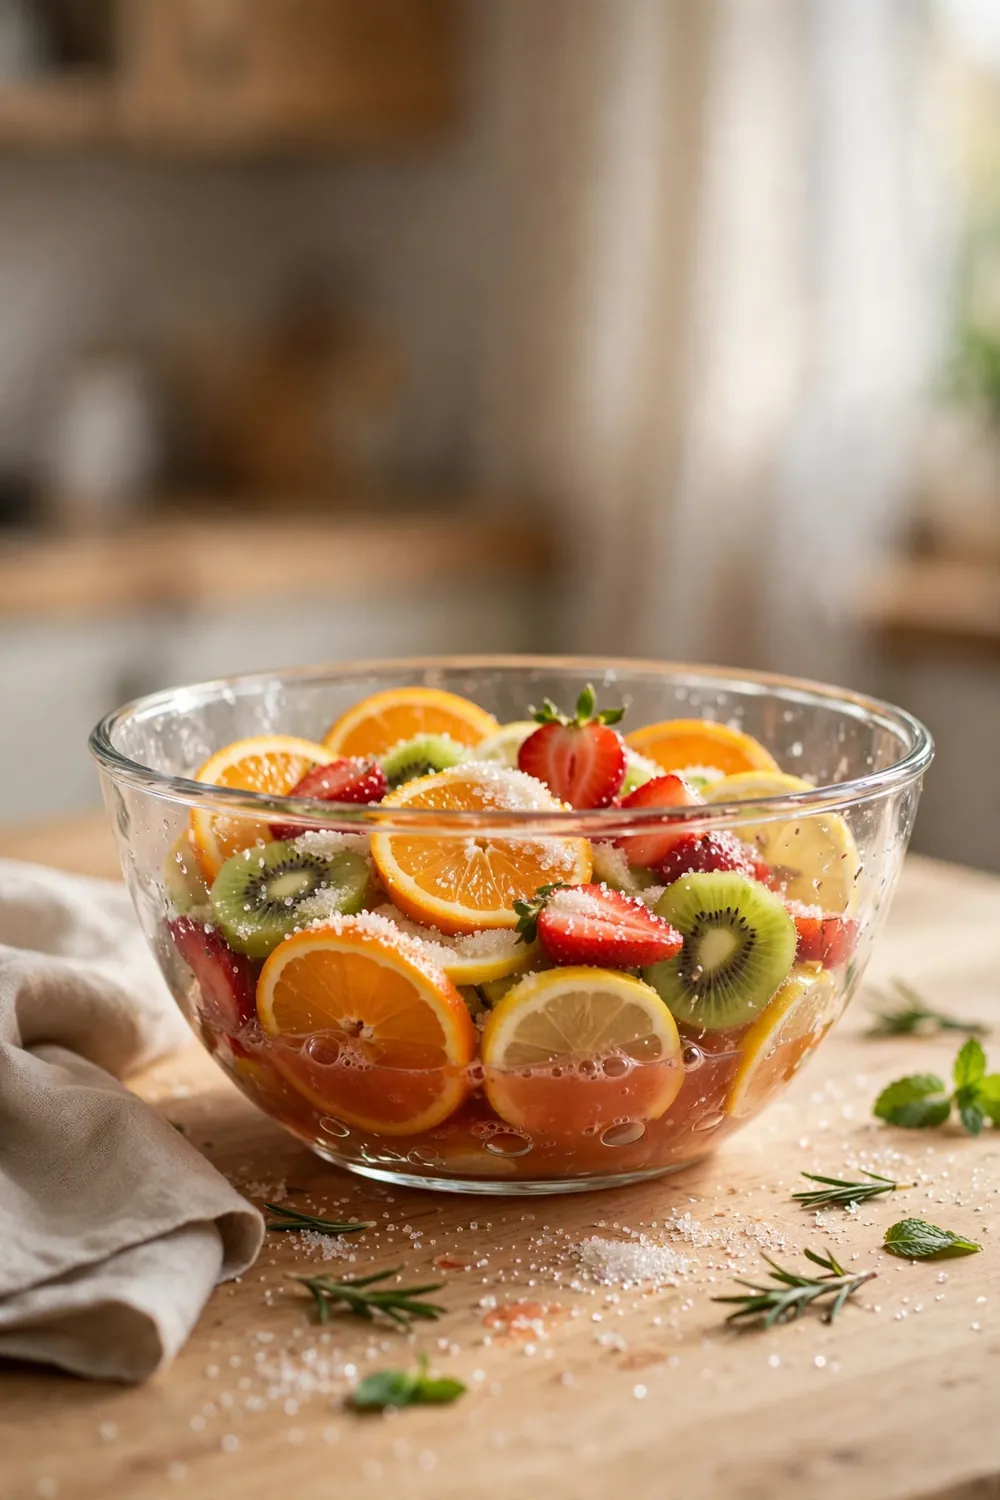
Macerating means tossing fruit with sugar and letting it rest so juice draws out early. That early juice is the liquid that would flood the pie, so pulling it out now keeps the filling firm. Rest the fruit for 15 to 30 minutes.
- Toss sliced fruit with sugar and a pinch of salt in a large bowl.
- Rest the bowl for 15 to 30 minutes until juice pools at the bottom.
- Drain the juice through a strainer and save it for a quick simmer.
- Simmer the drained juice briefly, then stir the light syrup back into the fruit.
Measure the Thickener
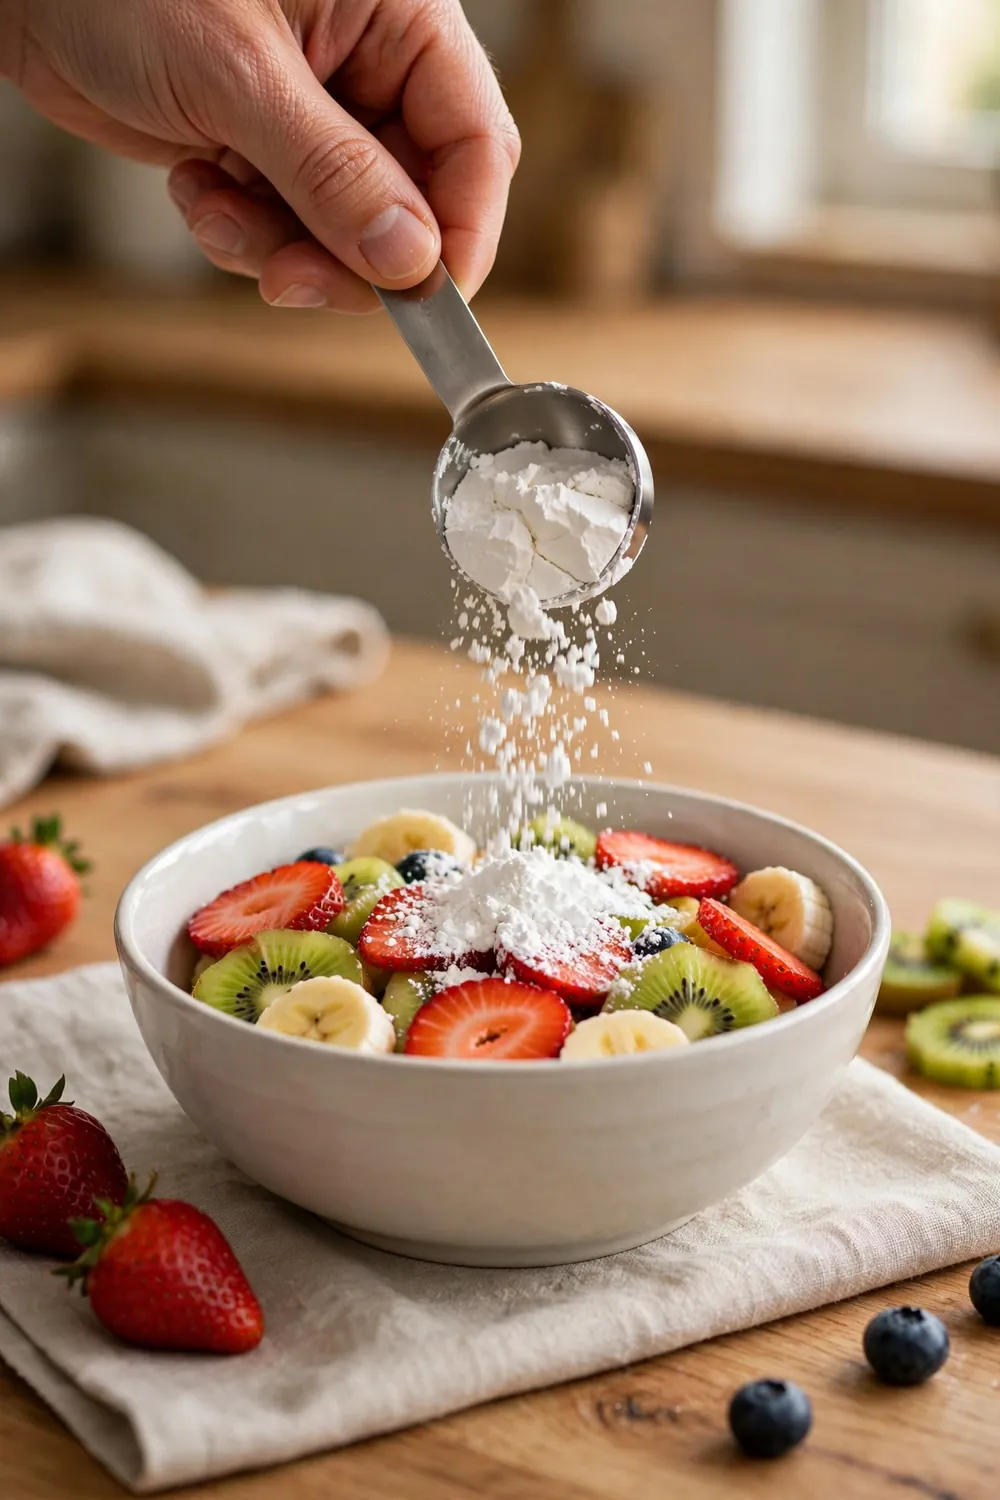
What You Need:
- Cornstarch: Gives a clear, firm gel and works well for berry pies.
- Flour: Gives a softer, cloudier set and suits apple pies.
- Tapioca: Stays clear and holds up well for very juicy fruit.
- Level spoons: Keep every measure exact so the set stays consistent.
Always toss thickener evenly with sugar and fruit so no dry pockets remain. Dry lumps never gel properly and leave thin spots in the slice. For juicy batches, add one extra teaspoon of cornstarch rather than guessing later. Measure with care, since a heaping scoop changes the set.
Sweeten with Care
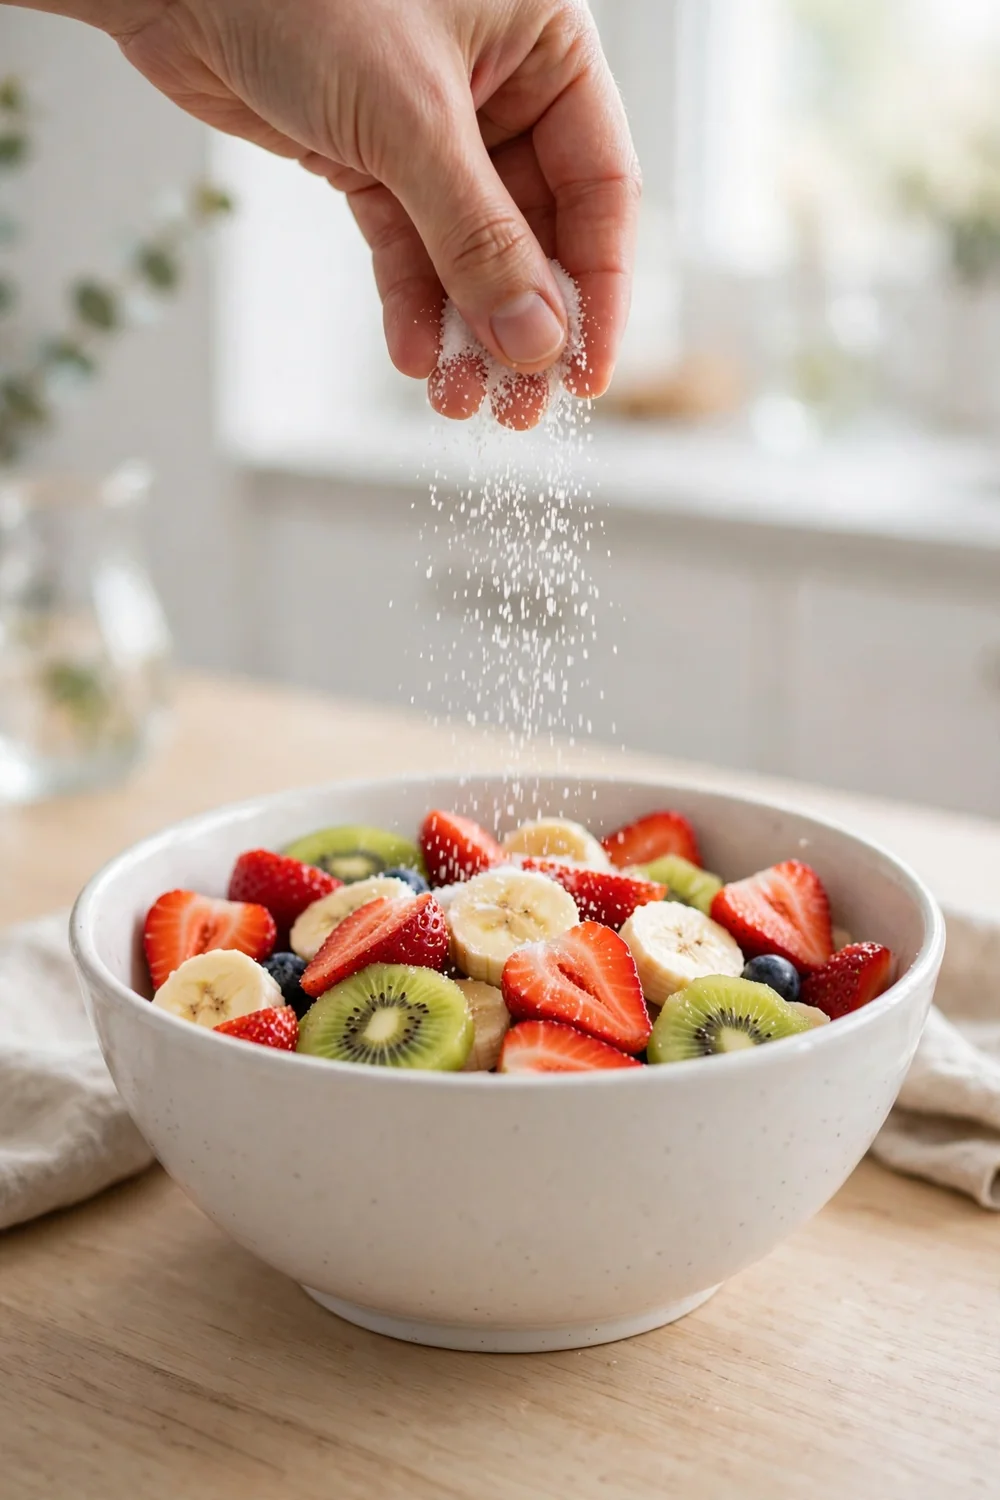
Common Mistake: Many bakers add extra sugar to make up for tart fruit, and that sugar pulls out a flood of juice before baking starts. More sugar forces the thickener to work harder, and the filling still turns thin.
The Fix: Taste the fruit first and sweeten lightly, then adjust only if needed. Tart apples need more sugar than ripe peaches or sweet berries, so let flavor guide the amount.
Mix sugar with thickener before adding fruit, so starch coats each piece evenly. This step helps gel form quickly once heat builds. Avoid adding extra sugar on top of the filling, since it melts into free liquid. If the fruit tastes sweet already, cut sugar by two tablespoons.
Precook the Filling
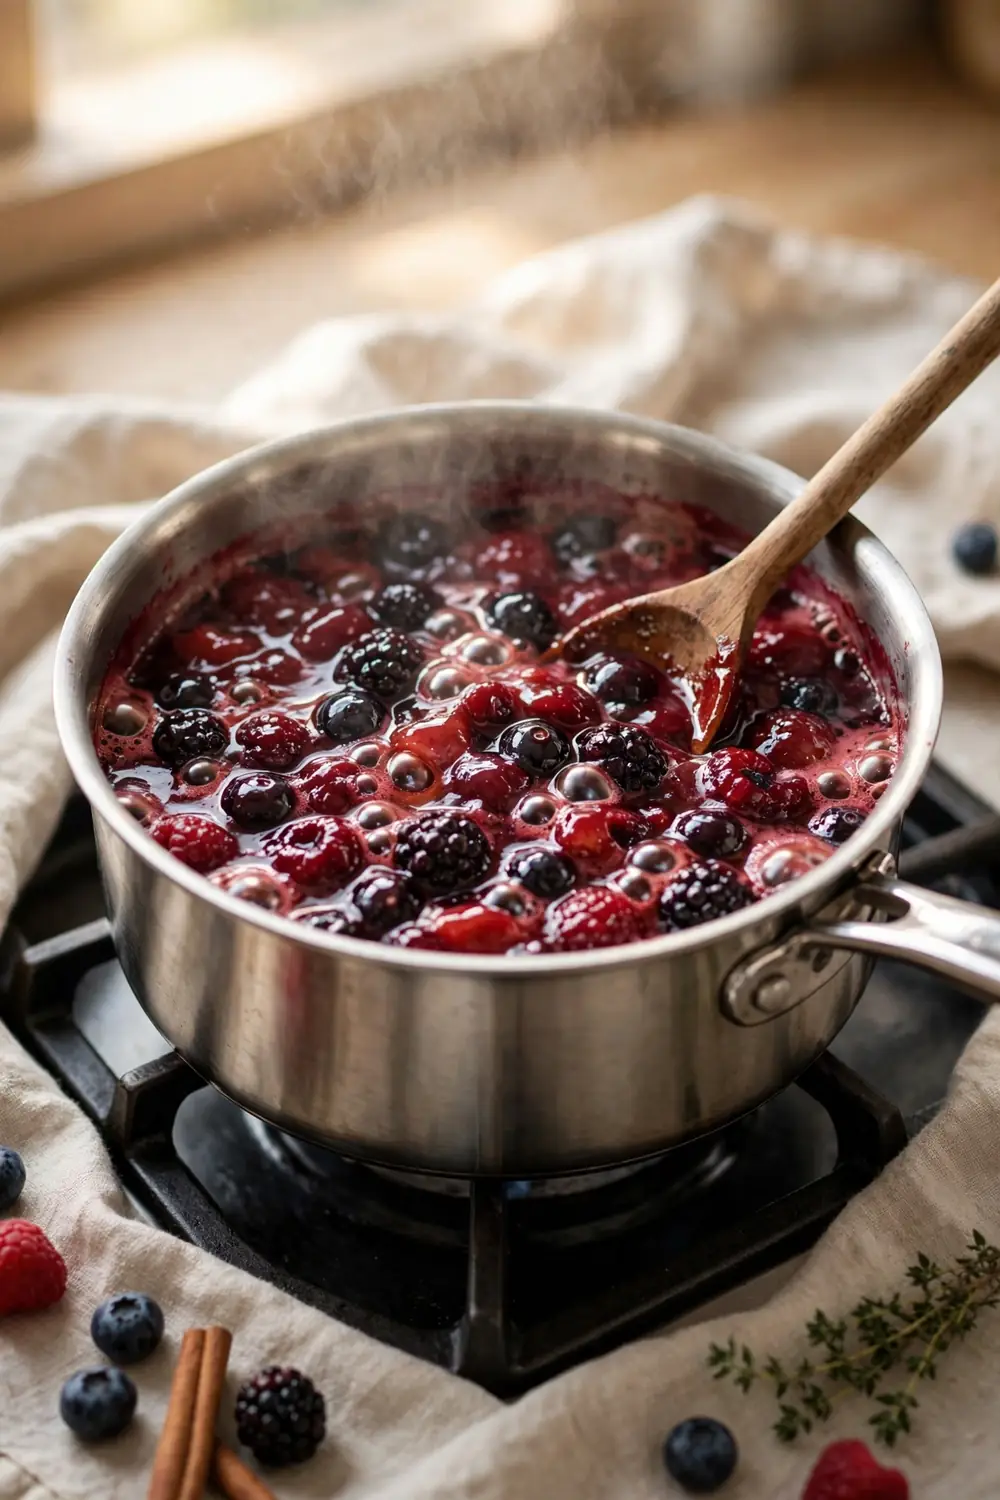
Do This:
- Warm fruit, sugar, and thickener in a saucepan over medium heat.
- Stir gently until the juice turns glossy and slightly thick.
- Let the filling cool before it meets the raw crust.
Avoid This:
- Do not skip cooling, since hot filling melts raw crust on contact.
- Do not add extra water, since it thins the gel you just built.
- Do not rush the simmer, since starch needs heat to activate.
Precooking gives thickener a head start before the crust sets. This step takes about five to eight minutes and shows true texture early, so you can adjust sweetness or thickener in time. It works best for juicy berries, cherries, and peaches. For firm apples, a short precook still helps starch activate.
Vent the Top Crust
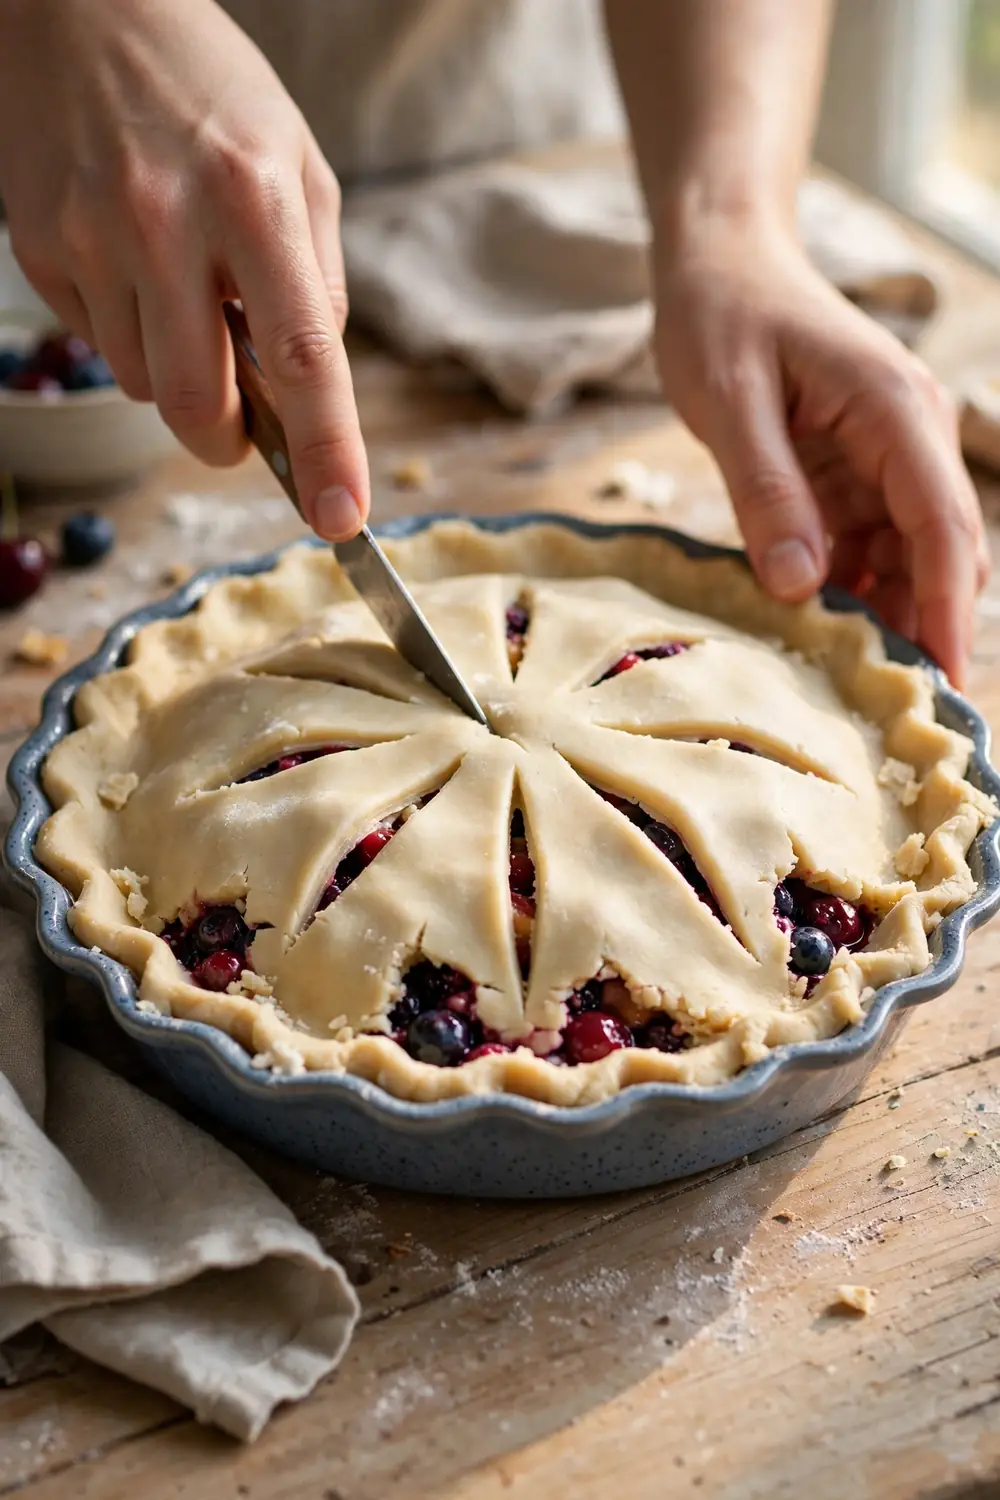
Before: A sealed pie traps steam inside, and that steam turns back to liquid as the pie cools. The filling waters down, and the crust softens under the trapped moisture.
After: Cut vents let steam escape while the pie bakes, so the filling thickens instead of watering down. The crust stays crisp, and the filling sets glossy and firm.
Cut several slits or a small center hole in the top crust before baking. Keep slits neat and evenly spaced so juice bubbles gently without overflowing. A lattice top vents naturally through its gaps, so it needs no extra cuts. If filling bubbles through vents near the end, that is a good sign.
Bake It Long Enough
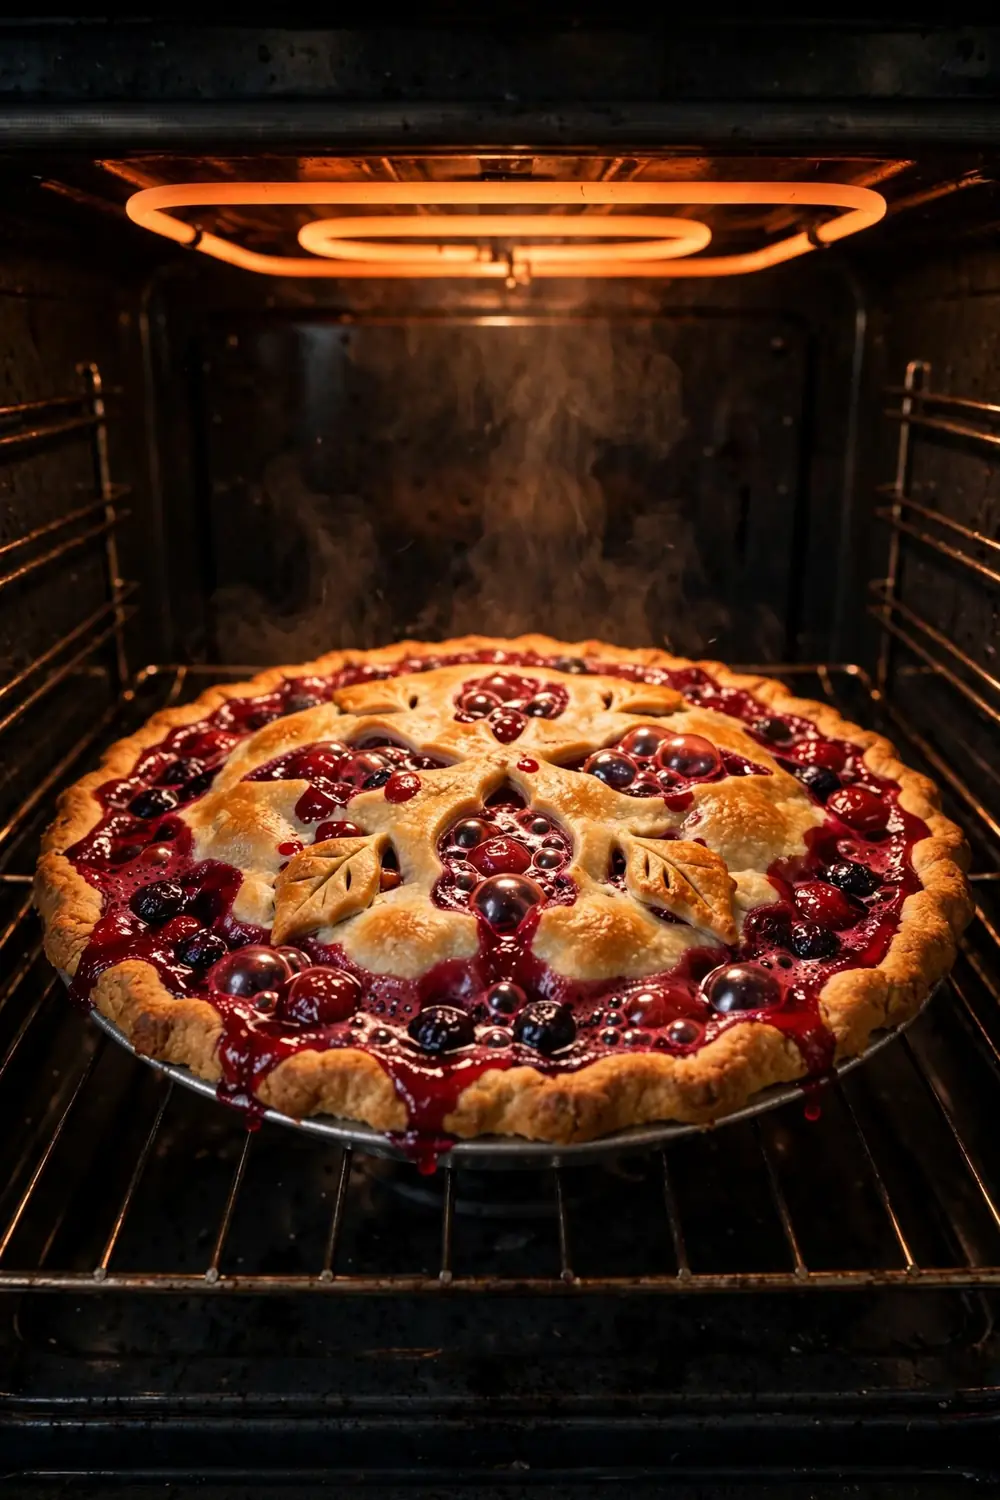
Time Needed: 45 to 60 minutes
Difficulty: Easy
Best For: Pies with juicy fruit
Pro Tip: Trust bubbling and color more than the timer
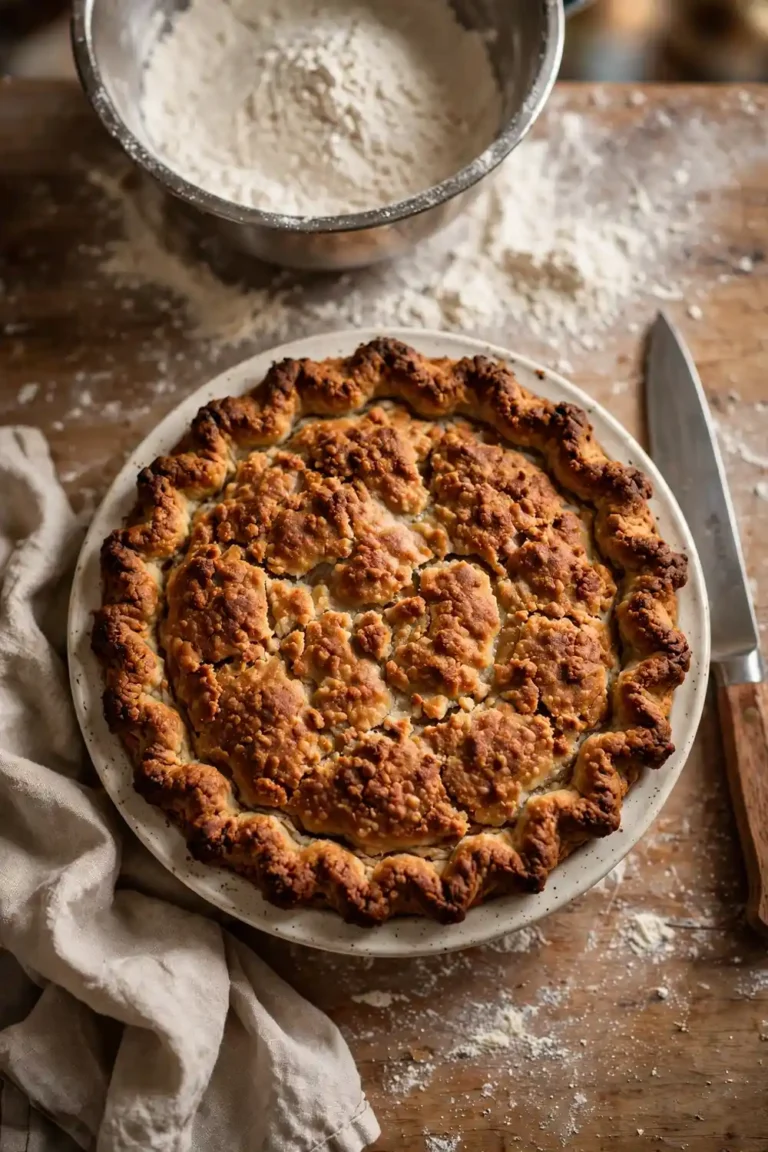
Underbaking is one of the most common causes of thin filling. Starch needs sustained heat to gel, and a pale crust often means the center never got hot enough. Bake until the crust turns deep golden and filling bubbles visibly in the center. Avoid opening the door too early.
Cool It Fully
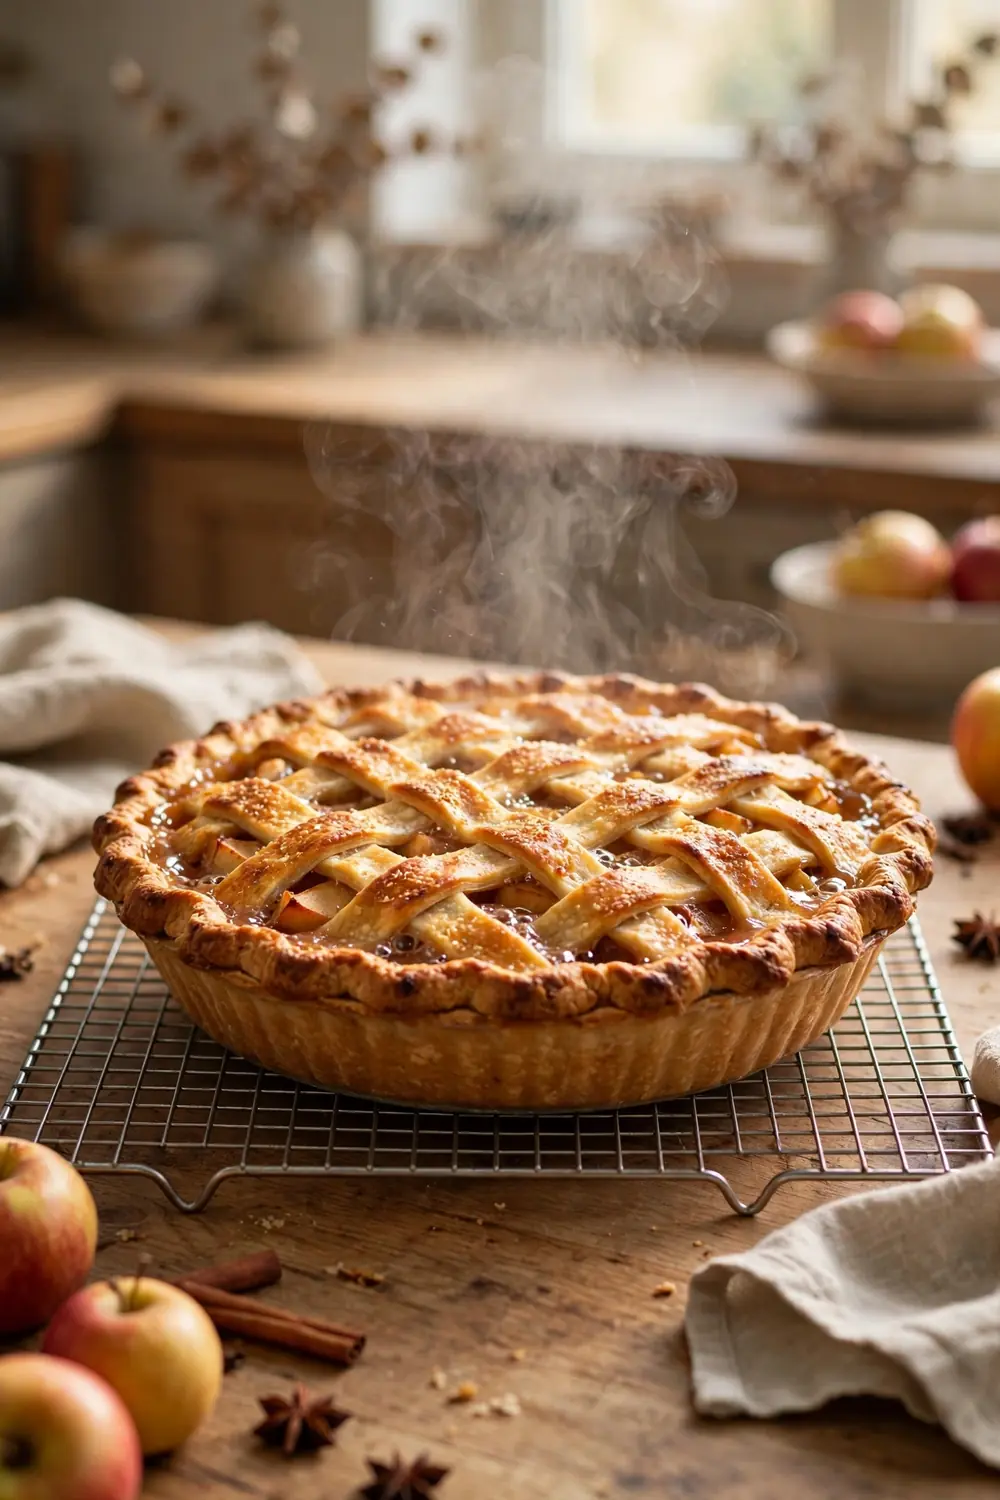
Cooling is when filling actually sets, so cutting early ruins even a well baked pie. Starch firms as temperature drops, trapping juice in a glossy gel that holds a clean slice. Leave the pie on a wire rack for two to four hours until it reaches room temperature.
- Move the baked pie to a wire rack at once.
- Let it cool for two to four hours until it reaches room temperature.
- Check that the center feels set, not warm and loose, before you slice.
- For the cleanest slices, chill the cooled pie briefly before cutting.
Common Mistakes to Avoid
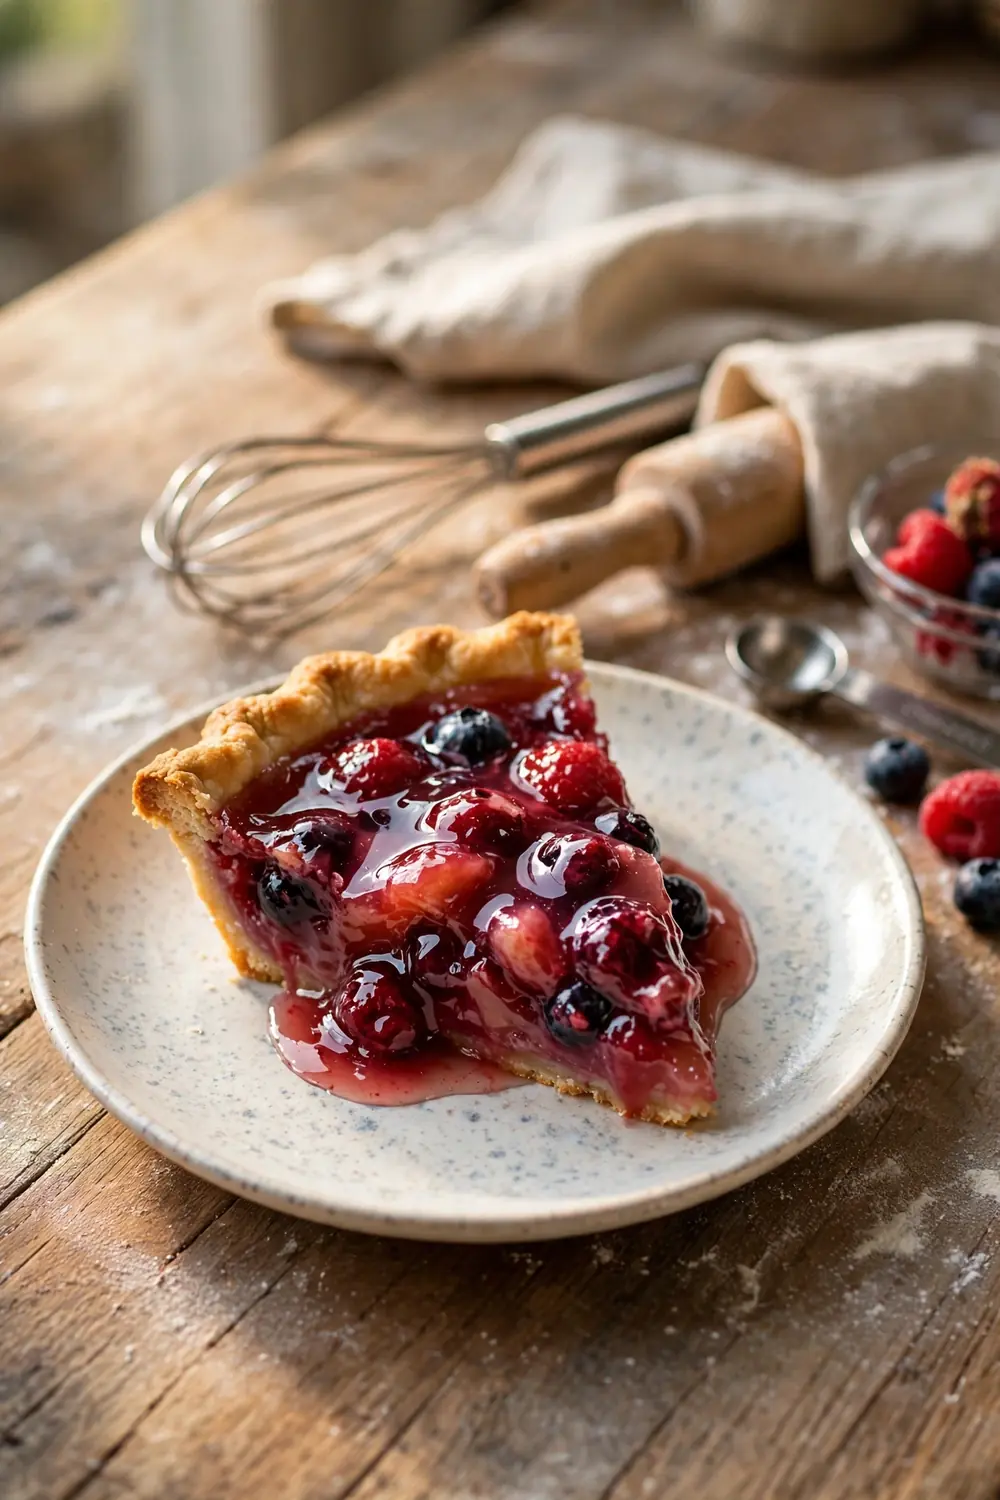
Many watery pies come from small habits that are easy to fix. Skipping the drain after maceration leaves free juice in the shell. Adding extra water to stretch filling only thins the gel. Using a shallow pan or piling fruit too high keeps the center underbaked.
Cutting a hot pie is the most common mistake, since filling needs hours to set. Opening the oven door drops heat and slows starch activation. Forgetting vents traps steam that turns back to liquid. Check every single step once, and your pie will slice clean.
What Thick Pie Filling Looks Like
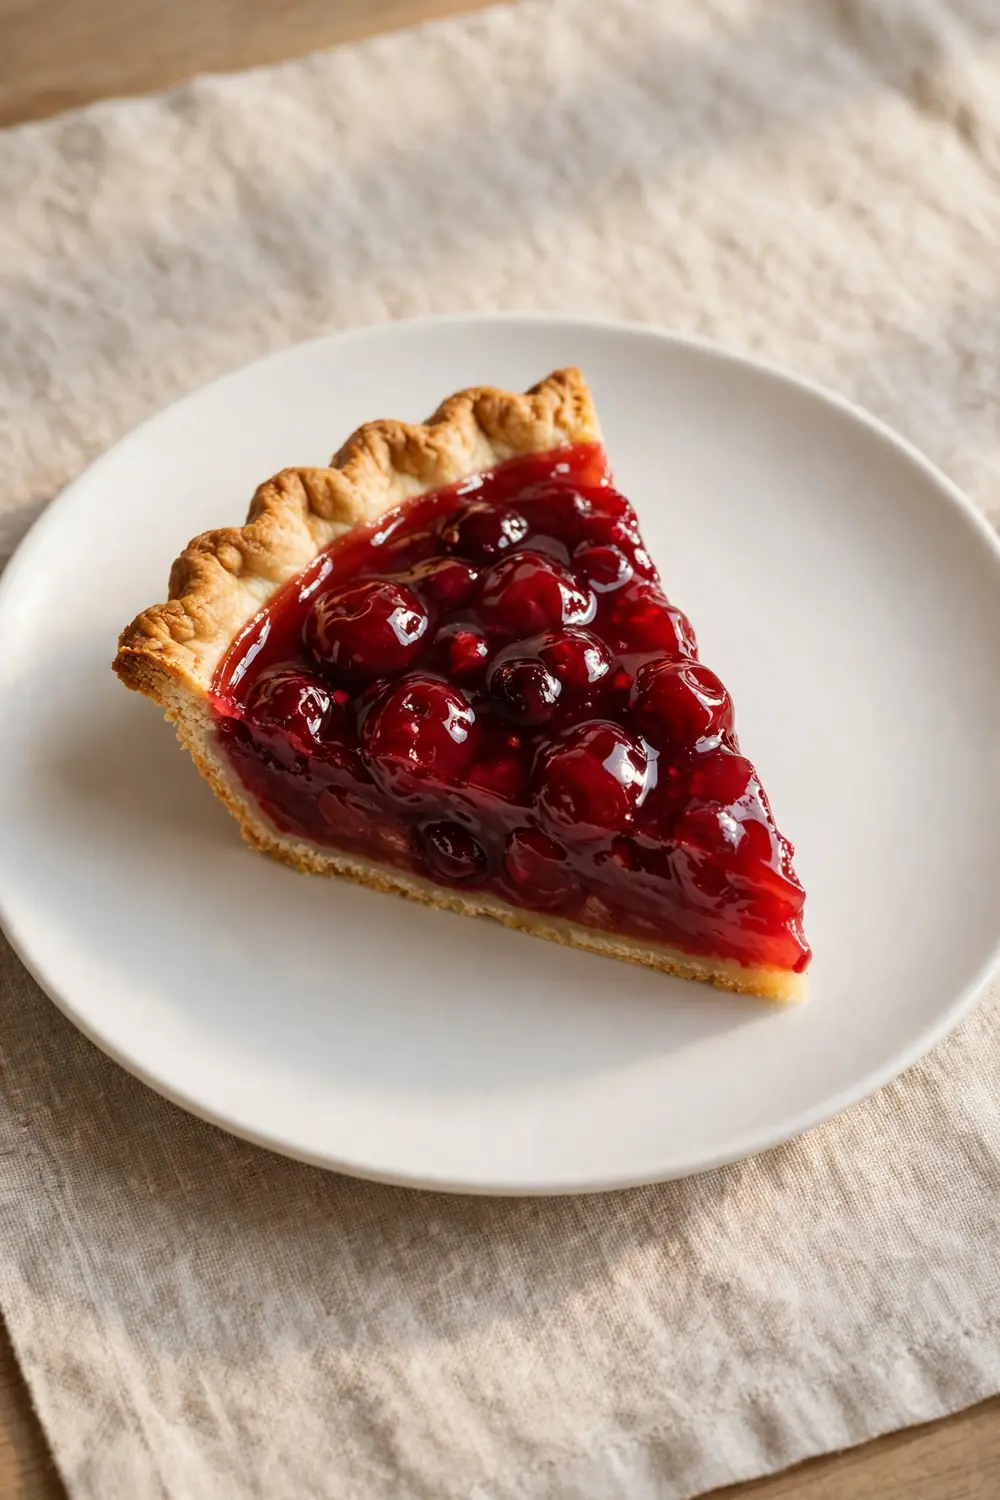
Quick Tip: Lift a slice and watch the cut edge. A set filling clings to the fruit without running across the plate, and a shine on the cut edge shows the starch set correctly.
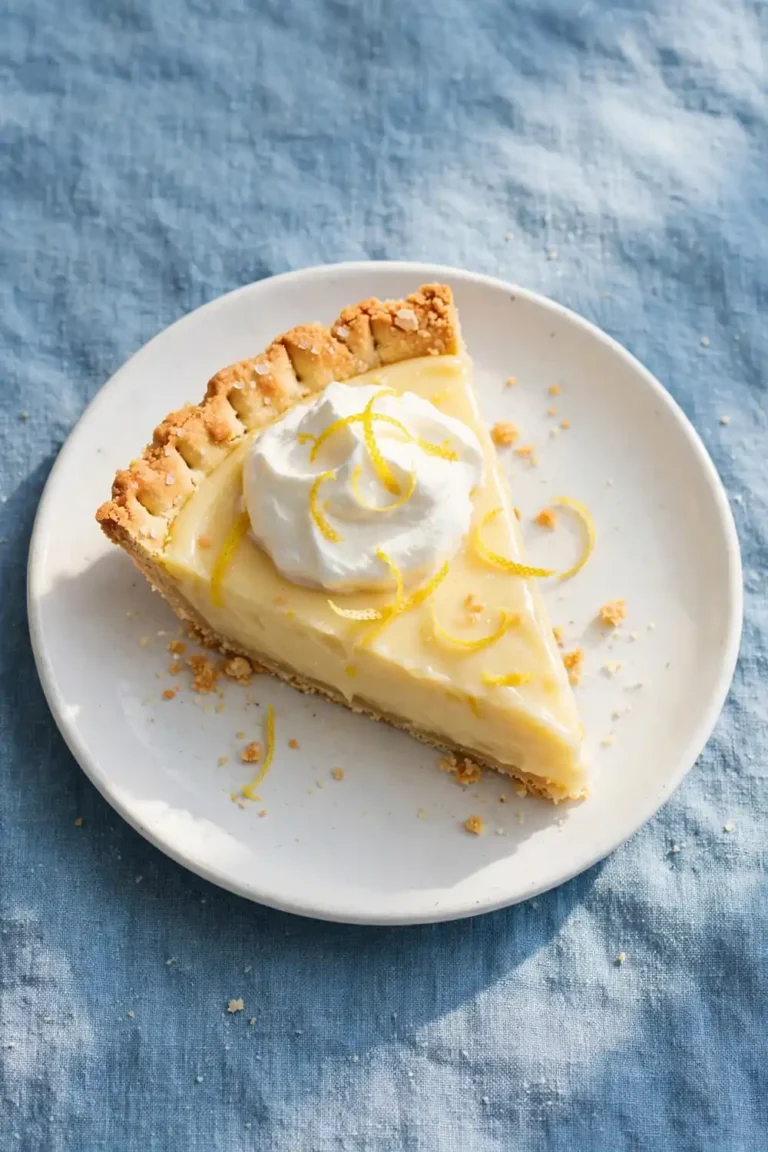
A set filling looks glossy and clings to fruit without running across the plate. When you lift a slice, it holds its wedge shape and juice stays in place. The gel should look clear for berry pies and thick for apple pies. Taste should feel balanced, with fruit flavor leading and sweetness in the background.
Conclusion
In short, runny fruit pie filling usually comes from juicy fruit, too little thickener, too much sugar, skipping maceration or precook, underbaking, and cutting too soon. Measure thickener carefully, drain or precook juicy fruit, vent the crust, bake until the center bubbles, and cool fully before slicing.
Save this guide on Pinterest and try the steps with your next pie. Start with one fix at a time, then combine them as you gain confidence.
If you enjoy kitchen fixes like this, read our guide to sourdough starter not bubbling for another simple bake day rescue.

2 Comments