Why Is My Mashed Potato Gluey? Easy Fix Guide
If your gluey mashed potatoes come out sticky and pasty instead of light and fluffy, you are not alone. Many home cooks face the same gummy bowl even with good potatoes. The good news is that a few small changes can fix the texture.
Mash turns gluey when the potato starch bursts and forms a sticky paste. Overmixing, cold liquid, and the wrong potato all push starch past its limit. In my experience, gentle mashing and warm liquid fix most sticky batches.
This guide walks through each cause, from potato choice to serving. Follow the steps, and your next bowl should turn out fluffy and smooth. And if soft roast potatoes are your trouble instead, see why not crispy roast potatoes happen and how to make them crisp.
Why Potatoes Turn Gluey
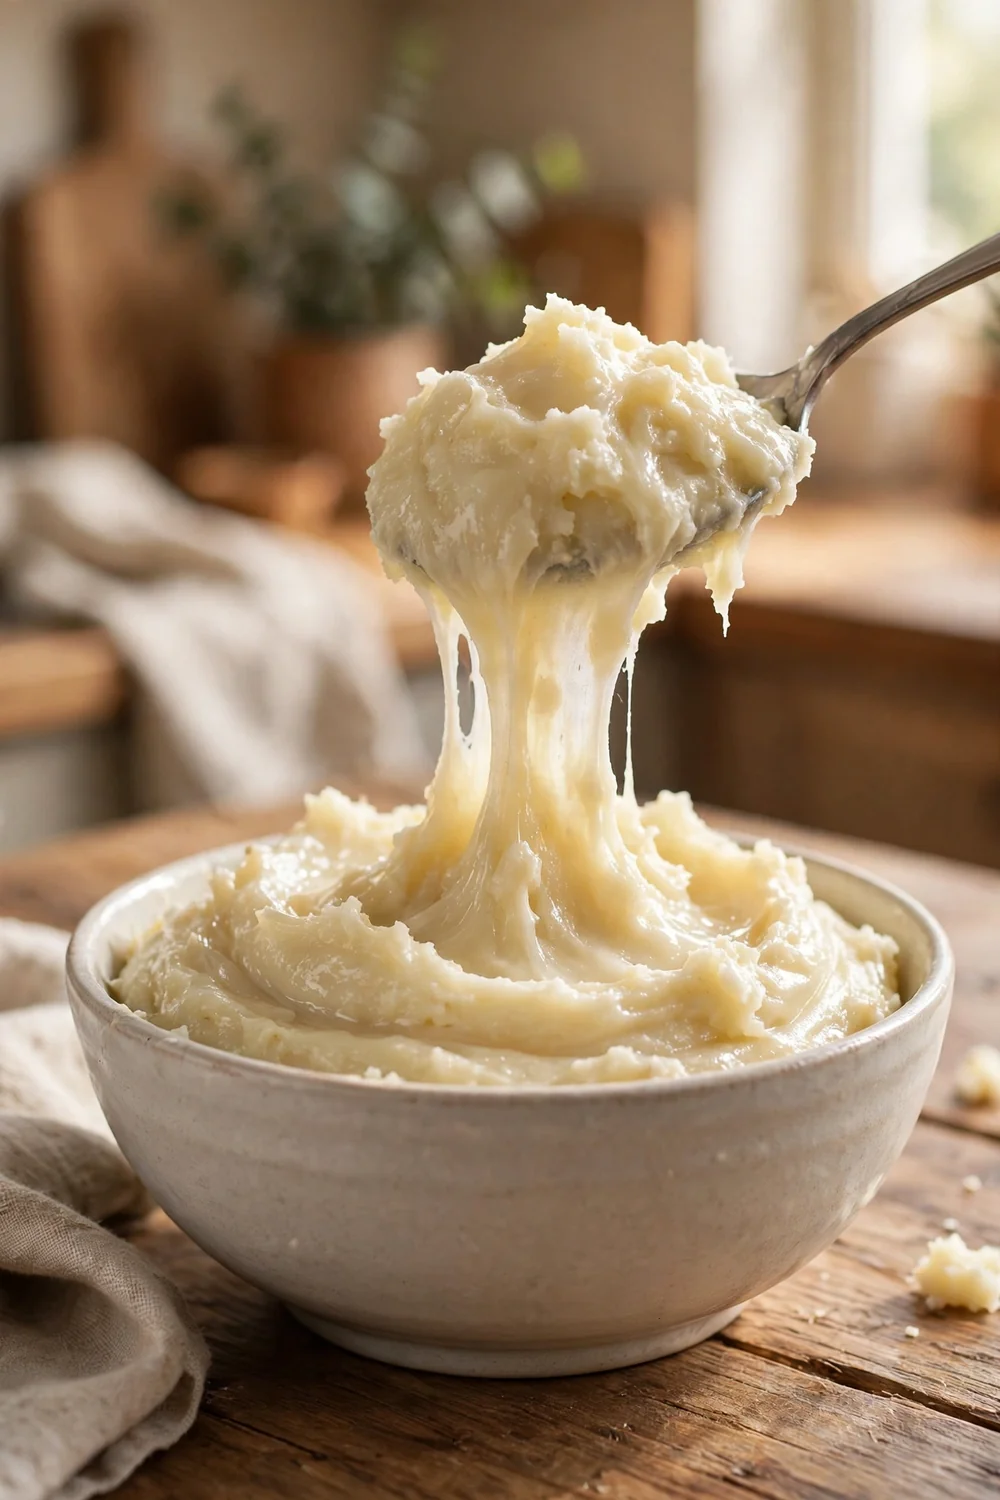
Common Mistake: Most cooks blame the potato and keep beating the bowl to fix it. A food processor, a blender, or hard beating tears the starch cells apart fast. Extra beating then breaks more cells, and the bowl turns gummy.
The Fix: Stop beating and switch to gentle hand mashing instead. A hand masher presses without tearing the starch cells. Warm liquid blends in fast and keeps the mash soft.
Potatoes turn gluey when starch cells break open and release a sticky gel that coats every spoonful. Waxy potatoes hold less mealy starch, so they turn pasty sooner than starchy ones. Cold milk and cold butter cool the mash and make it stiff, which invites more mashing. Knowing the cause helps you pick the fix.
Pick Starchy Potatoes
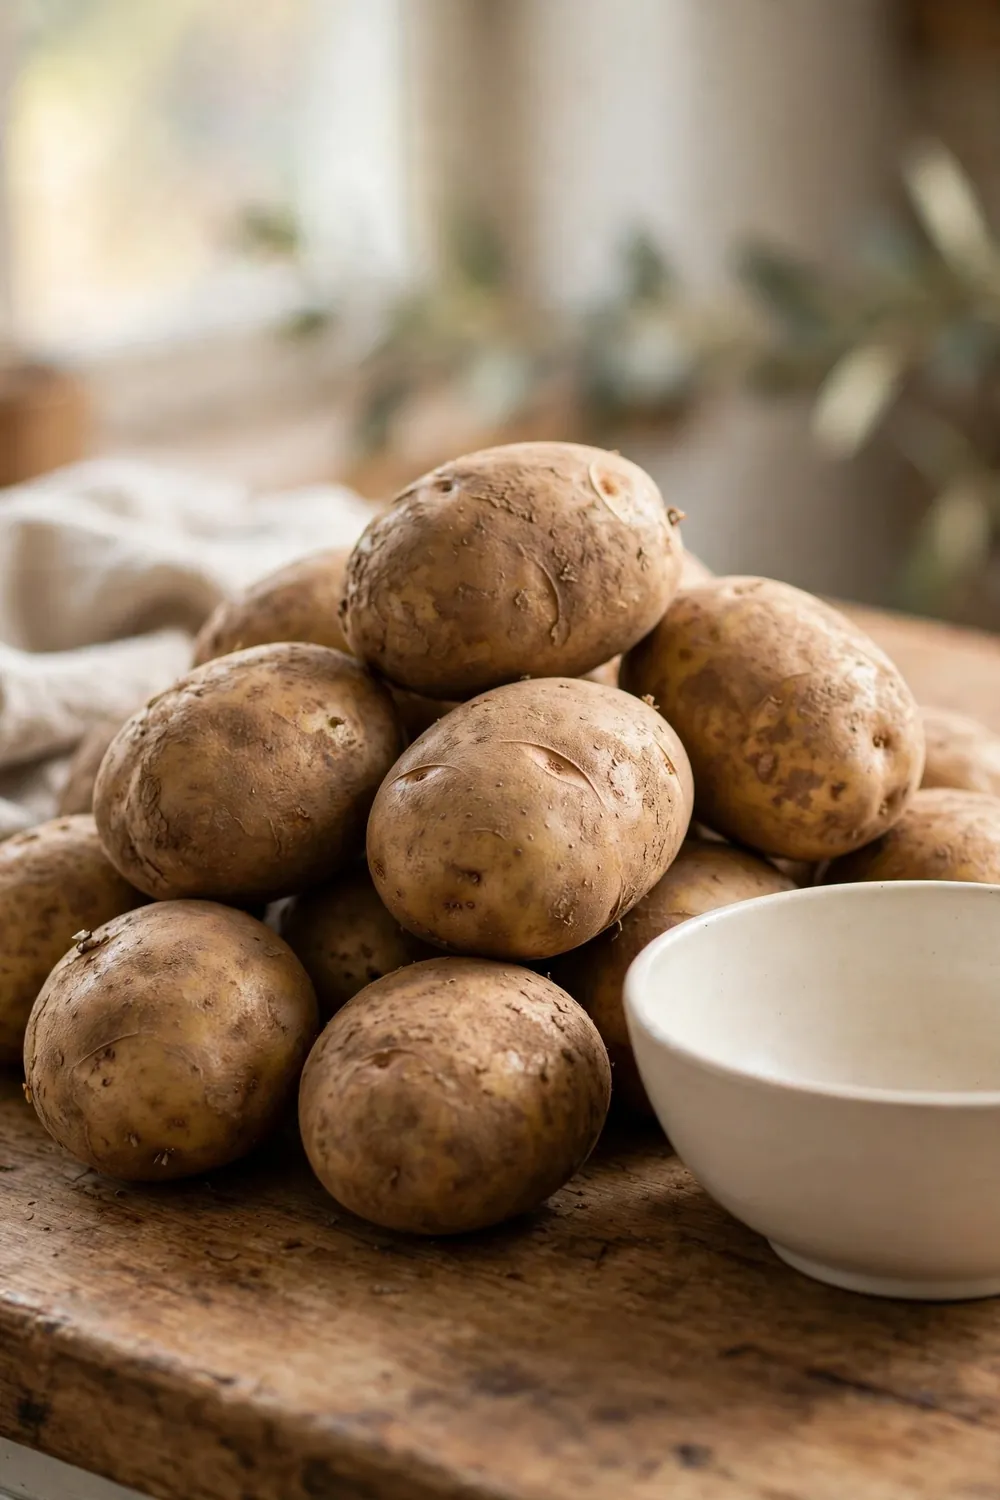
Starchy potatoes are the first defense against a gummy bowl. Russets and other floury types break down into a fluffy crumb when cooked. Waxy red or new potatoes stay firm and turn pasty when mashed, so skip them. Choose a mealy potato, and the mash almost makes itself with far less work.
- Look for large russets with rough brown skin and dry flesh.
- Skip green spots and soft patches, since they cook unevenly.
- Peel them just before cooking so the flesh stays fresh.
- Pick one bag of russets and use them for the whole pot.
Cook Potatoes Whole
What You Need:
- Pot: A large pot holds whole potatoes in cold water.
- Fork: A fork tests doneness without breaking the potatoes.
- Colander: A colander drains the pot fully after cooking.
- Salt: A tablespoon of salt seasons the potatoes from the inside.
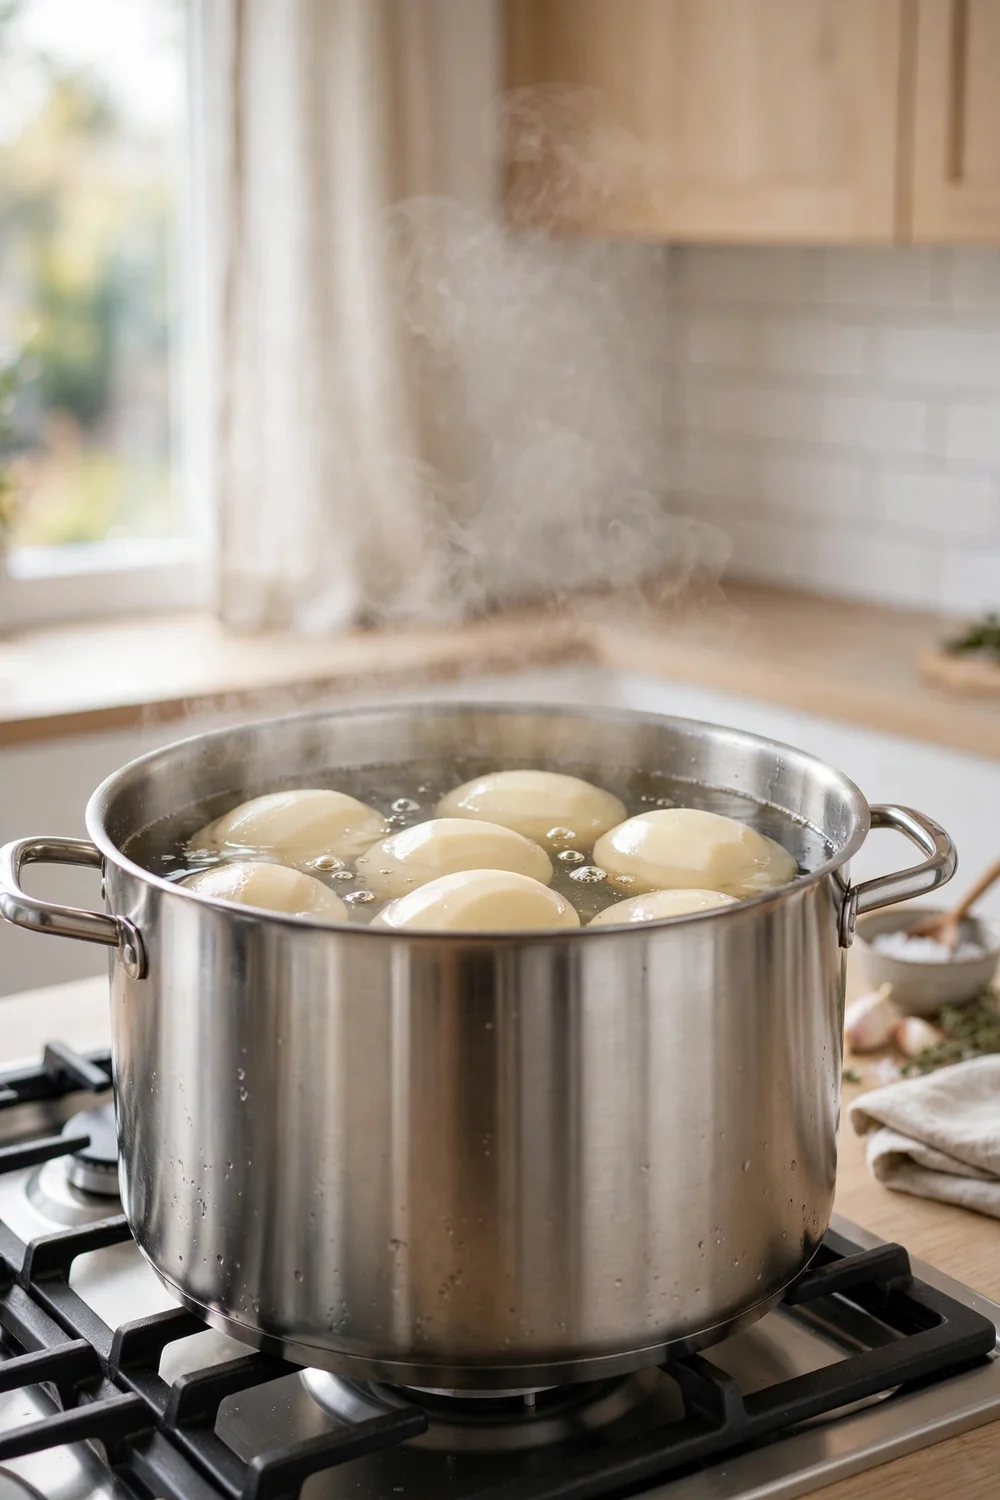
Cooking potatoes whole keeps water out and starch in. Small pieces soak up water and turn soggy, which then needs more mashing. Whole potatoes cook evenly and stay mealy inside. Start them in cold water so the heat reaches the center at the same pace.
Salt the Cooking Water
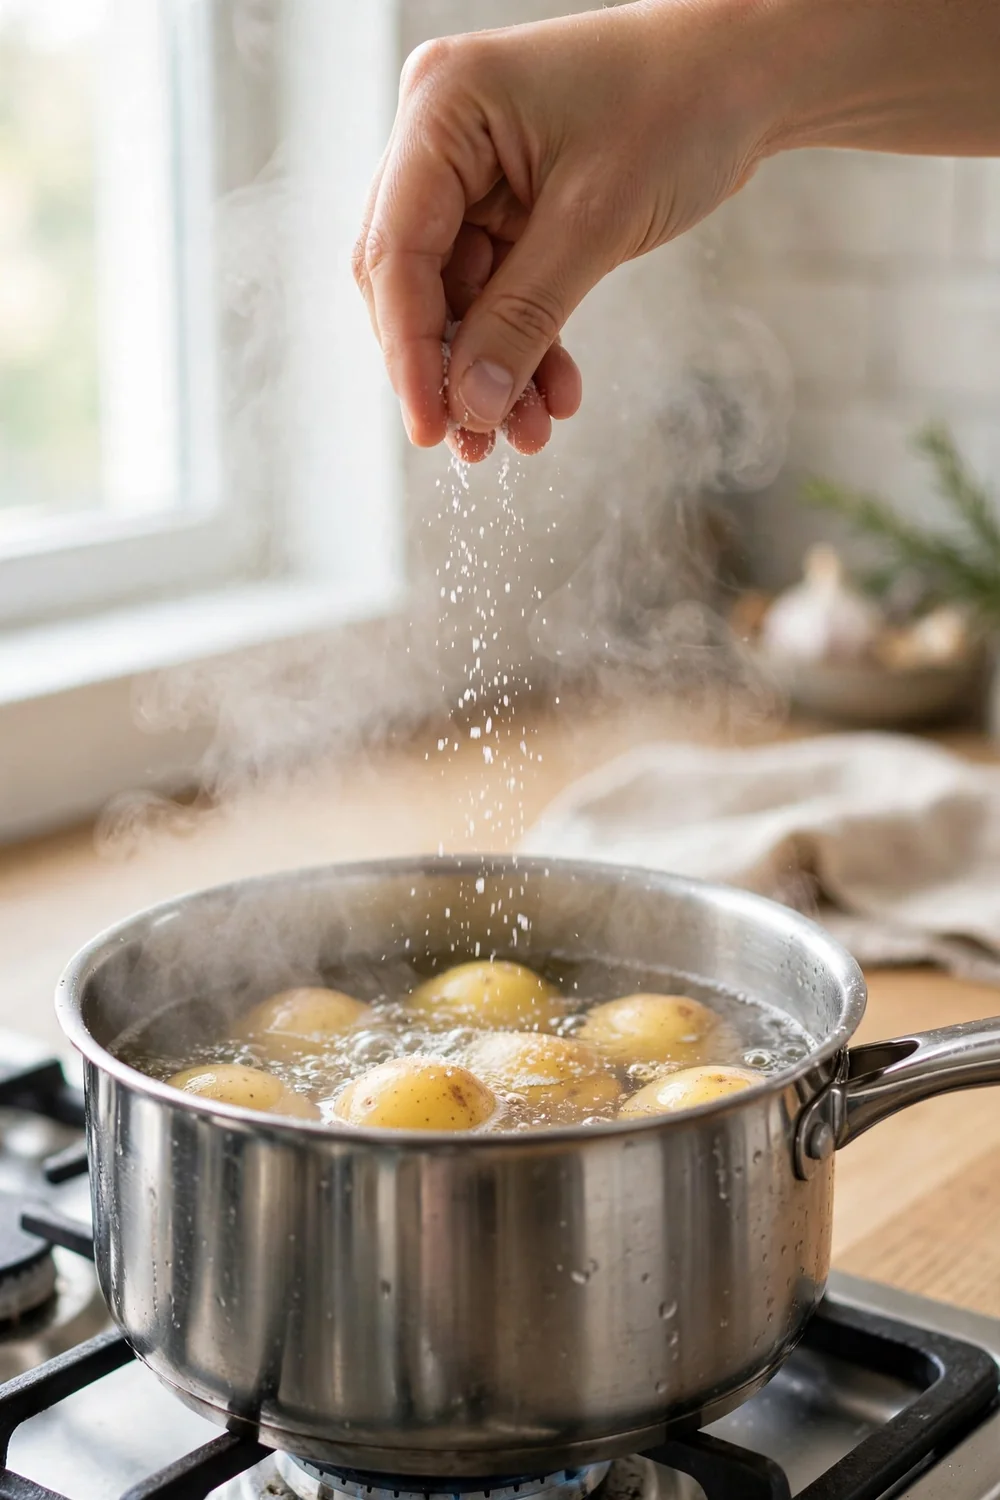
Salty water seasons the potato from the inside out. Salt added at the end only coats the surface and leaves the center bland. A full tablespoon in a large pot gives even flavor through every bite. Taste the water, since it should taste like light broth.
Salty water also firms the surface a little, so the potatoes hold together better. Add the salt once the water comes to a simmer, not at the start. Do not worry about the amount, since most salt stays in the water. Well seasoned potatoes need far less salt at the table.
Warm the Butter and Milk
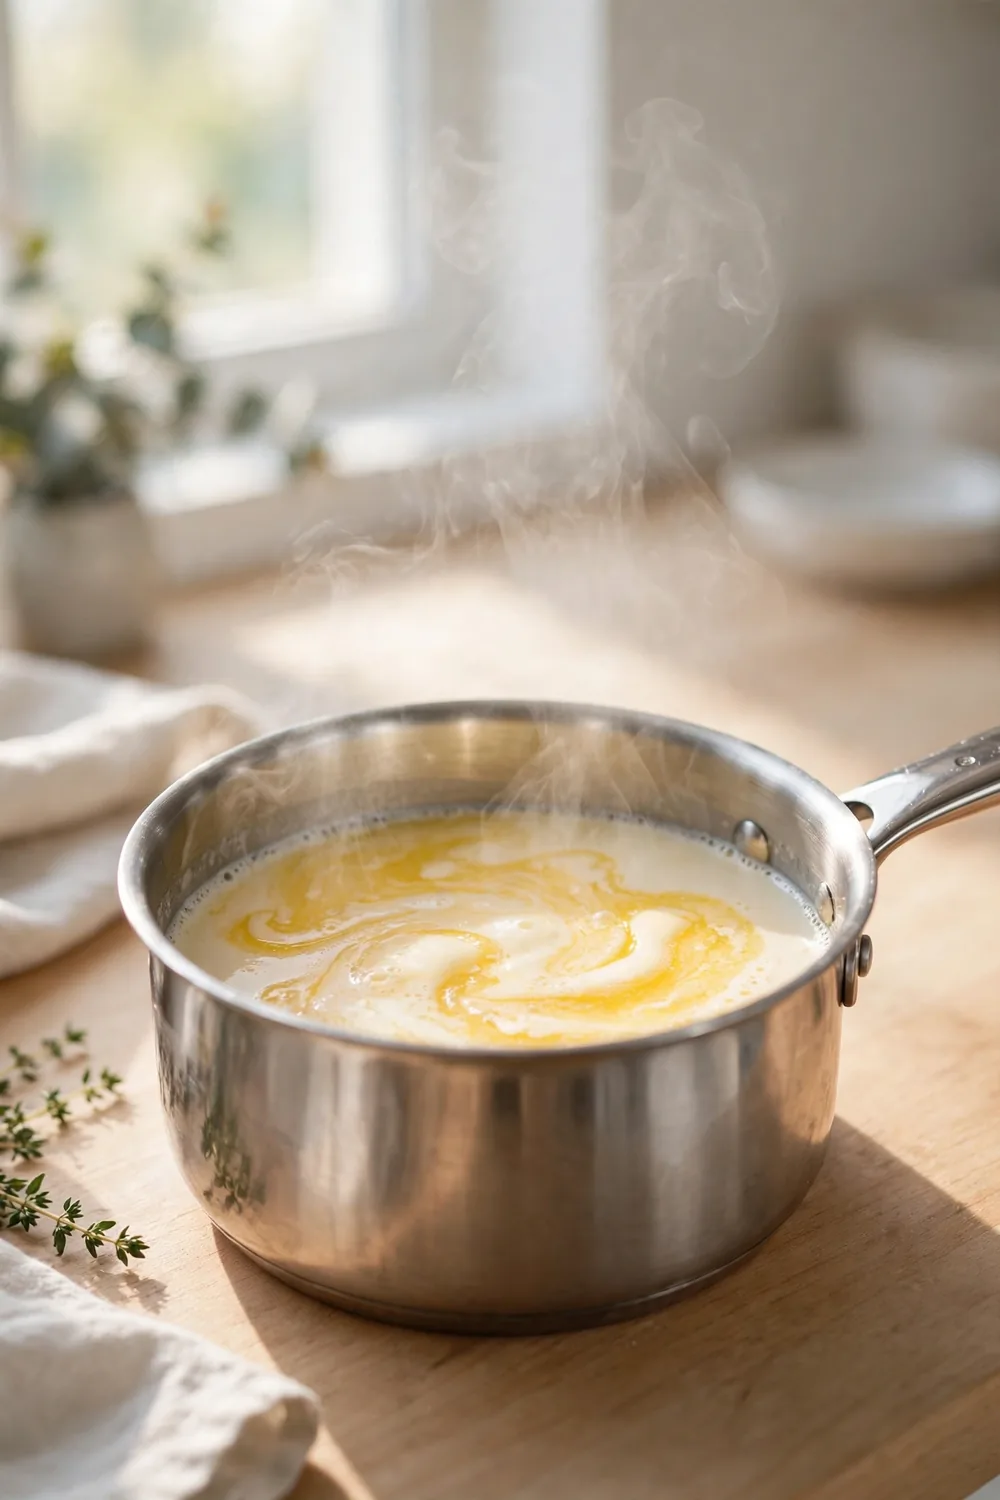
Quick Tip: Warm the milk and butter together in a small pan until the butter melts. Keep the pan on low, since the butter should melt without browning. Keep the pan warm beside the pot so the liquid stays ready.
Cold butter and cold milk chill the mash and stiffen the starch. The cook then mashes harder, which breaks more cells. Warm liquid blends in fast and keeps the mash soft. A pinch of salt in the milk adds flavor through the bowl. Warm dairy is a small step with a big payoff.
Drain Them Well
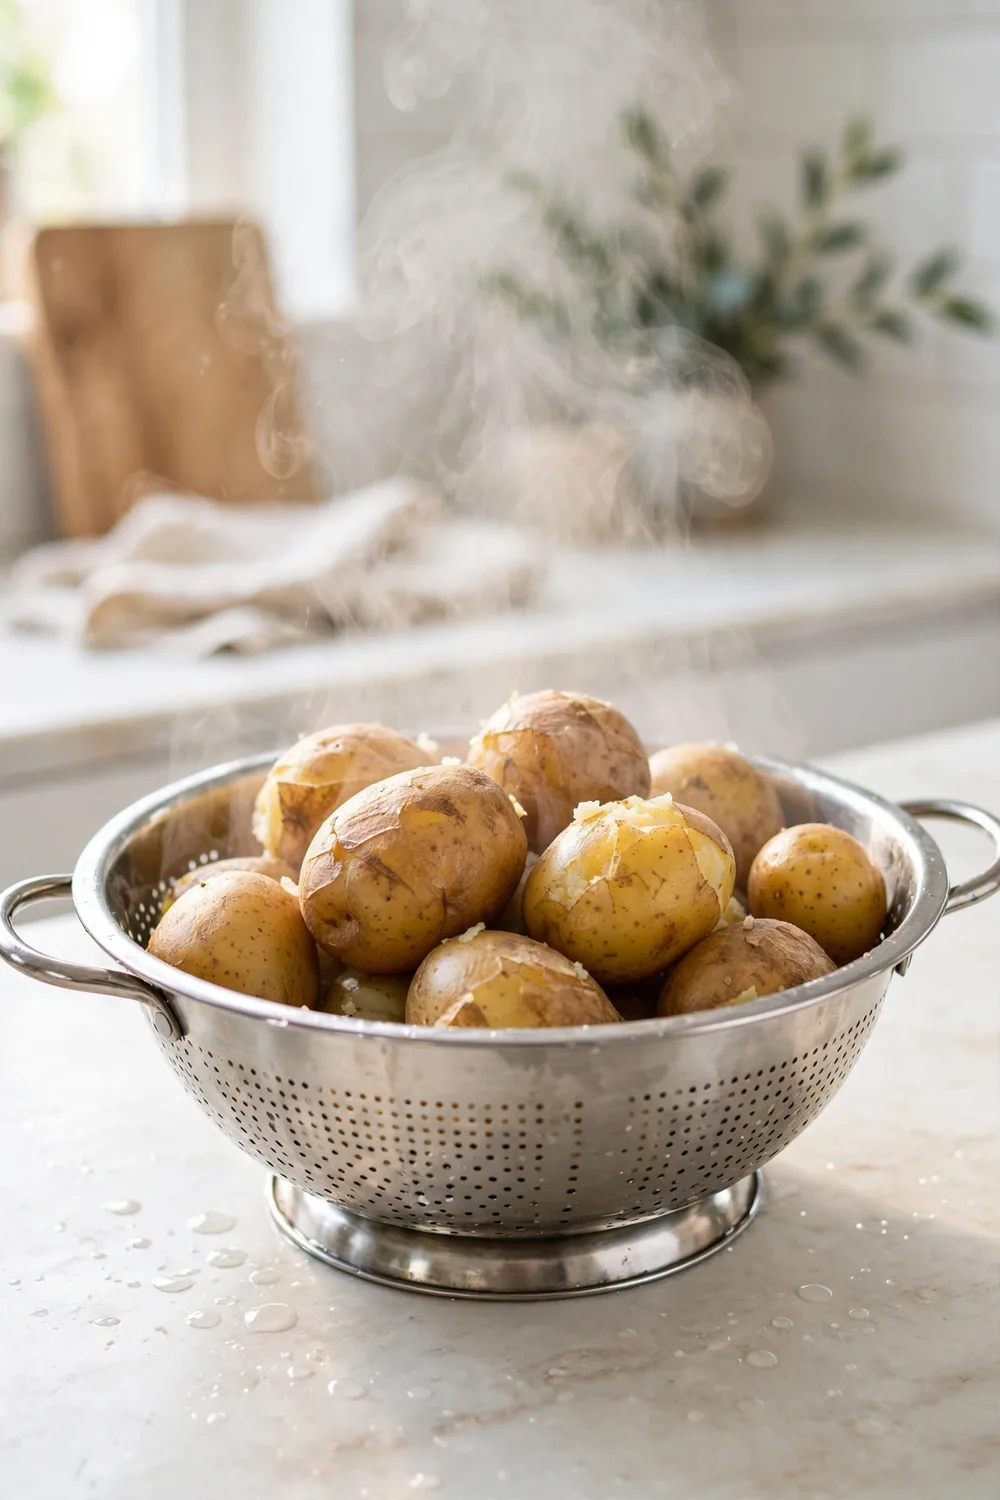
Before: Before this step, wet potatoes thin the mash and invite extra beating. Water left in the pot makes the bowl soupy. More beating then breaks more cells, and the mash turns sticky.
After: After the fix, the potatoes look dry and floury at the edges. They mash into a fluffy bowl with less work. A dry start keeps the mash light and stops the gummy slide.
Water left on the potatoes thins the mash and invites extra beating. Drain the pot fully, then let the potatoes sit in the colander for two minutes. Return the drained potatoes to the hot pot for one minute to drive off the last steam. Shake the pot gently so no potato sticks or burns.
Mash While Hot
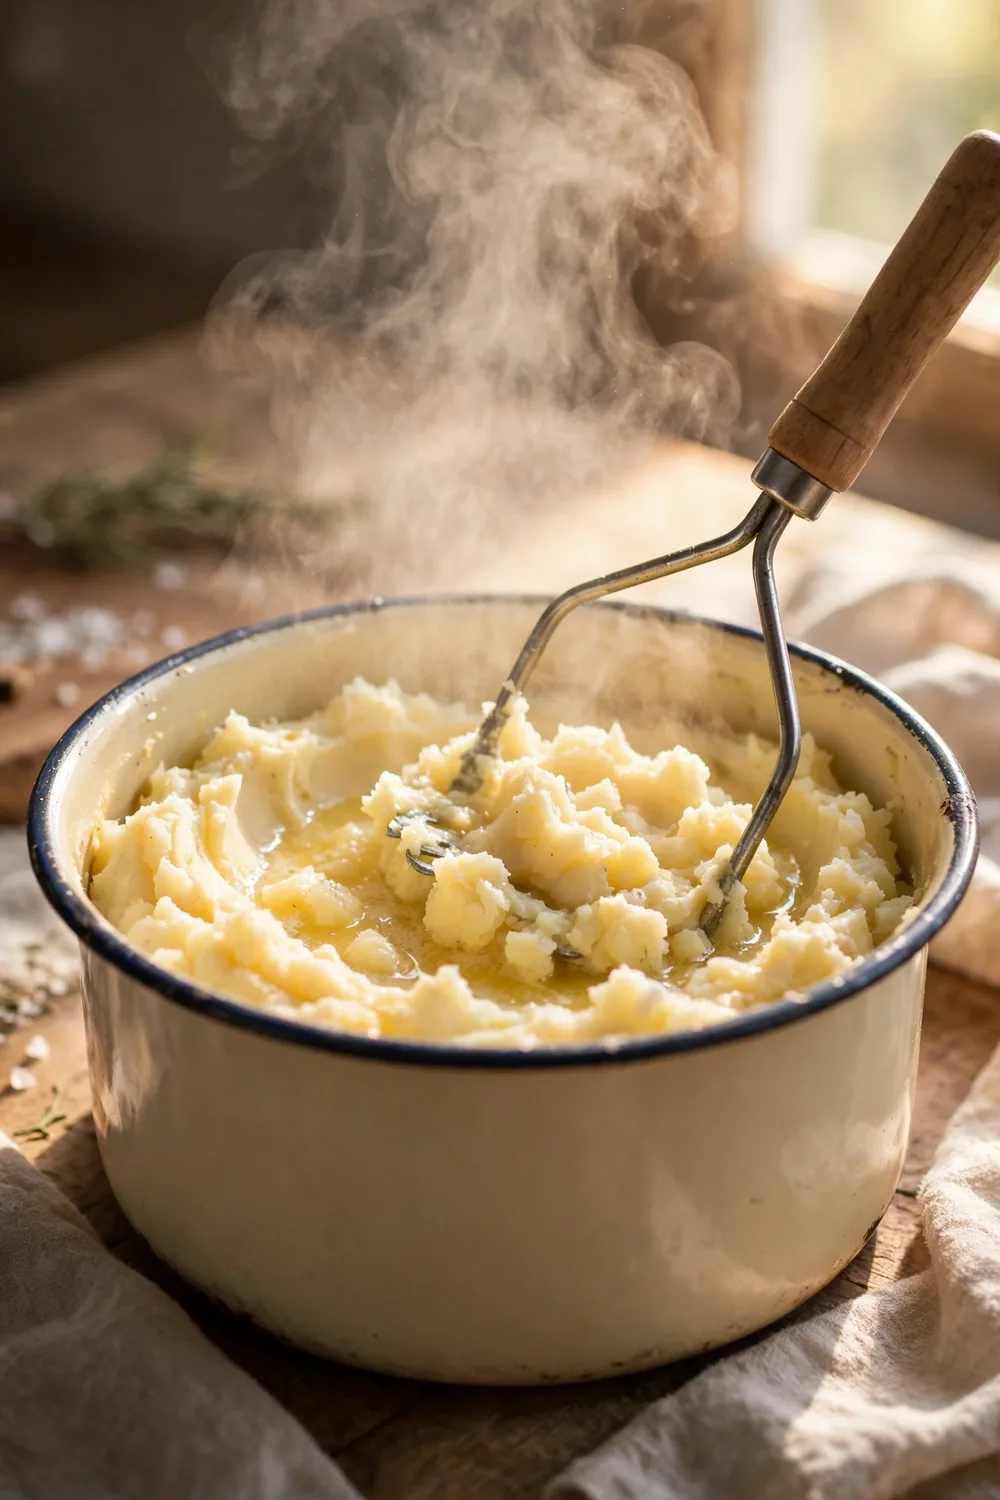
Timing: Within one minute of draining
Heat: Pot on low while mashing
Force: Light press only
Best tool: Hand masher
Hot potatoes mash with far less force than cold ones. Warm starch stays soft and falls apart under a light press. Cold potatoes firm up, so the masher must work harder and tear more cells. Mash within a minute of draining for the lightest result.
Mash Gently by Hand
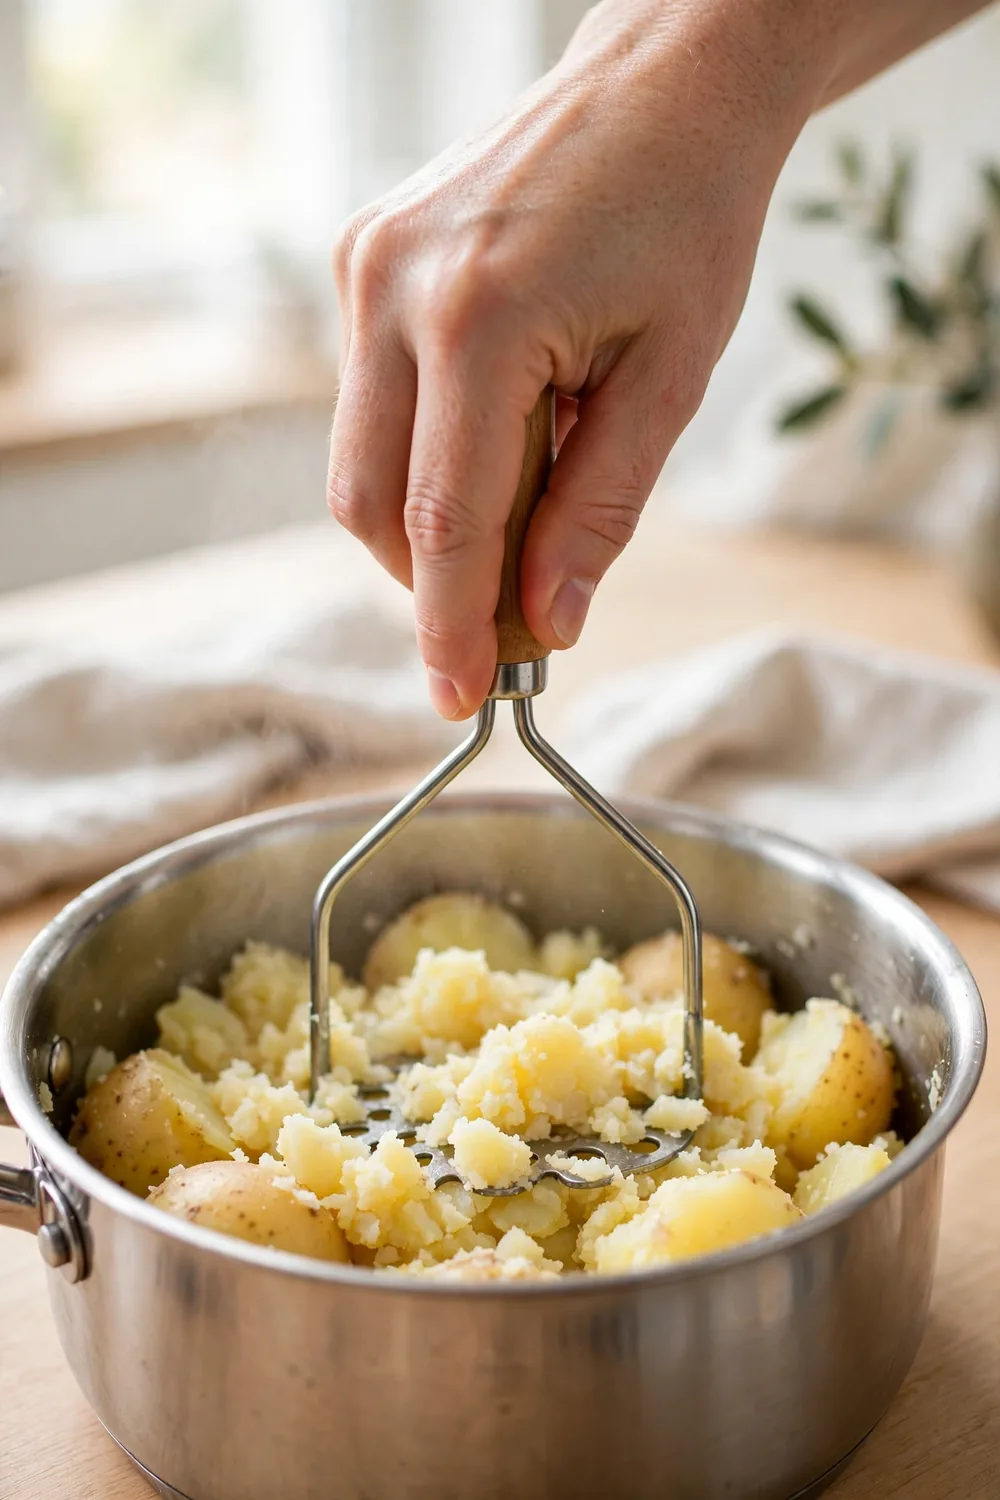
Do This:
- Press down and lift, then press again in a new spot.
- Work quickly but gently, and stop as soon as the lumps fade.
- Keep the pot on low heat while you mash, just enough to hold the warmth.
Avoid This:
- Do not use a food processor or blender, since both shred the cells.
- Do not stir in circles, since that motion stretches the starch into a paste.
- Do not beat the mash until it looks smooth, since that overworks the starch.
A hand masher is the safest tool for fluffy mash. It presses the potatoes without tearing the starch cells. A fork works too, though a masher covers the pot faster. Gentle mashing keeps the texture light and stops the sticky turn. A few calm presses break the potatoes into a soft crumb.
Add Liquid Slowly
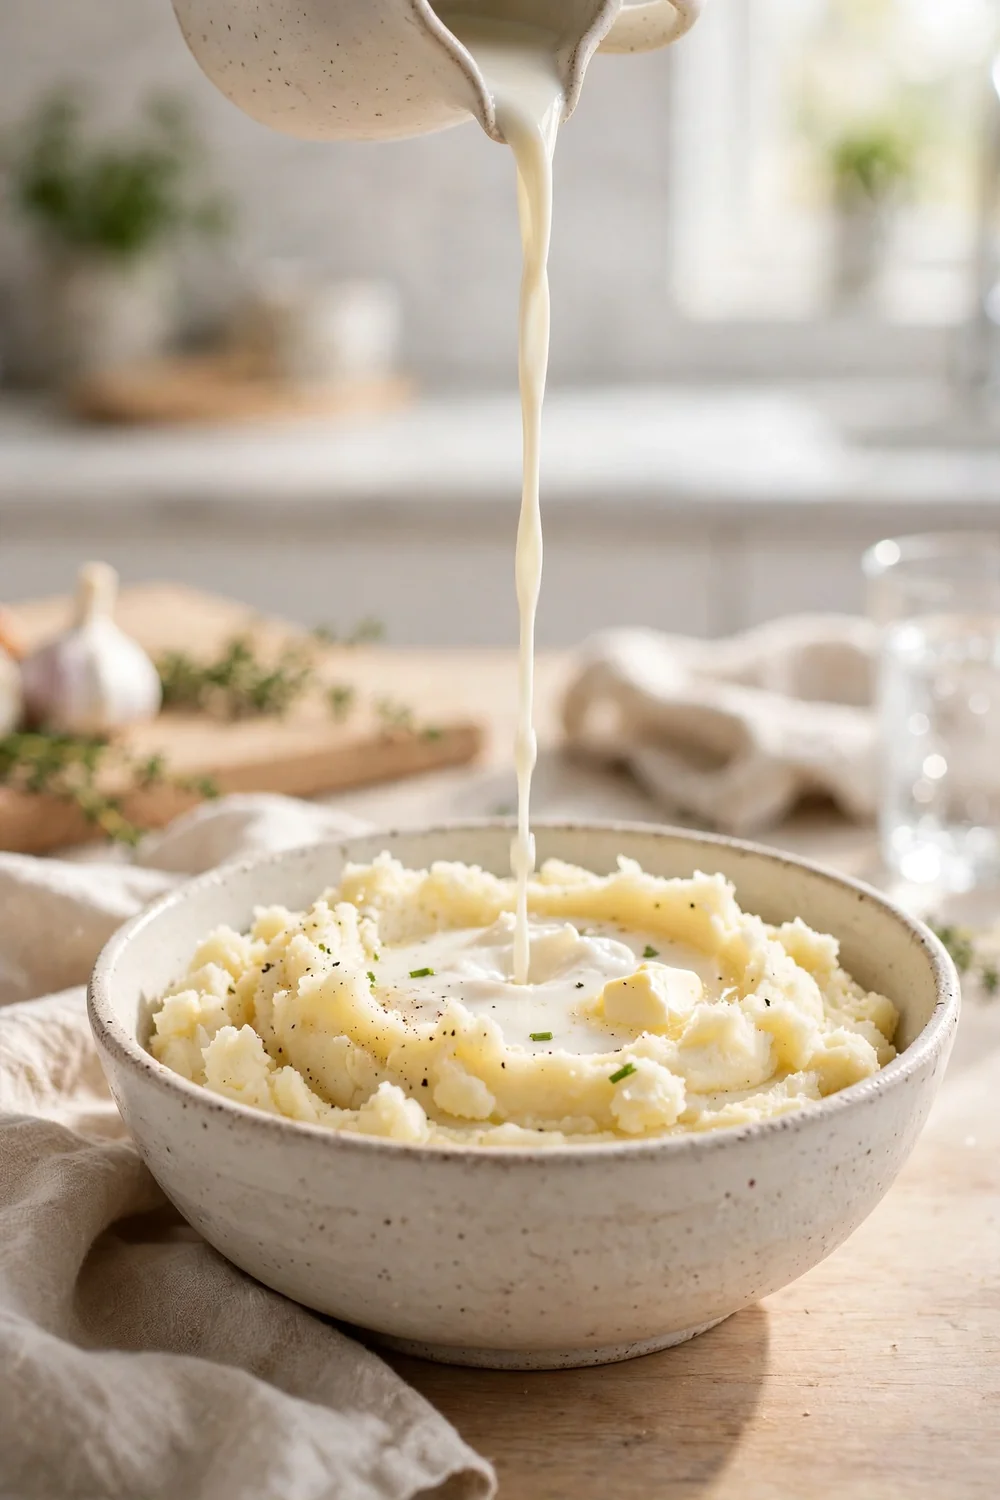
A little liquid at a time keeps the texture under control. Pour in a splash of warm milk, fold it in, then check the bowl. Too much liquid at once makes a soupy mash that needs more mashing to fix. Slow additions let you stop at creamy, not runny.
Fold with a spoon or spatula, not a whisk, so the starch stays calm. Each splash should vanish before the next goes in. Stop when the mash holds soft peaks and falls slowly from the spoon. Slow liquid gives a creamy bowl with no glue.
Common Mistakes to Avoid
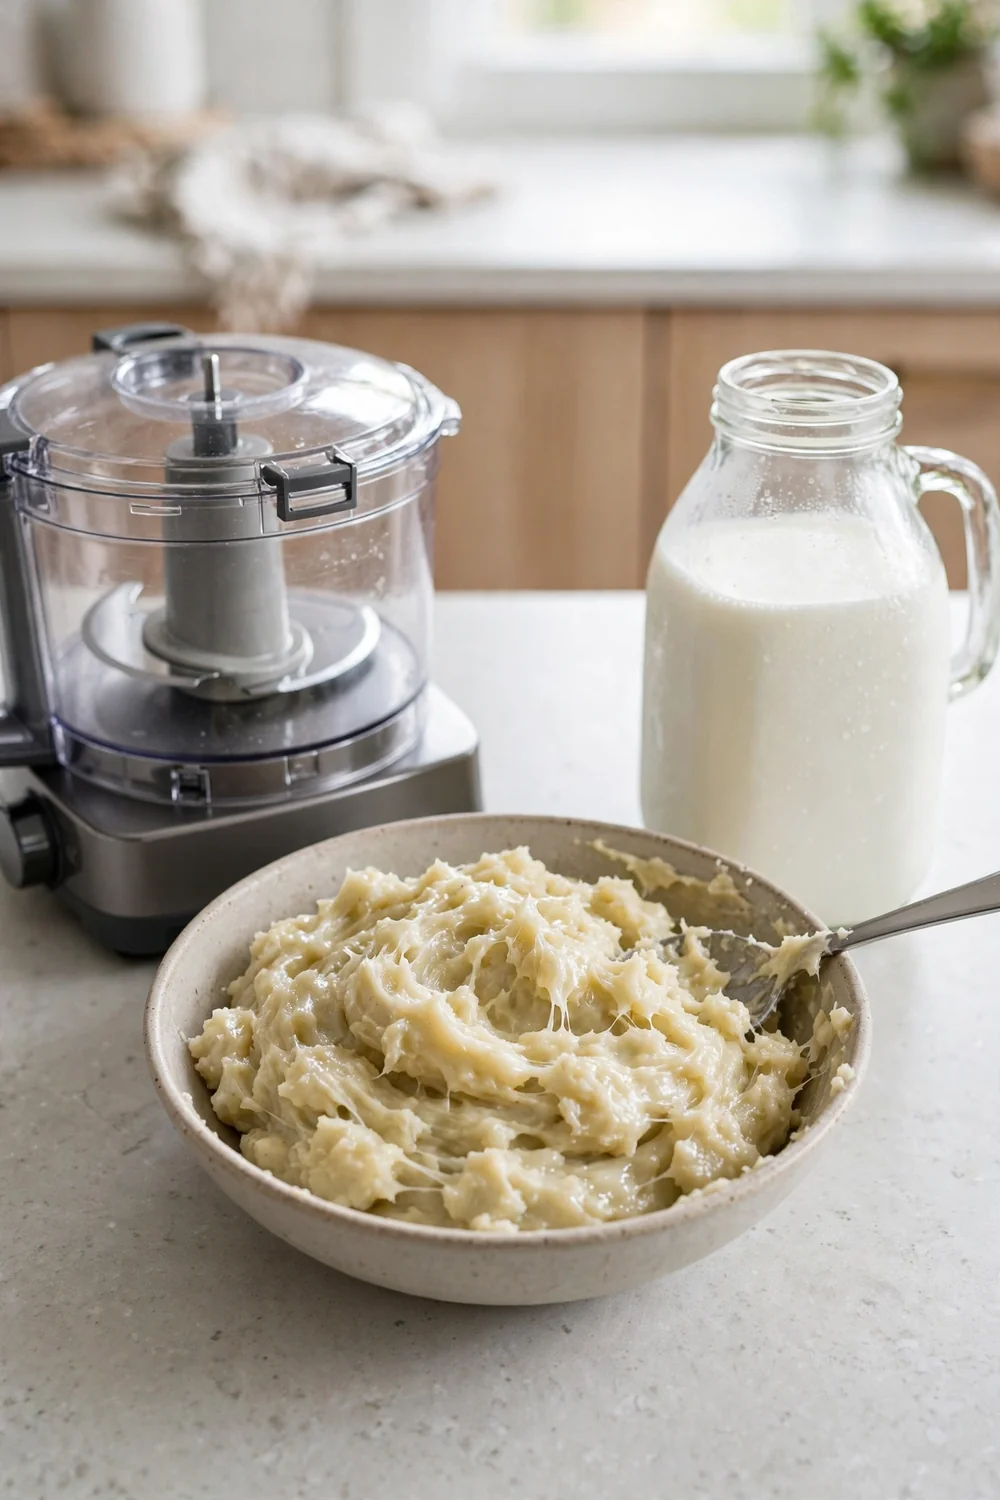
Most gummy bowls come from a few repeatable habits, not bad potatoes. Fix one habit at a time, starting with starchy potatoes and a hand masher. The list below covers the mistakes I see most often in home kitchens. Each one is easy to fix once you spot it.
- Do not mash waxy potatoes in a food processor, since it shreds the starch into glue.
- Do not add cold milk straight from the fridge, since it stiffens the mash.
- Do not beat the mash until it looks smooth, since that overworks the starch.
- Do not soak cut potatoes too long, since soggy potatoes need more mashing.
- Do not drain poorly, since wet mash turns sticky fast.
What Fluffy Mash Looks Like
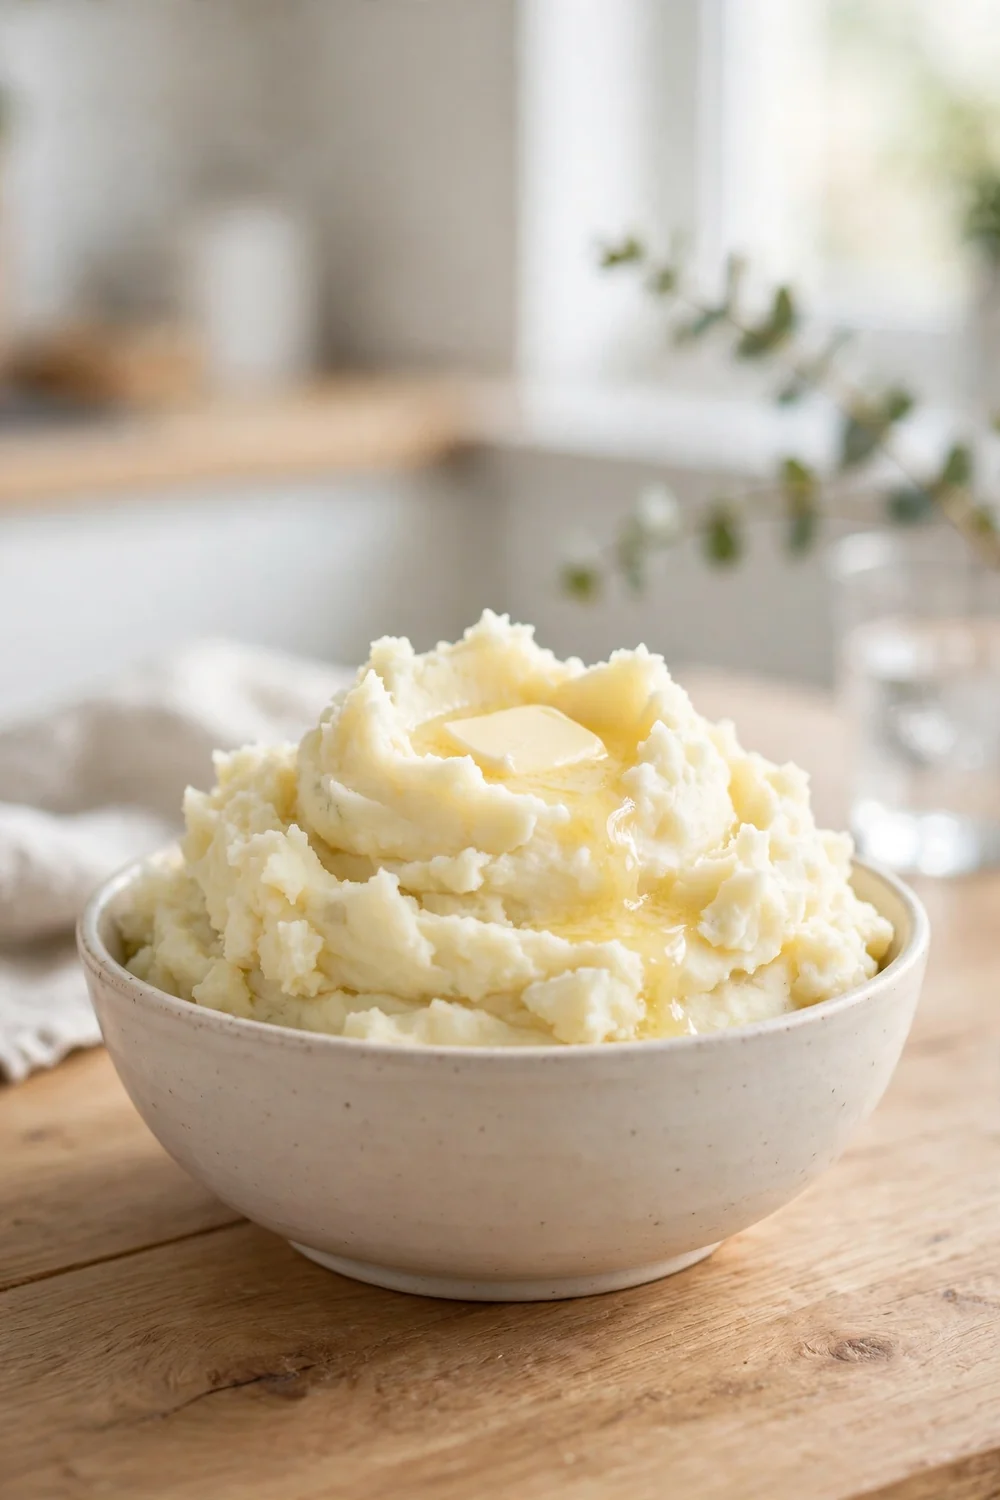
Quick Tip: Serve the mash warm, with butter melting on top and salt to taste. The spoon should leave soft peaks when you lift it. A light, airy bowl means the fixes worked.
Fluffy mash looks soft and cloudlike, with a smooth surface and no shine of glue. It holds its shape on the spoon, then falls in soft folds. The color stays pale and even, with no gray patches. A light, airy bowl is the sign that potato, heat, and gentle mashing worked together.
Conclusion
In short, gluey mashed potatoes come from waxy potatoes, hard beating, cold liquid, and wet draining. Fix those steps and each bowl turns fluffy. Starchy potatoes, gentle hand mashing, warm butter and milk, and dry draining build a light mash.
Start with the simplest fix first, then add the next one. Small changes protect the flavor while the texture improves. Save this guide on Pinterest for your next dinner.
Try the steps on your next batch, and if split dressings are your trouble too, read our guide on separating salad dressing for a smooth mix fix.






2 Comments