24 Decadent Chocolate Silk Pie Recipes Worth Savoring
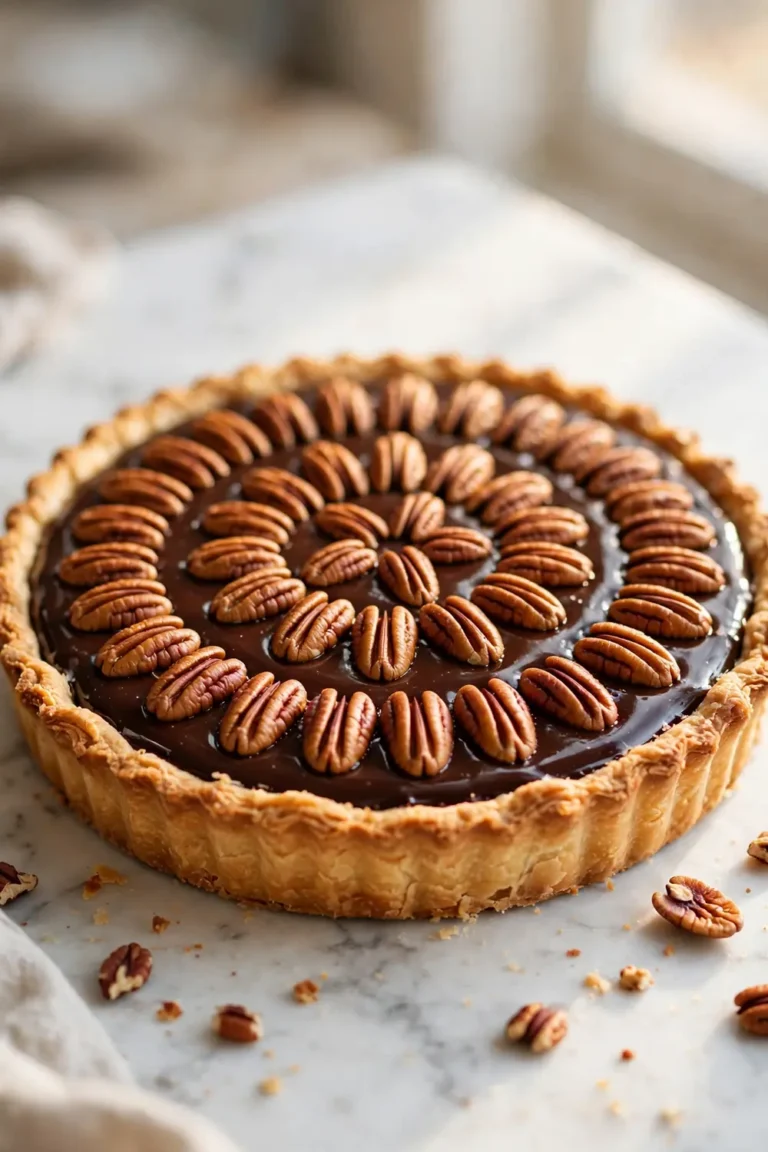
Few desserts deliver pure comfort the way chocolate silk pie does, with a glossy filling that melts slowly and a crust that shatters softly. This collection gathers twenty four variations that range from dark chocolate to bright fruit topped finishes. Every version stays simple enough for a weeknight yet lovely enough for a holiday table.
In my experience, the best silk pies share three habits: a crisp baked crust, a filling beaten until pale and airy, and a long chill that lets slices hold shape. Rushing any step leaves a soft center or a soggy base. The recipes below spell out times and cues, so you can trust the process.
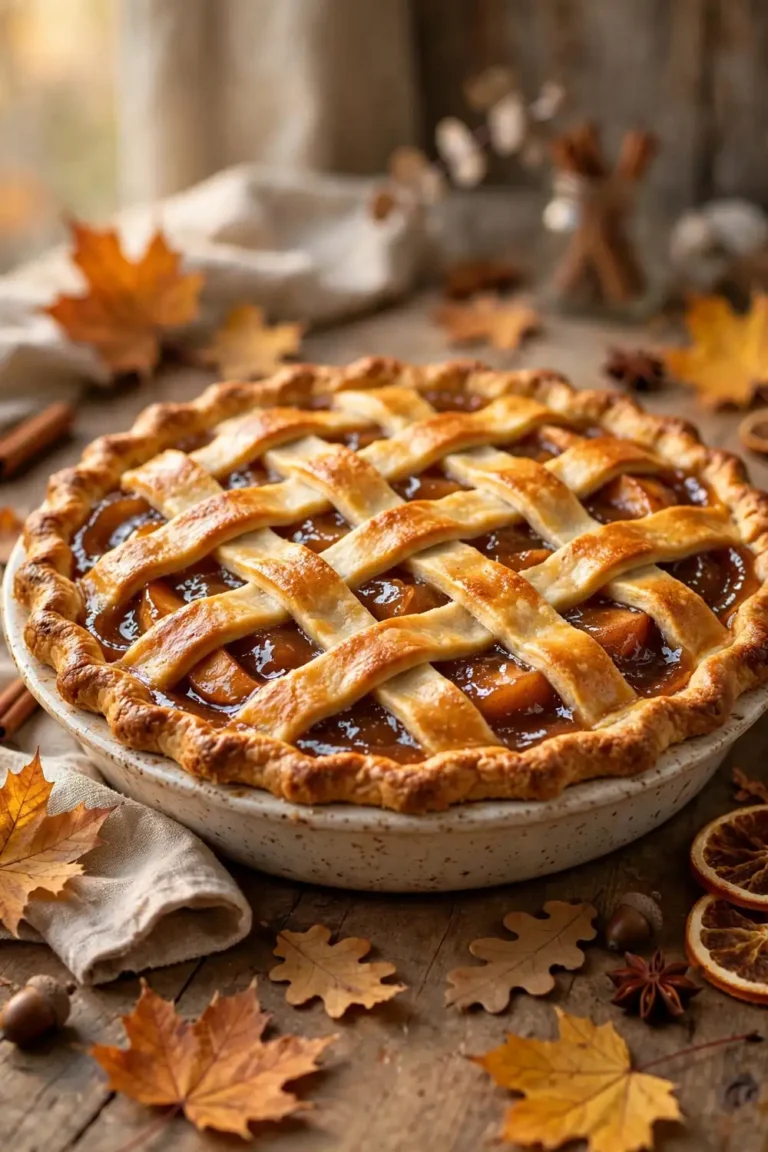
You will find make ahead tips, topping ideas, and storage notes tucked into each idea, so party planning feels calm instead of rushed. Pick one recipe that matches your mood, gather pantry staples, and let the fridge do most of the work. Explore our caramel apple cheesecake for more cozy ideas.
Classic Silky Slice
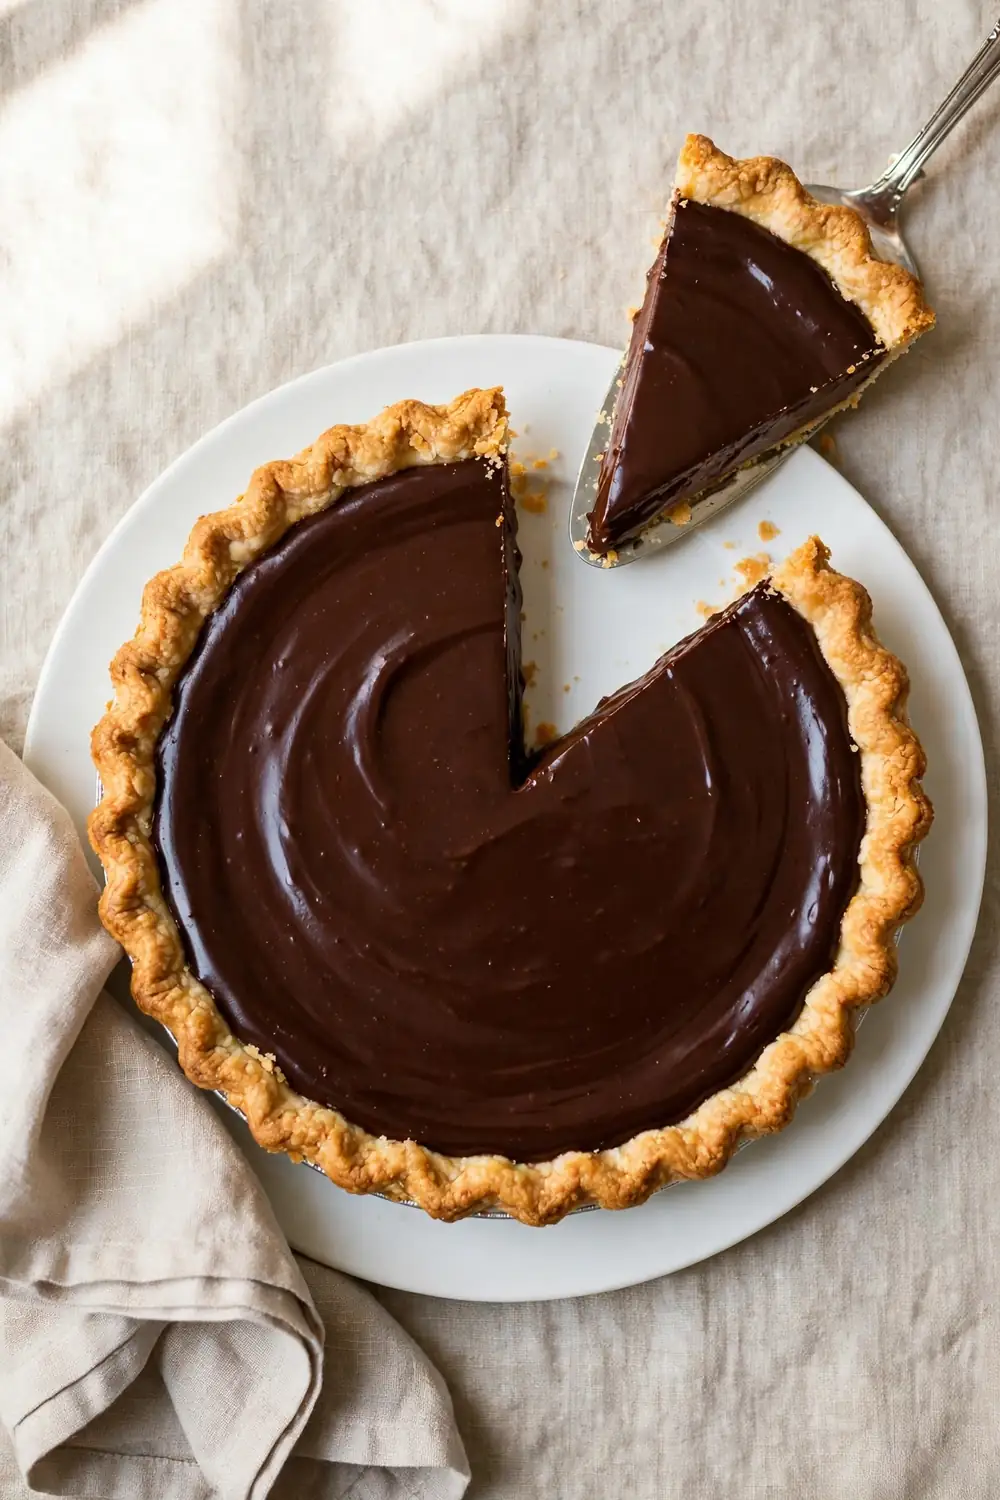
A timeless classic earns its place first because it proves how little a great dessert needs. Melted dark chocolate folded into butter, sugar, and eggs turns into a filling that feels like velvet on the tongue. A crisp crust gives each bite contrast, while a short chill firms the center just enough to slice cleanly.
Serve it plain or with a small cloud of whipped cream and let the chocolate speak. Chilling overnight deepens the flavor and makes party day nearly effortless. Keep slices small, since the richness satisfies fast, and watch guests ask for the method before they finish.
Dark Chocolate Dream
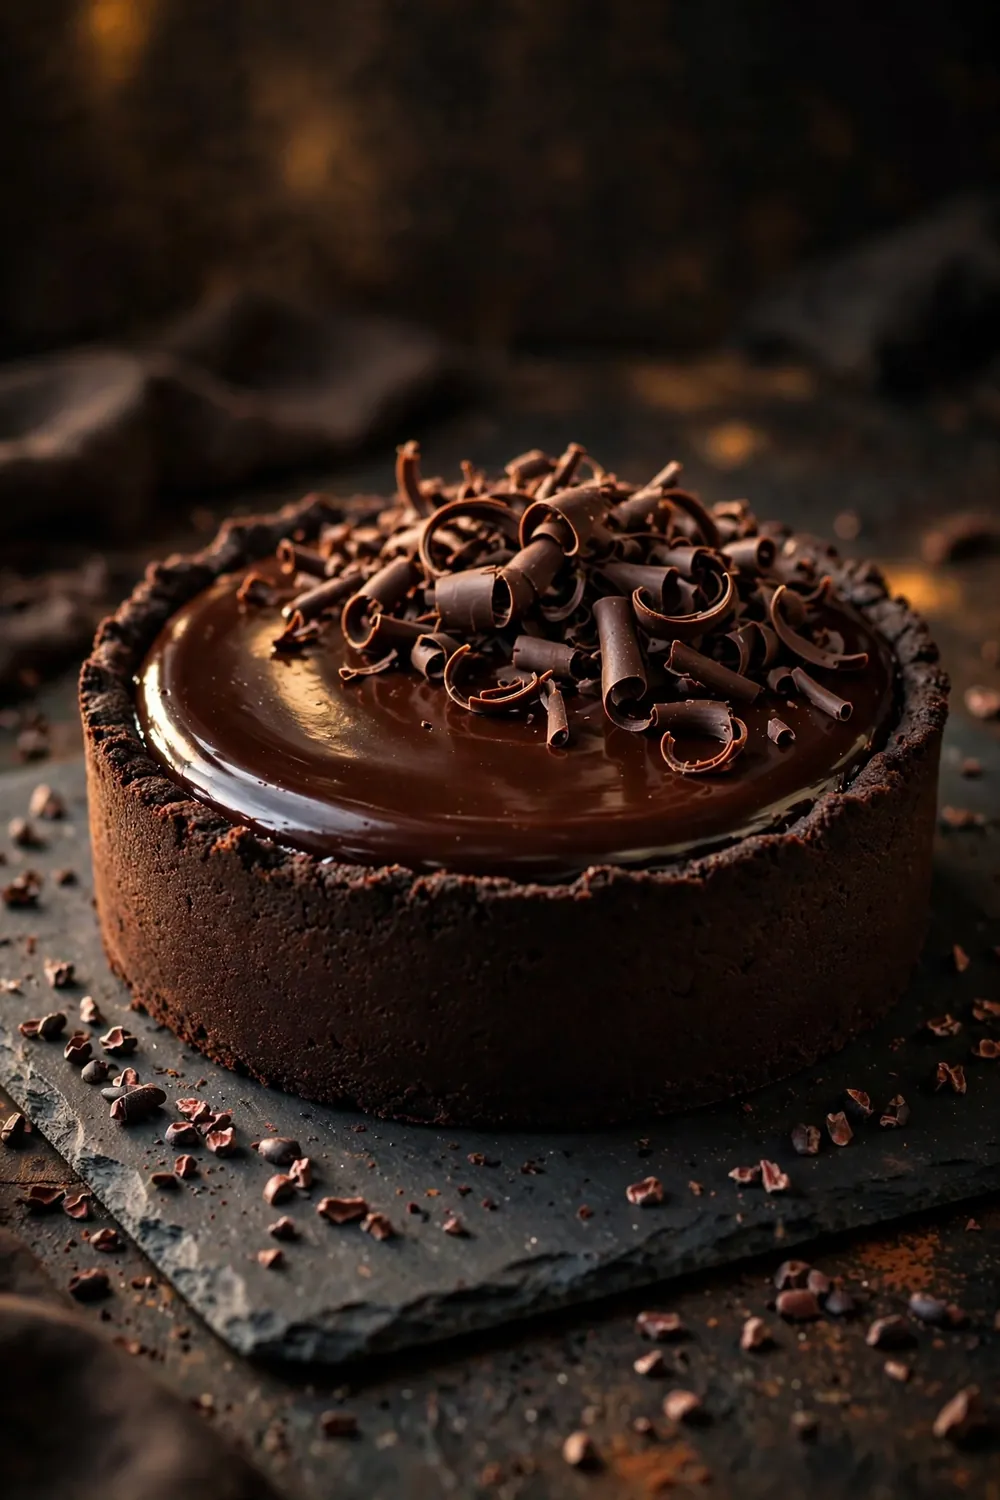
- Choose chocolate with at least seventy percent cacao for a bold filling that never tastes flat or overly sweet.
- Bloom the cocoa in warm cream for a minute so the flavor opens up before you fold in the butter.
- Beat the filling a full five minutes until it looks pale, thick, and almost mousse like in the bowl.
- Chill the pie six hours or overnight so each slice cuts clean and holds a sharp edge.
Deep chocolate lovers will call this version the keeper of the whole list. The higher cacao share keeps sweetness in check while the silky texture stays lush and smooth. A dusting of cocoa or a few curls on top adds drama without extra work, and a tiny pinch of salt wakes up every note.
Salted Caramel Swirl
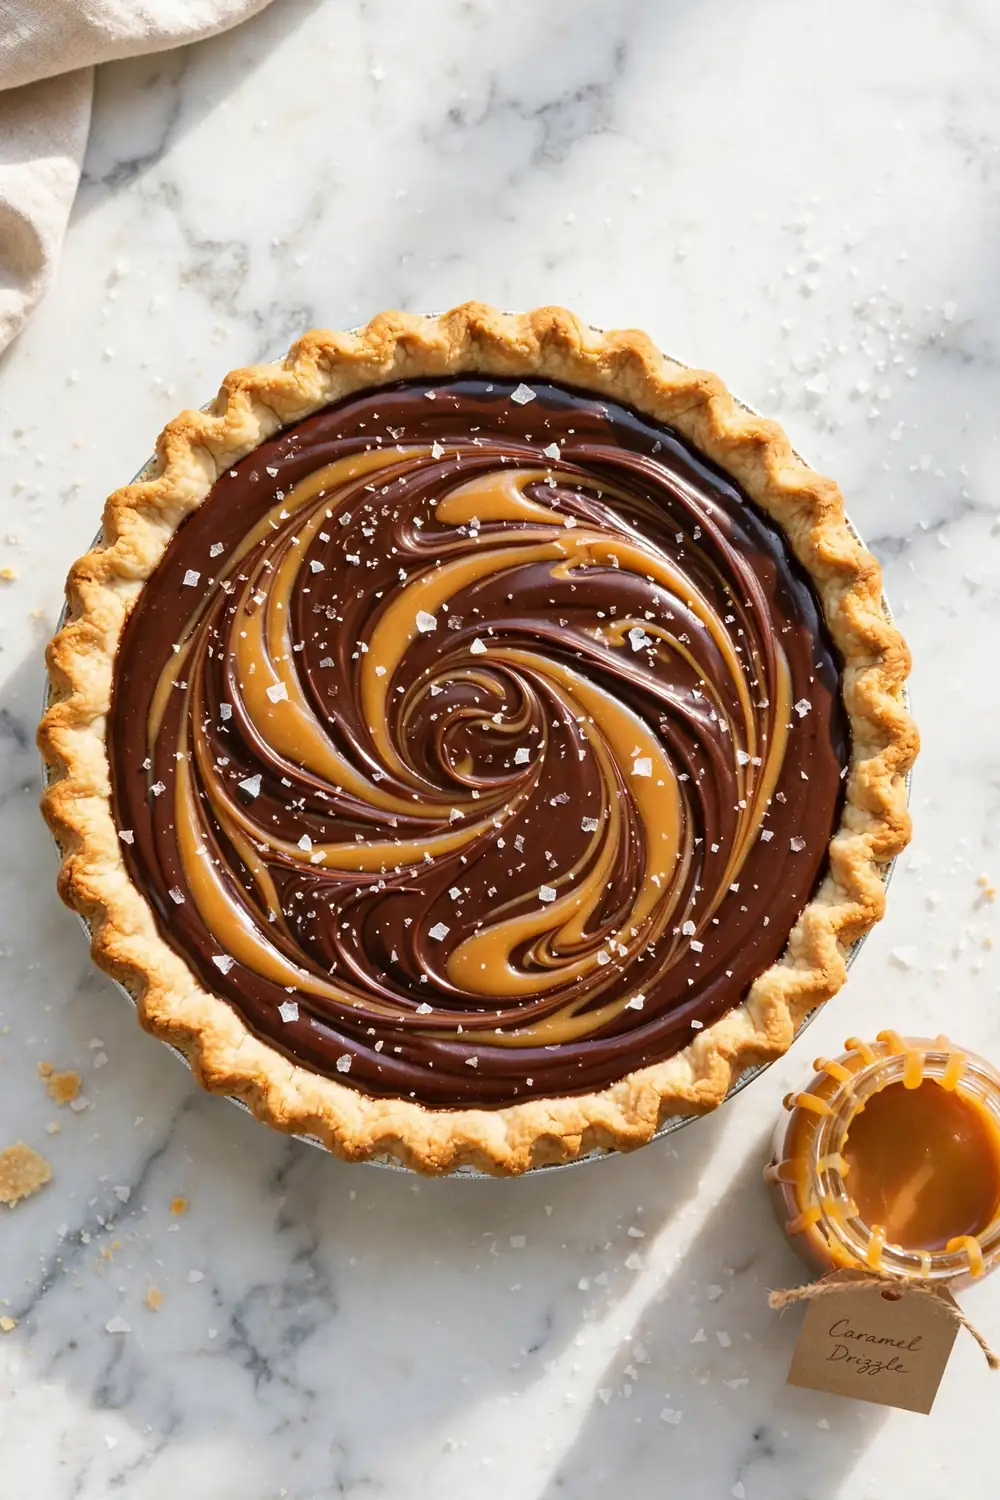
Quick Tip: Warm the caramel just until it pours in a slow ribbon, then drag a knife through it twice for clean swirls. Stop early, since over swirling muddies the pattern and hides the contrast.
Salt and caramel turn a familiar pie into something guests remember for weeks. The golden ribbons cut through the dark filling with buttery sweetness, while flaky salt on top makes each bite finish bright instead of heavy. Serve chilled with black coffee, and the contrast feels almost like a candy shop treat.
Peanut Butter Ripple
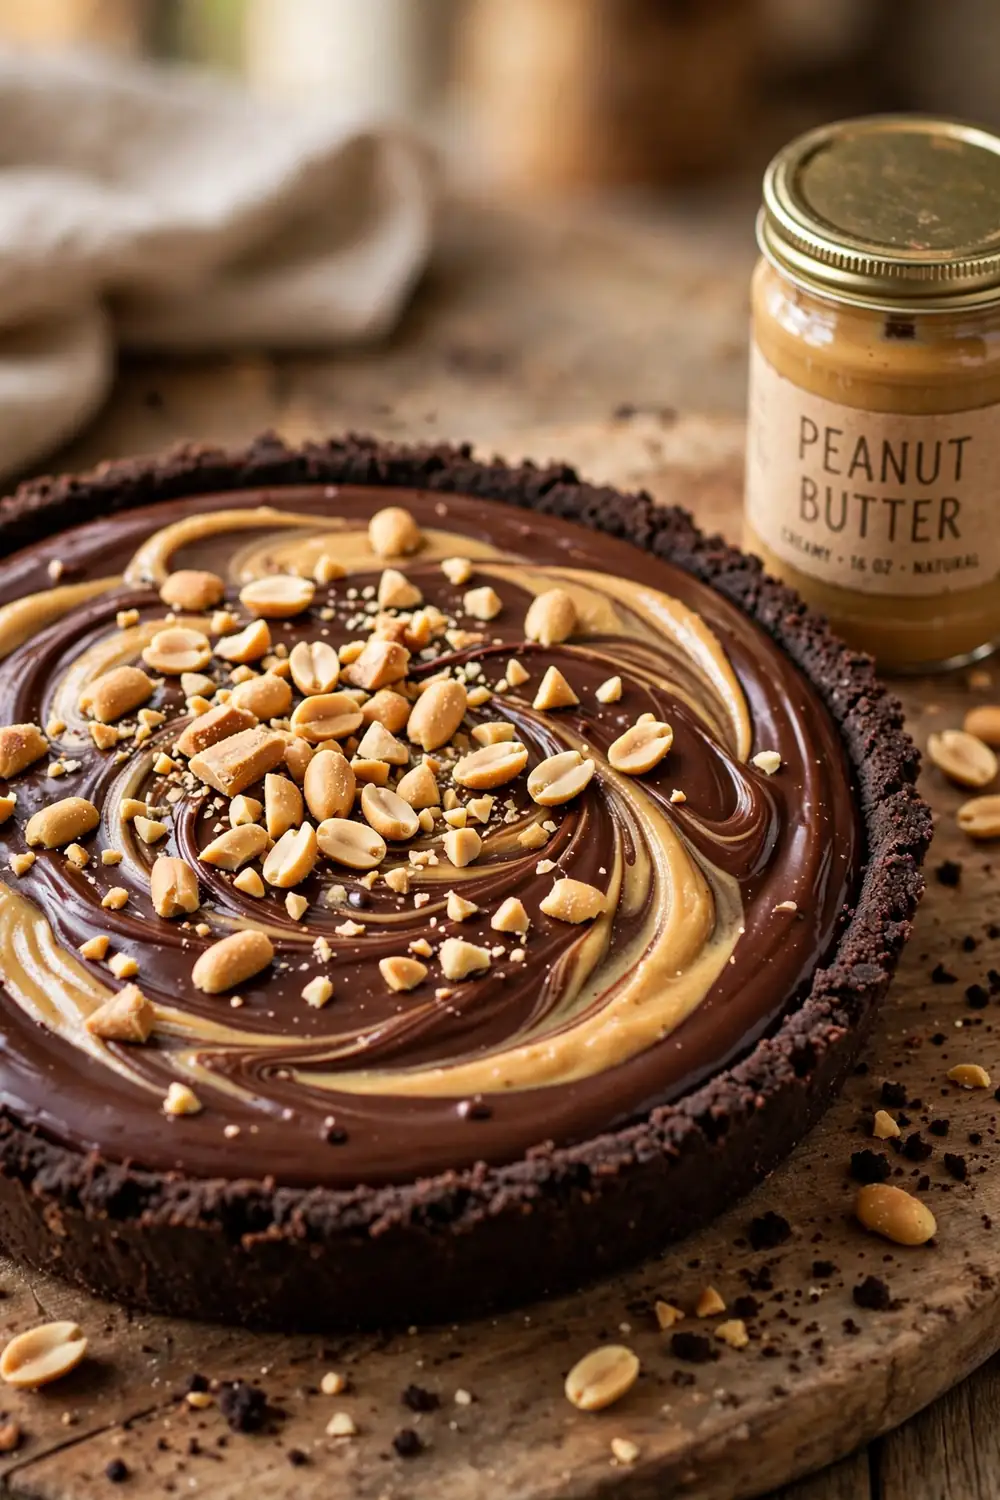
BEFORE: A plain chocolate filling can taste one note, rich yet flat, and guests may leave half a slice behind. The crust does the work while the center fades into the background.
AFTER: Peanut butter ribbons add salty depth and a nutty aroma that makes the chocolate taste bolder. Each slice now shows marbled swirls, and the crunch on top keeps every bite interesting.
This pairing works because peanut butter brings salt and body that chocolate loves. Warm it briefly so it ribbons easily, then swirl lightly and stop while the pattern stays visible. A scatter of chopped peanuts adds crunch, and a short extra chill sets the swirls so they hold when sliced.
Espresso Silk Layers
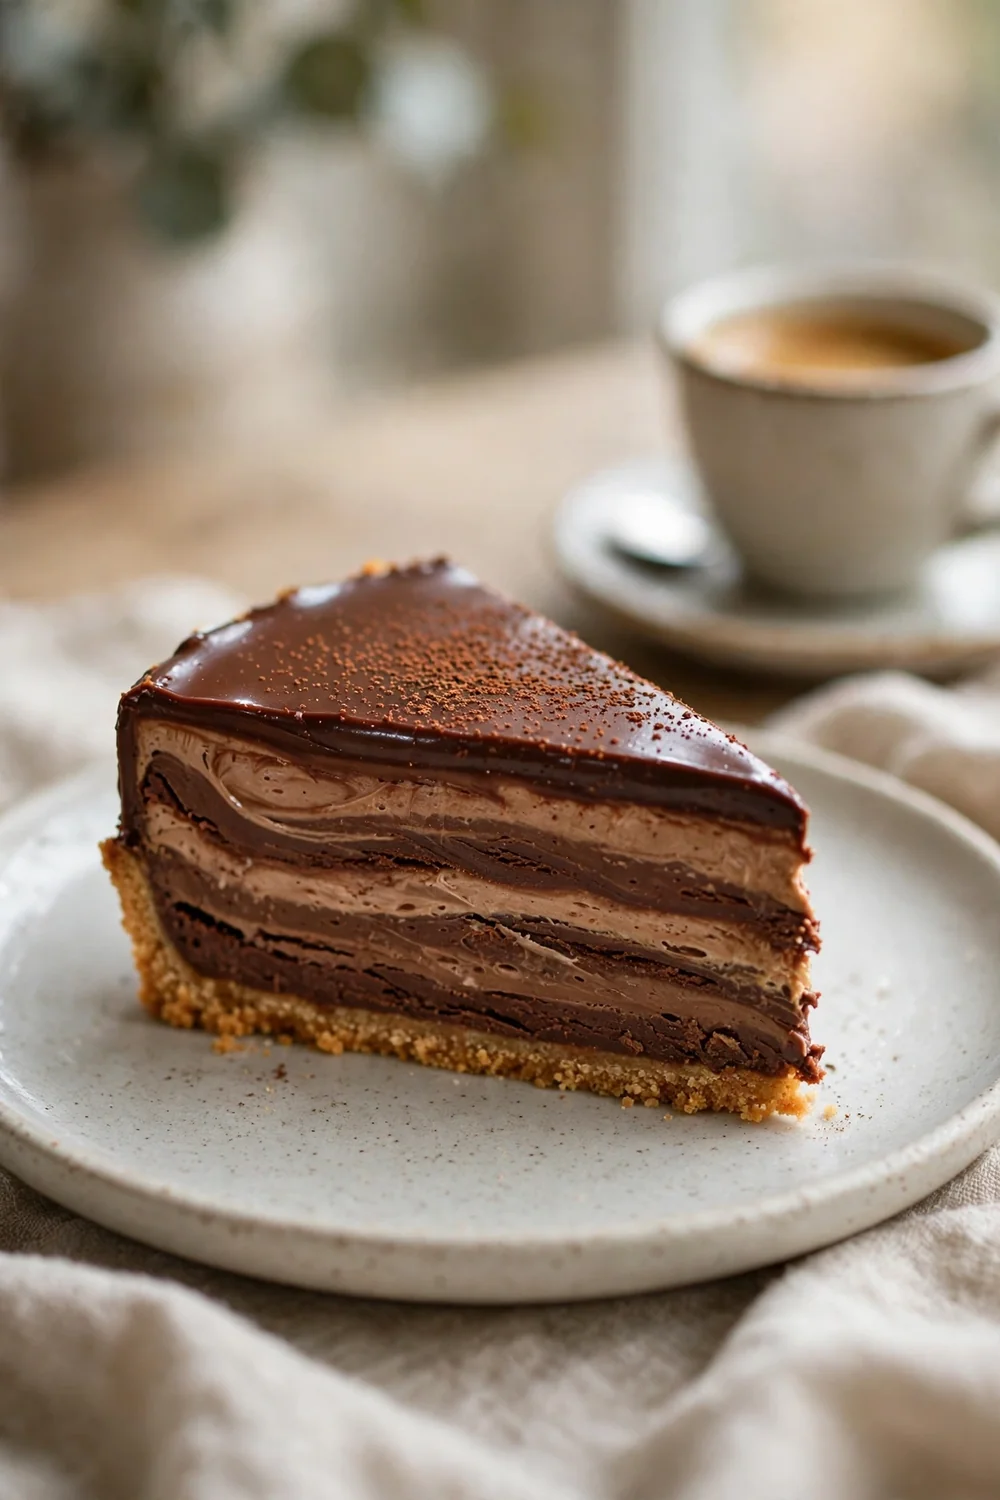
- Dissolve two teaspoons of instant espresso in the warm cream before adding the chocolate.
- Melt the chocolate gently, stirring often, until it turns smooth and glossy without any grain.
- Beat in butter and sugar until the filling looks pale, thick, and light as mousse.
- Spread the filling into the chilled crust and refrigerate at least six hours before slicing.
Coffee does not make this pie taste like a latte; it deepens the chocolate until it tastes more like itself. The espresso layer adds a grown up edge that pairs beautifully with an after dinner cup. Keep the coffee measure modest, since too much turns bitter, and let the chill do the final smoothing work.
Mint Chocolate Cool
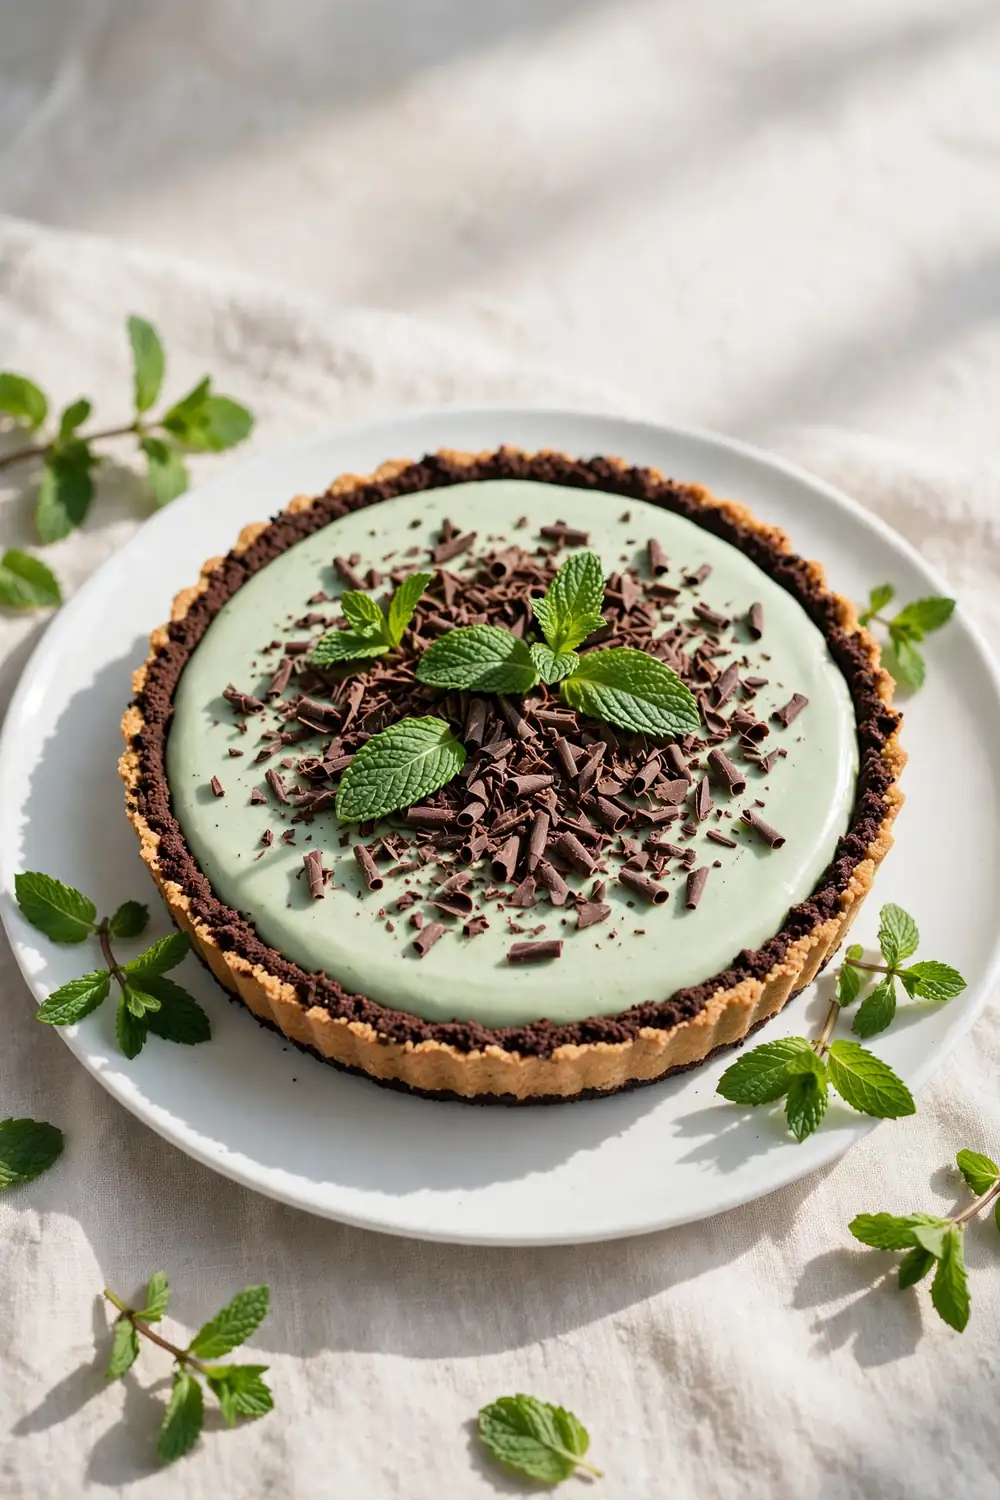
| Crust | Cookie crust | Graham crust |
| Filling | Mint chocolate silk | Plain chocolate silk |
| Topping | Mint leaves and shavings | Whipped cream |
| Mood | Cool and fresh | Warm and classic |
Mint gives this pie a cool finish that feels refreshing after a heavy meal. A little peppermint extract goes a long way, so start small and taste before adding more. Fresh leaves and dark shavings keep the look lively, and the chilled filling stays firm enough for neat slices on a warm evening.
Raspberry Silk Topping
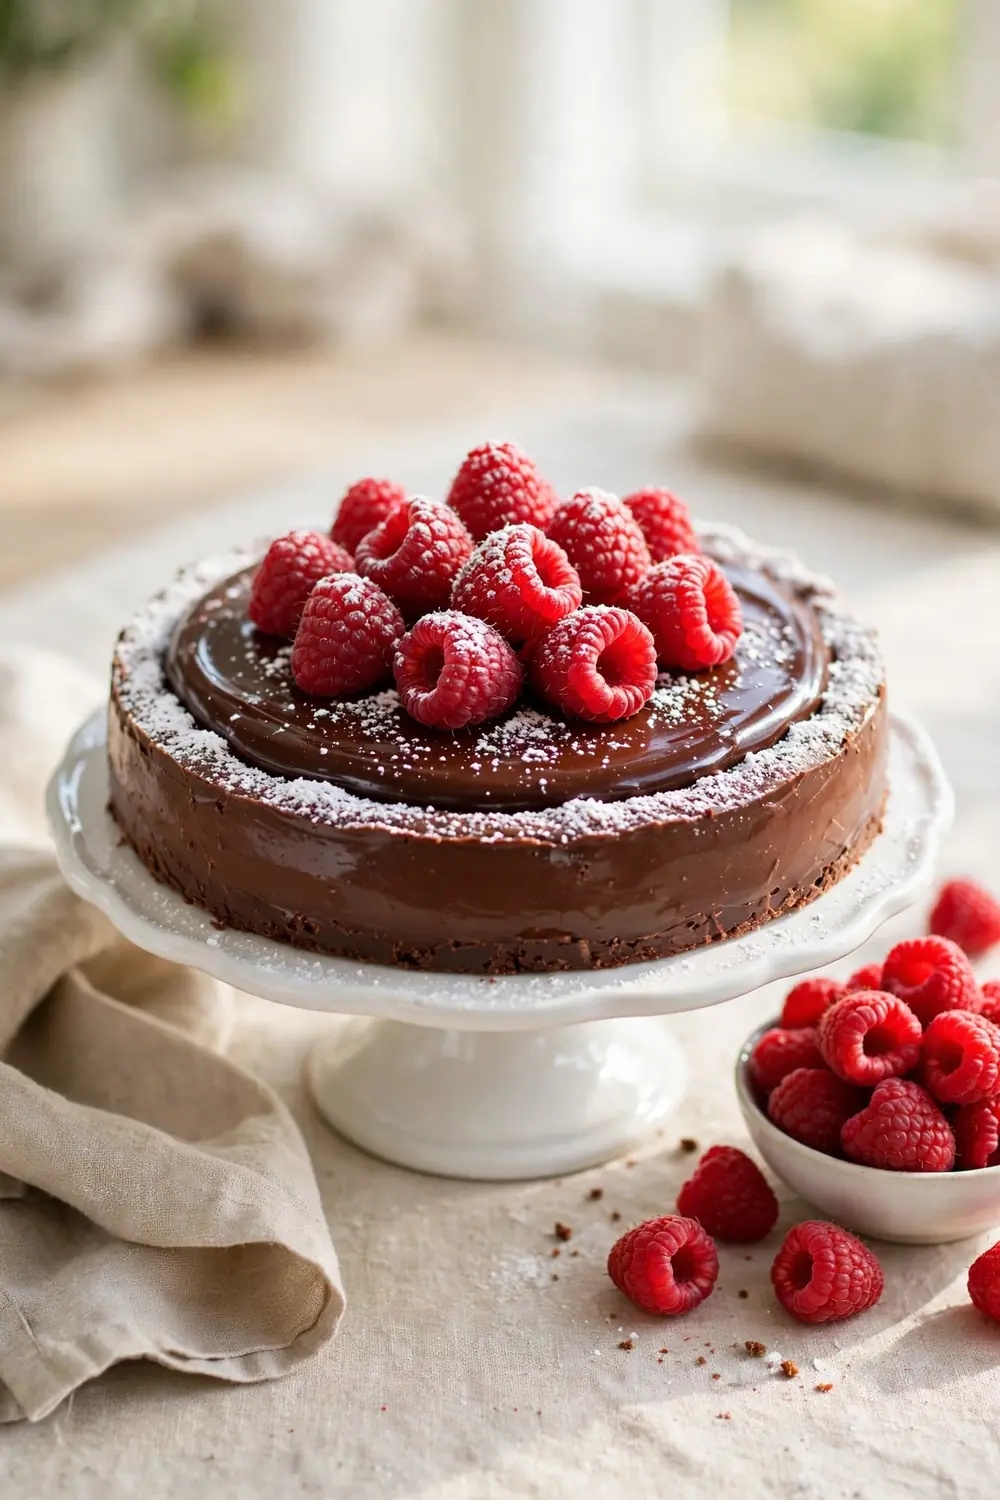
DO:
- Do rinse and dry the berries well so no water thins the glossy filling.
- Do pile the berries on just before serving for the freshest look.
- Do add a thin raspberry jam layer under the berries for extra fruit flavor.
DON'T:
- Don't scatter berries hours ahead, since juice will bleed into the filling.
- Don't use soft overripe berries that collapse under their own weight.
- Don't skip drying, since wet berries make the top look dull.
Tart berries cut through rich chocolate like a squeeze of lemon cuts through butter. The red against the dark filling looks striking on a table, and the fruit keeps each bite feeling light. A thin jam layer underneath anchors the berries and adds a jammy note that guests notice right away.
Toasted Meringue Crown
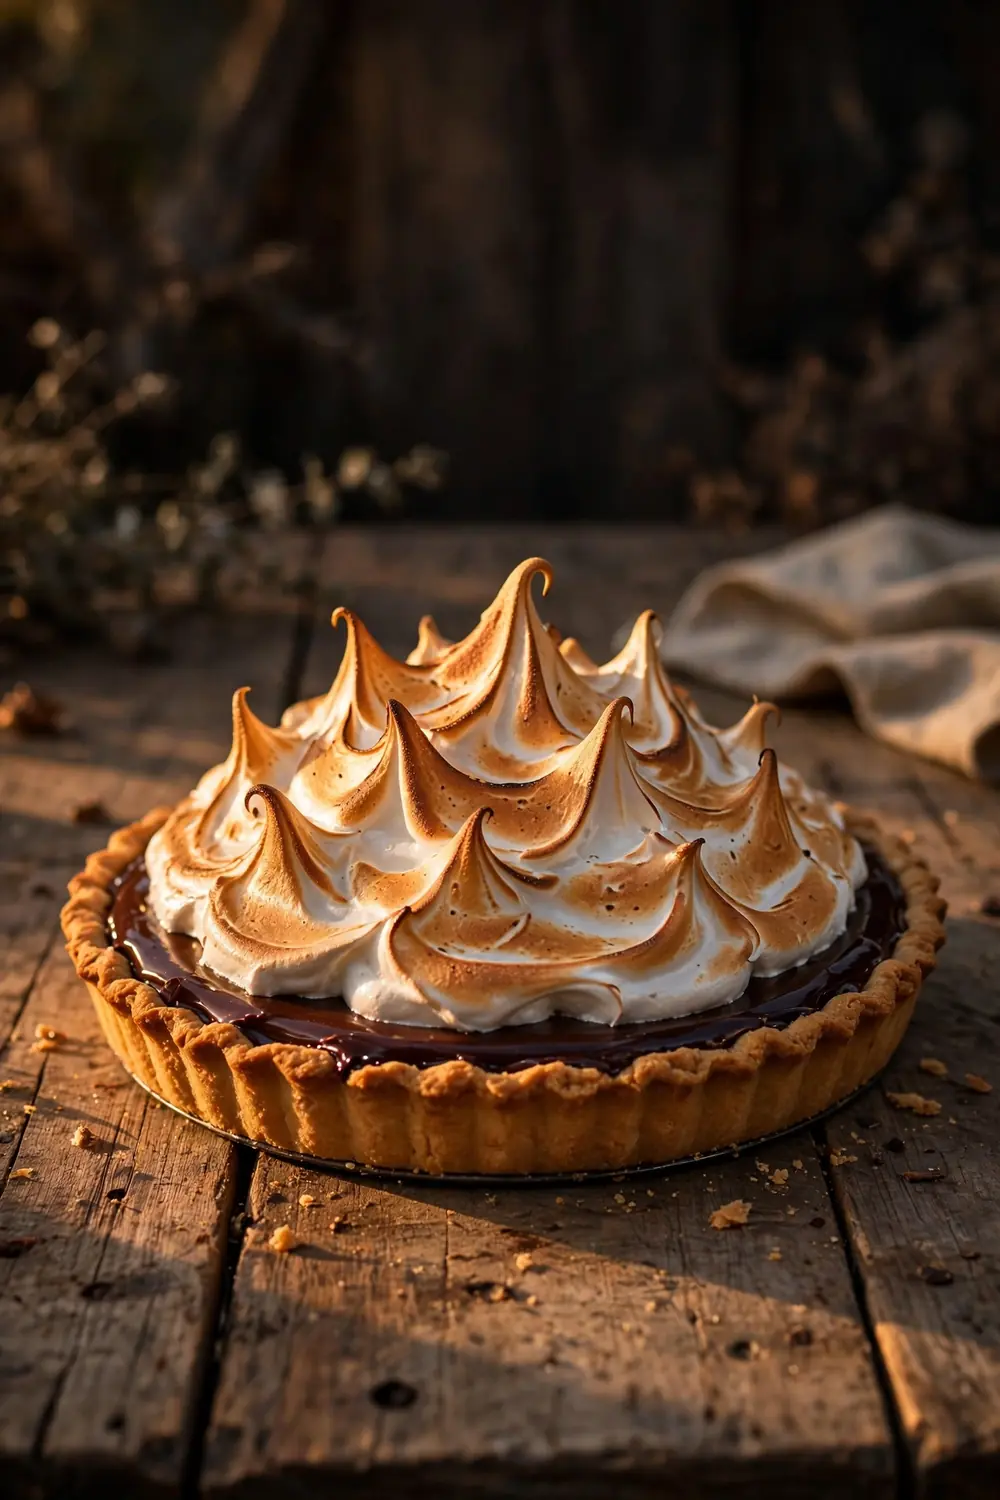
Cost: Moderate | Time: About 45 minutes plus chilling | Skill Level: Intermediate | Best For: Dinner parties and holidays
A torched meringue crown turns a chilled pie into a showpiece with almost no extra baking. The golden peaks crackle softly under the spoon, then melt into the cool chocolate beneath. Pipe the meringue high for drama, toast lightly with a kitchen torch, and serve soon so the peaks stay crisp.
Oreo Crust Base

Cookie crusts skip the rolling pin and still deliver a bakery style base. Crushed chocolate cookies mixed with melted butter press into a shell that bakes firm and smells like a candy aisle. The dark crust makes the glossy filling look even deeper, and every forkful carries crunch against silk.
Press the crumbs firmly and evenly, then bake briefly so the shell sets hard. A loose crust crumbles on the plate and ruins the slice, so take the extra minute. Cool it fully before adding filling, since warmth melts the silk and turns the base soft.
White Chocolate Marble
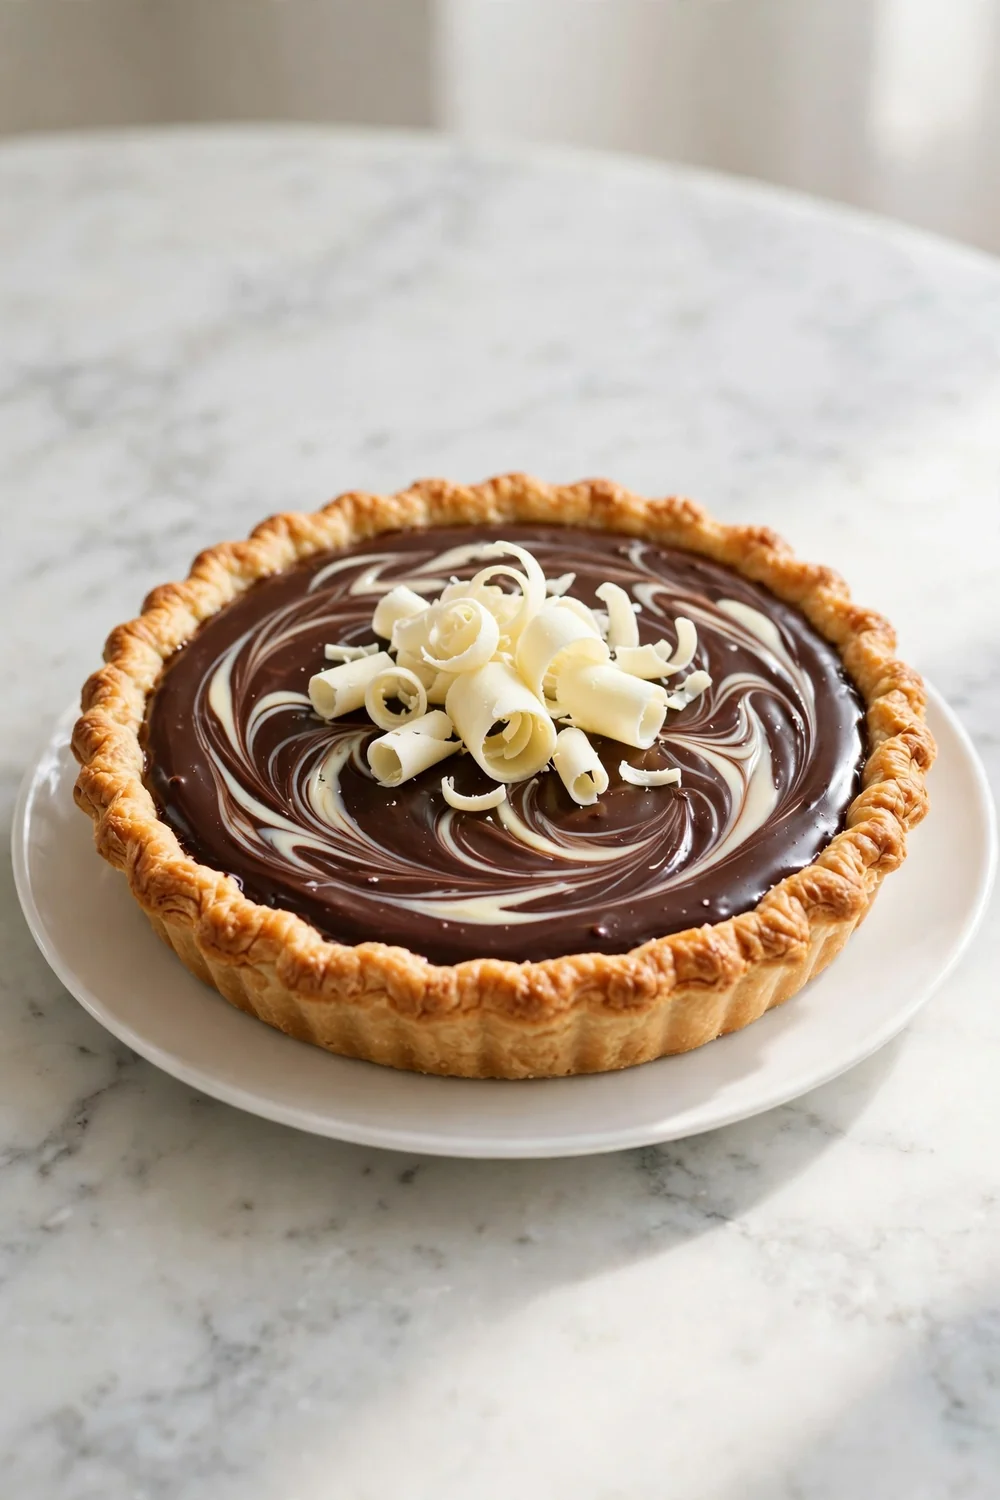
- Melt white chocolate gently over low heat, since it scorches faster than dark chocolate.
- Spoon the white chocolate over the dark filling in thick ribbons before swirling.
- Drag a skewer through the ribbons twice for a clean marble pattern.
- Chill the pie until firm, then top with curls just before serving.
Marbling gives this pie a bakery window look with only a few extra minutes of work. The white chocolate adds creamy sweetness that balances the dark base without turning the slice cloying. Keep the swirls bold and loose, since tight stirring blends the colors into plain brown and loses the effect.
Hazelnut Crunch Finish
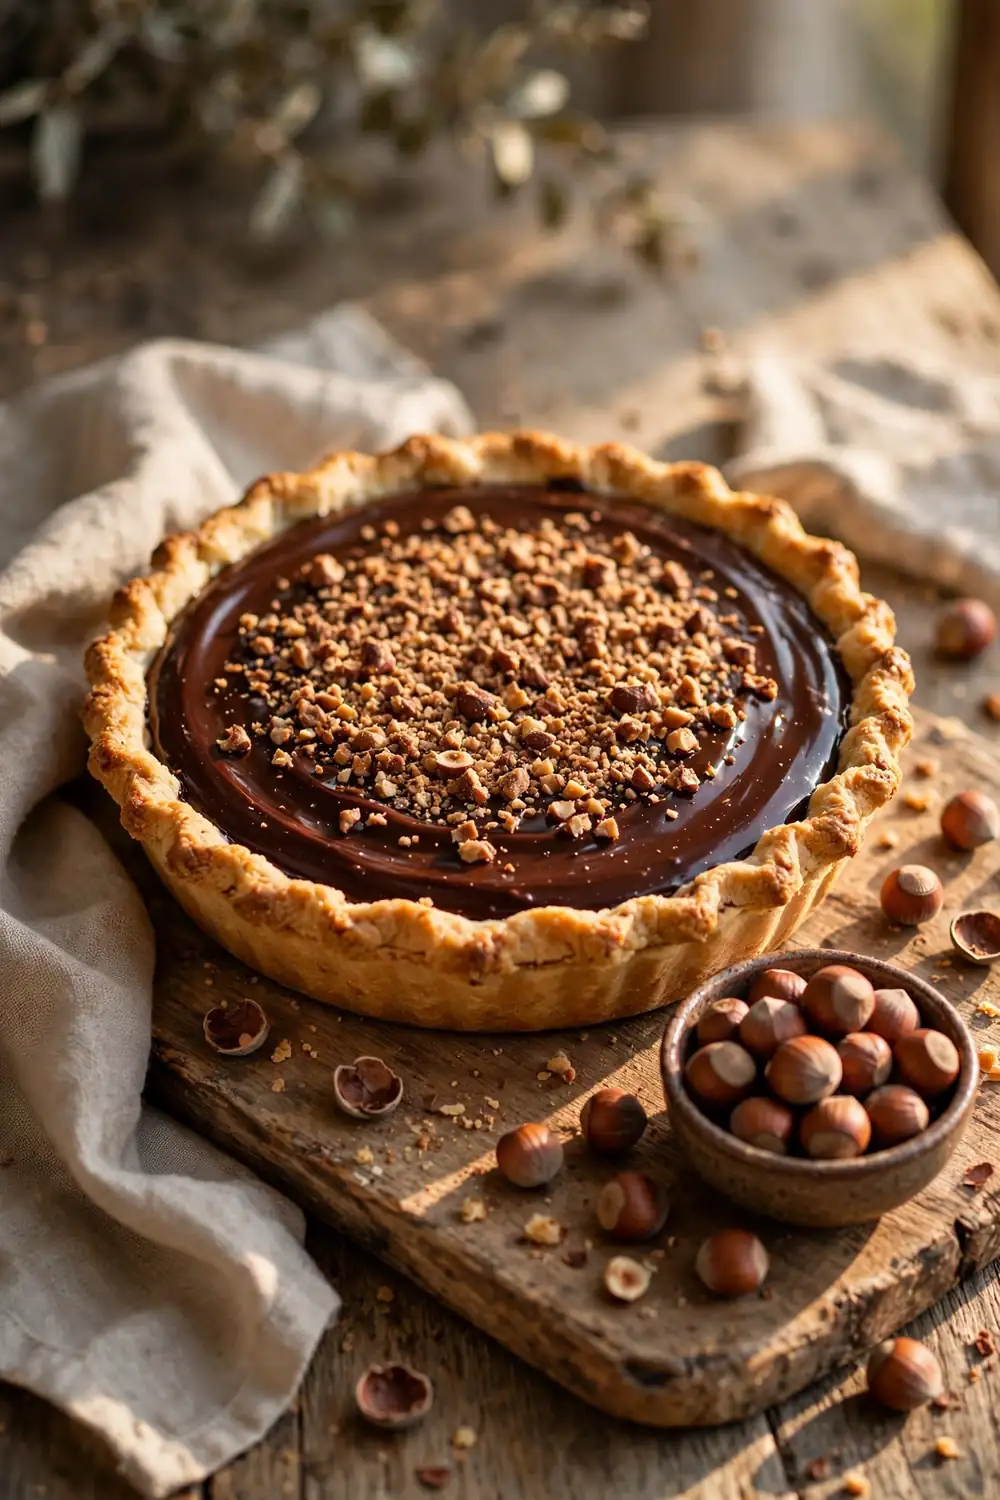
Quick Tip: Toast the hazelnuts in a dry pan until fragrant, then rub them in a towel to remove the skins. Rough chopping keeps chunky pieces that crunch, while fine crumbs disappear into the filling.
Hazelnuts bring a warm, toasty note that pairs with chocolate like an old friendship. The crunch on top contrasts the smooth filling, and the nutty aroma fills the kitchen while the pie chills. Scatter the nuts generously right before serving so they stay crisp and loud under the fork.
Coconut Cream Cloud
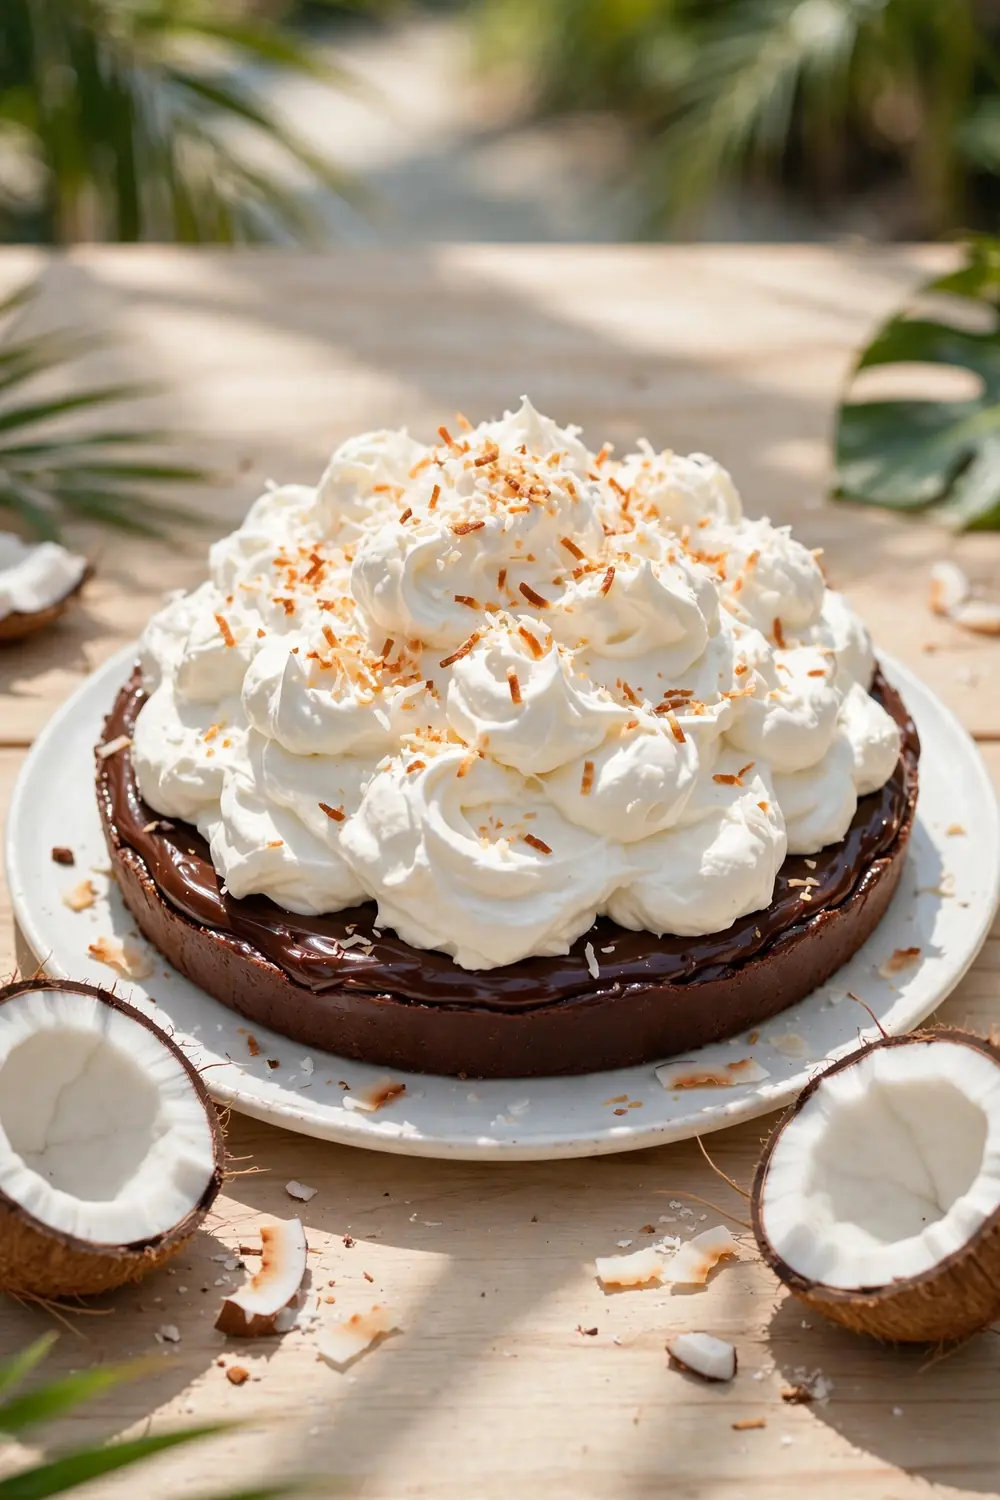
BEFORE: A plain slice can feel heavy in warm weather, and guests may stop after a few bites. The richness sits without relief, and the table misses a fresh note.
AFTER: Coconut cream adds a light, tropical lift that makes the chocolate taste brighter. Toasted flakes bring crunch and a sunny aroma, and the pie suddenly suits summer tables.
Coconut cream whips into a soft cloud that lightens every bite without watering down the chocolate. Toast the flakes until golden, since pale coconut tastes flat and chewy. Pile the cream high just before serving, and keep the pie chilled so the cloud holds its shape on the plate.
Orange Zest Brightness
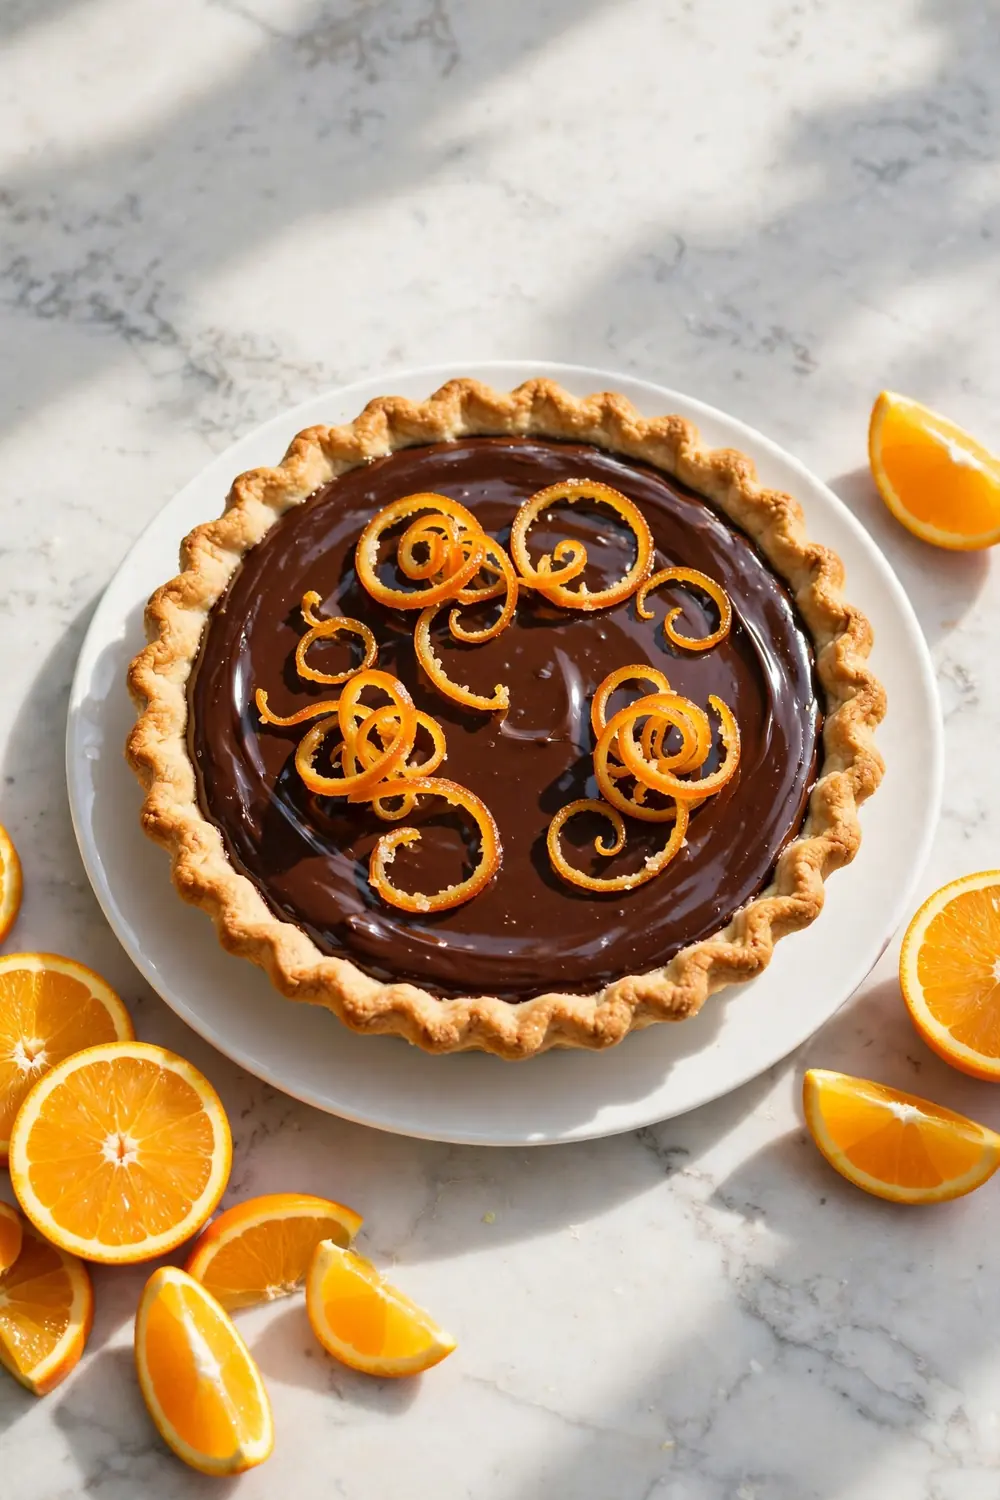
- Zest two oranges finely, avoiding the bitter white pith underneath the peel.
- Fold half the zest into the filling for aroma that runs through every bite.
- Chill the pie until firm, then scatter the rest of the zest over the top.
- Add candied curls last for a glossy finish that smells like an orange grove.
Orange and chocolate share a classic pairing that never feels dated. The zest lifts the filling with citrus perfume while the chocolate stays deep and smooth. Keep the pith out, since it turns bitter fast, and let the fresh curls do the decorating so the pie looks as bright as it tastes.
Bourbon Vanilla Silk
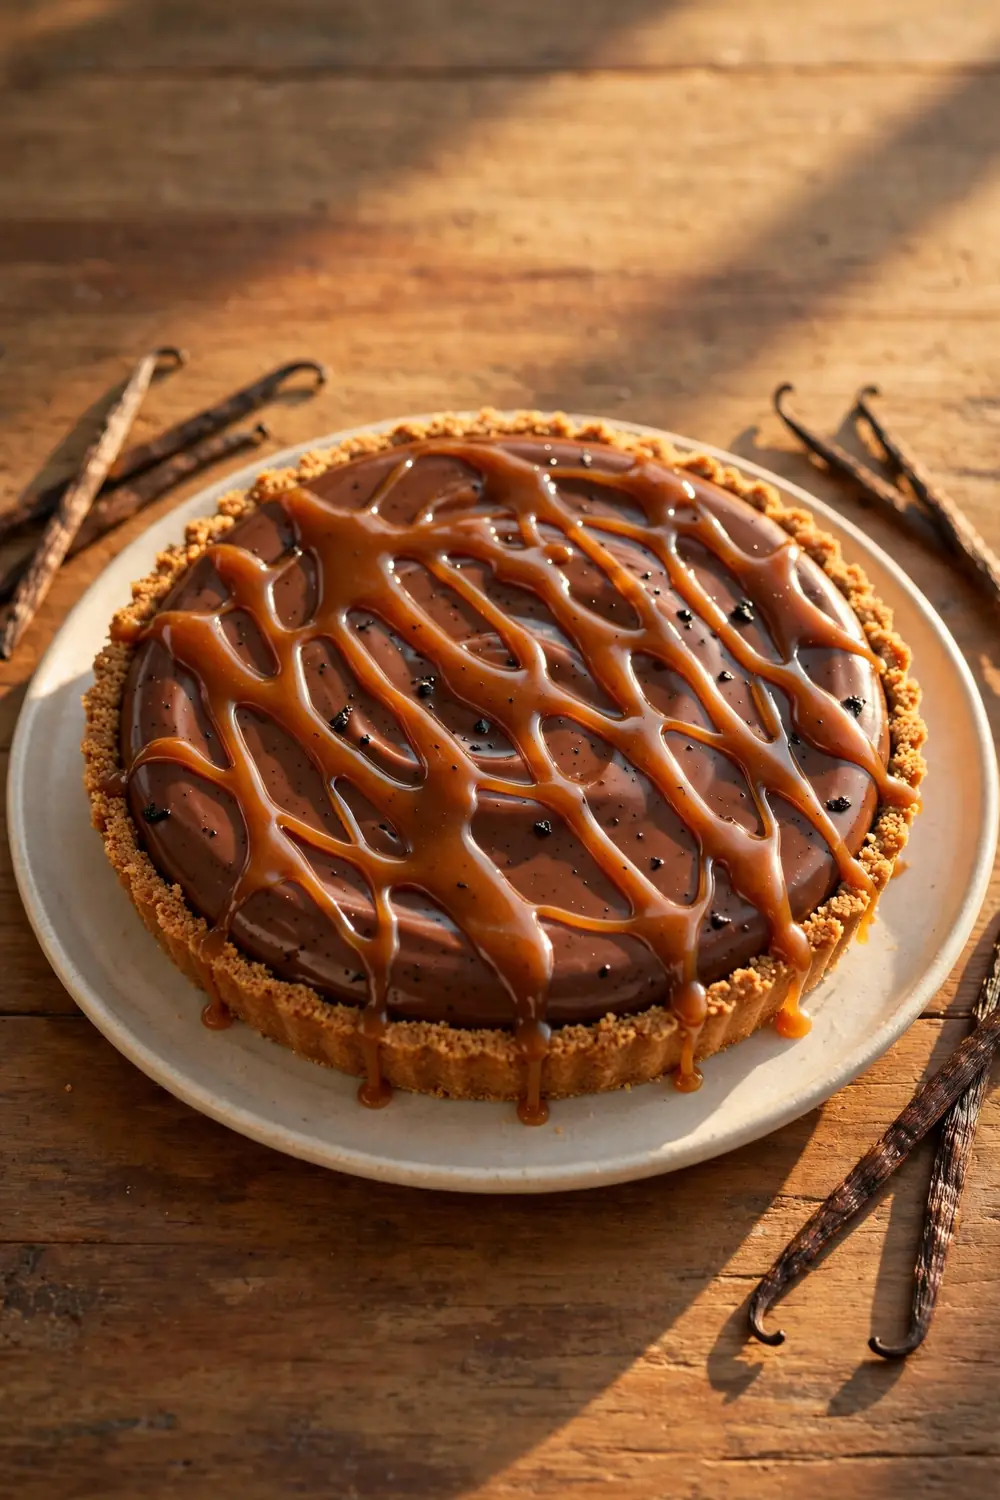
| Base | Vanilla silk filling | Plain chocolate filling |
| Flavor | Warm bourbon vanilla | Straight chocolate |
| Topping | Caramel drizzle | Whipped cream |
| Best For | Holiday tables | Everyday dessert |
A splash of bourbon and real vanilla turns this pie into a grown up dessert with warmth. The alcohol bakes off in spirit while the flavor stays, adding caramel and oak notes that plain chocolate misses. Use a modest pour, since too much overwhelms the silk, and let the vanilla shine through each cool bite.
Cherry Chocolate Duo
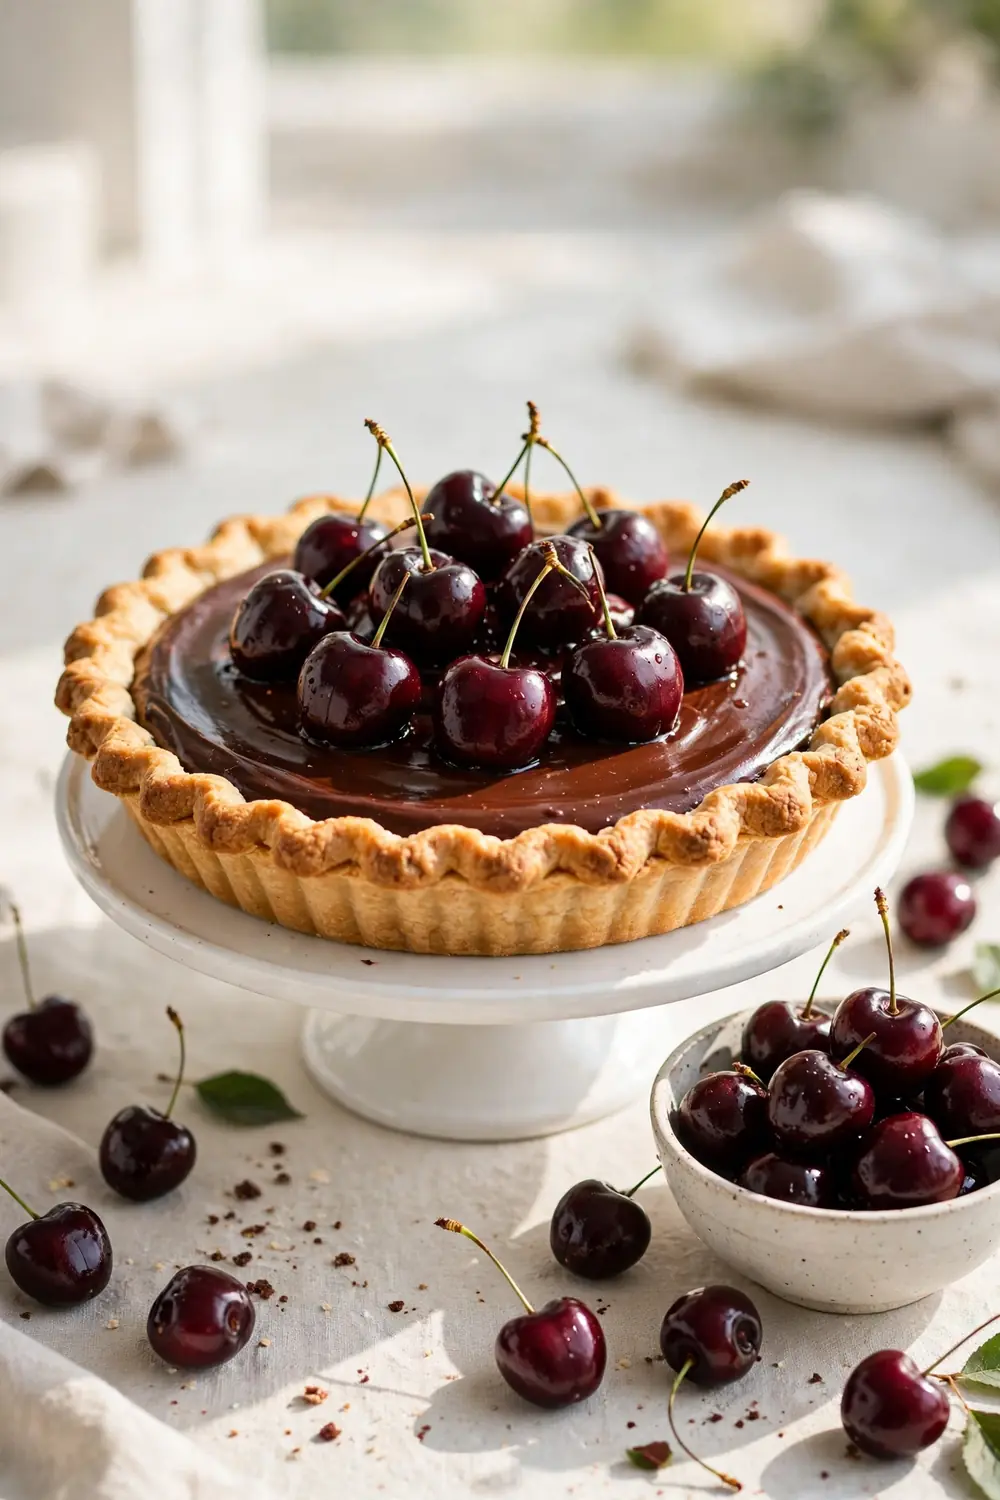
DO:
- Do use firm cherries and pat them dry before piling them on top.
- Do add a thin cherry jam layer for a jammy base under the fruit.
- Do serve the pie well chilled so the cherries stay glossy and firm.
DON'T:
- Don't use canned cherries in syrup, since they weep and stain the filling.
- Don't pit cherries over the pie, since juice will splash the glossy top.
- Don't pile fruit too high, since tall stacks slide when sliced.
Cherries and chocolate have a natural drama that needs little help. The glossy fruit against the dark filling looks like a dessert from a patisserie window, and the tart juice keeps each bite balanced. A thin jam layer underneath holds the cherries in place and adds a fruit note that guests taste first.
Mocha Fudge Layers
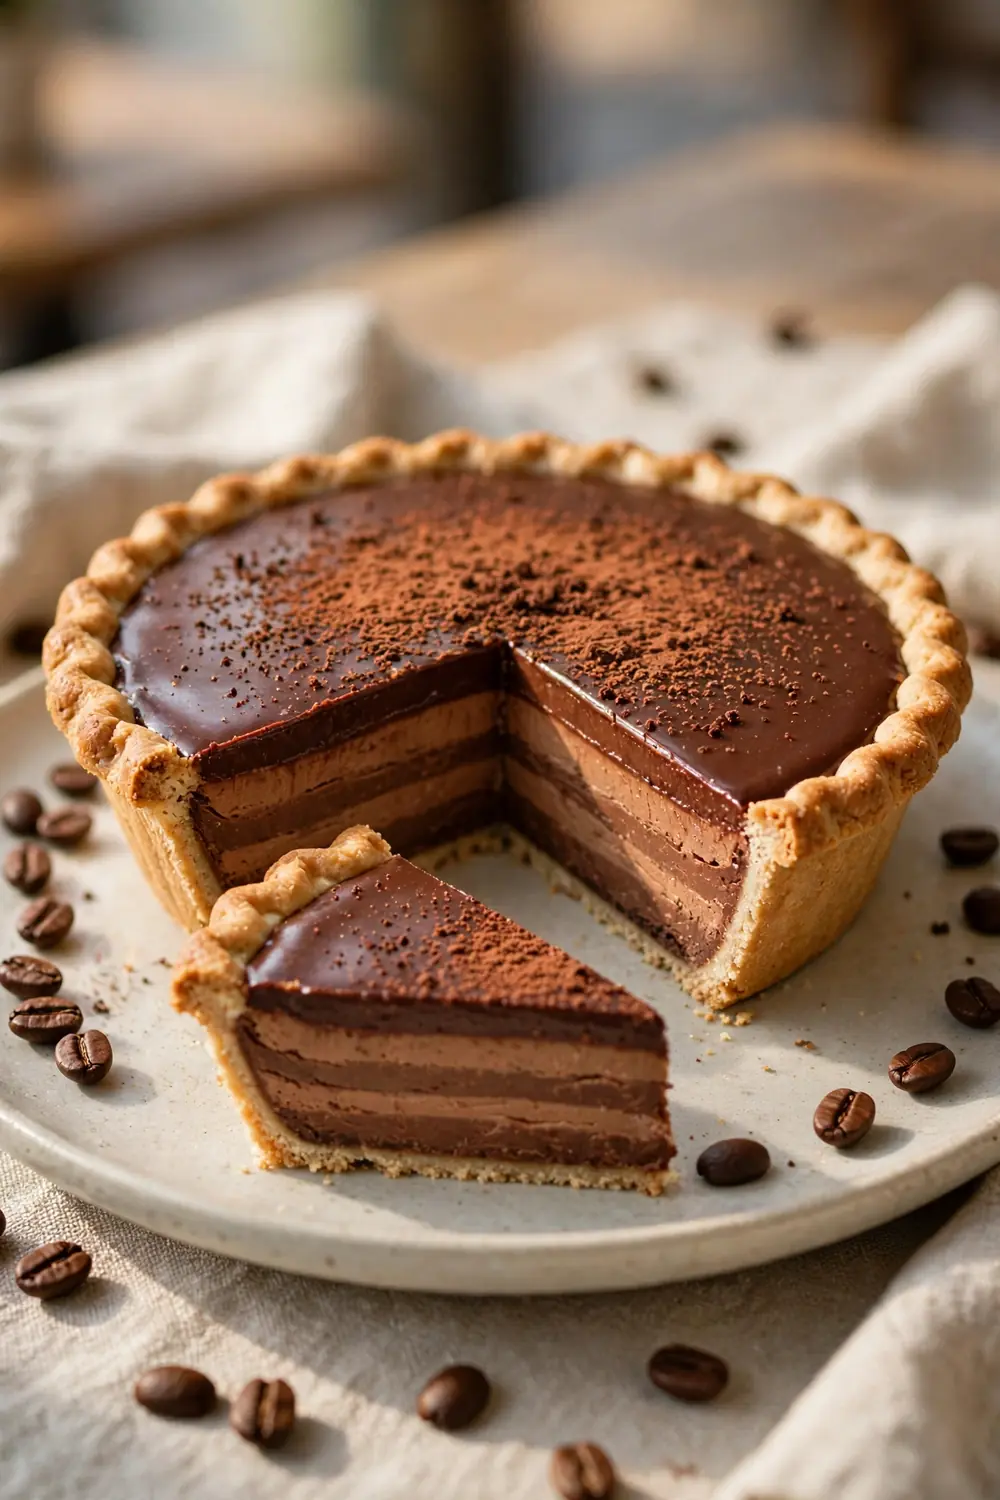
Cost: Moderate | Time: About 50 minutes plus chilling | Skill Level: Intermediate | Best For: Coffee lovers and brunch tables
Mocha layers give this pie a cafe quality that coffee fans will recognize at once. The fudge layer adds depth while the silk layer keeps things light, so each forkful moves between dense and airy. Chill each layer briefly before adding the next, since warm layers bleed together and blur the stripes.
Almond Praline Crunch
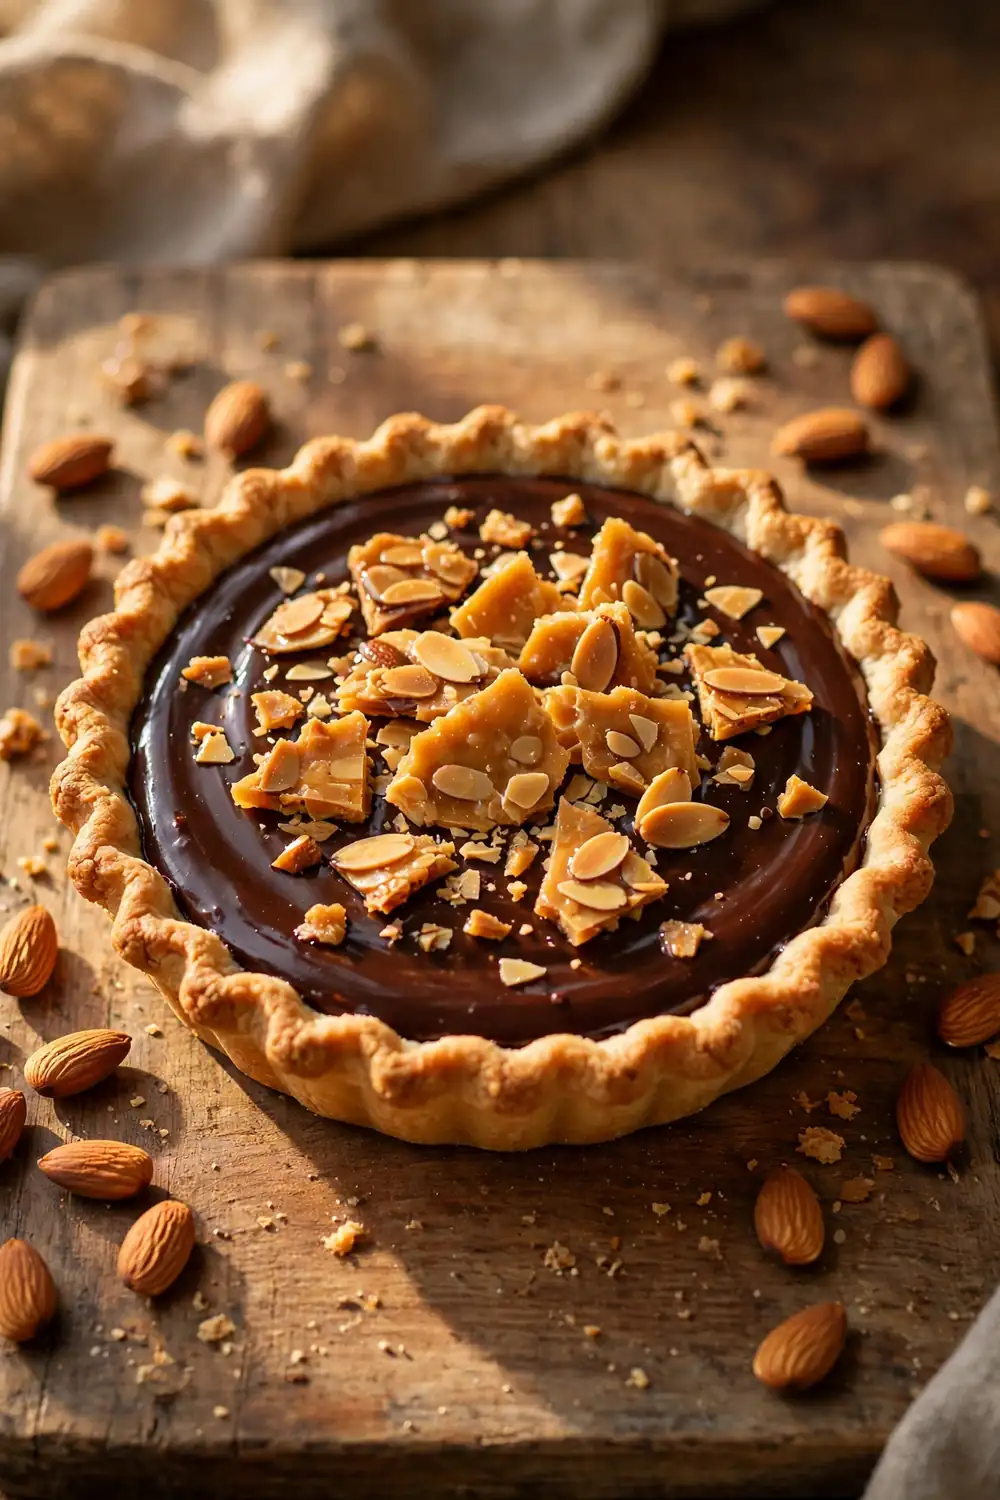
Praline shards bring a caramelized crunch that shatters pleasantly against the cool filling. Cooked sugar and almonds turn brittle in the pan, then break into glassy pieces that catch the light on top of the pie. The nutty sweetness pairs with chocolate without stealing the scene.
Make the praline ahead and store it in a dry jar, since humidity softens the shards fast. Scatter the pieces just before serving so they stay crisp and loud. Keep the layer light, since a thick cap makes slicing hard and hides the glossy filling below.
Strawberry Silk Swirl
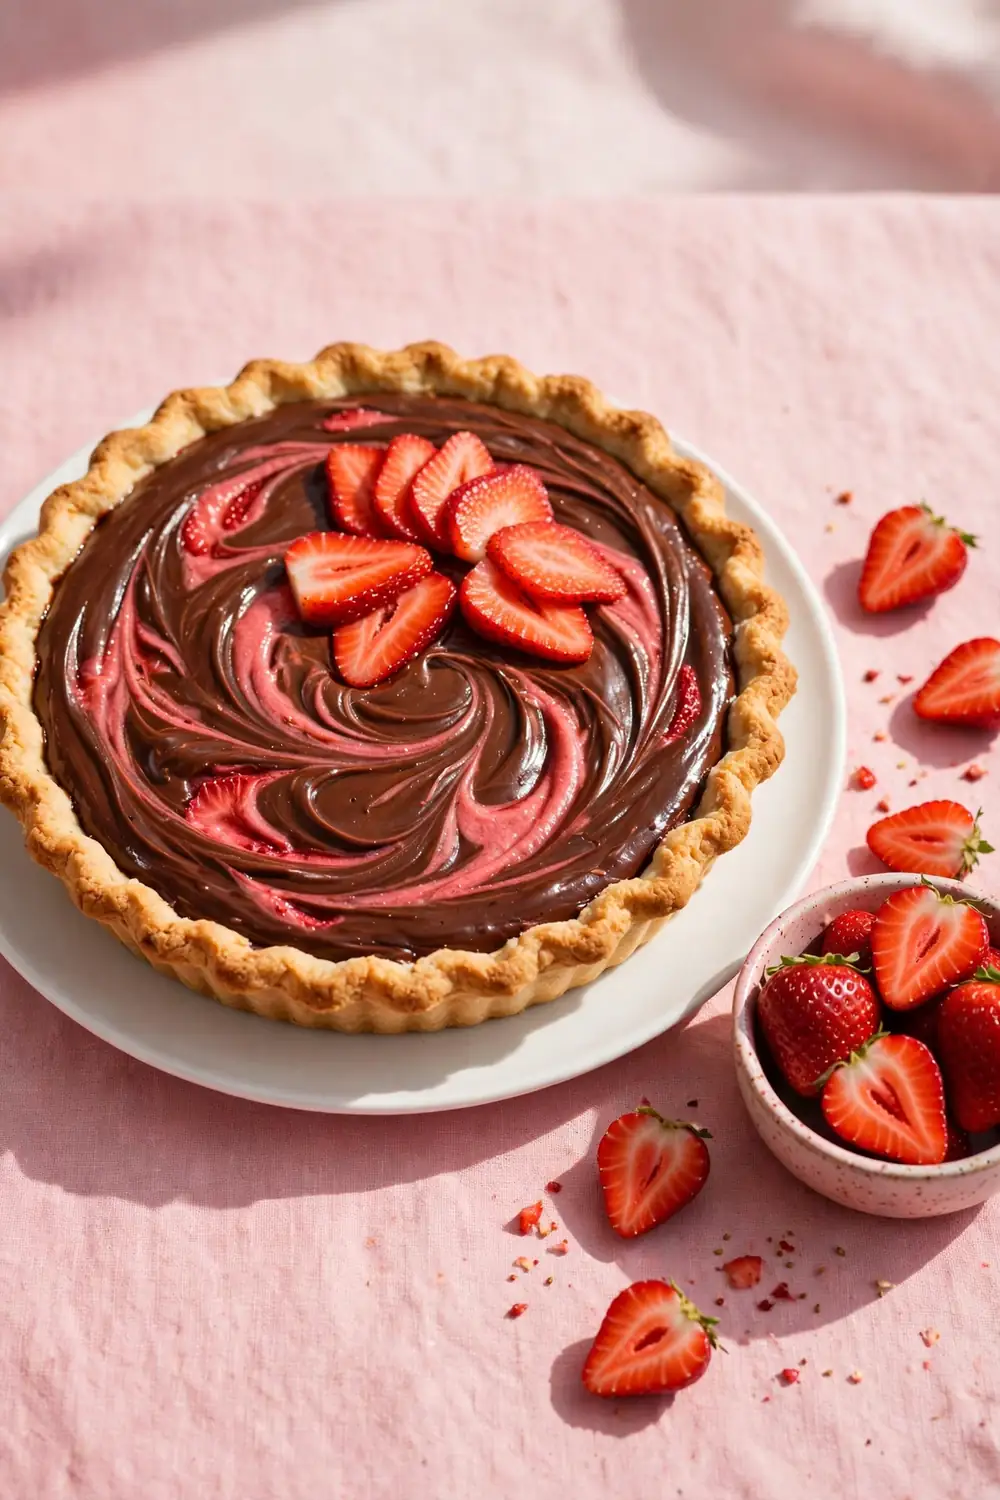
- Cook strawberries briefly with a spoon of sugar until they turn jammy and thick.
- Strain the seeds out if you want a silky swirl without grit.
- Ribbon the cooled puree over the filling before chilling the pie.
- Top with fresh sliced strawberries just before serving for color.
Strawberry swirls bring a blush of color and a tartness that wakes up the chocolate. The fruit puree ribbons through the dark filling like a watercolor wash, and slices on top make the pie look like a spring garden. Serve it chilled on a warm day, and the berry note feels like a sorbet surprise.
Sea Salt Flakes
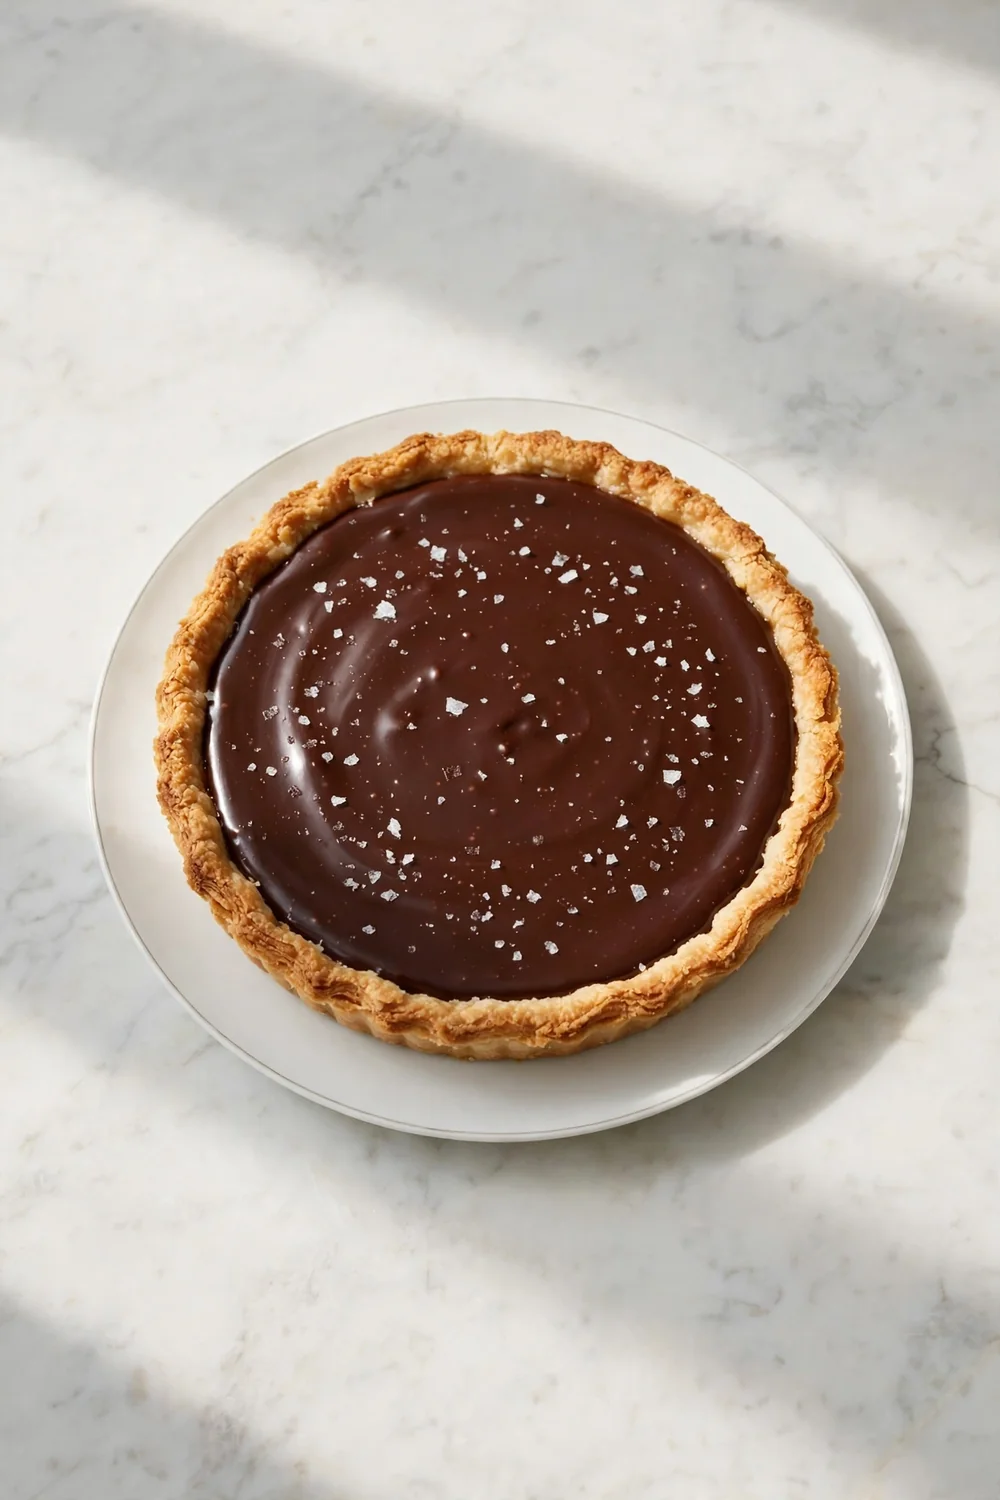
Quick Tip: Use flaky finishing salt rather than table salt, since the large crystals melt slowly and give tiny bursts of flavor. Scatter it over the top just before serving so the flakes stay visible and crisp.
A pinch of salt does more for chocolate than any fancy topping. It sharpens the cocoa, trims the sweetness, and makes each bite taste deeper than the last. Flaky salt adds a crunch that disappears fast, leaving a clean finish that invites another forkful. Keep the hand light, since a heavy scatter turns salty quickly.
Whipped Cream Peaks

BEFORE: A bare pie can look plain on the table, and the first cut may feel dense without relief. Guests see a flat dark surface and expect something heavy.
AFTER: Tall cream peaks turn the pie into a celebration, adding lightness and a snowy contrast. Each slice now carries a cool cloud that softens the chocolate.
Whipped cream is the oldest partner of this dessert, and it still works beautifully. Whip the cream to soft peaks with a little sugar and vanilla, then pile it high just before serving. The cloud melts into the cool filling and turns each bite into something that feels both rich and weightless.
Chilled No-Bake Version
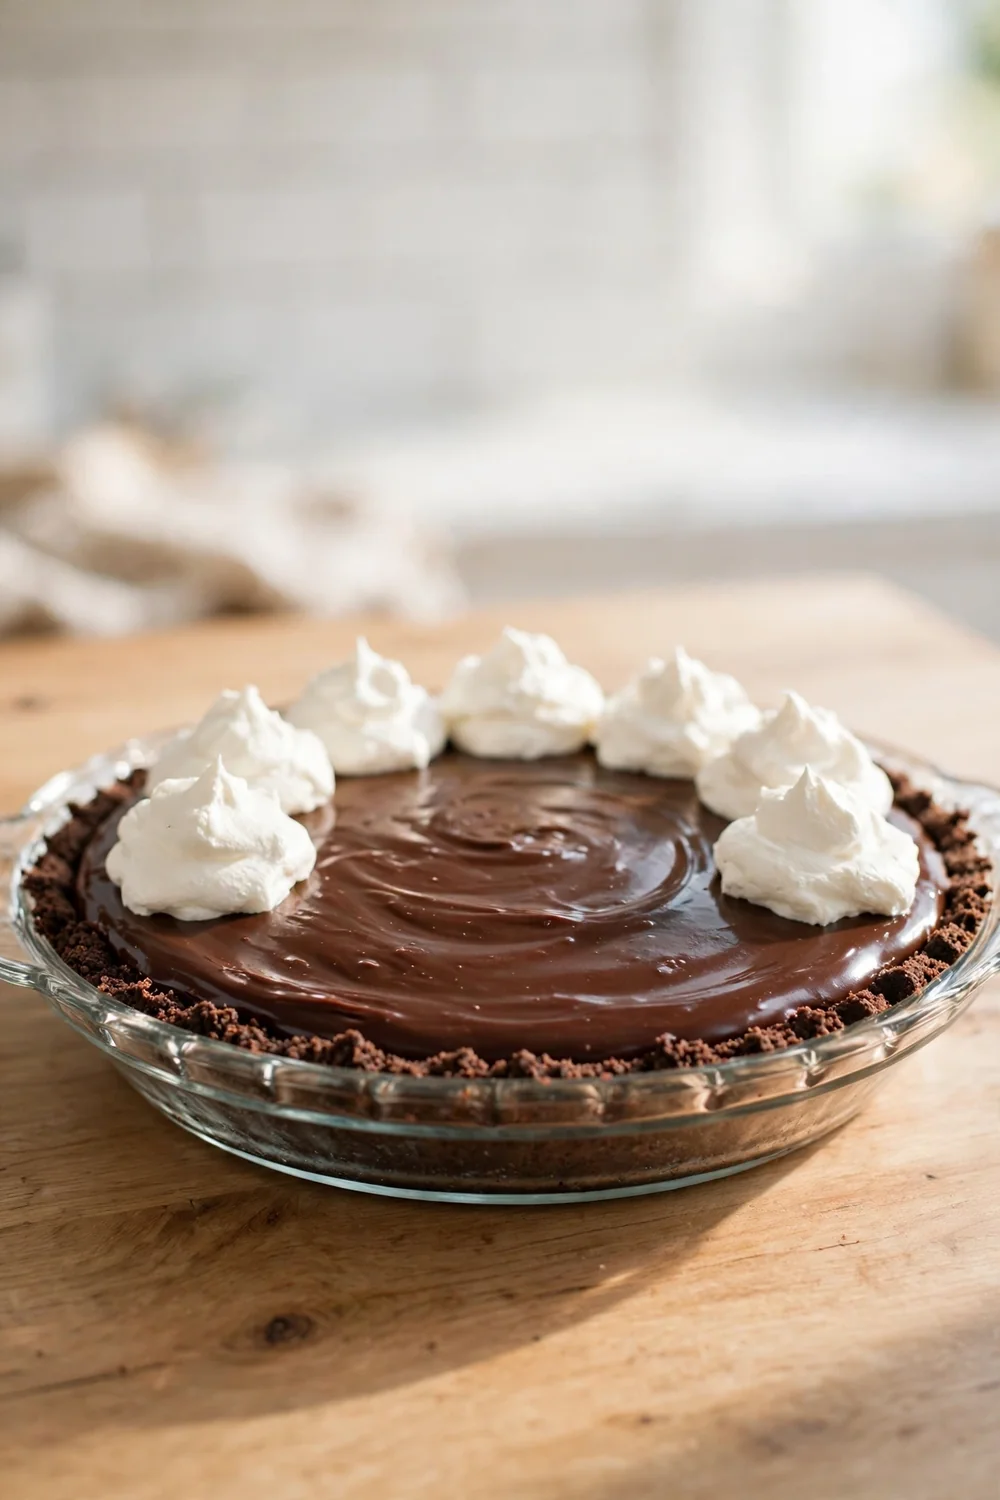
- Crush chocolate cookies with melted butter and press the crumbs firmly into the dish.
- Melt the chocolate gently, then fold it into whipped cream and softened butter.
- Spread the filling into the crust and smooth the top with a spatula.
- Chill at least four hours, then add cream dollops and serve straight from the fridge.
No bake versions suit hot days when turning on the oven feels like a chore. The filling sets in the fridge into a cool, sliceable silk, and the cookie crust stays crisp without baking. Keep the pie chilled until the moment you serve it, since warm rooms soften the filling fast and blur the slices.
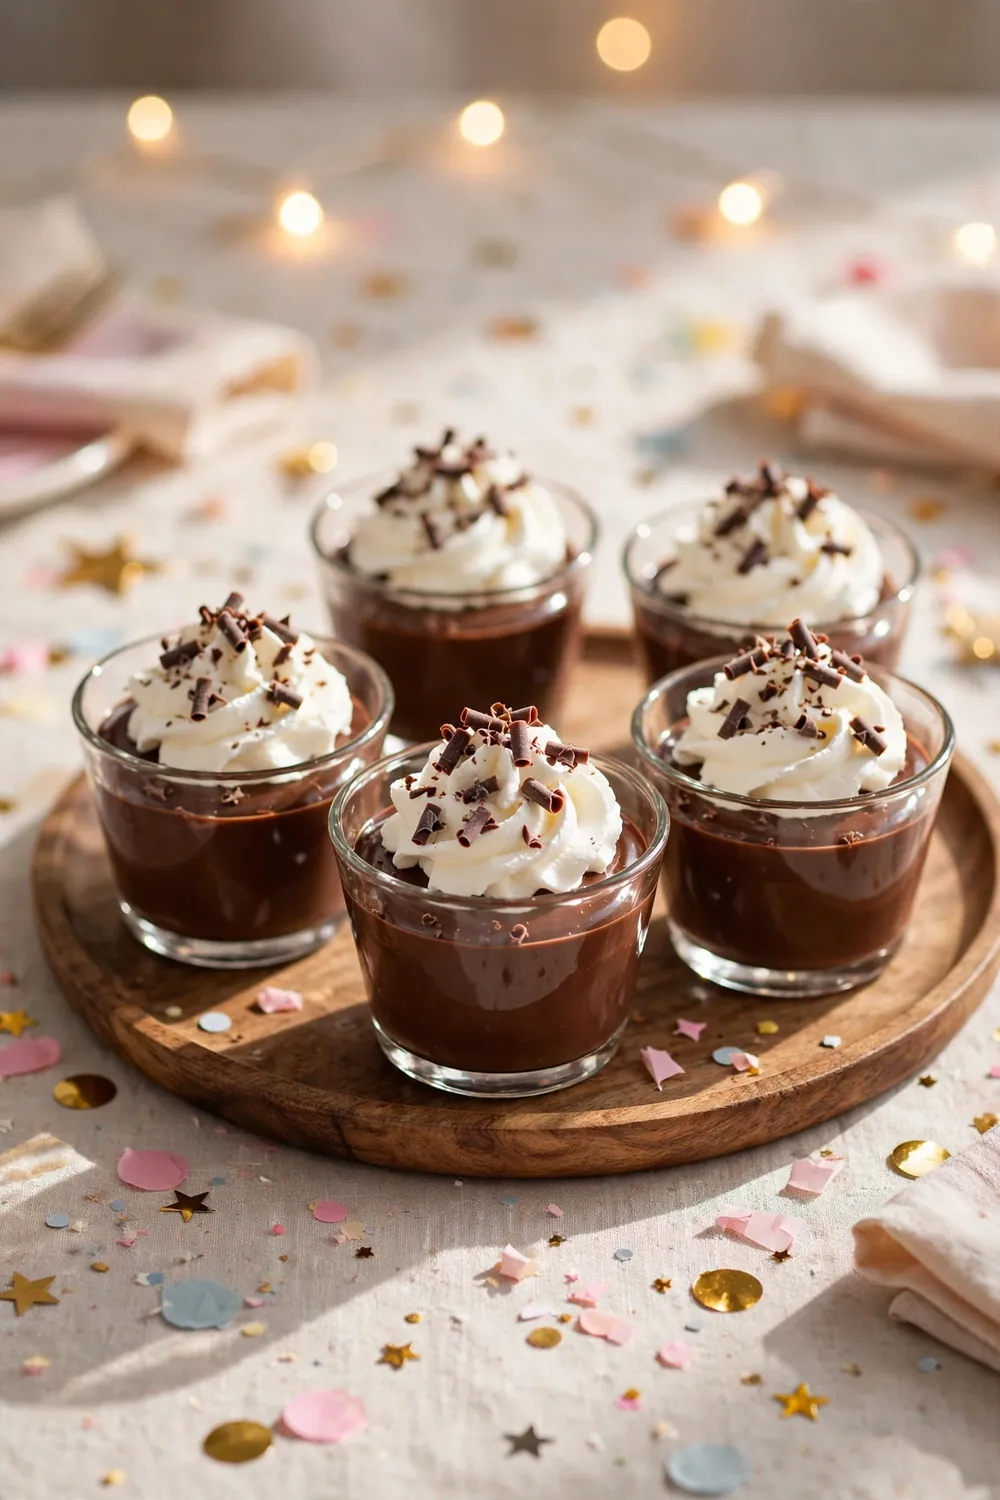
Mini Silk Cups
| Size | Mini cups | Full pie |
| Serving | Easy individual portions | Shared slices |
| Chilling | Faster, about two hours | At least six hours |
| Best For | Parties and buffets | Family dinners |
Mini cups turn a formal dessert into easy finger food that guests can grab and carry. Small portions chill faster, slice cleanly, and let everyone have their own ratio of crust to cream. Line the cups on a tray, add toppings at the last minute, and watch them vanish before the main course plates clear.
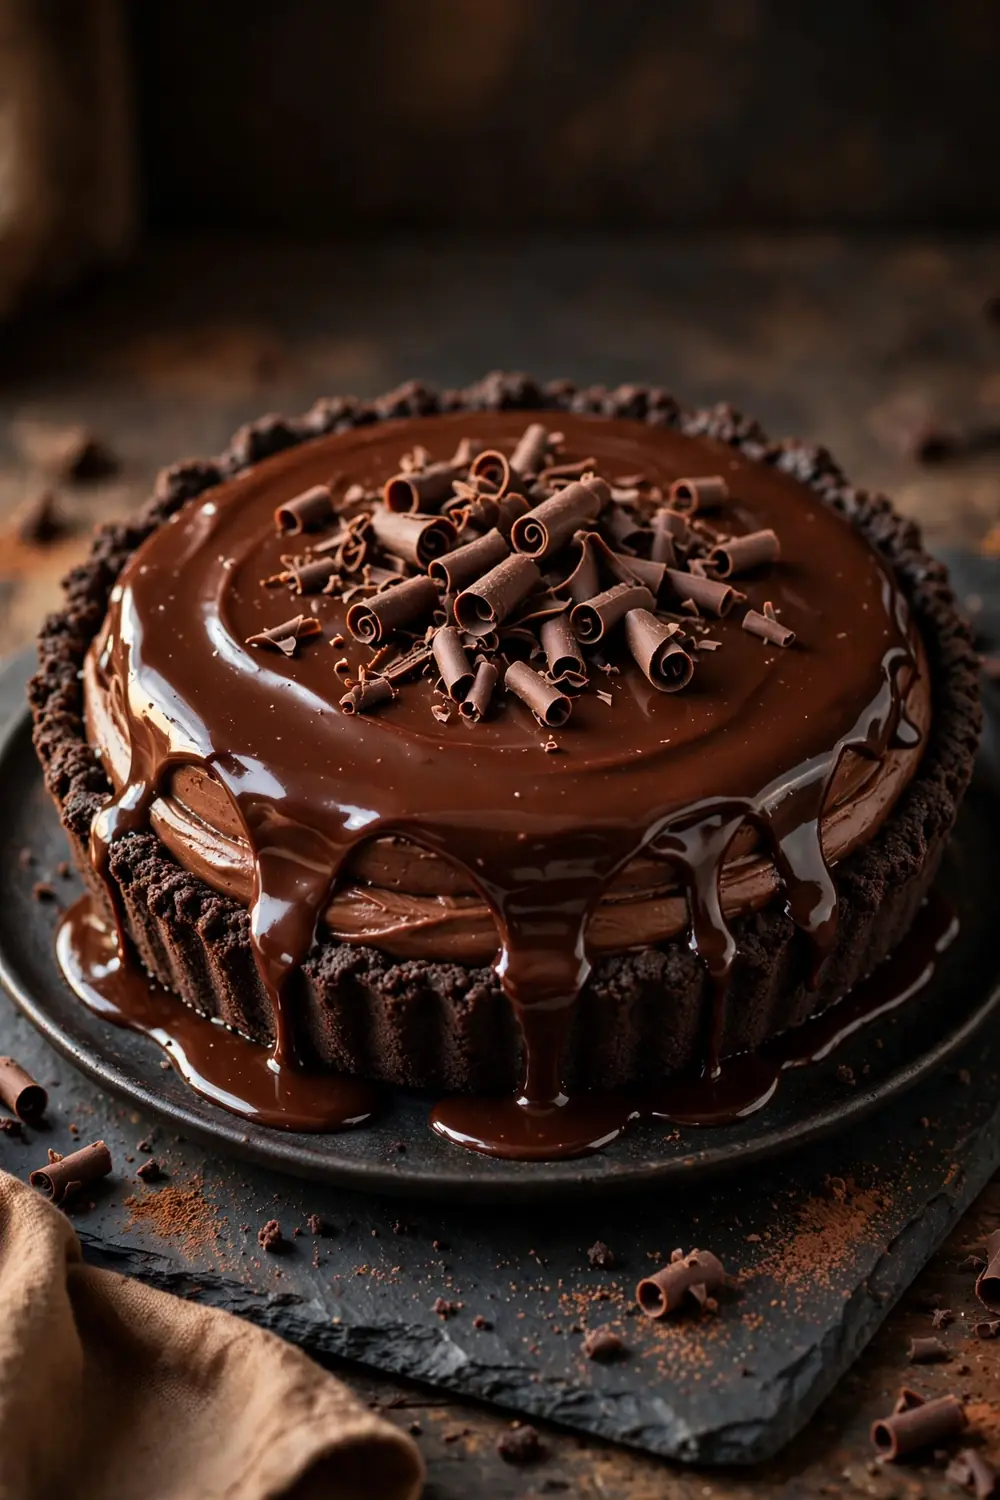
Double Chocolate Ganache
DO:
- Do pour the ganache while it is warm and fluid for a mirror smooth top.
- Do let the silk layer chill firm first so the ganache does not sink.
- Do use equal parts cream and chocolate for a pourable ganache.
DON'T:
- Don't pour boiling ganache, since heat will melt the silk layer below.
- Don't stir the ganache hard after pouring, since bubbles mark the surface.
- Don't refrigerate uncovered, since the fridge dries out the glossy top.
A ganache cap gives this pie a mirror finish that looks out of a chocolate shop. The extra layer adds depth without heaviness, since it sets thin and shiny over the silk beneath. Pour gently, tilt the dish to spread the shine, and chill briefly so the top holds its gloss when sliced.
Holiday Peppermint Twist

Cost: Low | Time: About 40 minutes plus chilling | Skill Level: Beginner | Best For: Christmas and winter gatherings
Crushed candy canes give this pie a festive crunch and a cool mint snap that suits winter tables. The red and white shards sparkle against the dark filling, and the peppermint aroma fills the room as the pie arrives. Scatter the candy just before serving, since it softens in the fridge and loses its crunch.
Conclusion
These twenty four variations prove that one dessert can carry endless moods, from minty winter treats to bright berry finishes. Each idea keeps the same promise: a crisp crust, a glossy filling, and a chill that turns ingredients into something memorable. If you love nutty sweets, try our peanut butter pie next for another classic.
I have seen how a single well chilled chocolate silk pie can turn an ordinary dinner into a celebration. Save this list on Pinterest, bake the one that caught your eye, and share it with someone who loves dessert. Your next slice is closer than you think, and the fridge will do the hardest part.