Why Does My Caramel Get Hard and Crystallize? Easy Fix Guide
If crystallized caramel has ever ruined a batch of sugar on your stove, you are not alone. The melt looks golden one moment, then turns grainy and stiff the next. This guide explains why that shift happens and shows fixes that keep batches smooth.
Sugar crystals form when stray grains, stirring, or fast heat disturb the melt. Each small slip can seed a chain reaction that turns silk into grit. In my experience, steady heat and calm handling solve most cases.
Follow the steps below in order, from heat and clean tools to water, stirring, and finishing checks. Each section gives one clear action for today. If your cream also stays thin, see why whipped cream not thickening happens and how to fix it.
Why Caramel Turns Hard
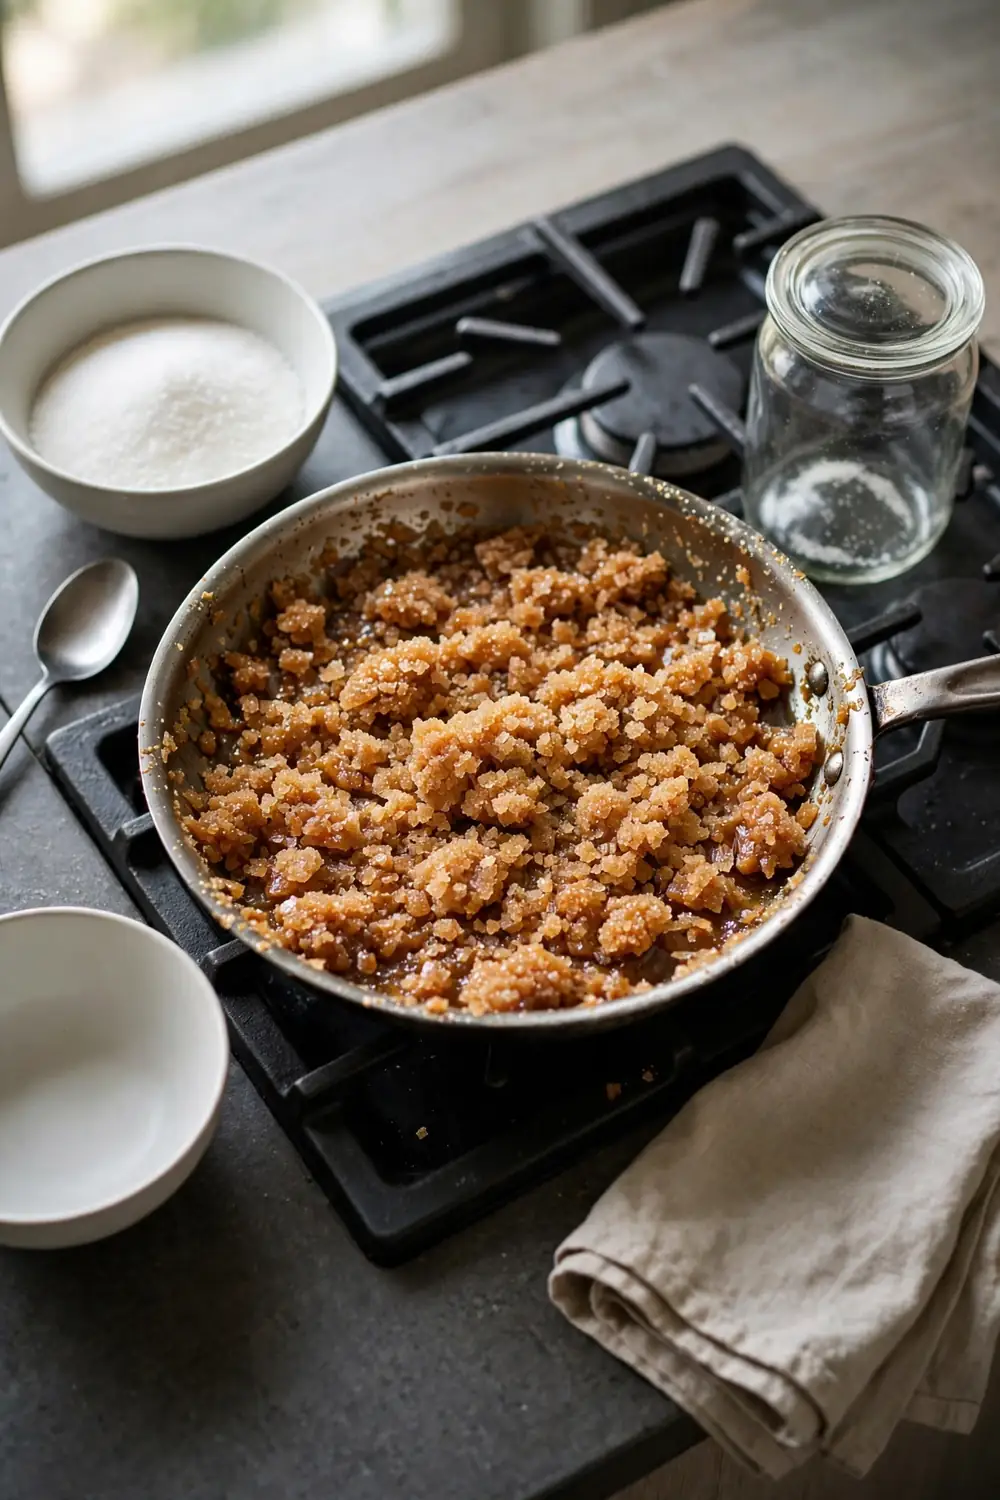
Sugar melts into a smooth liquid, yet one stray grain can undo the whole pan. That grain acts as a seed, and nearby molecules line up around it in a rigid pattern. The melt thickens, turns cloudy, and then sets into a gritty mass that no longer pours.
Heat and motion speed up that process, which is why a fast boil or a busy spoon makes things worse. A calm melt gives crystals fewer chances to form, so the texture stays fluid. Once you see the cause clearly, each fix below makes sense.
Check the Heat
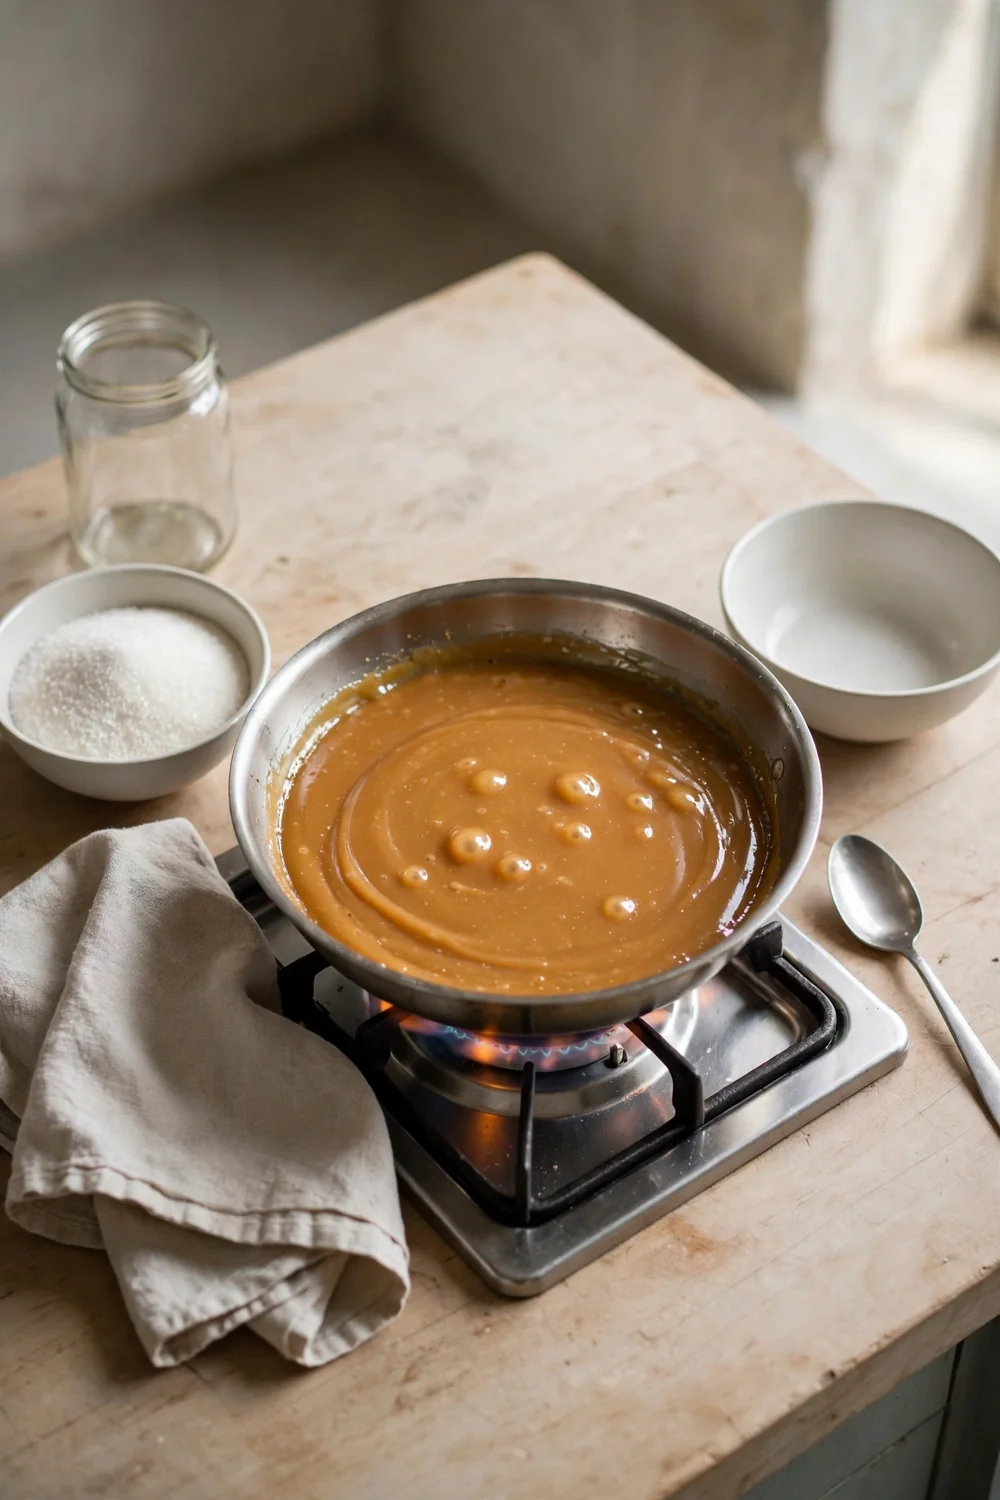
Heat sets the pace for the whole melt, so a burner that runs too hot can ruin the batch before you notice. Low steady heat gives the sugar time to dissolve evenly without scorching. Keep the flame gentle, watch the color, and let patience do the heavy lifting.
- Set the burner to medium low before the pan goes on.
- Let the sugar dissolve slowly, and resist turning the heat up when nothing seems to happen.
- Watch for an even amber color, then pull the pan off the heat at once.
- If the edges darken fast, lift the pan for a few seconds to cool it down.
Use Clean Tools
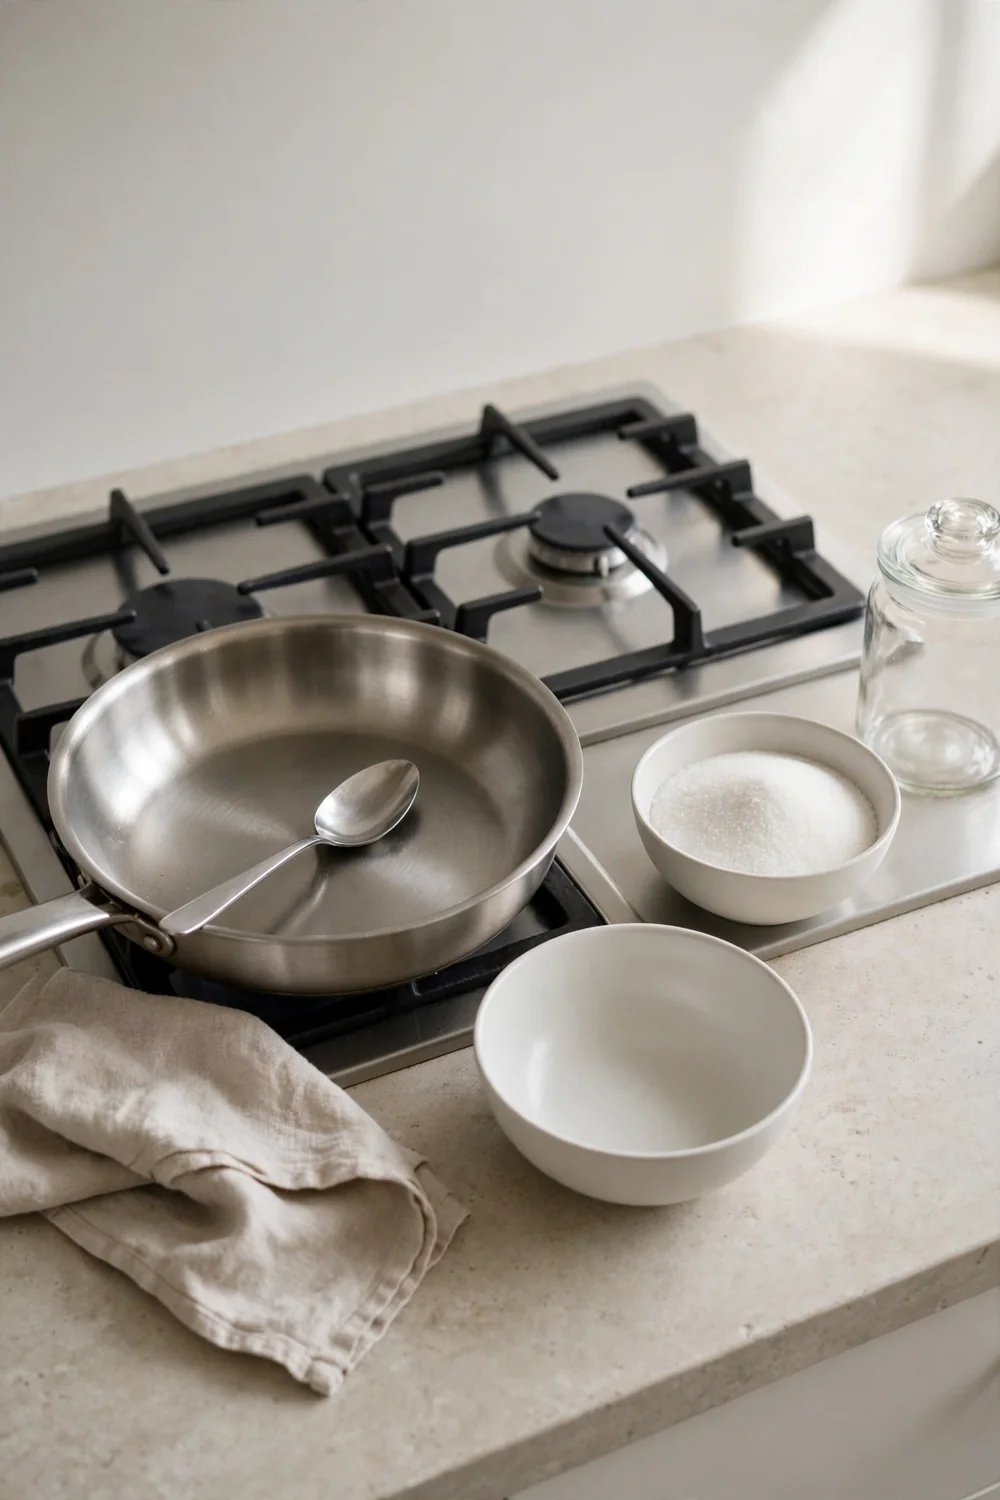
Quick Tip: Wash the pan, spoon, and brush before every batch, and dry them fully. Even a faint crust of old sugar can seed new crystals. Clean tools are the cheapest insurance for a smooth melt.
A dirty pan hides tiny sugar grains along its walls and base, and those grains wake up as soon as the melt heats. The spoon matters just as much, since a crusted edge drags crystals straight into the liquid. Rinse everything well, dry it, and start each batch from a spotless pan.
Skip the Stirring
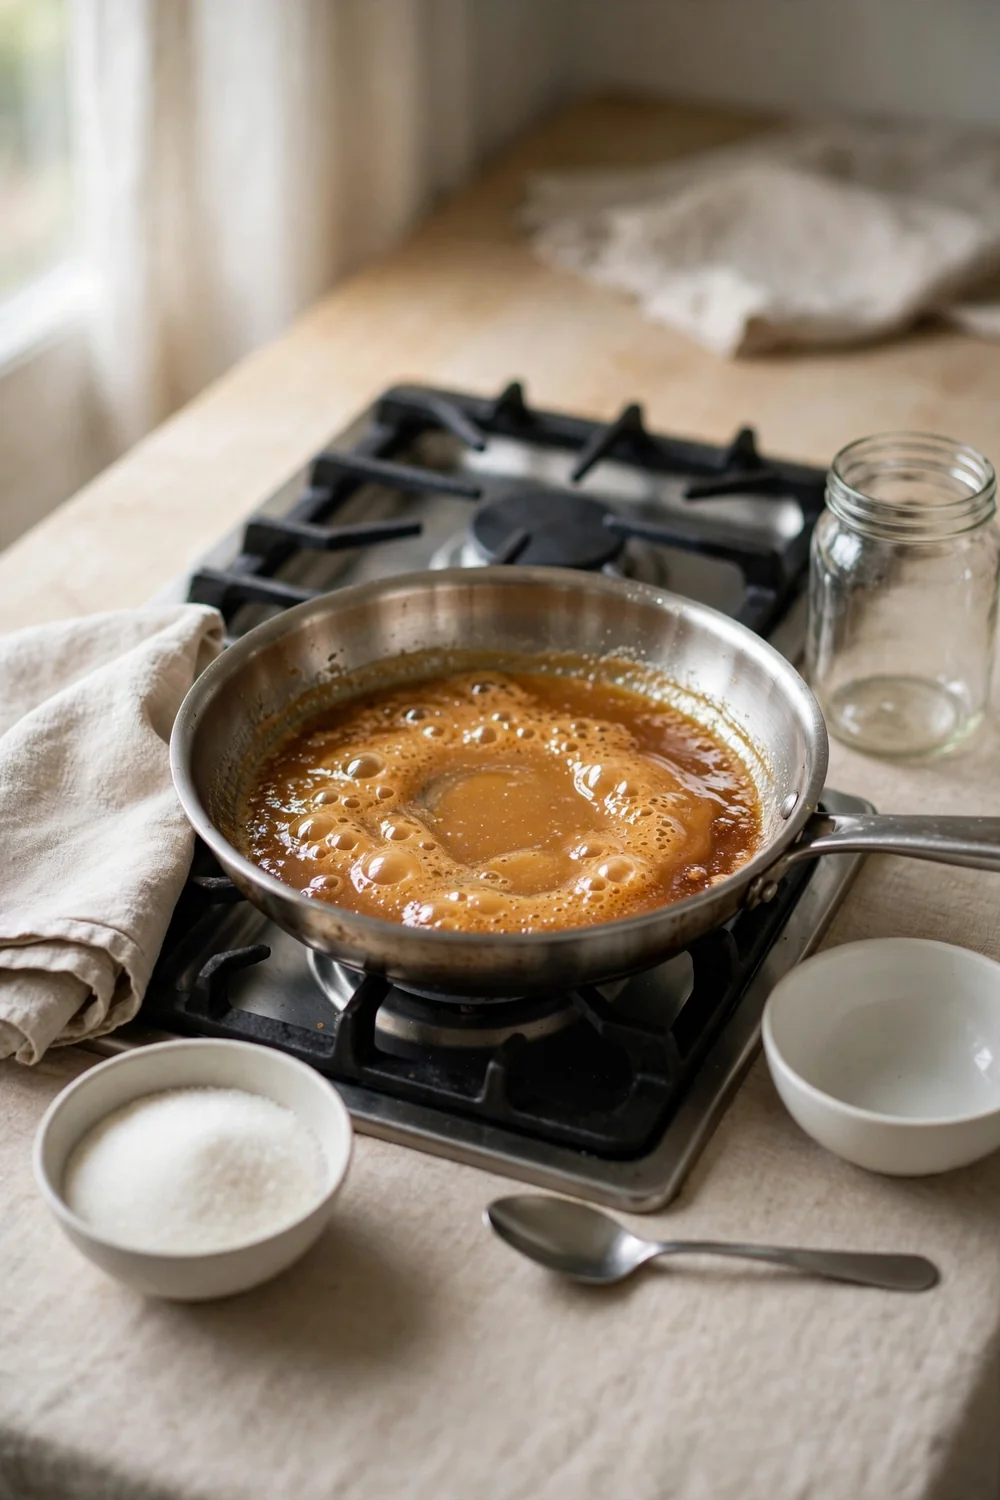
Common Mistake: Most cooks stir the sugar to help it melt faster. The spoon drags solid grains through the liquid, and each grain can start a crystal chain. Stirring feels helpful, yet it is the fastest route to a gritty pan.
The Fix: Leave the spoon in the drawer and swirl the pan gently instead. Swirling moves the melt without dragging grains through it. Keep the motion slow, and let the heat do the real work.
A still melt looks idle, but the sugar is dissolving quietly from the bottom up. Gentle swirling evens out hot spots without seeding crystals into the liquid. Give the pan time, watch the color shift, and trust that calm handling keeps the texture silky and smooth.
Add a Little Water
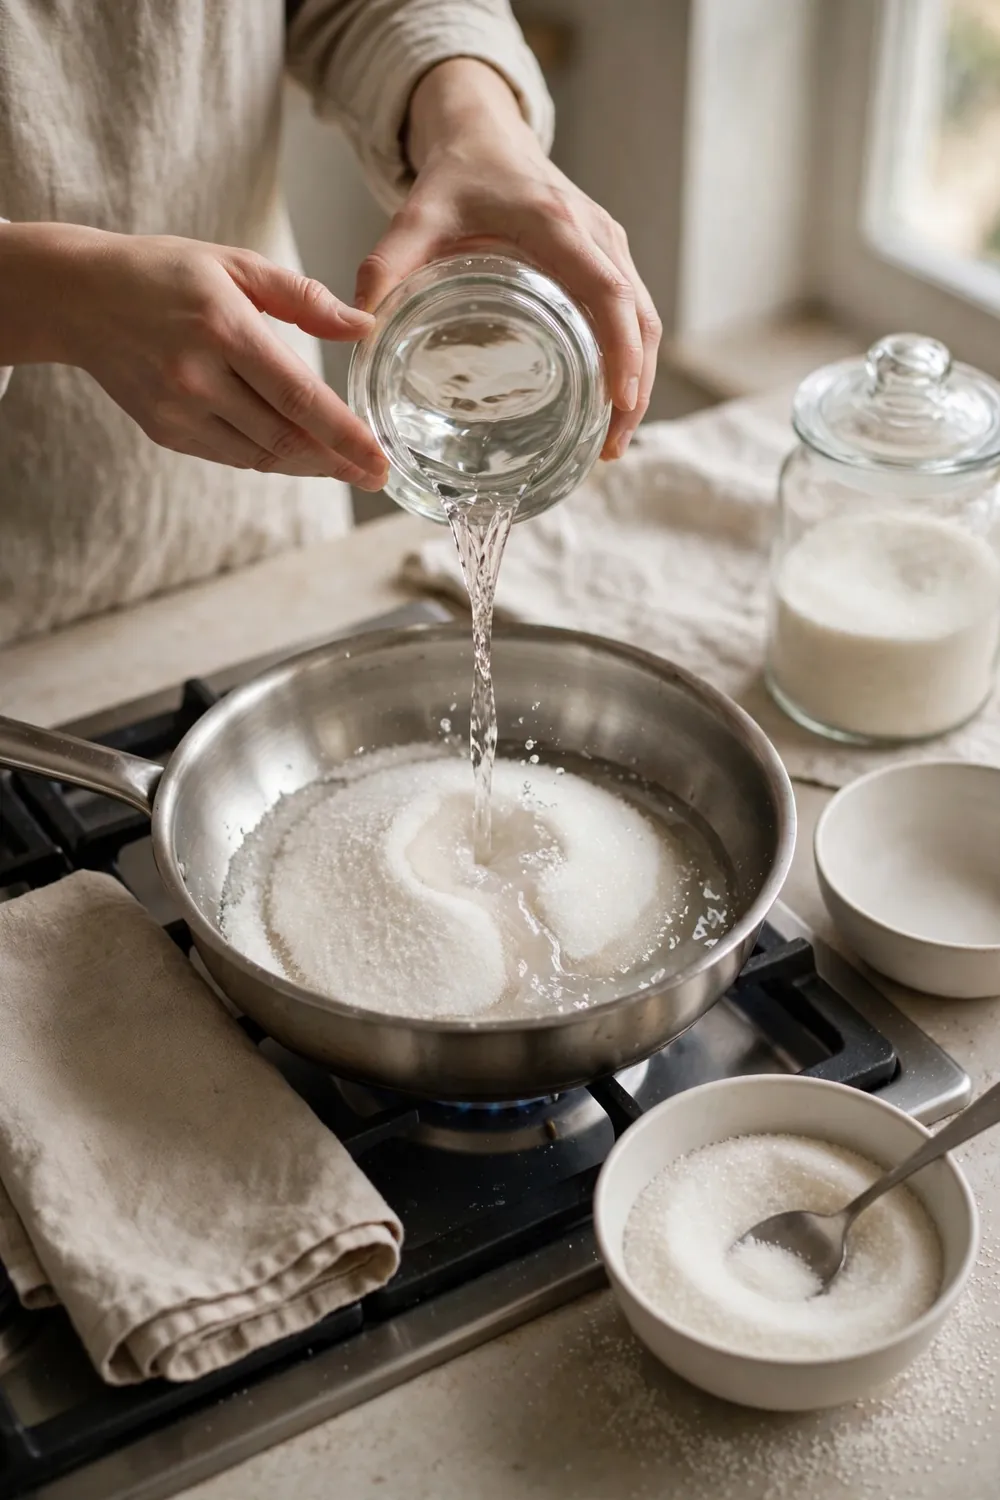
What You Need:
- Sugar: Measure one cup so the melt stays even and predictable.
- Water: Add two tablespoons to help the grains dissolve before they color.
- Heavy pan: A thick base spreads heat evenly and stops scorching.
- Lid: Cover the pan briefly so steam washes crystals off the walls.
Water gives the sugar room to dissolve before the heat builds, so fewer solid grains survive to seed crystals. A dry melt heats unevenly, and the hot spots scorch while the cool spots stay grainy. Start damp, keep the flame low, and let the liquid turn clear before the color deepens.
Brush the Sides
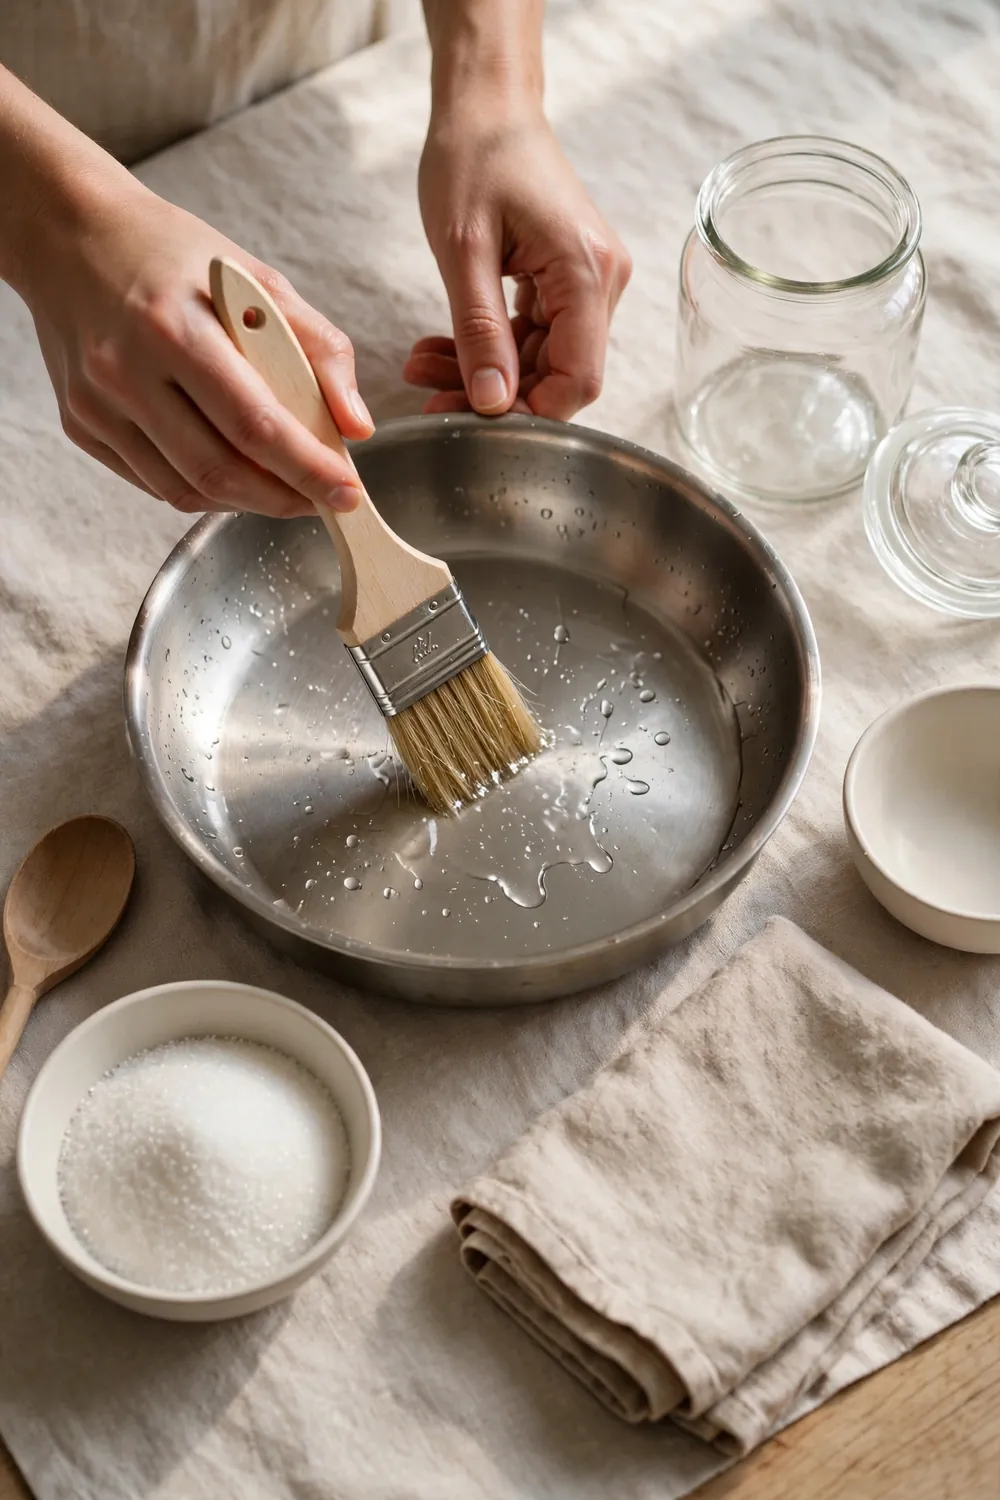
Before: Sugar splashes up the pan walls as the melt bubbles, and those splashes dry into tiny crystals. Left alone, the crystals creep back down and seed the whole batch. The surface turns cloudy, then gritty, even when the center still looks fine.
After: A quick brush with water dissolves those wall crystals before they can spread. The melt stays clear, pours smoothly, and holds a glossy shine. One careful pass protects the whole batch from a gritty finish.
Dip a clean pastry brush in water and sweep the walls just above the melt line. Work gently, since extra drips thin the caramel and cool the pan. One pass is enough, and the steam from the brush helps too. Check the walls once, then leave the pan alone.
Cover the Pan
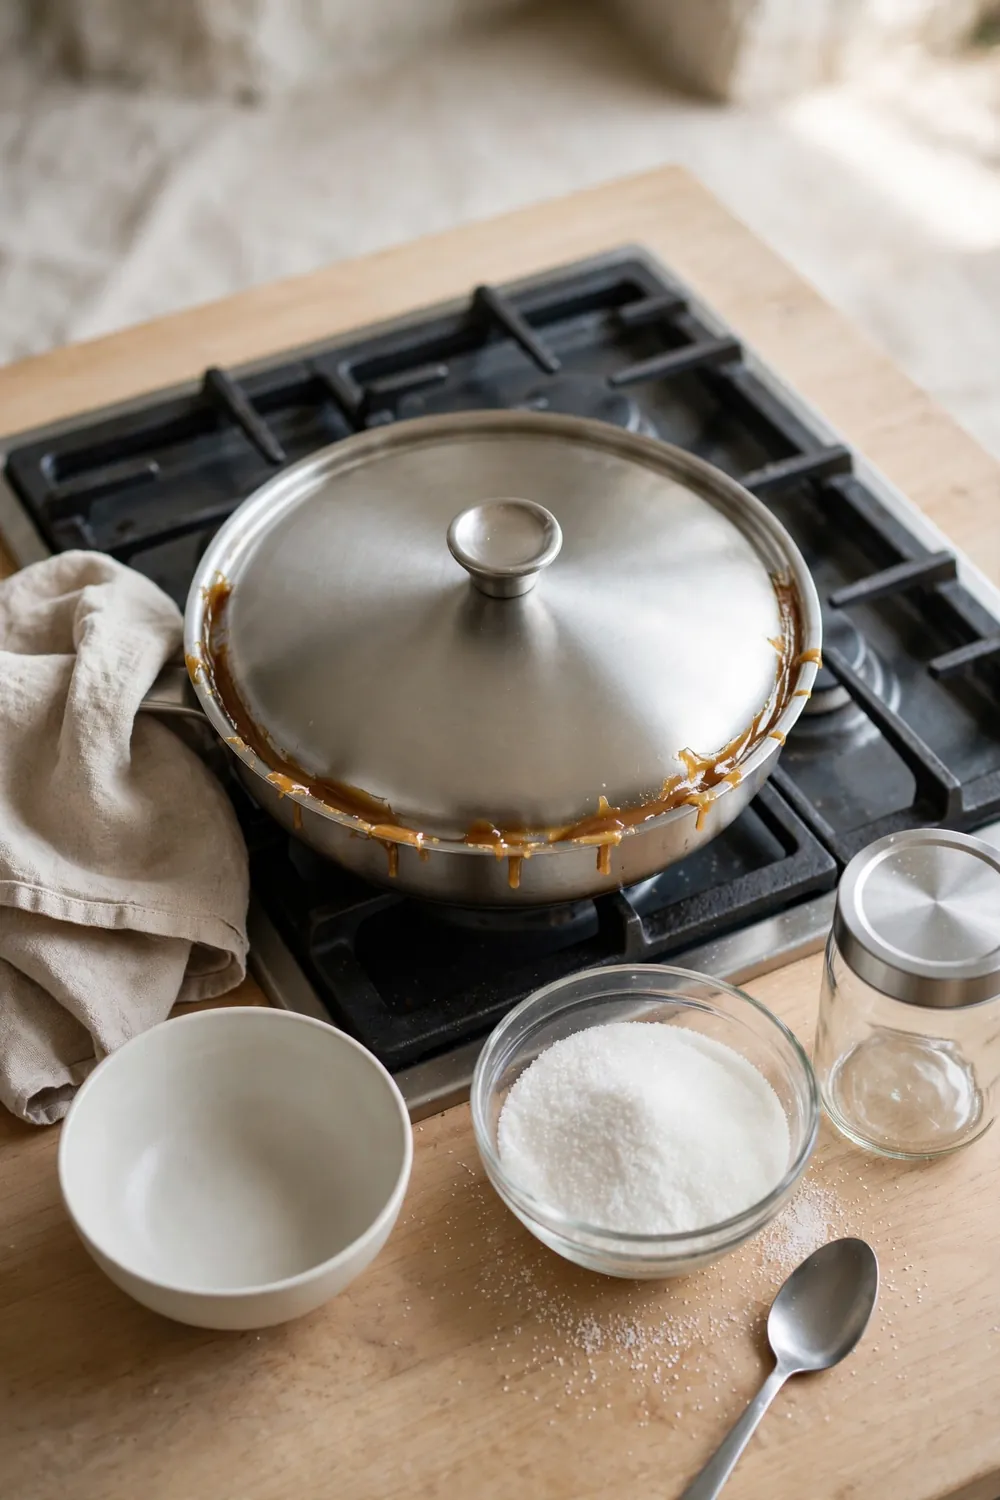
Do This:
- Set the lid on the pan for the first minute of cooking.
- Let the trapped steam soften crystals on the walls.
- Lift the lid once the sugar has melted and the walls look clear.
Avoid This:
- Do not leave the lid on until the caramel darkens.
- Do not lift the lid every few seconds to peek.
- Do not use a lid that drips dirty water back into the pan.
Steam is a quiet helper, since it washes the pan walls without any stirring at all. The lid traps just enough moisture to dissolve stray grains before they seed the melt. Use it early, then remove it and watch the color. A brief cover at the start saves the batch from grit.
Use Corn Syrup
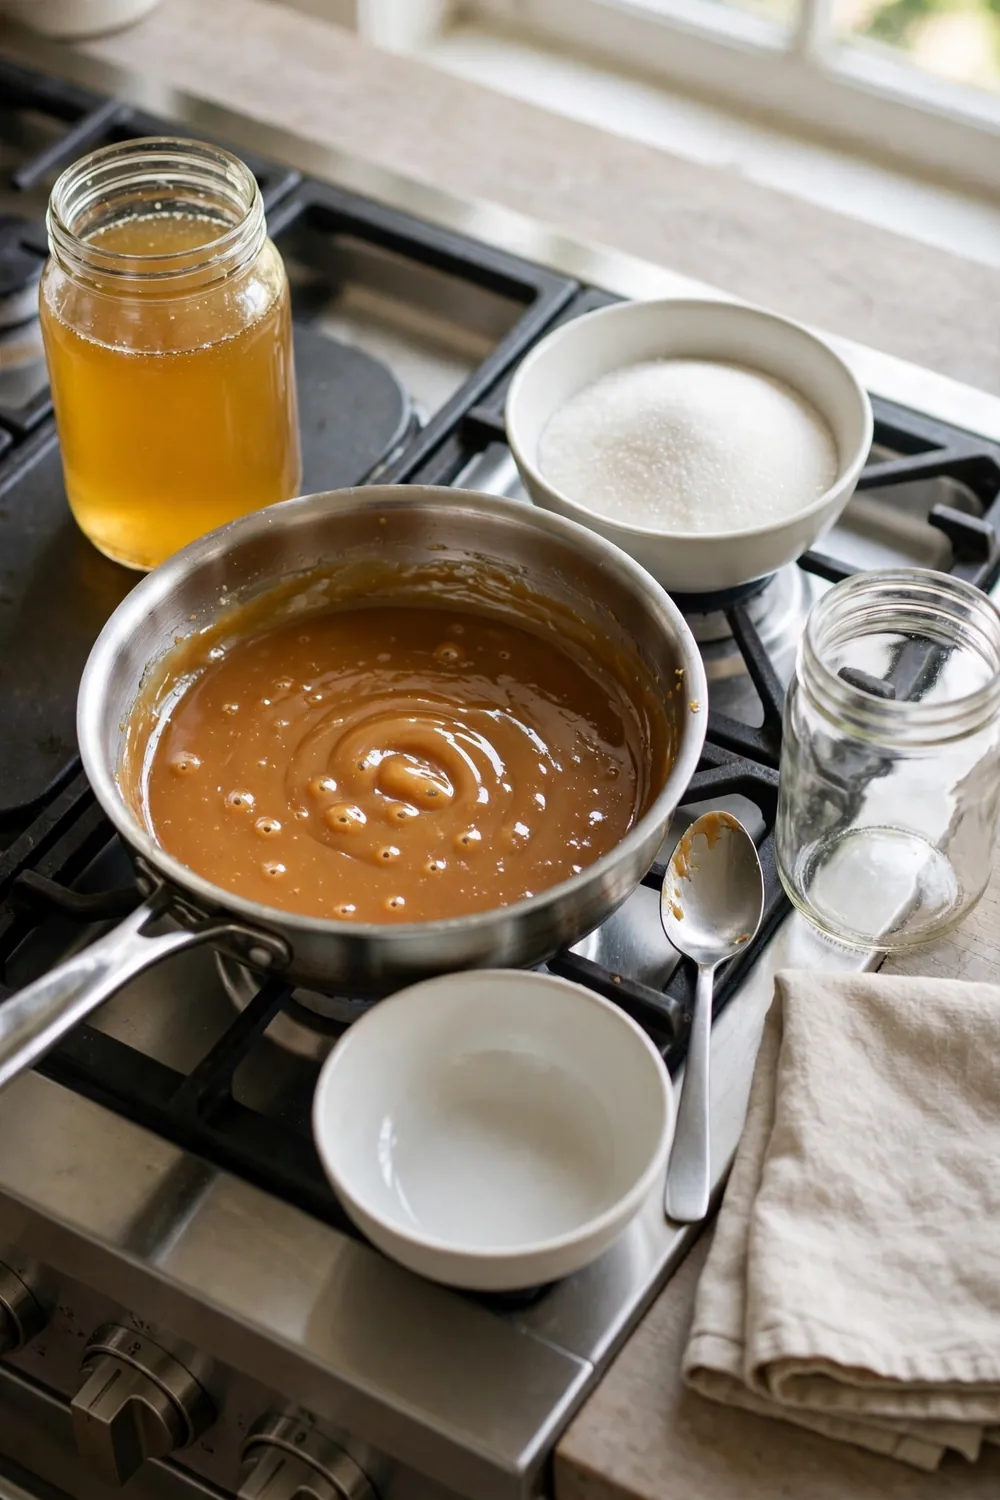
Amount: One tablespoon per cup of sugar
Difficulty: Easy
Best For: Beginners and large batches
Result: Smooth melt with fewer crystals
Corn syrup breaks up the crystal pattern, since its different sugars refuse to line up neatly with the rest. That interference stops a single grain from starting a chain reaction across the pan. Add it with the sugar at the start, and keep the dose small so the flavor stays clean.
Test One Batch
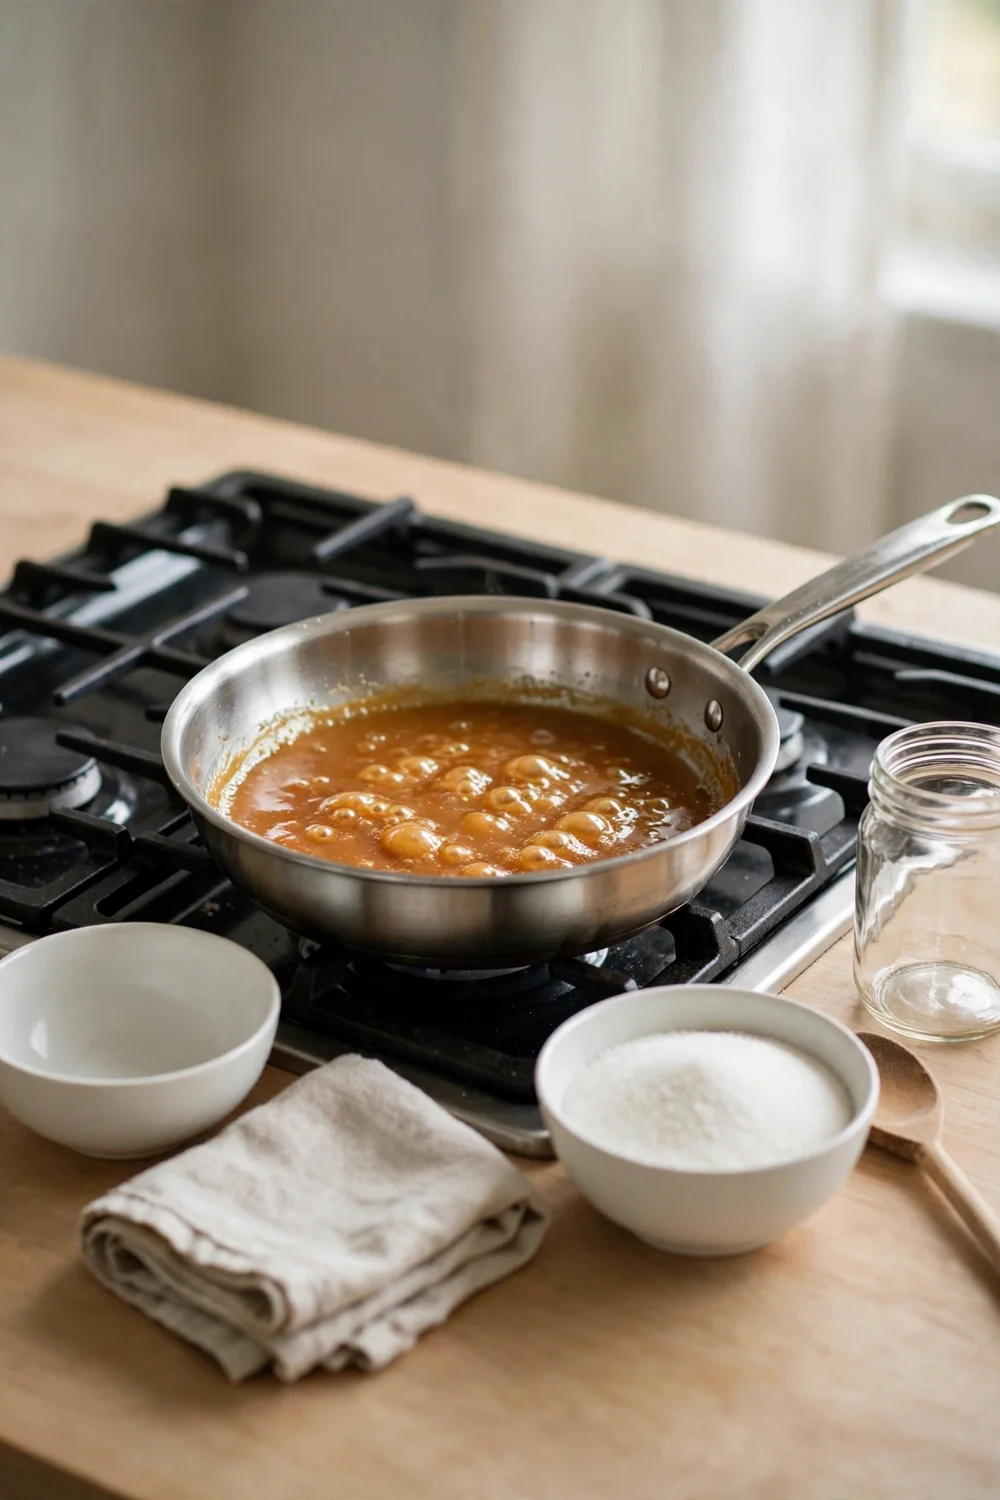
A small test batch costs little and teaches a lot, since it reveals how your pan, stove, and sugar behave together. Cook a half cup first, watch how fast it colors, and note whether any grain appears. The test shows which fix matters most for your kitchen.
If the test turns grainy, adjust one thing at a time, such as lower heat, cleaner tools, or more water. Changing everything at once hides the real cause and wastes good sugar. Once the small batch pours smooth, scale up with confidence and repeat the same steps.
Common Mistakes to Avoid
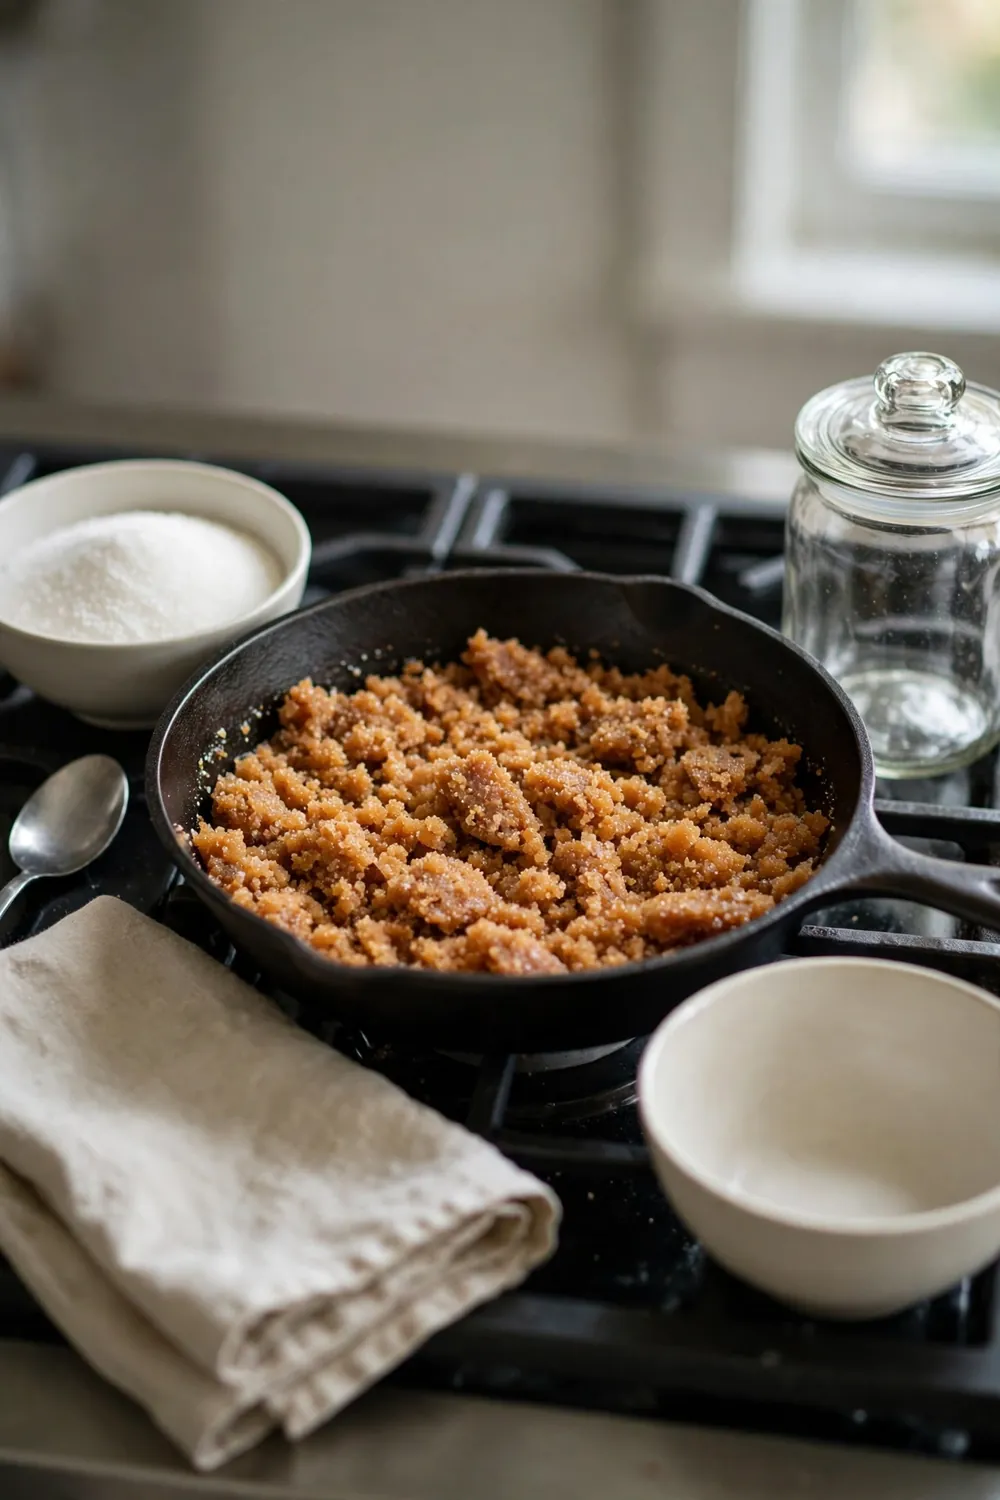
Most grainy batches trace back to a few repeatable habits, not bad sugar or bad luck. Fix one habit at a time, starting with the one you catch yourself doing most. The list below covers the slips I see most often in home kitchens.
- Do not stir the melt once the sugar starts dissolving, since the spoon seeds crystals.
- Do not cook on high heat to save time, since fast heat scorches and hardens the batch.
- Do not skip the brush or the lid, since wall crystals creep back into the melt.
- Do not double the batch before a small test turns out smooth.
What Smooth Caramel Looks Like
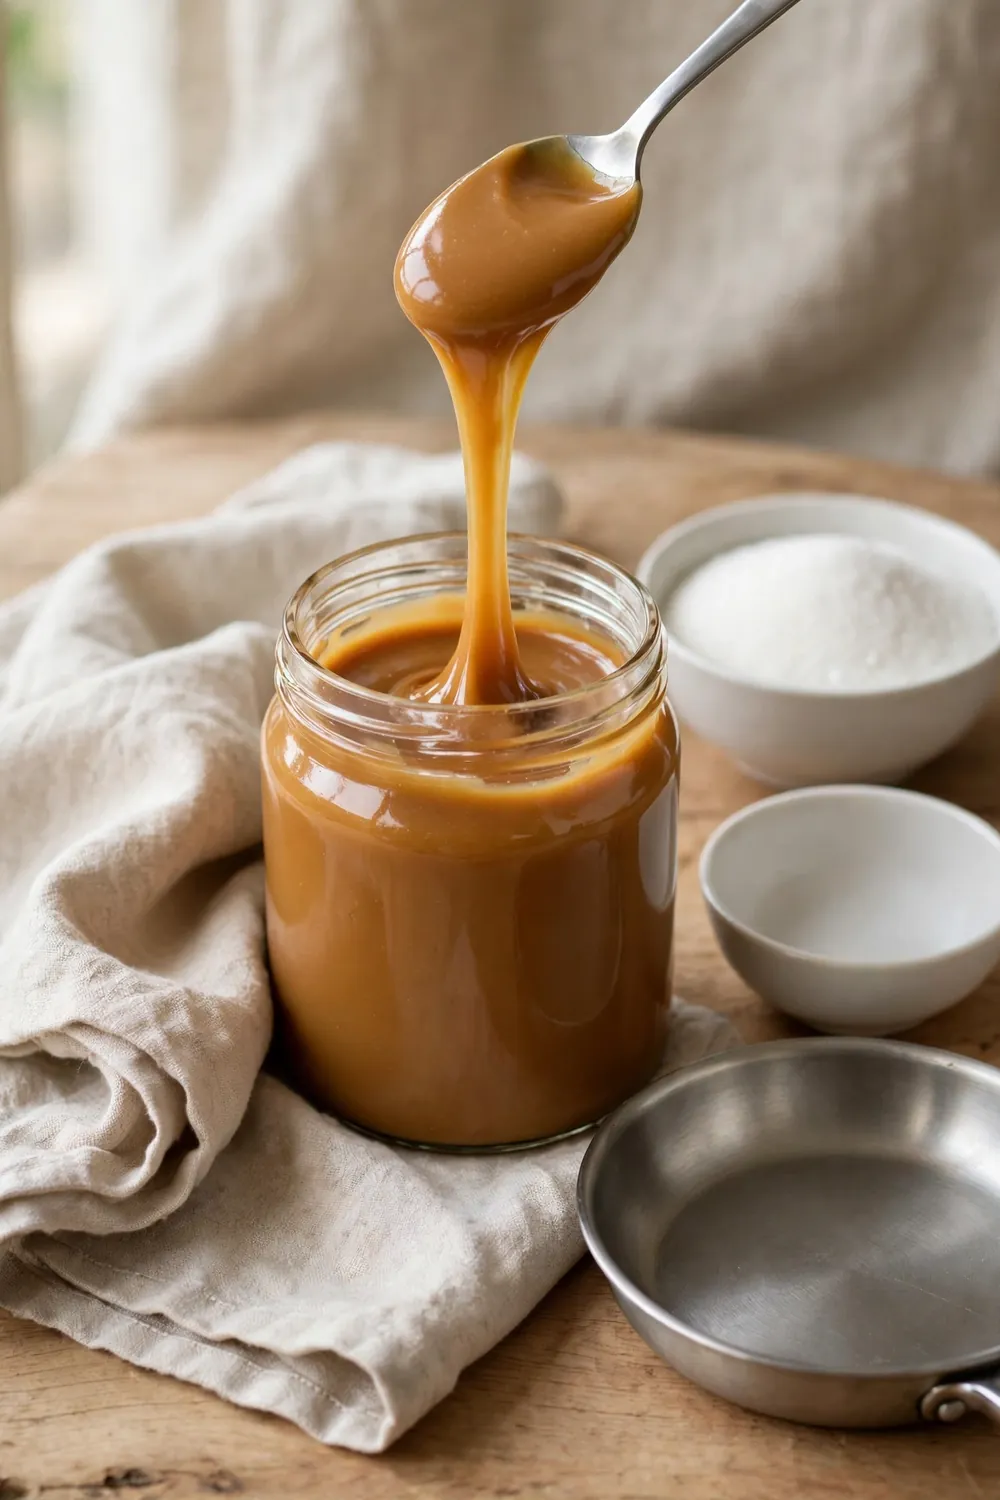
Quick Tip: Judge the batch by shine and flow, not by color alone. A good melt pours in a slow glossy ribbon and leaves the spoon clean. Serve it fresh, since even smooth caramel firms as it cools.
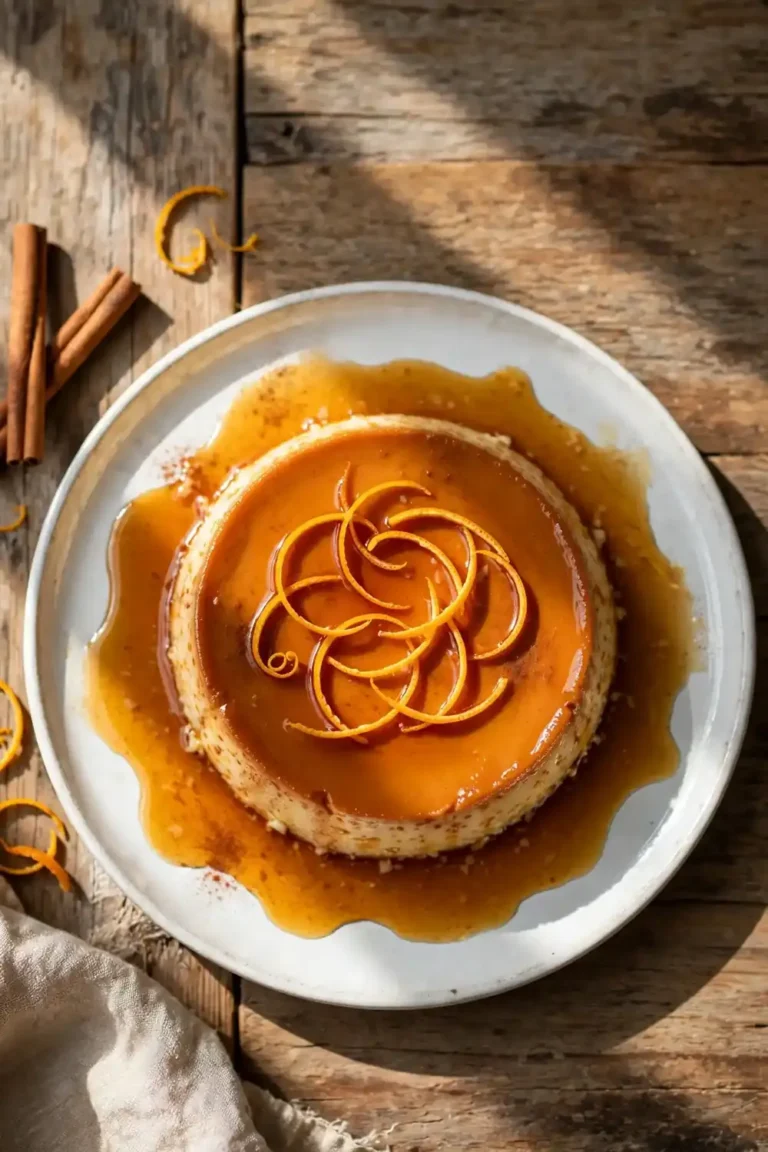
Smooth caramel shows an even amber color with a glassy surface and no grainy flecks. It coats the back of a spoon, pours slowly, and holds its shine on the plate. The flavor stays mild and buttery, with no burnt edge. When the pour looks clean, the batch is ready.
Conclusion
In short, crystallized caramel comes from stray crystals, fast heat, and restless stirring. Now you know each fix, from clean tools to a covered pan. Match the method to the moment, and the next batch can surprise you.
Low heat, a clean pan, and no stirring keep the melt smooth. Pick the method that fits your plan, and let one change prove itself first. Small steps build a reliable routine.
Swirl slow, brush the sides, and watch the color. Your next batch can stay smooth and ready to serve. If your cake also turns out dry, read our guide on dry crumbly cake for moist, soft cake at home.
2 Comments