Why Is My Buttercream Grainy? Easy Fix Guide
If grainy buttercream keeps ruining your cakes, you are not alone. Many home bakers beat butter and sugar, only to find a gritty texture on the tongue. The fix is simple once you know the cause. This guide shows each step in plain words, so your next batch turns smooth.
Cold butter, unsifted sugar, and a short beat are the usual culprits behind a gritty bowl. Each one leaves tiny lumps that no quick stir can fix. In my experience, one small change at a time smooths most batches. Sift the sugar, soften the butter, and beat with care.
This guide walks through each cause one by one, then gives simple fixes you can use today. Follow the steps, and your buttercream can stay smooth, silky, and ready to spread. And if your chocolate also seizes, see why seized chocolate happens and how to fix it with simple kitchen tricks.
Why Buttercream Turns Grainy
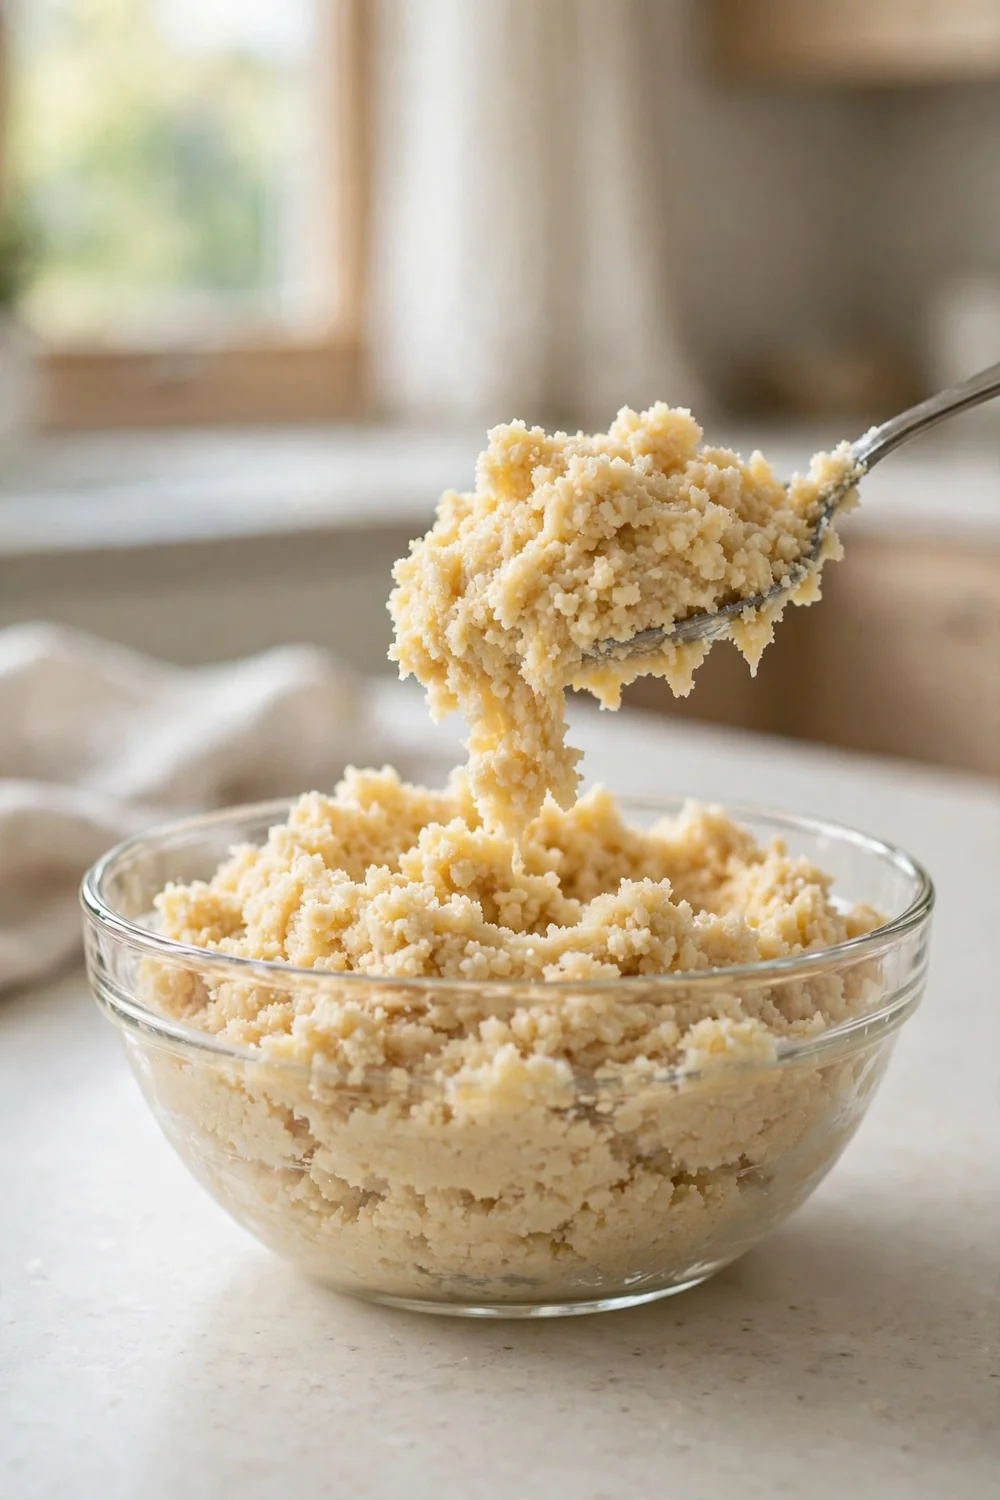
Buttercream turns gritty when sugar lumps survive the beat, or when cold butter refuses to blend. Unsifted powdered sugar hides hard bits that stay crunchy in the bowl. Cold butter coats the sugar instead of mixing with it, so the texture stays rough on the tongue.
Once you spot the cause, the fix gets easy. Soften the butter, sift the sugar, and beat the bowl until it turns silky. Watch how the texture changes as you work, since small steps add up fast. A smooth bowl spreads clean and holds a soft swirl.
Use Room Temp Butter
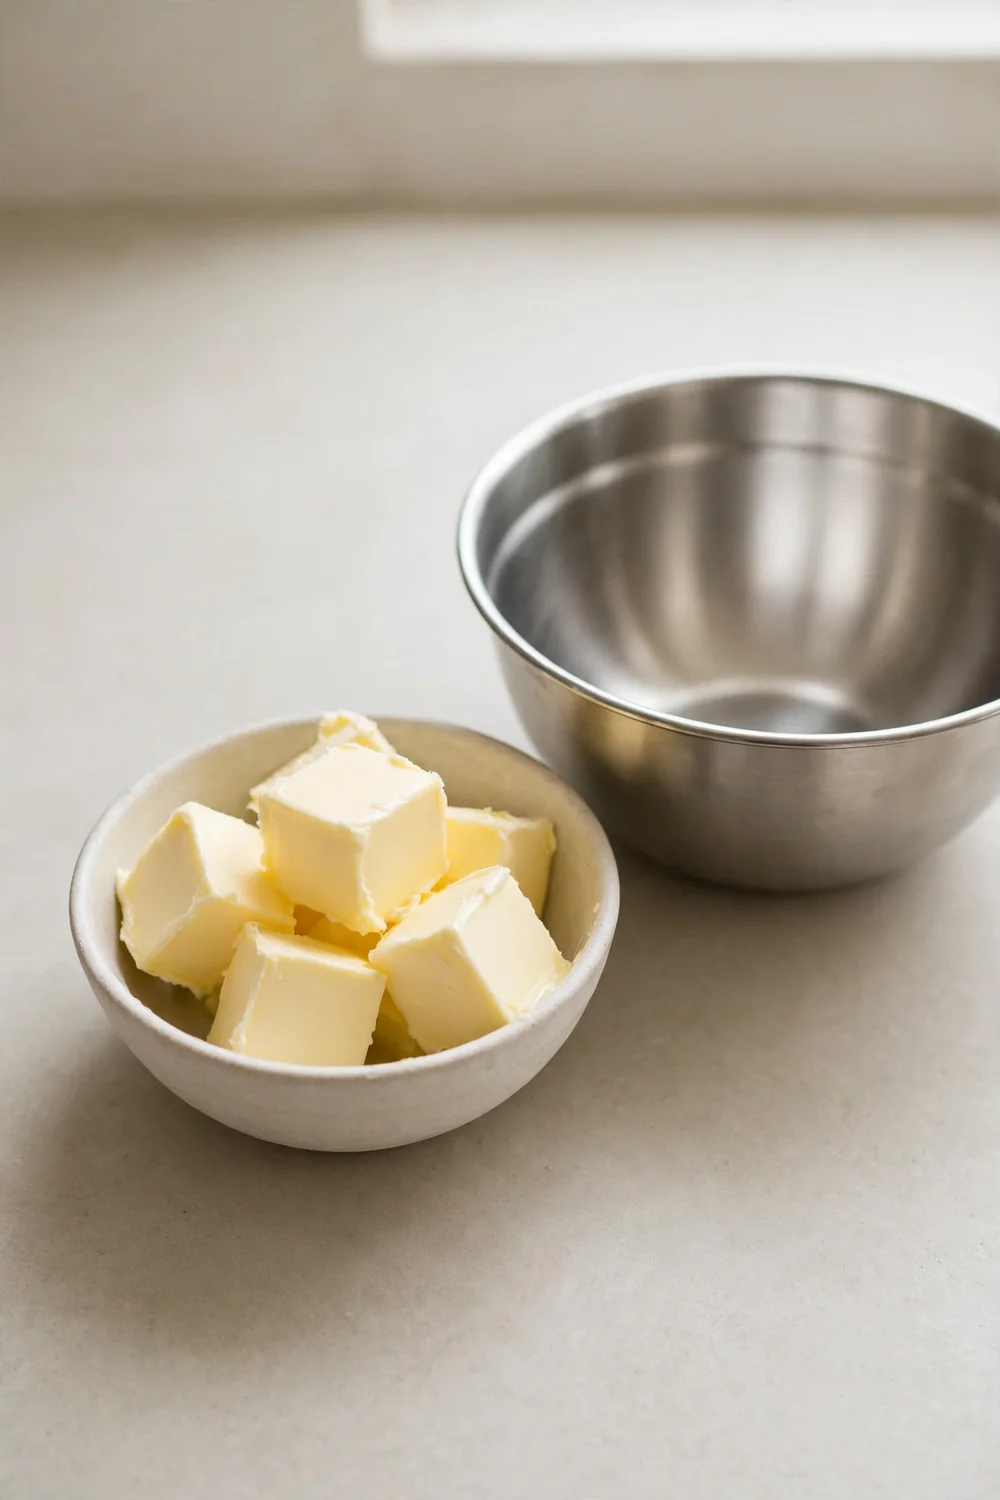
Butter straight from the fridge stays hard and will not blend with sugar. Room temp butter feels cool but dents when pressed, and it beats into a smooth base. Cut it early, let it sit on the counter, and start only when it gives under your finger.
- Cut cold butter into small cubes so it softens evenly without melting.
- Leave the cubes on the counter for thirty minutes until they dent when pressed.
- Press one cube with a finger to check it gives without feeling greasy.
- Beat the softened butter alone for two minutes before adding sugar.
Sift the Powdered Sugar
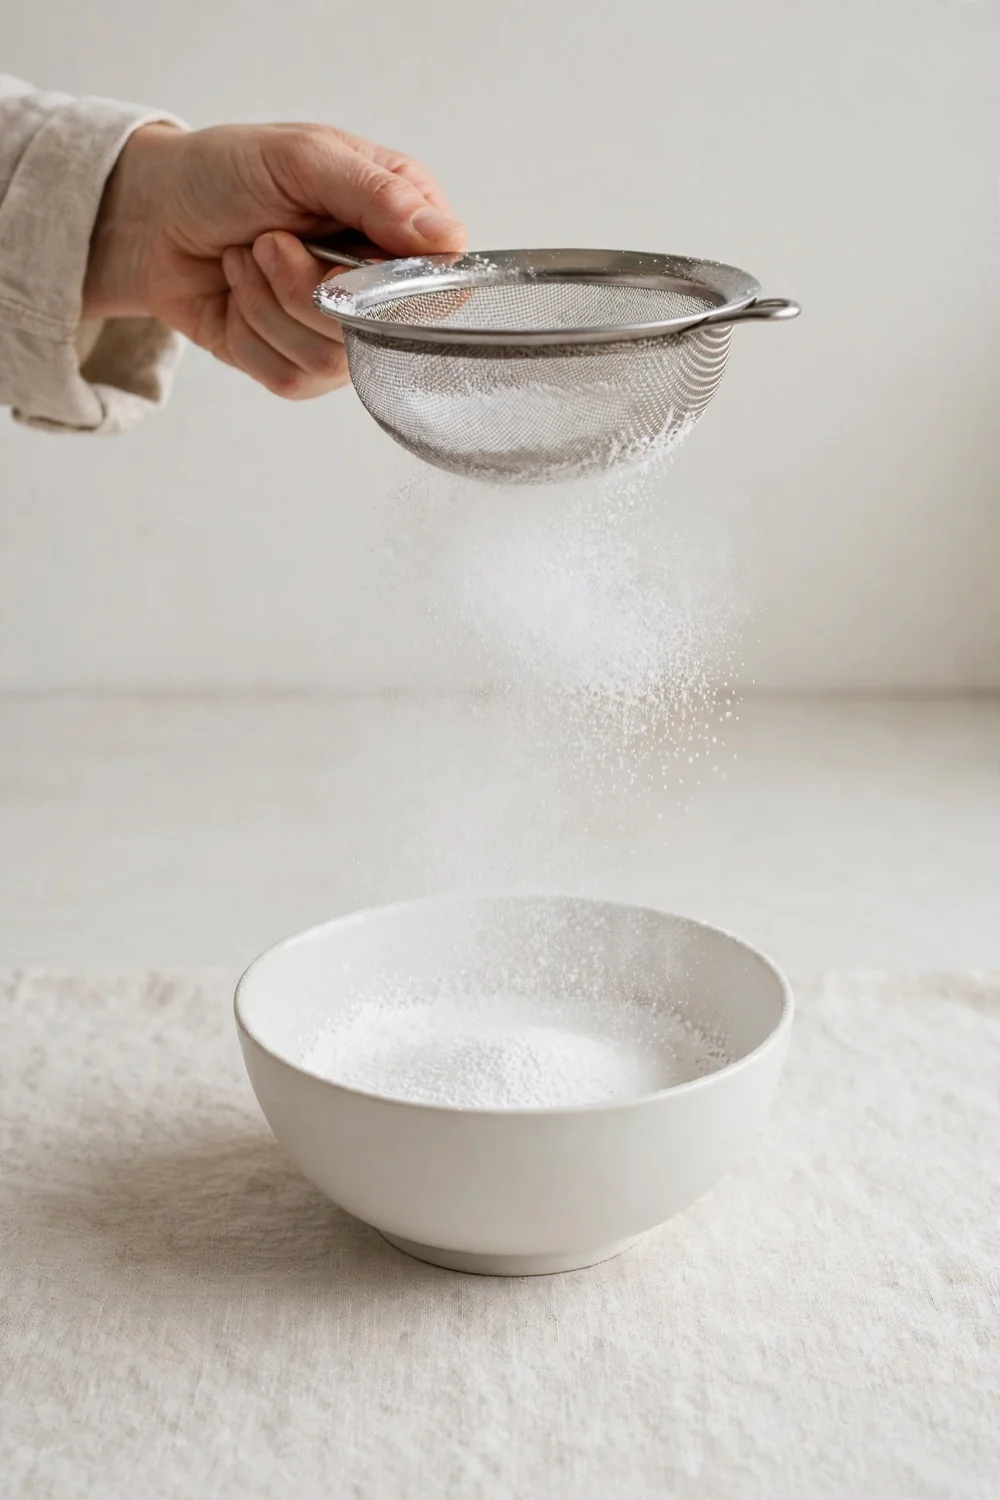
Quick Tip: Sift the powdered sugar before it goes near the butter. A fine mesh sieve breaks the lumps that make a bowl gritty. Sifting takes two minutes and saves the whole batch.
Unsifted sugar hides hard lumps that no beater can break down. Sift into a clean bowl, then add it slowly to the butter. The bowl turns silky instead of sandy. Keep the sieve close, and sift every cup, even when the bag looks perfectly fine.
Add Sugar Slowly
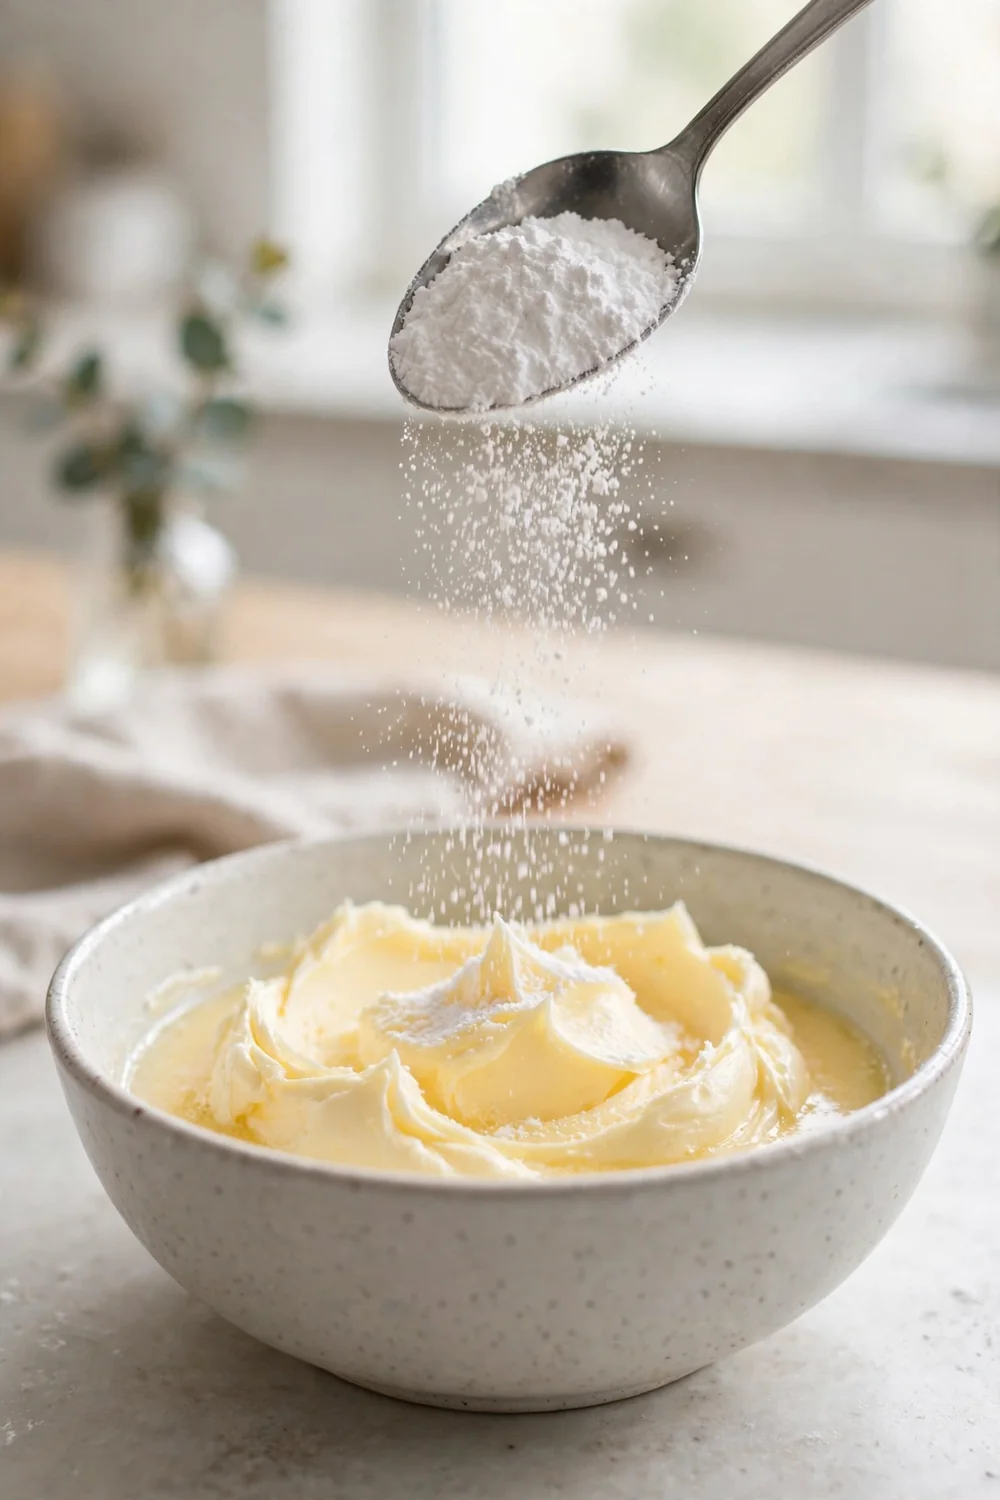
Common Mistake: Most bakers dump in all the sugar at once to save time. The beater cannot break down that much sugar, and lumps survive in the bowl. The frosting then feels sandy no matter how long you beat it.
The Fix: Add the sugar in three or four parts, beating well after each one. Scrape the bowl between additions so no pocket of dry sugar stays hidden. Stop when the bowl turns smooth and holds a soft peak.
Slow additions give the beater time to break down each spoon of sugar. A rushed bowl stays gritty, while a patient bowl turns silky. Watch the texture after each addition, and taste a small bit. The bowl should feel smooth on the tongue, with no crunch at all.
Beat the Butter First
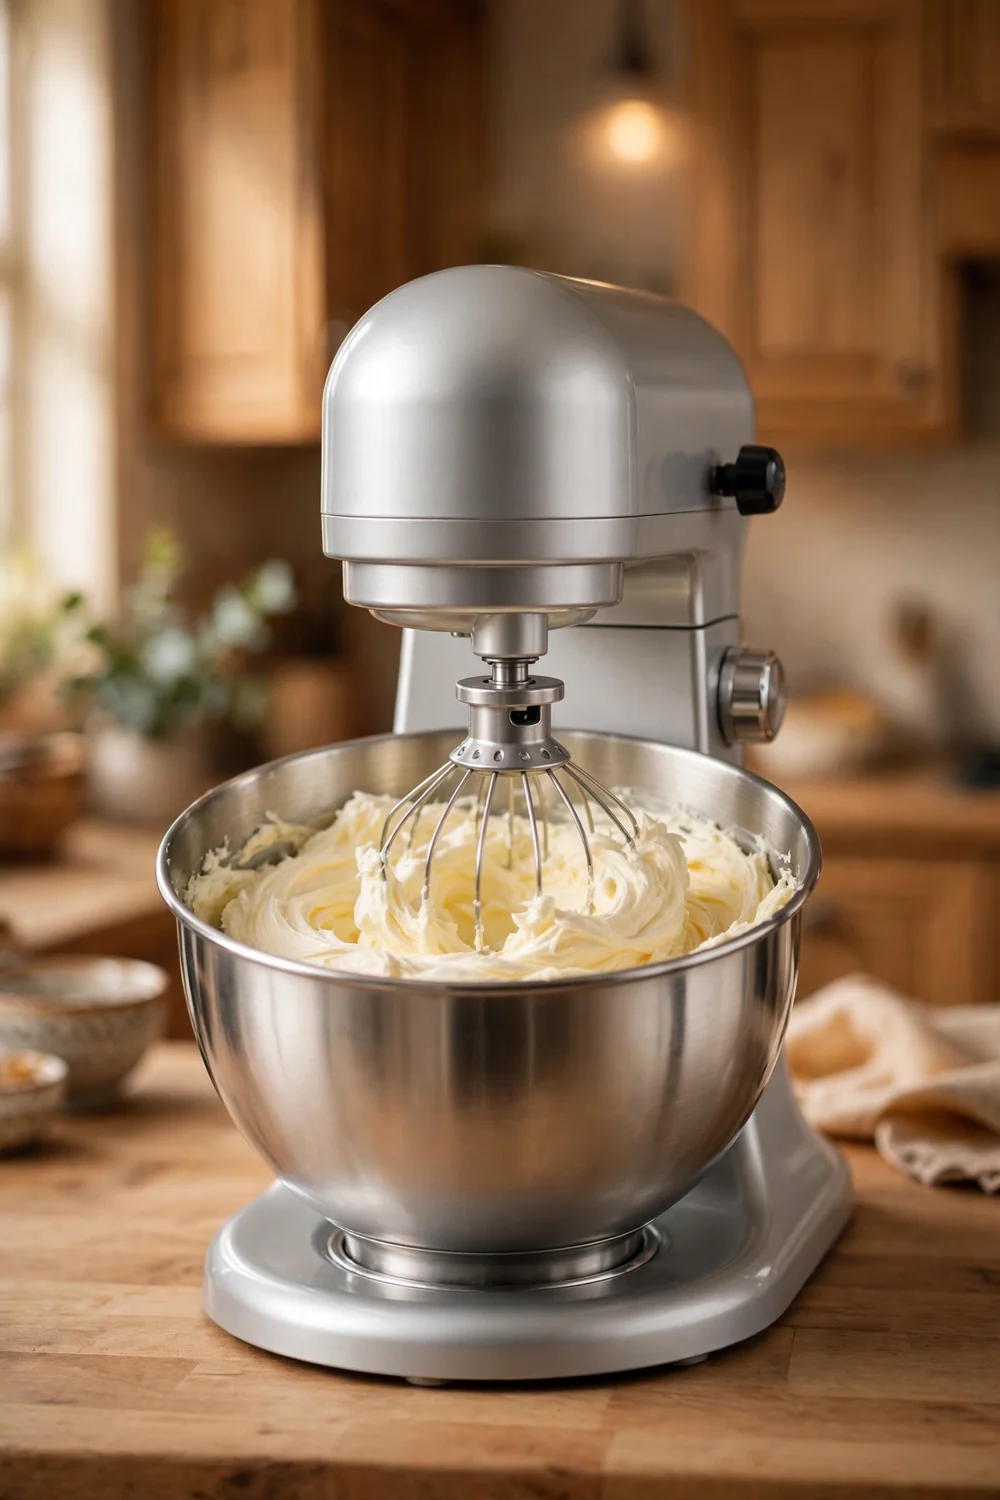
What You Need:
- Soft butter: Beaten alone first, it turns pale and fluffy.
- Sifted powdered sugar: Sifting removes the lumps that cause grit.
- Small splash of cream: Cream loosens a stiff bowl without thinning it.
- Pinch of salt: Salt balances the sweetness and keeps the flavor clean.
Beating the butter alone builds the smooth base that sugar needs. Pale fluffy butter takes in sugar without leaving lumps behind. Skip this step, and the sugar meets hard butter that cannot blend. Two minutes of beating first changes the whole batch for the better.
Add a Little Cream
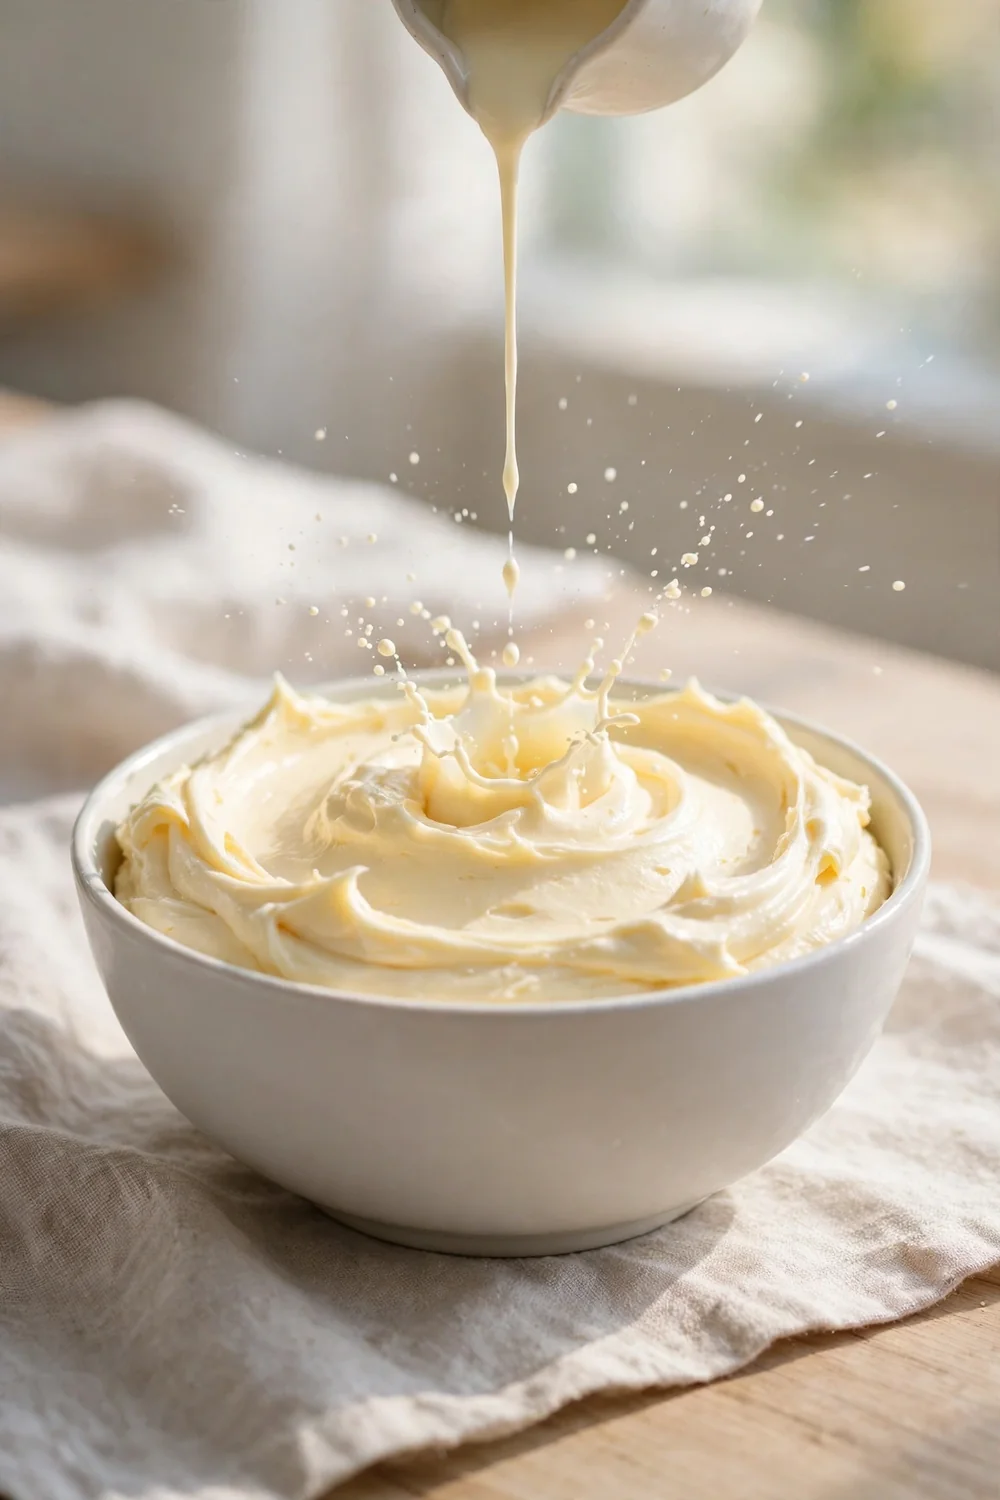
Before: A bowl with no liquid stays stiff and grainy. The sugar sits in hard pockets, and the beater drags through a thick paste. The frosting tears the cake when you try to spread it.
After: One teaspoon of cream at a time loosens the bowl into a silky spread. The sugar dissolves, the texture turns smooth, and the frosting glides over the cake. The swirl holds its shape without feeling heavy.
Cream works better than milk here, since its fat keeps the bowl rich while it softens. Add it slowly and beat after each spoon, watching the texture change. Stop the moment the frosting falls slowly from the spoon. Too much cream thins the bowl, so a light hand wins.
Beat It Longer
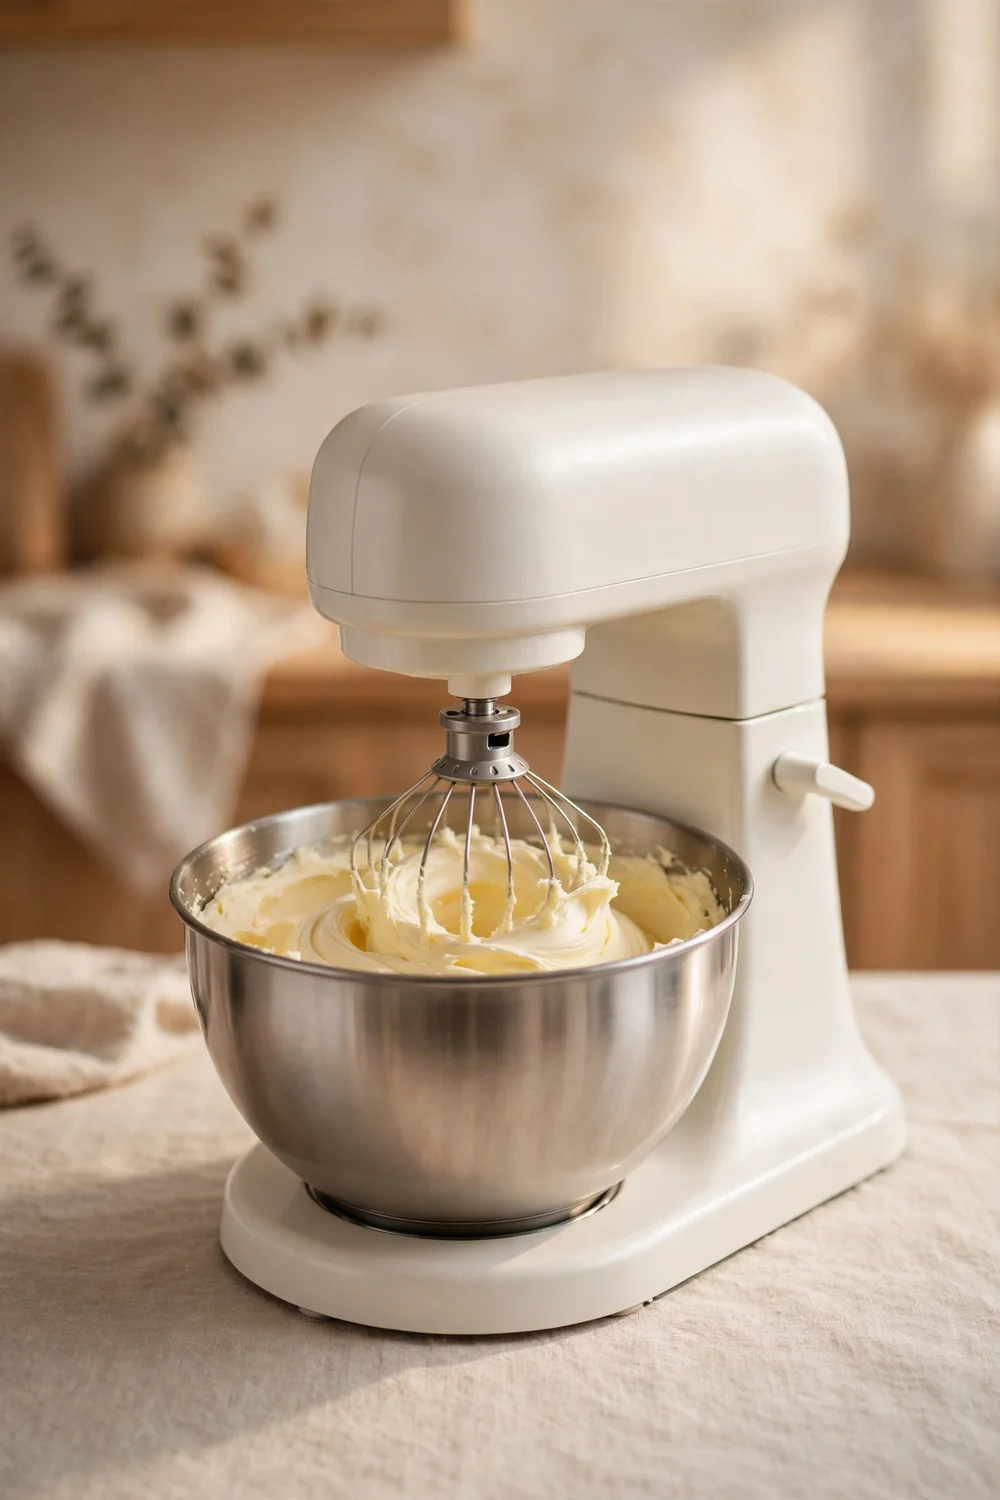
Do This:
- Beat on medium speed for three to four minutes after the sugar goes in.
- Scrape the bowl and beater halfway through the beat.
- Taste a small bit to check for grit before you stop.
Avoid This:
- Do not beat on high speed the whole time, since it warms the butter.
- Do not stop at the first smooth look, since grit hides in pockets.
- Do not add more sugar to fix grit, since it makes the bowl sweeter, not smoother.
Time on the beater dissolves the last sugar lumps and builds a silky texture. A short beat leaves grit that no later step can fix. Keep the speed steady, scrape the bowl, and trust the clock. The bowl should feel smooth on the tongue when the time is up.
Fix Grainy Texture
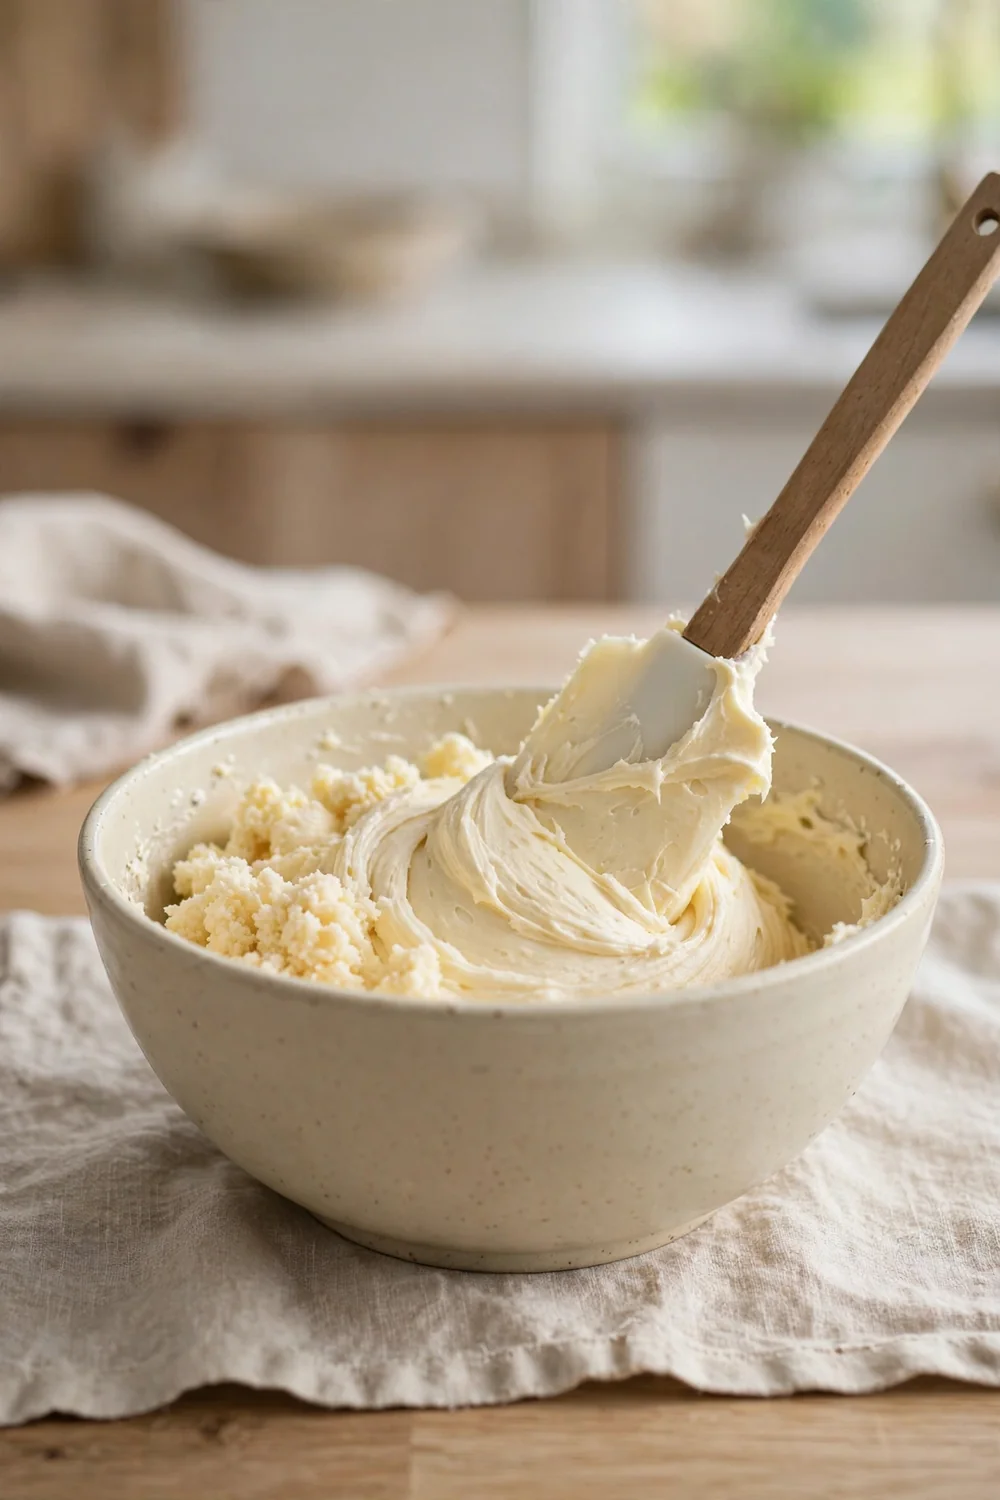
Time Needed: 10 minutes
Difficulty: Easy
Cost: Low
Best For: Gritty finished buttercream
Result: Smooth silky bowl
A gritty finished bowl is not lost. Warm the bowl gently over a pot of simmering water for a few seconds, then beat it again. The warmth melts the sugar lumps, and the beat smooths the bowl. Do not overheat it, since melted butter turns the bowl thin and greasy.
Test One Batch
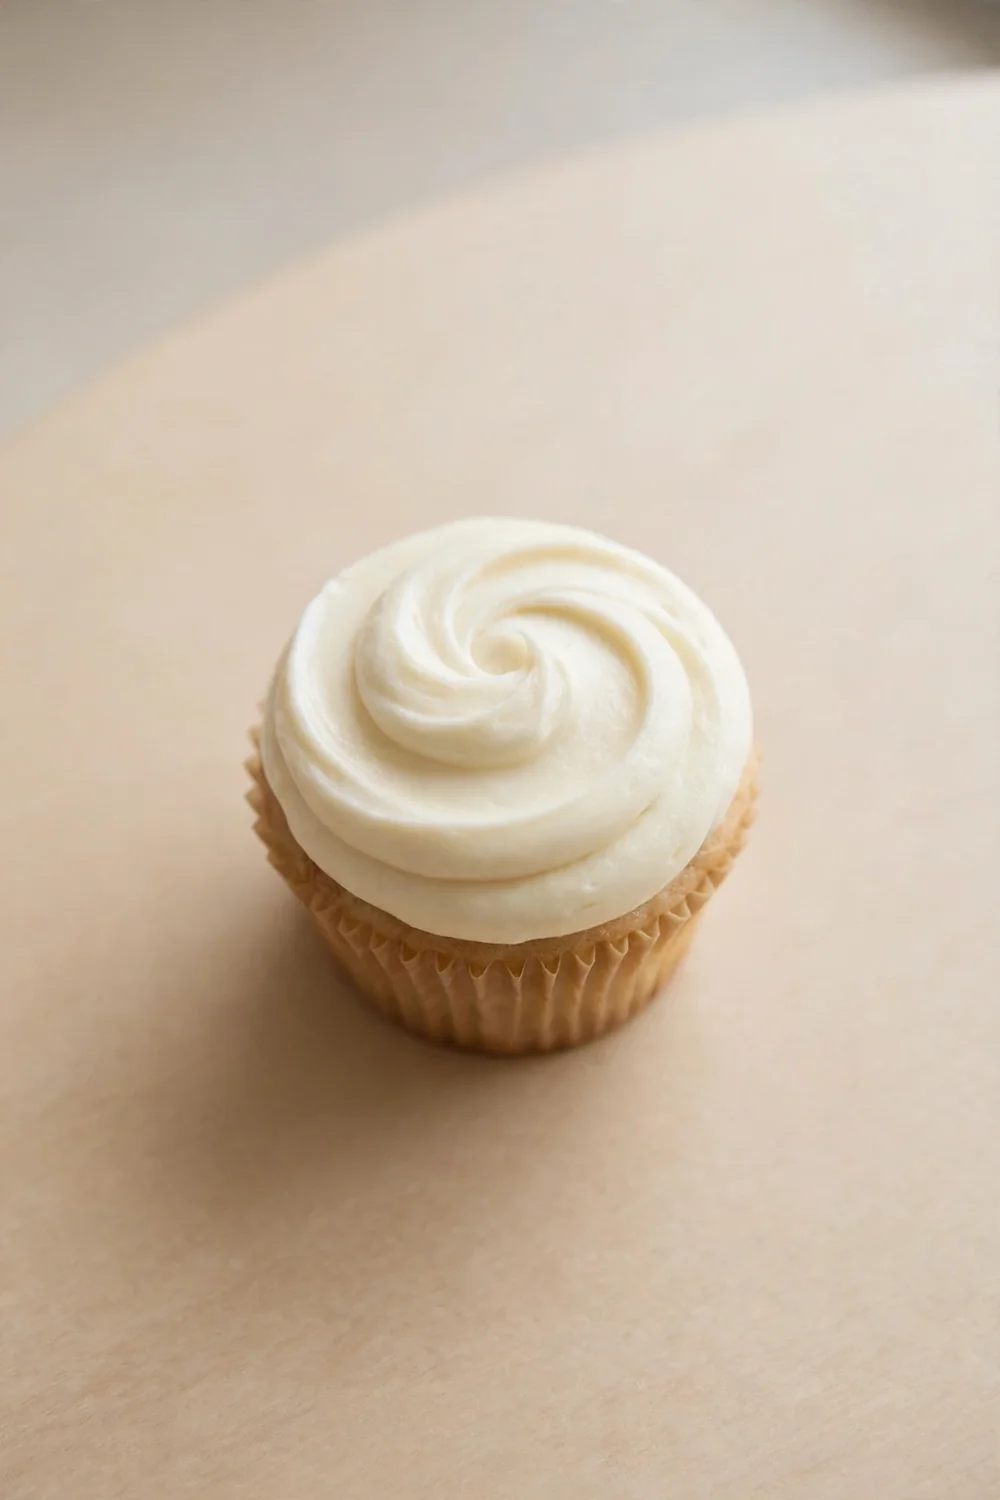
Frost one cupcake first before you frost the whole cake. A single test swirl shows whether the bowl feels smooth or gritty on the tongue. If it crunches, beat the bowl longer and test again. This small check saves the cake from a sandy finish.
In my experience, the test swirl catches grit that a spoon never shows. The frosting may look smooth in the bowl yet crunch on a real cupcake. A quick test tells you the truth before the cake is covered. Fix the bowl first, then frost with confidence.
Common Mistakes to Avoid
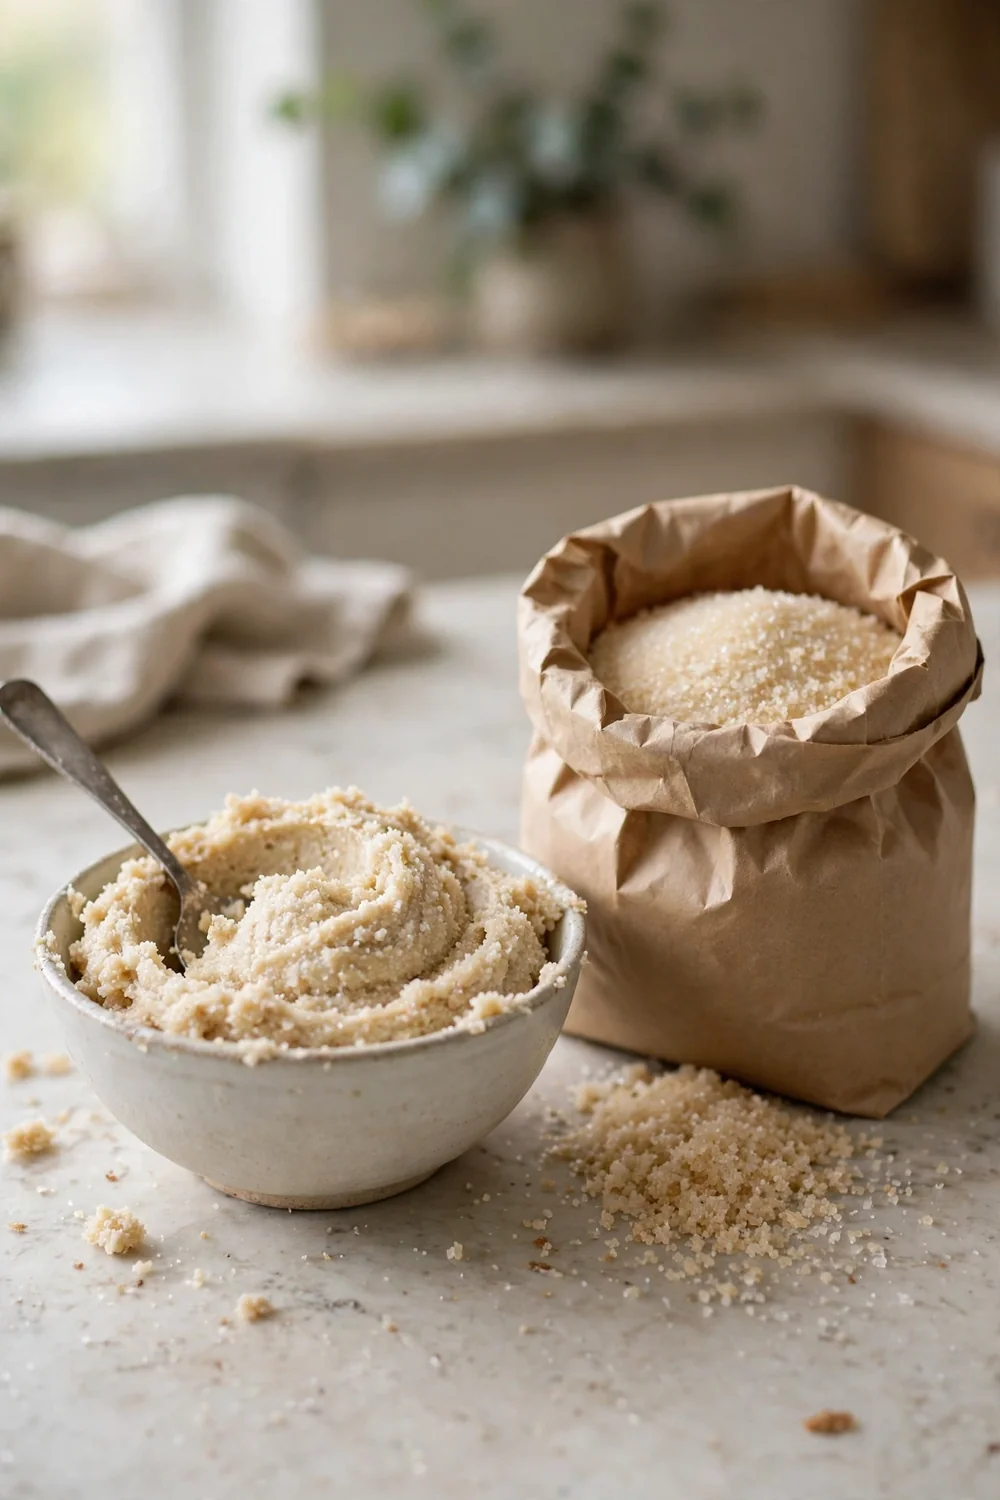
Most gritty bowls come from a few repeatable habits, not bad luck. Fix one habit at a time, starting with sifted sugar and soft butter. The list below covers the mistakes I see most often in home kitchens. Each one is easy to spot once you know it.
- Do not use cold butter, since hard butter cannot blend with sugar.
- Do not skip the sifting step, since lumps survive in the bowl.
- Do not dump in all the sugar at once, since the beater cannot break it down.
- Do not stop beating early, since grit hides in an underbeaten bowl.
What Smooth Buttercream Looks Like
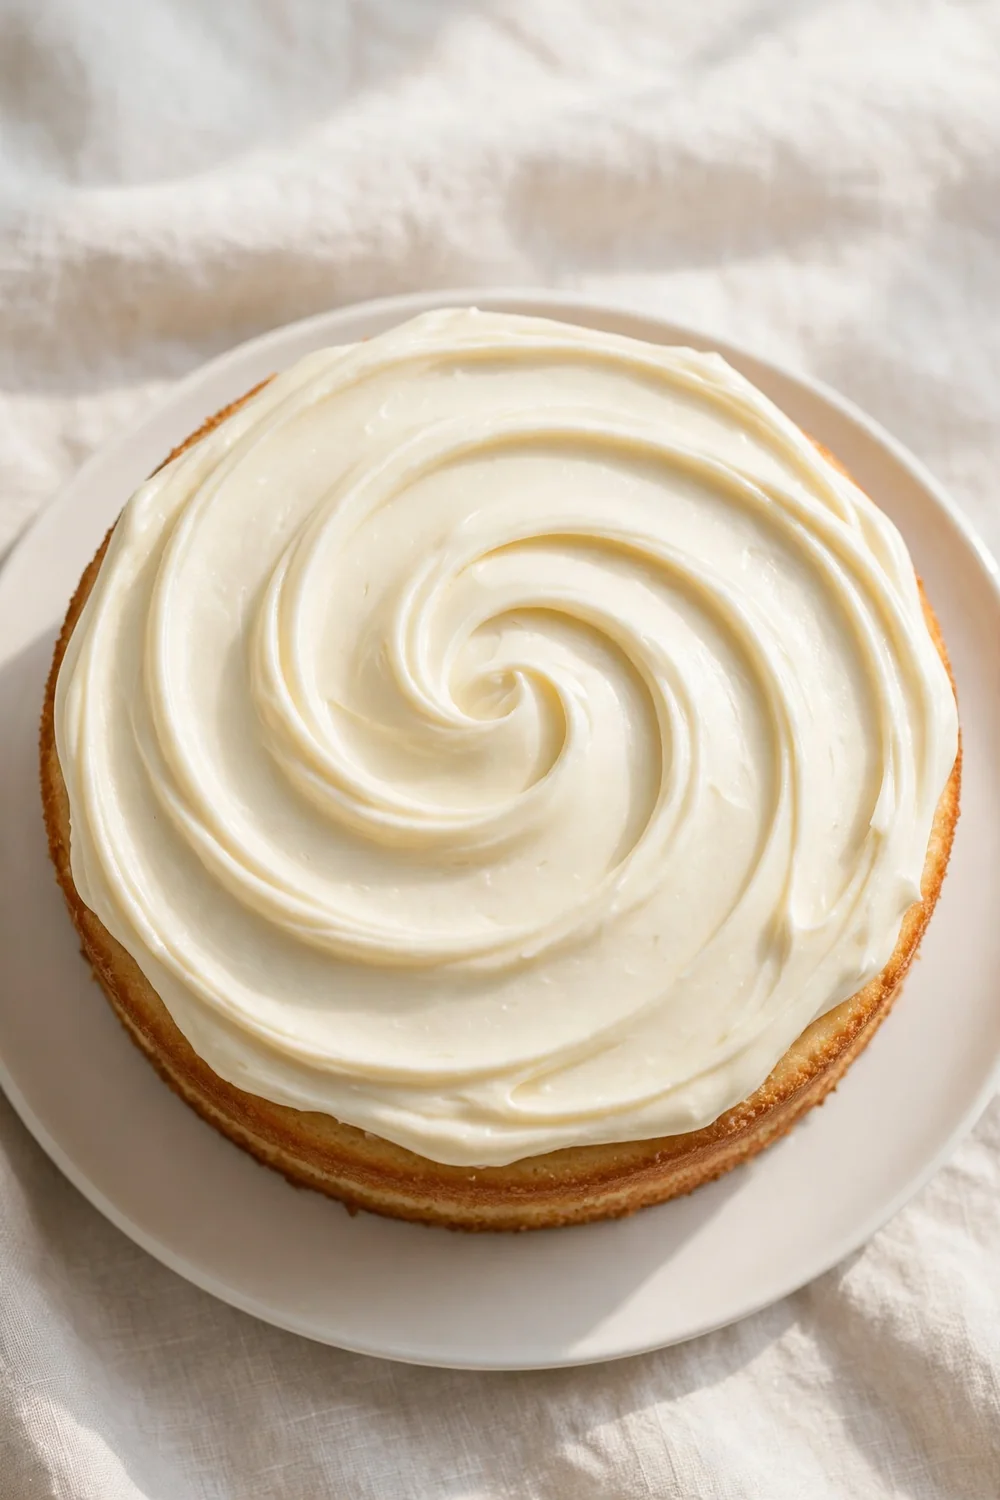
Quick Tip: Good buttercream holds a peak when you lift the beater. It spreads in a clean layer and keeps a soft edge on the cake. If the swirl feels sandy, beat the bowl longer and test again.
Smooth buttercream looks pale, silky, and even, with no lumps or grainy streaks. It spreads without tearing the cake and holds a swirl for hours. Each slice shows a clean layer that stays in place. When the bowl looks like this, you know the fixes worked.
Conclusion
In short, grainy buttercream comes from cold butter, unsifted sugar, and a short beat. Fix those three, and each bowl turns silky. Soft butter, sifted sugar, and a longer beat build a frosting that spreads clean.
Start with the simplest fix first, then add the next one. Small changes protect the flavor while the texture improves. Save this guide on Pinterest for your next baking day.
Try the fixes on your next batch, and your cake will hold a smooth swirl from first slice to last. If your frosting also turns thin, read our guide on runny frosting for thick, smooth frosting at home every time.

2 Comments