25 Homemade Pistachio Paste Tips for Silky Results
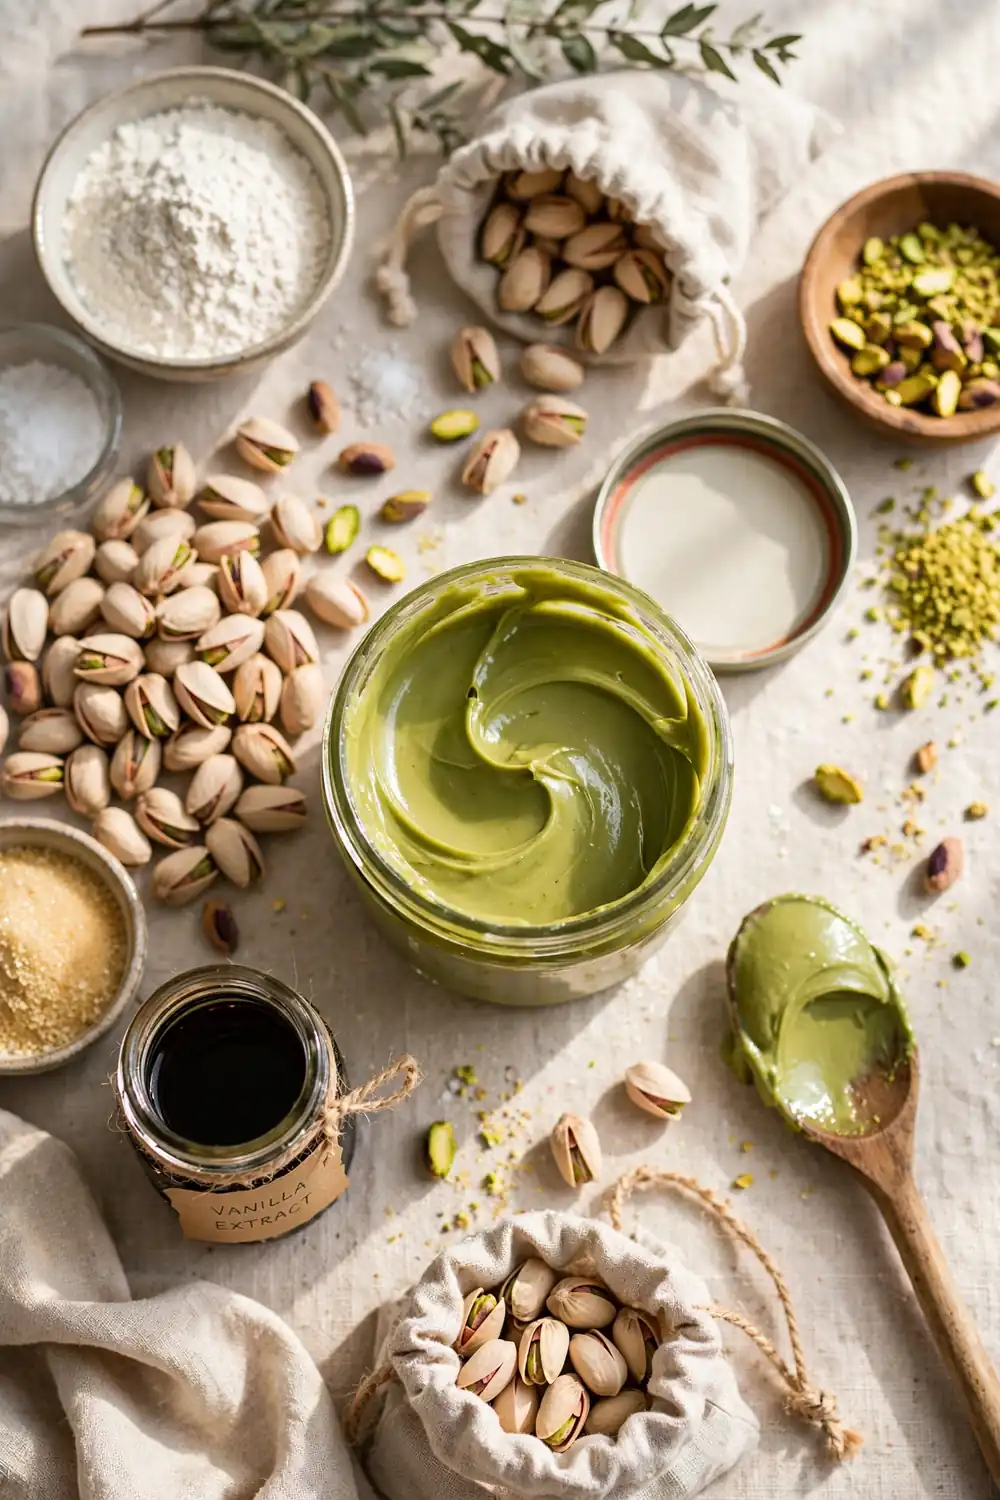
A silky homemade pistachio paste can turn ordinary desserts into bakery level creations with very little effort. Raw pistachios, patience, and the right technique create a smooth green paste that tastes luxurious. In my experience, fresh ground nuts beat store bought versions every single time.
Below you will find twenty five tips that take your paste from gritty to glassy smooth. From blanching tricks to blending schedules, each idea builds real skill you can use again and again. I have tested these methods in my own kitchen with wonderful results every time.
Every tip uses simple tools and clear steps anyone can follow at home. You will learn peeling shortcuts, grinding rhythms, and storage secrets that keep flavor bright for weeks. Whether you bake weekly or just love good ingredients, something here fits your pantry perfectly this week. And for a bright dinner, our 22 lemon herb chicken couscous bowls are perfect.
Blanch and Peel
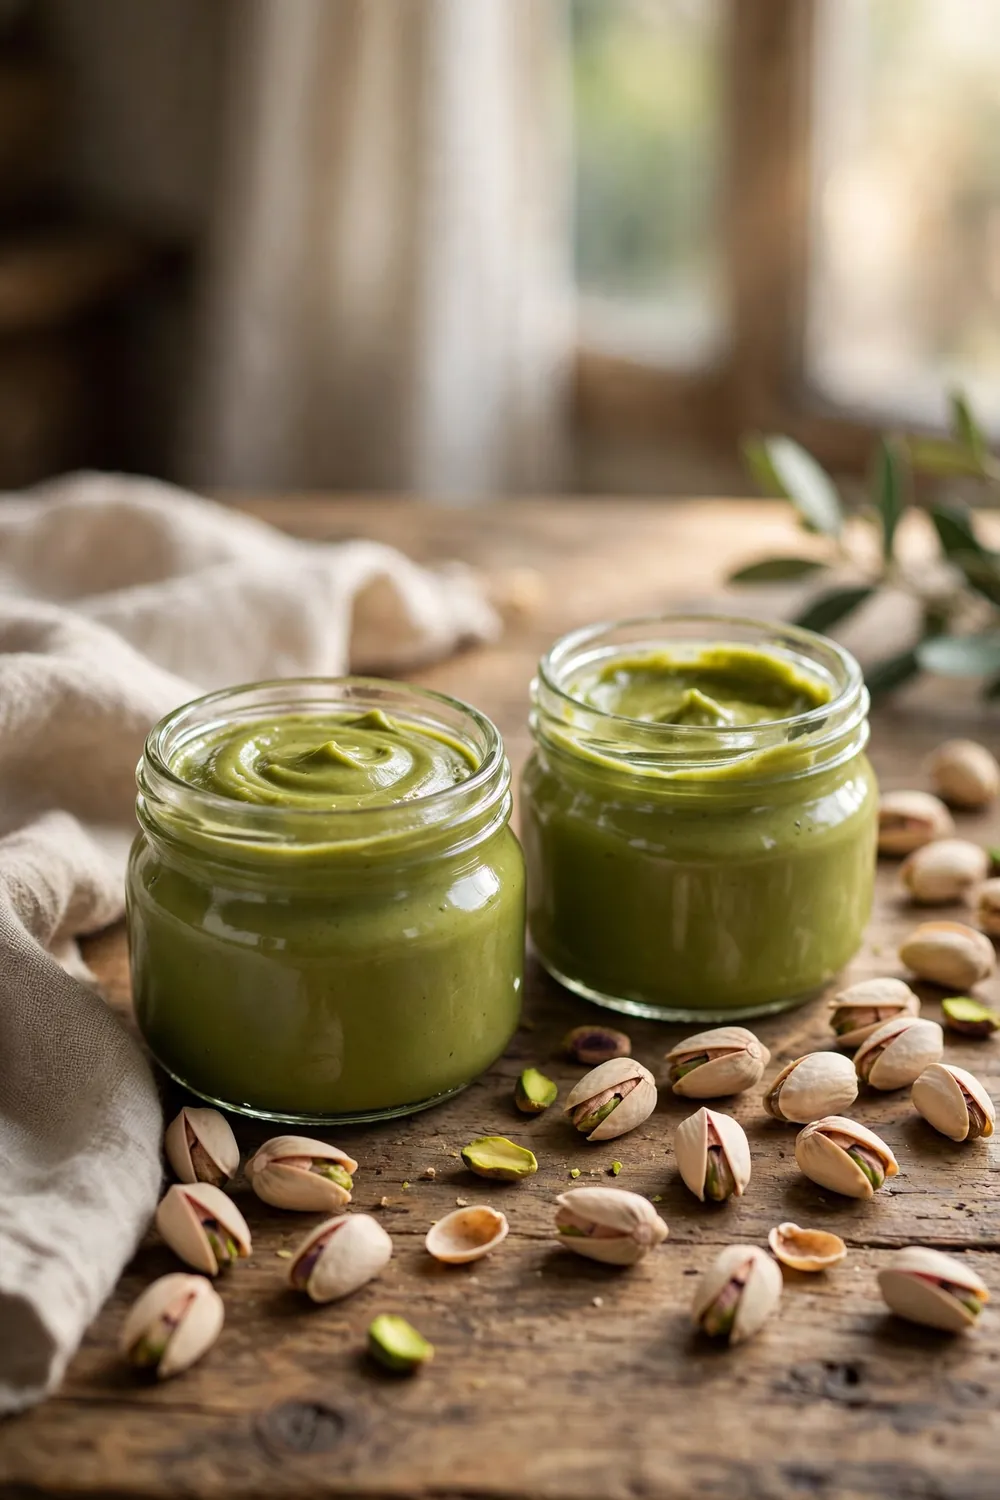
Boiling shelled pistachios for sixty seconds loosens the papery skins that make paste bitter. Drain them fast, then rub the warm nuts in a clean kitchen towel until the skins slip off. The bright green kernels underneath grind into a far smoother paste worth the small effort.
Skinned kernels also blend faster and stay a vivid green instead of turning brown. I have skipped this step before, and the difference in both color and silkiness was obvious. Spend the extra ten minutes, because your final paste will look and taste dramatically better.
Fresh Pistachio Selection
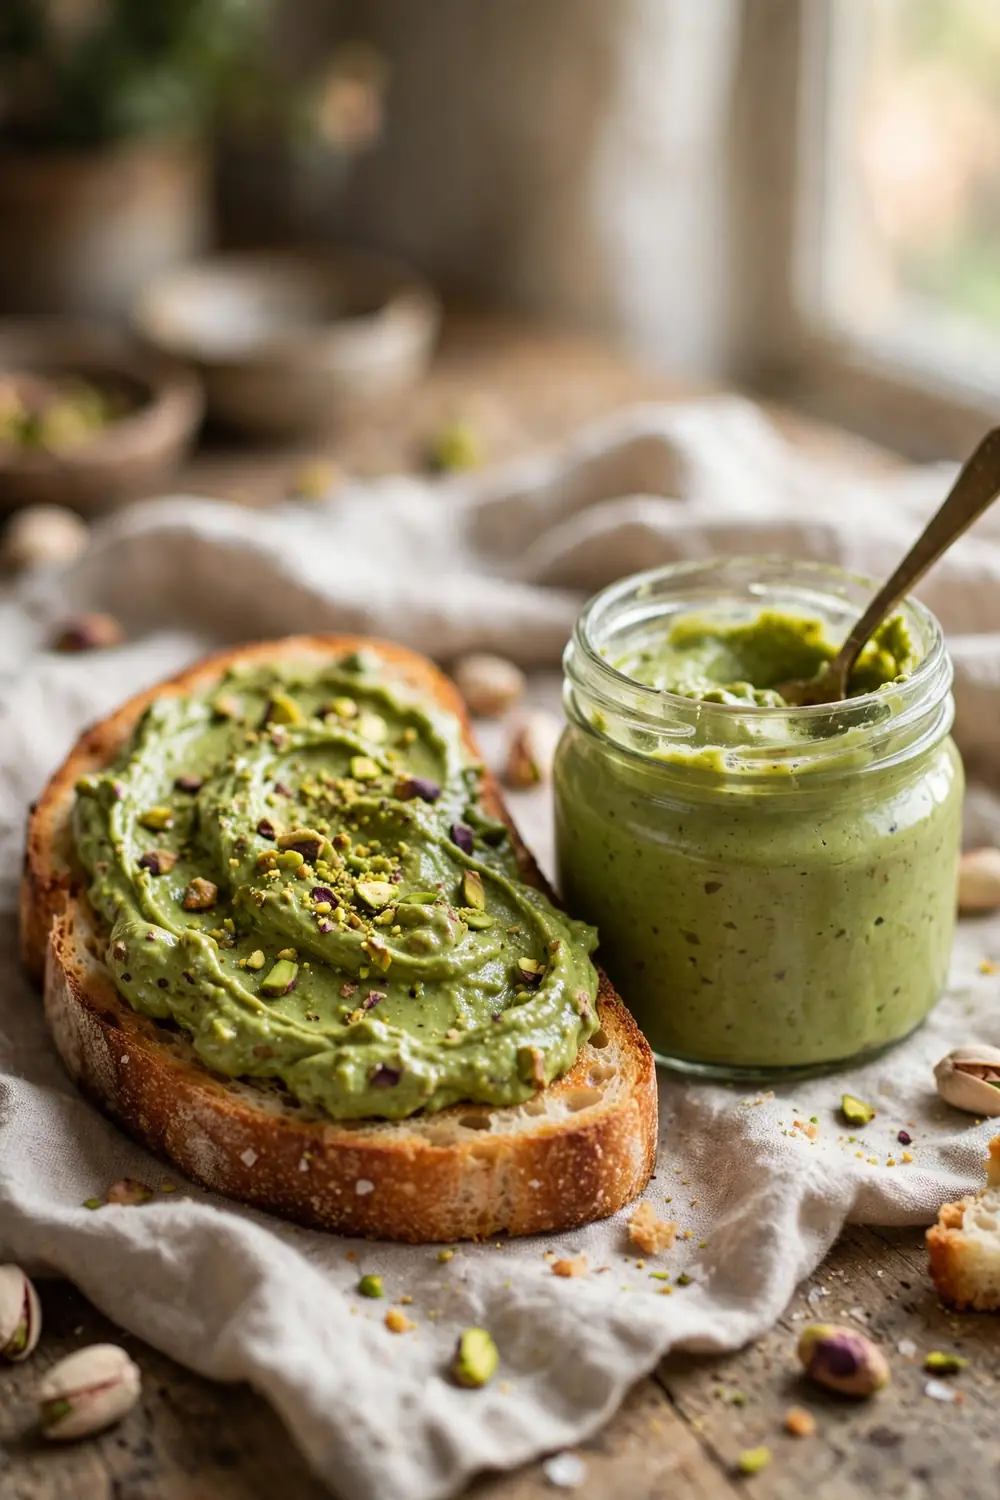
- Buy raw, unsalted pistachios with a bright green color, since dull nuts make flat tasting paste.
- Smell the bag before buying; fresh nuts smell sweet and nutty, never musty or stale.
- Choose already shelled kernels to save time, but check for broken pieces and dust.
- Store unused nuts in the freezer so their oils stay fresh until blending day.
- Avoid roasted salted snack pistachios, because the salt and oil levels throw off the recipe.
Fresh nuts grind into sweeter, greener paste with a cleaner finish on the tongue. Old nuts taste cardboard like and resist turning smooth no matter how long you blend. I have noticed that nut quality matters more than any fancy equipment. Start with good kernels and half your work is done.
Quick Oven Toasting
Quick Tip:
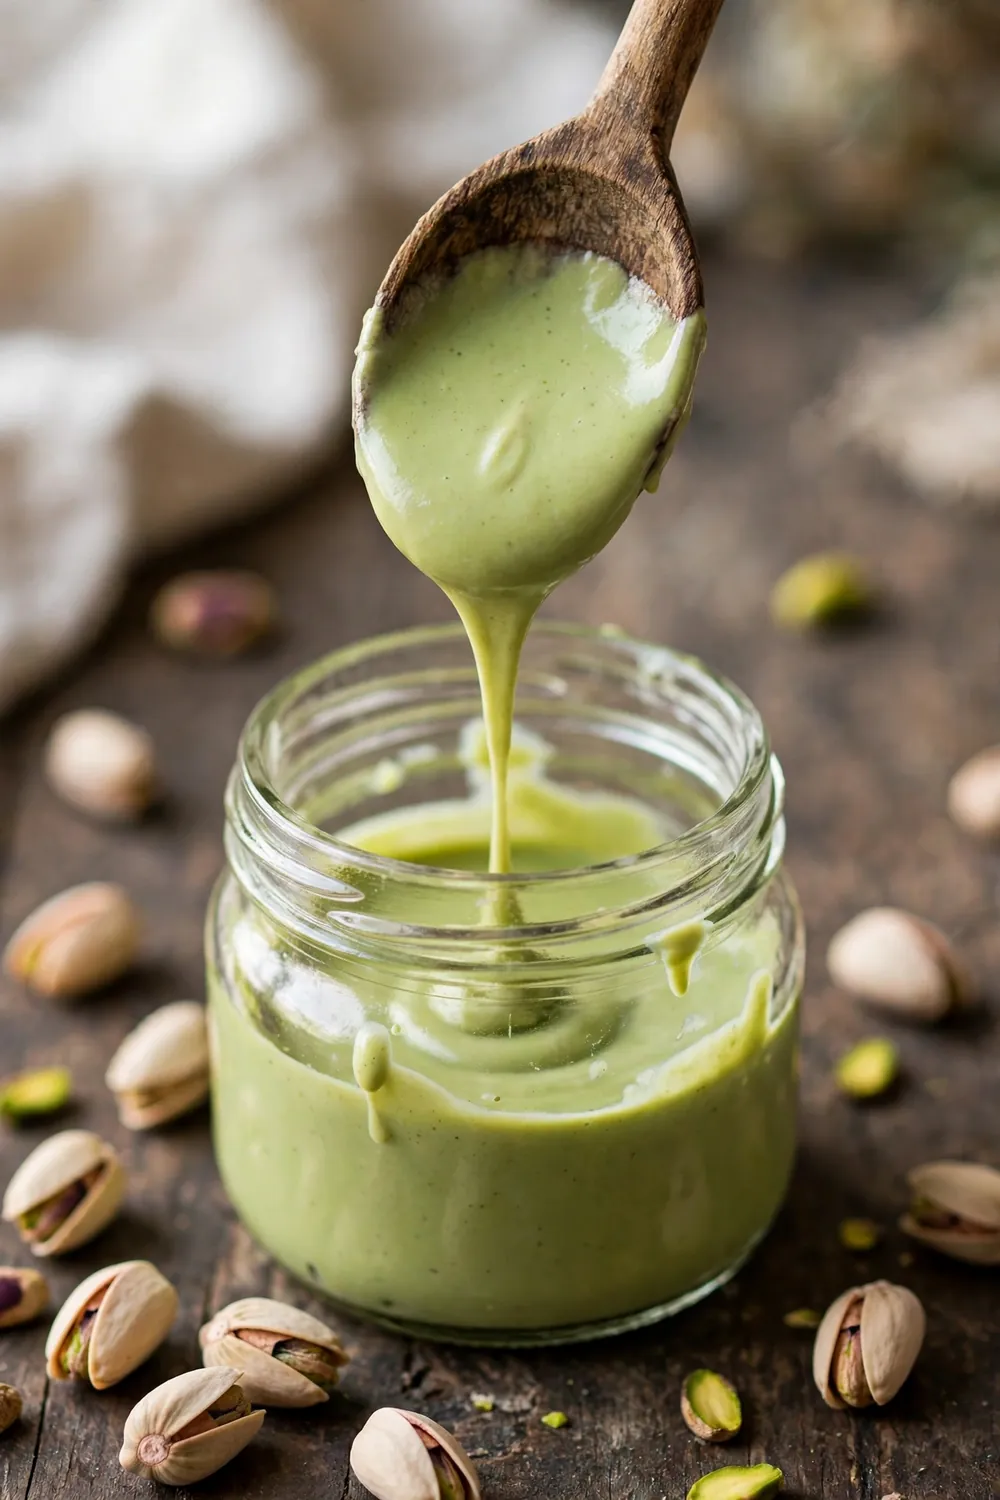
Toast shelled pistachios at 300 degrees for eight minutes, shaking the pan once halfway through for even color. Light toasting deepens flavor without darkening the beautiful green color. Let the nuts cool for five minutes before they touch the food processor, since hot nuts release oil unevenly.
Warm nuts release their oils faster, which shortens grinding time and builds silkiness. Raw nuts work fine, but a light toast adds roasted depth that raw kernels lack. Watch the color closely, because over toasted nuts turn brown and bitter. Pull them while still bright green.
Slow Roasting Method
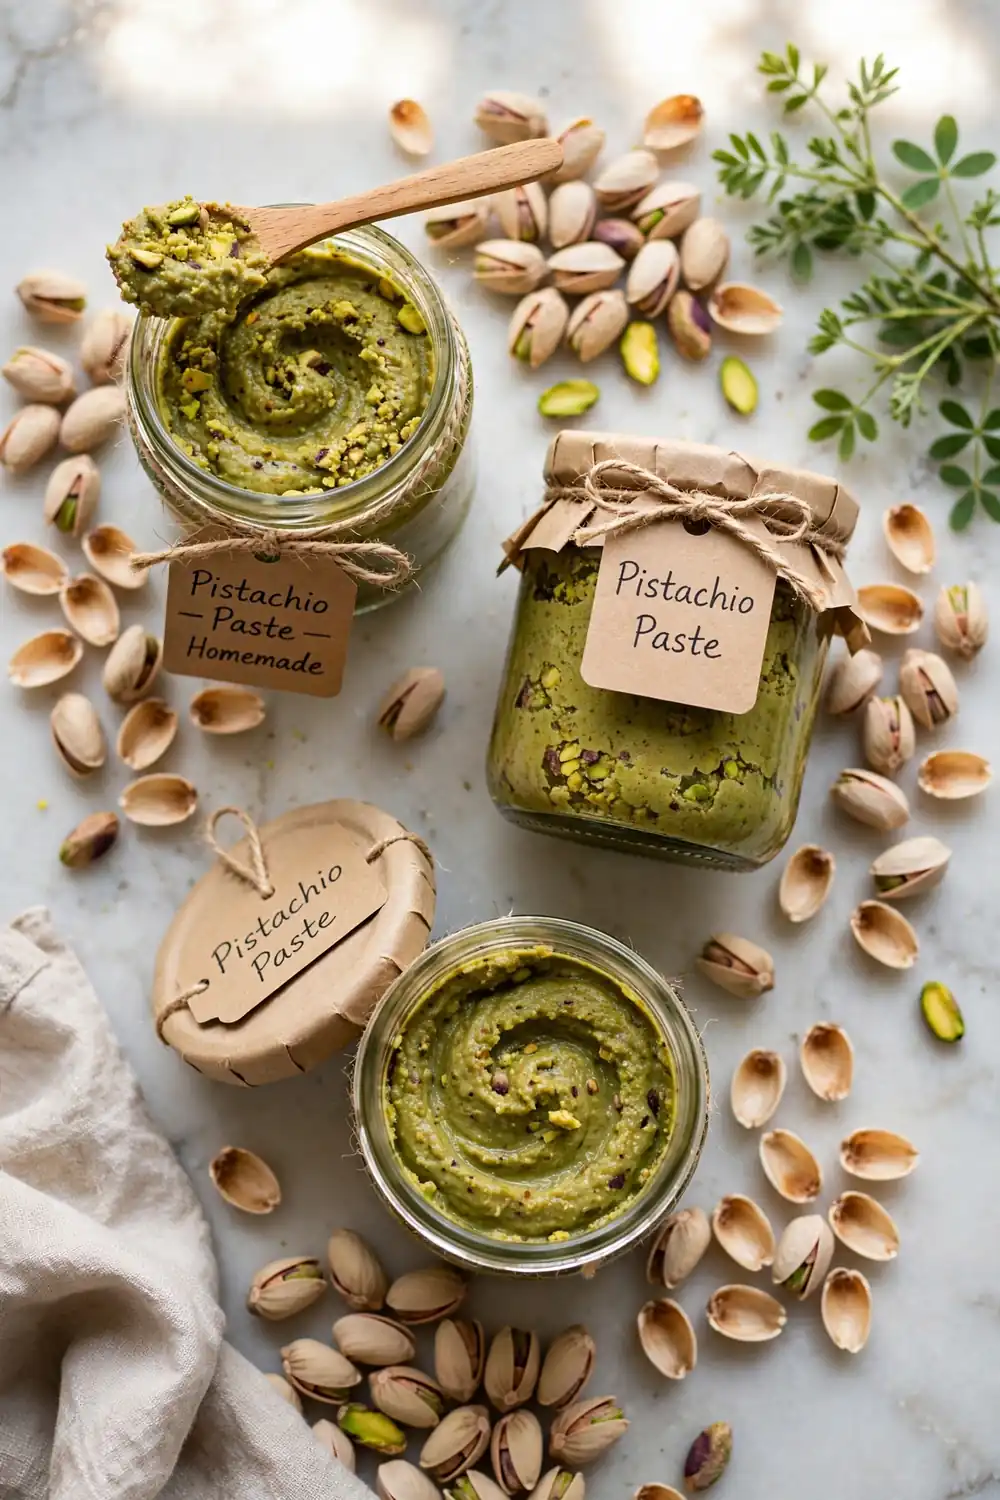
BEFORE: Raw kernels grind into paste that tastes flat and grassy, missing the deep roasted notes people expect from quality nut butter. The flavor feels unfinished, and the pale color looks washed out in finished desserts. Something needs to wake the nuts up before grinding day arrives.
AFTER: Slow roasting at a low temperature coaxes out buttery, complex flavor while keeping the green hue perfectly intact. The paste tastes rounder and richer, with a toasted aroma that fills the whole kitchen. Every dessert made with it tastes noticeably more expensive and professional.
Low and slow beats hot and fast for pistachios every single time. High heat scorches the delicate oils and dulls the color before flavor develops. I have tried both ways, and the slow roasted batch always wins on taste and looks. Set the oven low and give the nuts time.
Food Processor Timing
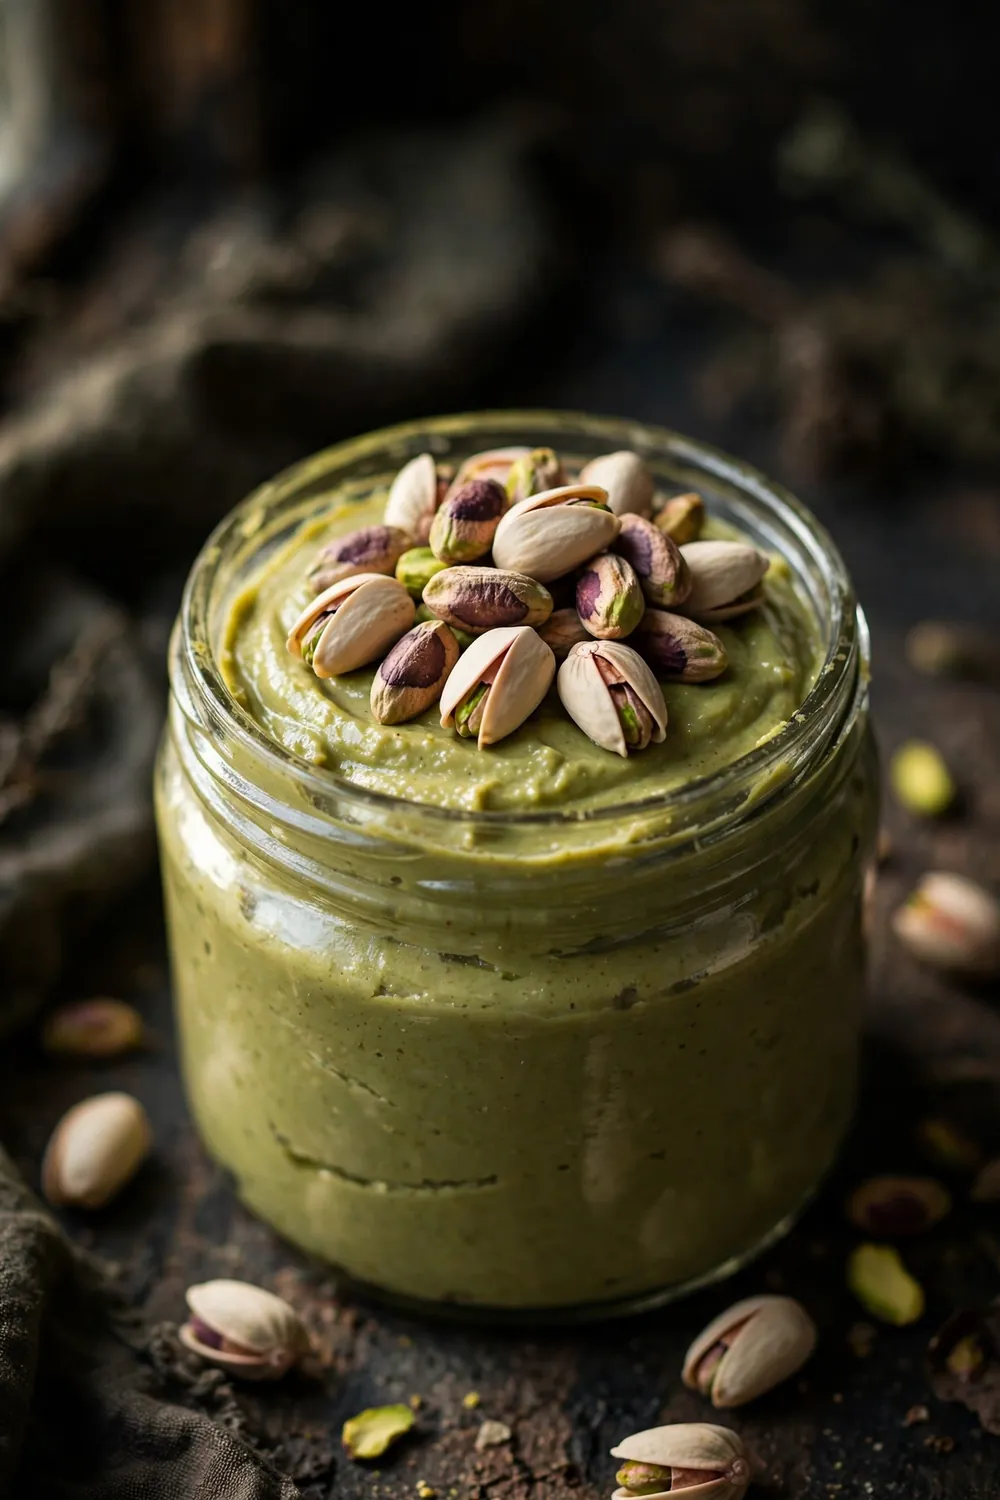
- Pulse the nuts in short bursts for the first minute until they form a coarse meal.
- Scrape down the sides, then run the machine for two full minutes until a ball forms.
- Keep blending past the ball stage; the mass will loosen into thick paste.
- Drizzle in oil slowly during the final minutes for the silkiest texture.
Most people stop blending too early, right when the nuts clump into a stubborn ball. Push past that stage and the oils release, turning the mass glossy and fluid. I have timed this many times, and the magic usually happens after eight full minutes. Patience is the real ingredient here.
High Speed Blending
Food Processor
High Speed Blender
Power
Steady and reliable
Faster breakdown
Heat
Stays cooler
Can overheat nuts
Batch
Handles big batches
Needs smaller loads
Cleanup
Simple bowl rinse
Trickier under blades
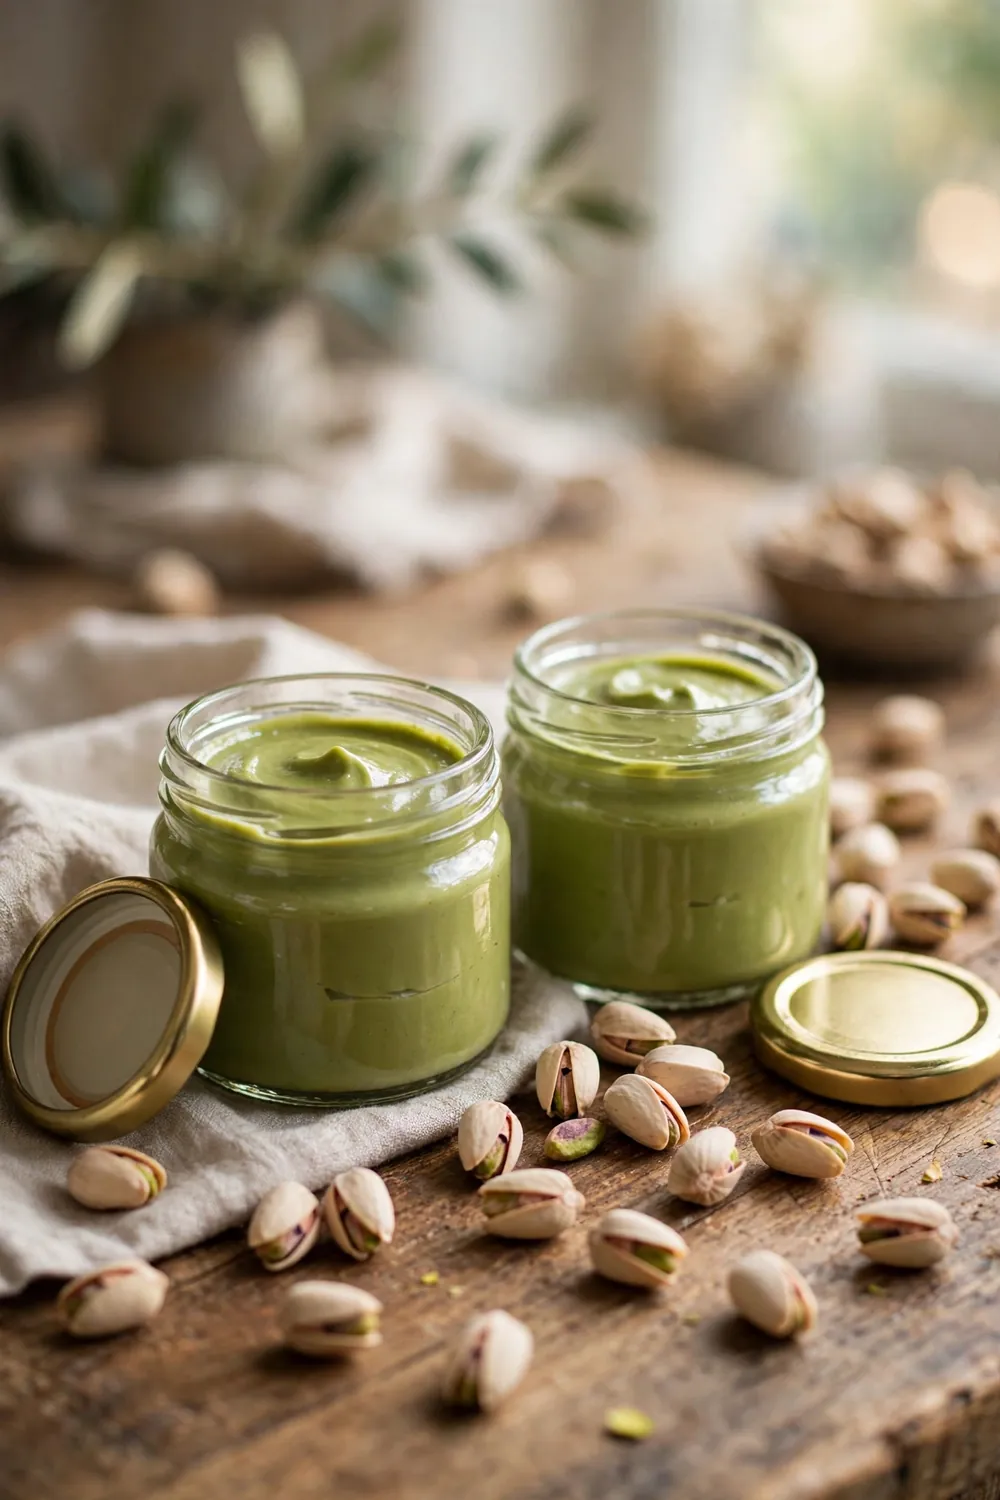
A high speed blender makes silkier paste in less time, but it demands smaller batches and rest breaks. The extra friction warms the nuts, which can release bitter notes if you push too hard. I have burned one batch this way, so now I blend in short bursts. Both tools work when respected.
Oil Drizzle Trick
DO:
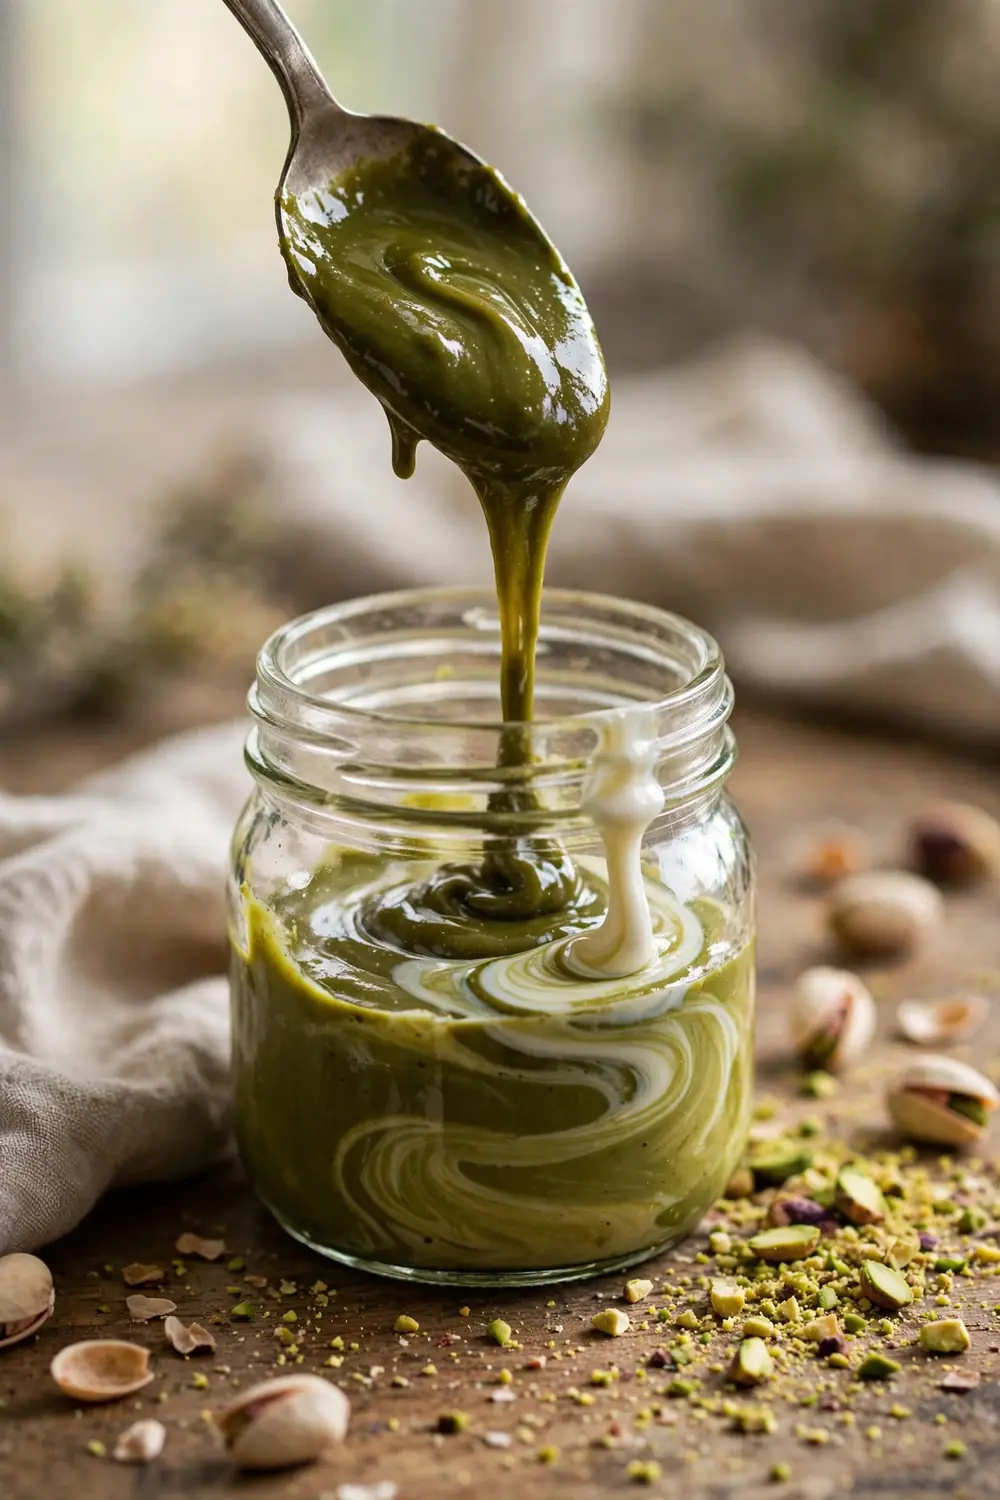
- Do add neutral oil one teaspoon at a time while the machine runs.
- Do use pistachio or light olive oil for the cleanest flavor match.
- Do stop adding oil once the paste ribbons off a spoon smoothly.
- Do taste between additions so the paste never turns greasy.
DON’T:
- Do not pour oil in all at once, or the paste turns runny and separates.
- Do not use strong flavored oils that overpower the delicate nut taste.
- Do not add water, since it makes the paste seize and turn gritty.
- Do not skip oil entirely if your nuts are dry from long storage.
Oil is the shortcut to silk when the nuts refuse to release their own. A slow drizzle while blending emulsifies into the paste and smooths every rough edge. Too much oil makes the paste slick and heavy, so add it with restraint. I have found two tablespoons usually does the trick.
Salt Balance Basics
Cost: Low | Time: 30 seconds | Skill Level: Beginner | Best For: Every batch
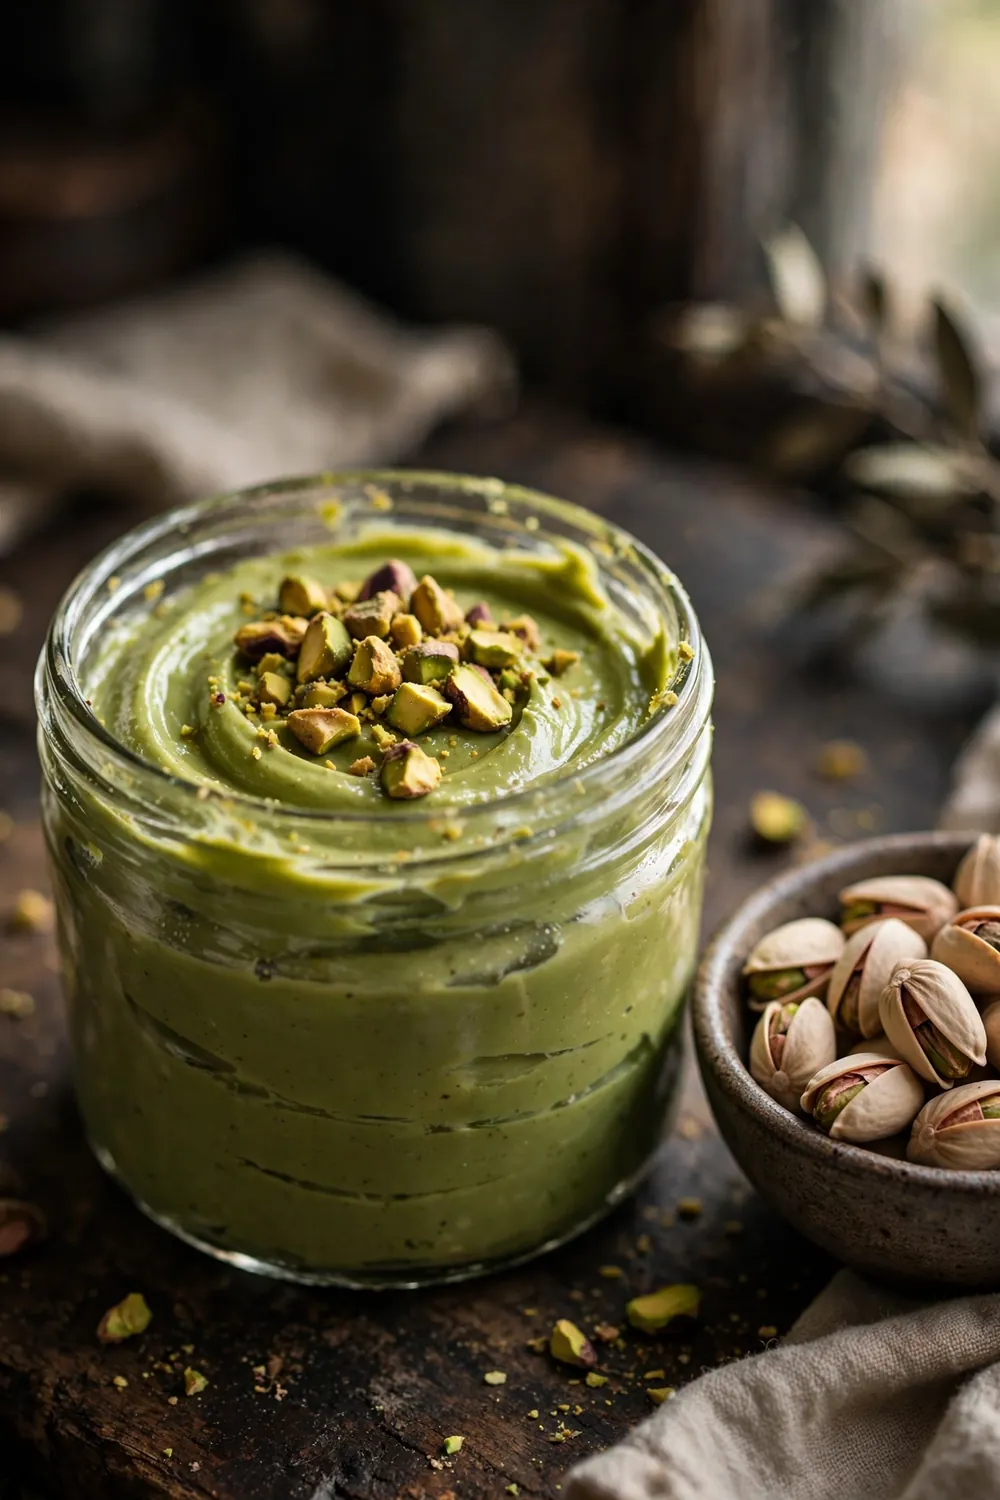
A pinch of salt wakes up the nutty sweetness and makes the paste taste complete. Unsalted batches taste flat, no matter how silky the texture gets. Add a quarter teaspoon per cup of nuts, then taste and adjust slowly. I have seen bland paste turn irresistible with just one extra pinch.
Sugar Syrup Addition
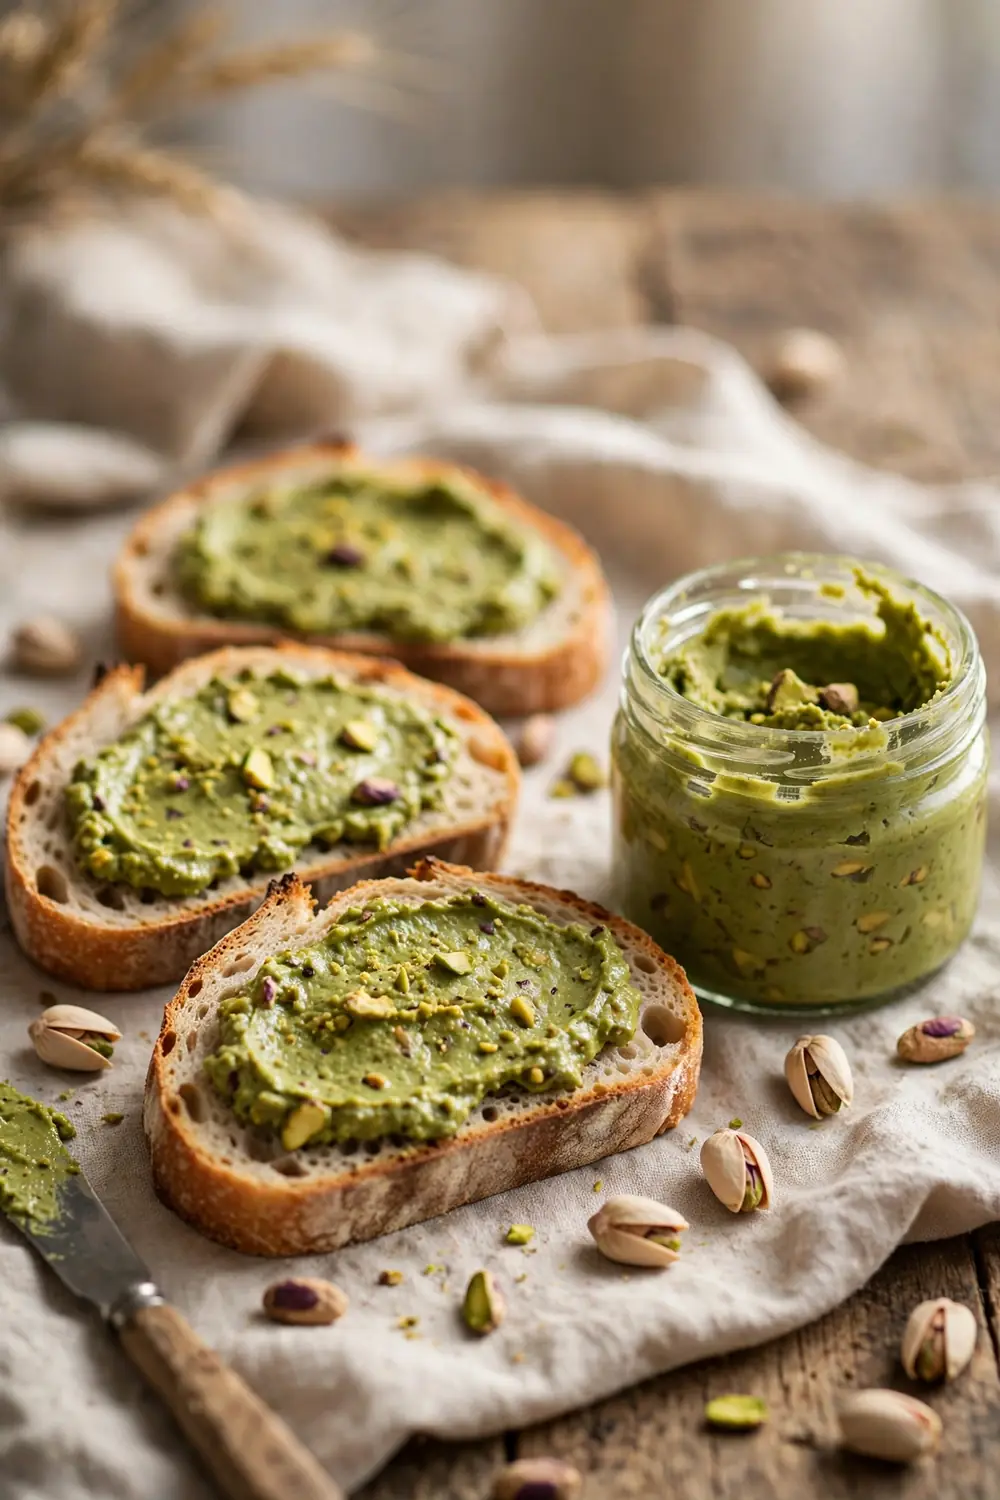
A spoonful of simple syrup sweetens the paste while adding liquid that helps it grind silkier. Dissolve equal parts sugar and water, cool it fully, then drizzle it in during the last blending minute. The paste turns glossy and dessert ready in one easy step.
Skip granulated sugar, because the crystals never fully dissolve and leave grit behind. Syrup blends in completely and keeps the texture glassy smooth. I have tried both, and syrup wins for anything you plan to pipe or spread. Your frostings will thank you every time.
White Chocolate Blend
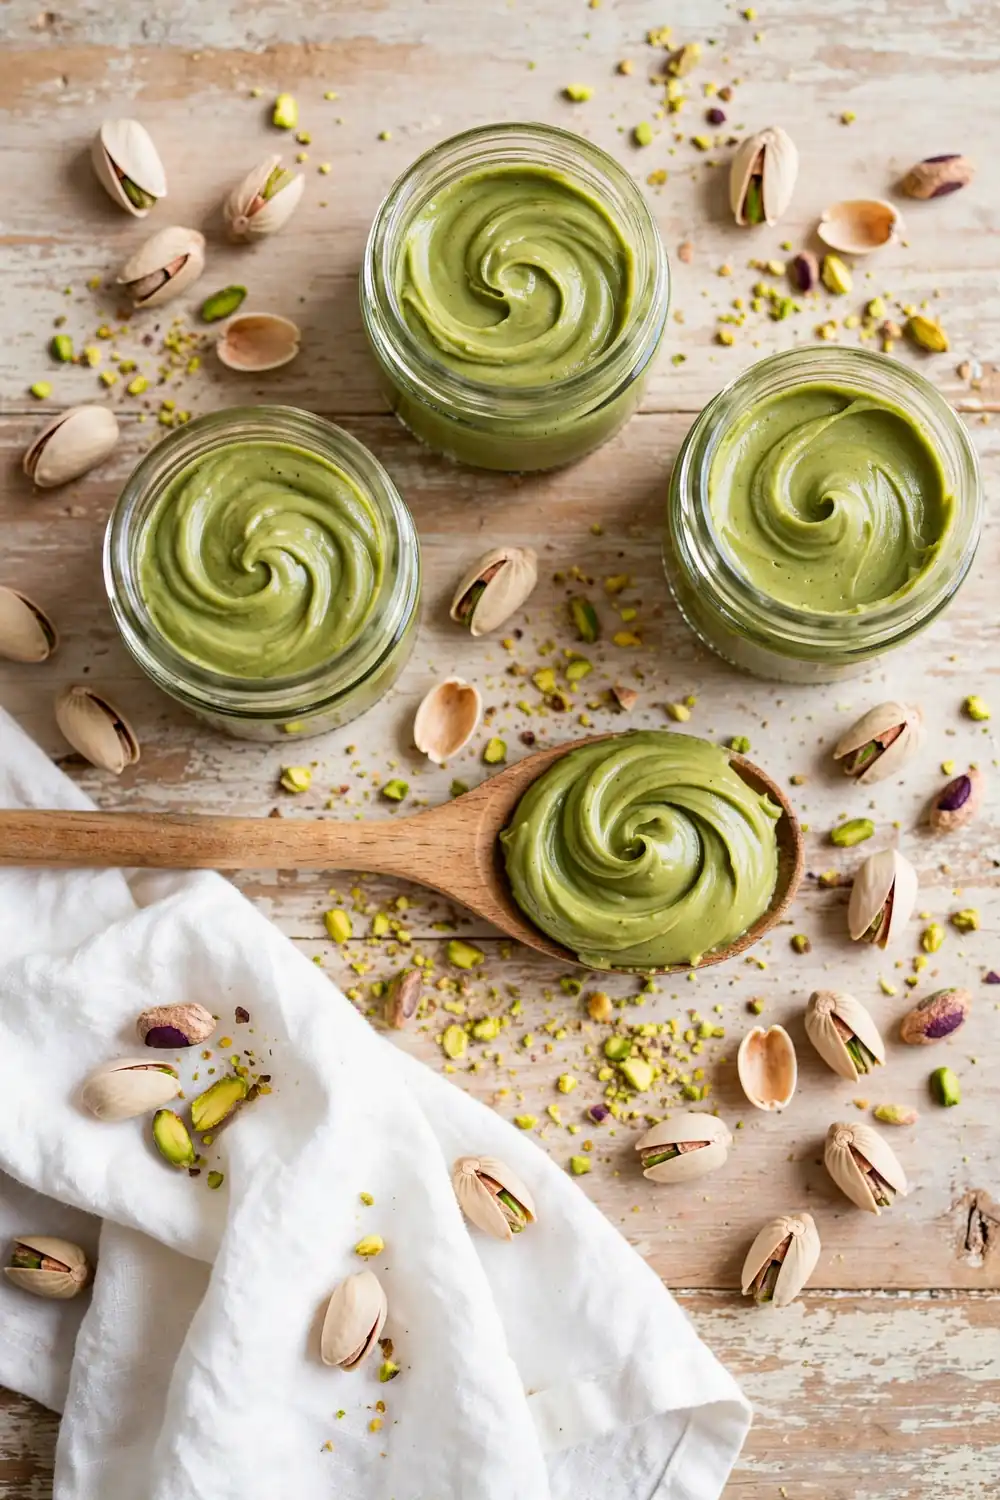
- Melt white chocolate gently, then blend it into warm paste for a creamy praline style spread.
- Use a two to one ratio of paste to chocolate so the pistachio flavor stays dominant.
- Let the chocolate cool slightly before mixing to protect the green color.
- This blend pipes beautifully for tart fillings and layered cake centers.
White chocolate turns plain paste into a luxurious filling that tastes like expensive confectionery. The cocoa butter adds silk while the sweetness balances the nutty earthiness. I have used this blend in macarons, and guests always ask what the secret is. Keep some on hand for special bakes.
Coconut Oil Swap
Quick Tip:
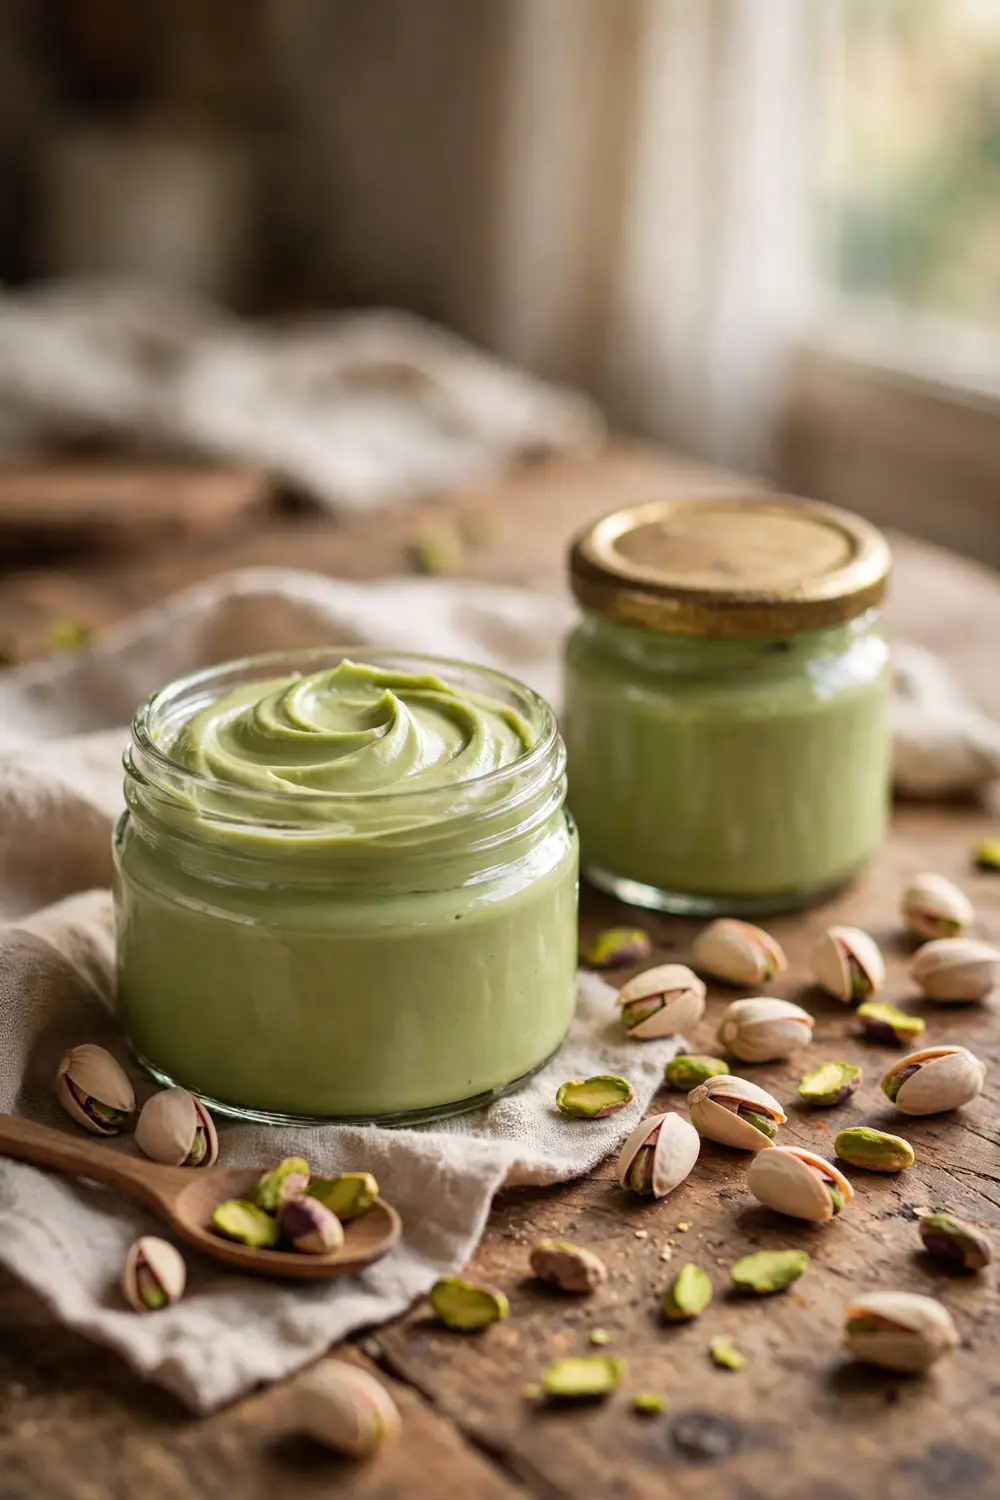
Swap neutral oil for melted coconut oil when you want a firmer set paste for candies. Coconut oil solidifies as it cools, giving the paste a fudge like body that holds shape. Use refined coconut oil so no coconut flavor sneaks into the delicate pistachio taste.
Coconut oil changes the paste from spoonable to sliceable, which suits truffles and candy centers. The paste holds its shape at room temperature yet melts on the tongue. Warm the oil just until liquid, because overheating dulls its clean finish. I have made holiday truffles this way with great results.
Vanilla Bean Boost
BEFORE: Plain paste can taste one dimensional, with nutty richness but nothing bright to lift it higher. Desserts made with it feel heavy on the palate, and the flavor fades into the background quickly. A single aromatic note could change the whole profile completely today.
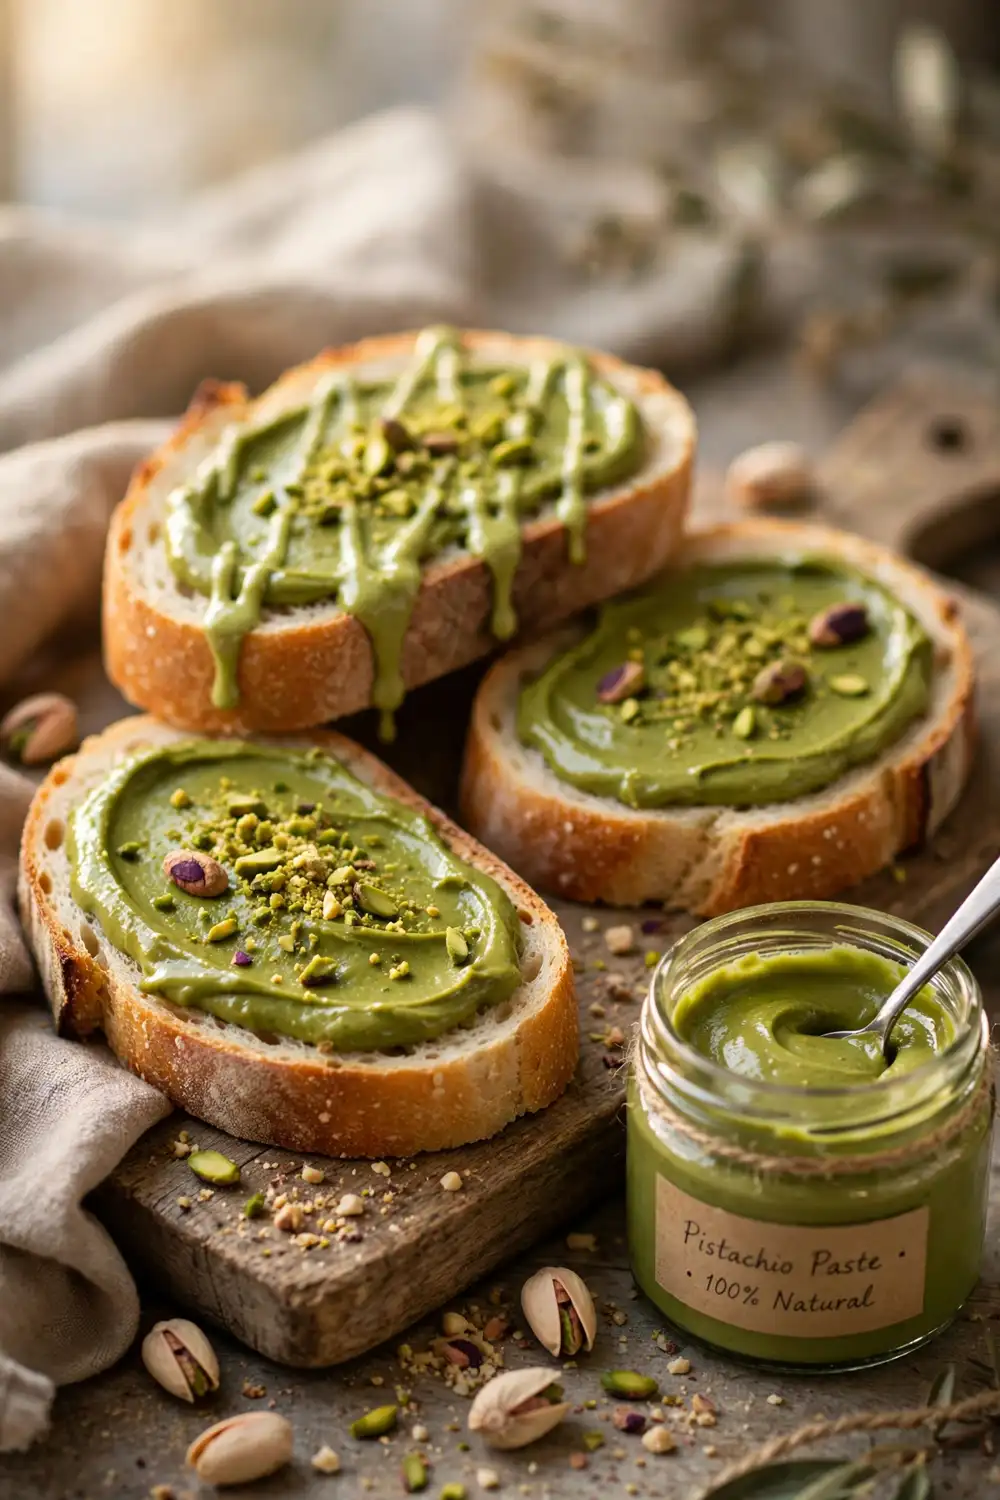
AFTER: Vanilla bean seeds swirled through the paste add floral warmth that makes the pistachio taste noticeably brighter. The tiny black specks look gorgeous against the green, and the aroma turns bakery worthy instantly. Every spoonful now feels finished, balanced, wonderfully complex, refined, and truly memorable.
Scrape half a vanilla bean into each cup of finished paste and blend briefly. The seeds distribute evenly and perfume the whole batch within hours. I have noticed that vanilla makes pistachio taste more expensive without stealing the spotlight. Start small, because a little goes far.
Orange Zest Twist
- Zest one orange finely, avoiding the bitter white pith underneath.
- Fold the zest into the finished paste and let it rest overnight.
- Taste the next day; add more zest only if the flavor feels faint.
- Store the batch cold so the citrus oils stay bright and fresh.
Orange zest brings a sunny lift that cuts through the paste’s richness beautifully. The citrus oils bloom overnight, so the flavor deepens while you sleep. This twist pairs wonderfully with dark chocolate desserts and morning pastries. I have gifted jars of this version, and friends always request more.
Cardamom Spice Touch
Plain Paste
Cardamom Version
Aroma
Nutty and simple
Warm and exotic
Pairing
Chocolate desserts
Coffee and tea bakes
Amount
None needed
Quarter teaspoon per cup
Vibe
Classic French
Middle Eastern inspired
Cardamom gives pistachio paste a warm, sophisticated edge that plain versions lack. The spice echoes the nut’s natural sweetness and adds depth without heaviness. Grind whole pods fresh, because pre ground cardamom loses its punch fast. I have used this in baklava fillings to wonderful effect.
Espresso Depth Addition
DO:
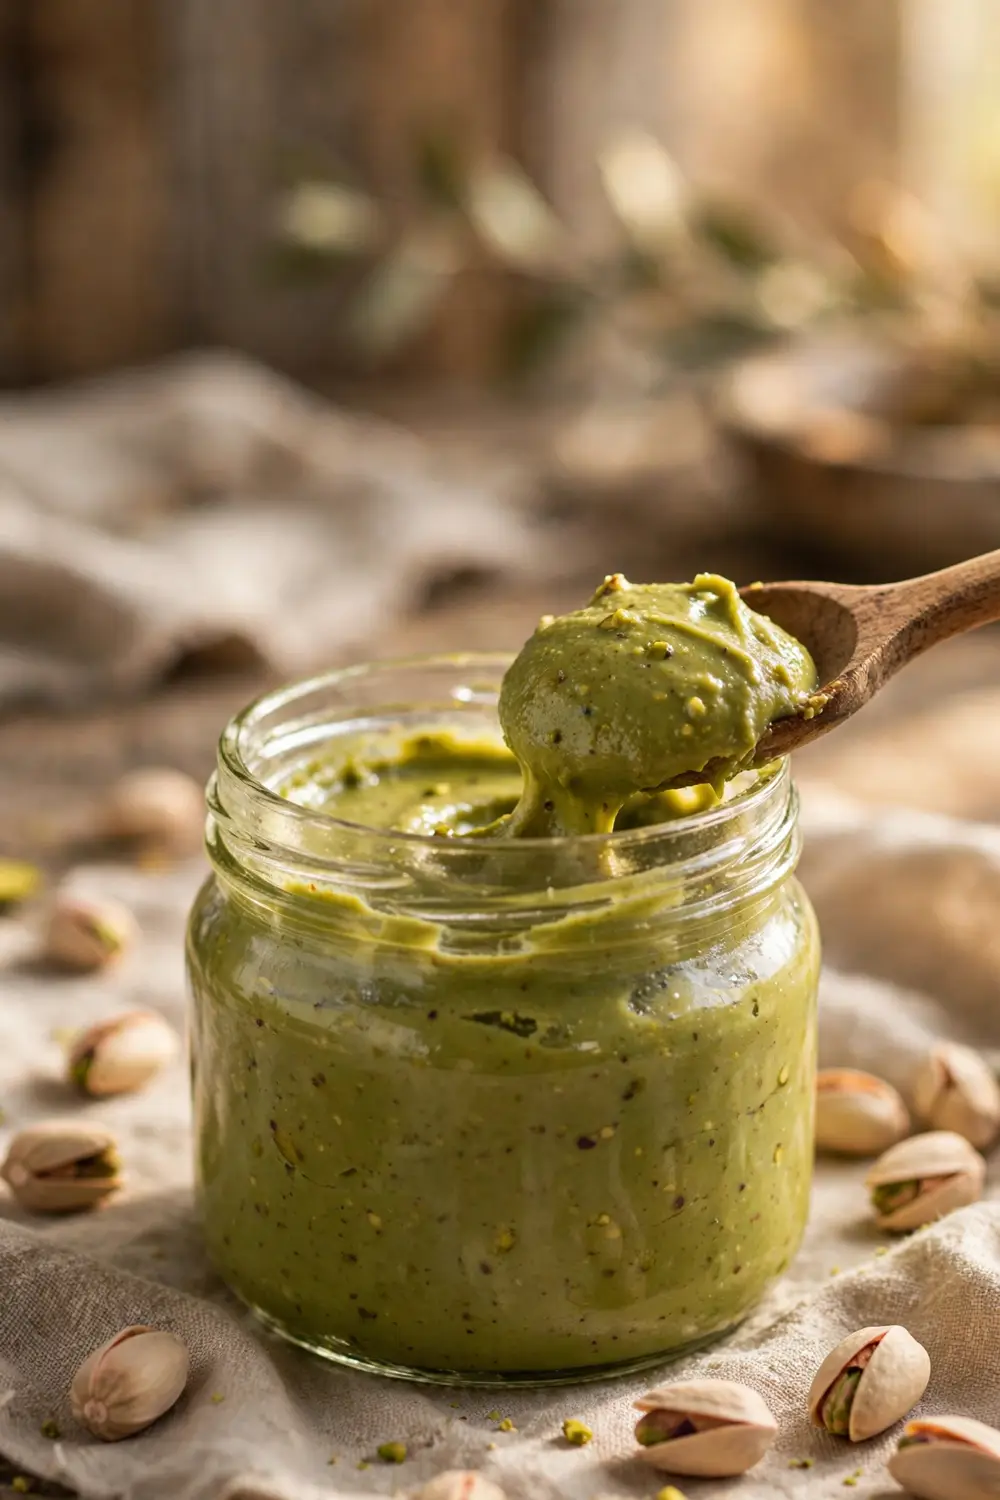
- Do dissolve instant espresso in a teaspoon of hot water before adding.
- Do start with half a teaspoon per cup and taste before adding more.
- Do pair espresso paste with chocolate for a mocha pistachio combination.
- Do label the jar, since the coffee notes surprise unsuspecting tasters.
DON’T:
- Do not add dry espresso powder, which leaves bitter specks in the paste.
- Do not use brewed coffee, because the extra liquid thins the texture.
- Do not combine espresso with delicate floral flavors like rose.
- Do not serve espresso paste to kids without warning the parents first.
Espresso deepens pistachio paste the way it deepens chocolate, adding roasted complexity. The coffee notes sit in the background and make the nut flavor taste bolder. I have used this trick in tiramisu style desserts where it shines brightest. Keep the dose small so the pistachio stays the star.
Sea Salt Finish
Cost: Pennies | Time: 10 seconds | Skill Level: Beginner | Best For: Gift jars
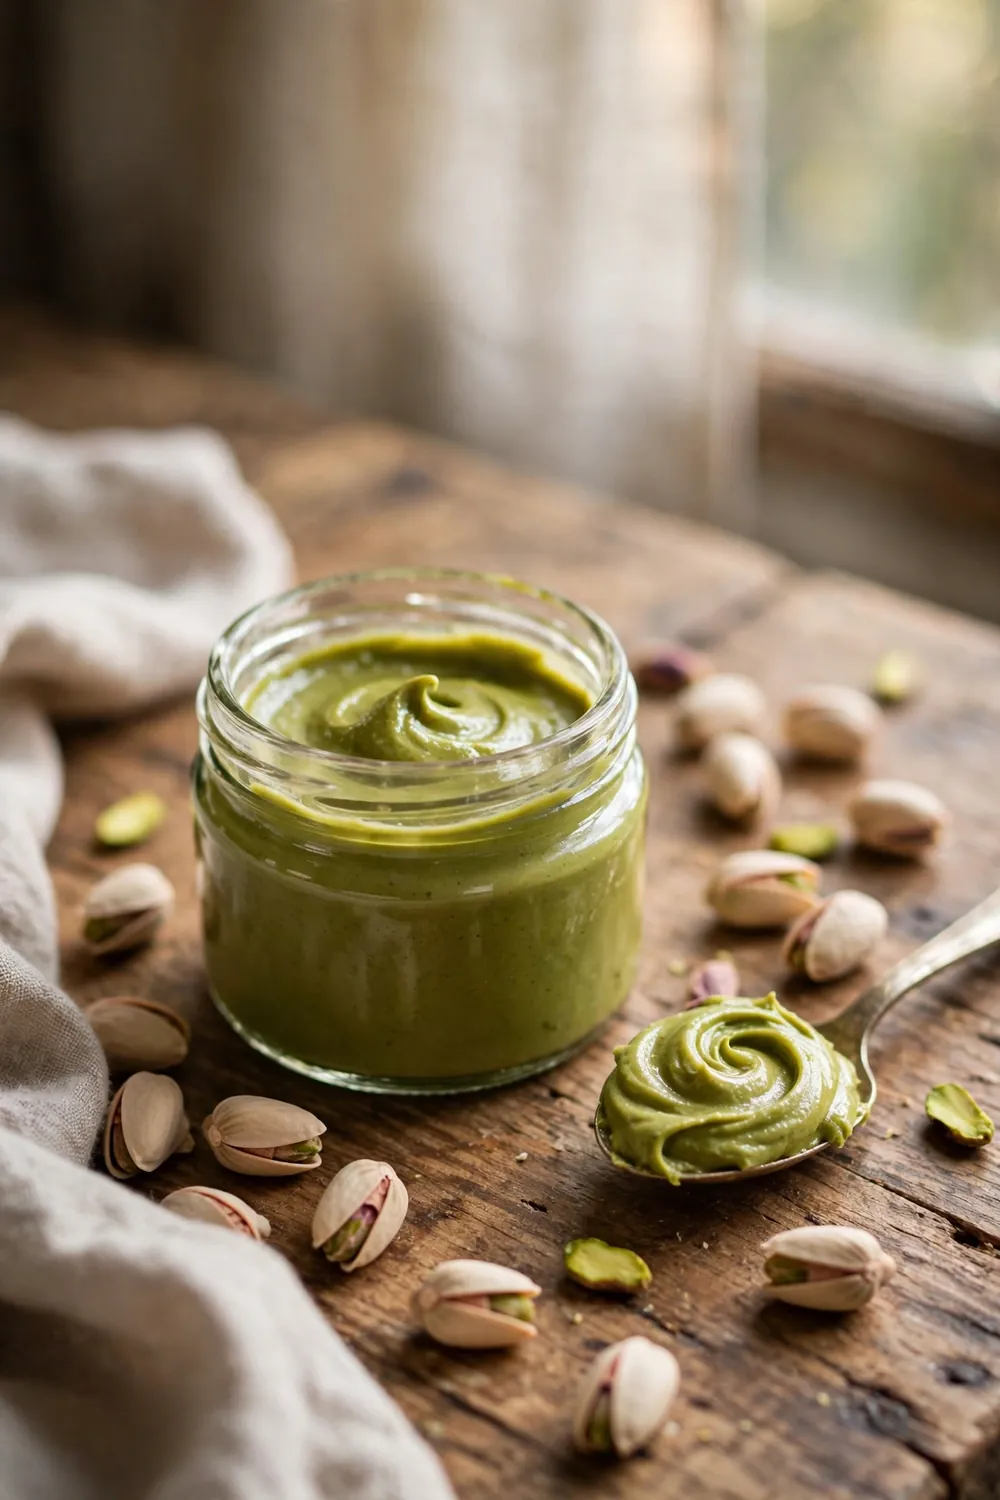
Flaky sea salt sprinkled on top of jarred paste looks stunning and tastes even better. The crunchy crystals contrast the silk and make each spoonful pop. Add the flakes right before sealing so they stay crisp. I have given salted jars as gifts, and they always disappear first.
Straining For Silk
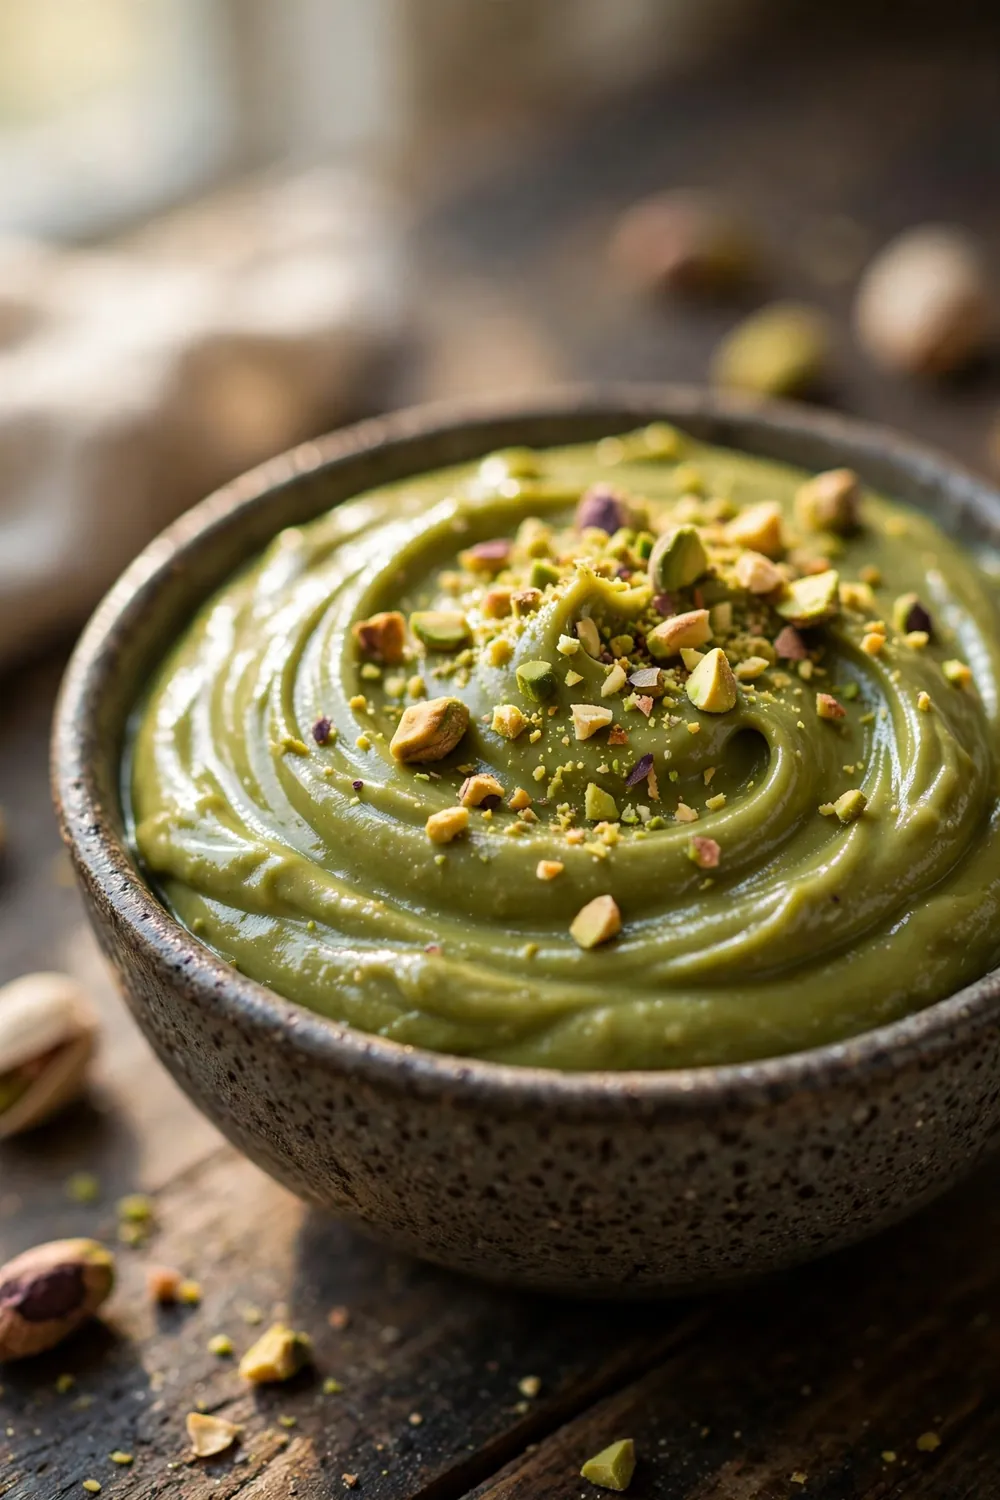
Pushing the paste through a fine mesh sieve removes every last stubborn fiber. Work in small batches with the back of a spoon, scraping the mesh clean often. The result feels like velvet on the tongue and pipes without clogging and spreads without any drag.
Straining takes patience, but it separates good paste from truly professional paste. Home blenders leave tiny bits that sieves catch every time. I have strained batches for special occasion cakes, and the texture difference was remarkable. Reserve this step for your truly showpiece desserts, always.
Double Grind Technique
- Grind the nuts once into a rough paste, then rest the batch for twenty minutes.
- The rest lets oils redistribute, so the second grind goes faster and smoother.
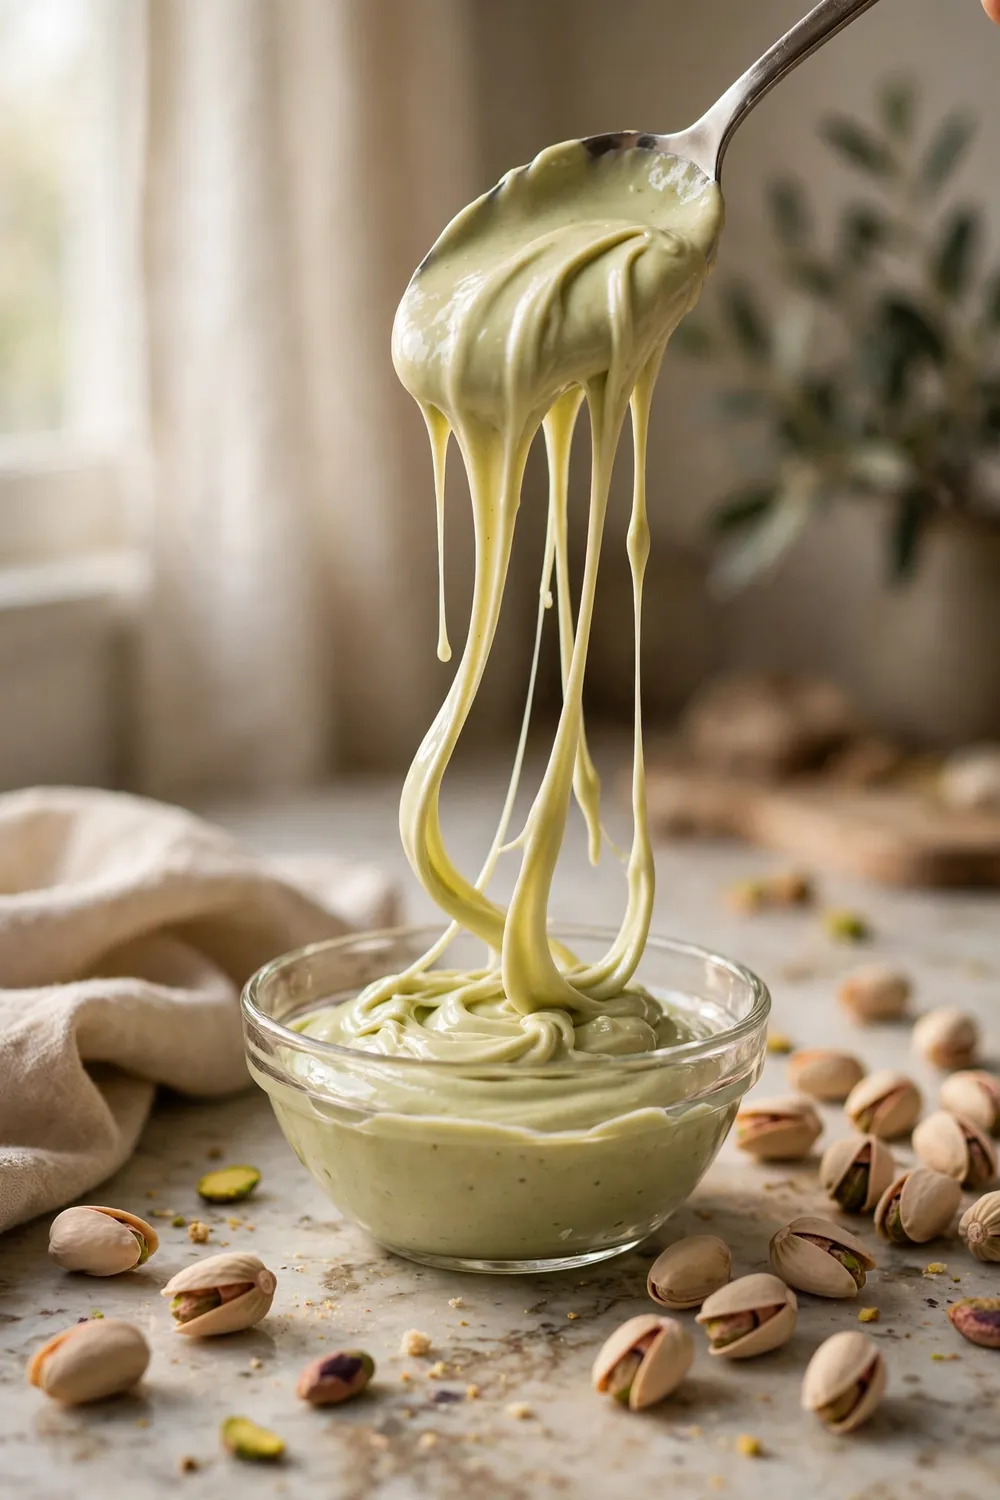
- Return the paste to the machine and blend until it turns glossy and fluid.
- Add a splash of oil during the second pass only if the paste still resists.
- This method fixes gritty batches without extra ingredients or equipment.
Two shorter grinds beat one marathon session for both texture and motor health. The pause lets the machine cool and the nut oils settle into the solids. I have rescued many grainy batches with a simple rest and regrind. Think of it as letting the paste catch its breath.
Warm Nut Method
Quick Tip:
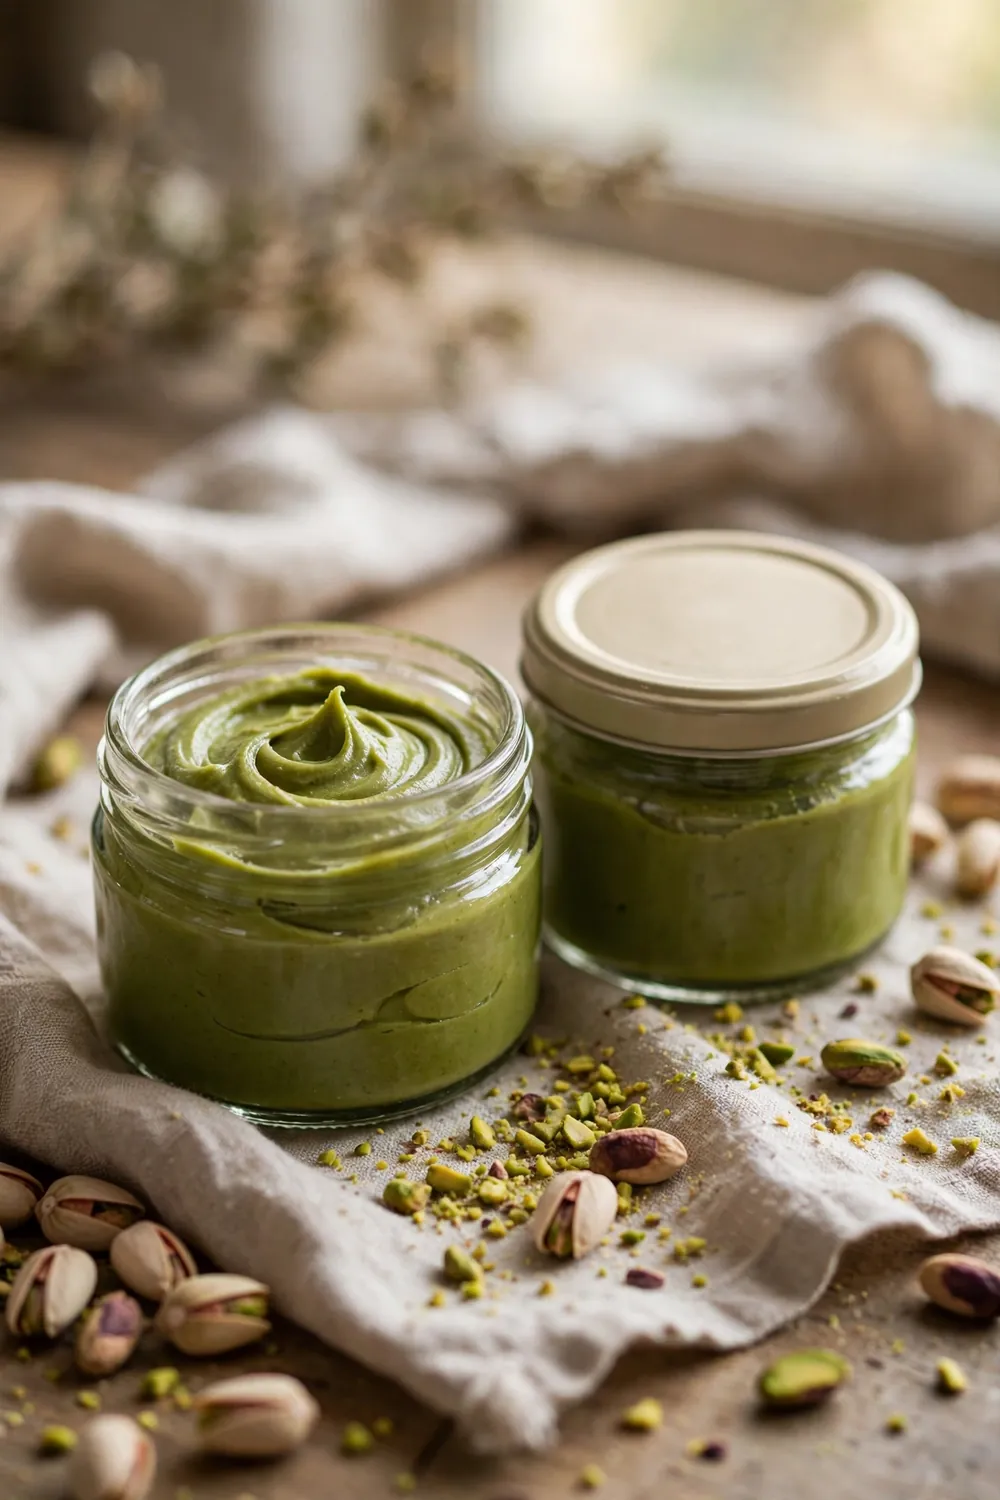
Warm the shelled nuts in a low oven for five minutes right before grinding begins. Warm nuts release oil almost immediately, cutting total blend time nearly in half. Let them cool just enough to handle safely, then grind while still warm to the touch.
Temperature makes a bigger difference than most people expect in nut grinding. Cold nuts from the pantry resist breaking down and strain the motor. Gentle warmth softens the fats so the blades do less work. I have timed cold versus warm batches, and warm always finishes silkier and faster.
Cold Rest Trick
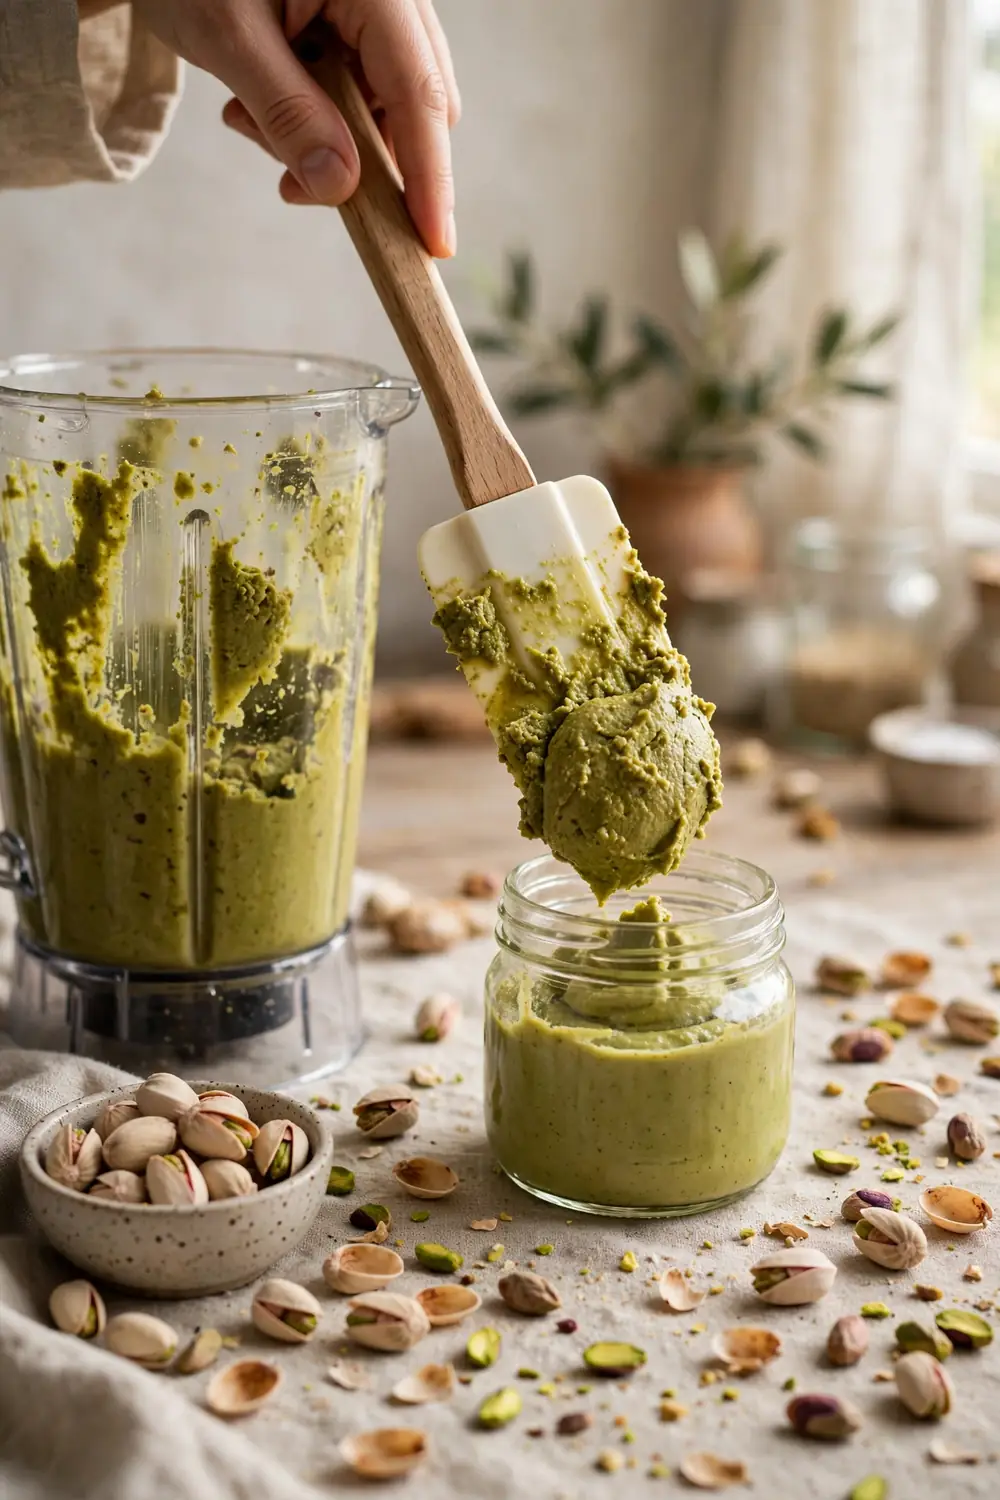
BEFORE: Freshly ground paste often tastes harsh, with raw edges and a slightly bitter finish on the tongue. The flavors have not married yet, and the texture can feel oily and unfinished overall. Eating it right away sells the whole batch short every single time.
AFTER: A night in the fridge lets the flavors meld and mellow into something rounder and richer. The oils settle, the sweetness deepens, and the paste scoops like soft fudge. What tasted rough yesterday now tastes like a luxury spread from a specialty shop today.
Resting works like aging for nut pastes, smoothing both flavor and texture overnight. Stir the chilled paste well before using, since some oil may rise to the top. I have compared same day and rested batches side by side, and rested wins easily. Plan ahead and let time do the work.
Small Batch Control
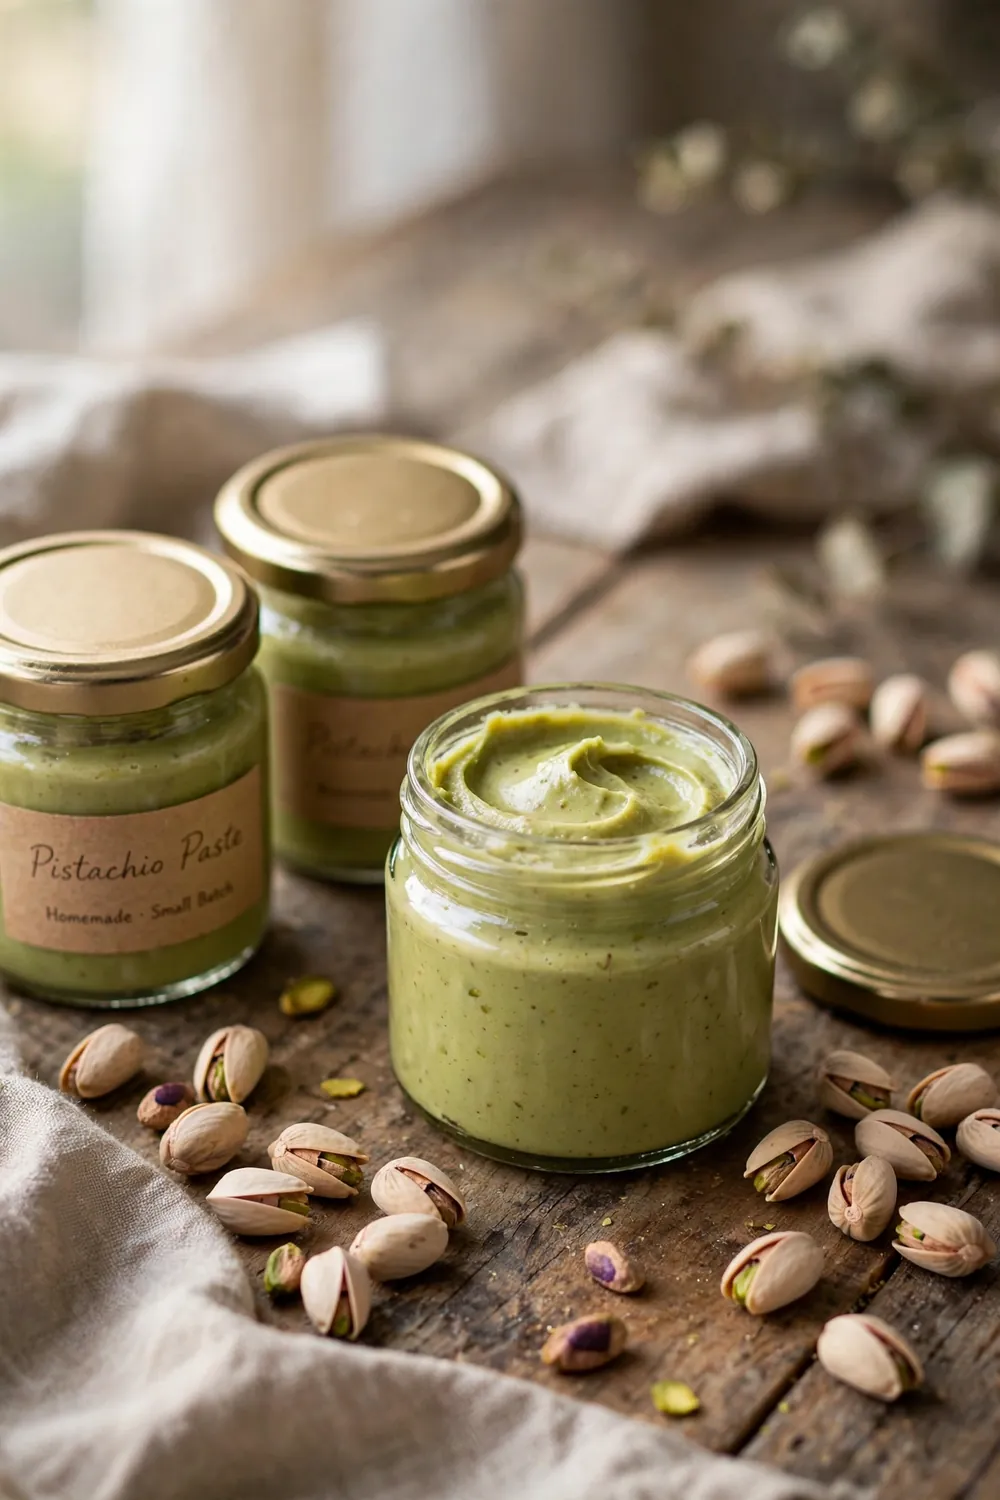
- Measure one cup of shelled nuts per batch for the most even grind.
- Small loads let the blades catch every kernel without dead zones.
- Combine finished batches in one bowl and stir well for consistency.
- Label each jar with the date so you always use the freshest first.
Big batches look efficient but grind unevenly, leaving gritty pockets behind. The blades push nuts outward, and the center never fully breaks down. I have learned to embrace small batches, and the silkiness improved immediately. Two perfect cups beat one mediocre quart every single time.
Storage Jar Rules
Wrong Way
Right Way
Jar
Plastic tub
Glass with tight lid
Air
Half full jar
Fill to the brim
Light
Countertop display
Dark cool cupboard
Spoon
Wet fingers
Clean dry spoon
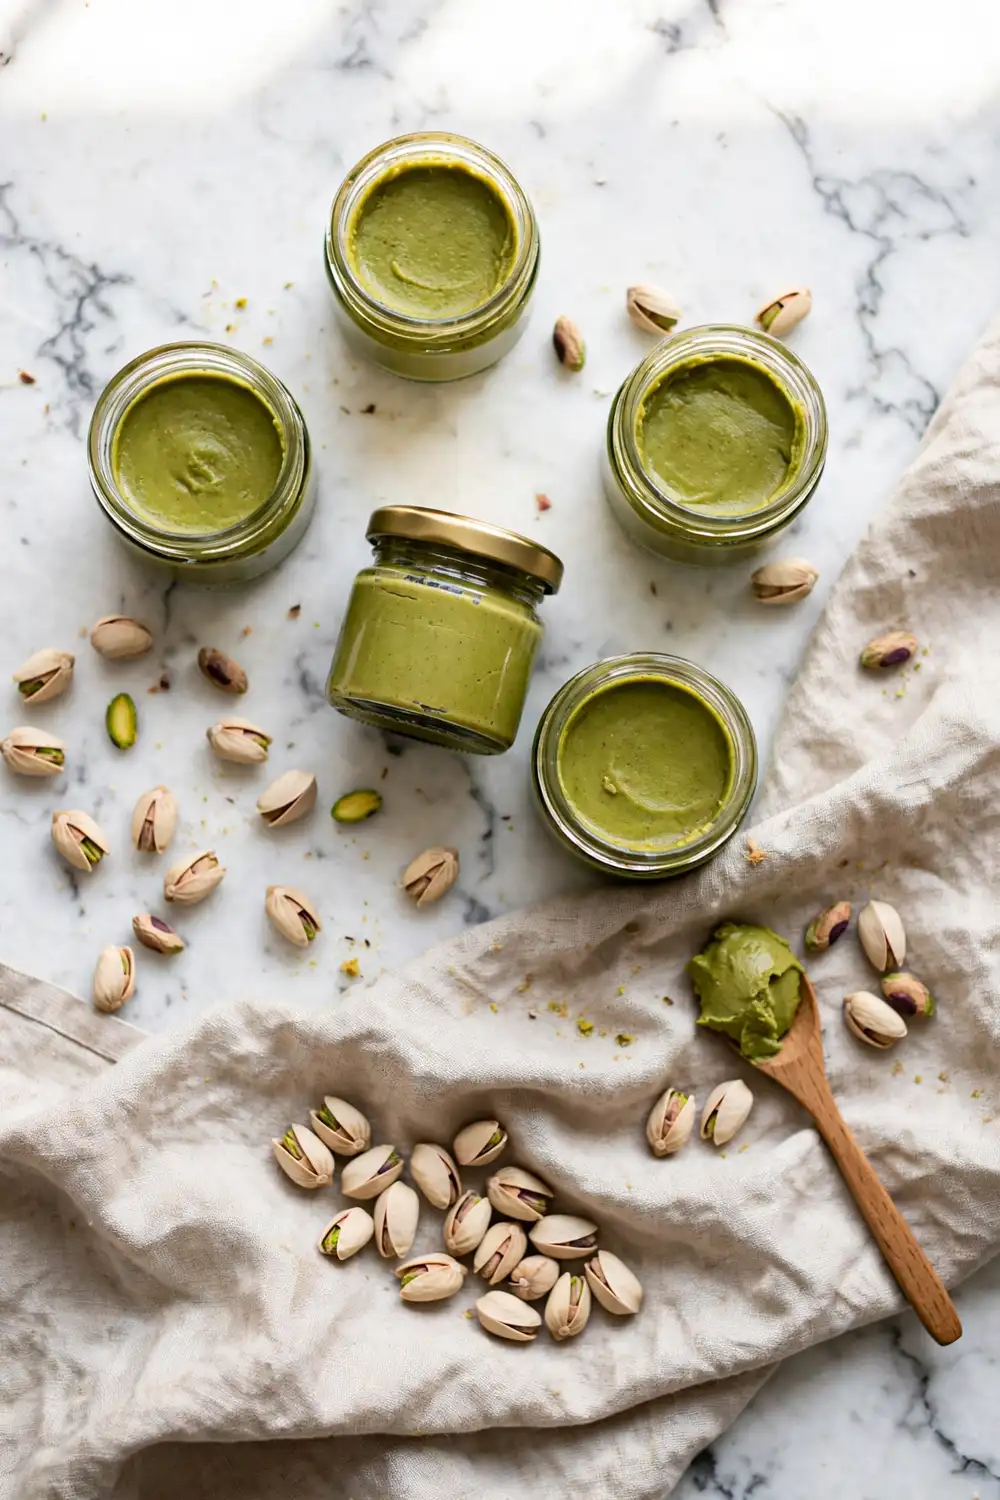
Proper storage keeps the paste bright green and fresh tasting for weeks. Air and light are the enemies, dulling both color and flavor over time. I have kept jars good for two months in a cool dark spot. Treat your paste like the treasure it is.
Freezing Fresh Batches
DO:
- Do freeze paste in ice cube trays for perfect single recipe portions.
- Do wrap the frozen cubes tightly in foil before bagging them.
- Do label every bag with the contents and the freeze date.
- Do thaw cubes in the fridge overnight for the smoothest result.
DON’T:
- Do not freeze in one giant block, which thaws unevenly and wastes paste.
- Do not refreeze thawed paste, since the texture turns grainy fast.
- Do not store near strong smelling foods, because fats absorb odors.
- Do not skip the foil wrap, or freezer burn dulls the flavor.
Freezing locks in freshness for up to six months with almost no flavor loss. The high fat content protects the paste from ice damage better than most foods. I have pulled out cubes months later that tasted freshly ground. Keep a stash ready for spontaneous baking days.
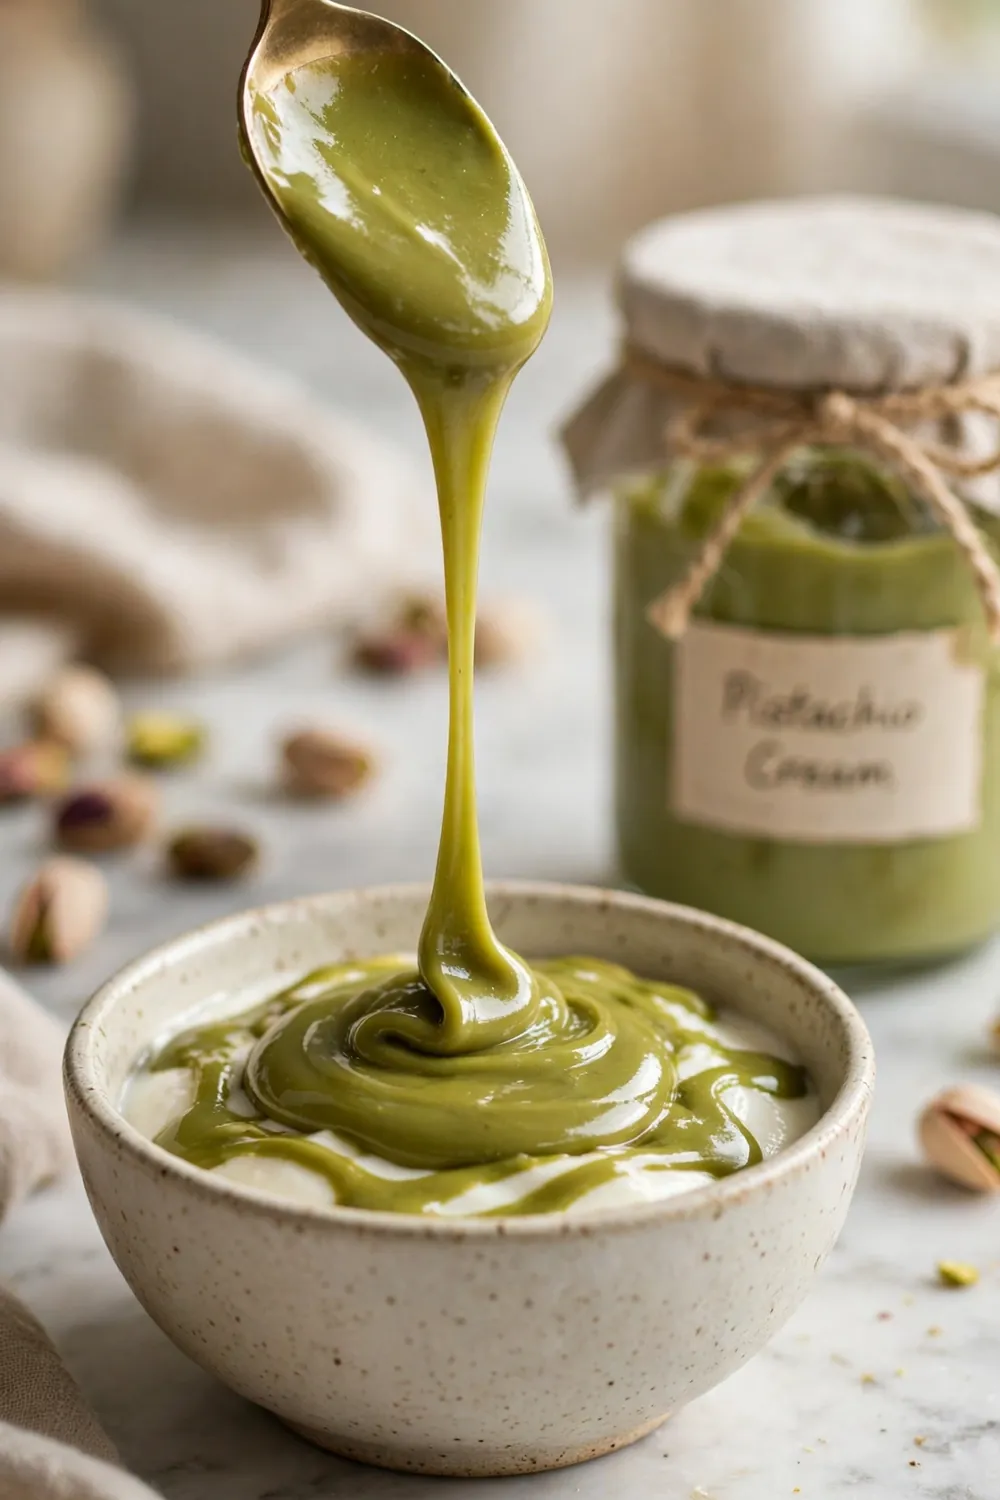
Thawing Without Splitting
Cost: Free | Time: Overnight | Skill Level: Beginner | Best For: Frozen cubes
Slow thawing in the fridge keeps the emulsion intact and the texture silky. Quick counter thawing shocks the fats and causes oily separation. If splitting happens anyway, a quick reblend with a spoonful of warm paste fixes it. I have saved separated batches this way more than once.
Serving Idea Pairings
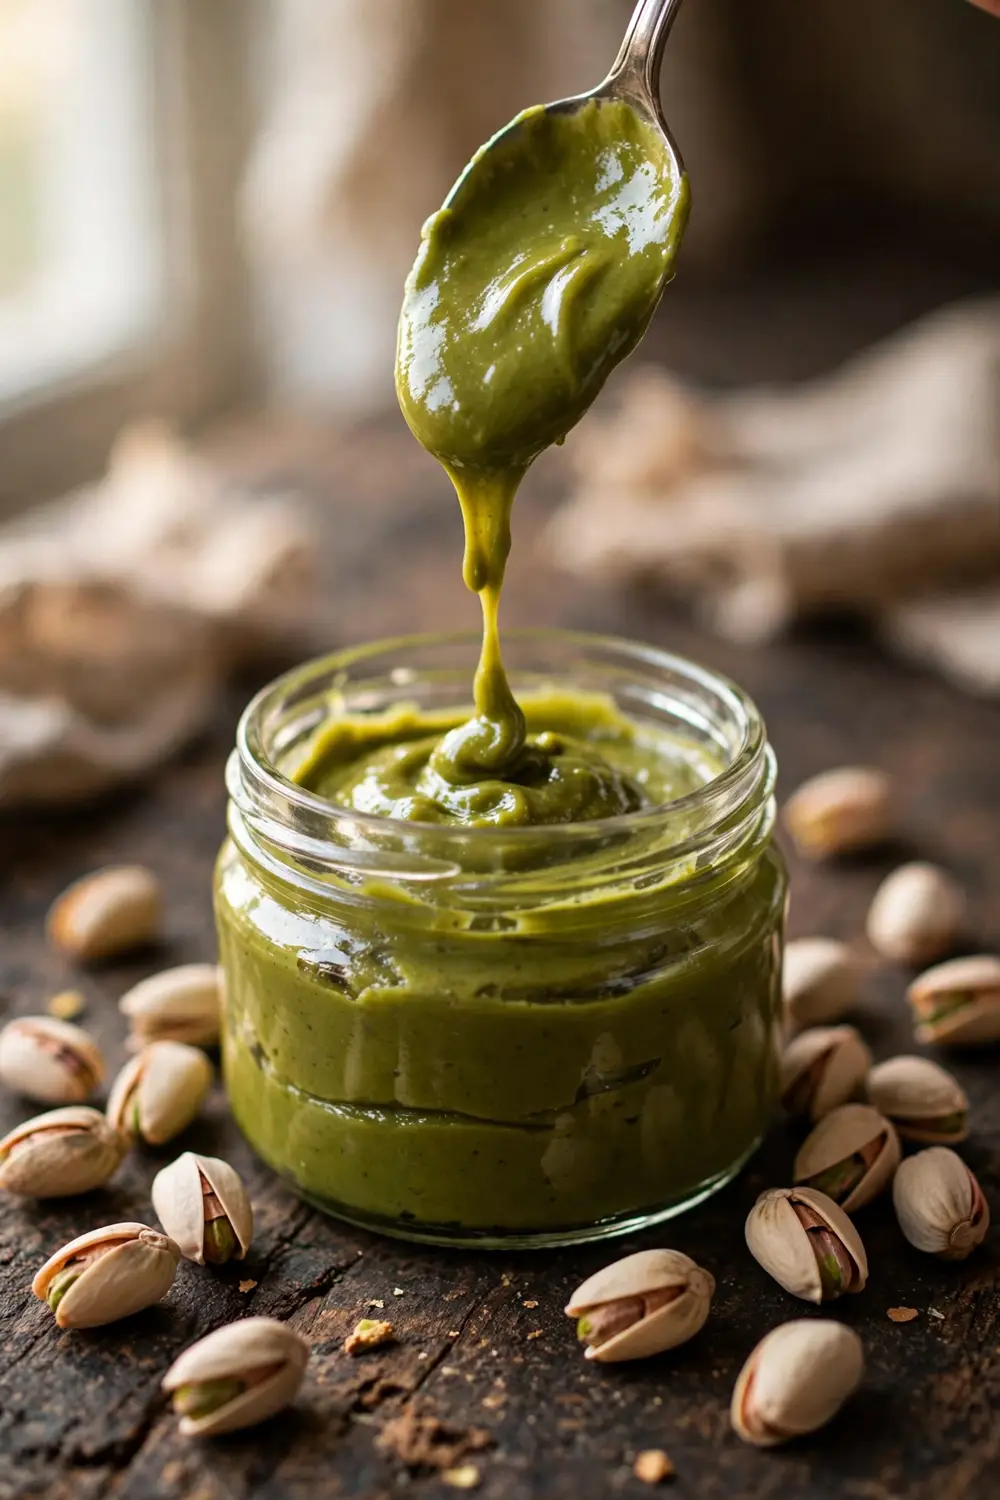
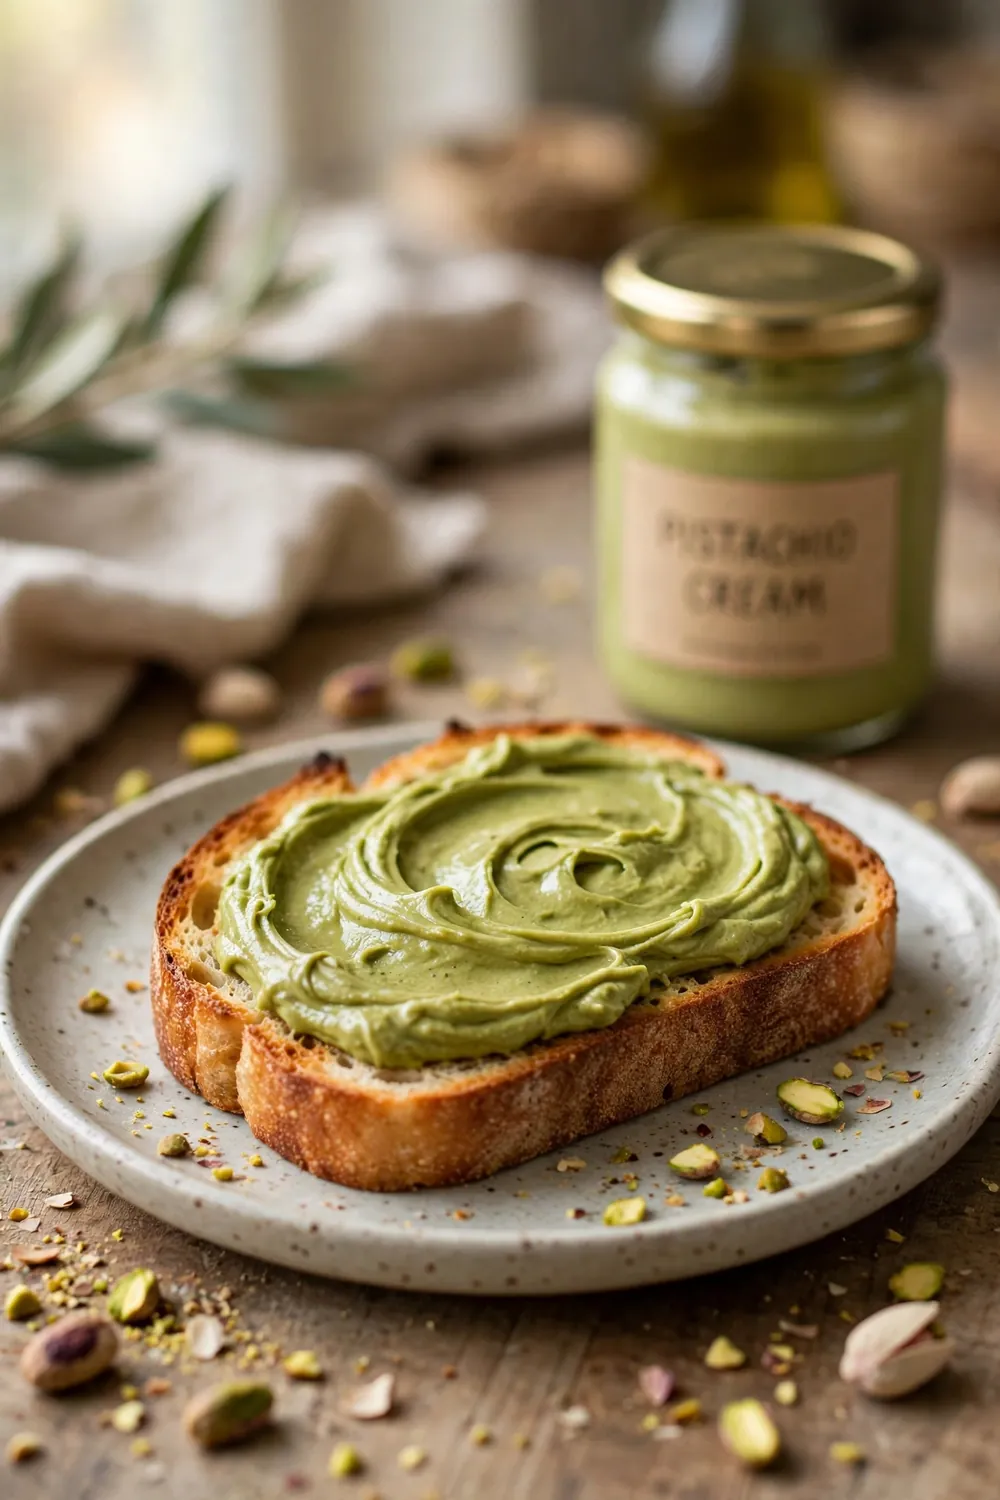
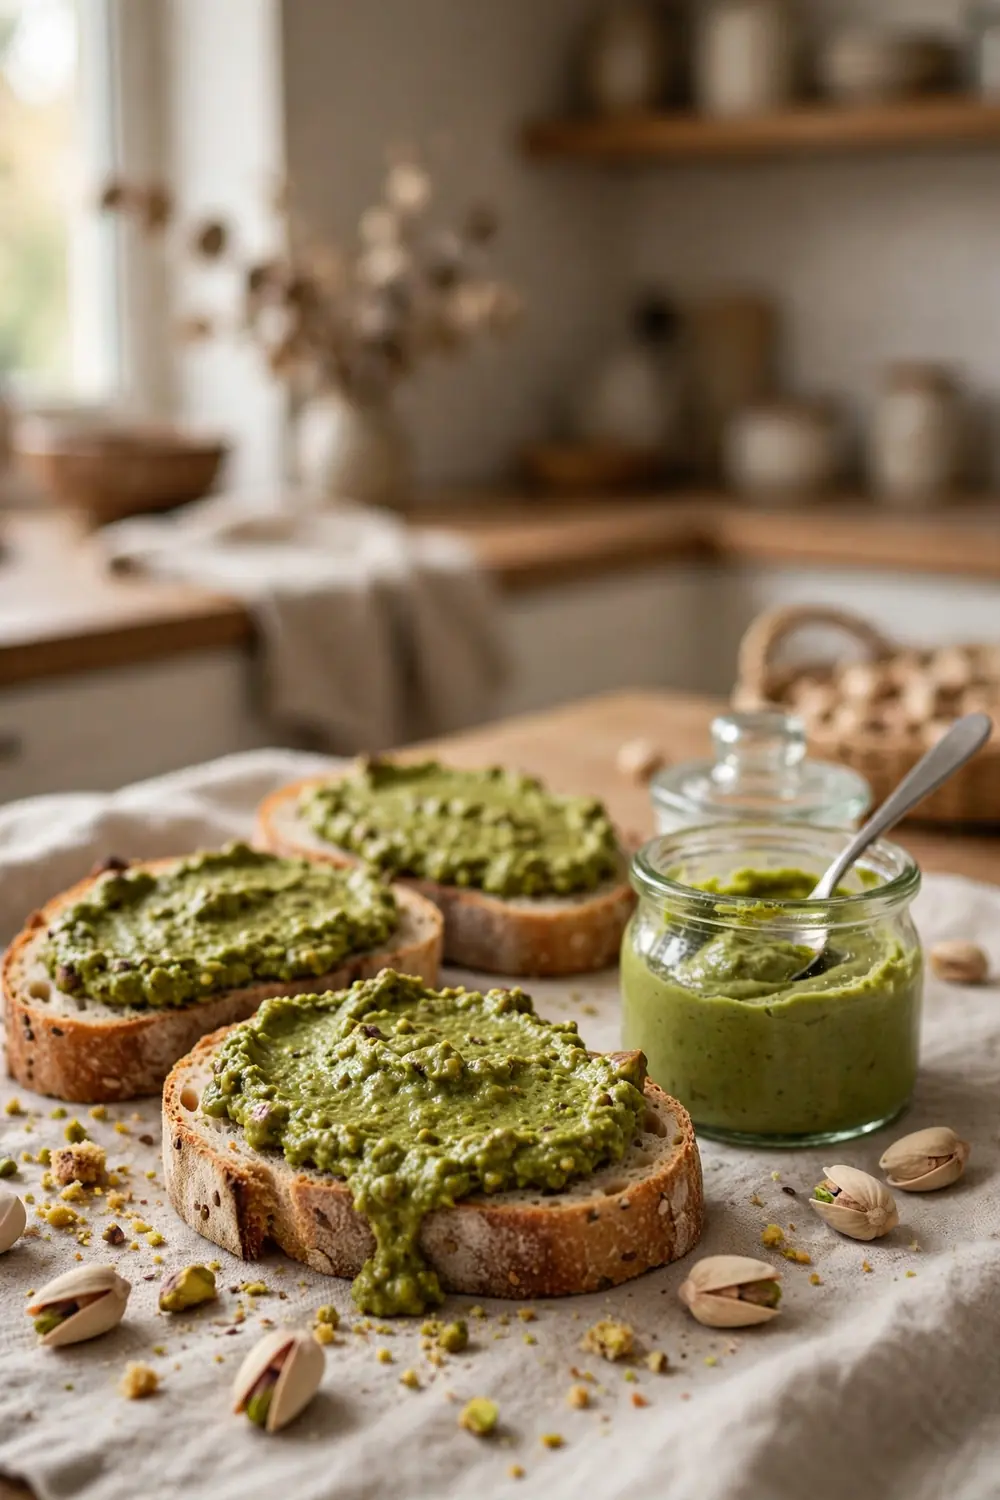
Swirl the paste into morning oatmeal, spread it on warm toast, or fold it through whipped cream. It pairs beautifully with dark chocolate, raspberries, and buttery shortbread. Keep a jar at the front of the fridge so it gets used instead of forgotten every week.
The best paste is the one you actually enjoy, so find your favorite pairing fast. Drizzle it over ice cream for an instant dinner party dessert. I have watched guests go quiet over pistachio swirled brownies, which says everything. Make extra, because it never lasts long.
Conclusion
These twenty five tips prove that homemade pistachio paste rewards anyone willing to learn its rhythms. From careful blanching to patient blending, each step builds silk you can taste. Pick your favorite techniques, practice them once, and watch your desserts improve. Start with one tip this weekend and build from there.
If you loved these silky ideas, you will also enjoy our 20 chocolate pecan tart ideas for a rich chocolate finish. I have paired nutty pastes with chocolate tarts at gatherings, and the combination always impresses. Save this guide to your baking board and share it.