21 Peanut Butter Oat Cups Ideas for Easy No-Bake Treats
Snacking gets a serious upgrade when peanut butter oat cups are waiting in the fridge. Chewy oat bases, creamy peanut centers, and endless topping options make these little cups the kind of treat you actually look forward to. They come together without an oven and satisfy sweet cravings in the smartest way.
Most no-bake snacks either fall apart or taste like health food in disguise. These cups solve both problems with a sturdy oat base that holds its shape and real peanut butter flavor in every bite. Each idea below focuses on one twist you can try, from chocolate shells to fruity centers and protein boosts.
I have made these for lunchboxes, post-workout fuel, and late-night cravings more times than I can count. They never last long once people taste them. Start with two or three favorites, then work through the rest whenever you need a fresh batch of grab-and-go goodness. For even more tasty ideas, don’t miss our jalapeno pimento cheese.
Classic No-Bake Base
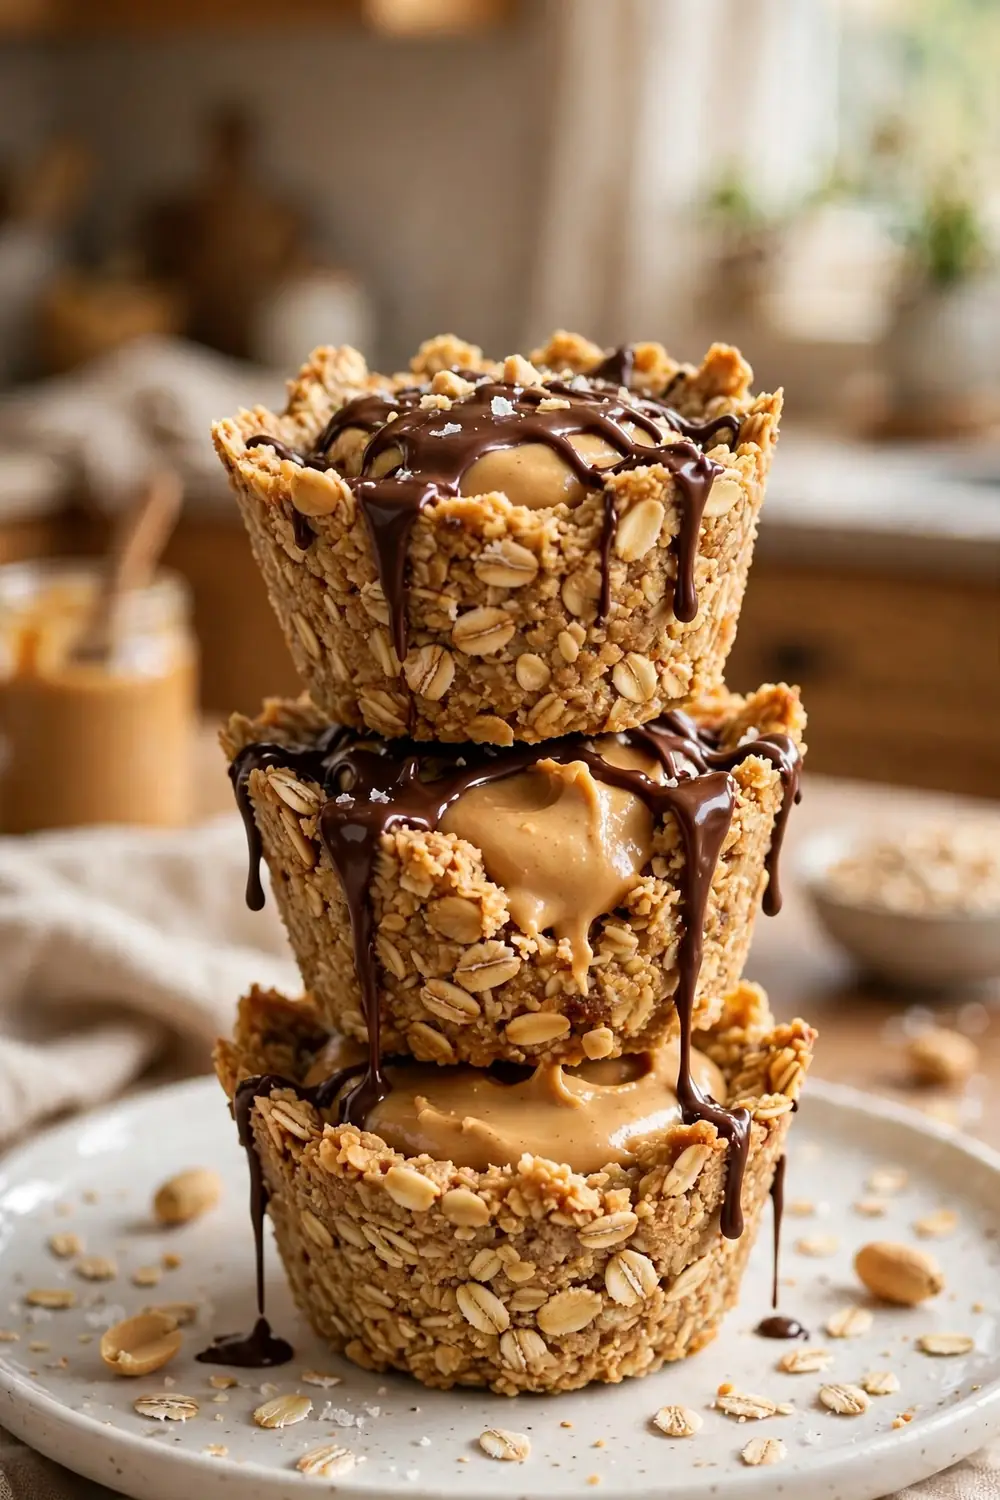
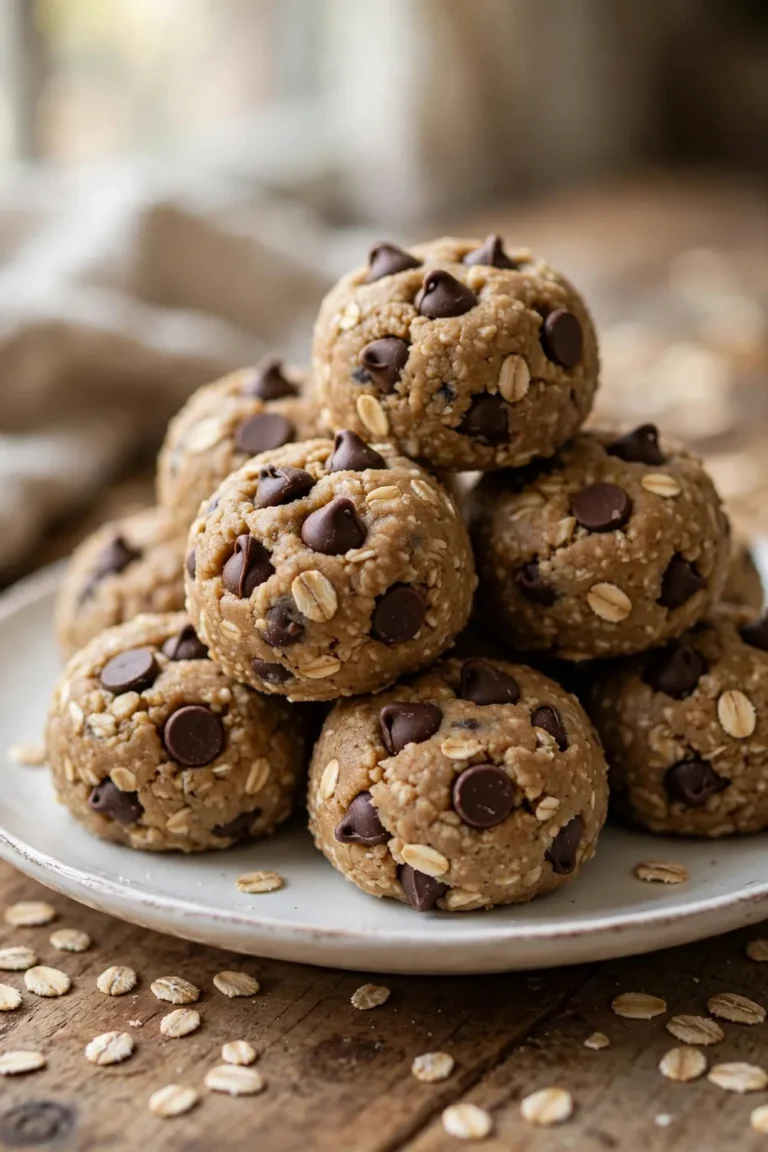
Every great cup starts with a base that holds together without baking. Stir rolled oats with peanut butter, honey, and a pinch of salt until the mixture clumps firmly. Press it hard into lined muffin tins so each cup forms a sturdy shell. A firm press prevents crumbly edges later.
The trick is the ratio: too much honey makes them sticky, too little makes them crumbly. In my experience, chilling the pressed bases for twenty minutes before filling gives the cleanest shape. They pop out easily and keep their form for days. Room-temperature filling spreads more smoothly over the cold base.
Chocolate Shell Topping
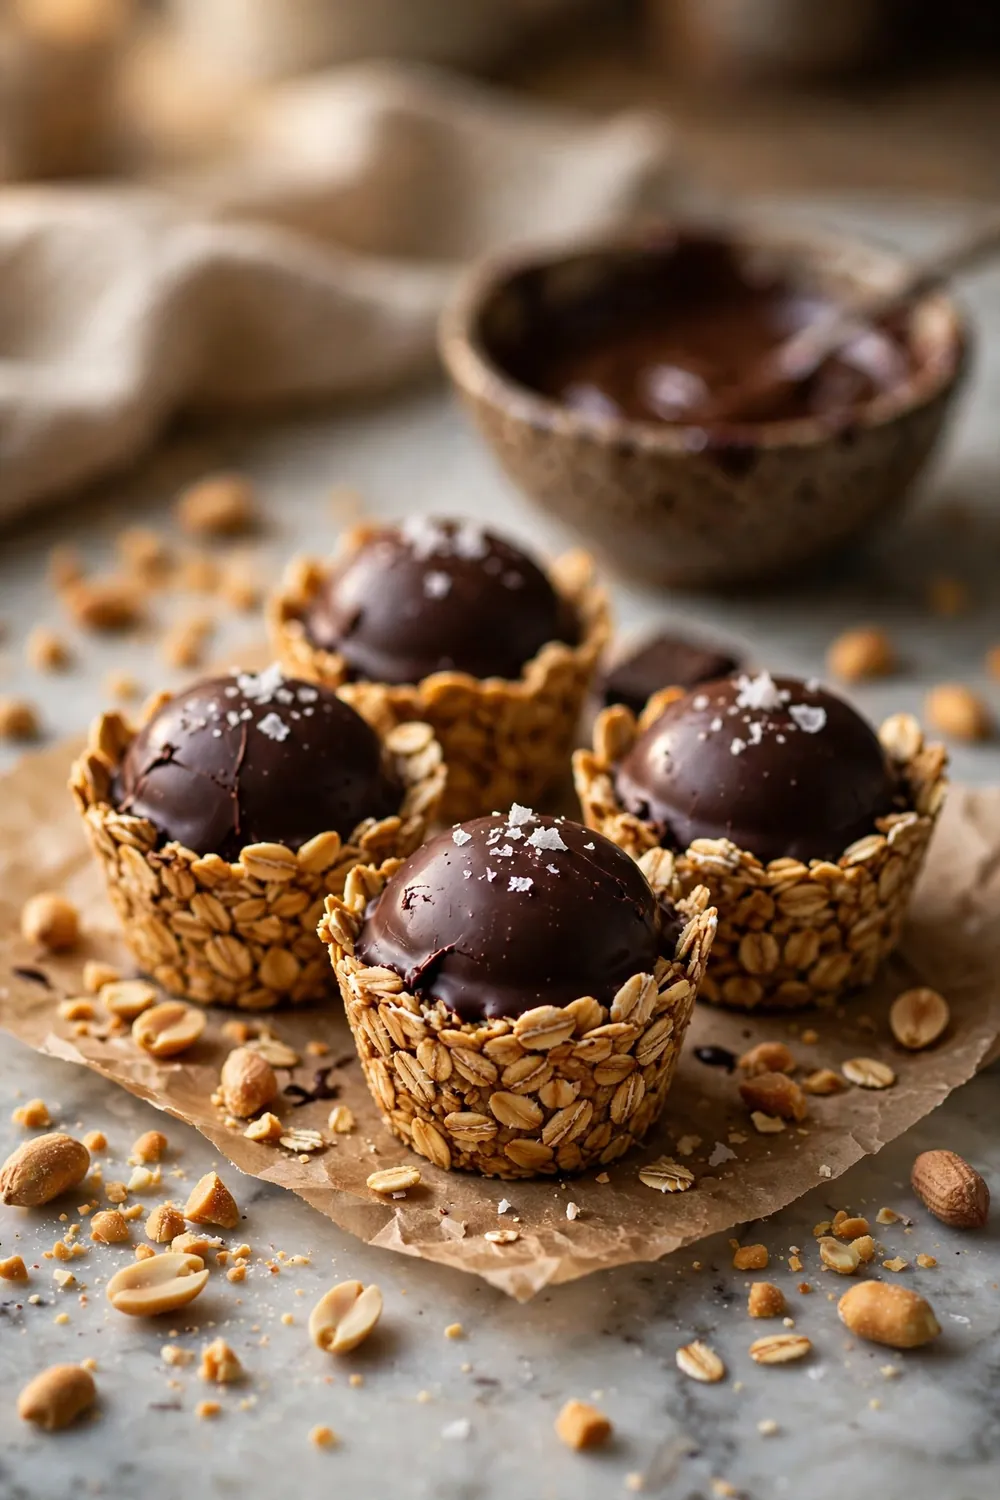
- Melt dark chocolate with a teaspoon of coconut oil for a smooth, pourable shell.
- Spoon it over chilled cups so it sets quickly into a crisp layer.
- Sprinkle flaky salt on top before the chocolate fully hardens.
- Use at least 60 percent cacao for the best flavor balance.
A crackly chocolate shell turns a simple oat cup into something that feels like a candy bar. The contrast between the crisp top and the chewy base is what makes people reach for seconds. Keep finished cups refrigerated so the shell stays snappy and firm.
Honey Almond Drizzle
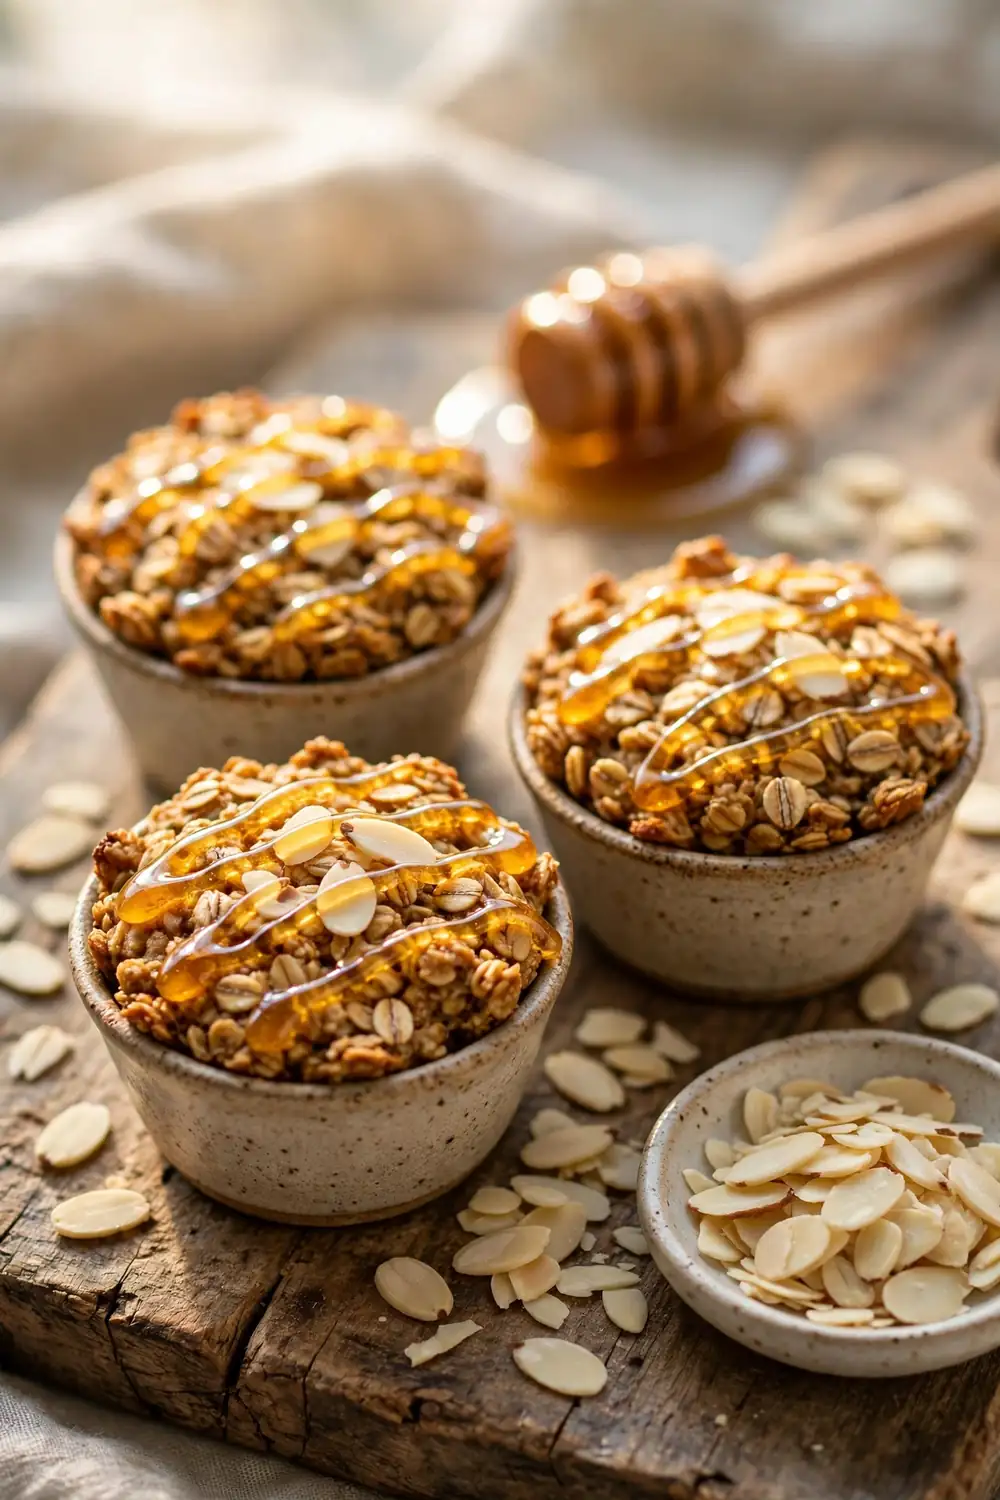
Quick Tip: Warm the honey for ten seconds before drizzling so it flows in thin, even lines. Cold honey globs instead of drizzling, and warm honey also helps the sliced almonds stick to the tops beautifully.
A honey almond drizzle adds floral sweetness and a little crunch to every cup. The almonds toast slightly against the warm honey, deepening their flavor. This topping works especially well on cups meant for breakfast or mid-morning snacking. A tiny pinch of cinnamon in the honey makes it even better.
Protein Powder Boost
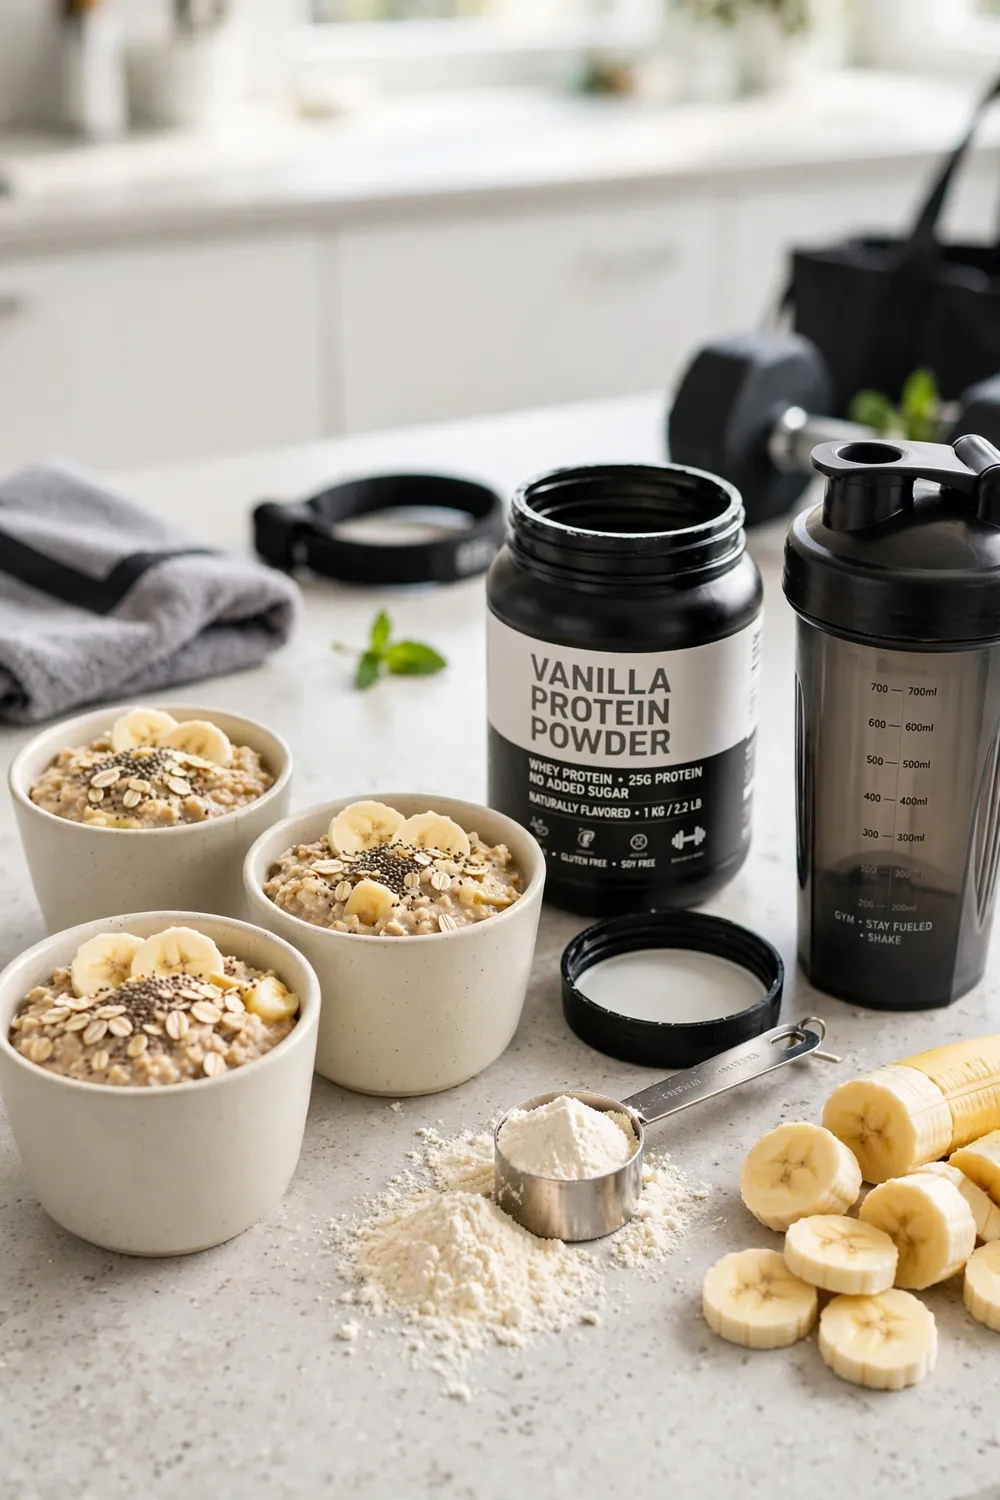
BEFORE: Regular snack cups taste great but leave you hungry again within the hour. Without enough protein, they work as dessert but fail as the fuel your afternoon actually needs.
AFTER: Mixing vanilla protein powder into the oat base turns each cup into a satisfying mini meal. They keep you full for hours while still tasting like a genuine treat.
Add one scoop per twelve cups and increase the peanut butter slightly to balance the dryness. Vanilla blends invisibly, while chocolate protein doubles the cocoa flavor. These are my go-to for post-workout refueling when I want something fast and filling. Unflavored collagen peptides work too if you prefer no added taste.
Banana Oat Layer
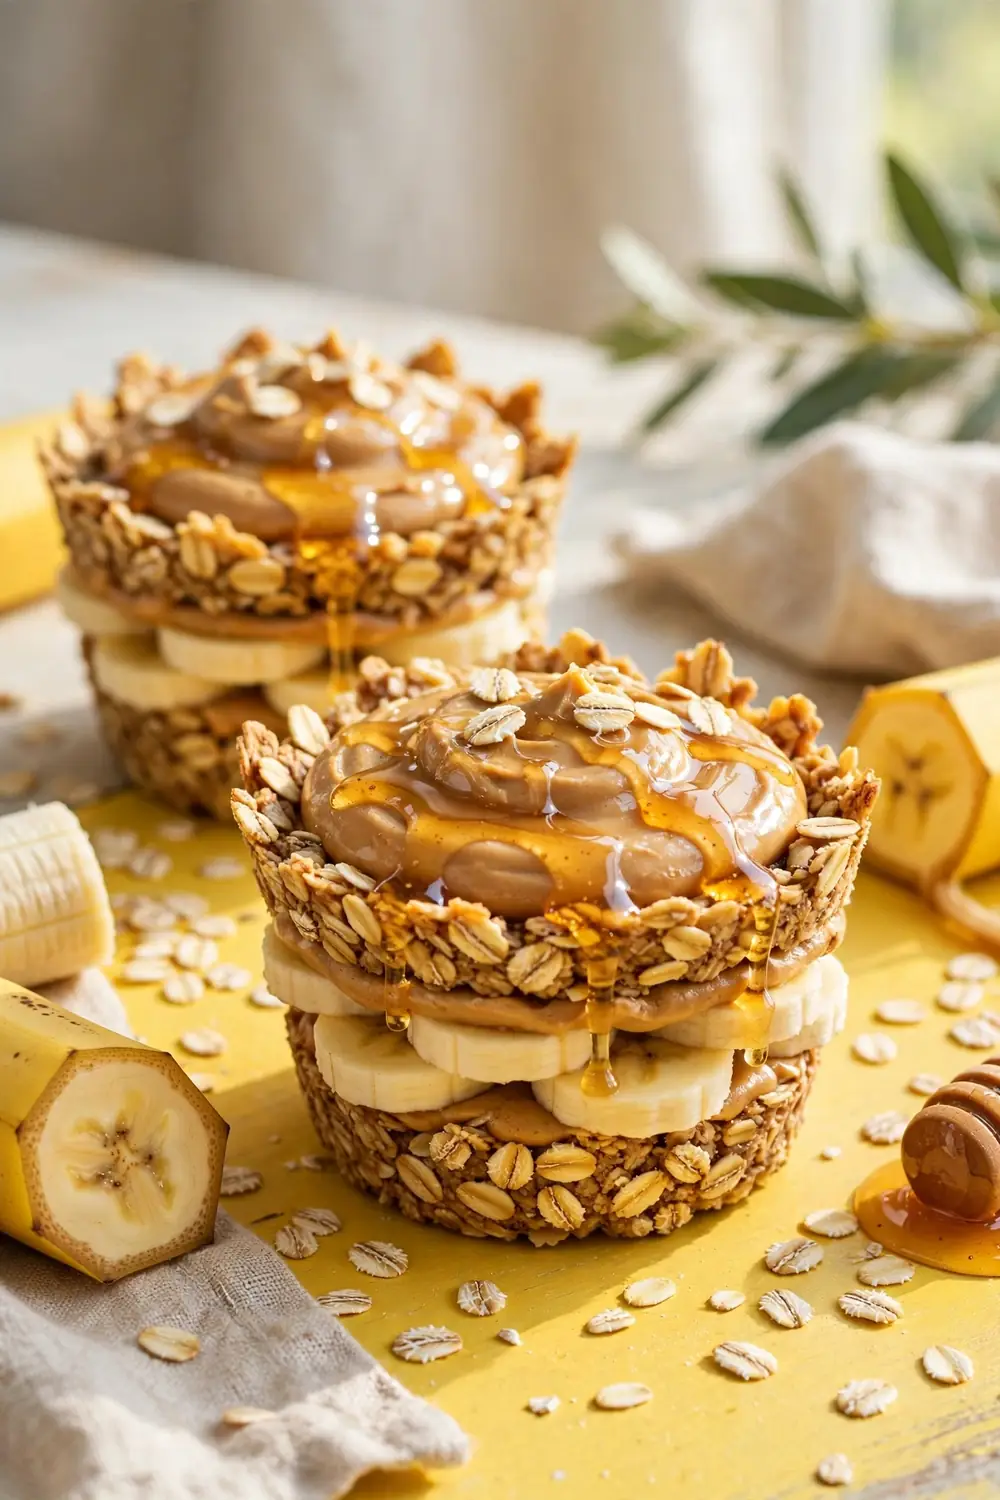
- Mash one ripe banana into the oat mixture for natural sweetness.
- Press the base, then add a thin banana slice before the peanut filling.
- Chill the cups so the banana layer firms up completely.
- Top with chocolate and refrigerate until serving.
Banana adds natural sweetness that lets you cut back on honey without losing flavor. The fruit layer also keeps the cups extra moist for days. Use ripe bananas with brown spots for the deepest, sweetest result in every bite. Freeze any extra ripe bananas for your next batch of cups.
Sea Salt Finish
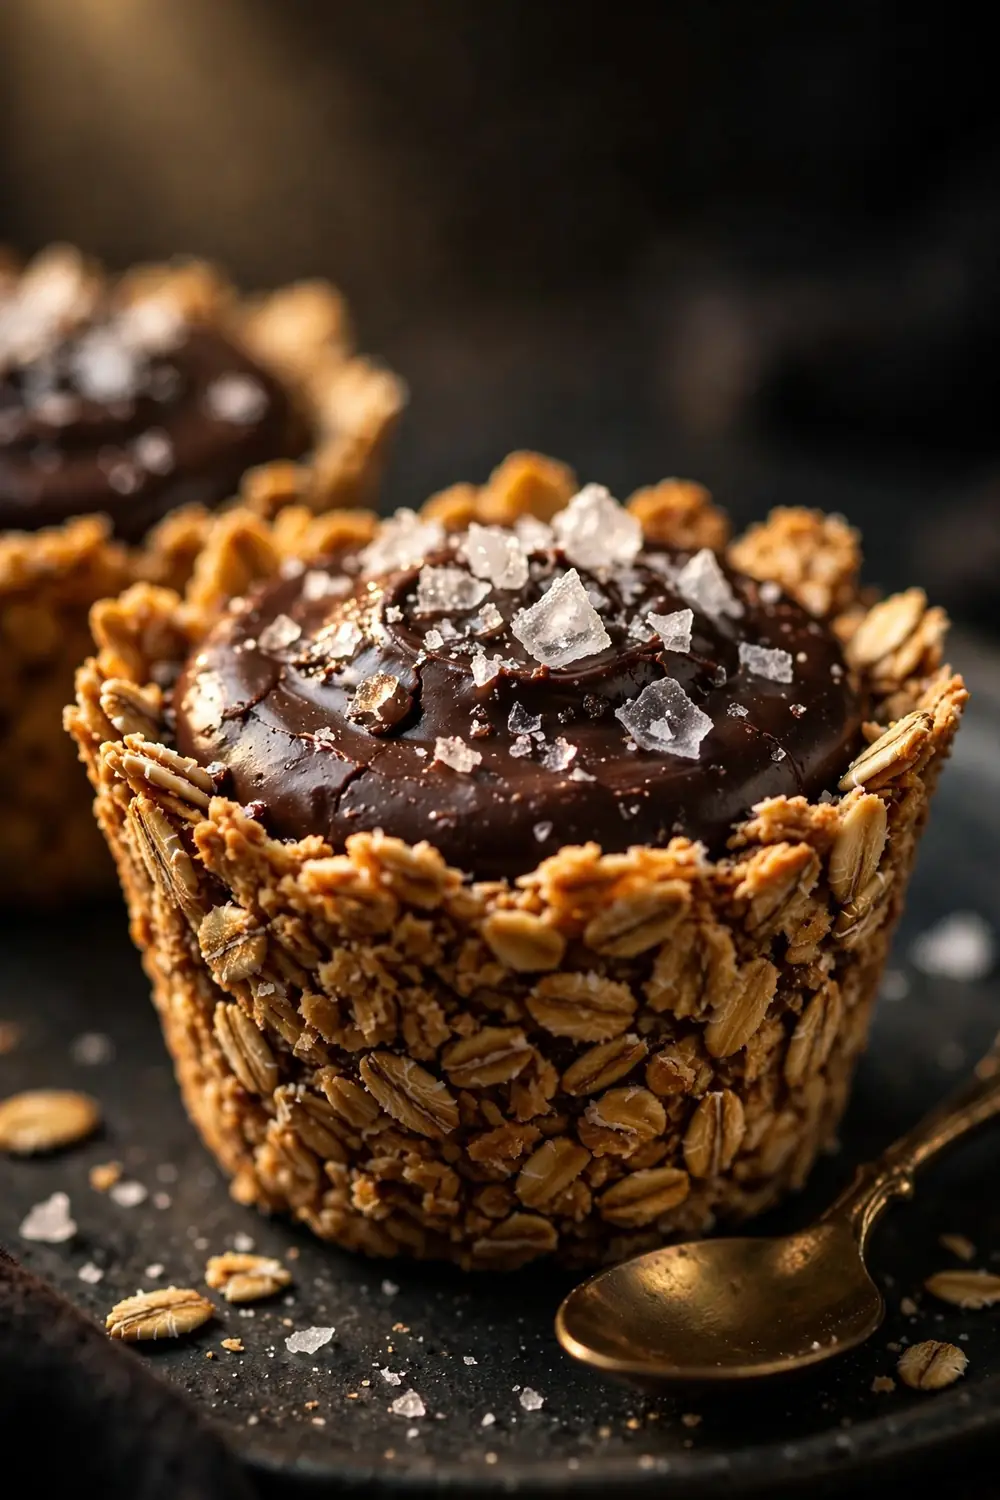
| Flaky Sea Salt | Fine Table Salt |
| Crunchy crystals that pop with each bite | Dissolves instantly with no texture |
| Beautiful visible sparkle on chocolate | Disappears into the topping |
| Mild, clean salinity | Can taste harsh in comparison |
| Best for finishing and presentation | Best mixed into the base only |
Salt is the secret ingredient that makes sweet cups taste more complex and addictive. A few flakes on top sharpen the peanut flavor and cut the richness of the chocolate. Add it last, right before the chocolate sets, so every crystal stays visible and crunchy.
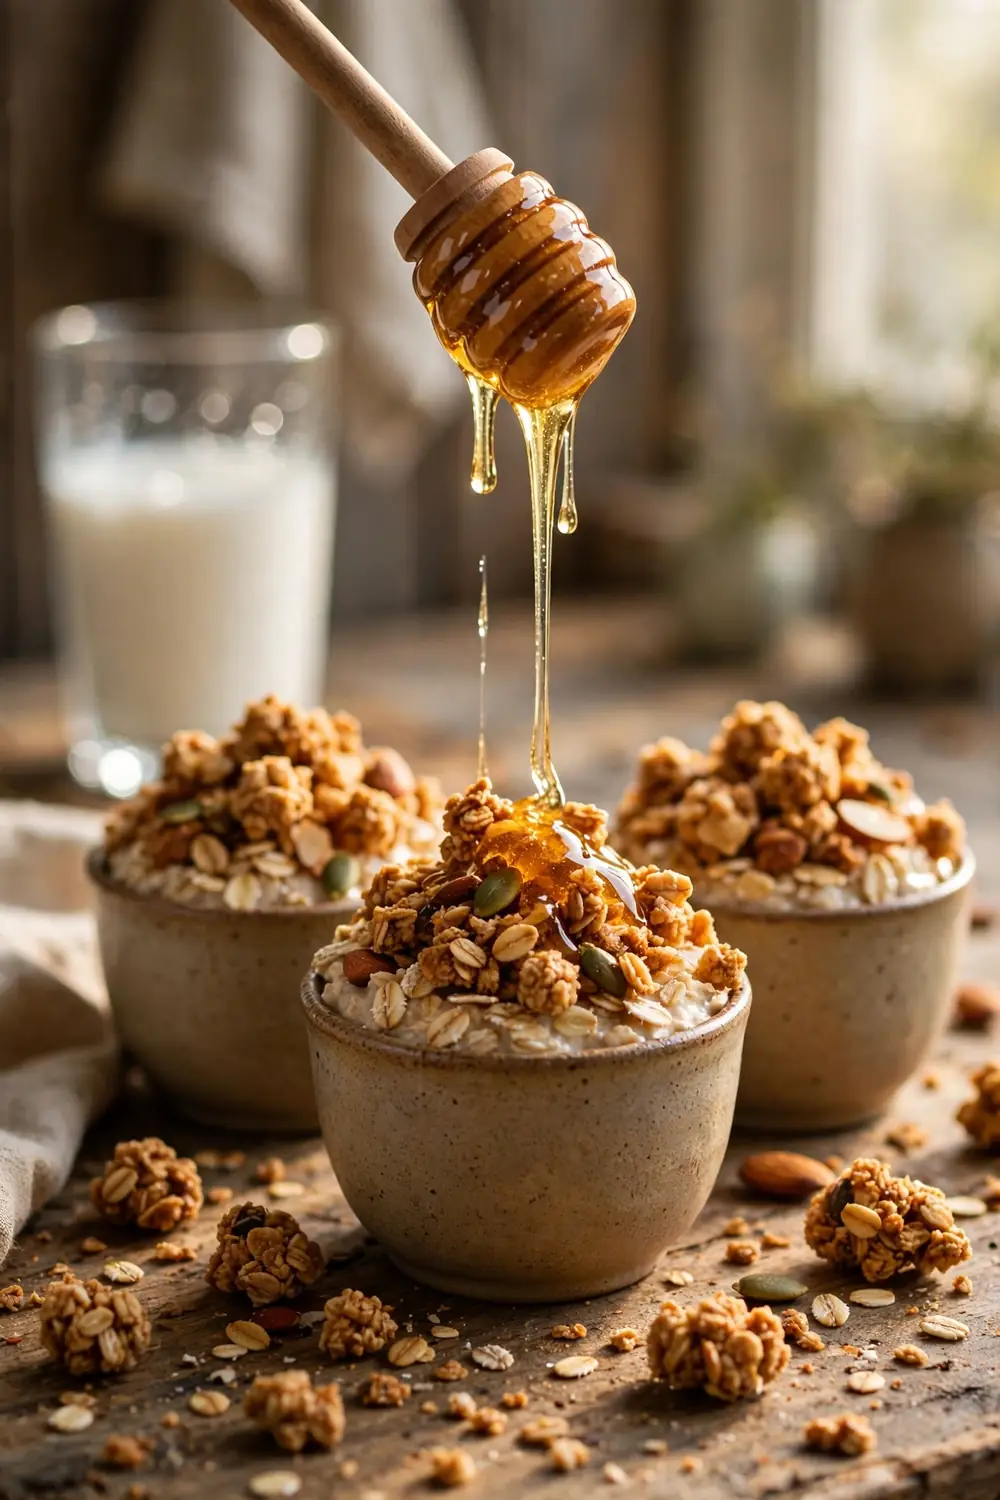
Crunchy Granola Mix
DO:
- Choose a chunky granola with big clusters for the best texture.
- Press the granola gently into the wet chocolate so it sticks.
- Match granola flavors to the cup, like honey granola on classic cups.
DON’T:
- Use sugary cereal clusters that overwhelm the peanut flavor.
- Skip pressing; loose granola falls off at the first bite.
- Add granola to warm cups where it turns soggy fast.
Granola adds a hearty crunch that makes each cup feel more substantial and breakfast-worthy. The clusters catch the chocolate and create craggy, interesting tops. This version disappears fastest at brunch gatherings in my experience. Let guests add their own granola at the table for maximum crunch.
Coconut Flake Topping
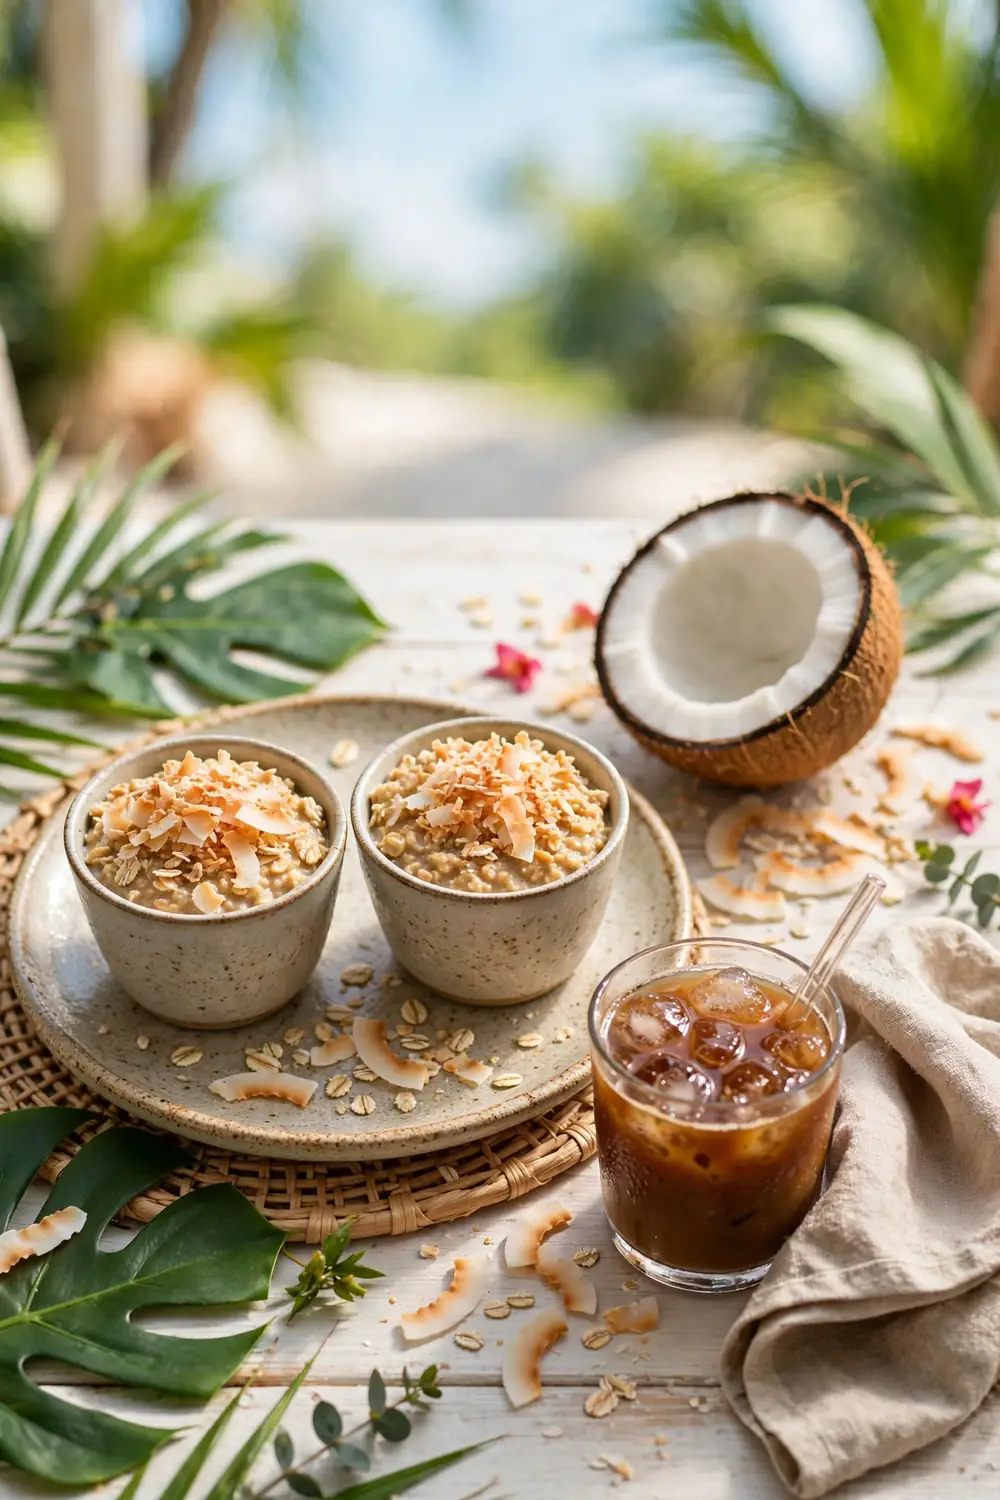
Cost: Low | Time: 5 minutes extra | Skill Level: Beginner | Best For: Tropical flavor fans
Toasted coconut brings a chewy, nutty sweetness that pairs beautifully with peanut butter. Toast the flakes in a dry skillet until just golden, watching closely since they burn fast. The light crunch and tropical aroma make these cups taste like a beach vacation. Unsweetened flakes keep the sugar in check nicely.
Double Chocolate Core
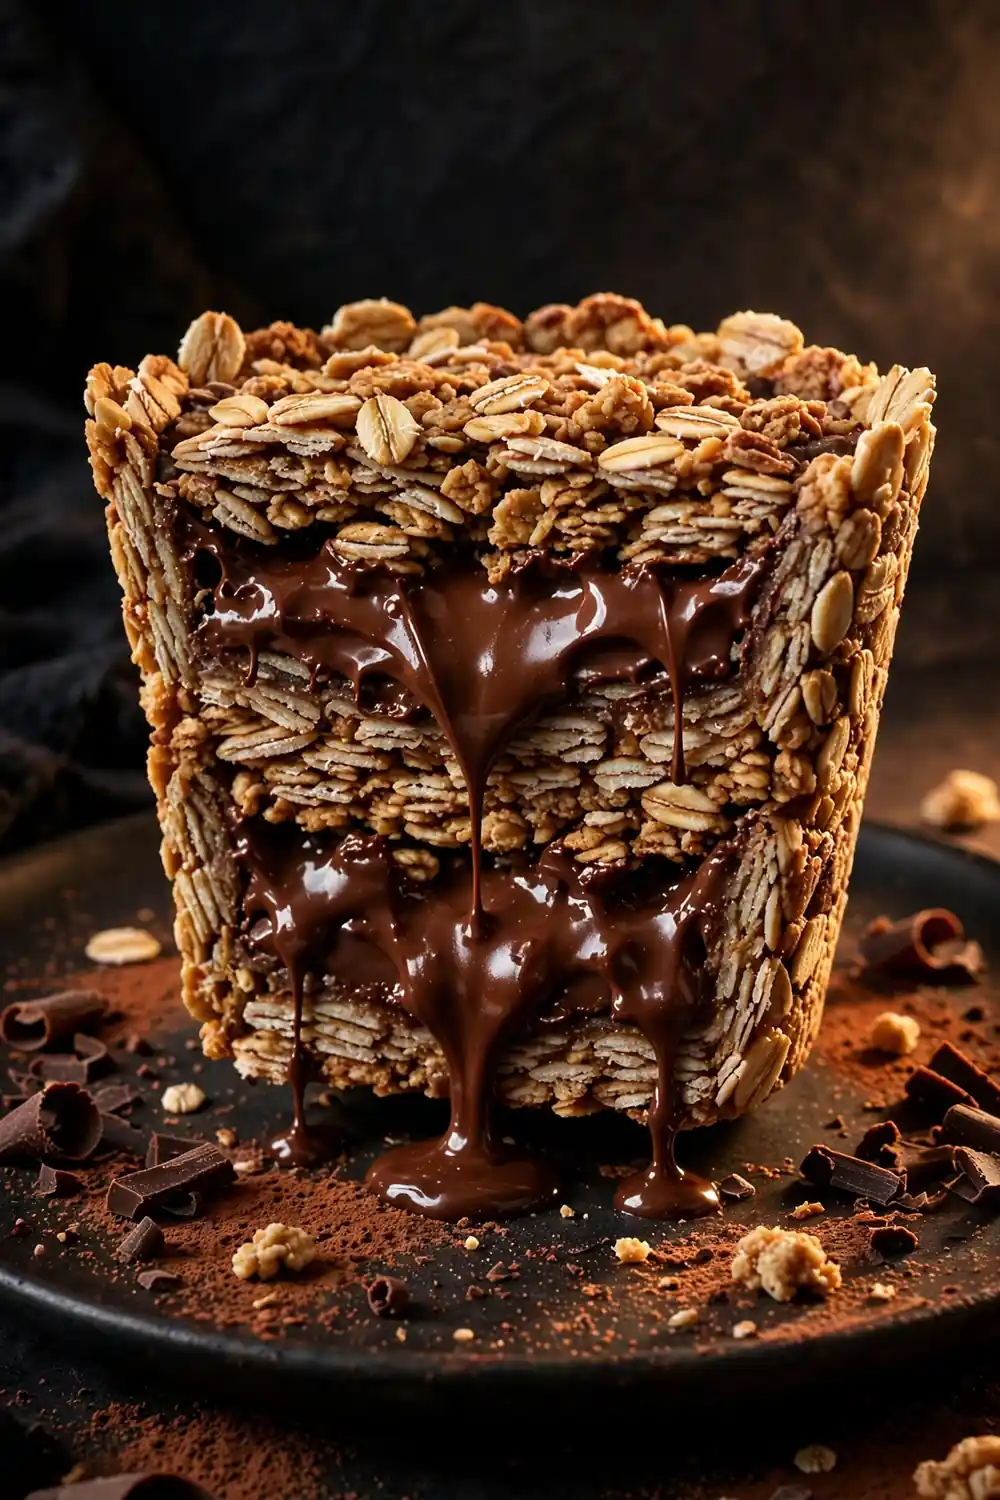
For serious chocolate lovers, one layer is never enough. Spread a thin layer of chocolate hazelnut spread over the oat base before adding the peanut filling. The two spreads meld into a marbled center that tastes like a premium candy cup. Warm the spread slightly so it layers smoothly and evenly.
Keep the chocolate layer thin so the peanut flavor still shines through. I have found that chilling between layers prevents everything from sliding together. The cross-section looks stunning, which makes these perfect for sharing photos that get saved. Slice one open before serving to show off the layers.
Peanut Drizzle Swirl
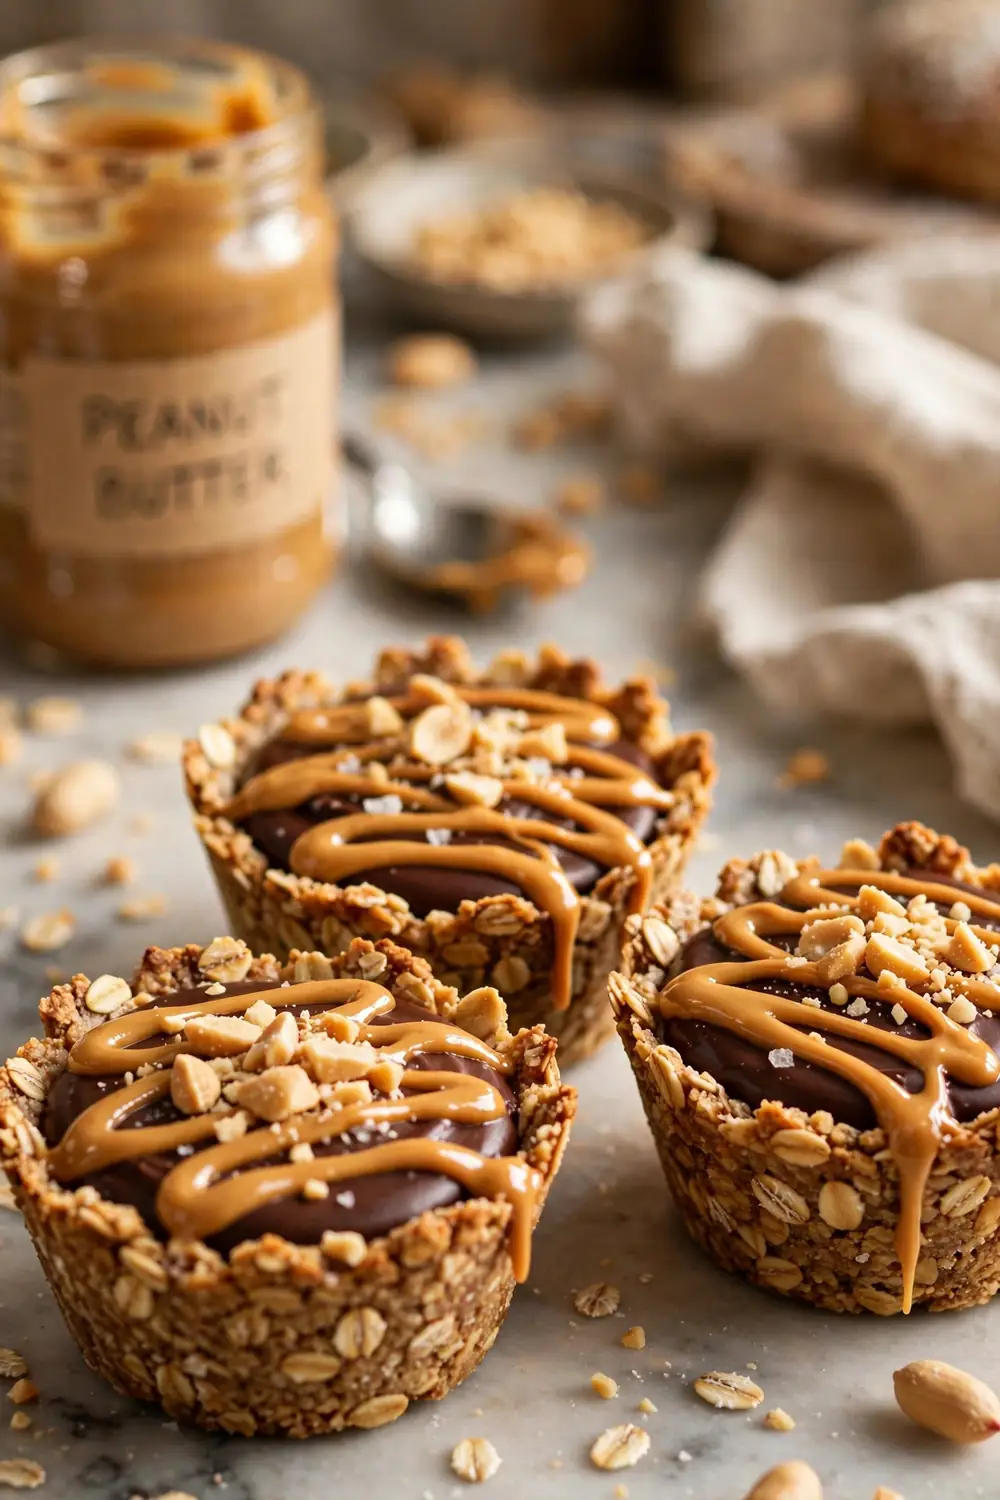
- Warm peanut butter for fifteen seconds until it pours like honey.
- Use a spoon or piping bag for clean, controlled zigzag lines.
- Drizzle over set chocolate so the pattern stays crisp and visible.
- Add crushed peanuts on top while the drizzle is still wet.
A peanut drizzle swirl makes plain cups look bakery-professional with almost no effort. The extra peanut flavor intensifies what is already inside. Let the drizzle set in the fridge for ten minutes before stacking or packing the cups. Use natural peanut butter for the smoothest, glossiest drizzle.
Frozen Yogurt Cups
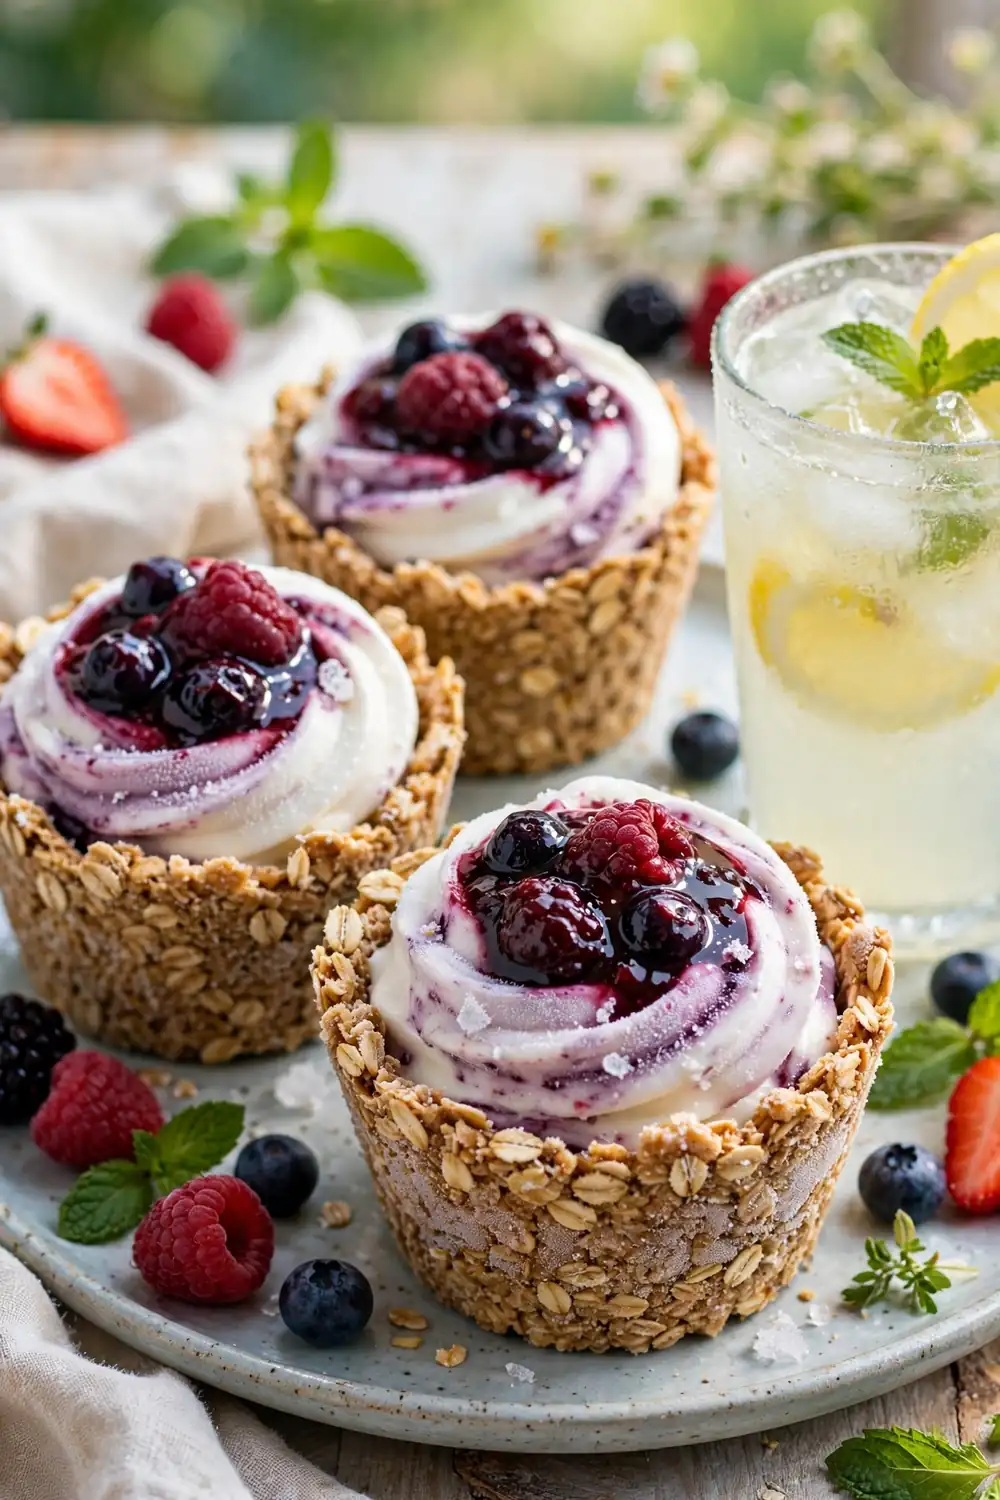
Quick Tip: Freeze the filled cups for at least four hours until completely solid. Let them sit at room temperature for five minutes before eating so the yogurt softens to a creamy, ice-cream-like texture instead of an icy block.
Swapping the peanut center for thick Greek yogurt creates a frozen treat with a fraction of the sugar. The oat base stays chewy even when frozen, which is a delightful surprise. Top with berry compote before freezing for a beautiful marbled finish. Full-fat yogurt freezes creamiest, so skip the nonfat versions here.
Espresso Kick Version
BEFORE: Afternoon snack cups give you a quick sugar lift followed by an energy crash. They taste good in the moment but leave you reaching for coffee an hour later anyway.
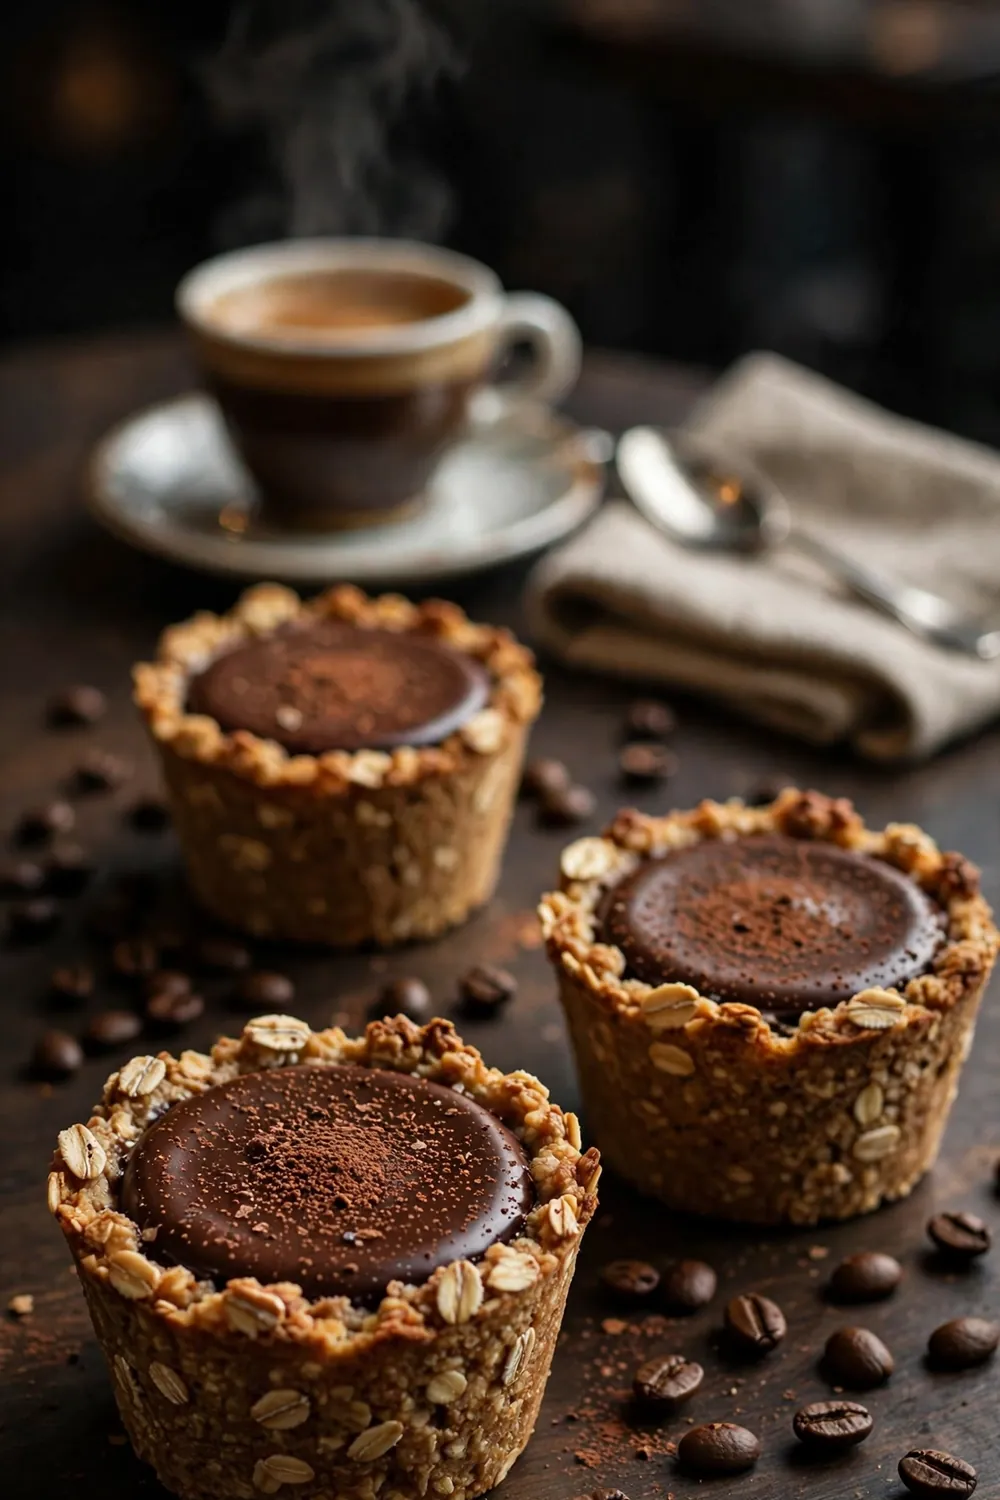
AFTER: A shot of espresso mixed into the chocolate topping delivers gentle caffeine with your treat. The coffee deepens the chocolate flavor while giving you the lift your afternoon needs.
Dissolve instant espresso in the warm melted chocolate before spooning it over the cups. One teaspoon per batch adds flavor without bitterness. These are strictly for grown-up snacking, and they pair beautifully with an actual afternoon coffee. Label the container clearly so kids do not grab them by mistake.
Trail Mix Topping
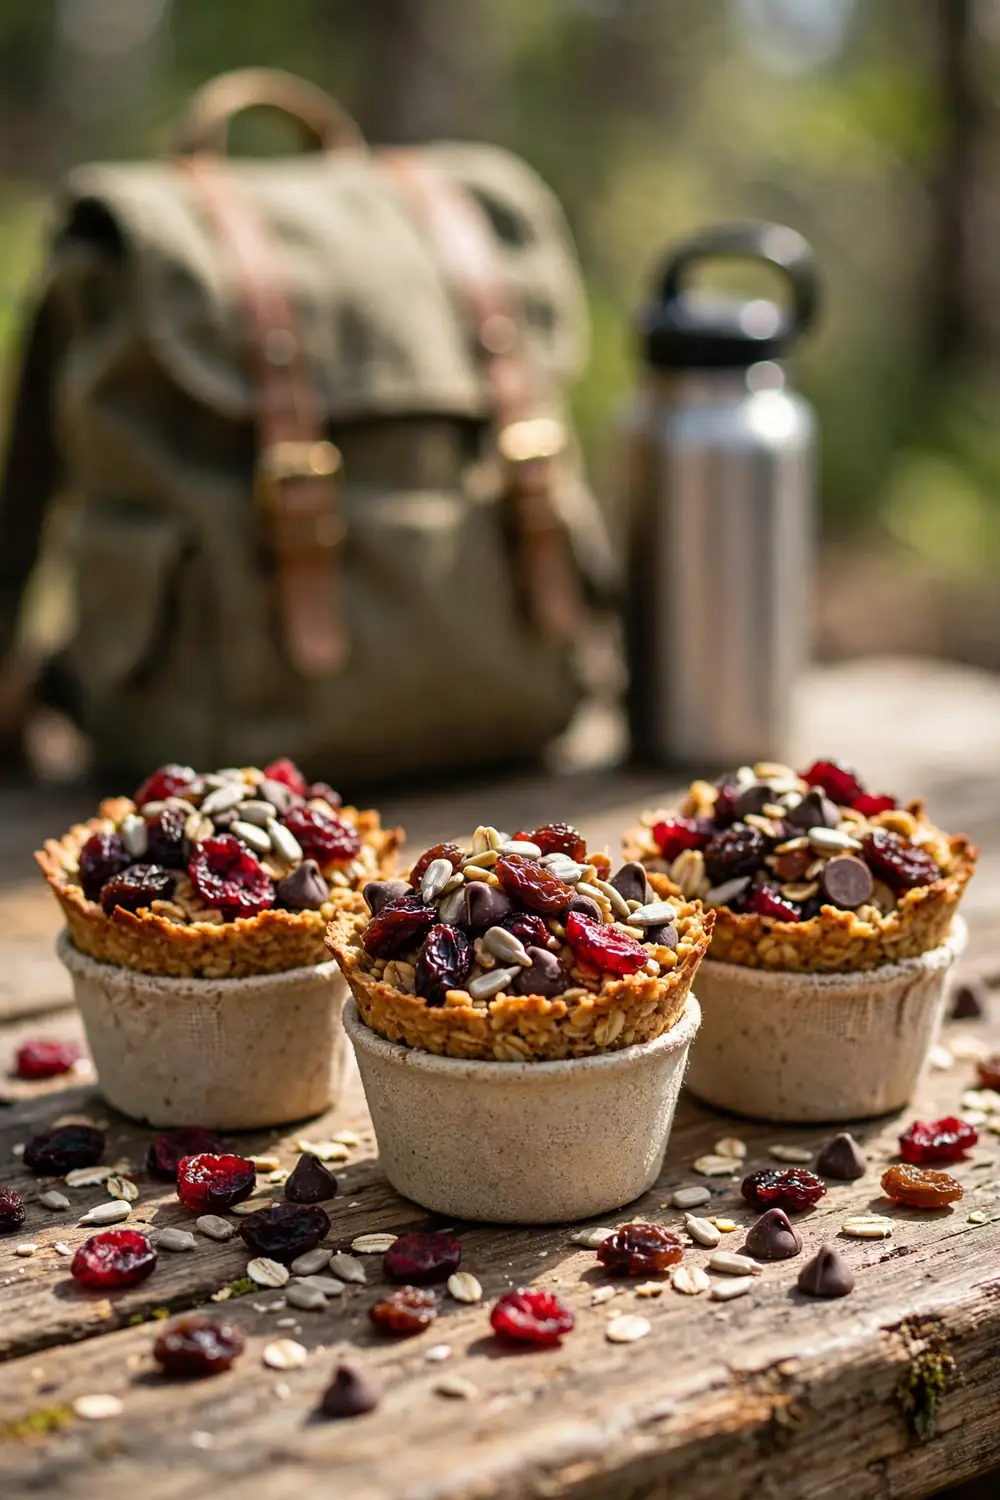
- Press the oat bases and add the peanut filling as usual.
- Spoon warm chocolate over each cup while it is still pourable.
- Scatter a spoonful of trail mix over the wet chocolate immediately.
- Press gently and chill until the topping locks in place.
Trail mix turns each cup into a complete mini snack with fruit, seeds, and chocolate in every bite. The variety of textures keeps them interesting far longer than single-topping versions. Pack these for hikes, road trips, or lunchboxes that need to satisfy. Choose a mix without added candy for a less sugary result.
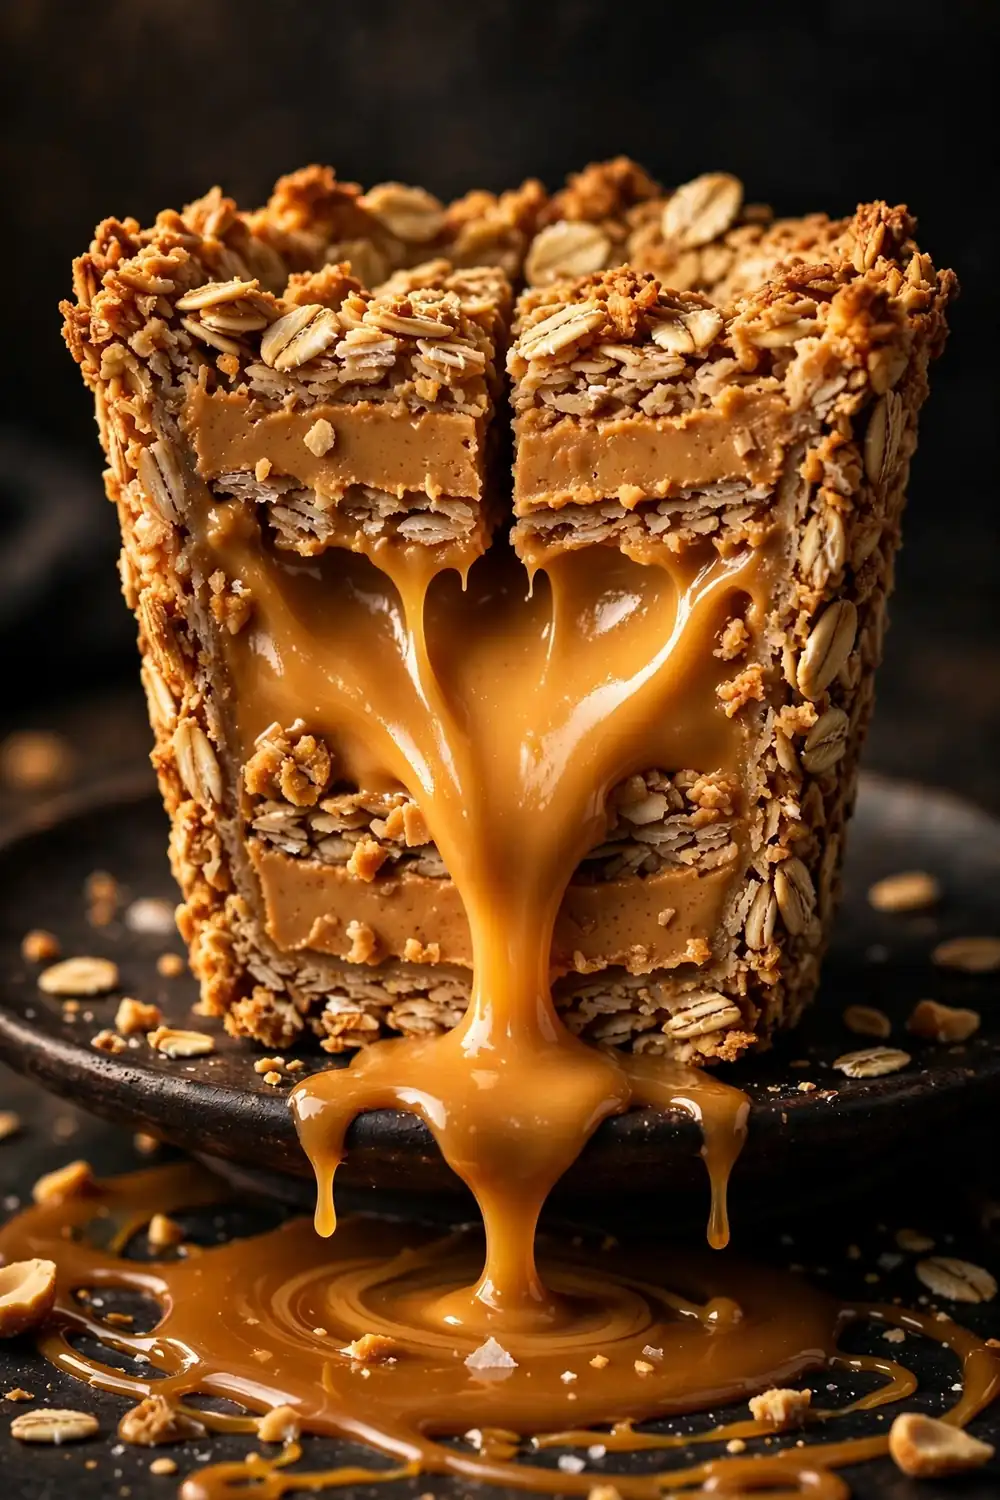
Caramel Center Fill
| Thick Caramel Sauce | Caramel Candies Melted |
| Spoonable and easy to layer neatly | Needs unwrapping and melting first |
| Stays soft and gooey when chilled | Can firm up too much in the fridge |
| Even sweetness in every bite | Rich but sometimes overly sweet |
| Ready in seconds from a jar | Takes ten minutes of careful melting |
A caramel center makes these cups taste like a high-end candy bar. Spoon a thin layer of thick caramel over the peanut filling before adding the chocolate top. Keep the layer modest; caramel is sweet enough to dominate if you overdo it. A sprinkle of sea salt on the caramel balances the sweetness perfectly.
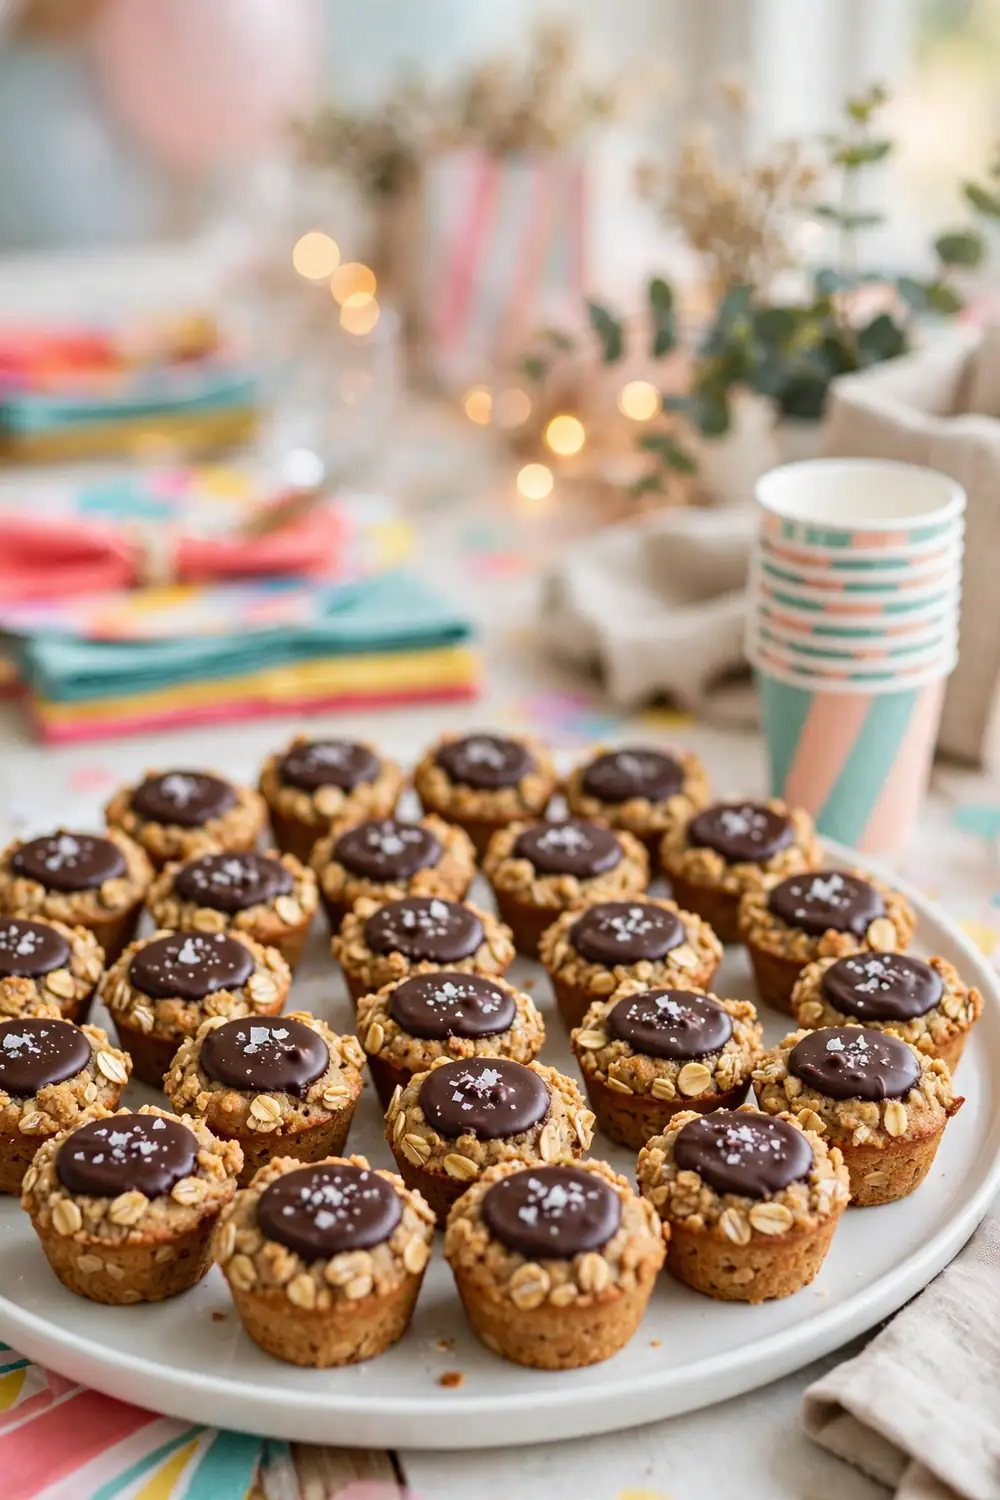
Mini Muffin Size
DO:
- Use a mini muffin tin with paper liners for easy removal.
- Press the base firmly since small cups crumble more easily.
- Chill the tray before filling so the tiny bases hold shape.
- Count on three minis equaling one regular cup.
DON’T:
- Overfill the tiny liners or the filling spills everywhere.
- Skip the liners; minis stick far worse than full-size cups.
- Expect them to last; guests eat twice as many.
Mini versions are dangerously poppable and perfect for parties where people graze. The smaller size also makes portion control feel effortless. I always make a double batch for gatherings because the first tray vanishes within minutes. Arrange them on a tiered stand for a pretty party display.
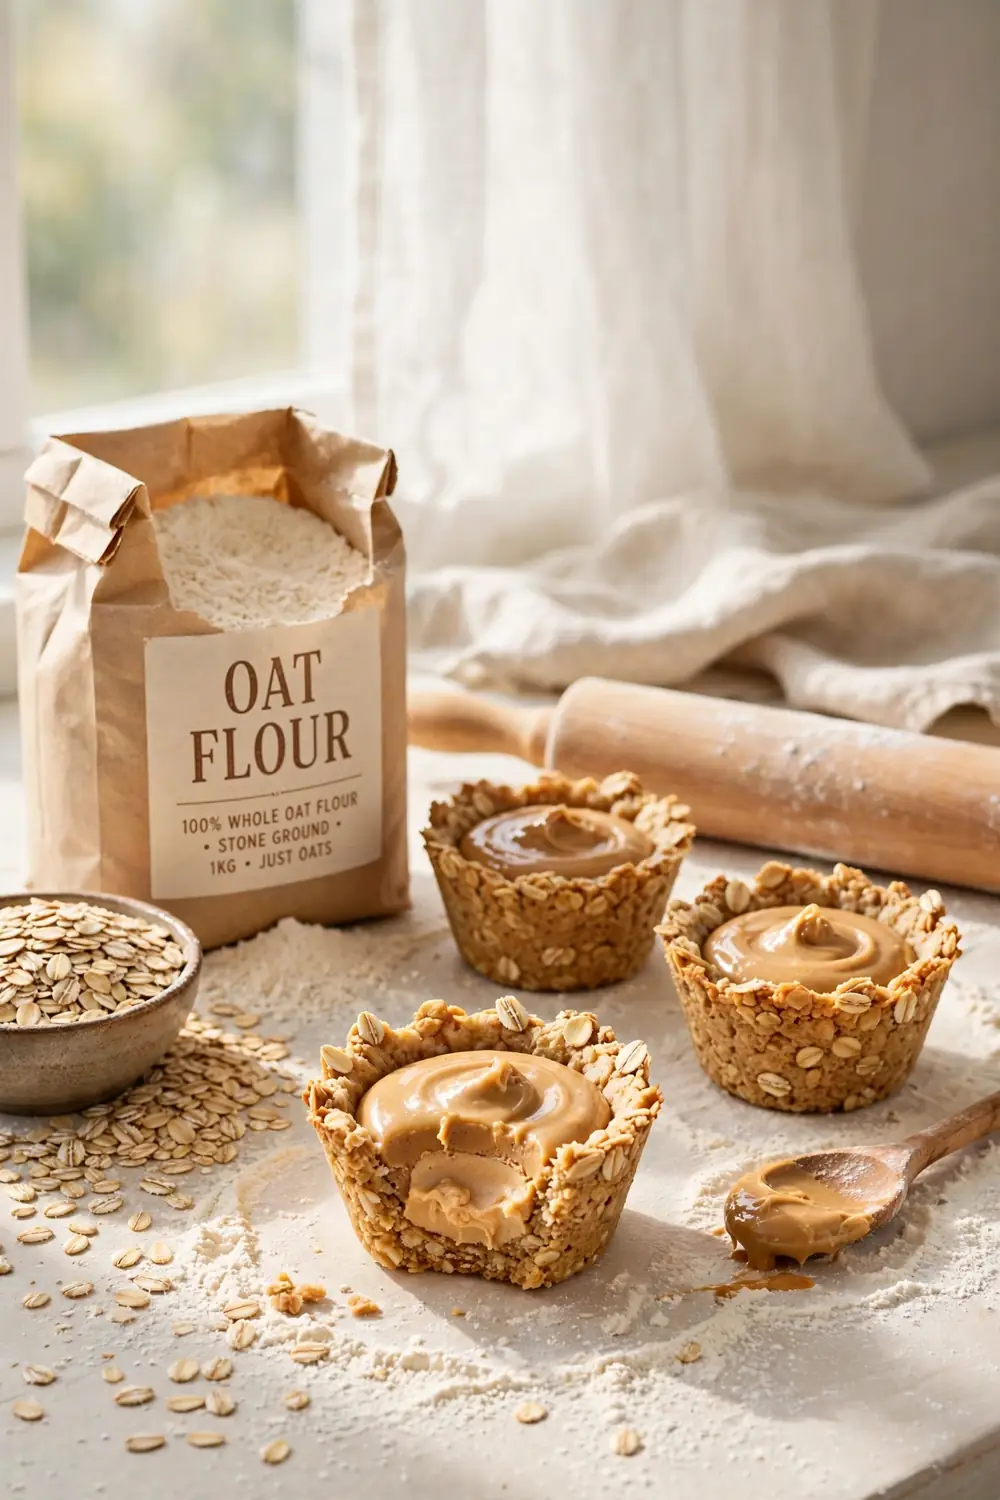
Oat Flour Base
Cost: Low | Time: Same as classic | Skill Level: Beginner | Best For: Smoother texture lovers
Blending the oats into flour creates a smoother, more cookie-like base that some people prefer. The fine texture packs tighter and slices cleaner than chunky rolled oats. Pulse the oats in a blender for thirty seconds until they resemble coarse flour. Sift out any large flakes for the smoothest possible texture.
Raspberry Jam Heart
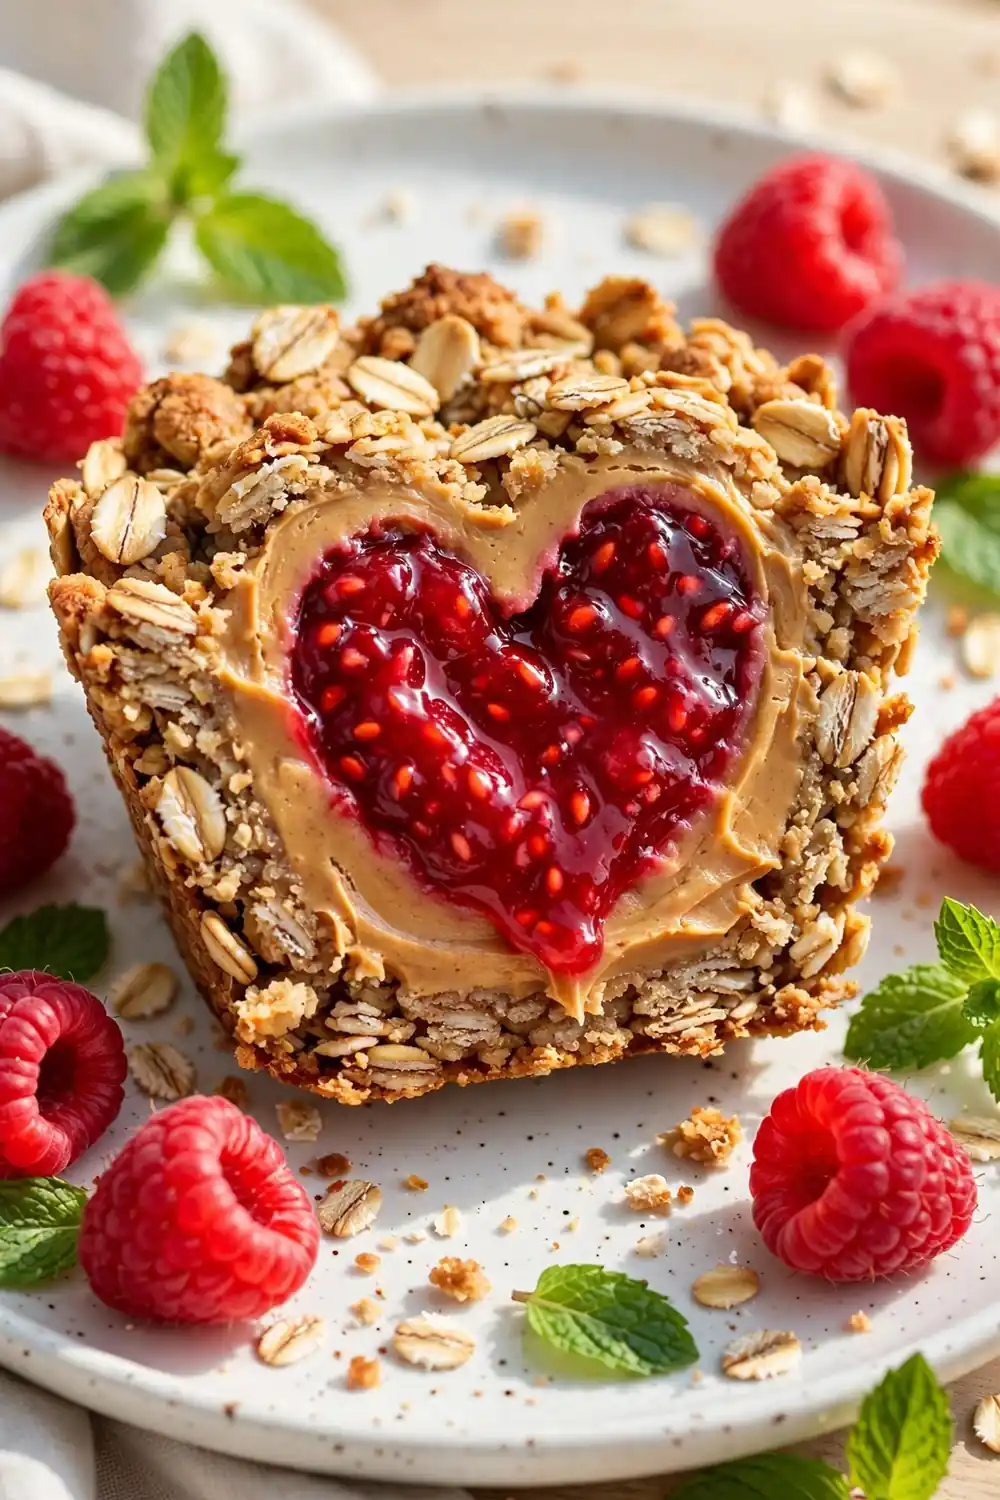
Peanut butter and jelly is a classic for a reason, and it works beautifully in cup form. Spoon a small dollop of raspberry jam into the center of the peanut filling before chilling. The tart fruit cuts the richness and adds a jewel-like surprise inside.
Use seedless jam for the smoothest texture and the prettiest cross-section. In my experience, a little goes a long way; a teaspoon per cup is plenty. These taste like childhood nostalgia upgraded into something genuinely special. Blackberry or strawberry jam works just as well here.
Toasted Pecan Crunch
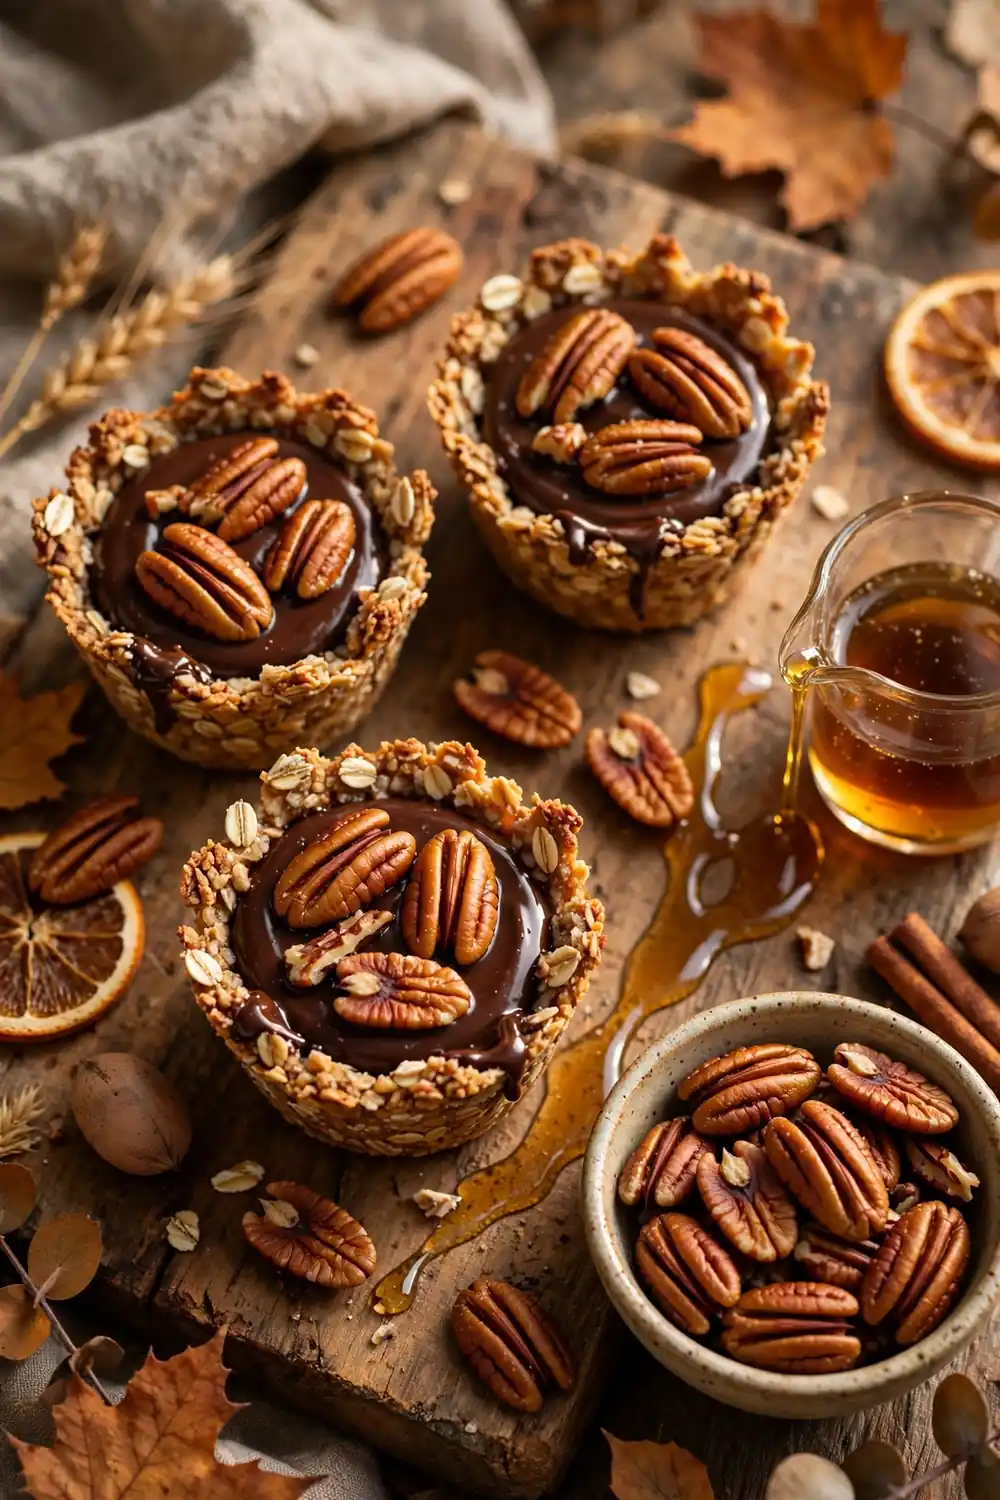
- Toast pecan halves in a 350-degree oven for eight minutes until fragrant.
- Cool them completely so they stay crisp on the chocolate.
- Press one perfect half into the center of each cup.
- Chop the rest and scatter for extra crunch around the edges.
Toasted pecans add a buttery, sophisticated crunch that upgrades the humble oat cup. The toasting step is non-negotiable; raw pecans taste flat by comparison. These feel like the grown-up version of the classic, perfect with coffee and conversation. Store toasted pecans in a sealed jar so they stay crisp for weeks.
Maple Cinnamon Blend
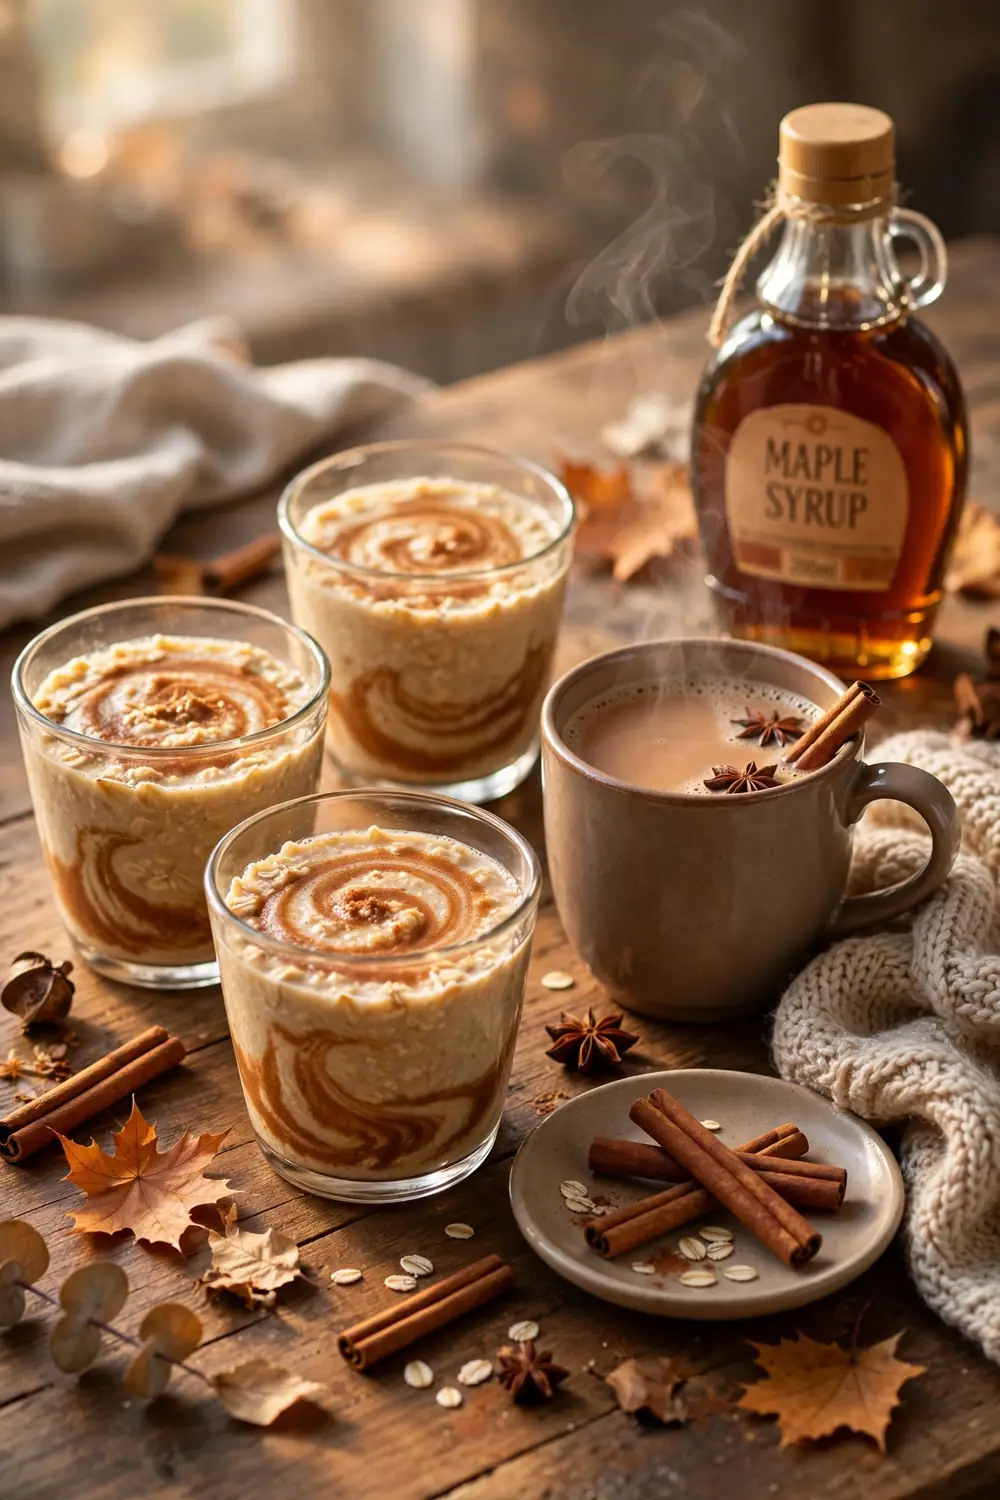
Quick Tip: Use pure maple syrup, not pancake syrup, for the cleanest flavor. Add the cinnamon to the dry oats before mixing so it distributes evenly instead of clumping in the wet ingredients.
Maple and cinnamon give these cups a warm, breakfast-like character that feels perfect for fall. The combination tastes like the best oatmeal cookie you have ever had. They pair wonderfully with a hot latte on chilly mornings. A pinch of nutmeg deepens the cozy spice blend further.
Dark Cocoa Dust
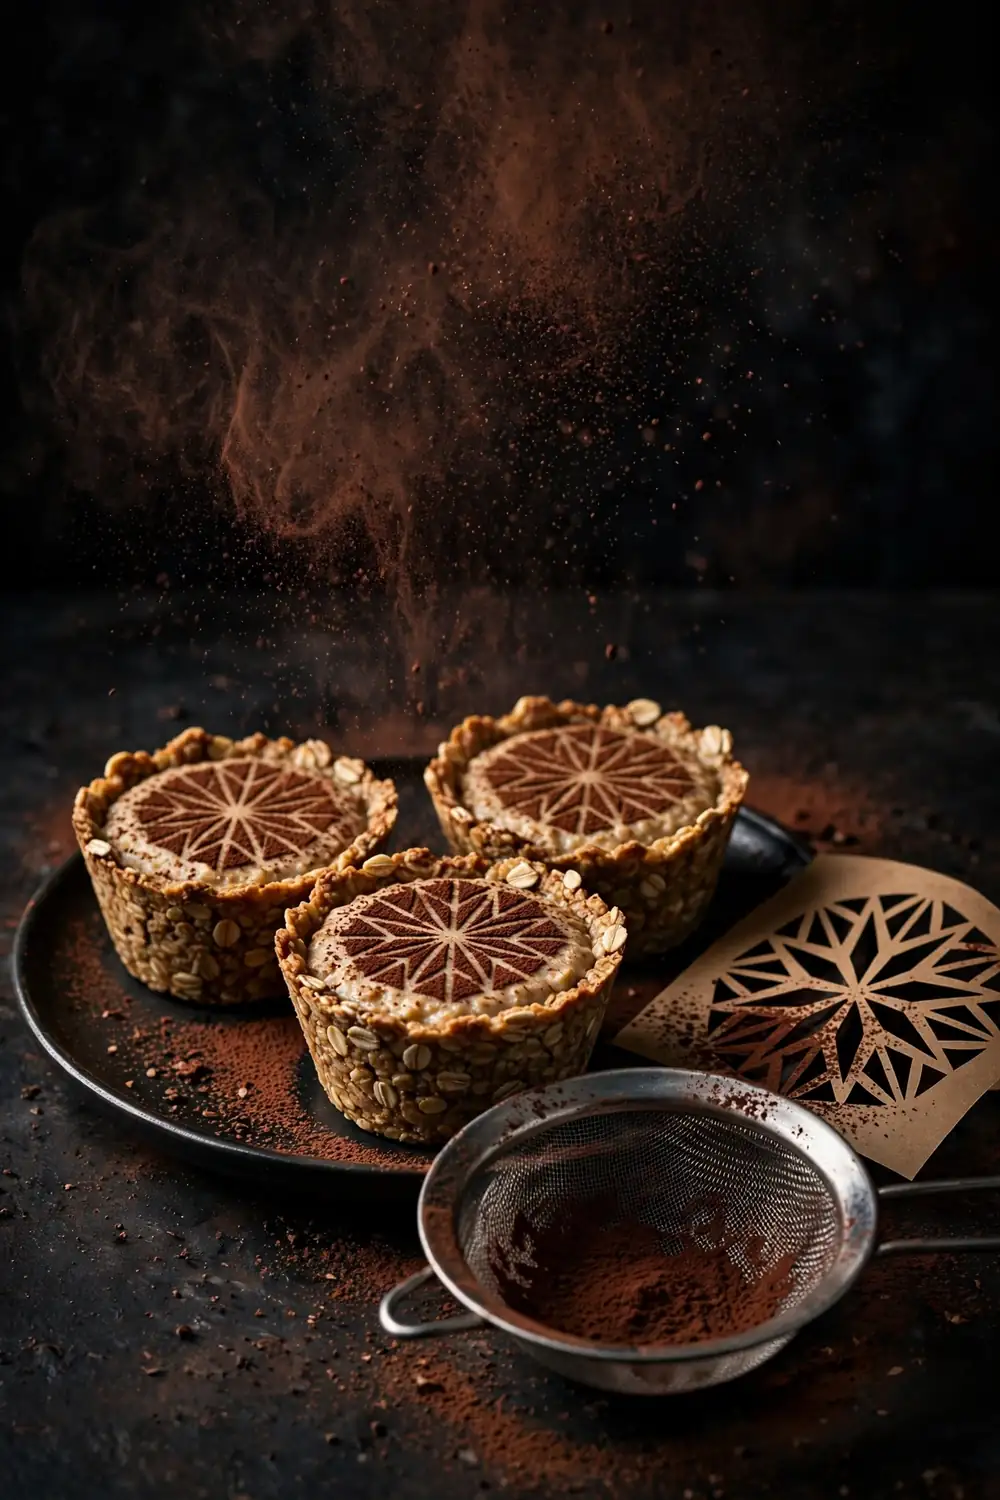
BEFORE: Plain chocolate tops can look flat and unfinished in photos. Without a final flourish, even delicious cups fail to catch the eye on a crowded dessert table.
AFTER: A light dusting of dark cocoa through a paper stencil creates a professional pattern. The bitter cocoa also balances the sweetness for a more grown-up flavor.
Use a small fine-mesh sieve for the most even dusting and work quickly before the chocolate fully sets. Simple shapes like hearts or stars photograph beautifully. This five-second step makes homemade cups look straight from a bakery case. Dust just before serving so the pattern stays sharp and defined.
Chilled Overnight Set
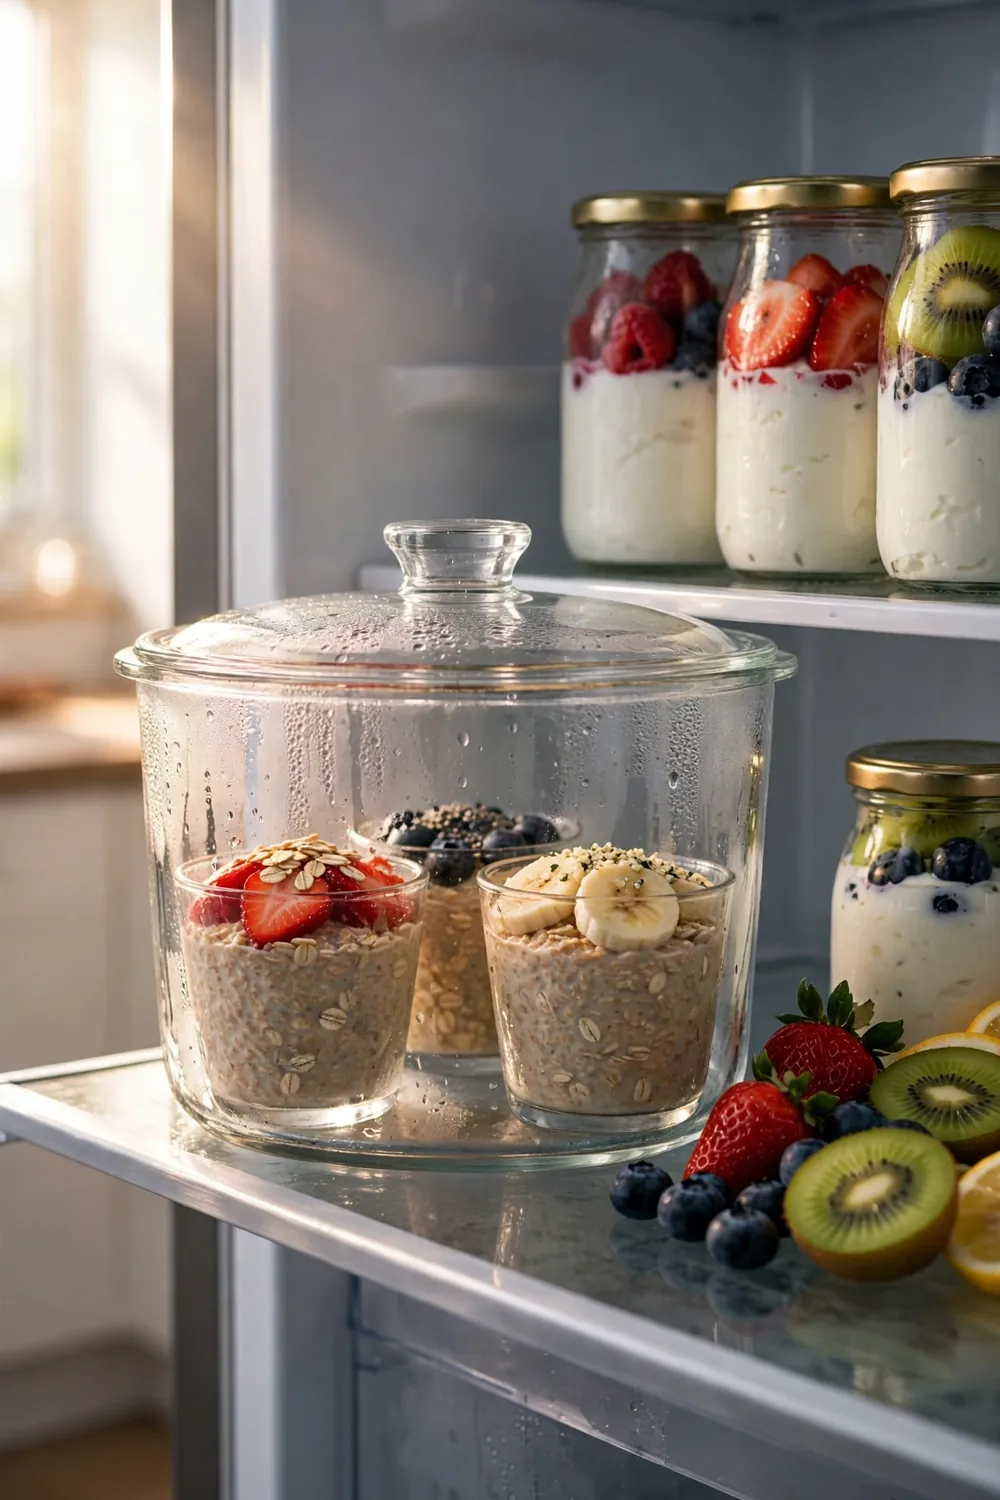
- Assemble the cups completely in the evening as usual.
- Cover the container tightly to prevent fridge odors.
- Refrigerate for at least eight hours undisturbed.
- Serve straight from the fridge for the firmest texture.
An overnight chill does more than firm things up; the flavors meld and deepen beautifully. The oats soften slightly into a fudgier texture that many people prefer. Make these the night before any busy day and breakfast or snacks are completely handled. They keep perfectly for up to five days when well covered.
Conclusion
With twenty-one ways to fill, top, and twist them, peanut butter oat cups deserve a permanent spot in your snack rotation. Start with the versions that caught your eye first, then keep this list saved for the next time your sweet tooth calls. Your future self will thank you on the
Pin this post to your favorite snack board on Pinterest so the ideas are always within reach. Make a batch this weekend, share a few with someone you like, and enjoy every chewy, creamy, chocolatey bite. Then come back and tell me which twist became your favorite. If you enjoyed these peanut butter oat cups ideas, be sure to check out our peach fritters for more delicious inspiration.
your favorite.
One Comment