20 Decadent Pumpkin Truffles You’ll Crave This Autumn
These pumpkin truffles bring bakery style magic home with almost no baking at all. Each bite sized treat layers warm spice, creamy pumpkin, and a crisp chocolate shell that snaps gently before melting. They look fancy enough for a holiday platter, yet the method stays simple enough for a weeknight project.
Chilling the filling is the secret that keeps every batch firm and easy to dip. Cold centers hold their round shape in warm chocolate, so coatings turn out smooth instead of lumpy. A freeze helps toppings stick, which means neater finishes with less fuss. Once you learn this rhythm, the process feels calm and quick.
Below you will find twenty ideas covering coatings, crunchy toppings, creamy centers, and gift finishes. Mix and match them to fit your pantry, your schedule, and the crowd you are feeding. Each one uses the same method, and you can pair the tray with our apple pie overnight oats for a cozy morning.
Classic Spiced Centers

Warm cinnamon, ginger, and nutmeg give these centers their cozy fall flavor. Stir the spices into pumpkin puree with cookie crumbs and powdered sugar until the mixture holds together. Taste as you go, since pumpkin brands vary in sweetness and spice strength. A balanced filling tastes like pie filling, only thicker and ready to roll.
Scoop small portions with a teaspoon and roll them between your palms until smooth. Chilling the rounds for twenty minutes firms them up for dipping and keeps the chocolate shell neat. In my experience, slightly smaller rounds dip more cleanly and look neater on a platter. Keep the tray chilled until the coating step.
White Chocolate Coating

- Melt white chocolate gently in short bursts, stirring between each round so it stays silky and never scorches.
- Dip each chilled center with a fork, tap off the extra coating, and slide it onto parchment.
- Work in small batches and return the tray to the fridge so the centers stay firm.
- Sprinkle toppings while the coating is still wet so every bit sticks.
White chocolate gives these bites a creamy shell that pairs well with warm spice. Keep the bowl over warm water if the coating thickens, and stir for a glossy finish. A thin coat looks more polished than a thick one, so let the excess drip away. Your bites will look bakery fresh with little fuss.
Dark Chocolate Shells

Quick Tip: Chill the dipped bites for ten minutes in the fridge, then add a second thin coat for a shell that snaps cleanly. A double coat hides crumbs, deepens the chocolate flavor, and gives each bite a beautifully polished, professional finish that holds up on a platter.
Dark chocolate brings a rich, slightly bitter edge that balances the sweet spiced filling. Choose chocolate you enjoy eating plain, since its flavor shines in every bite. Melt it slowly and dip quickly, because cold centers set the shell fast. The result tastes bold, looks elegant, and keeps well in the fridge.
Gingersnap Crumb Coating

Before: Plain chocolate shells can look flat and taste one note, even when the filling is well spiced. Guests may enjoy them, yet nothing invites a second bite or makes the tray memorable. The finish feels unfinished, like a dessert still waiting for its final touch.
After: A shower of gingersnap crumbs adds crunch, warm spice, and a bakery style finish in seconds. The crumbs cling to wet chocolate and turn each bite into a tiny delicious spiced cookie moment. Every tray looks beautifully textured, inviting, and ready for a festive holiday table.
Crush the cookies finely but leave a few larger bits for crunch. Roll each freshly dipped bite in the crumbs, then chill until set. The contrast of smooth shell and crisp coating keeps every bite interesting. This finish works especially well when you want texture without extra sweetness.
Maple Pecan Topping

- Toast chopped pecans in a dry pan until fragrant, then cool them completely.
- Dip the chilled centers in chocolate and set them on parchment.
- Drizzle thin lines of maple syrup over each bite while the shell is soft.
- Scatter the toasted pecans over the drizzle and chill until firm.
Maple and pecan taste like autumn in one bite, warm and nutty with a gentle sweetness. Toasting the nuts deepens their flavor and keeps them crisp under the drizzle. Use real maple syrup for the best flavor, since imitation syrup tastes flat here. These bites disappear fast at gatherings, so consider a double batch.
Salted Caramel Drizzle

| Jarred Caramel Sauce | Homemade Caramel | |
|---|---|---|
| Prep time | Ready in seconds | Needs a saucepan and patience |
| Flavor | Sweet and steady | Deeper, slightly toasted notes |
| Best for | Quick weeknight batches | Special platters and gifts |
A thin caramel drizzle turns a simple chocolate shell into something guests remember. Keep the lines thin so the caramel adds flavor without making the bites sticky. A pinch of flaky salt on top sharpens the sweetness and adds a tiny crunch. Serve these slightly chilled so the drizzle stays neat and glossy.
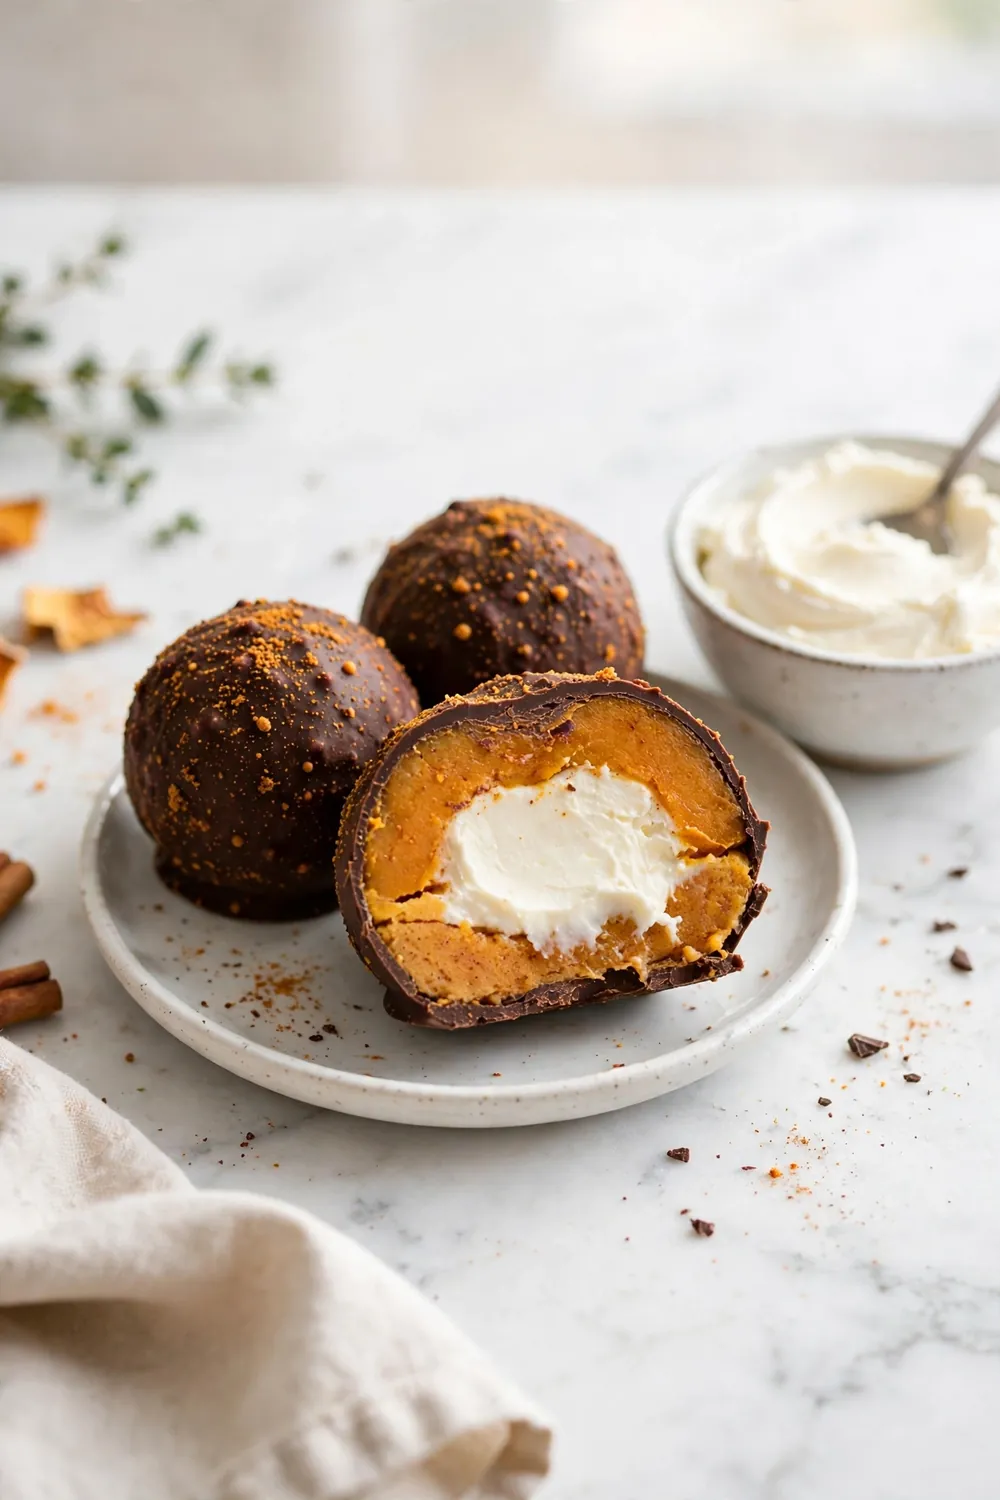
Cream Cheese Centers
DO
- Blend the cream cheese until completely smooth before adding pumpkin.
- Chill the filling for at least thirty minutes.
- Roll small rounds so the tangy center stays balanced.
- Keep finished bites refrigerated until serving.
DON’T
- Skip the chill, or the soft centers will slump.
- Use low fat cream cheese, which turns watery.
- Overfill with pumpkin, or the rounds will not hold.
- Leave finished bites at room temperature for hours.
Cream cheese adds a gentle tang that keeps the sweet filling from feeling heavy. The texture turns silky and rich, much like a no bake cheesecake filling. Balance matters, so keep the cheese and pumpkin in the ratio given. These bites taste best cold, straight from the fridge, with a dusting of spice.
Toasted Coconut Coating

- Coating: Toasted shredded coconut
- Time: About fifteen minutes, plus chilling
- Skill level: Beginner friendly
- Best for: Crowds that love texture
Toasted coconut brings crunch, warmth, and a lightly nutty flavor to each bite. Toast the flakes in a dry pan until golden, watching closely since they darken fast. Roll the dipped bites in coconut while the chocolate is still soft. The snowy golden finish looks lovely on a platter and adds welcome contrast.
Espresso Dust Topping

A whisper of espresso powder gives chocolate shells a deeper, almost moody flavor. Sift the powder lightly over freshly dipped bites so it settles evenly instead of clumping. The coffee note stays in the background and makes the chocolate taste richer. Guests cannot name the secret, yet they always ask what makes these bites special.
Use ground espresso powder, not coarse coffee grounds, for a smooth finish. A little goes far, so start with a light dusting and add more only if you want a stronger edge. Pair this topping with dark chocolate for the boldest result. I have noticed this version disappears whenever coffee lovers are near the table.
Cranberry Orange Zest
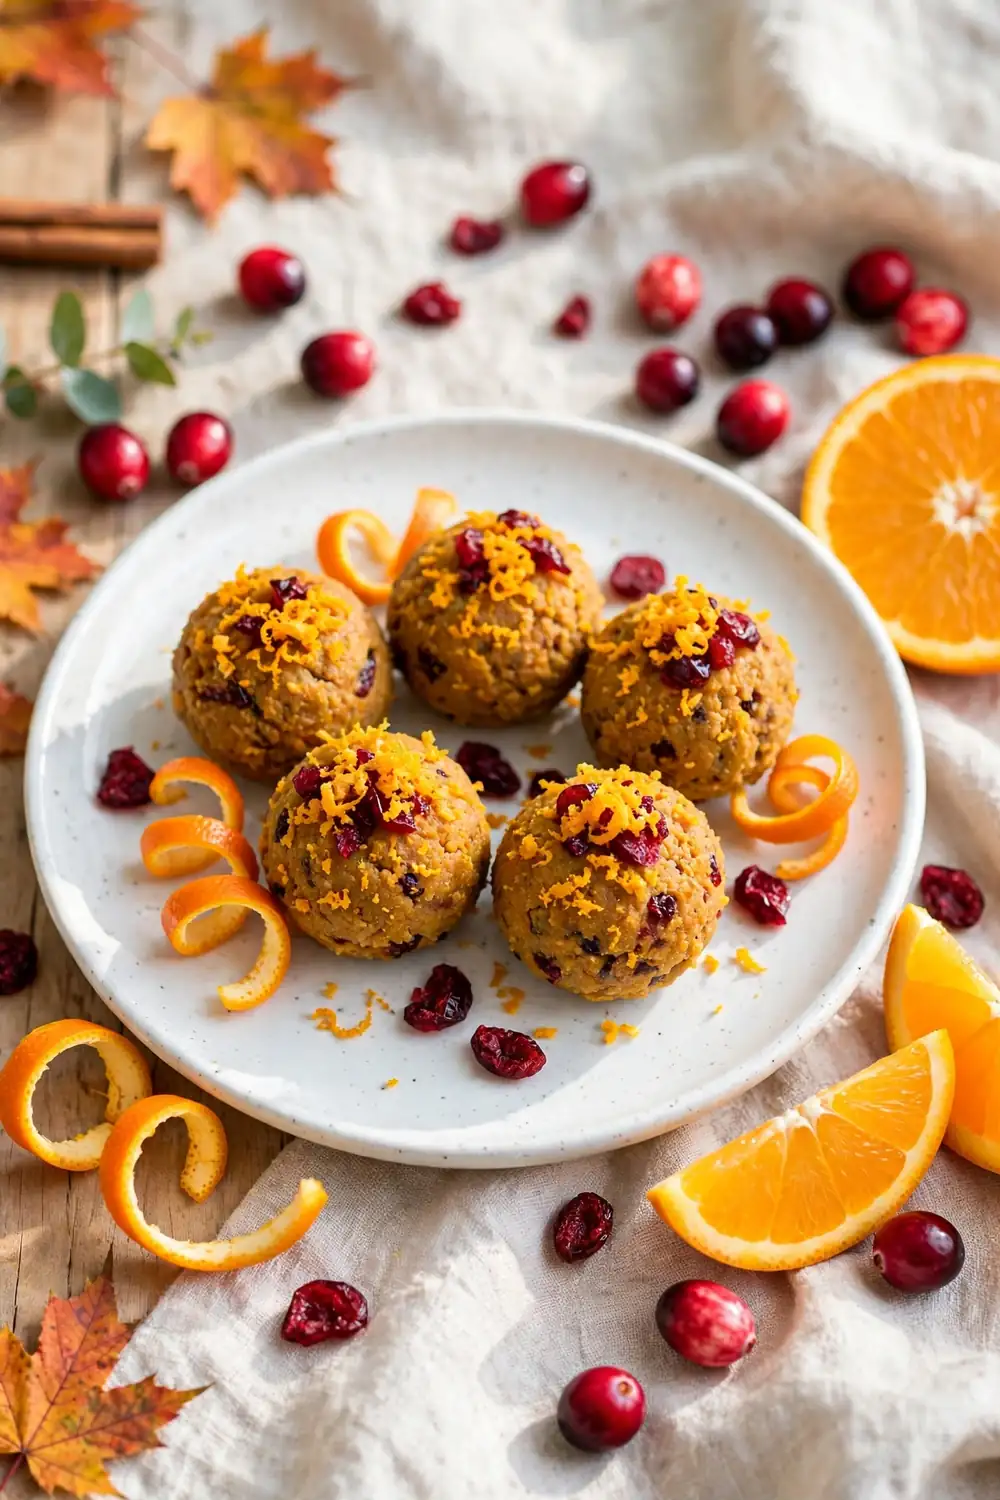
- Fold finely chopped dried cranberries into the filling for tart, chewy pockets.
- Add fresh orange zest to the filling and a little to the coating.
- Keep the zest fine so the flavor spreads evenly through each bite.
- Top each bite with a tiny piece of cranberry for color.
Cranberry and orange taste bright against warm spice, like a holiday wreath in dessert form. The tart berries cut the sweetness, while the zest adds a fresh citrus lift. Keep the cranberry pieces small so every bite stays smooth and balanced. This version looks festive and tastes lively on a winter platter.
Bourbon Vanilla Centers

Quick Tip: Add bourbon a teaspoon at a time and taste as you go, since a little gives warmth while too much softens the filling. Let the flavored centers chill an extra ten minutes so they firm up fully before dipping. The vanilla keeps the finish smooth and fragrant.
Bourbon and vanilla give these centers a warm, grown up depth that feels made for cool evenings. The alcohol bakes off in flavor only, leaving a mellow caramel note behind. Keep the amount modest so the spice still shines. Serve these at adult gatherings, and label the tray so everyone knows.
Pepita Crunch Topping

Before: Smooth shells can feel too soft when every bite on the tray shares the same texture. Guests enjoy the flavor, yet the plain tray lacks crunch and visual contrast. Without a topping, the bites blur together and feel less special and unfinished than they taste.
After: Toasted pepitas add a salty crunch and a deep green color that makes the tray pop. Each bite gains texture, contrast, and a savory edge that balances the sweet filling. The topping takes minutes, yet the finished tray looks styled and ready for guests.
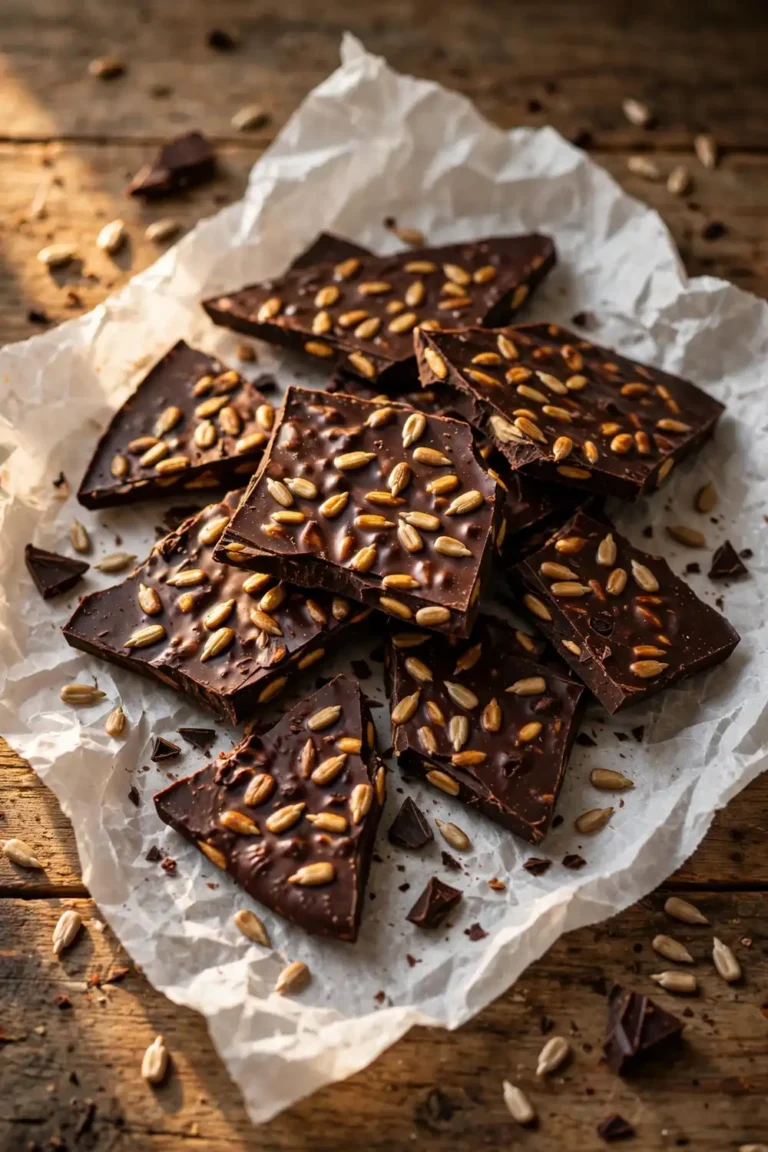
Toast the pepitas until they puff and smell nutty, then cool them before scattering. Press them gently into the soft chocolate so they stay put after chilling. A light sprinkle of salt sharpens the flavor. This topping suits anyone who loves sweet and salty snacks.
Chai Spice Blend

- Mix cinnamon, cardamom, ginger, cloves, and black pepper into a small spice blend.
- Stir the blend into the pumpkin filling and taste for warmth.
- Roll and chill the centers until firm enough to dip.
- Dust the finished bites with extra chai spice before chilling.
Chai spices bring a layered warmth that feels like a favorite cafe drink in dessert form. Cardamom adds floral notes, while black pepper gives a gentle heat at the finish. Start with a modest amount and adjust to taste, since cloves can dominate quickly. These bites pair well with tea and quiet autumn afternoons.
Peanut Butter Swirl

| Peanut Butter in Filling | Peanut Butter on Top | |
|---|---|---|
| Flavor | Nutty through every bite | Bold peanut butter finish |
| Texture | Smooth and even | Marbled and eye catching |
| Effort | One extra mixing step | Needs a steady drizzling hand |
Peanut butter and pumpkin make a surprisingly cozy pair, nutty and rich with warm spice underneath. Keep the peanut butter smooth so the swirl looks clean and the texture stays silky. A little salt sharpens the flavor and keeps the sweetness in check. Kids and adults both reach for this version first.
Marshmallow Fluff Centers

DO
- Chill the fluff filled centers until very firm.
- Work quickly when dipping so the centers stay round.
- Use a fork to lift each bite and tap off extra chocolate.
- Store the finished bites in a single layer.
DON’T
- Overfill the centers, or the fluff will leak.
- Dip warm centers, which melt the fluff.
- Stack the bites before the shells set.
- Skip the chill, or the texture turns messy.
Marshmallow fluff turns each bite into a soft, gooey surprise that feels playful and fun. The stretchy center contrasts with the crisp shell in the best way. Keep the portions small so the fluff stays tucked inside. These bites taste like campfire treats dressed up for fall.
Cinnamon Sugar Coating

- Coating: Cinnamon sugar
- Time: About ten minutes, plus chilling
- Skill level: Beginner friendly
- Best for: Snug family desserts
Cinnamon sugar gives each bite a sparkling, bakery style crust with almost no effort. Roll the dipped bites in the mixture while the chocolate is still soft so it clings evenly. The cinnamon echoes the filling and makes the whole tray smell wonderful. This finish suits anyone who loves snickerdoodles and simple sweets.
Crushed Pistachio Topping

Crushed pistachios add color, crunch, and a lightly salty finish that feels elegant. Pulse the nuts briefly so you get a mix of fine dust and small crunchy pieces. Press the mixture onto freshly dipped bites while the chocolate is still soft. The green against dark chocolate looks striking on any platter.
Choose unsalted pistachios so you can control the seasoning yourself. A tiny pinch of salt sharpens the nutty flavor without overpowering the filling. I have seen this work well at parties, where the bright topping draws eyes first. Keep the tray chilled until serving so the nuts stay crisp.
Frozen Pumpkin Bites

- Freeze the shaped centers for at least one hour until completely solid.
- Dip the frozen centers quickly so the shell sets in seconds.
- Return the tray to the freezer for ten minutes after dipping.
- Serve straight from the freezer for a firm, ice cream like bite.
Freezing turns these bites into a cool, firm treat that tastes like autumn ice cream. The shell stays crisp, the center stays dense, and the flavor feels extra refreshing. Let them sit for two minutes before eating so the center softens slightly. This version suits warm days and anyone who loves frozen desserts.
Mini Truffle Gift Boxes

Quick Tip: Line each small box with a paper cup for every bite so the gifts look neat and travel well. Add a tiny card with storage notes and a short ingredient list for guests with allergies. A ribbon and a dried leaf finish the box with almost no extra cost.
Small gift boxes turn a simple batch into a thoughtful present anyone would love to receive. Choose boxes that hold four to six bites so the gift feels generous without being heavy. Keep the boxes chilled until delivery so the shells stay glossy. Homemade gifts like these always feel more personal than store bought sweets.
Holiday Platter Styling

Before: A plain tray of identical bites can look dull and forgettable, even when the flavors are wonderful. Guests may pass by without noticing the work you lovingly put in. A flat presentation hides the beautiful variety and makes the whole dessert table feel rushed.
After: A styled platter groups coatings carefully by color, adds fresh mini pumpkins, and leaves generous breathing room between clusters. Guests pause, point, admire, and taste with curiosity and delight. The same bites suddenly look like a beautiful centerpiece worthy of the elegant holiday table.
Style the platter with odd numbered clusters and a few sprigs of rosemary for color. Keep labels small so guests can find their favorites. In my experience, a little space between clusters makes the tray look abundant rather than crowded. Step back, adjust once, and serve with pride.
Conclusion
These pumpkin truffles prove that a little chilling, a good coating, and a few bold flavors can turn pantry staples into a dessert worth sharing. Pick one idea tonight, or mix several for a platter that covers every craving. Save this post for your next gathering, and share it with someone who loves fall sweets.
Start with the version that tempts you most, then try a new coating next time. Small batches keep the process relaxed and let you learn what your crowd loves. Before long, you will have a house favorite that friends request every autumn. Enjoy every bite with our pumpkin punch beside the tray.

One Comment