Why Are My Deviled Eggs Runny? Easy Fix Guide
If your runny deviled eggs slump on the plate, you are not alone. Wet yolks and thin filling make piping impossible, and the eggs look messy fast. The good news is that a few dry, careful steps fix it.
This guide covers draining, thickening, piping, and chilling. You will learn why the filling turns loose and how to keep it firm and smooth. Every fix uses basic tools and pantry staples.
Once your eggs hold their shape, the next comfort dish may need the same care, so keep the chicken soup guide handy for a clear, rich broth every time.
Why Fillings Turn Runny
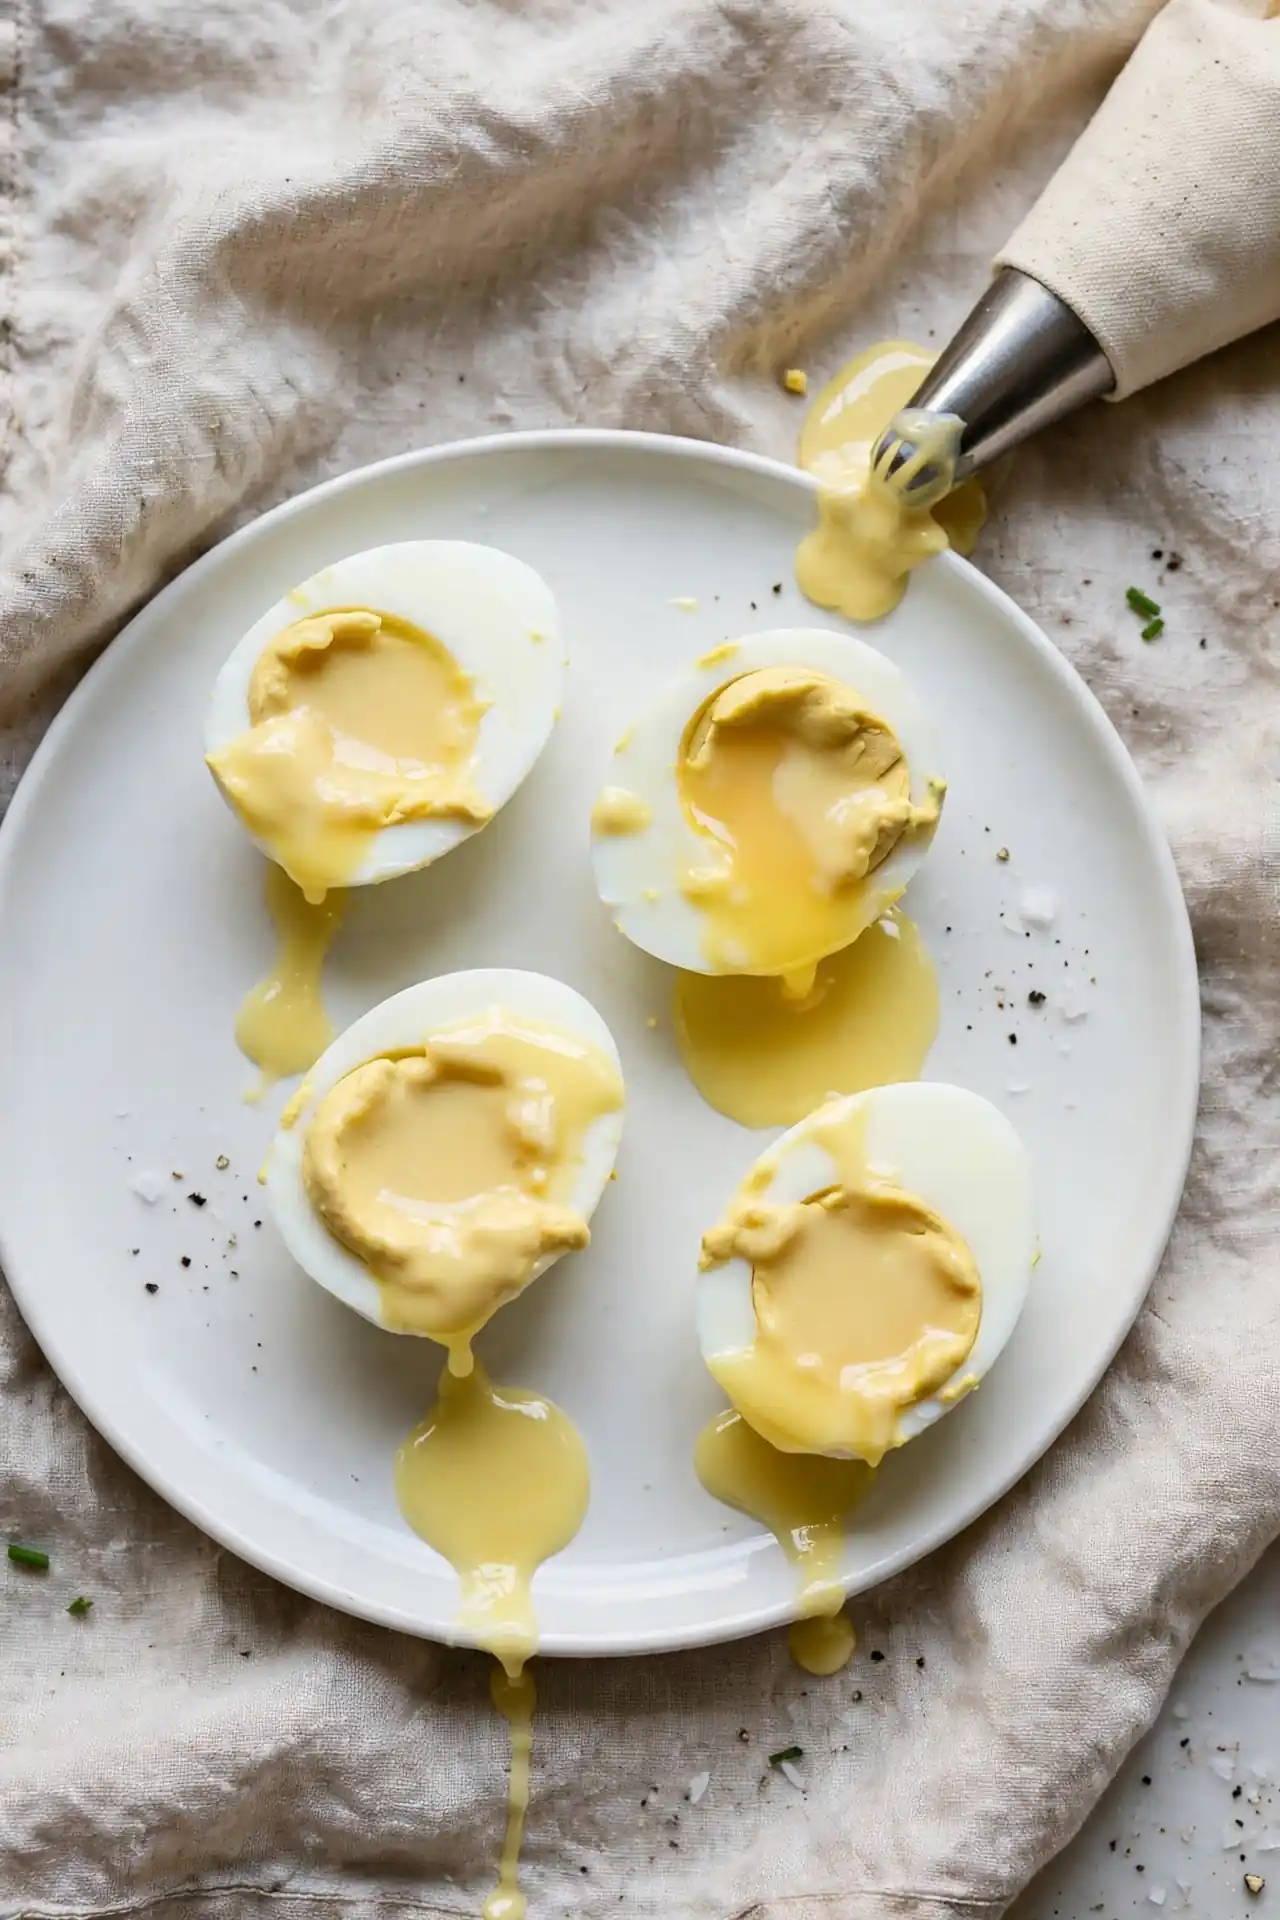
Most loose filling comes from wet yolks. Water clings to the yolks after boiling, and extra mayo or vinegar thins the mix further. Once the filling turns soupy, it cannot hold a piped shape.
Warm yolks make it worse, since they mash into a soft paste that cannot firm up. In my experience, the fix is drying the yolks well and adding liquids a little at a time. A thick, smooth filling pipes cleanly and stays put on the plate. Chill the filled eggs for thirty minutes so the filling firms up and holds a clean piped shape.
Drain Yolks Completely
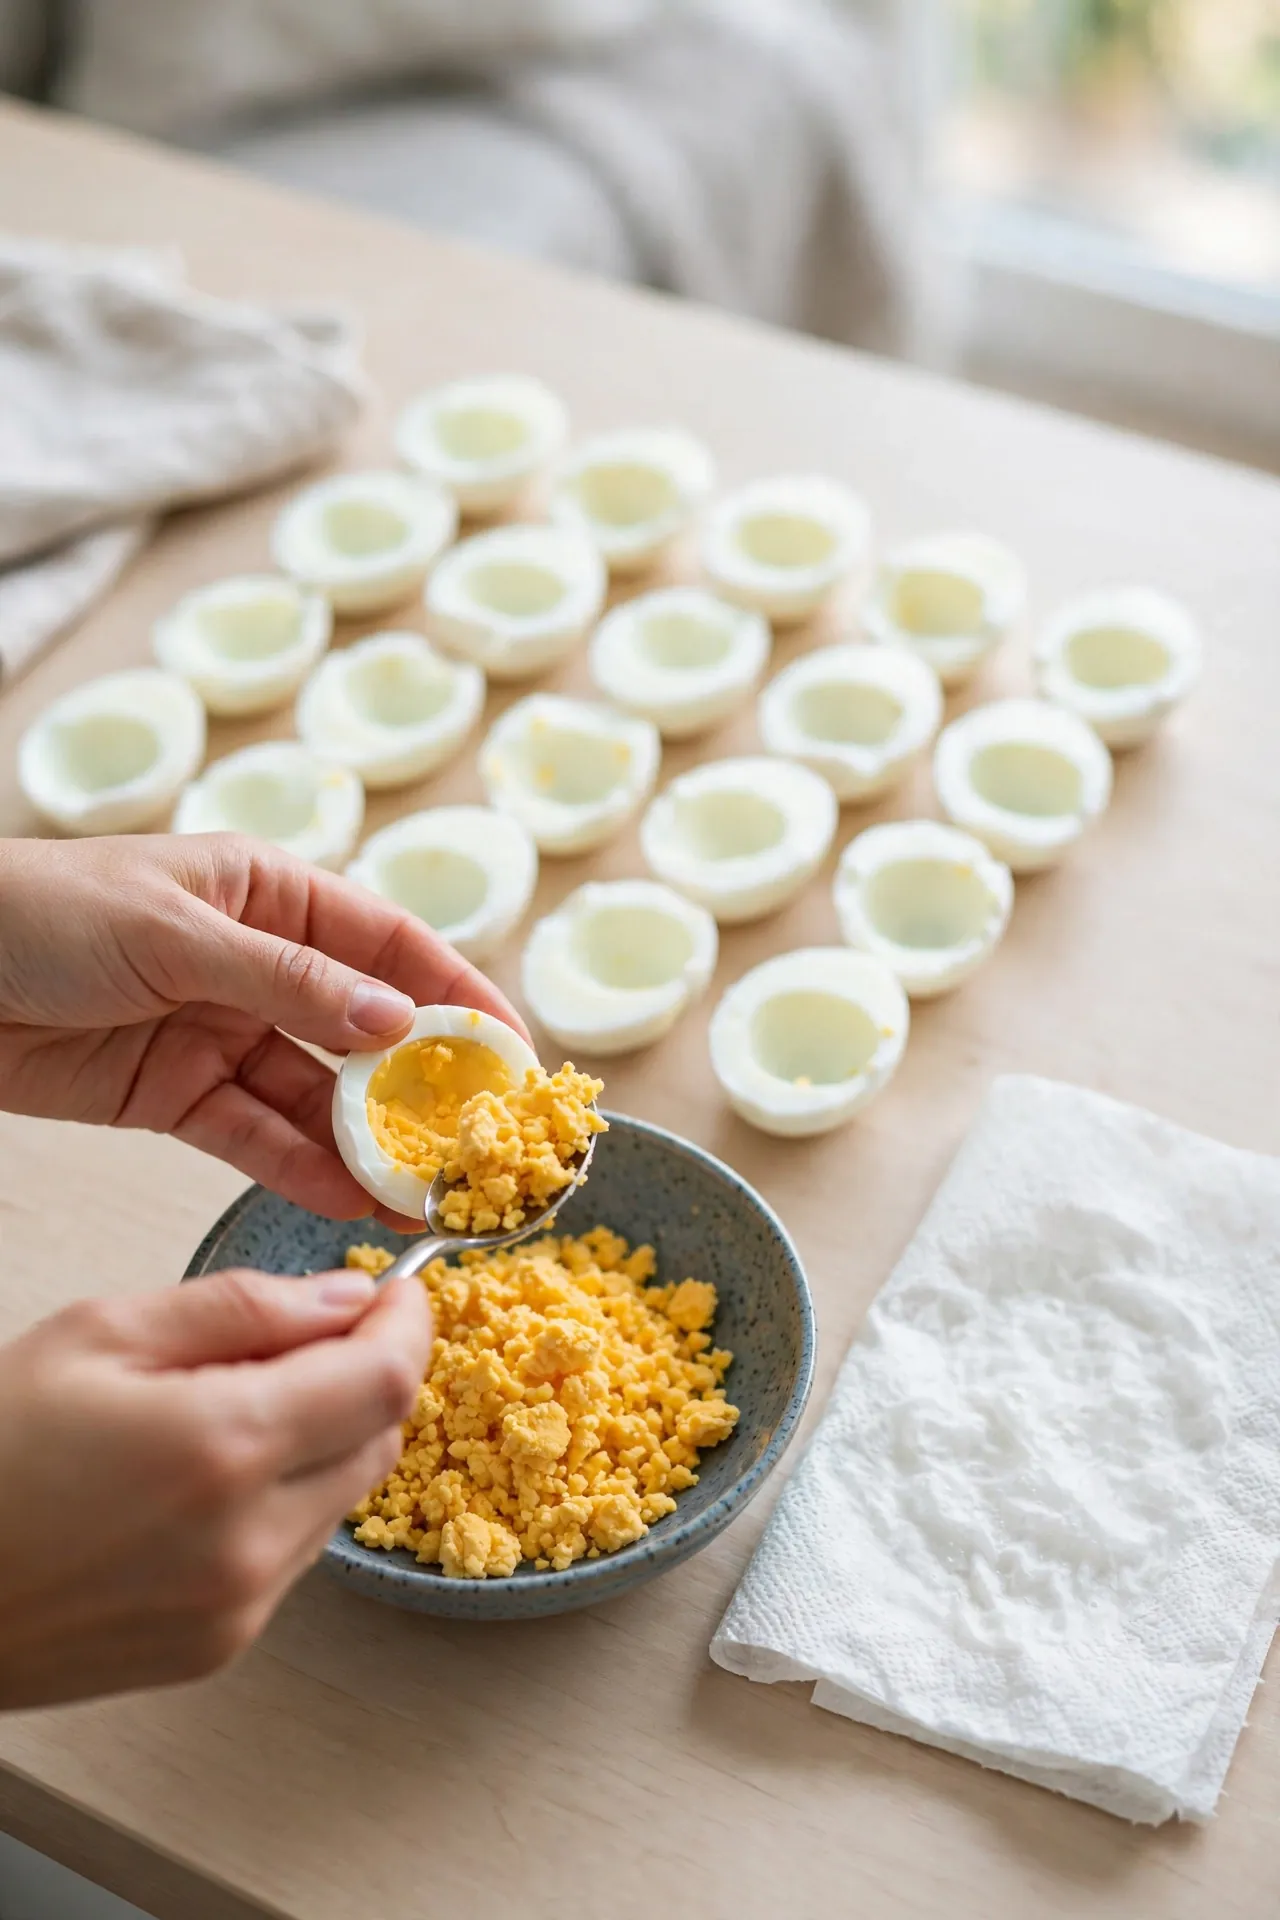
Dry yolks are the foundation of a firm filling. Any water left on the yolks will thin the mix, so take time to blot them. Follow these steps for a dry start. Drain the yolks in a fine mesh strainer to catch every last drop of liquid.
- Halve the cooled eggs and scoop the yolks into a bowl.
- Blot the yolks and the white cups with a paper towel.
- Press the yolks through a fine sieve for a smooth base.
- Add mayo one teaspoon at a time, mixing well.
Thicken With Smart Additions
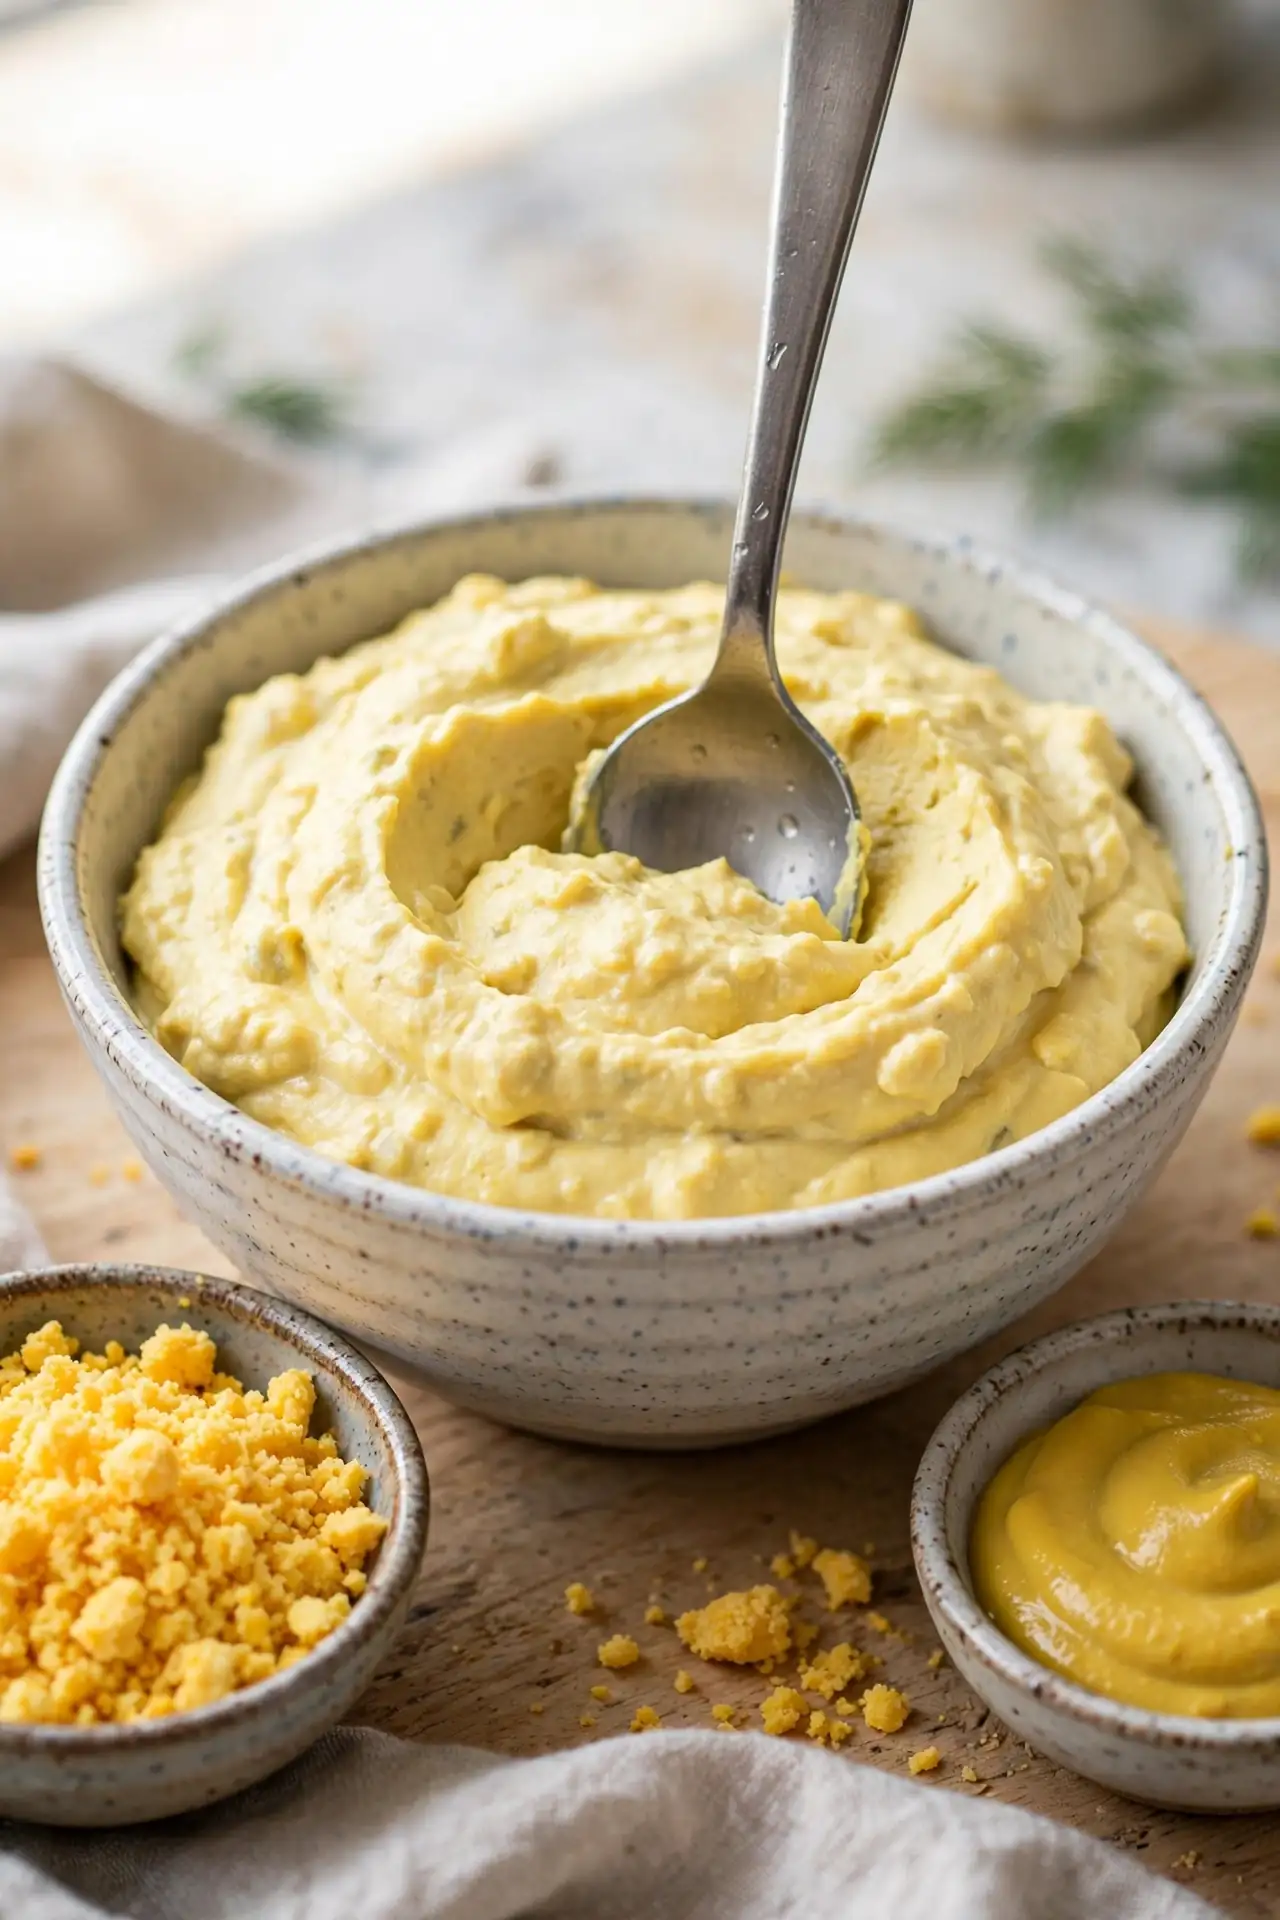
Quick Tip: Keep one extra yolk aside. Crumble it into a loose filling to thicken it without changing the flavor.
Thickening is easier than it looks. A spoon of extra yolk, a little more mayo free base, or a pinch of mustard powder can all firm up the mix. Add one fix at a time and stir gently. Stop as soon as the filling holds a soft peak on the spoon.
Fix a Loose Filling
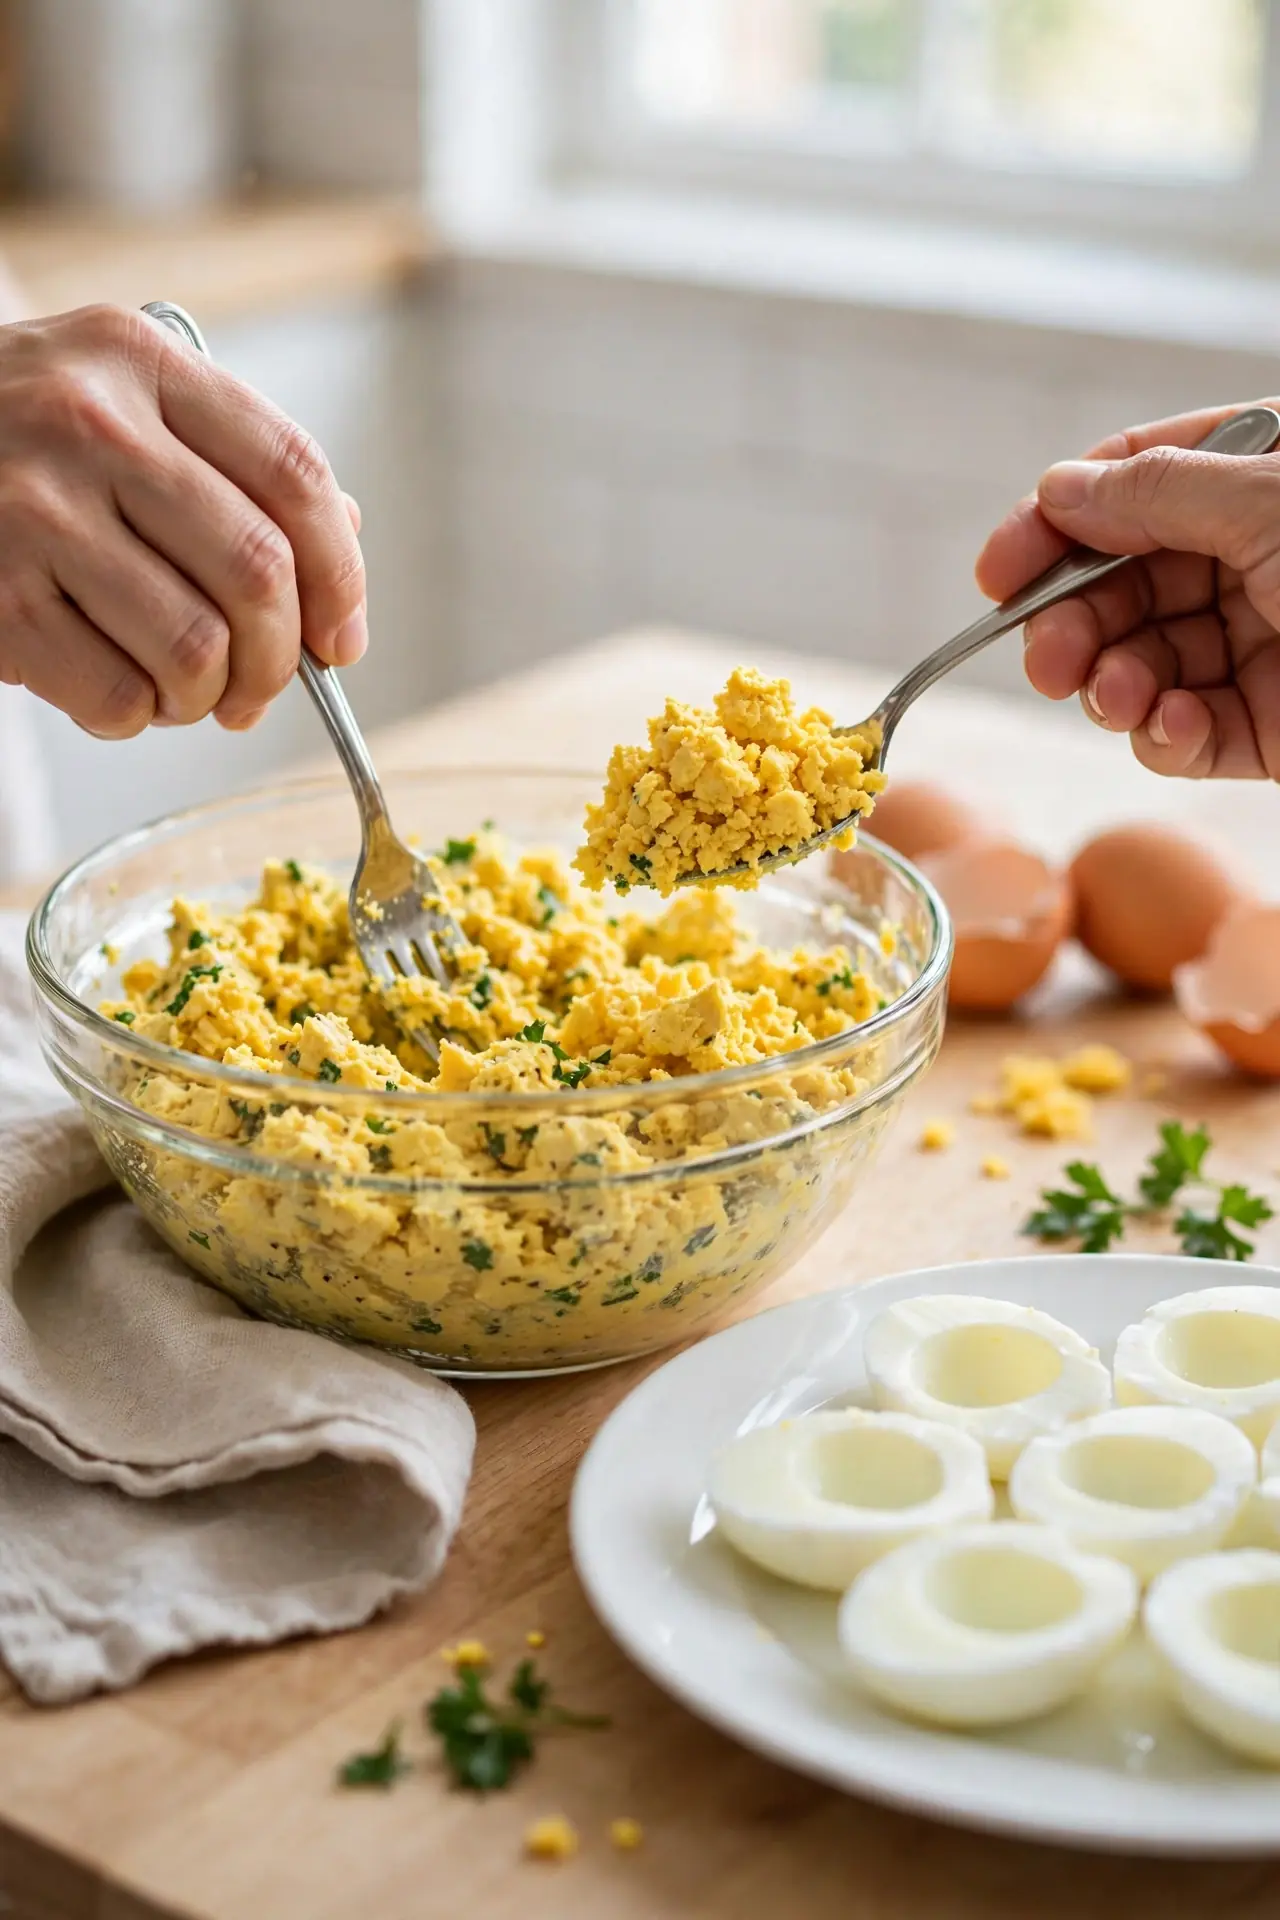
Common Mistake: Many cooks add more mayo to a loose filling. Extra mayo only thins the mix further and makes the eggs harder to pipe.
The Fix: Add dry bulk, not liquid. Crumbled yolk, a spoon of mashed potato, or a little cream cheese will firm the filling.
Work in small additions and test the texture after each one. A good filling should mound on a spoon and hold its edge. If the mix still slides, chill it for 20 minutes before adding more. Cold filling firms up on its own. Work in small batches so the filling stays cool and firm.
Pipe for Clean Results

What You Need:
- A piping bag: gives neat, even swirls with little mess.
- A large star tip: makes the filling look finished and holds shape.
- A fine sieve: removes lumps so the filling pipes smoothly.
- A chilled tray: keeps the eggs cold while you work.
- A small spatula: fills the bag without air pockets.
Piping is faster and neater than spooning once the filling is thick enough. Fill the bag only halfway so it stays easy to control. Twist the top closed, pipe with steady pressure, and chill the finished eggs right away. A steady hand, a chilled tray, and a star tip make piping easier.
Before Runny After Firm
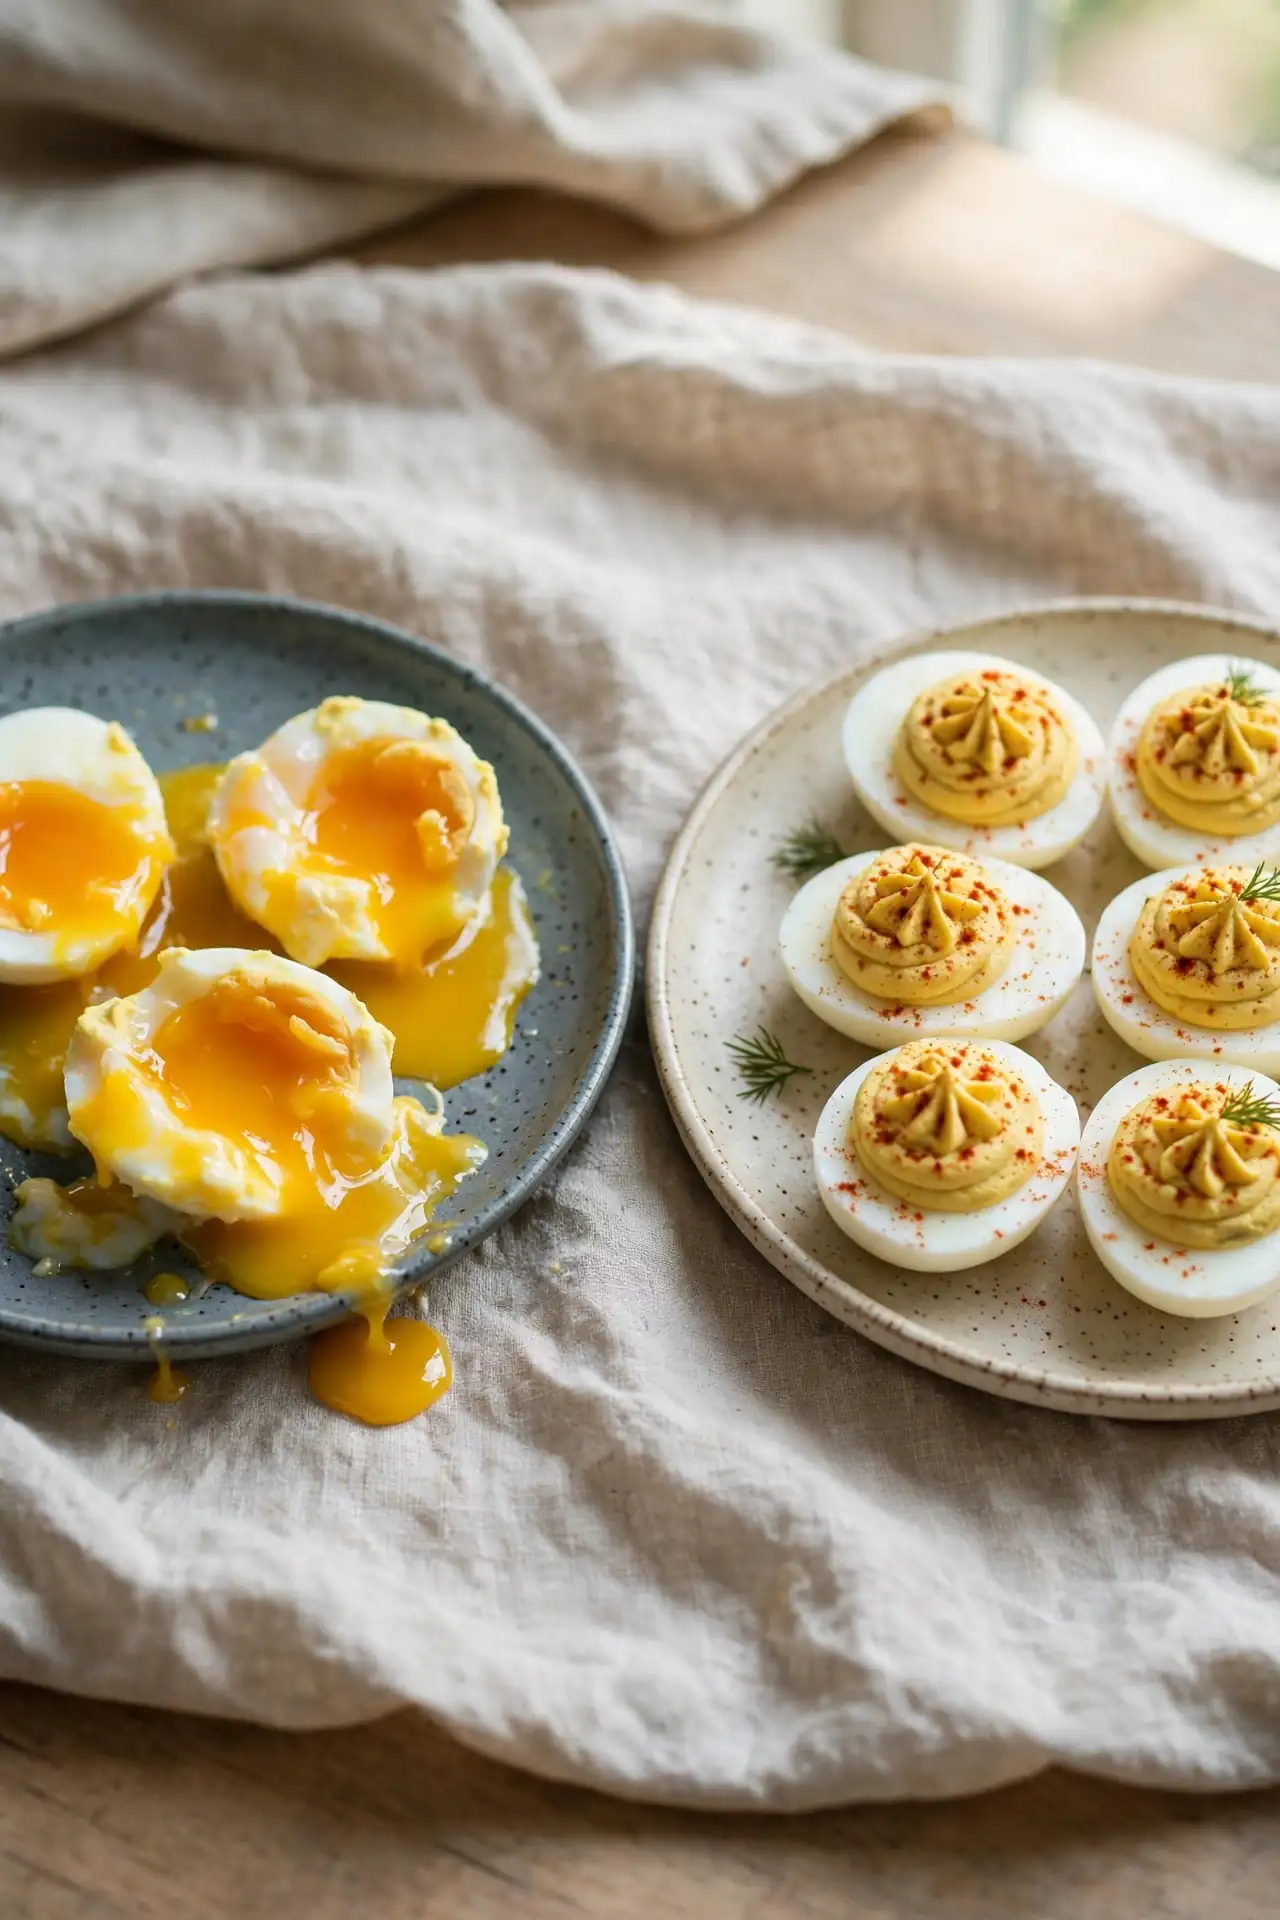
Before: The filling slides off the whites. The eggs look messy, the plate pools with liquid, and the swirls collapse.
After: The filling holds a neat swirl. The eggs look tidy, the plate stays dry, and each egg keeps its shape.
The change comes from dry yolks and slow liquid additions, not from a new recipe. Drain well, add mayo a teaspoon at a time, and chill before piping. Those habits turn a sloppy plate into one worth serving guests. Cold eggs peel cleaner, fill more neatly, and hold their shape longer.
Do and Don’t Basics

Do This:
- Blot yolks dry before mashing.
- Add liquids one teaspoon at a time.
- Chill the filling before piping.
- Pipe onto cold, dry egg whites.
Avoid This:
- Do not add all the mayo at once.
- Do not pipe warm filling.
- Do not skip the sieve for smooth filling.
- Do not overfill the piping bag.
These habits keep the filling thick and the eggs neat. Dry yolks, slow liquids, and cold eggs are the whole secret. Once the routine is set, the eggs pipe cleanly every time without any rescue work. Patience at the counter beats rushing the tray, and neat eggs always draw compliments at the table.
Quick Filling Facts

Time Needed: 25 minutes plus 30 minutes chilling.
Difficulty: Easy, with basic tools.
Best For: Parties, picnics, and holiday tables.
Pro Tip: Chill the whites too, so the filling sets fast.
Cold whites help the filling set the moment it lands. If the whites are warm, the filling softens and slides. Keep the halved whites in the fridge while you mix the filling, then pipe onto the cold cups. The eggs will look sharp for hours.
Chill Before Serving
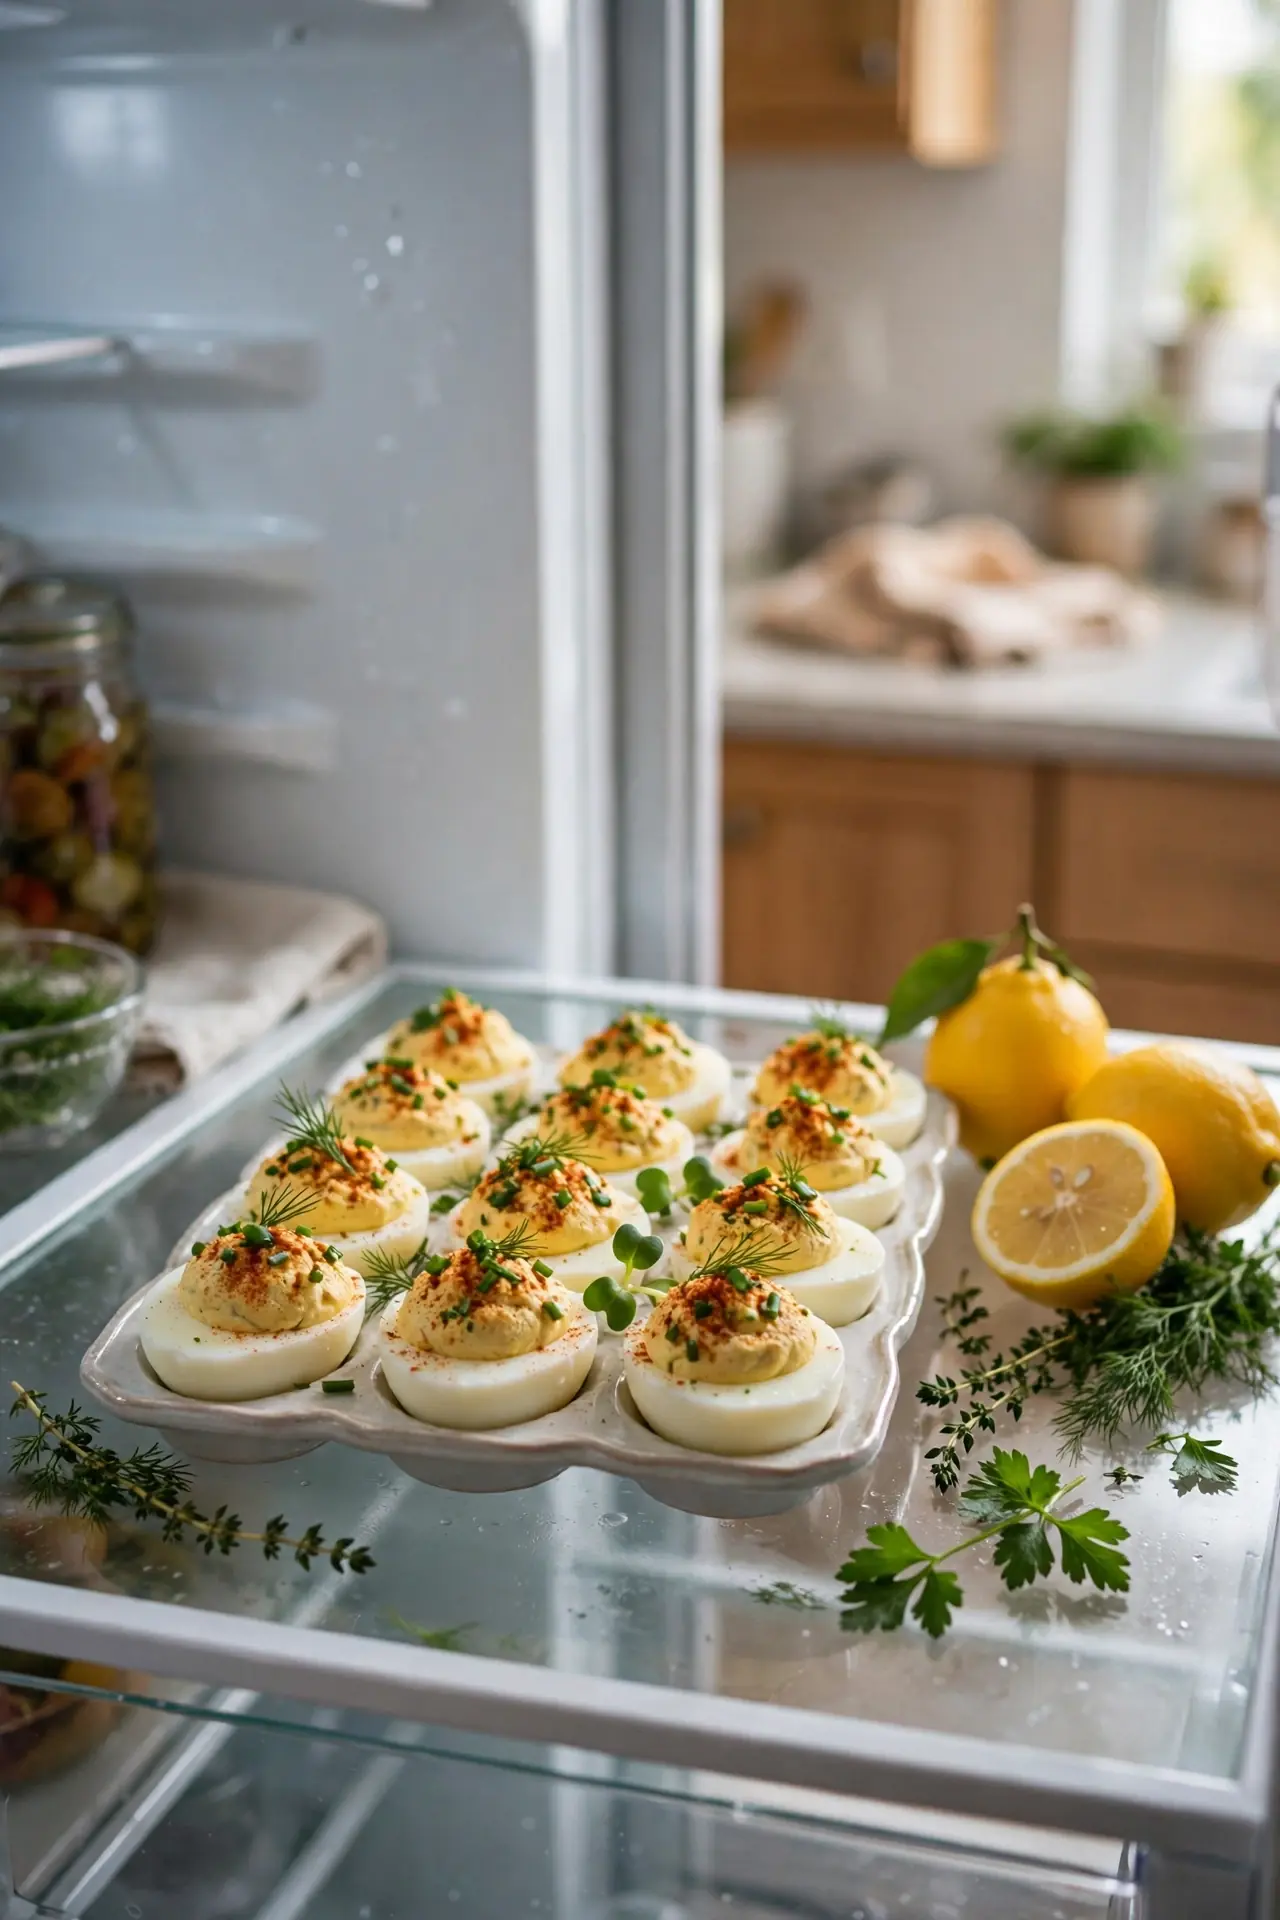
Chilling does more than cool the eggs. As the filling rests, the fats firm up, the flavors blend, and the piped swirls set in place. Eggs served right after piping always look softer than ones that rested for half an hour.
Cover the tray loosely with plastic wrap so the eggs do not pick up fridge smells. Chill at least 30 minutes before serving, and add fresh herbs at the last minute. The eggs will look neat and taste better for the rest. A short chill before serving keeps every egg looking neat and tidy.
Rescue a Soft Batch
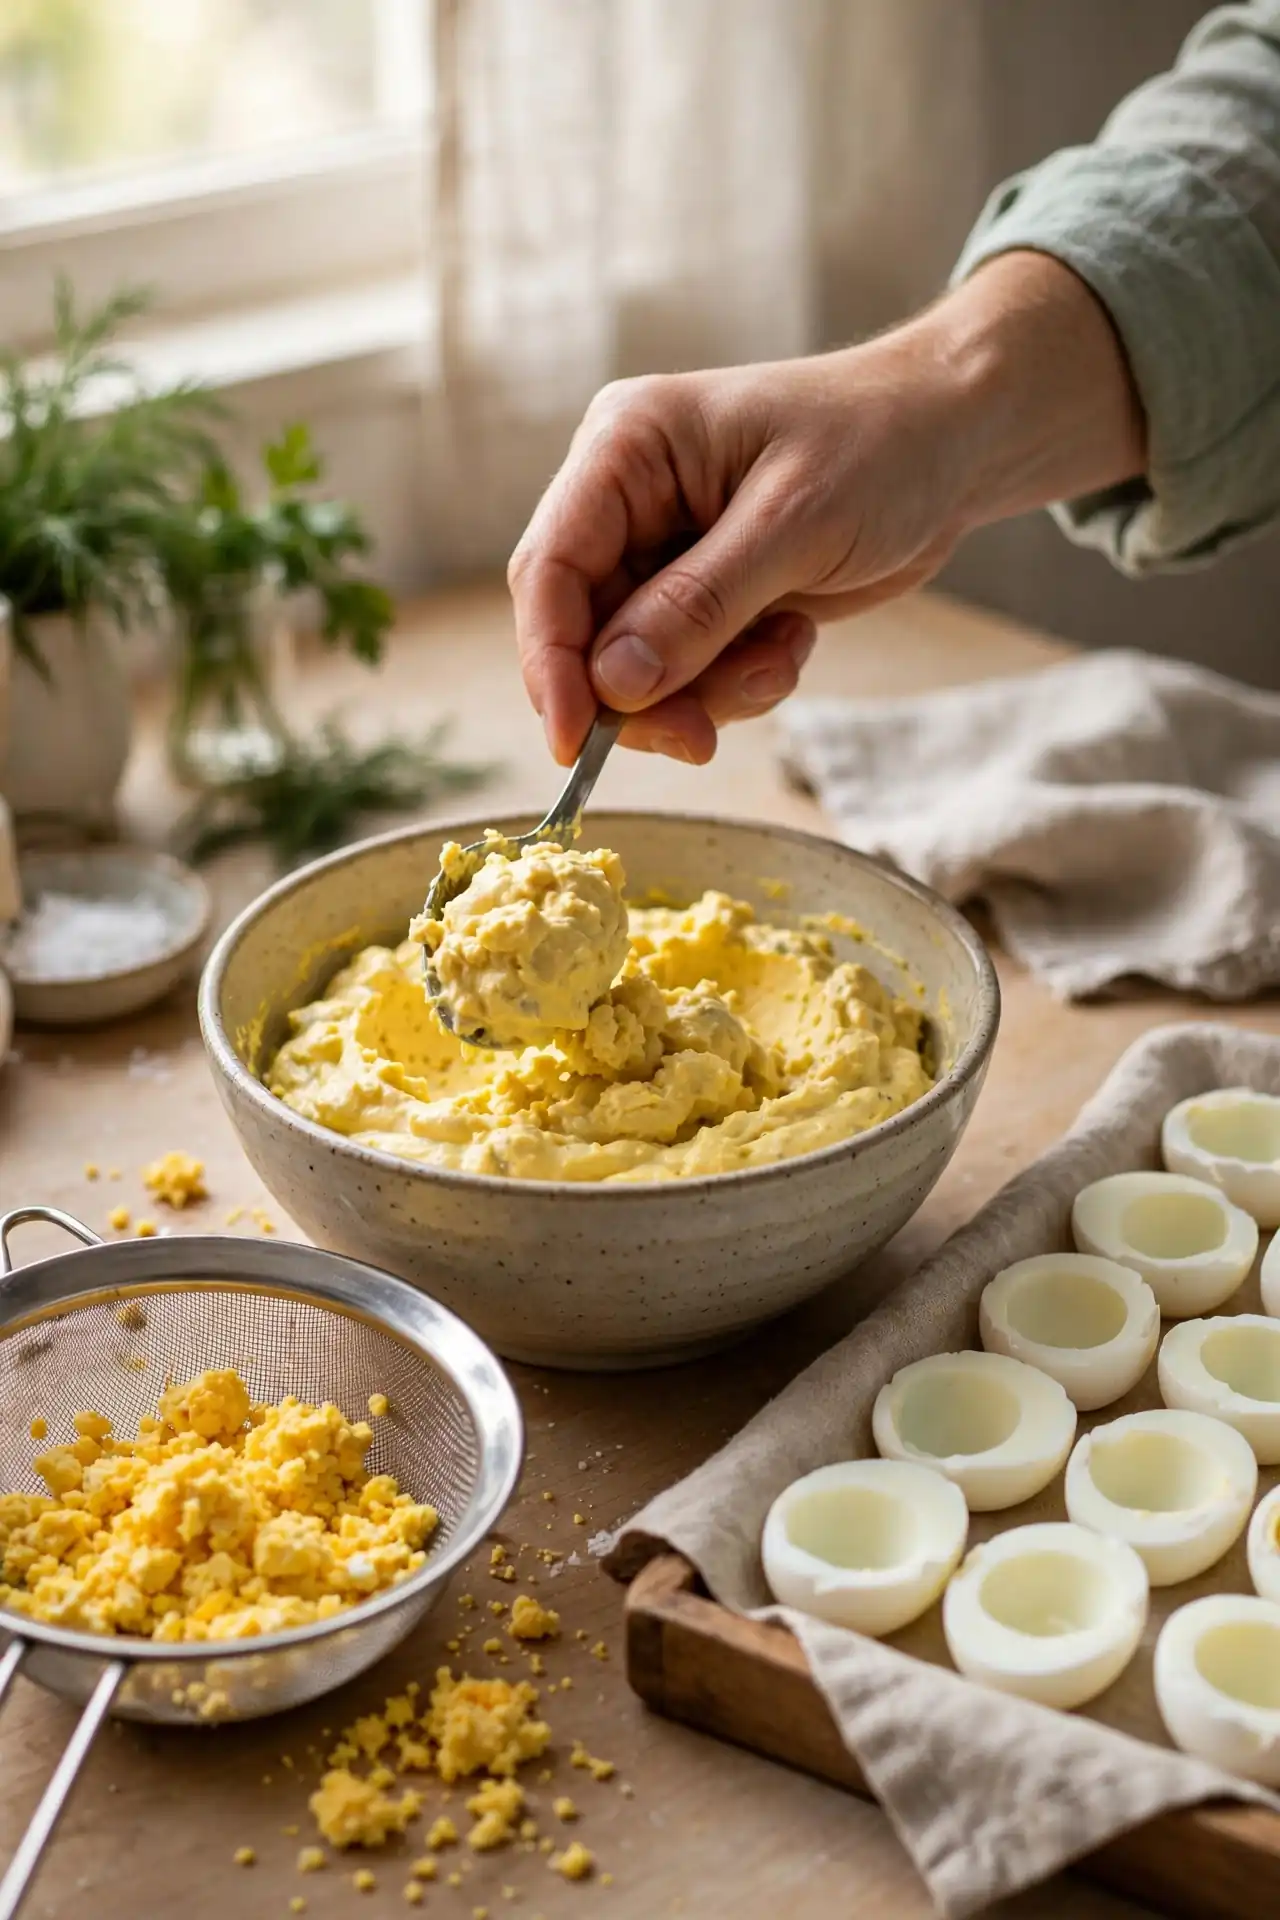
A soft batch can still be saved without starting over. Scoop the filling out, thicken it, chill it, and pipe it again. Work quickly so the whites stay cold. Rescue soft filling with a spoonful of mashed yolk and a short chill in the fridge before piping.
- Scoop the loose filling back into a bowl.
- Stir in crumbled yolk or a spoon of cream cheese.
- Chill the filling for 20 minutes until firm.
- Pipe again onto the cold, dry whites.
- Garnish and serve at once.
Plate Them Neatly
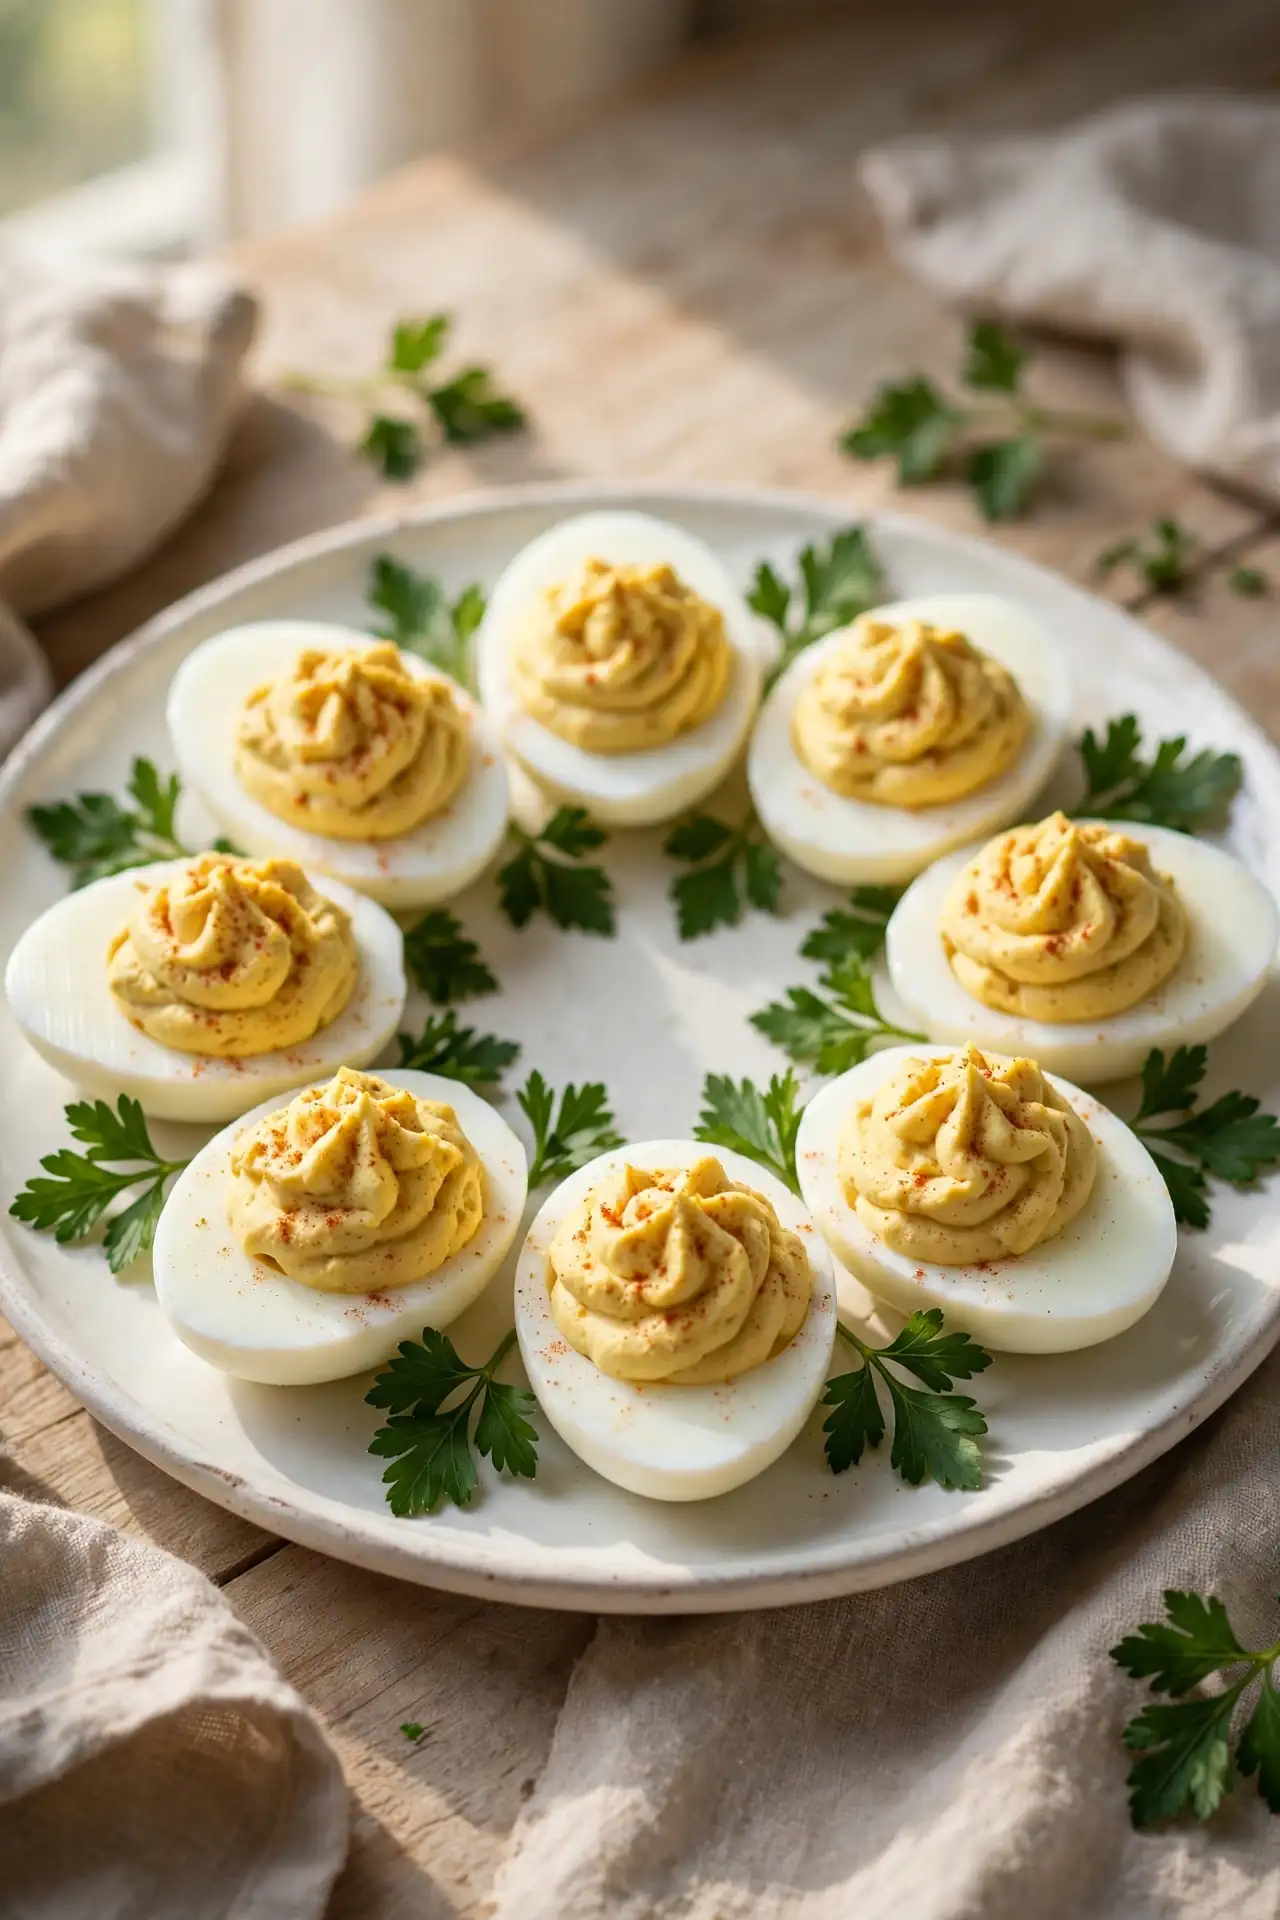
Quick Tip: Place a small bed of parsley or shredded lettuce under the eggs. It stops them sliding and makes the platter look finished.
Plating matters for a dish that is judged by looks. A flat platter, cold eggs, and a little green garnish keep the eggs steady and pretty. Leave space between the eggs so they do not touch and smear. The same filling will look far better with a careful plate.
Conclusion
Fixing runny deviled eggs comes down to dry yolks, slow liquids, and proper chilling. Those three habits give a thick filling that pipes cleanly and holds its shape. Once they are routine, neat eggs take no extra effort.
Work through these fixes one at a time, and your next batch will show the difference.
Taste the filling cold, and adjust salt and mustard at the last minute. For another classic that needs a clear result, see the potato salad guide, then serve your eggs while they still look perfectly sharp.