Why Is My Homemade Yogurt Runny? Easy Fix Guide
Runny homemade yogurt can ruin an otherwise good batch. You warm the milk, stir in starter, and wait all day for a thick set. The spoon slides through a thin, watery jar instead. Thin yogurt usually comes from small, fixable mistakes.
Most thin batches trace back to milk that stayed too cool, tired starter, or a culture cut short. Each one slows the live cultures, so the milk never firms. In my experience, one weak link is enough to leave the jar watery.
This guide walks through each cause, from milk choice to chilling, with a fix for every step. Follow the fixes for a thick, creamy jar. And if your frozen dessert also turns hard, see why icy homemade ice cream happens and how to fix it.
Why Yogurt Turns Runny

Thin yogurt happens when live cultures stay slow and weak. Milk that never got warm enough, a tired starter, or a short culture can each leave the jar watery. The milk still sours, but the proteins never knit into a firm set. The spoon slides through instead of scooping thick.
A thin jar does not mean the milk went bad, and most batches stay safe to eat. The cultures simply ran out of warmth or time before the set firmed up. Check heat, starter, and time before you toss anything. Each fix below targets one cause.
Use Whole Milk
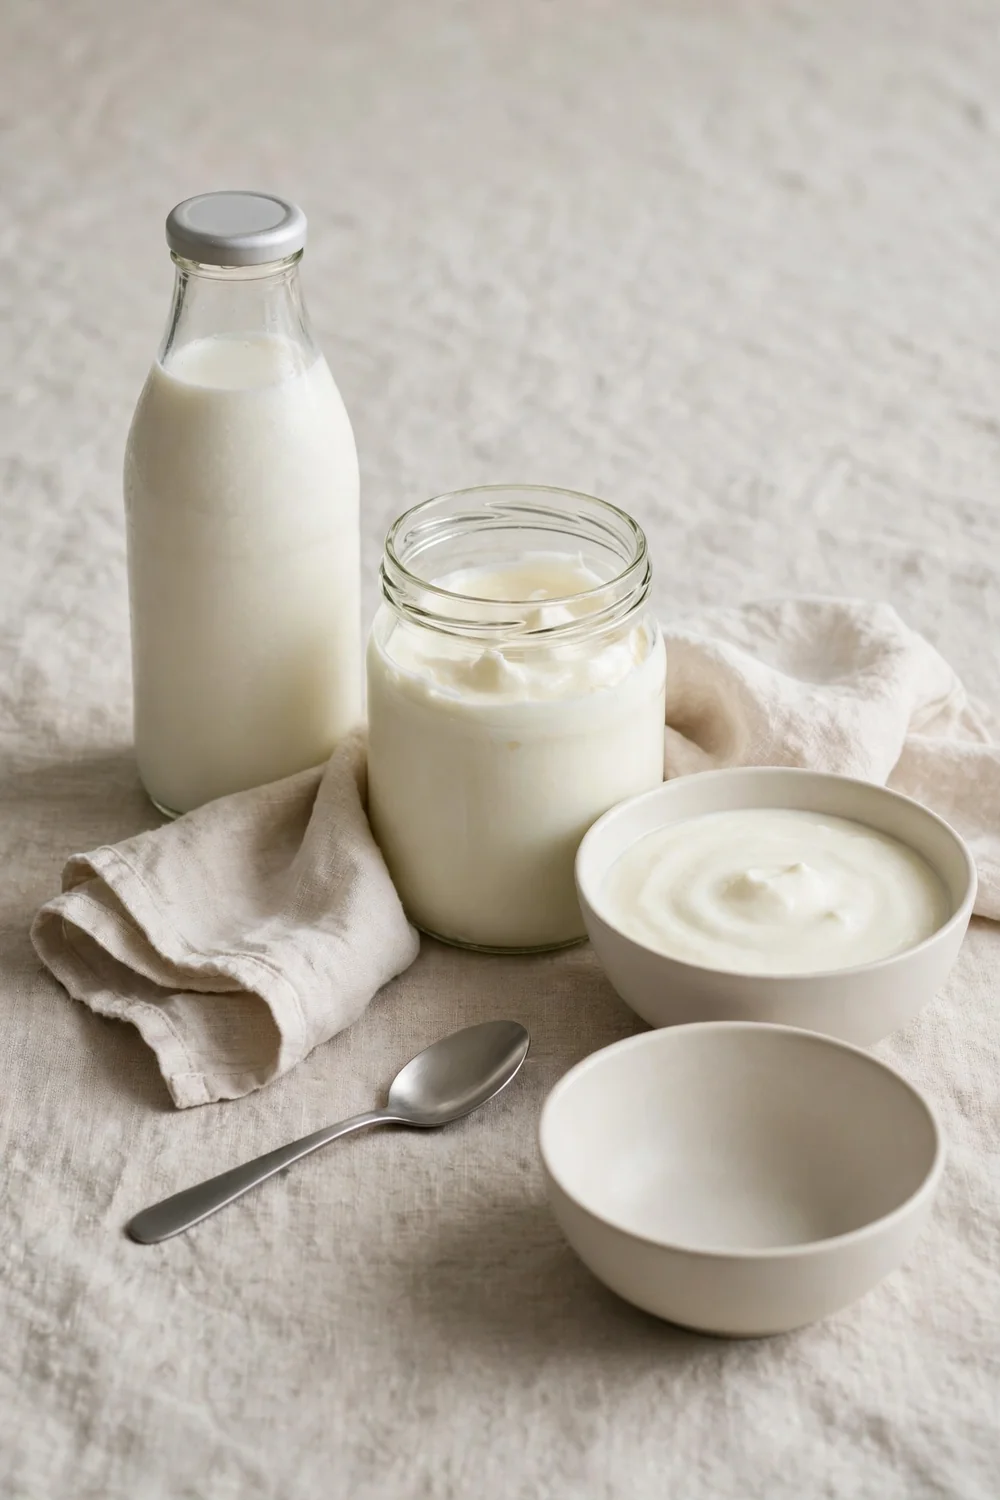
Fat gives yogurt body, so milk choice shapes the final texture more than any other single step. Skim milk has little fat to build on, and the set stays loose no matter how long you wait. Whole milk builds a firm, creamy spoon from the start.
- Buy whole milk and check the label for full fat before you start.
- Skip skim and low fat milk for this batch, since both set thin.
- Warm the milk gently, then cool it to the culturing range before adding starter.
- Keep the same milk for the whole batch so the result stays steady.
Heat the Milk
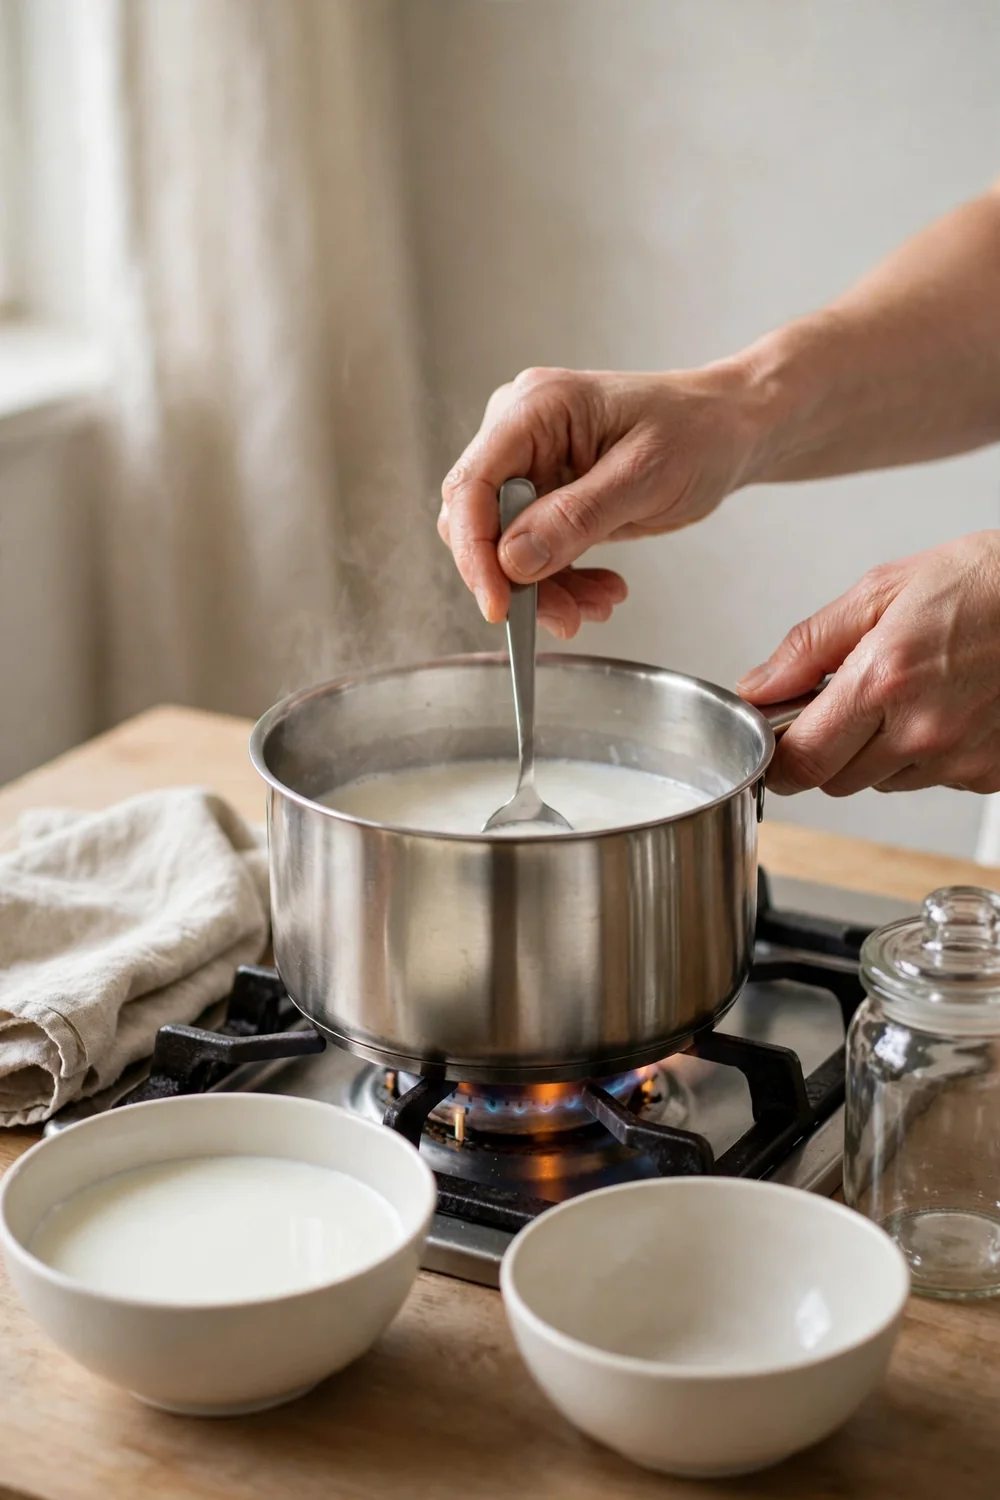
Quick Tip: Heat the milk until it steams and small bubbles ring the edge, then cool it back to warm. This step firms the proteins and gives the cultures a smooth base. Never let the milk boil hard, since scorched milk tastes off.
Unheated milk sets loose because its proteins never unwind and link up. Gentle heating changes their shape, so they knit into a firm curd as the cultures work. Stir often while the milk heats to stop a skin from forming. Cool it until it feels warm to the wrist, then stir in the starter.
Use Fresh Starter
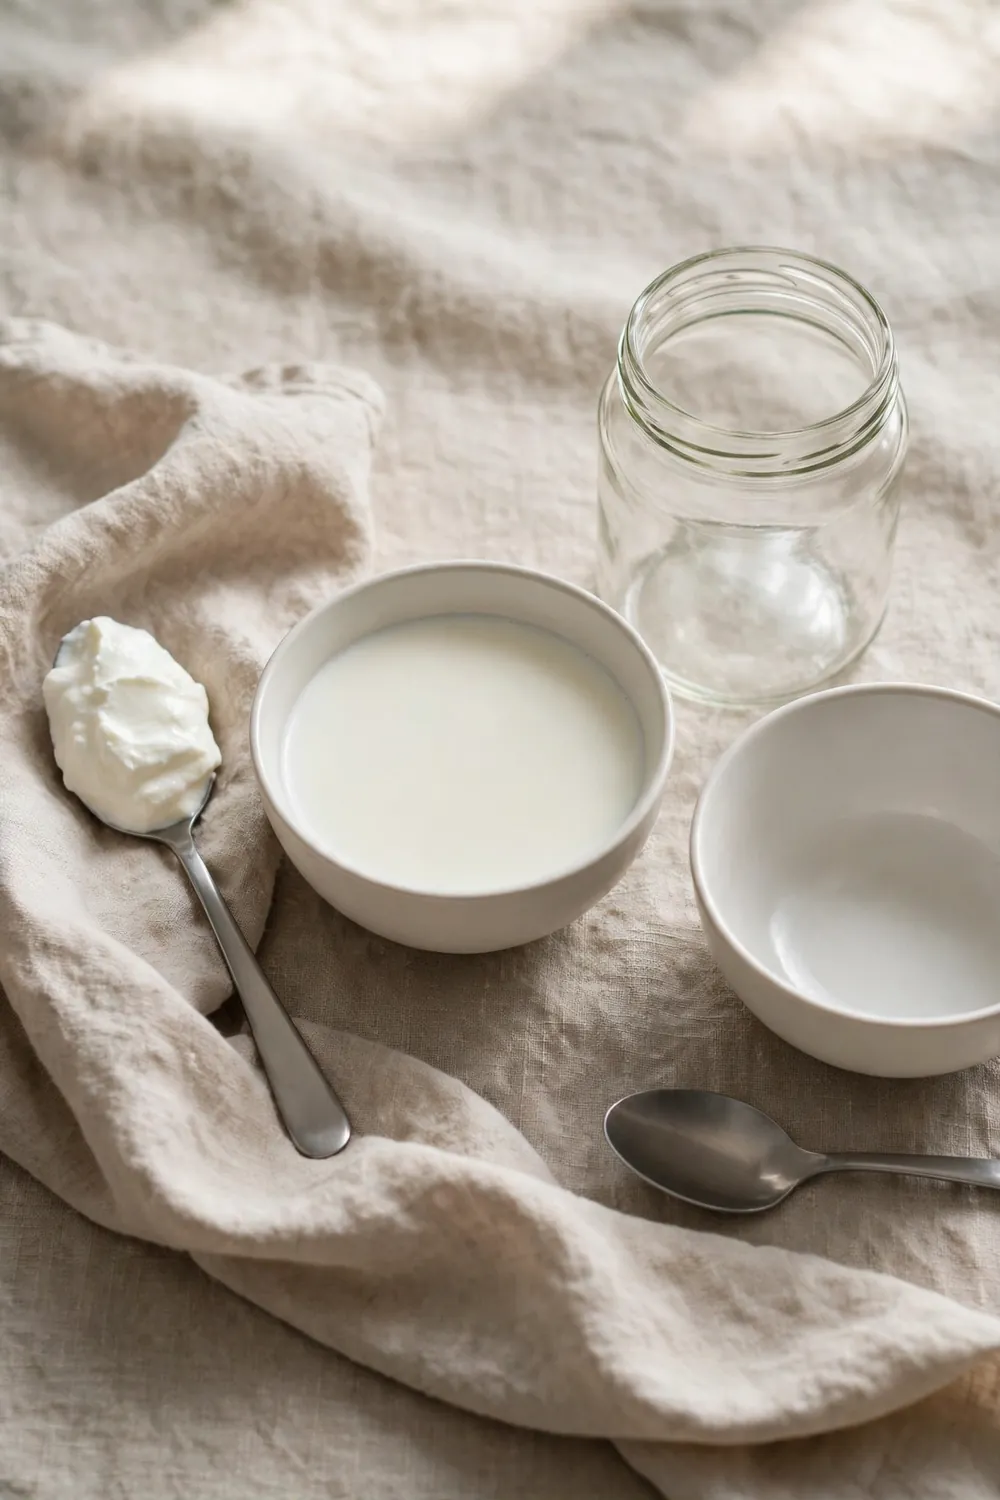
Common Mistake: Most cooks reuse starter from an old jar without checking its age. Each round weakens the cultures, so the new batch sets slower and thinner. After a few rounds, the starter barely cultures at all.
The Fix: Use starter from a fresh pot with live cultures and a date well inside its life. Two spoonfuls per quart is plenty for a strong set. Mark the jar with the date, so you always know how fresh it is.
A lively starter works fast and firms the milk on schedule. An old one drags, and the jar stays loose even after a full day of waiting. Taste the starter first, and skip it if it smells sharp or stale. Fresh starter is the cheapest insurance for a thick jar.
Keep It Warm
What You Need:
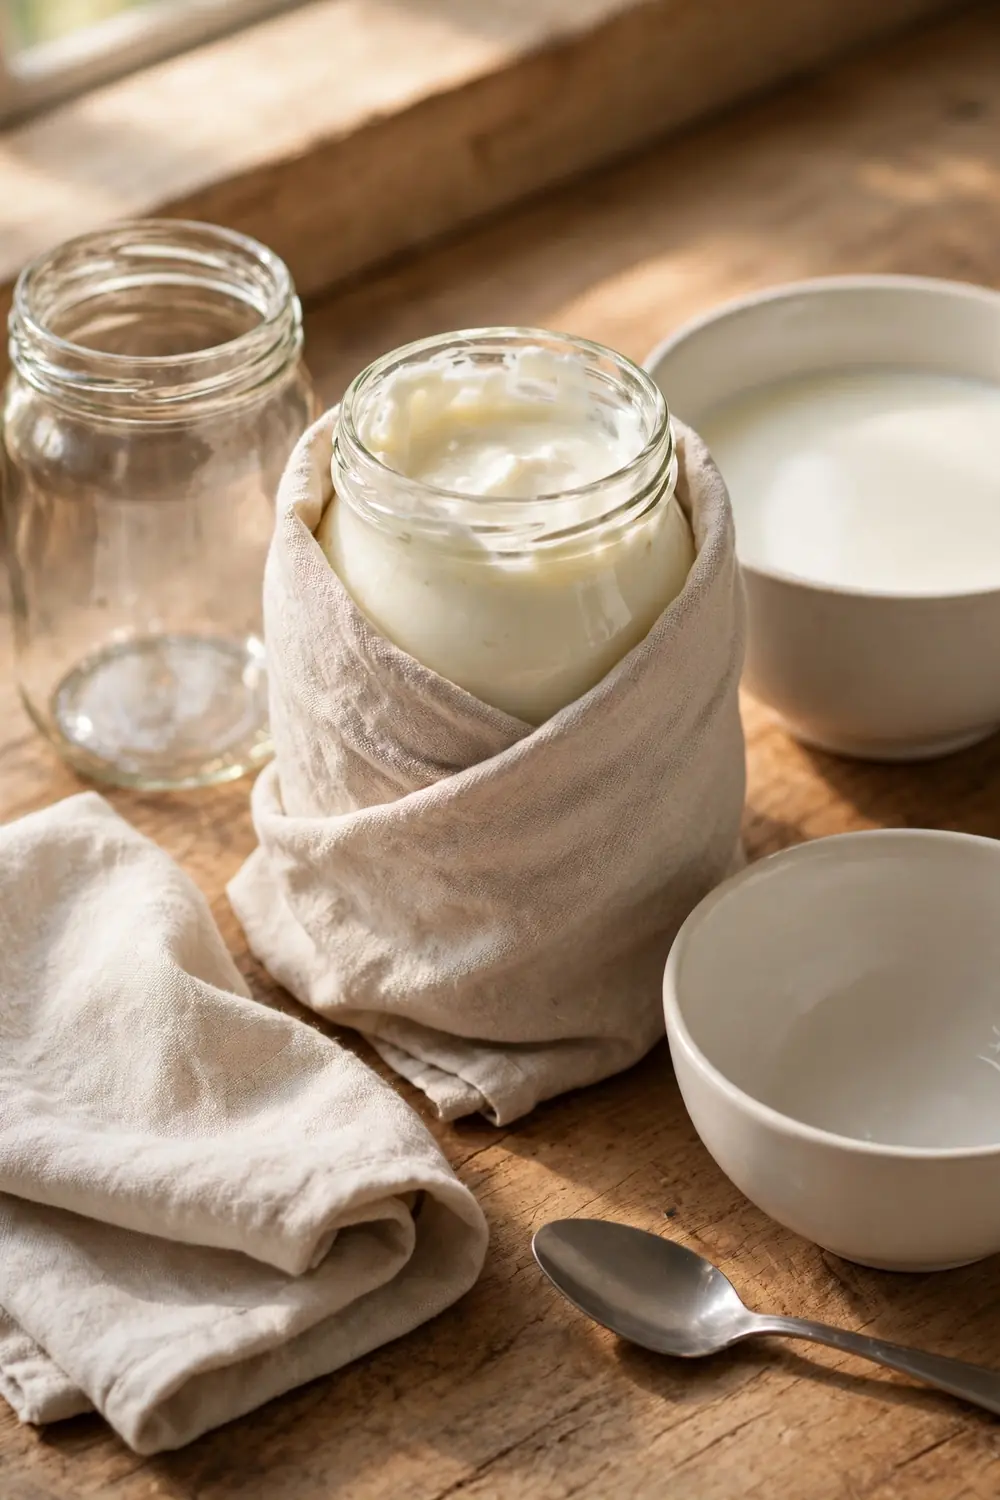
- Heavy towel: Wraps the jar and holds steady warmth for hours.
- Warm spot: A turned off oven with the light on works well.
- Thermometer: Confirms the jar stays in the culturing range.
- Timer: Keeps the culture on schedule without guesswork.
Cultures need steady warmth to turn milk into firm yogurt. A drafty counter cools the jar, and the set stalls halfway. Tuck the wrapped jar into a warm, still spot and leave it alone. Steady heat lets the cultures finish the job on time. Check the jar only at the timer.
Give It Time
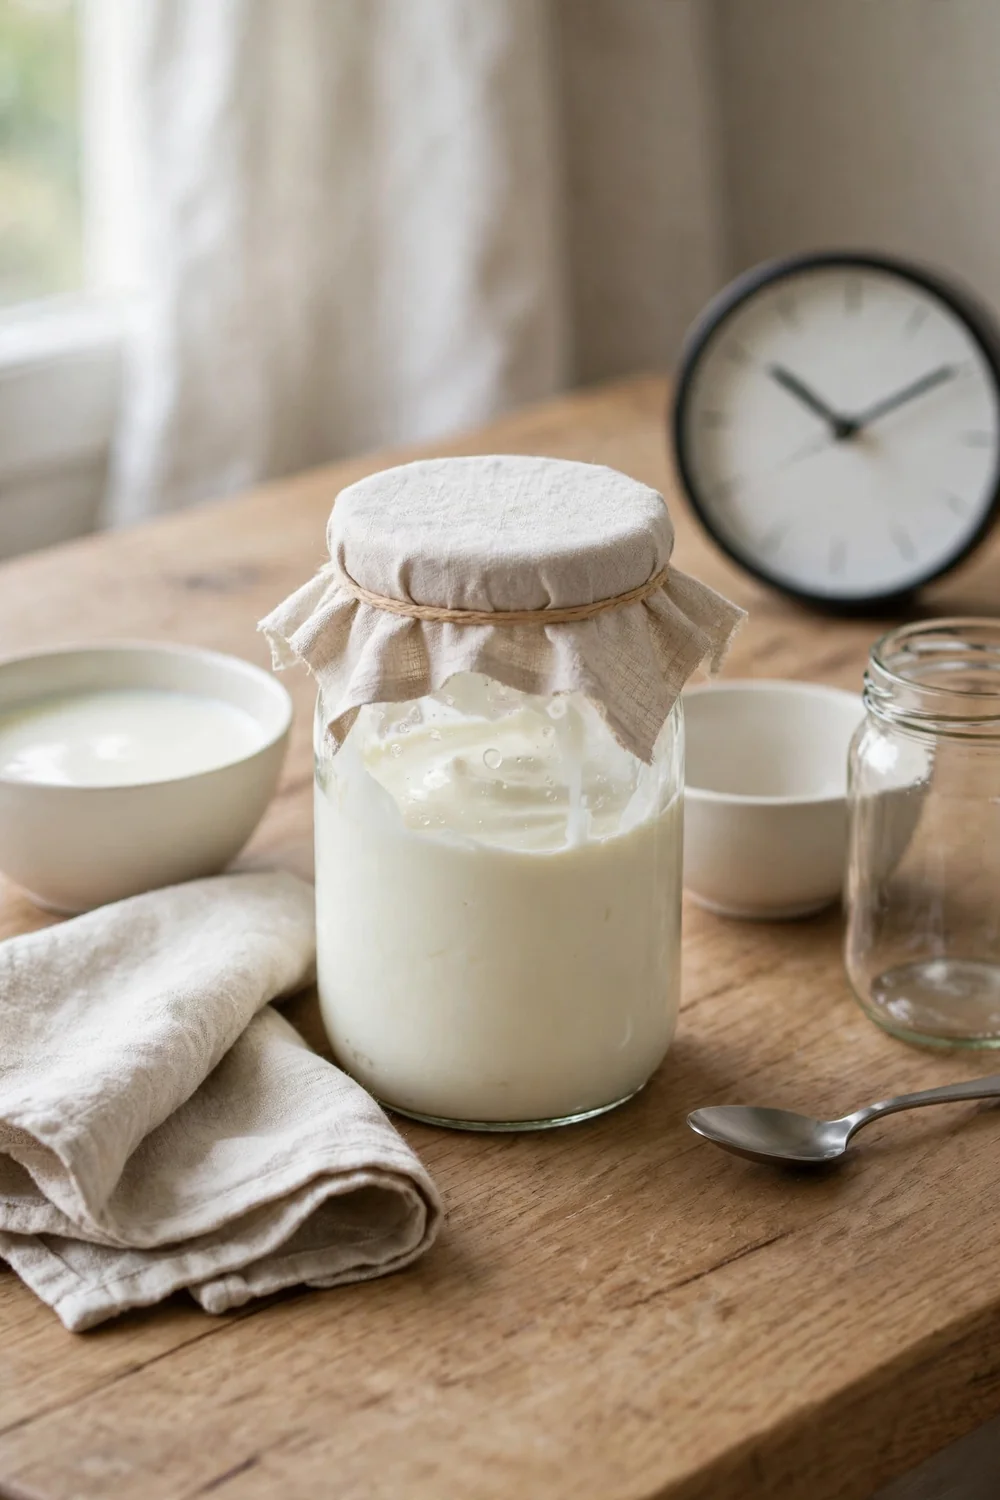
Before: A jar pulled early looks smooth on top but runs thin on the spoon. The cultures had no chance to finish, so the proteins never set firm. The result tastes mild and watery, and the whey pools fast.
After: A full culture firms the jar from edge to center, and the spoon leaves a clean curl. The flavor turns gently tangy, and the texture holds its shape. The jar feels firm when you tilt it, with no whey pooling on top.
Most jars need eight hours at steady warmth to set fully. Check the jar at eight hours, and give it two more if the center still wobbles. Rushing the culture saves an hour and costs the whole batch. Time is the quiet fix that turns thin milk into thick yogurt.
Chill It Slow
Do This:
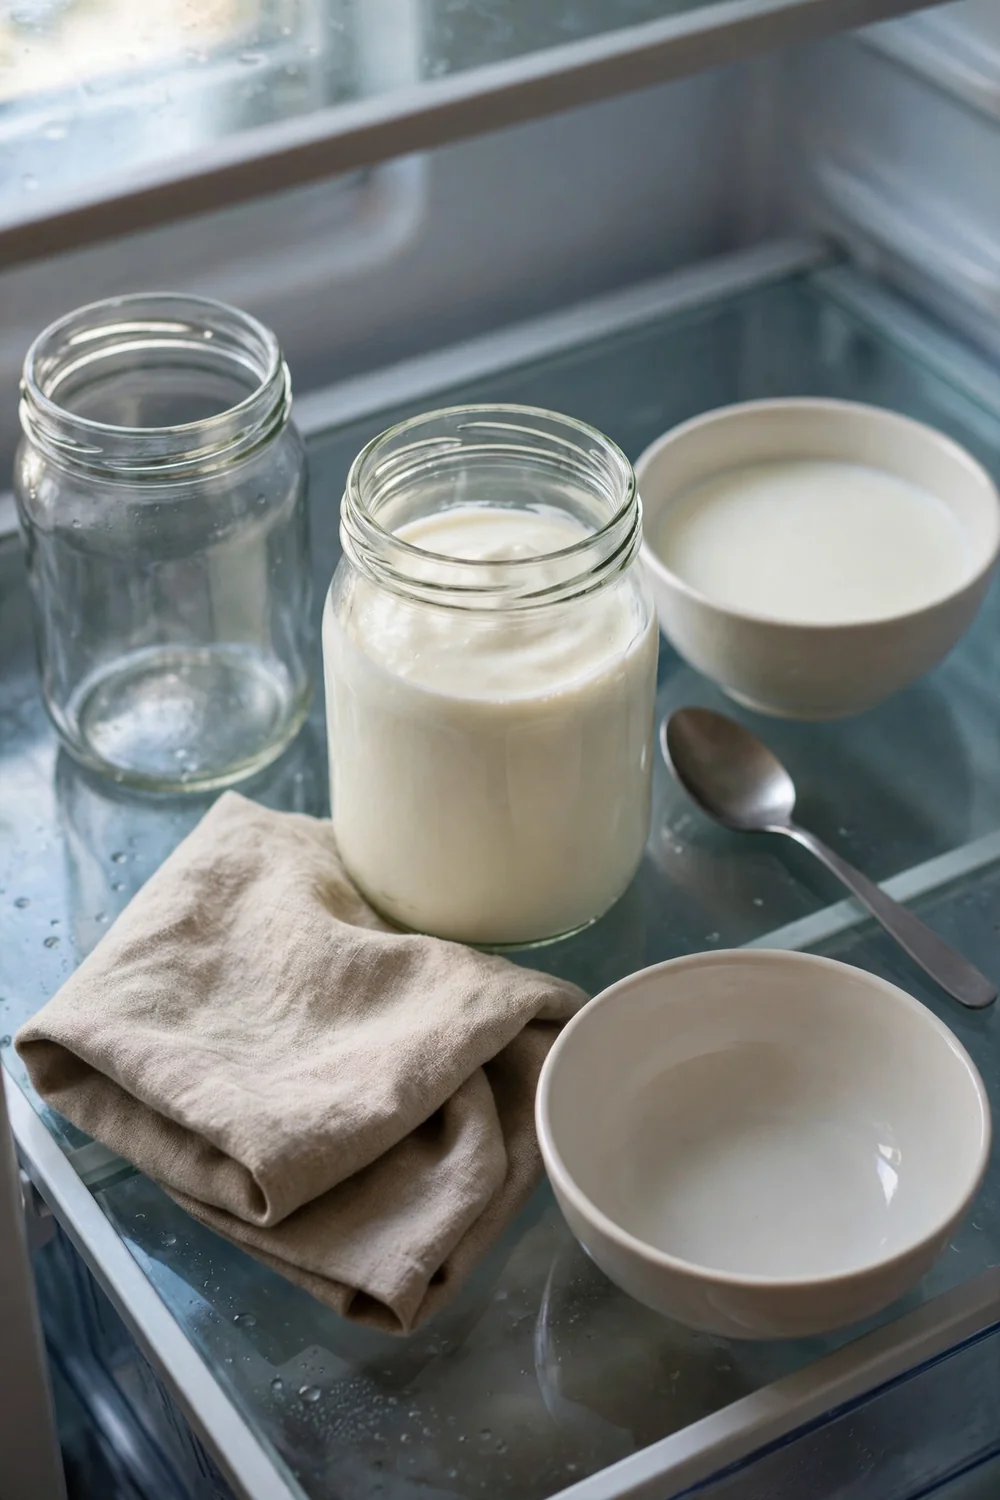
- Move the set jar straight to the fridge without stirring.
- Leave the jar still for at least four hours, or overnight.
- Spoon from the chilled jar only after the set firms.
Avoid This:
- Do not stir a warm jar, since stirring breaks the fresh curd.
- Do not stack warm jars, since the trapped heat softens the set.
- Do not taste from the jar before chilling, since the spoon breaks the surface.
Chilling firms the curd that the cultures just built. A jar moved and stirred while warm loses its set and never thickens again. The fridge does the final work, so give it time. A cold, still jar turns a soft set into a firm, scoopable one.
Strain the Whey
Time Needed: 1 hour
Difficulty: Easy
Tools Required: Cloth, bowl, strainer
Result: Thick, Greek style yogurt
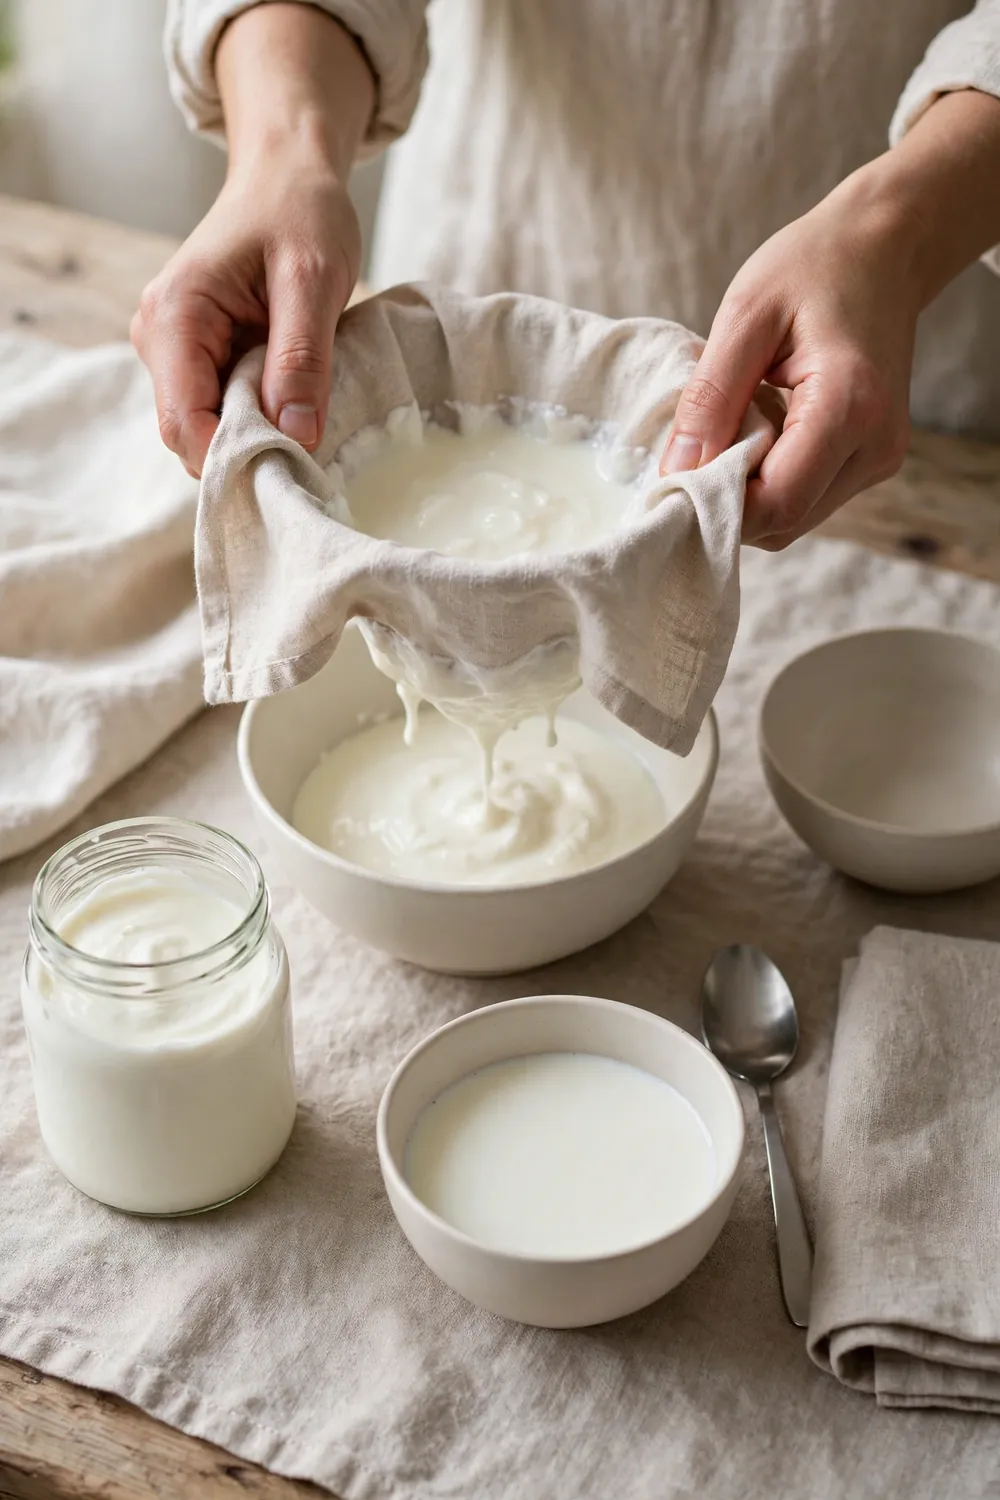
Straining pulls whey out of a finished jar and leaves thick, spoonable yogurt behind. Line a strainer with a clean cloth, pour the chilled yogurt in, and let it drip for an hour. Save the whey for baking or smoothies, since it still holds value. Straining rescues even a thin batch in one step.
Test One Jar

Culture one small jar first, and check the set before you commit a full pot of milk. A test jar shows whether the starter is lively and the warm spot holds heat. One jar costs little, and the answer saves the whole batch. Small tests build real confidence.
Spoon the test jar after chilling, and look for a firm, clean curl. Warm the spot more if the jar stays loose, or wait longer if it still wobbles. Make the full batch only when the test jar sets thick. A thick test jar means the method works.
Common Mistakes to Avoid
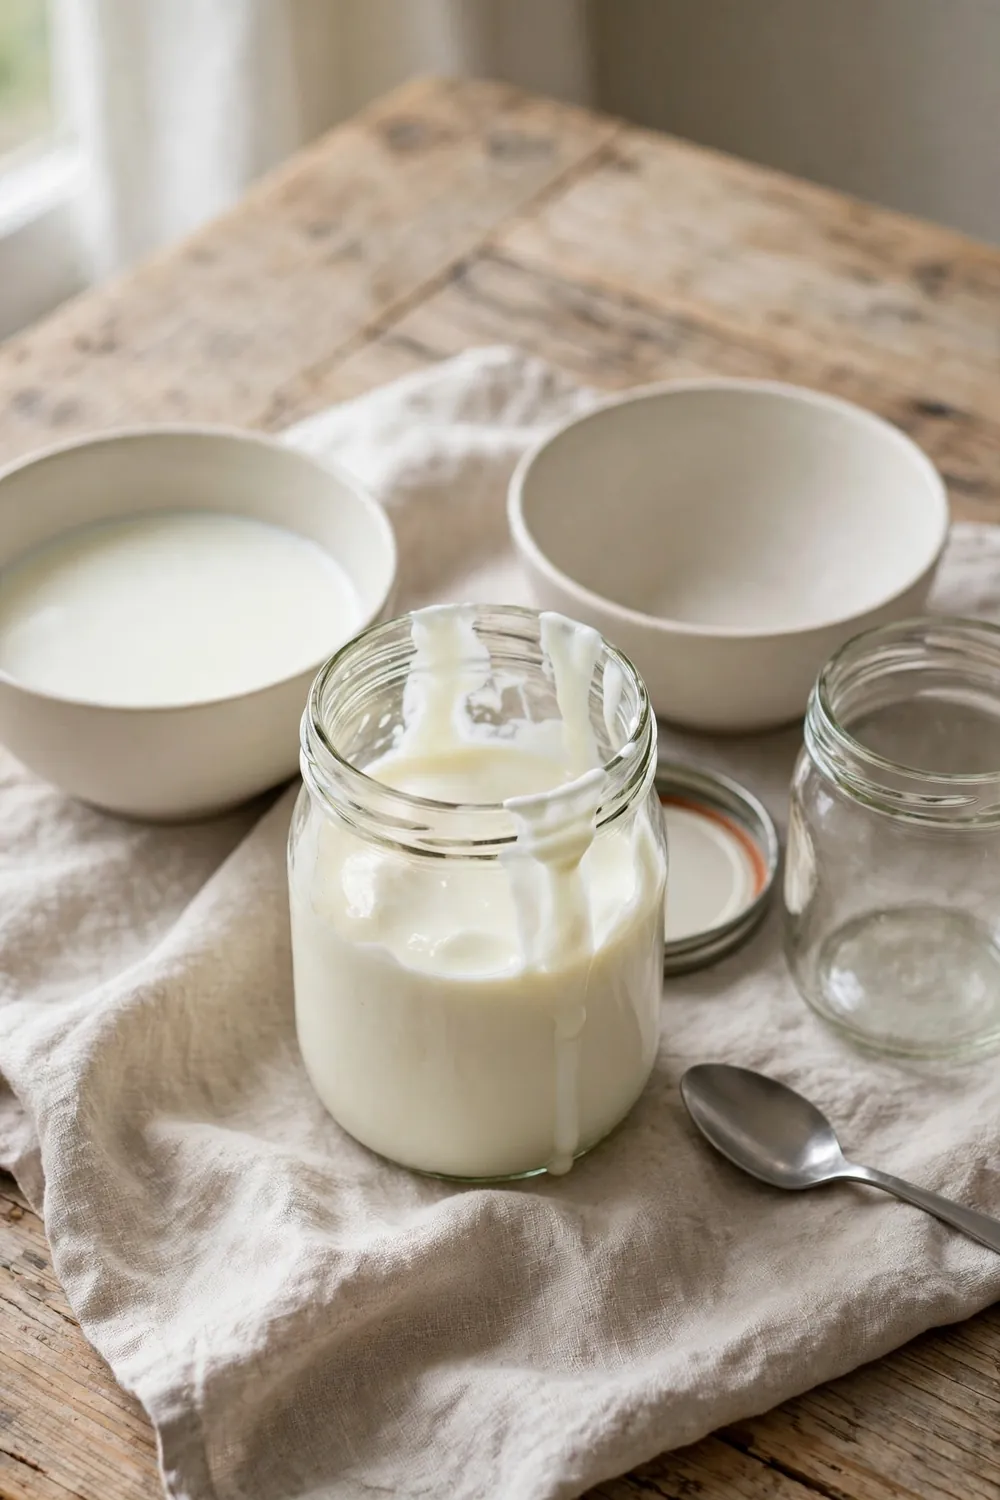
Most thin batches come from a few repeatable habits, not bad milk. The list below covers the ones I see most often in home kitchens. Fix one habit at a time, starting with warmth and time. Small fixes stack up fast.
- Do not culture milk straight from the fridge, since cold milk slows the cultures.
- Do not reuse old starter past its prime, since weak cultures set thin.
- Do not pull the jar early, since a short culture never firms.
- Do not stir a warm jar, since stirring breaks the fresh curd.
What Thick Yogurt Looks Like
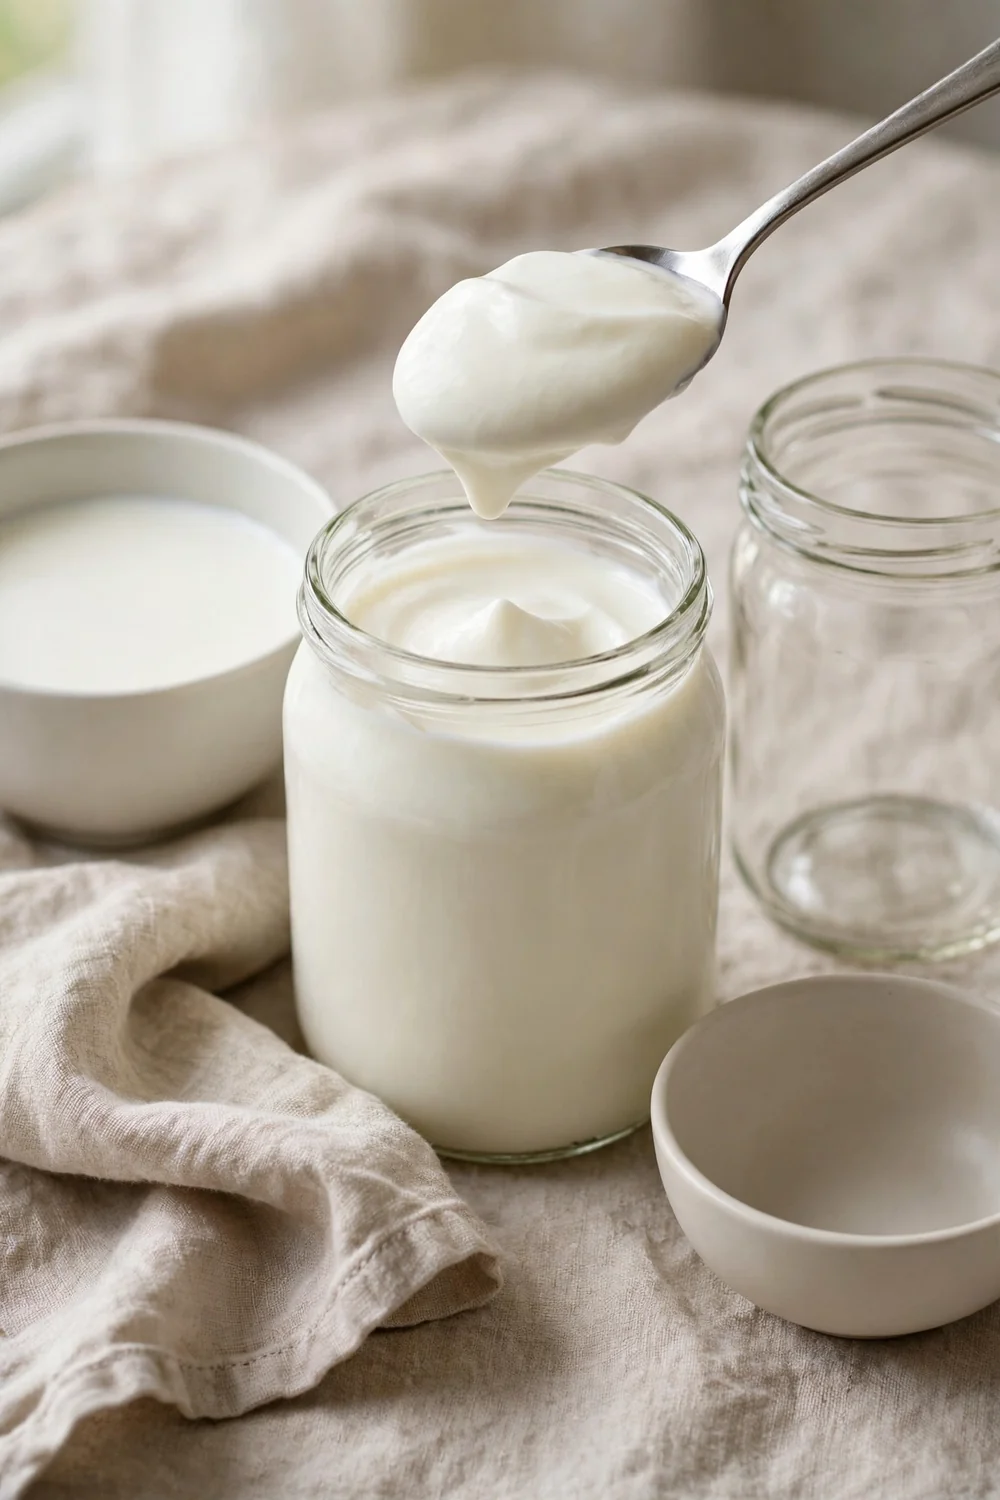
Quick Tip: Judge the jar after chilling, not while it is still warm. A warm jar always feels softer than the finished yogurt. Chill first, then check the spoon and the surface.
Thick yogurt holds a smooth scoop, and the spoon leaves a clean curl that keeps its shape. The surface looks even, with no whey pooling on top. The flavor stays mild and gently tangy, and the jar smells fresh. When the spoon stands firm and the surface stays smooth, the batch worked.
Conclusion
Runny homemade yogurt is not a sign of bad milk. It comes from cool milk, weak starter, or short time. Match the fix to your jar, and the next batch can surprise you.
Warm milk, fresh starter, and steady heat each keep the set firm. Pick the method that fits your kitchen, and the yogurt turns creamy. Small steps keep the jar thick, and the texture stays smooth.
Heat the milk, keep it warm, and give it time. The jar turns thick and scoops clean. Save this guide for next time. If your sauce also splits, read our guide on split hollandaise for smooth, creamy sauce at home every time.




2 Comments