Why Is My Chocolate Seizing When Melting? Easy Fix Guide
If seized chocolate keeps ruining your dessert, you are not alone. Many home cooks watch a smooth bowl turn thick and grainy in seconds. The fix is simple once you know the cause. This guide shows each step in plain words, so your next batch stays glossy.
A single drop of water, a wet spoon, and high heat are the usual culprits behind a stiff bowl. Each one makes the cocoa grip tight and turn lumpy. In my experience, one small change at a time saves most batches. Dry the tools, lower the heat, and stir with care.
This guide walks through each cause one by one, then gives simple fixes you can use today. Follow the steps, and your chocolate can stay smooth, glossy, and ready to pour. And if your jam also stays runny, see why jam not setting happens and how to fix it with simple kitchen tricks.
Why Chocolate Seizes
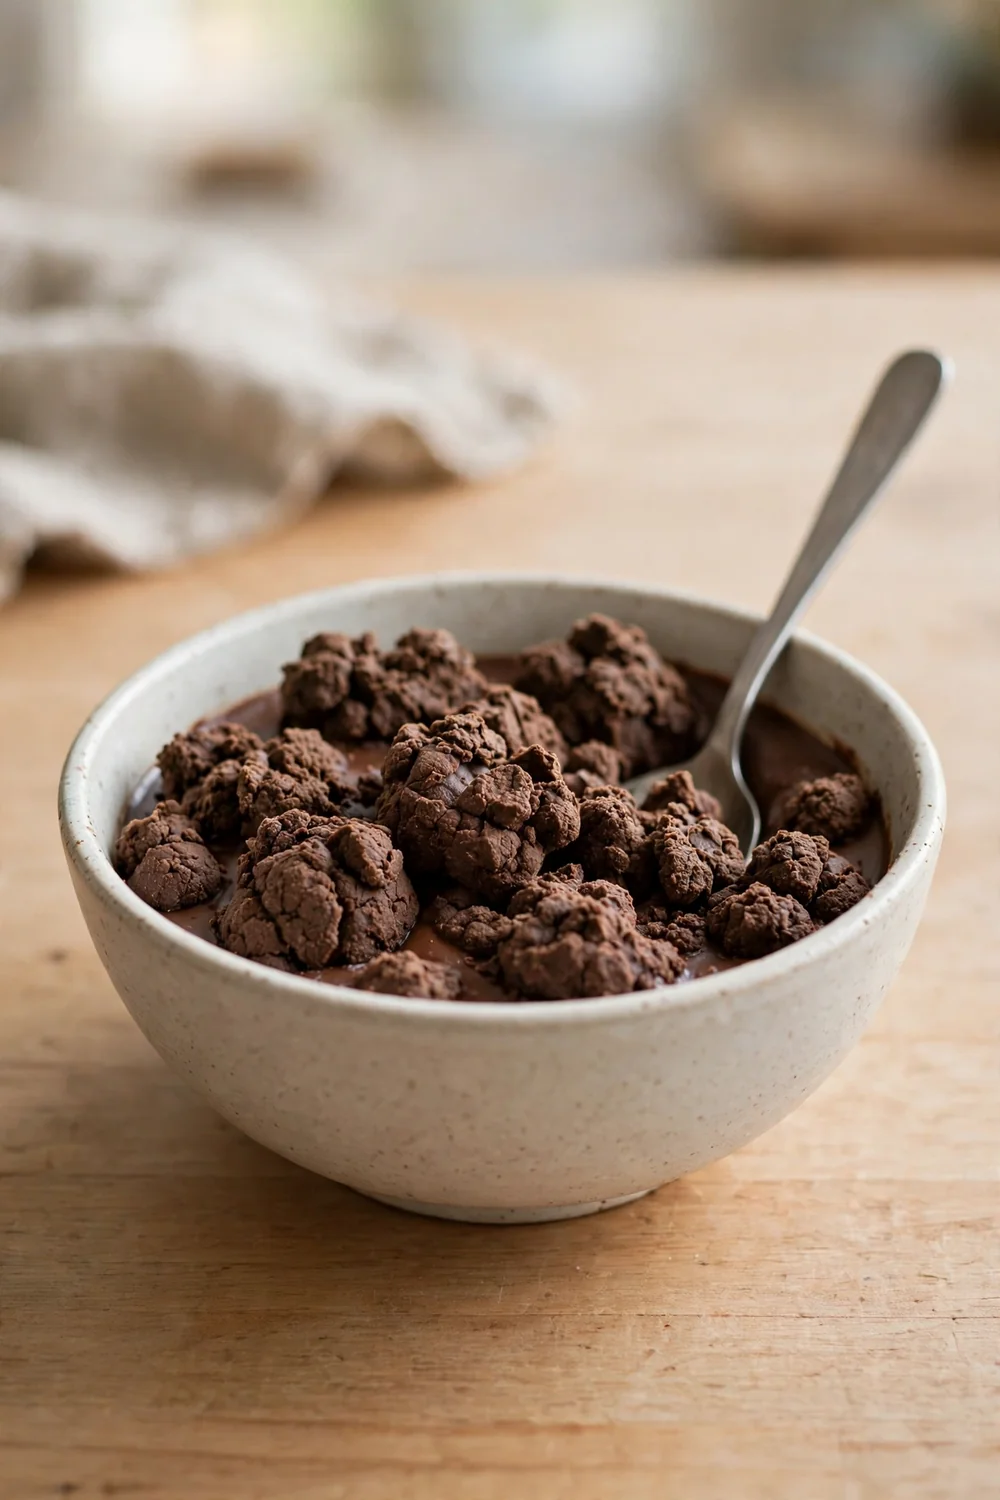
Chocolate seizes when a tiny bit of water meets melted cocoa. The dry cocoa particles clump together at once, and the smooth bowl turns stiff and grainy. Even steam from a nearby pot can carry enough water to spoil the whole batch. The change happens fast, so speed matters.
Once you spot the cause, the fix gets easy. Keep water away, melt the chocolate low and slow, and stir with a dry spoon. Watch how the texture changes as you work, since small steps add up fast. A smooth bowl pours clean and coats with a glossy shine.
Use Dry Tools
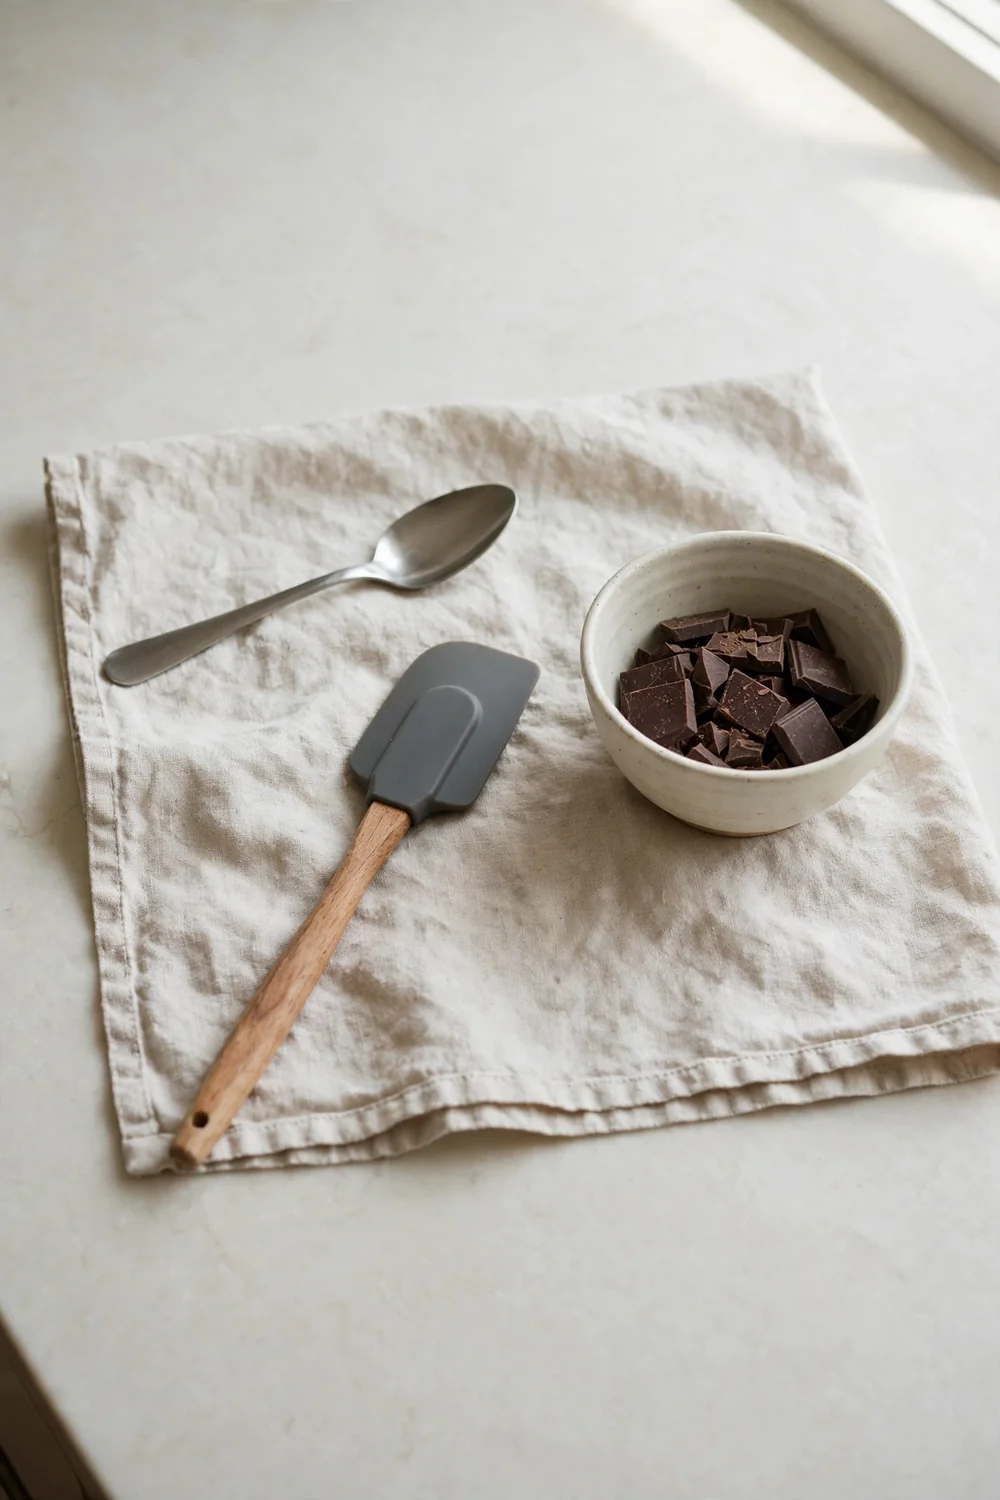
A wet spoon is all it takes to seize a whole bowl. Water hides in joints, seams, and the grain of a wooden spoon. Dry every tool on a clean towel before it touches the chocolate, and keep a dry spoon ready for stirring.
- Wash the bowl, spoon, and spatula well ahead of time so they air dry.
- Wipe each tool with a clean dry towel right before you start.
- Skip wooden spoons, since wood holds water in its grain.
- Keep a spare dry spoon close in case the first one gets wet.
Keep Water Away
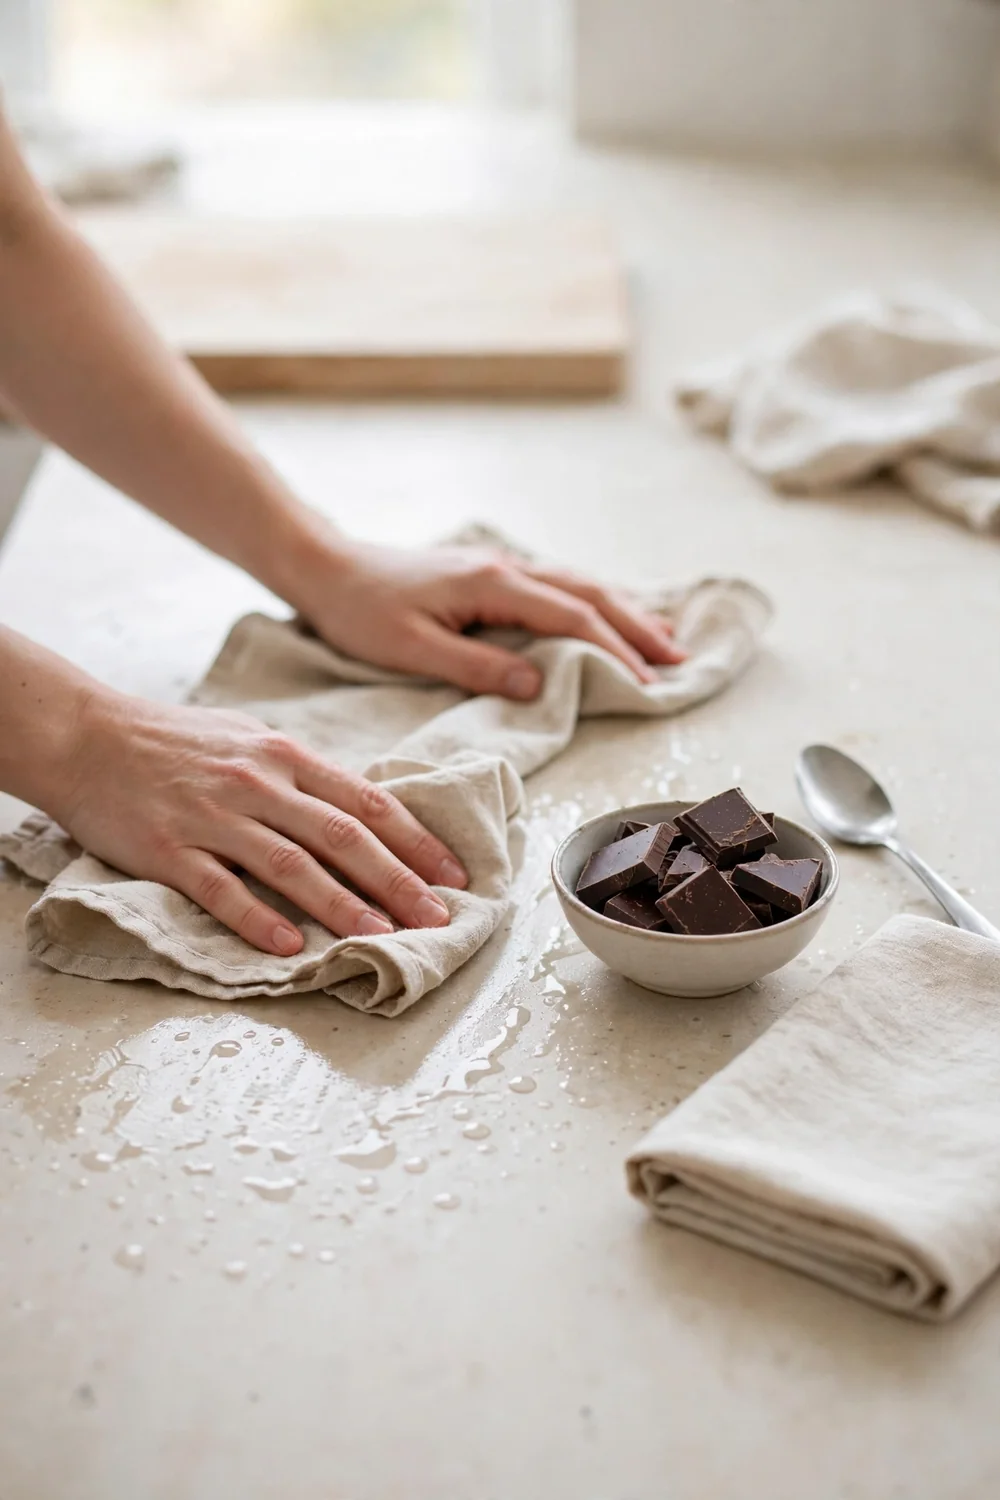
Quick Tip: Melt chocolate far from the sink, the kettle, and any splashing water. Wipe the counter dry before you start, and keep wet hands away from the bowl. One dry workspace keeps the whole batch safe.
Water is the one thing melted chocolate cannot forgive. A single drop makes the cocoa clump, and no amount of stirring smooths it back. Work on a dry counter, and keep lids and wet towels away from the bowl. A dry zone means a glossy bowl every time.
Use a Double Boiler
Common Mistake: Most cooks melt chocolate straight over high heat to save time. The bowl overheats, steam escapes, and the chocolate seizes before it melts. The scorched bowl then tastes bitter, even if the texture comes back.
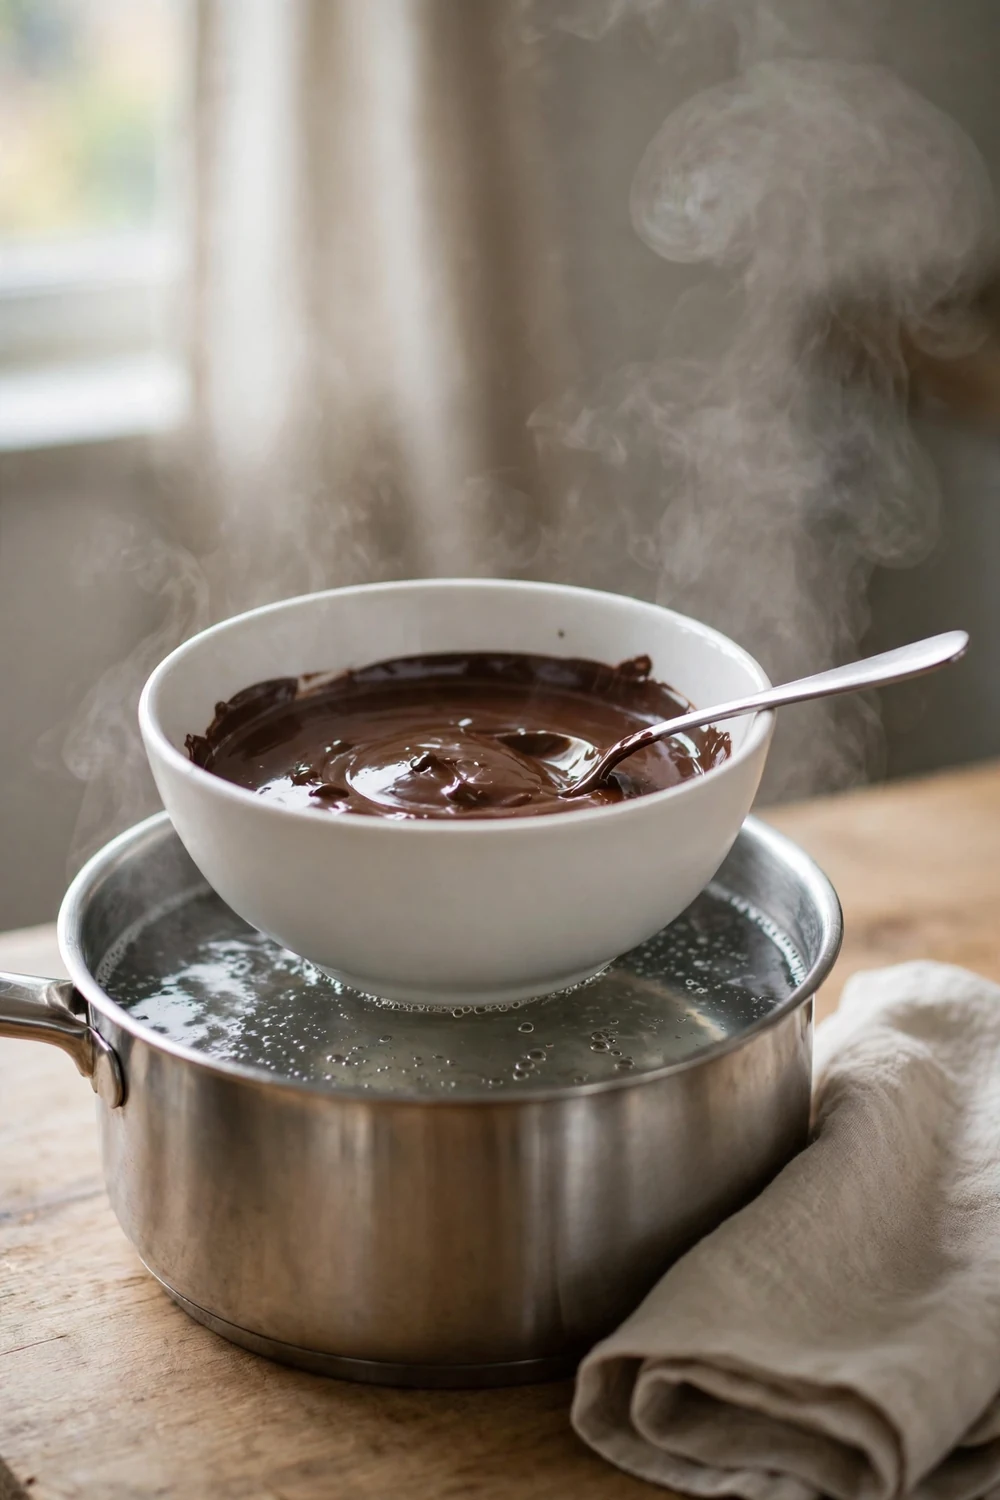
The Fix: Set a heatproof bowl over a pot of barely simmering water, with the bowl clear of the water. The gentle steam melts the chocolate slow and even. Lift the bowl off the heat the moment most pieces melt.
A double boiler keeps the heat gentle and the steam under control. The bowl never touches the water, so no stray drop reaches the chocolate. Stir slowly while the pieces melt, and pull the bowl early. The last bits melt on their own in the warm bowl.
Melt It Low
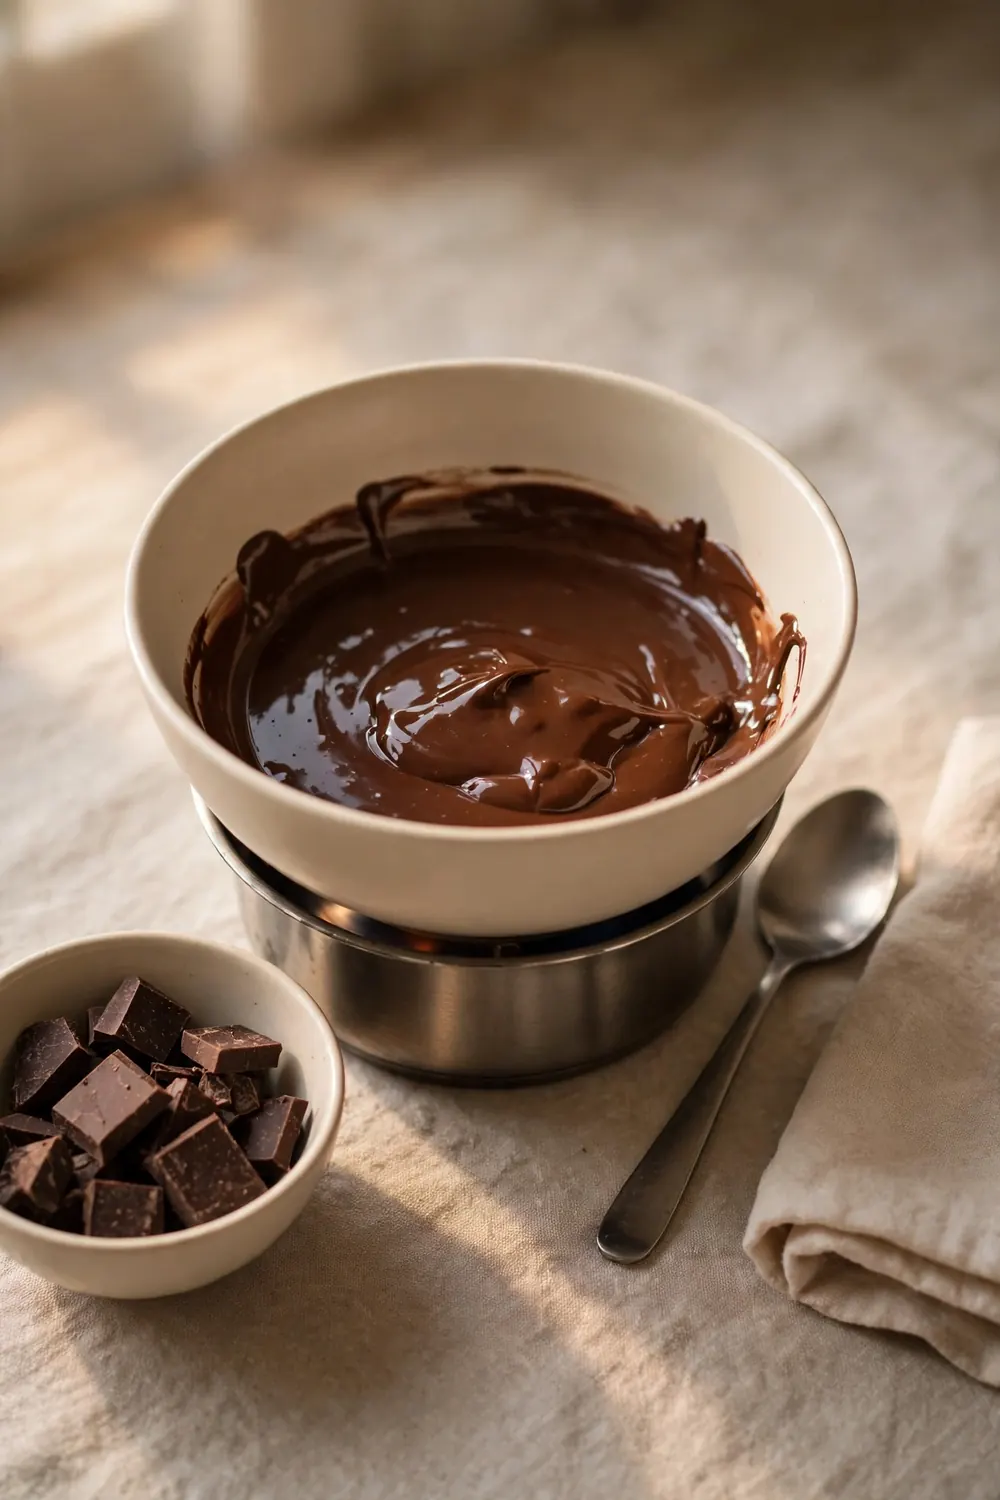
What You Need:
- Heatproof bowl: A dry glass or steel bowl holds the chocolate without adding water.
- Pot of water: Barely simmering water gives gentle heat without steam bursts.
- Dry spatula: A silicone spatula stirs without holding water like wood.
- Chopped chocolate: Small even pieces melt fast and need less heat.
Low heat melts chocolate slow enough to keep it smooth. High heat scorches the cocoa and pushes the bowl toward seizing. Keep the water at a bare simmer, and lift the bowl the moment most pieces melt. Gentle heat gives you time to stir and watch the texture.
Add a Little Fat
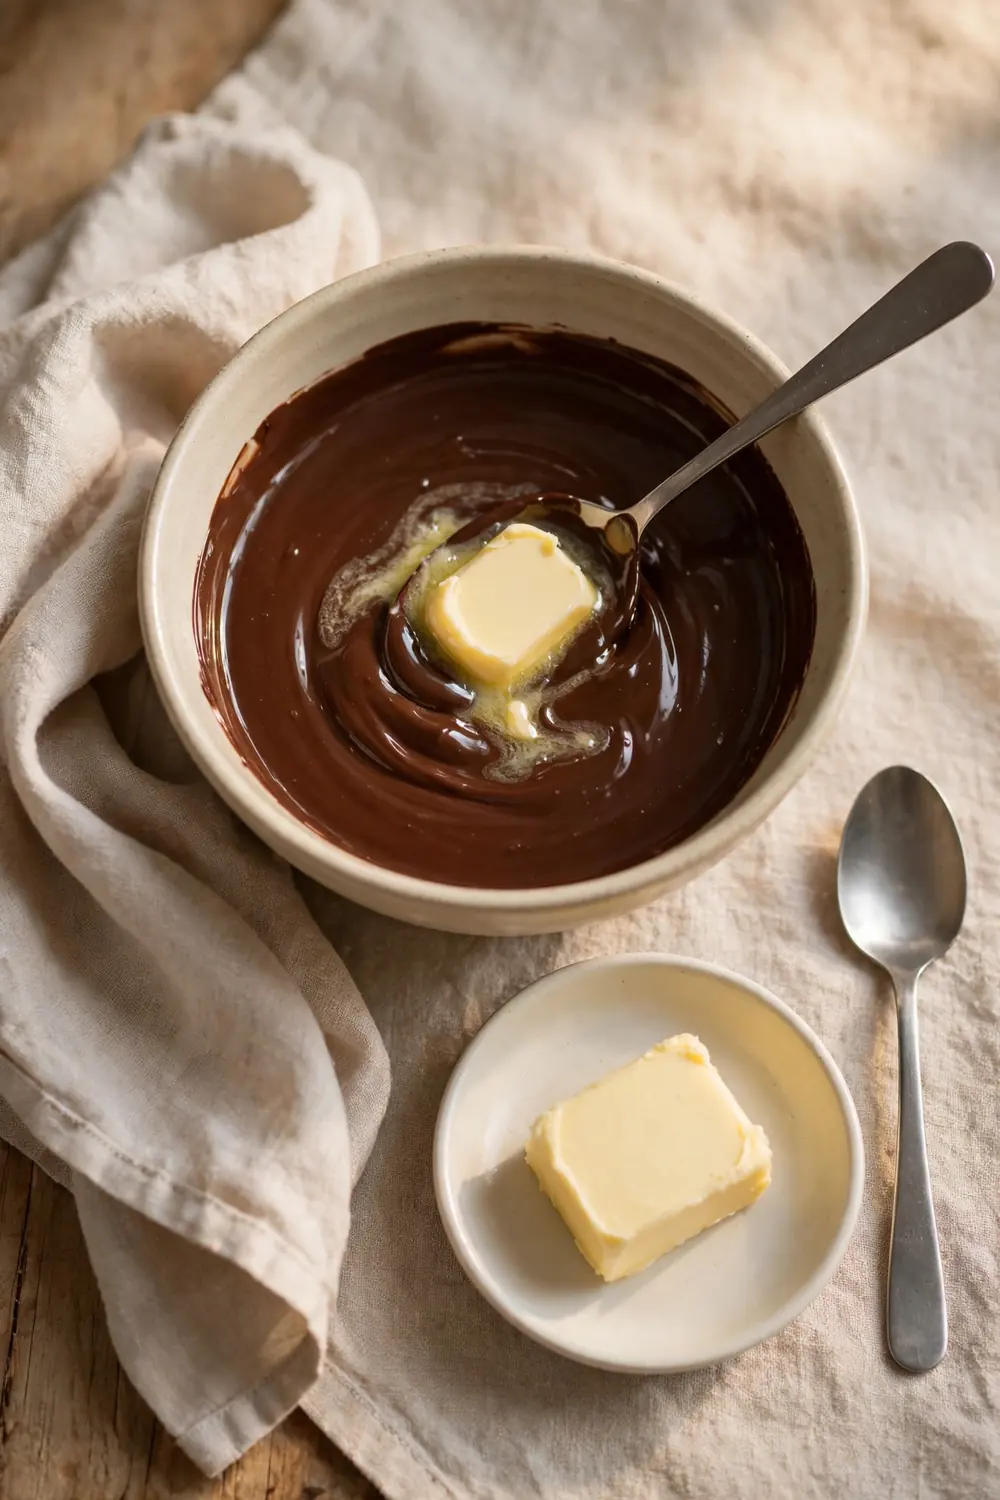
Before: A bowl that starts to thicken feels like a lost cause. The chocolate grips the spoon and turns stiff, and stirring harder only makes it worse. Many cooks toss the bowl, though the chocolate is still good.
After: One teaspoon of neutral oil or butter loosens the bowl back into a pourable glaze. The fat coats the cocoa particles and lets them slide apart. The chocolate turns smooth again and pours in a clean ribbon.
Fat is the safe rescue when a bowl starts to stiffen. Add it one teaspoon at a time, stirring gently after each spoon. Stop the moment the chocolate loosens and shines. Too much fat thins the glaze and dulls the flavor, so a light hand wins here.
Stir It Gently
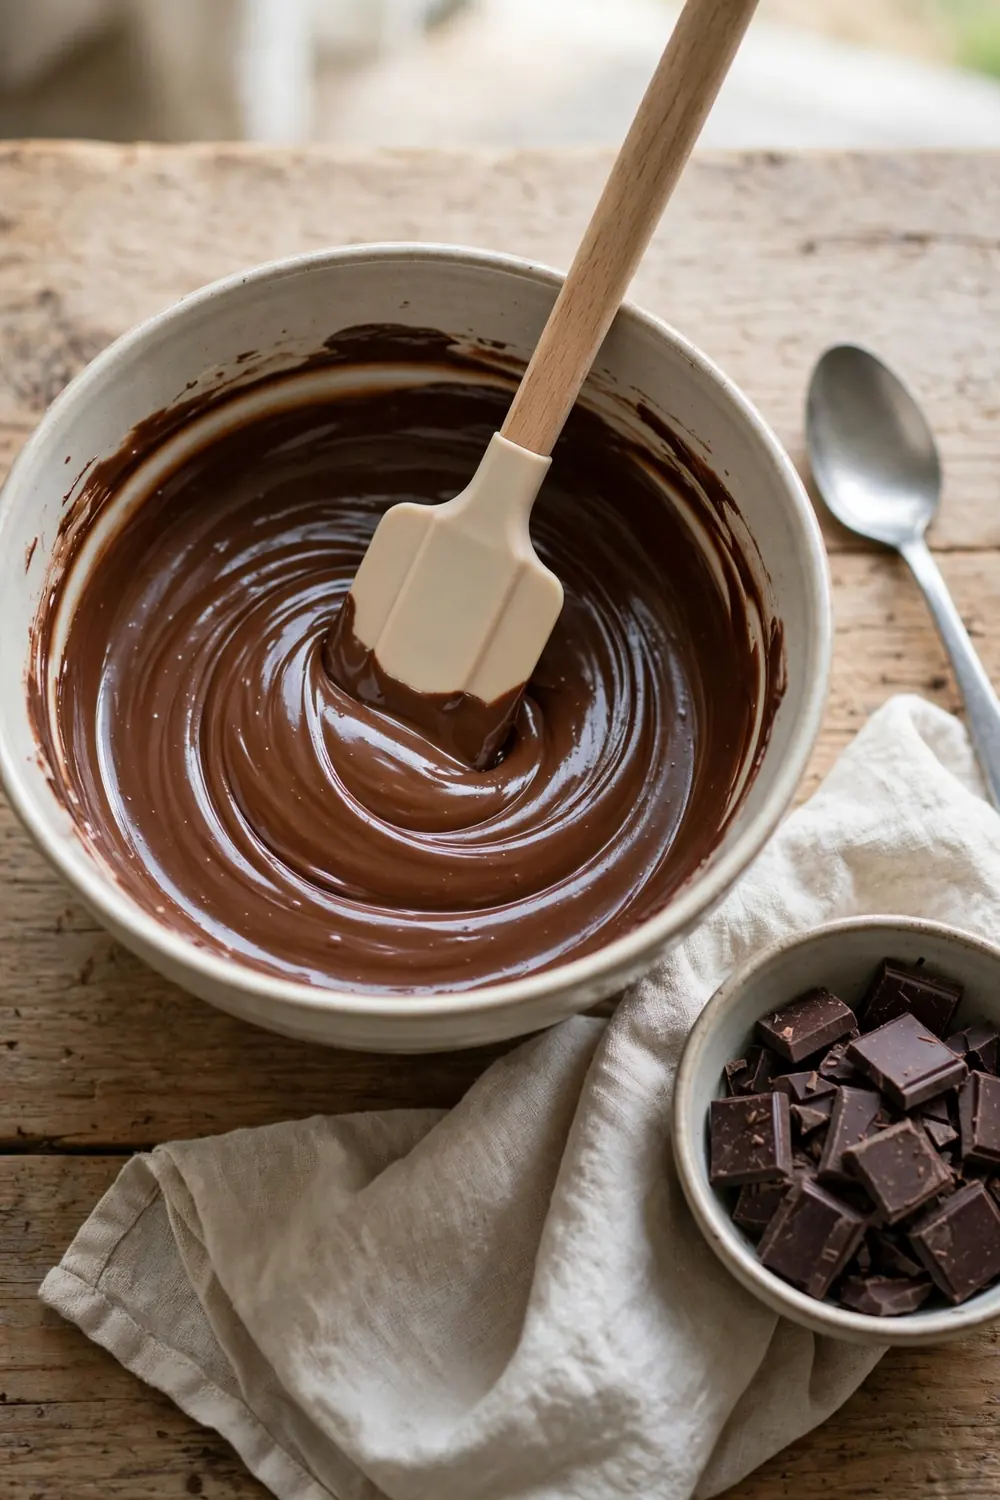
Do This:
- Stir slow in small circles so the heat spreads evenly.
- Let the pieces melt on their own between stirs.
- Lift the bowl off the heat once most pieces melt.
Avoid This:
- Do not stir fast, since fast stirring splashes water and air into the bowl.
- Do not scrape steam from the pot lid into the chocolate.
- Do not leave the bowl over the heat after it melts.
Gentle stirring melts chocolate without forcing it. Fast stirring whips in air and can flick water from the pot into the bowl. Slow circles spread the heat and keep the texture even. Patience here gives a glossy smooth bowl that pours in a clean ribbon.
Save the Seized Batch
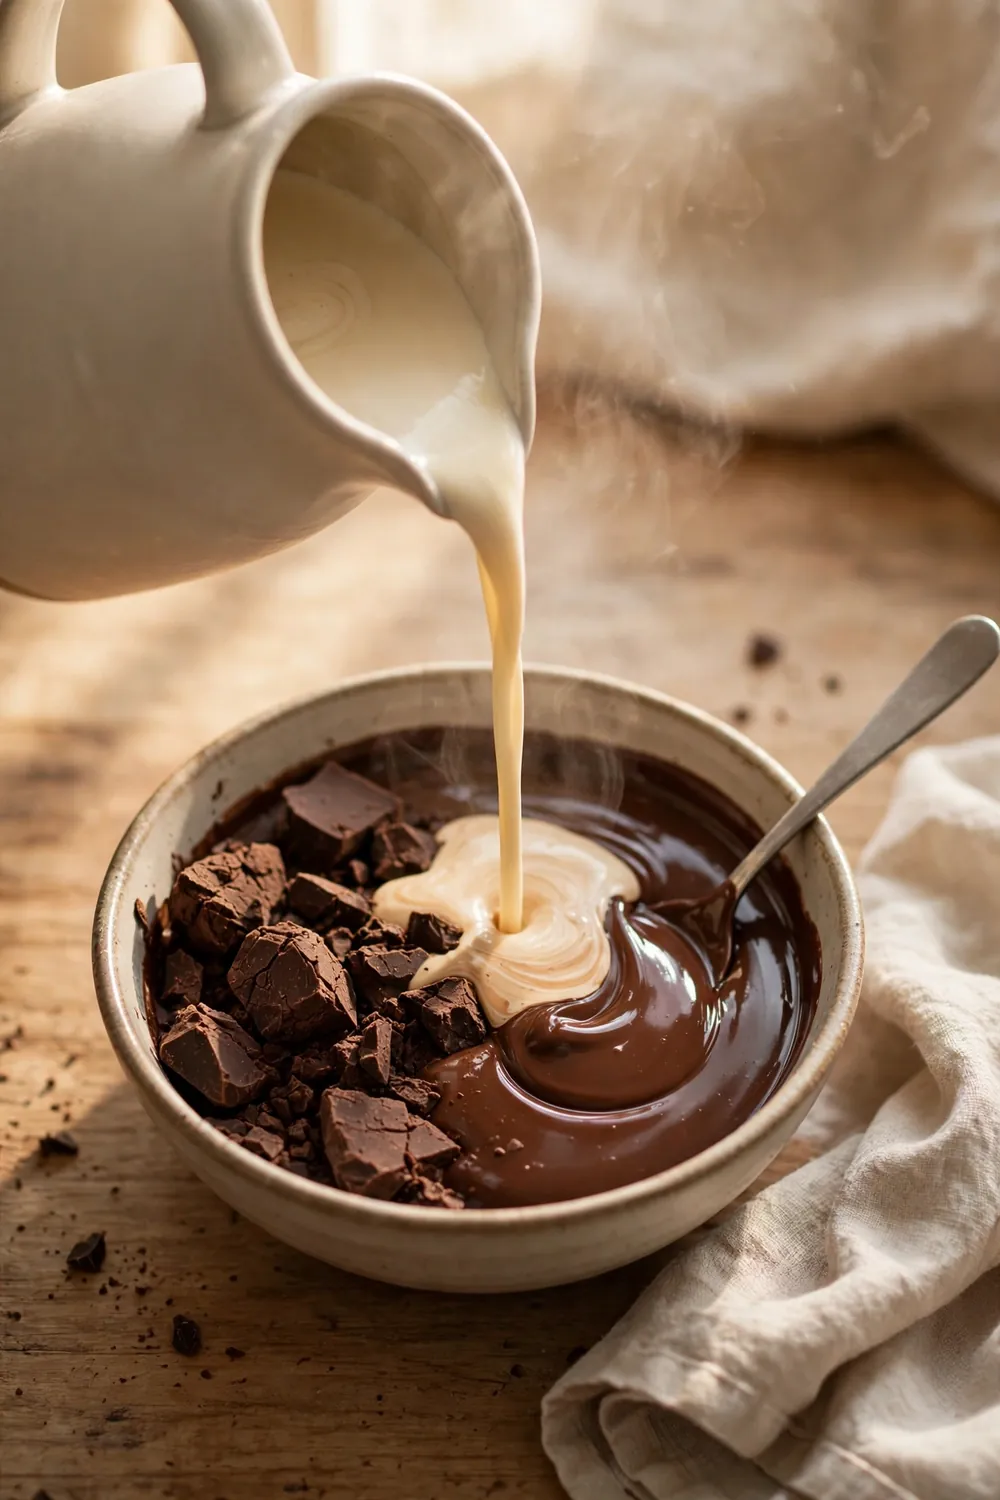
Time Needed: 5 minutes
Difficulty: Easy
Cost: Low
Best For: Stiff grainy chocolate
Result: Smooth pourable glaze
A seized bowl can still serve as a glaze, sauce, or ganache. Stir in hot cream one spoon at a time until the texture loosens. The cream adds liquid on your terms, and the bowl turns silky. Do not expect it to set hard again, since rescued chocolate stays soft.
Test One Bowl
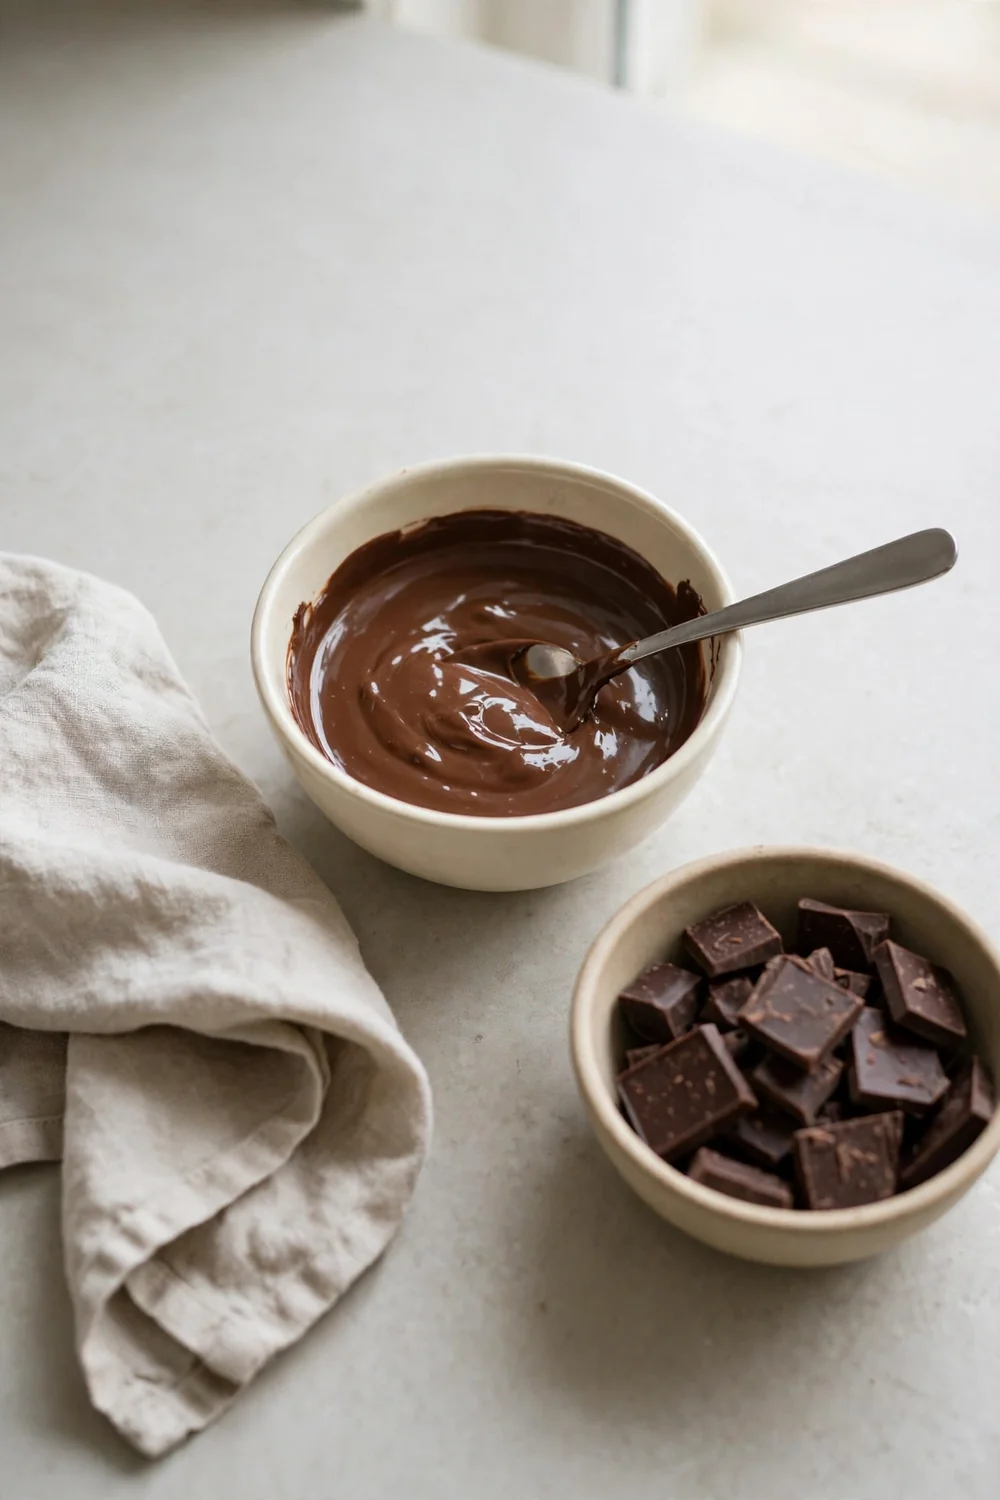
Melt a small test bowl first before you melt the whole batch. A spoon of chocolate shows whether your tools are dry and the heat is right. If the test bowl seizes, dry the tools and start fresh. This small check saves the full batch.
In my experience, the test bowl catches damp tools that a towel check misses. The chocolate may look fine in the bag yet seize in a wet bowl. A quick test tells you the truth before the full batch melts. Fix the setup first, then melt with confidence.
Common Mistakes to Avoid
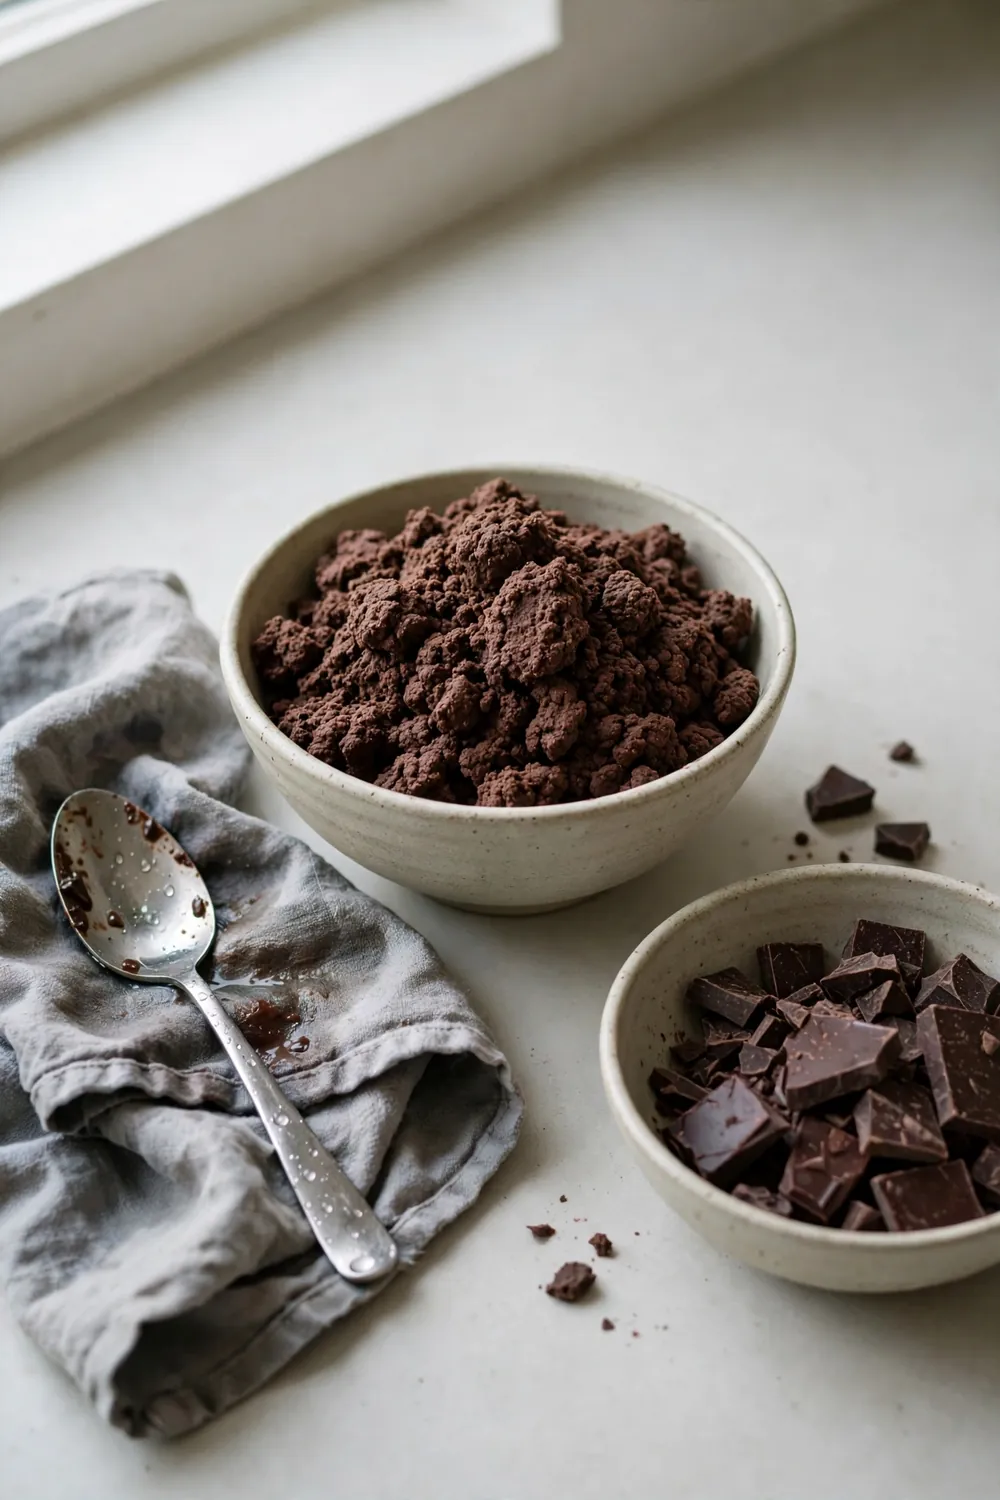
Most seized bowls come from a few repeatable habits, not bad luck. Fix one habit at a time, starting with dry tools and low heat. The list below covers the mistakes I see most often in home kitchens. Each one is easy to spot once you know it.
- Do not melt chocolate near a running tap, since splashes seize the bowl.
- Do not use a wet spoon, since one drop is enough to clump the cocoa.
- Do not melt on high heat, since scorched chocolate turns thick and bitter.
- Do not cover a melting bowl with a wet lid, since drips fall back in.
What Smooth Chocolate Looks Like
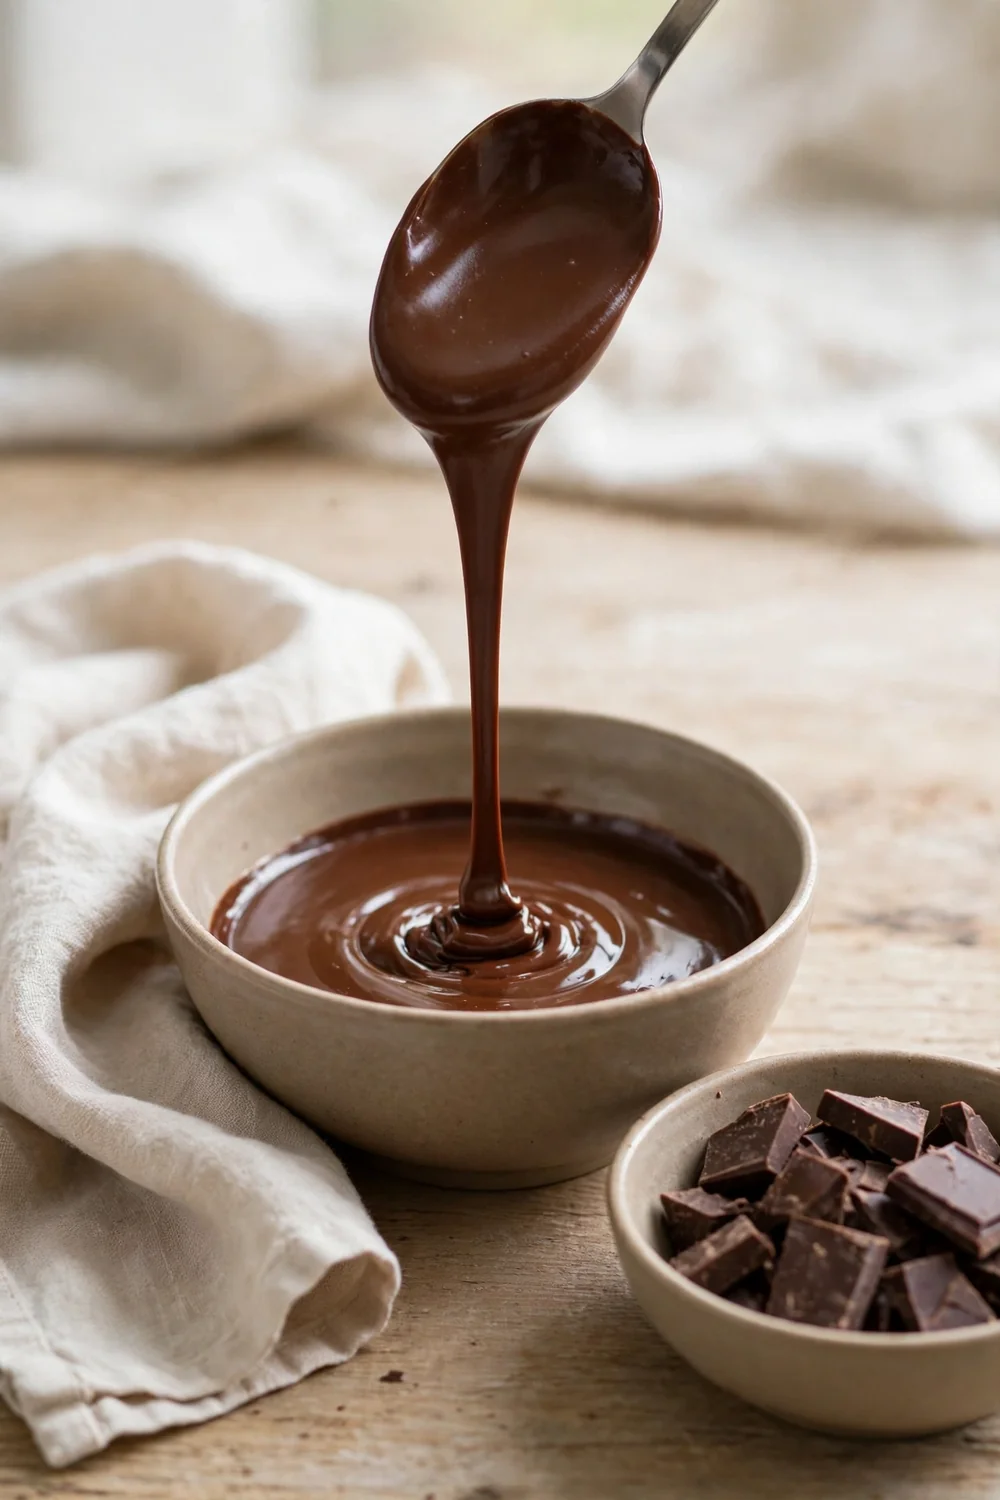
Quick Tip: Good melted chocolate pours in a smooth ribbon and shines under the light. It coats a spoon in an even layer without lumps. If the bowl turns stiff, stop stirring and rescue it with hot cream.
Smooth chocolate looks dark, glossy, and even, with no lumps or grainy streaks. It pours without dragging and coats fruit or cake in a clean layer. Each dip shows a thin even coat that sets with shine. When the bowl looks like this, you know the fixes worked.
Conclusion
In short, seized chocolate comes from stray water, wet tools, and high heat. Fix those three, and each bowl turns glossy. Dry tools, low heat, and a gentle stir build chocolate that pours clean.
Start with the simplest fix first, then add the next one. Small changes protect the flavor while the texture improves. Save this guide on Pinterest for your next chocolate day.
Try the fixes on your next batch, and your chocolate will pour glossy from first dip to last. If your frosting also turns grainy, read our guide on grainy buttercream for smooth, silky frosting at home every time.


2 Comments