Why Is My Quinoa Mushy and Bitter? Easy Fix Guide
If your mushy bitter quinoa comes out of the pot soft, clumped, and sharp tasting, you are not alone. Many home cooks face the same dull bowl with a trusted recipe. The good news is that a few small changes can fix both for good.
Quinoa turns mushy when it cooks in too much water and sits too long on the heat. It tastes bitter when the natural coating on the grains never gets rinsed away. In my experience, rinsing well and less water fix most batches.
This guide walks through each cause, from rinsing to resting. Follow the steps, and your next pot should turn out light and fluffy. And if dry chops are your trouble instead, see why dry pork chops happen and how to keep them juicy.
Why Quinoa Turns Mushy
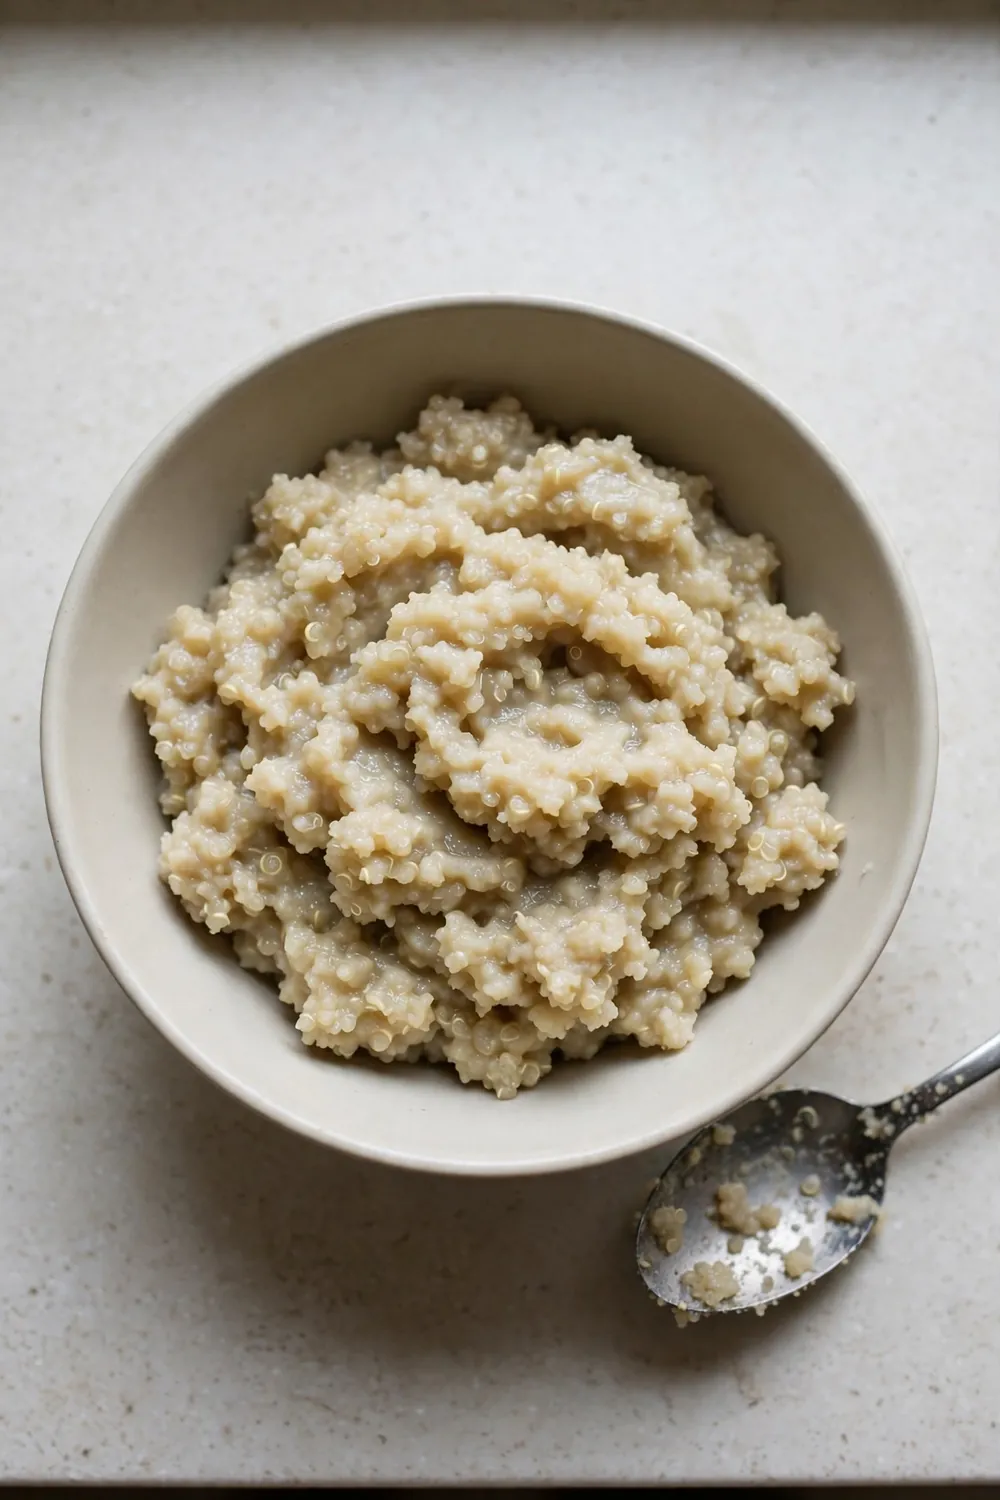
Quinoa turns mushy when small habits stack up in one pot, and each one is easy to miss. Too much water, a hard boil, a skipped rinse, and a lifted lid all push the grains past their limit. Once you see the four causes below, every later fix falls into place.
- Too much water swells the grains until they burst and turn the pot to porridge.
- A hard boil batters the grains and turns the cooking liquid starchy.
- Skipping the rinse leaves the bitter saponin coating on every grain.
- Lifting the lid lets steam escape, so some grains stay soggy while others dry out.
- Cooking past the timer softens the germ ring until it falls apart.
Rinse Quinoa Well
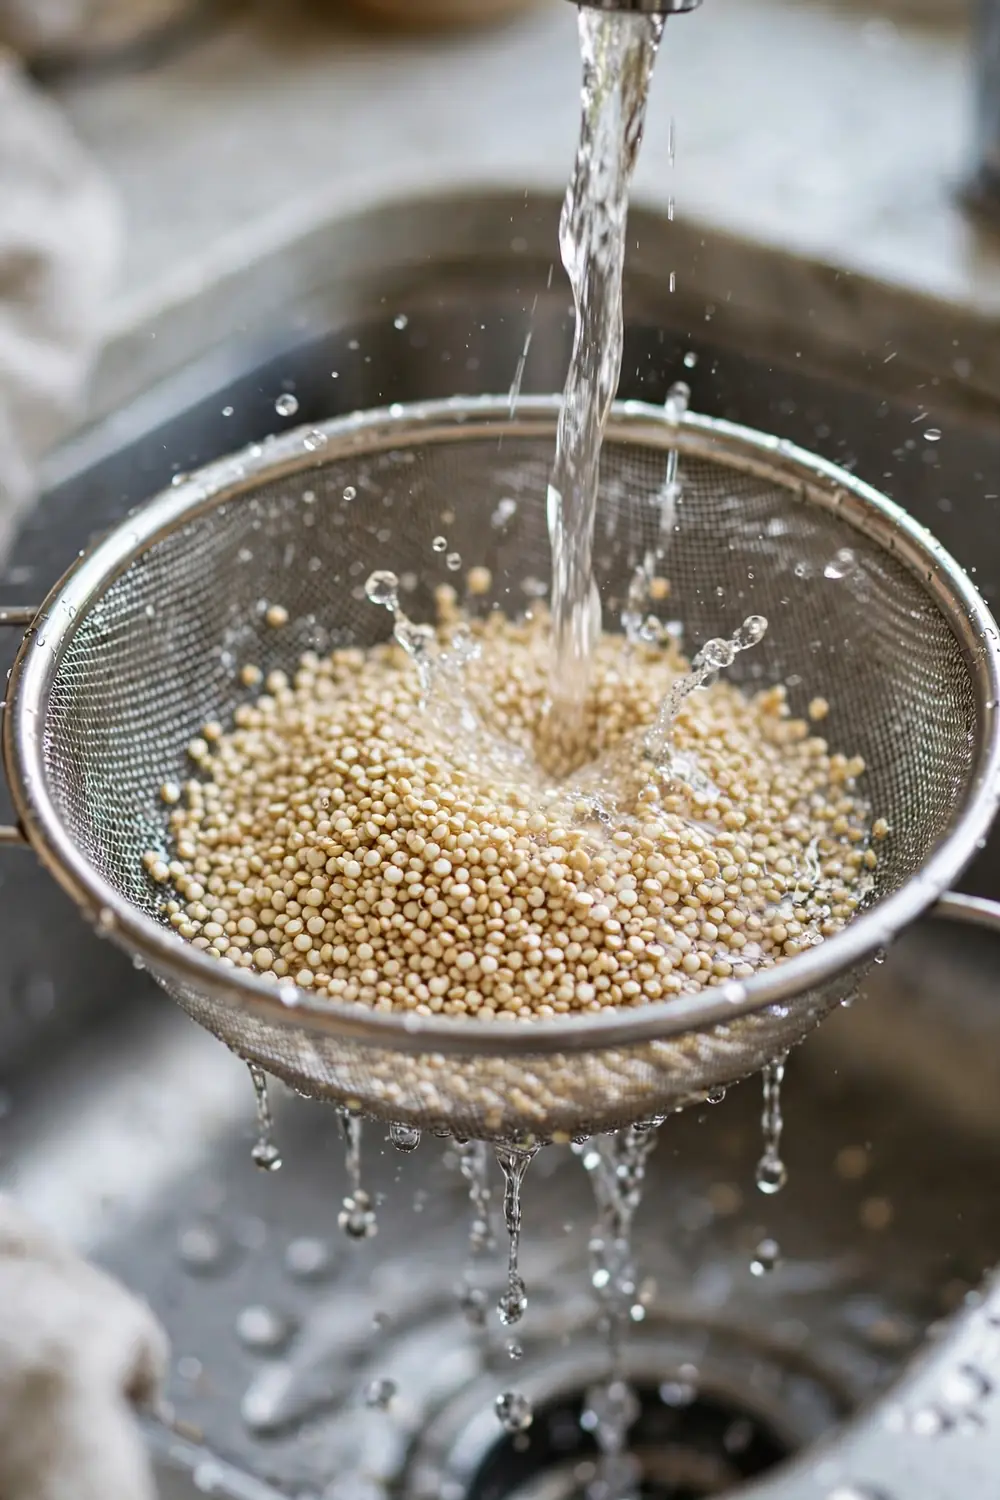
Common Mistake: Most cooks trust the bag label and skip the rinse, since the grains look clean. That coating, called saponin, tastes sharp and soapy, and no seasoning can hide it. Even grains marked pre rinsed carry a bitter film.
The Fix: Put the quinoa in a fine mesh sieve and run cold water over it for a full minute. Rub the grains gently with your fingers while the water runs, then let the sieve drain well. Stop only when the rinse water runs clear.
A clean rinse gives a mild, nutty flavor with no bitter edge, and it costs almost no time. Use cold water, since hot water can soften the grains before cooking starts. Drain the sieve well, since extra water throws off the ratio in the next step.
Toast Quinoa First
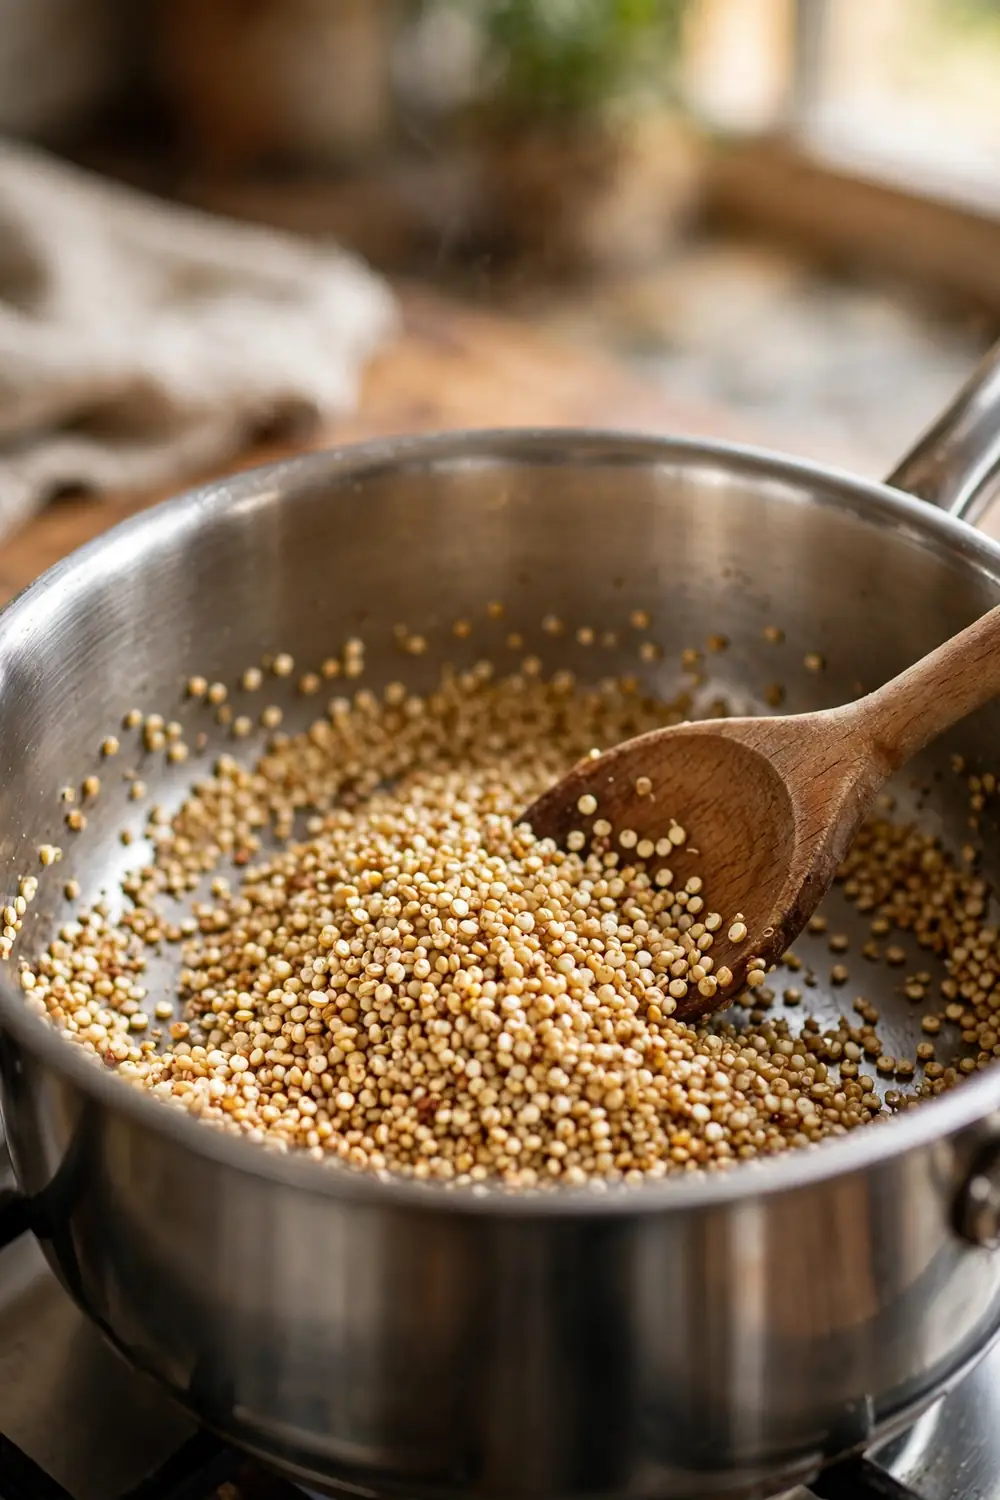
Toasting builds a nutty flavor that covers any faint bitterness left after rinsing. Warm a dry saucepan over medium heat and add the drained quinoa. Stir often for three to four minutes, until the grains smell warm and look lightly golden. Watch the pan closely, since toasted grains turn from golden to burnt fast.
The grains should pop softly and smell warm, not sharp, when they are ready. Toasting also dries the surface, so the grains stay separate in the pot. A short toast gives a deeper flavor and a lighter finish every time you cook, with no extra work.
Use the Right Water Ratio
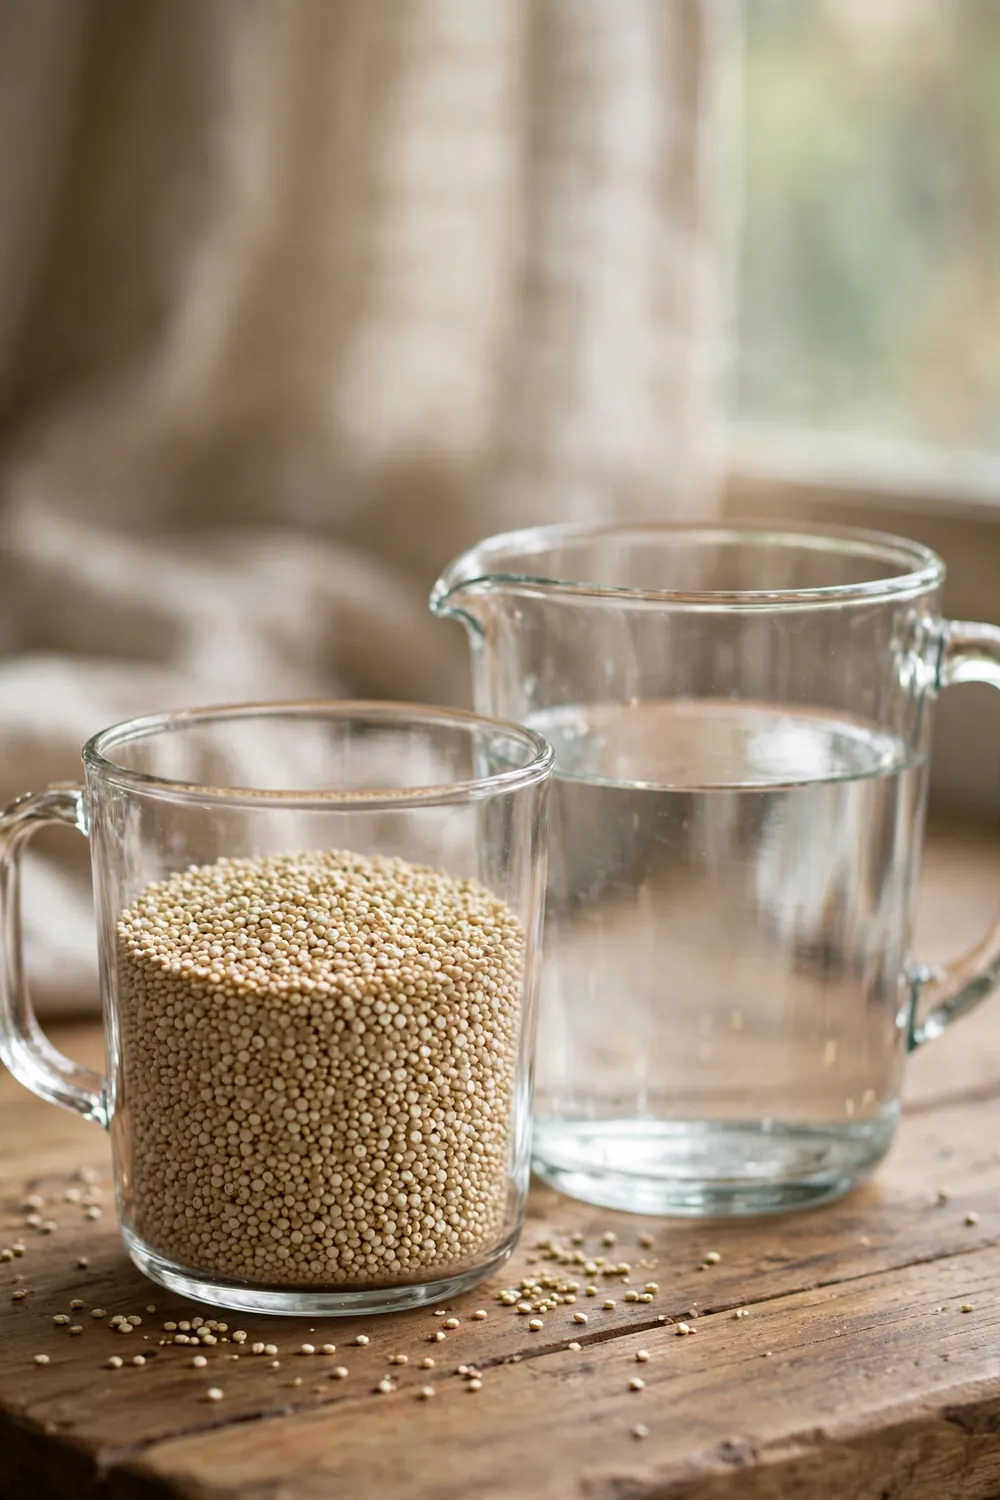
Quick Tip: Measure with the same cup for both quinoa and water, and level each measure. One cup of quinoa needs only one and three quarter cups of water. Many packages suggest two cups, which leaves the grains waterlogged.
Too much water is the most common cause of mushy quinoa, so this step matters most. Use the same cup for both measures, and level each one with care. A steady ratio gives every grain just enough water to swell without bursting. Once the ratio is right, every later fix works better.
Bring to a Gentle Simmer
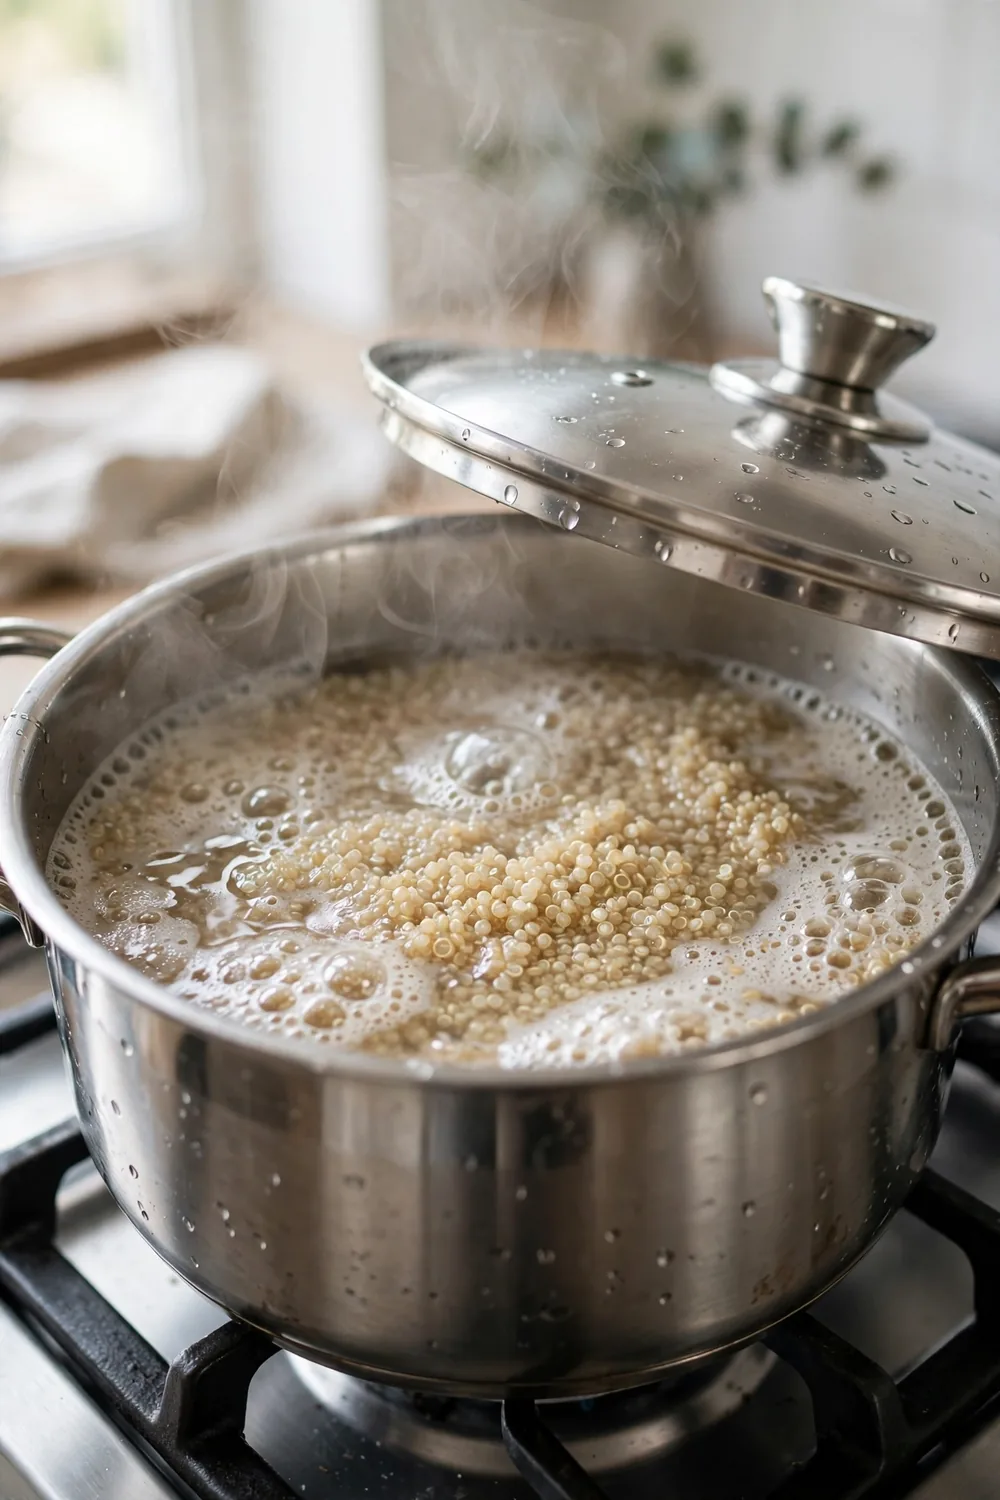
Before: Before this step, the pot often boils hard from start to finish. The grains get battered, the liquid turns starchy, and the pot ends up thick and soft. High heat feels faster, but it wrecks the texture.
After: After the fix, the pot holds a bare simmer with only a few bubbles rising. Each grain swells slowly and holds its shape. The finished pot looks light, with grains that stay whole and separate.
Add the water and a pinch of salt to the toasted quinoa, then bring the pot to a boil. As soon as it bubbles, lower the heat until only a few bubbles rise. Low heat lets each grain swell slowly, so the texture stays light through the whole cook.
Keep the Lid On
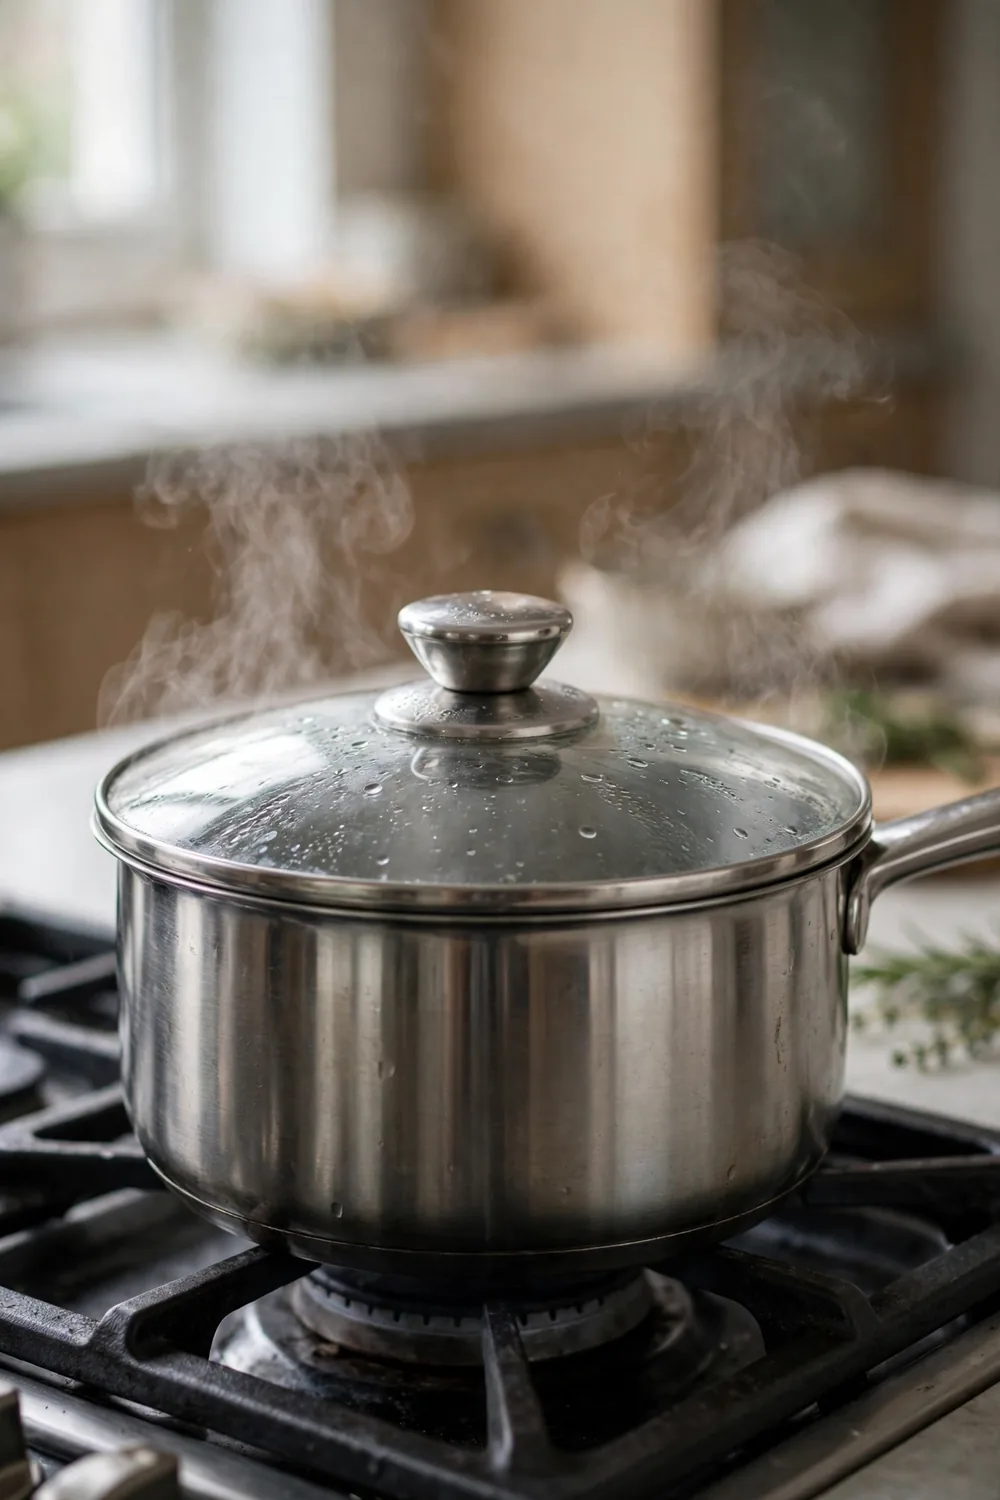
Cook time: 15 minutes
Lid lifts: 0
Heat: Lowest simmer
Best tool: Timer
A closed lid holds the steam that finishes cooking the grains. Lifting the lid drops the temperature, so the quinoa cooks unevenly and the top grains soften. Set a timer for fifteen minutes and walk away from the pot. Leave the lid shut until the timer ends for the best results.
Let It Rest Covered
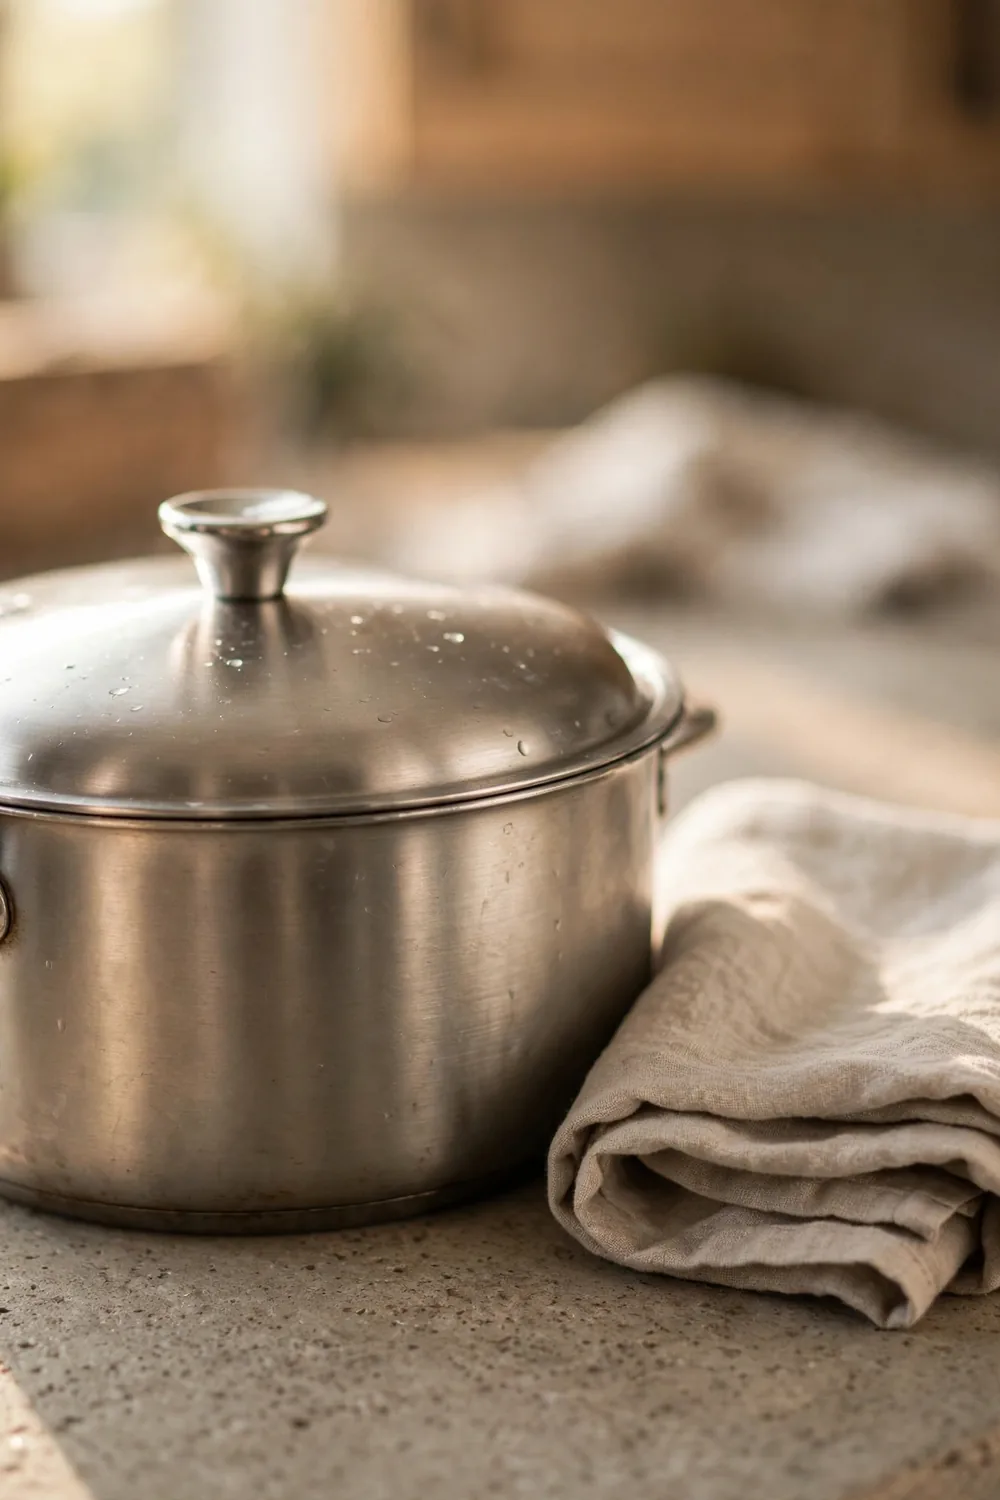
Do This:
- Take the pot off the burner when the timer ends.
- Leave the lid on for five full minutes.
- Let the grains absorb the last moisture and firm up.
Avoid This:
- Do not lift the lid to check the pot.
- Do not skip the rest and serve straight from the heat.
- Do not stir the grains while they rest.
Resting lets the last steam finish the grains without extra heat. Skipping the rest leaves wet grains that clump on the plate. A short rest gives each grain time to dry and separate. The pot should smell nutty and look dry when you finally lift the lid.
Fluff with a Fork
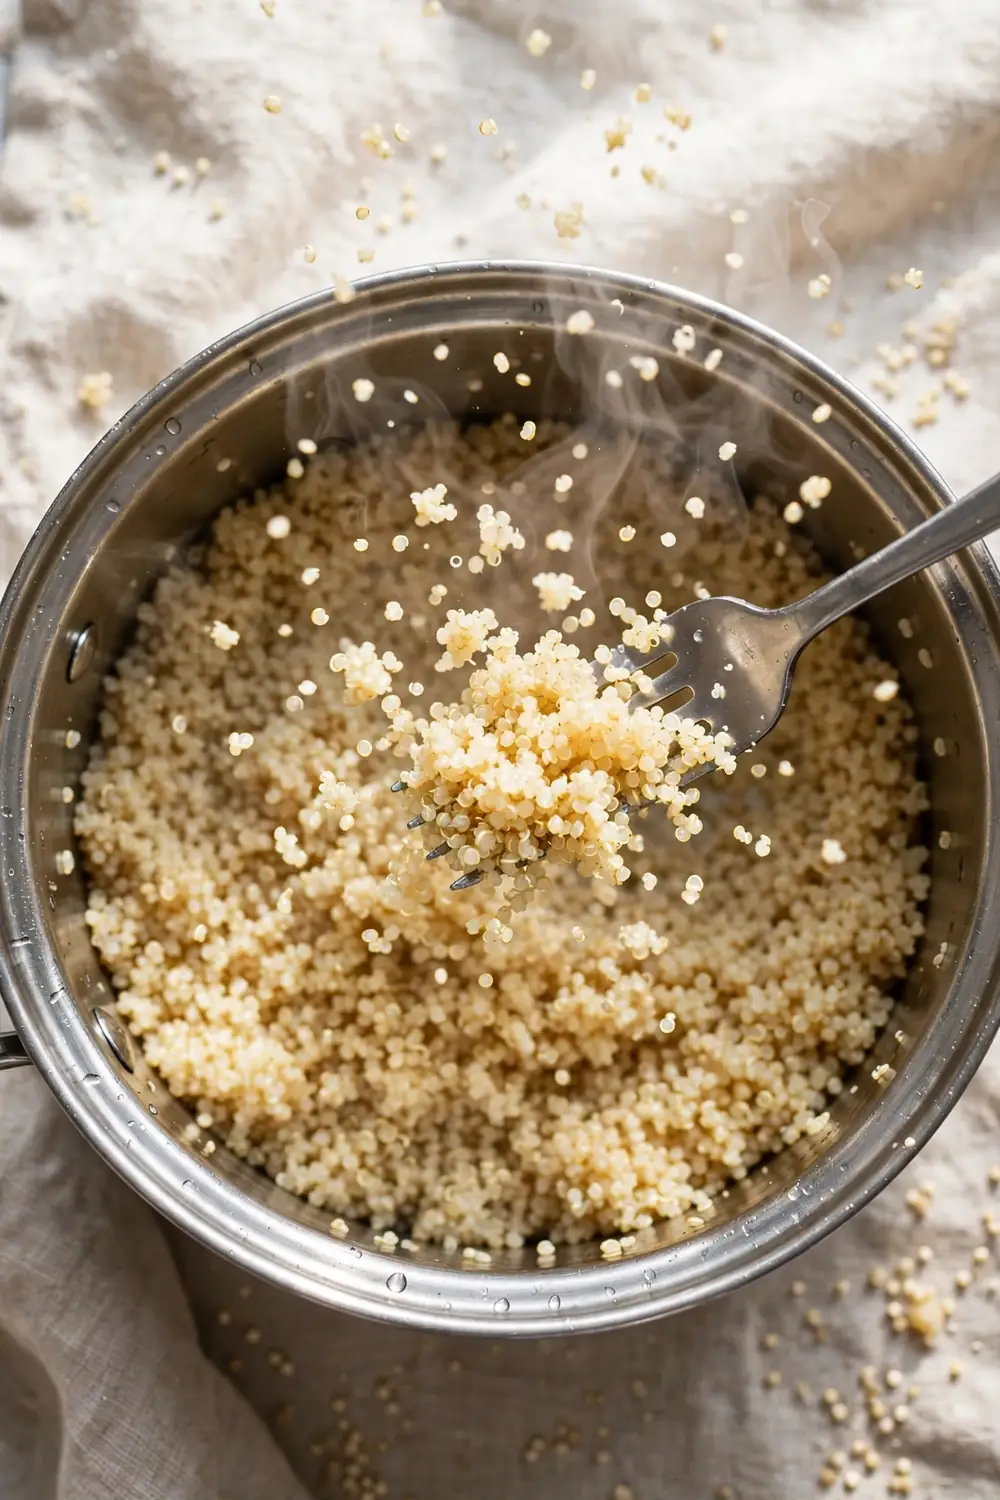
What You Need:
- Fork: A fork lifts grains apart without pressing them together.
- Timer: A timer keeps the rest short and the fluff on time.
- Tray: A wide tray cools a held batch in a thin layer.
- Clean towel: A towel under the pot keeps the counter dry.
Fluffing separates the grains and lets the last steam escape. Slide a fork into the pot and lift the quinoa gently, working from the edges to the center. A spoon presses the grains together, while a fork keeps them light. A few gentle lifts give a light, airy pot that serves well.
Serve Right Away

Quinoa is at its lightest right after fluffing, so serve each portion as soon as it cools for a minute. The longer it sits in the pot, the more the grains steam each other soft. Fast serving protects the fluffy texture you worked hard to build.
If you must hold a batch, spread it on a tray so the grains cool in a thin layer. Covering a hot pot traps steam and softens the grains again. Add dressings and toppings at the table, since early dressing soaks the grains and dulls the finish.
Common Mistakes to Avoid
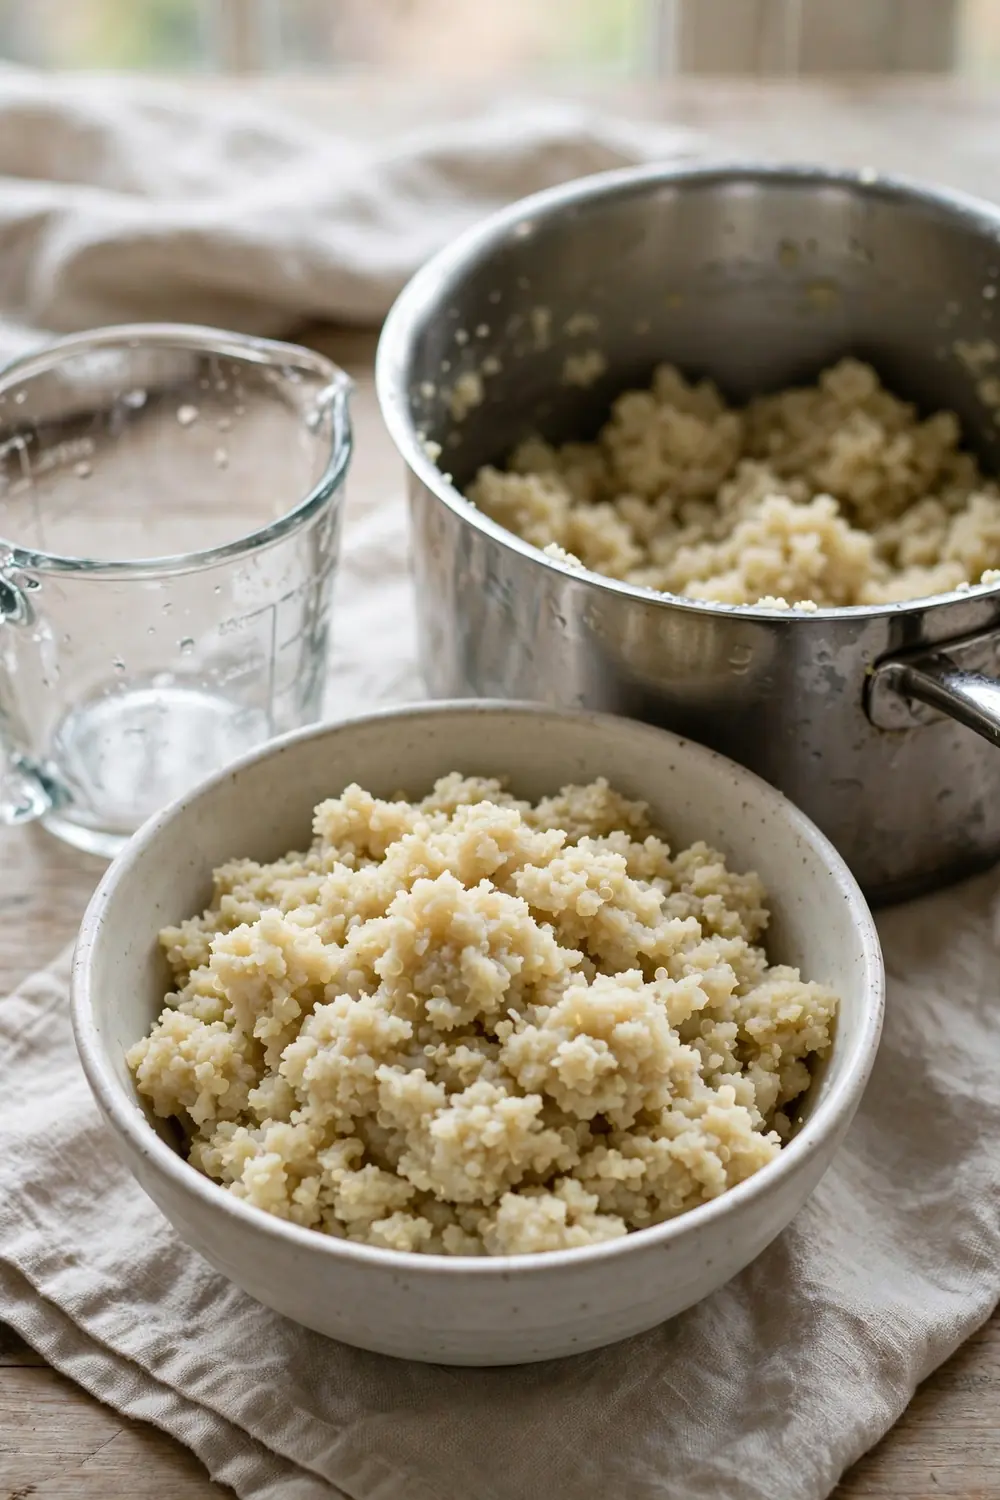
Most mushy pots come from a few repeatable habits, not bad grains or bad luck in the kitchen. Fix one habit at a time, starting with the rinse and the water ratio. The list below covers the mistakes I see most often in home kitchens, and each one is easy to fix.
- Do not skip the rinse, since the bitter coating stays on the grains.
- Do not cook in too much water at a hard boil, since the grains burst.
- Do not lift the lid, since each peek breaks the steady steam.
- Do not skip the covered rest, since the grains stay wet and clump.
- Do not stir with a spoon, since it mashes the grains into a paste.
What Perfect Quinoa Looks Like
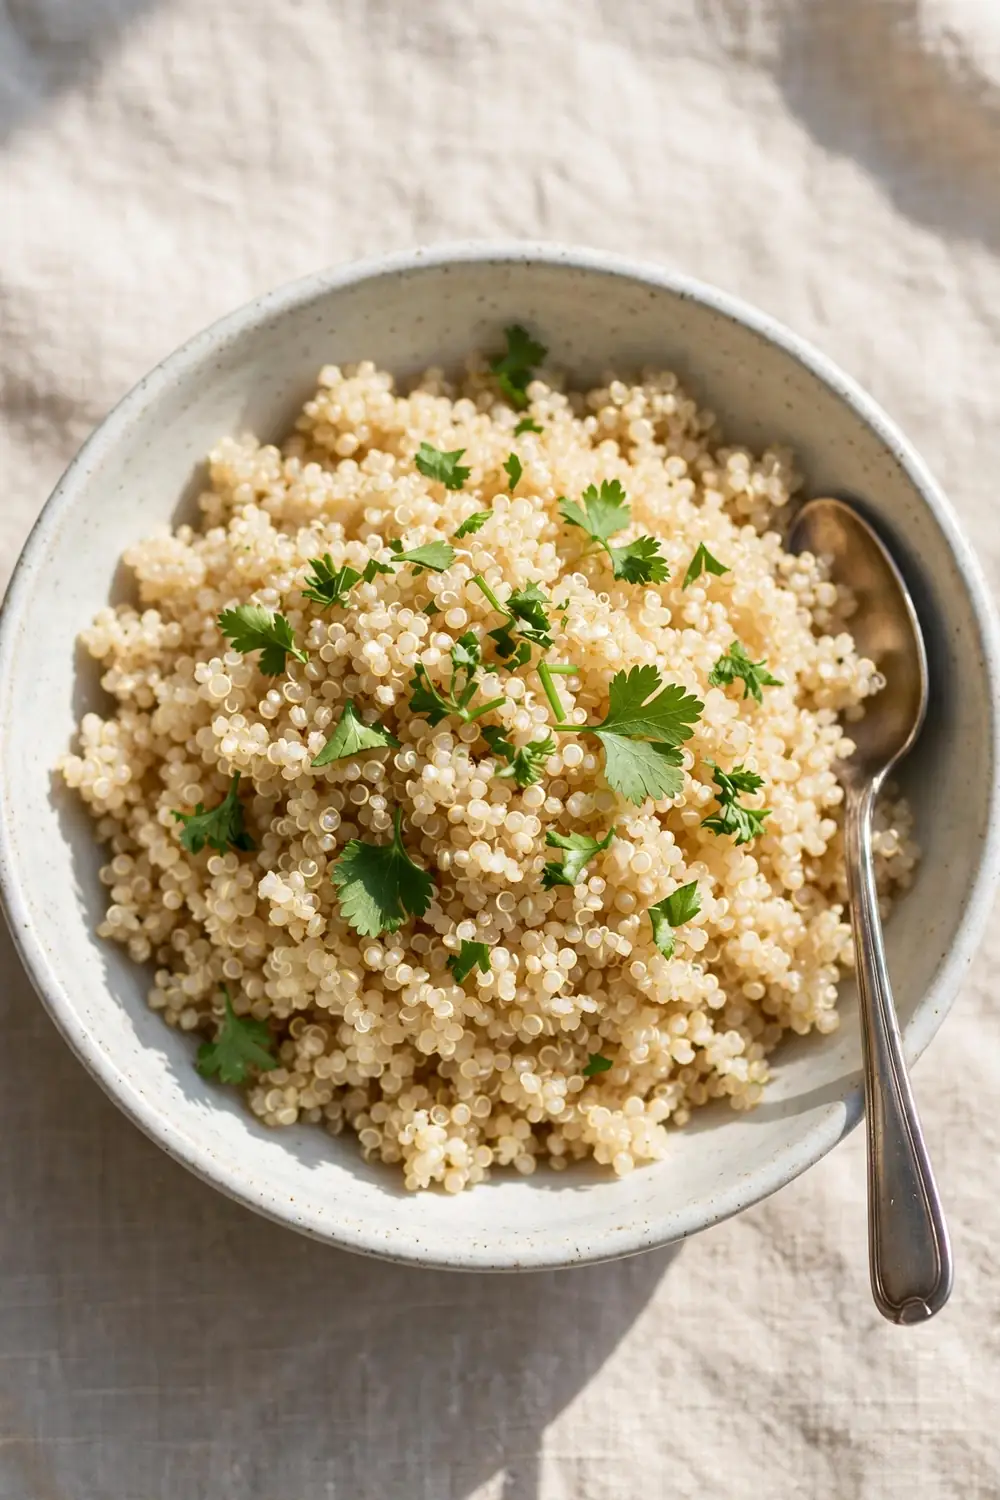
Quick Tip: Taste a spoonful before serving, since it should feel nutty and clean, with no bitter edge. Look for a tiny white germ ring curling from each grain. That ring means the pot cooked through.
Perfect quinoa shows separate grains with a dry, light pot and no puddle at the bottom. Each grain holds its shape when lifted, with no clumping. Serve the quinoa warm as a side or a salad base. When the grains stay separate and mild, you know the fixes worked.
Conclusion
In short, mushy bitter quinoa comes from skipping the rinse, too much water, hard boiling, and no rest. Fix those steps and each pot turns fluffy. Rinsing, the right ratio, gentle heat, and a covered rest build light grains with a clean taste.
Start with the simplest fix first, then add the next one. Small changes protect the flavor while the texture improves. Save this guide on Pinterest for your next dinner.
Try the steps on your next pot, and if soft roast potatoes are your trouble too, read our guide on not crispy roast potatoes for a crisp fix.




2 Comments