Why Is My Pork Chop Dry and Tough? Easy Fix Guide
If your dry pork chops come out of the pan tough and chewy instead of juicy and tender, you are not alone. Many home cooks face the same dry result even with good meat. The good news is that a few small changes can fix the texture for good.
Pork chops dry out when long high heat and overcooking squeeze the juices from the meat. Thin chops, no rest, and cooking past the right temperature all work against a juicy result. In my experience, a brine and a thermometer fix most dry chops fast.
This guide walks through each cause in order, from chop choice and brining to searing and resting. Follow the steps in turn, and your next chops should turn out juicy and tender every single time. Small changes make the biggest difference here at the table, and if salmon is your trouble too, read our guide on white stuff on salmon for a clean fillet.
Why Chops Turn Dry
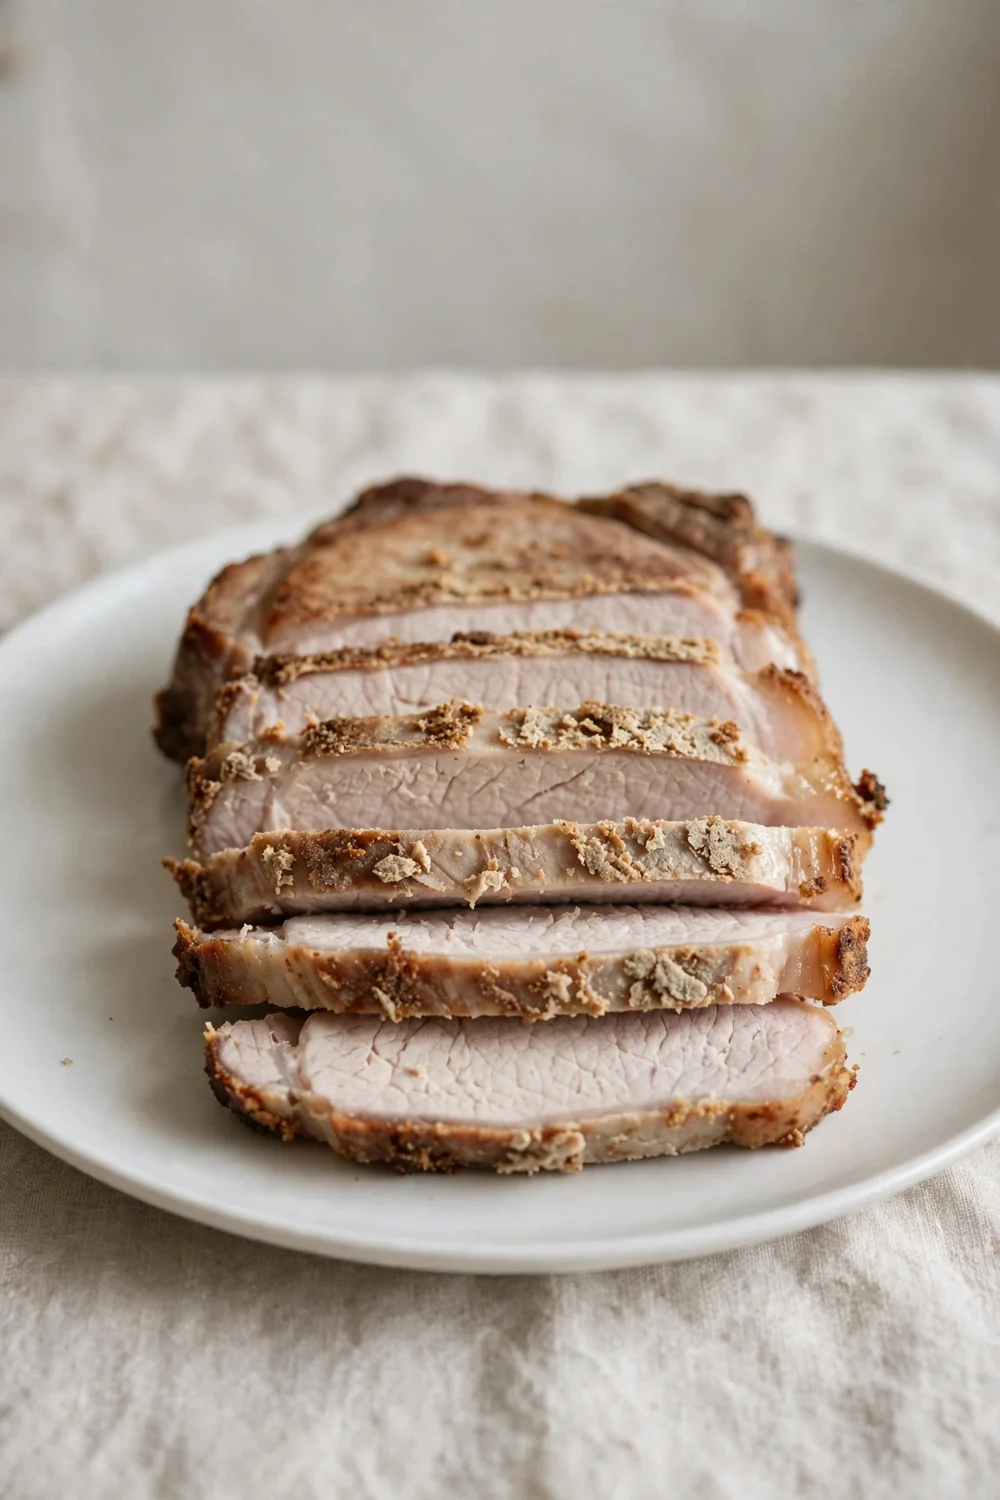
Pork chops turn dry when heat squeezes moisture from the lean meat and the juices run out onto the plate. Thin chops overcook in minutes, and cooking past the safe temperature dries the center fast. Pressing the meat with a spatula pushes out even more juice.
Skipping the rest lets the juices escape as soon as you cut in. A cold chop in a cool pan also cooks unevenly, so the outside dries before the center is done. Knowing the cause helps you pick the fix, so the next batch stays juicy rather than going tough.
Pick Thick Chops
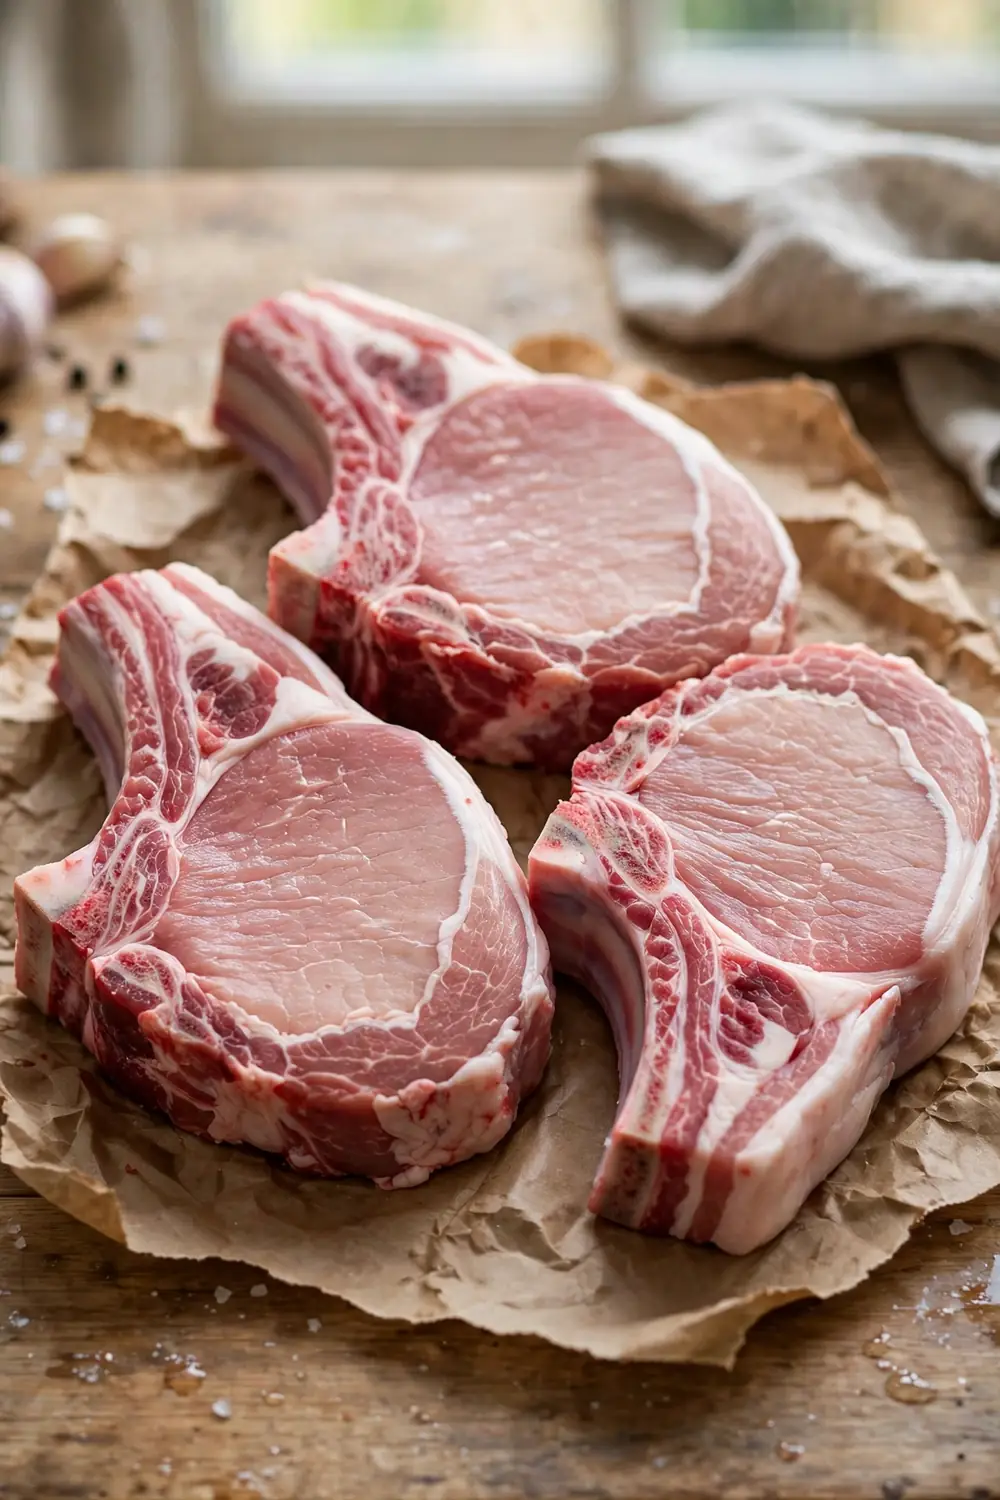
Thick chops are the first defense against a dry dinner, so start here.
- Choose chops at least one inch thick, since thin chops overcook before they brown.
- Pick bone in chops, because the bone slows the heat and protects the meat.
- Look for pink color with a thin layer of fat along the edge.
- Skip gray or watery packs, since they cook unevenly.
A thick chop gives you time to sear the outside while the center stays tender. Good meat makes the rest of the work easy, so choose with care.
Brine for Juiciness
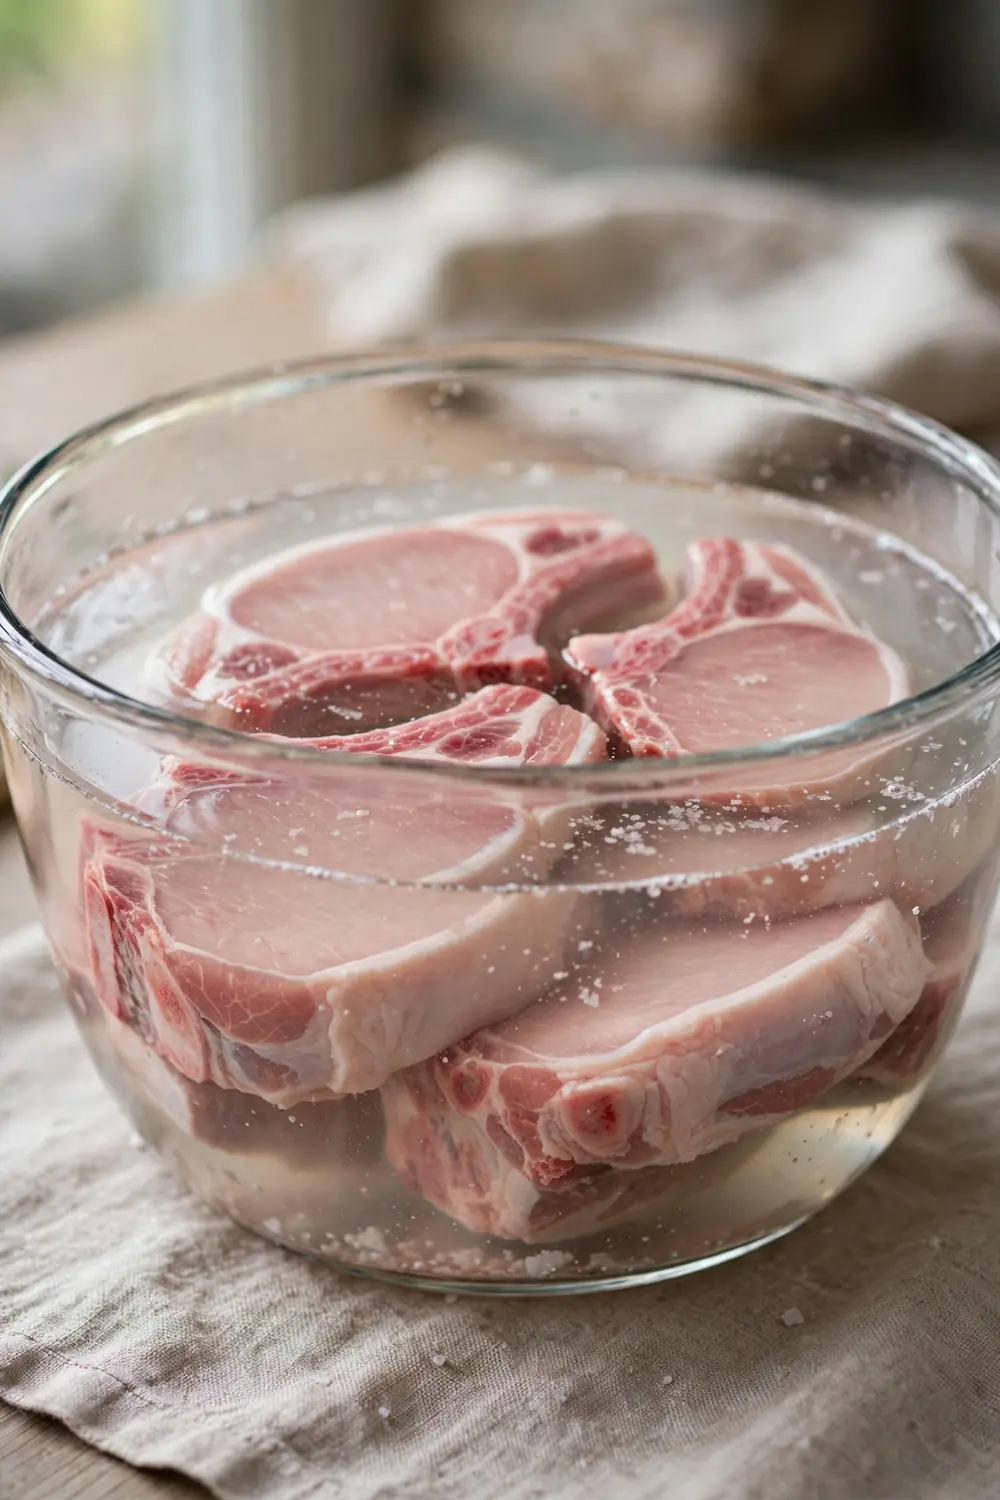
Quick tip: thirty minutes in a salted brine is enough for weeknight chops.
Brining adds moisture that survives the heat of the pan. Dissolve two tablespoons of salt in four cups of cool water, then add the chops. A thirty minute soak lets the meat absorb water and salt through the whole chop. Pat the chops dry after brining, since a wet surface will not brown well.
Rest Before Cooking
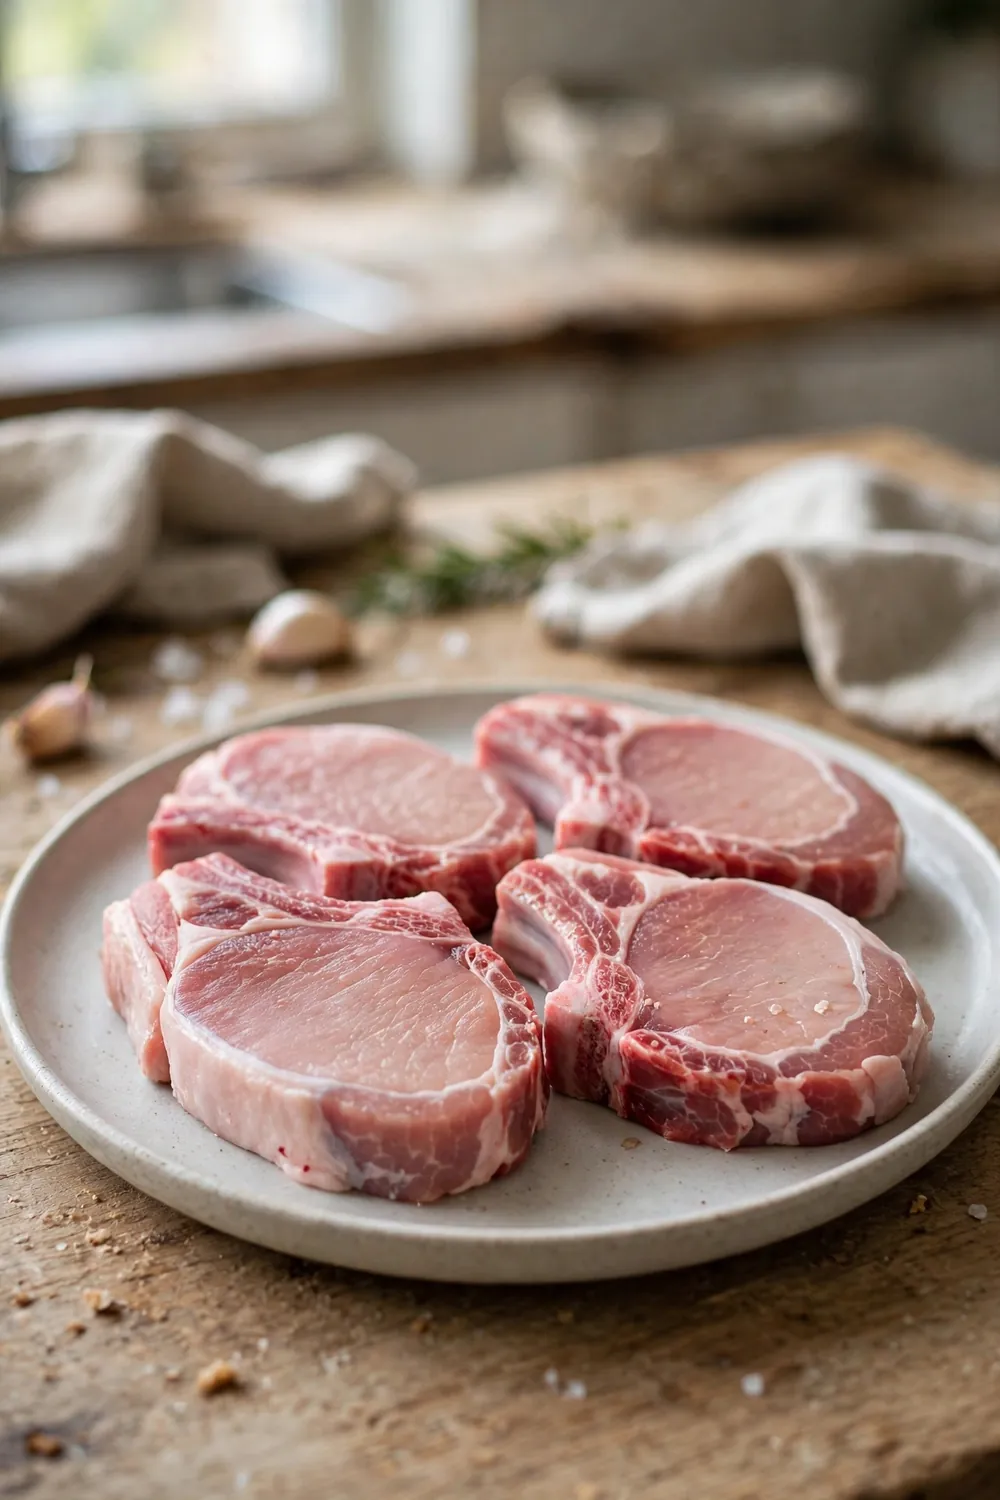
Before: cold chops straight from the fridge cook unevenly and dry out at the edges.
After: twenty minutes at room temperature lets the center warm up, so the whole chop cooks at the same pace.
Keep the chops covered loosely while they warm, and pat them dry again before seasoning. A dry surface browns fast and seals in the juices. Even warmth means the outside and the center finish together.
Season and Sear
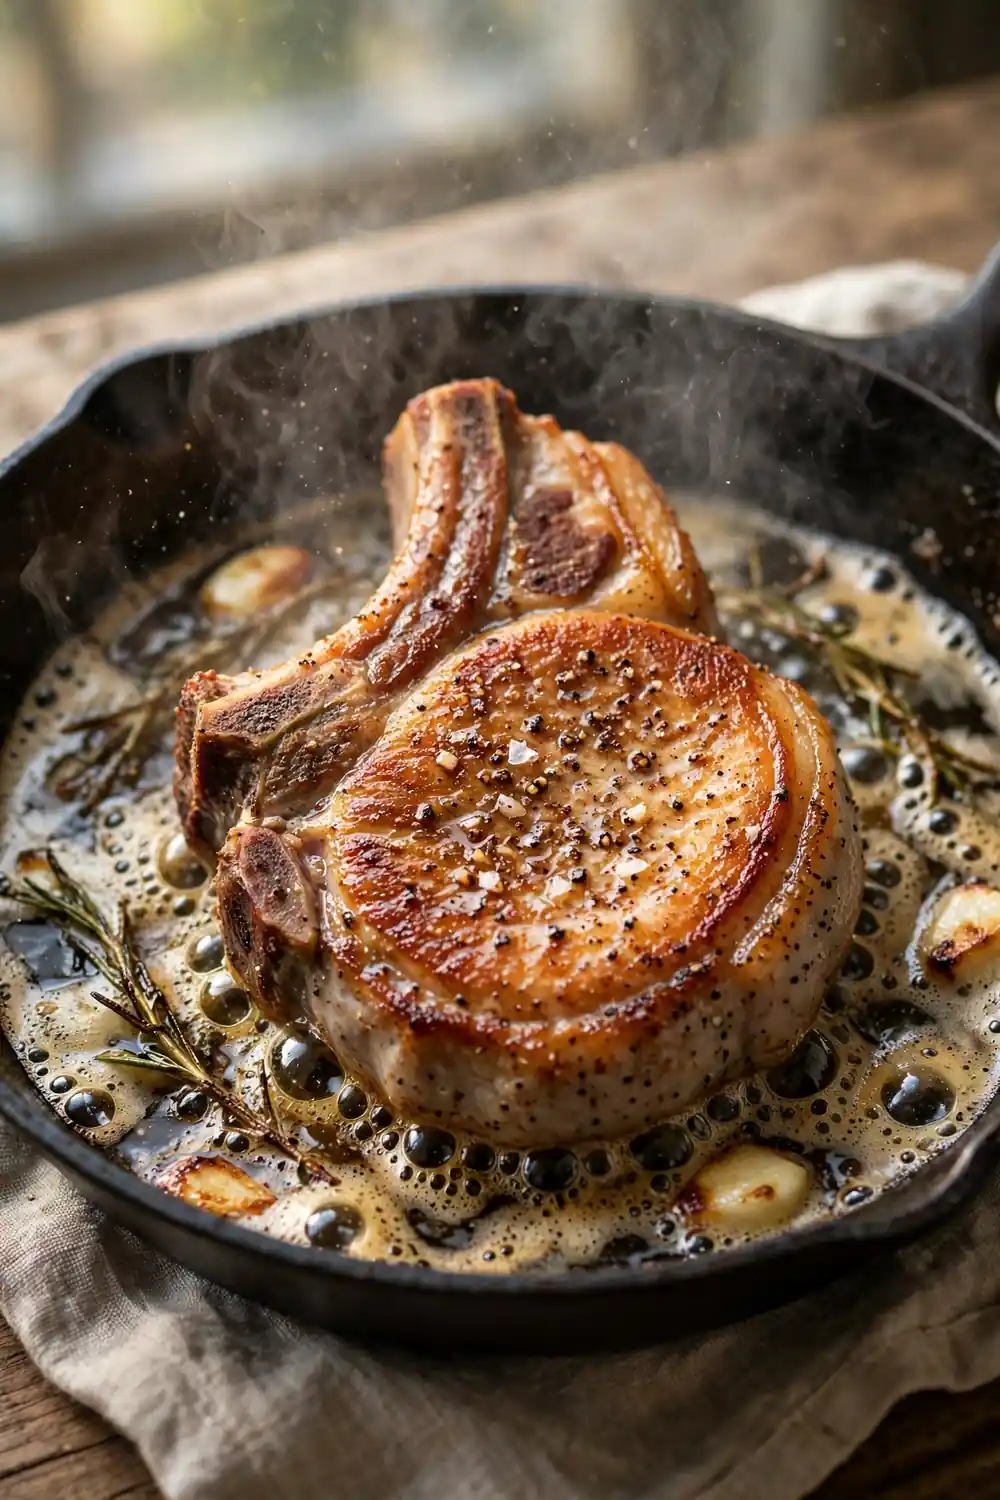
- Heat oil in a heavy skillet over medium high heat until it shimmers.
- Season the chops with salt and pepper just before they go in.
- Lay them down without crowding the pan.
- Sear three to four minutes per side, flipping only once.
A hot pan builds a golden crust that locks in the juices, but keep the sear brief. The crust forms only when the meat stays still, so let the first side sit. Flip once and sear the second side the same way.
Do Not Press
| Pressing the chop | Leaving it alone |
|---|---|
| Squeezes juices into the pan | Keeps moisture inside the meat |
| Flattens the meat and breaks the crust | Holds the crust firm and golden |
| Dries the center fast | Lets the center stay tender |
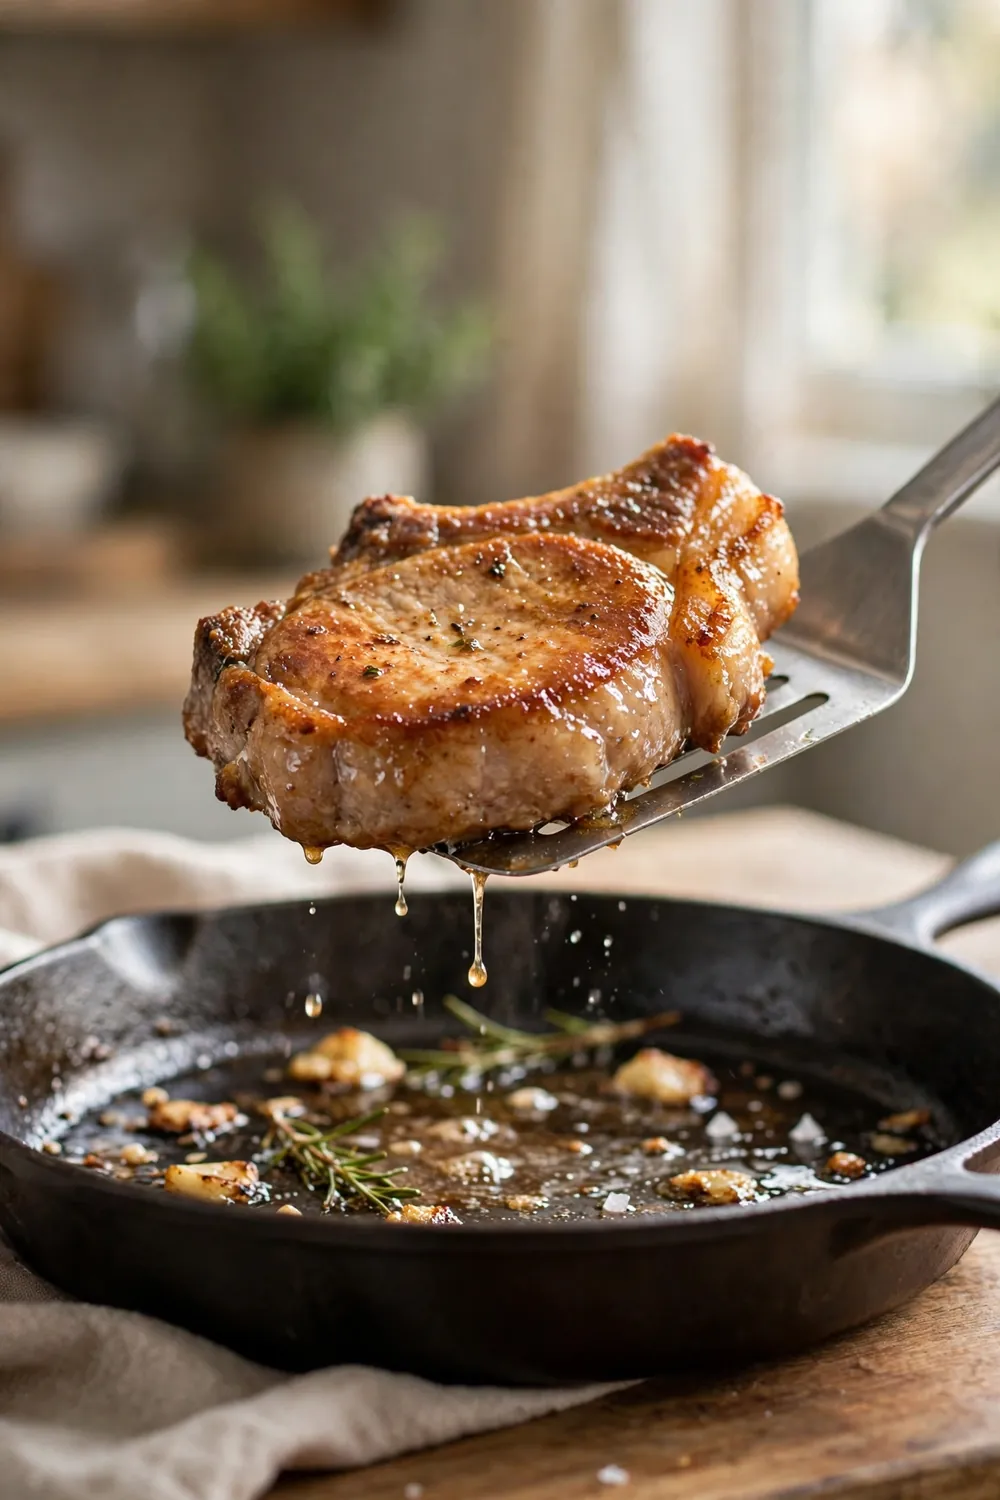
Pressing a chop with a spatula squeezes the juices straight into the pan. Flip with tongs instead, and lift the chop gently when you turn it. Poking holes with a fork lets juices escape too. Hands off cooking keeps the moisture inside where it belongs.
Medium Heat Finish
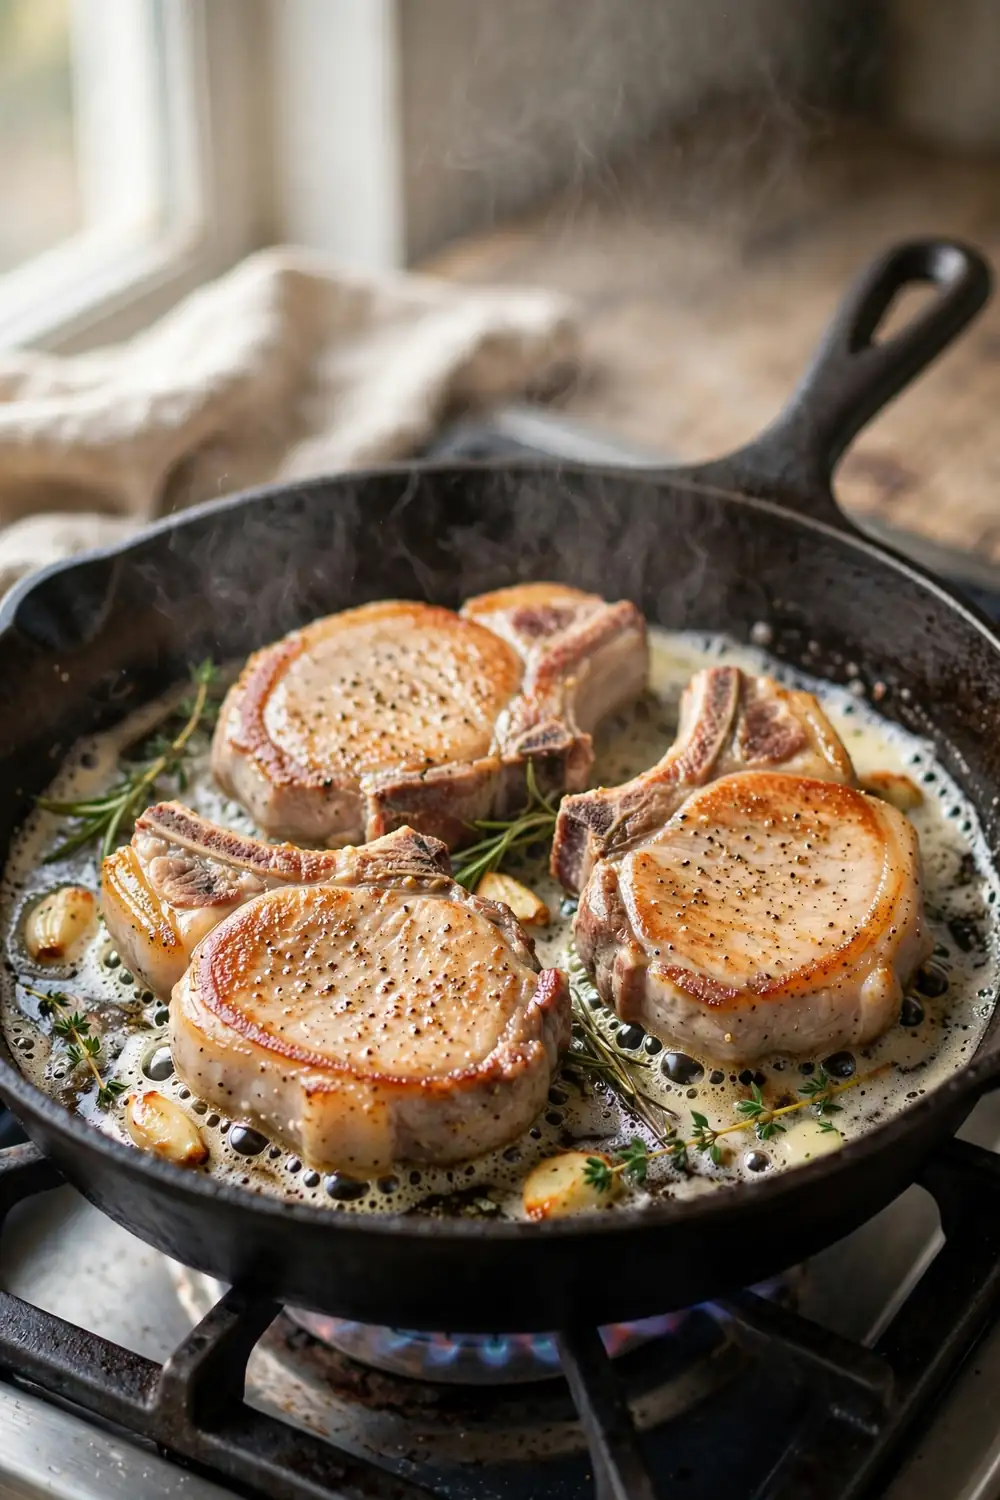
Do: lower the heat to medium after searing, so the center cooks through slowly.
Do: give each side three to five minutes, depending on thickness.
Do not: keep the heat high all the way through, since it tightens the meat and squeezes out the juices.
Do not: rush the finish, since steady heat protects the juices inside the chop.
Watch the edges, since they should turn golden and firm without burning. Steady heat lets the center reach the right temperature while the crust stays crisp. A calm finish keeps the chop tender.
Use a Thermometer
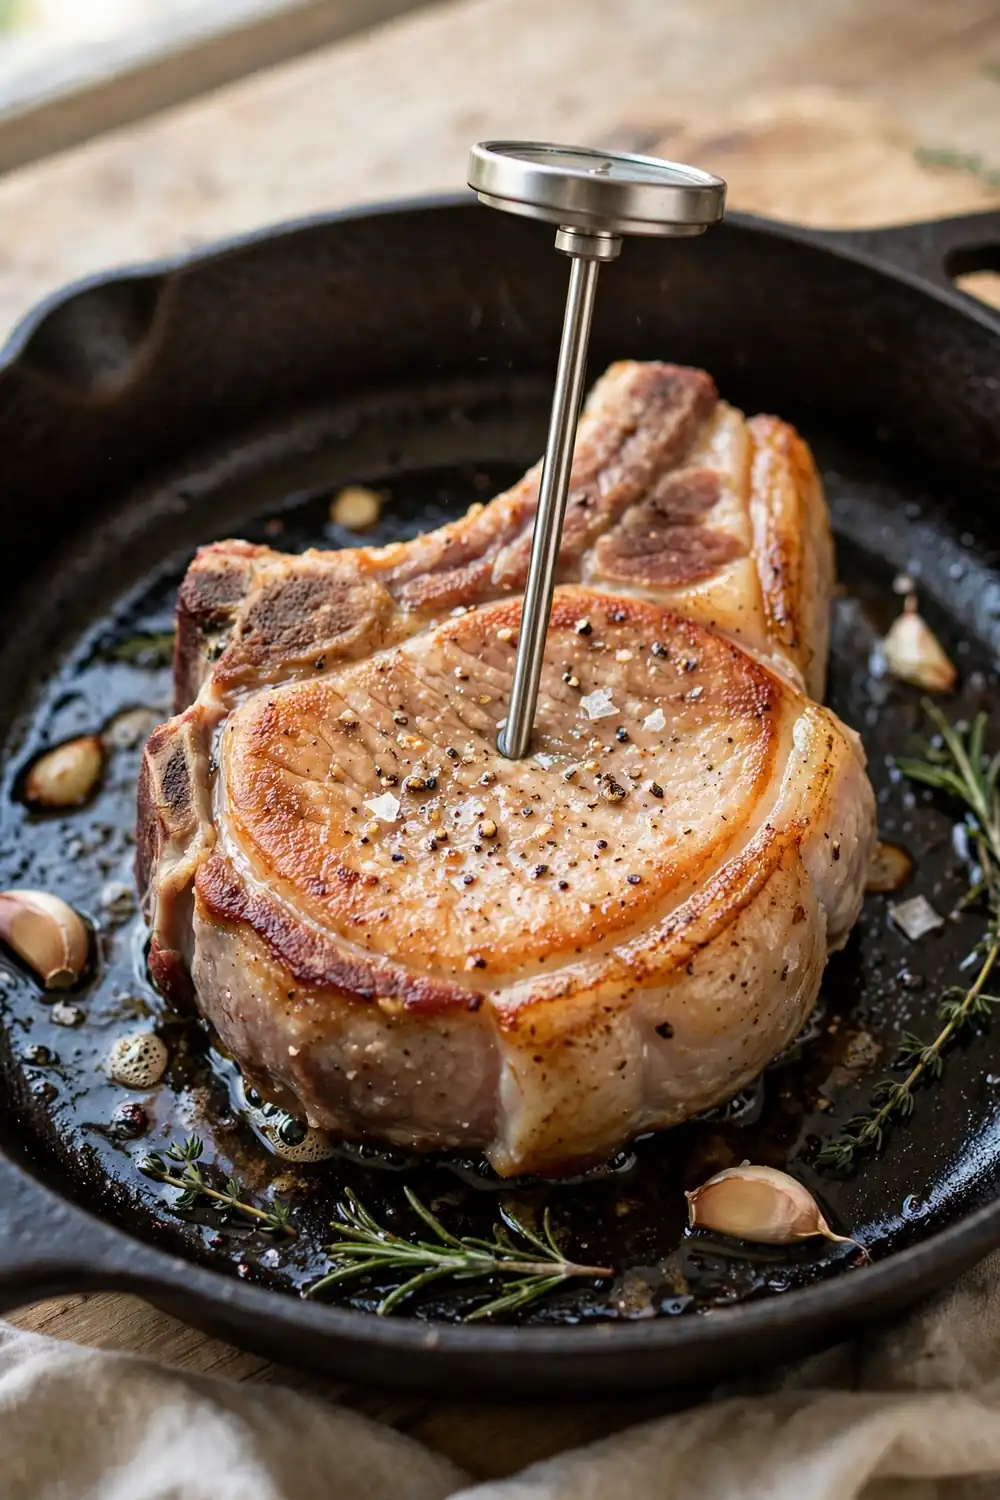
- Pull the chops at one hundred forty five degrees Fahrenheit.
- Push the probe into the thickest part, away from the bone.
- The meat keeps cooking a little while it rests.
- Color alone fails, since pork can look done while the center is still raw.
A thermometer takes the guesswork out of pork chops. Guessing by color fails, and a thermometer costs little and saves many dinners. In my experience, this one tool fixes more dry chops than any other step. Trust the number, not the clock.
Let Chops Rest
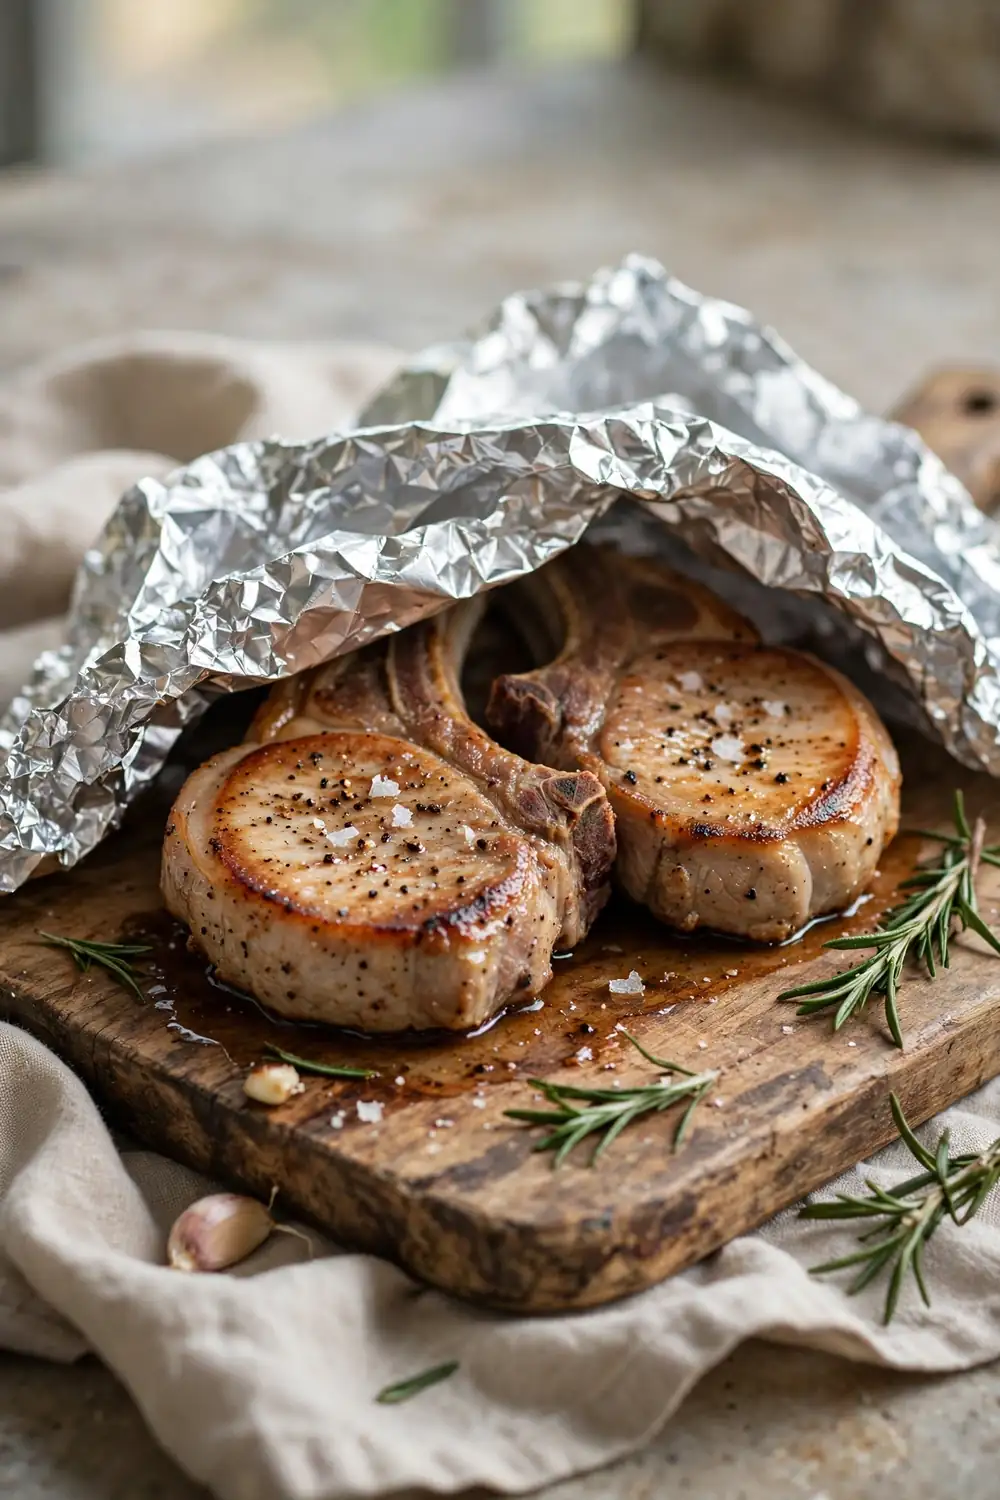
Resting lets the juices settle back through the meat instead of running onto the plate. Move the cooked chops to a warm board and cover them loosely with foil. Five minutes of rest turns a tight chop into a tender one.
Cutting too soon spills the juices that the rest would have saved. The center keeps cooking gently during the rest, so the chop finishes without drying. A short rest gives a juicy slice from edge to edge.
Mistakes to Avoid
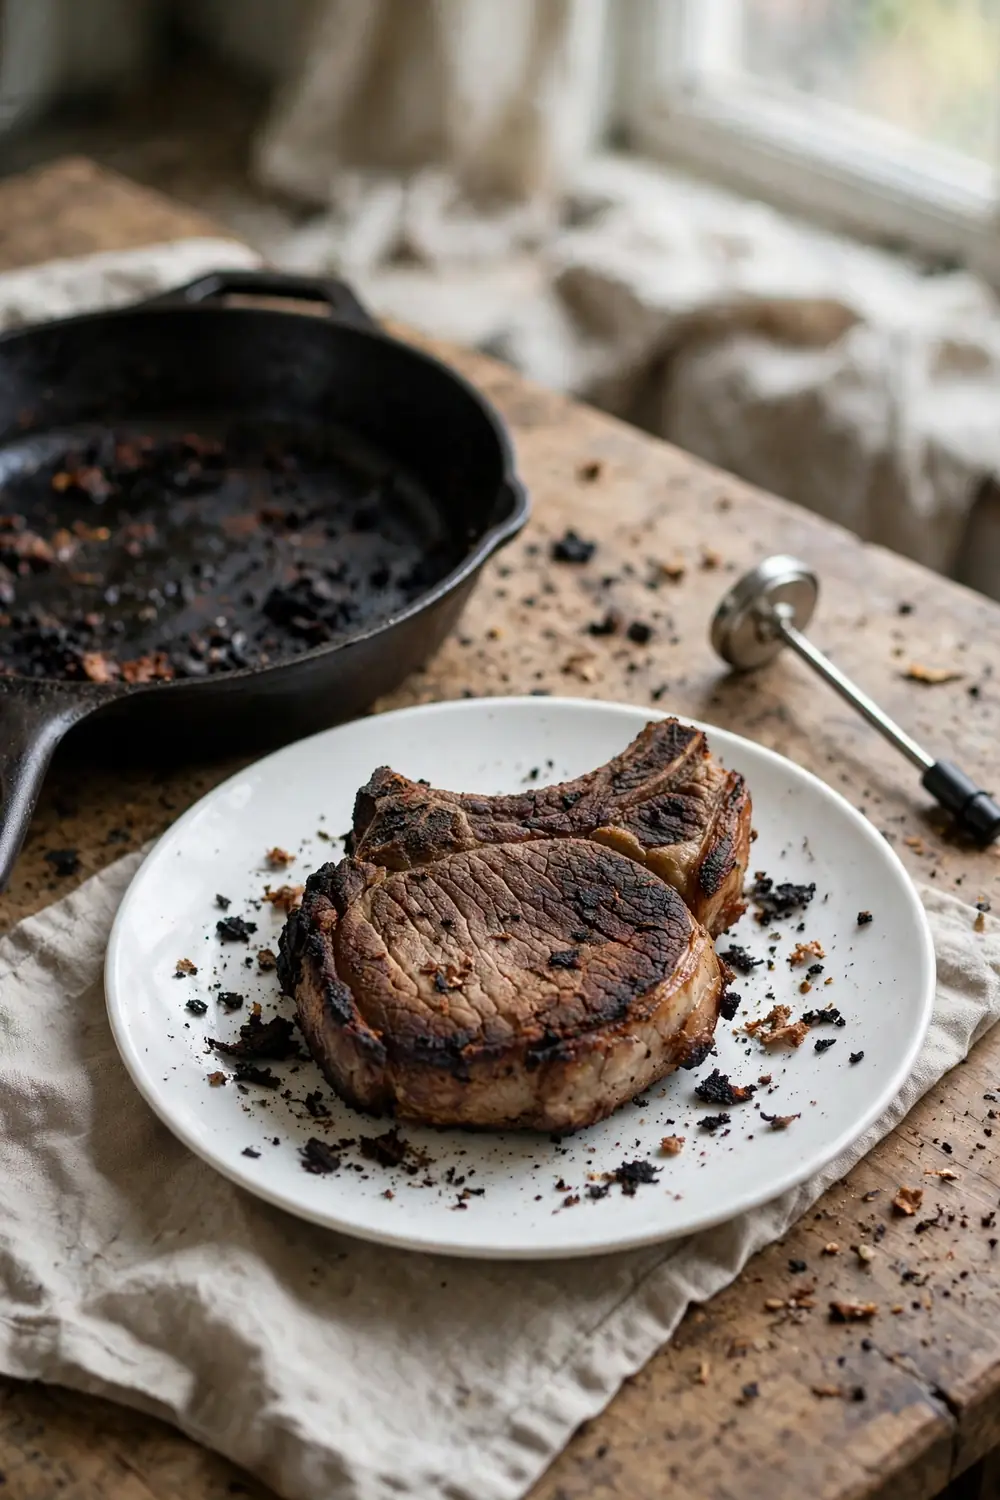
Most dry chops come from a few repeat habits, so check your own routine.
- Buying thin boneless chops, which overcook before they brown.
- Cooking on high heat the whole time.
- Skipping the rest, which lets the juices run out at the first cut.
- Pressing the chop and cooking without a thermometer.
Fix one habit at a time, starting with thick chops and a thermometer. Small fixes turn dry chops juicy again.
Juicy Chops Check
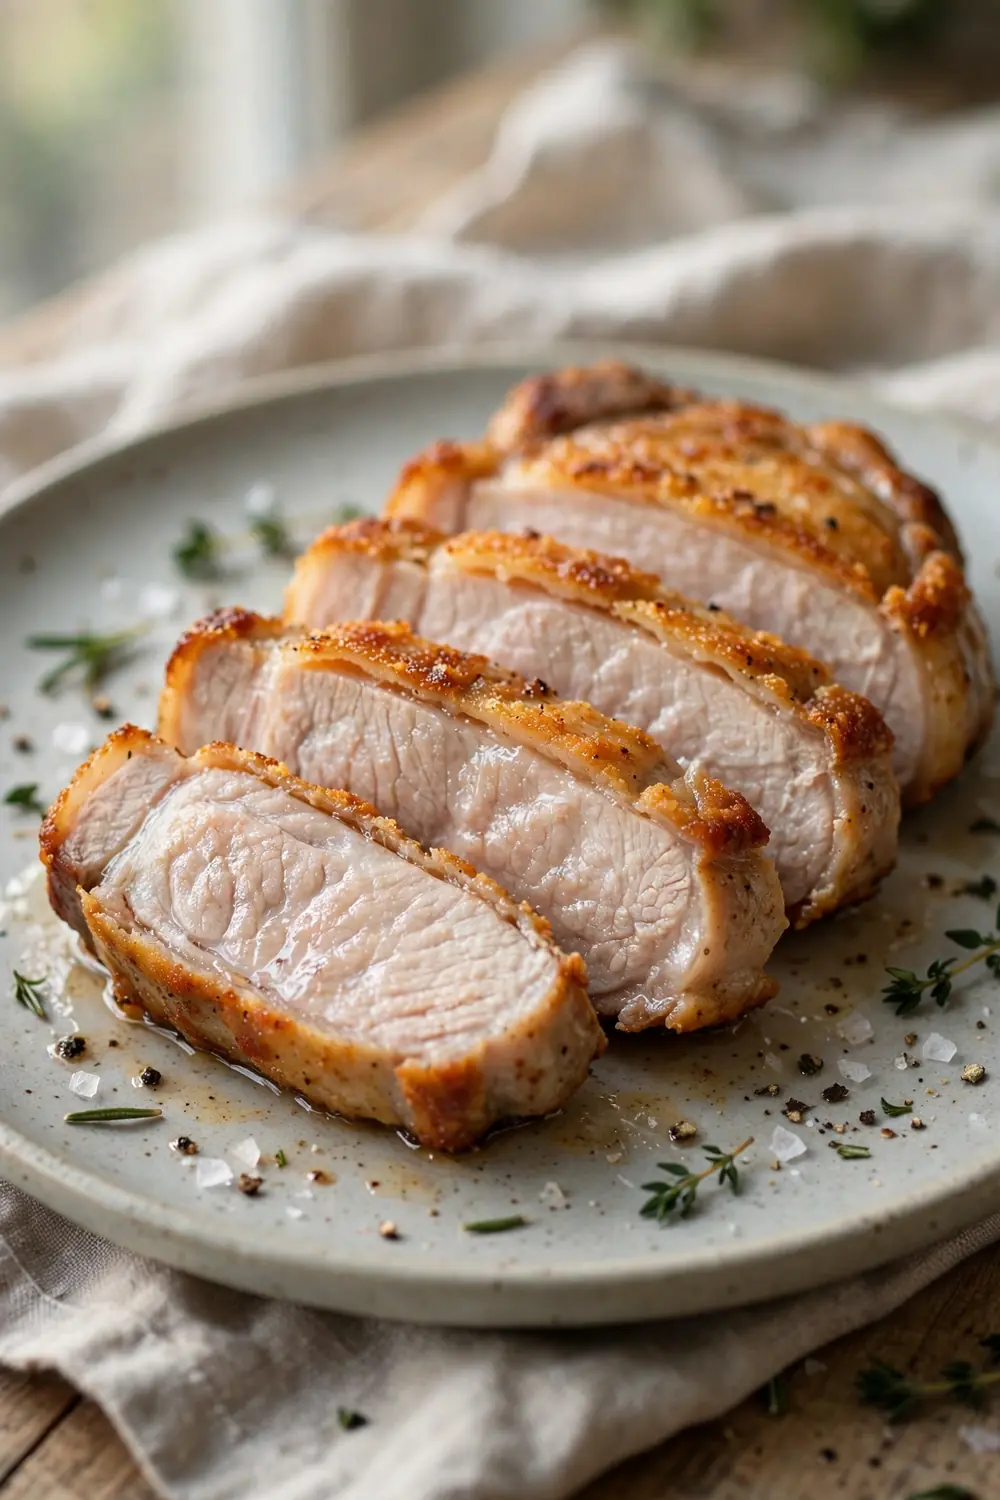
Quick tip: cut a test slice after resting to check the center.
Juicy pork chops show a golden brown crust and a moist center with no gray dry ring. The meat feels firm but springy when pressed, and the cut surface glistens with juice. Serve the chops warm with the pan juices spooned over the top.
Conclusion
In short, dry pork chops come from thin chops, long high heat, no brine, and skipping the rest. Fix those steps and each batch turns juicy. Thick chops, a short brine, a thermometer, and a good rest build tender meat.
Start with the simplest fix first, then add the next one. Small changes protect the flavor while the texture improves. Save this guide on Pinterest for your next dinner.
Try the steps on your next batch, and if mushy grains are your trouble too, read our guide on mushy bitter quinoa for a light fluffy fix.


2 Comments