Why Do My Donuts Come Out Greasy And Heavy? Easy Fix Guide
If your greasy heavy donuts turned out greasy, heavy, and soggy, you are not alone. Grease soaks in when the oil is too cool, the dough is too wet, or the donuts sit in oil that never recovers its heat. The fix usually comes down to a few small choices you can change next time.
This guide walks through what went wrong, the exact steps that fix it, and the habits that keep it from happening again. Spot the weak step, adjust it, and test the result with a small batch first.
Work through the sections in order, or jump to the fix that matches your batch. For another rescue, see these dry meatloaf fixes and keep building your skills.
Why Donuts Turn Greasy

Greasy donuts usually start with cool oil, wet dough, or crowded frying that drops the heat. In my experience, cooks blame the recipe when the real issue is one small habit that is easy to change.
Fry at a steady 350 to 375 F, fry only a few at a time, and drain on a rack instead of paper towels. Try the change on a small test batch first, then compare it side by side with your usual method. The difference will tell you whether you found the true cause or only part of it.
Oil Temperature First

A thermometer reads the oil better than bubbles or color, so check the dial before each batch goes in. Follow the steps below in order, and give each one your full attention. Rushing the early steps is how the same problem comes back, so slow down where it counts.
- Heat oil to 365 F and check with a thermometer.
- Fry 2 to 3 donuts at a time.
- Turn once when the first side turns gold.
- Lift to a rack and glaze while warm.
Fry Small Batches

Quick Tip: If the oil drops below 350 F, wait before adding more donuts. Cool oil is the fastest route to grease. Write the tip on your recipe card so you remember it next time.
Small batches keep the oil hot, so each donut fries crisp instead of soaking. Keep the tip in mind while you work, and check the result before you move to the next step. Good cooking is mostly good timing, and a quick pause to look, smell, and taste will catch most trouble early.
Drain On A Rack

Common Mistake: Many cooks crowd the pot, which drops the oil temperature and lets every donut soak up fat instead of crisping. A rack lets air reach the bottom so the crust stays crisp while it drains.
The Fix: Fry a few at a time, watch the thermometer, and give the oil a minute to recover between batches. Lift each donut onto the rack at once so oil drips away instead of soaking back in.
Once you fix the mistake, the rest of the recipe usually falls into place. Test the corrected step on a small batch, note what changed, and keep the new habit for every future batch. A small test batch shows the difference clearly before you commit to a full pot today.
Fix Wet Dough

What You Need:
- Fry thermometer: Holds the oil in the safe range.
- Neutral oil: Stays clean tasting at high heat.
- Wire rack: Lets oil drip away instead of pooling.
- Bread flour: Gives structure that resists soaking.
- Instant yeast: Lifts the dough for a light crumb.
Gather everything before you start so you are not hunting for tools mid-recipe. Proof until the donuts look puffy and spring back slowly, since underproofed dough fries dense and heavy inside. A calm, organized setup makes each step easier and keeps the timing on track.
Proofing Time Matters

Before: The donuts looked golden, yet each bite felt heavy, left oil on the fingers, and turned soggy fast. Full proofing time gives the dough the air it needs before it hits the oil.
After: Fried at steady heat and drained on a rack, the same dough turns light, crisp outside, and soft inside. Well proofed dough fries up light instead of dense and greasy.
The change between the two is rarely dramatic on its own, yet the final result feels completely different. That is the power of fixing the root cause instead of covering up the symptom. Hot oil and small batches together keep the donuts light and crisp instead of greasy every time.
Choose The Right Oil

Do This:
- Keep oil at 350 to 375 F.
- Fry small batches.
- Drain on a rack.
- Glaze while warm.
Avoid This:
- Do not crowd the pot.
- Do not fry in cool oil.
- Do not drain on paper towels.
- Do not stack warm donuts.
Pick a neutral oil with a high smoke point, and skip oils that taste strong or break down fast. Keep this short list beside you while you cook, and check off each point as you finish it. A simple checklist beats memory when the kitchen gets busy.
Glaze While Warm
Time Needed: 30 minutes of frying, plus proofing time.
Difficulty: Medium, with a thermometer.
Cost: Oil plus pantry staples.
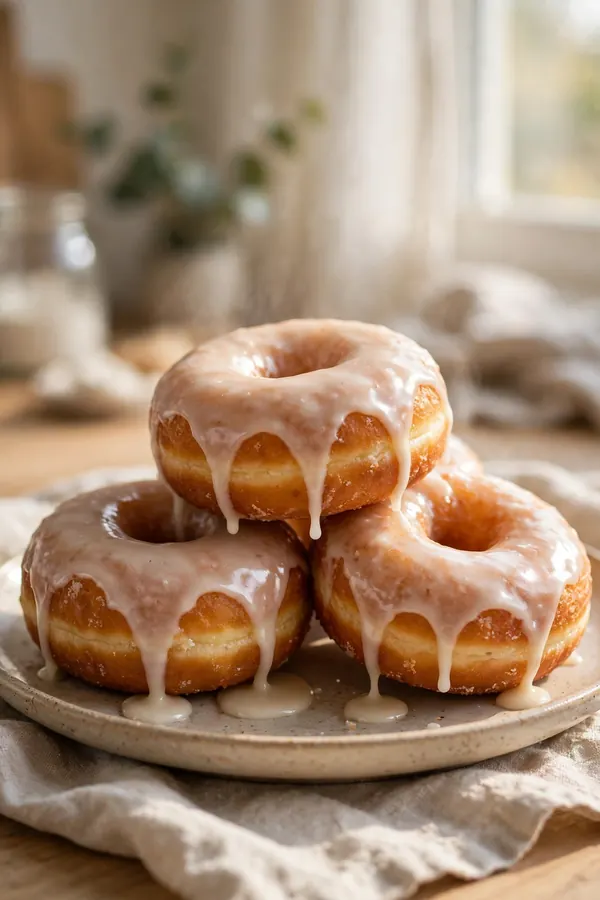
Result: Light donuts with a crisp, dry crust.
Glaze while the donuts feel warm, not hot, so the coat sets thin and shiny instead of melting away. Use the facts above to set your plan before you start. When you know the time, the tools, and the target result, each step feels calmer and more certain.
Store Donuts Right

Cool the donuts on a rack before any box closes, since trapped steam turns crisp crusts soft within the hour. A single layer keeps glazes from sticking to each other. Do not stack warm donuts, and leave space between them for air to move. Line the box with paper to catch drips.
Keep the box at room temperature and eat glazed donuts the same day, since glazes weep and soften overnight. Warm a day-old donut for ten seconds to freshen the crumb. Freeze unglazed extras in a sealed bag, and glaze them after thawing.
Baked Option Explained
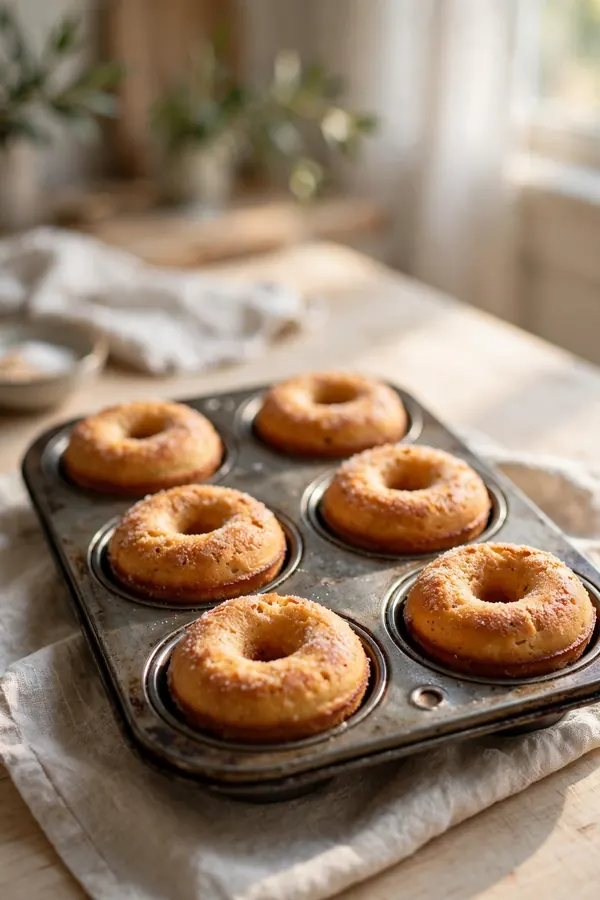
Baked donuts skip the oil bath, so they stay lighter and need a glaze for moisture and shine. Follow the baked steps below, and compare the result with a fried batch before choosing a favorite. A hot oven and a full proof matter just as much here.
- Let the oil return to 365 F between batches.
- Blot only the very surface if needed.
- Glaze within 5 minutes of frying.
- Serve the same day for best texture.
Final Light Check

Quick Tip: Lift a cooled donut and judge the weight in your hand. A light donut feels airy, while a dense one signals cool oil or short proofing. Note the oil temperature that worked for the next batch.
Judge the batch by weight and bite: light donuts, a crisp shell, and a soft center that springs back. If one donut still feels heavy, note the oil temperature and the batch size that caused it. A careful last check turns a greasy batch into a lighter one next time.
Conclusion
With these fixes, greasy heavy donuts can turn into a result you are proud to serve. Start with the biggest cause, change one thing at a time, and taste as you go so you know what actually helped. Small, steady adjustments beat a full recipe overhaul, and they teach you how your oven, your pans, and your ingredients behave. If you want one more rescue to study, read these pasta dough fixes for a smoother batch and add them to your notes. Keep this guide nearby, trust your senses, and enjoy the next batch.