How To Fix Tough Homemade Pasta Dough? Easy Fix Guide
If your tough pasta dough turned out stiff, springy, and hard to roll, you are not alone. Toughness usually comes from too little rest, too much flour during rolling, or kneading that never got a chance to relax. The fix usually comes down to a few small choices you can change next time.
This guide walks through what went wrong, the exact steps that fix it, and the habits that keep it from happening again. Spot the weak step, adjust it, and test the result with a small batch first.
Work through the sections in order, or jump to the fix that matches your batch. For another rescue, see greasy donuts fixes and keep building your skills.
Why Dough Turns Tough

Tough dough usually starts with rest, flour, or kneading that never got a chance to relax. In my experience, cooks blame the recipe when the real issue is one small habit that is easy to change.
Rest the dough for at least 30 minutes, roll with light flour, and let it relax between passes through the roller. Try the change on a small test batch first, then compare it side by side with your usual method. The difference will tell you whether you found the true cause or only part of it.
Rest Is Required
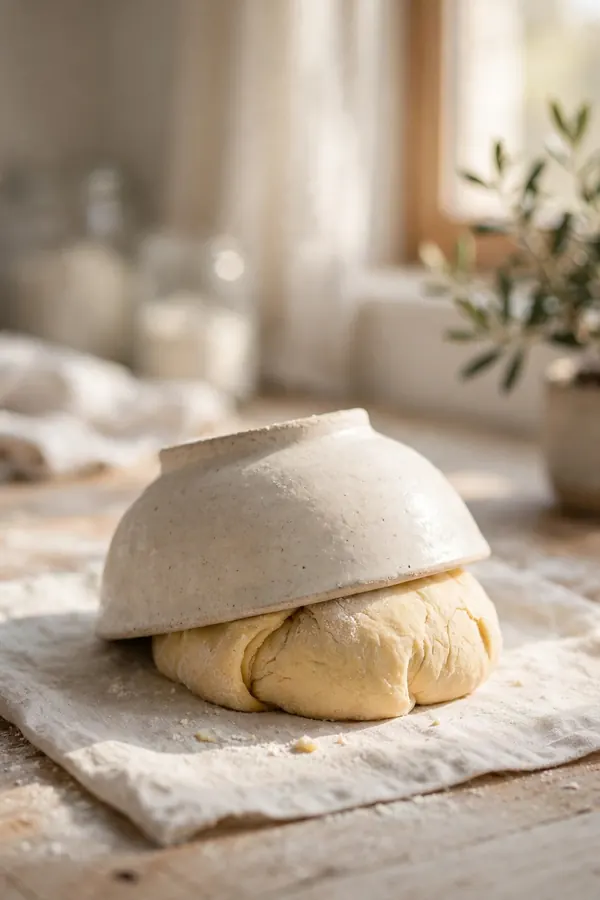
Resting lets the flour hydrate and the gluten relax, so the sheet rolls thin without springing back. Follow the steps below in order, and give each one your full attention. Rushing the early steps is how the same problem comes back, so slow down where it counts.
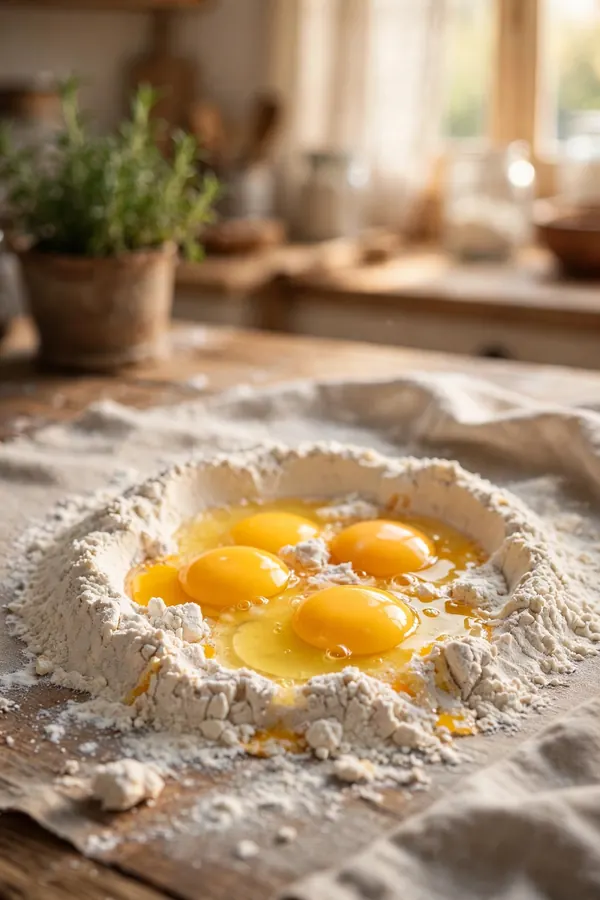
- Mix flour and eggs until shaggy, then knead for 8 minutes.
- Wrap the dough and rest it for 30 minutes.
- Roll in small pieces, resting between passes.
- Dust lightly, never heavily, with flour.
Measure Flour Right

Quick Tip: If the dough keeps springing back, stop and rest it for 10 minutes. Relaxed dough rolls thin without a fight. Write the tip on your recipe card so you remember it next time.
Spoon flour into the cup and level it, since scooping packs extra flour into the dough. Keep the tip in mind while you work, and check the result before you move to the next step. Good cooking is mostly good timing, and a quick pause to look, smell, and taste will catch most trouble early.
Knead Just Enough

Common Mistake: Many cooks keep adding flour to stop sticking, but each handful dries the dough and makes the noodles tough. A light hand with the flour keeps the dough soft enough to knead smooth.
The Fix: Use a bench scraper to lift sticky dough, dust with a bare pinch of flour, and rest the dough whenever it resists. Stop kneading once the dough feels smooth and springs back slowly.
Once you fix the mistake, the rest of the recipe usually falls into place. Test the corrected step on a small batch, note what changed, and keep the new habit for every future batch. A small test batch shows the difference clearly before you commit to a full portion today.
Roll With Patience

What You Need:
- 00 flour or all purpose: Gives a silky texture that rolls thin.
- Large eggs: Add richness and bind the dough.
- Olive oil: A small spoon softens the dough.
- Fine salt: Seasons the dough through and through.
- Bench scraper: Moves sticky dough without adding flour.
Gather everything before you start so you are not hunting for tools mid-recipe. Add water a spoon at a time, since a little too much turns the sheet sticky and hard to roll. A calm, organized setup makes each step easier and keeps the timing on track.
Water Balance Tips

Before: The dough fought every roll, sprang back, and cooked into chewy, heavy noodles. The right water balance keeps the dough soft enough to roll without tearing.
After: Rested and lightly floured, the same dough rolls paper thin and cooks into silky, tender noodles. Balanced water lets the dough roll thin without springing back.
The change between the two is rarely dramatic on its own, yet the final result feels completely different. That is the power of fixing the root cause instead of covering up the symptom. Patient resting and a light flour dusting together turn stiff dough into silky, tender noodles every time.
Egg Ratio Matters
Do This:
- Rest the dough 30 minutes.
- Knead until smooth, not longer.
- Roll in small pieces.
- Salt the cooking water well.
Avoid This:
- Do not add handfuls of flour.
- Do not skip the rest.
- Do not force the roller.
- Do not overcook the noodles.
Weigh the eggs with the flour so the ratio stays steady from batch to batch, even when egg sizes vary. Keep this short list beside you while you cook, and check off each point as you finish it. A simple checklist beats memory when the kitchen gets busy.
Roller Pass Rules
Time Needed: 30 minutes of resting plus 20 minutes of work.
Difficulty: Medium, and easier with practice.
Cost: Only flour and eggs.
Result: Silky, tender noodles that roll thin.
Roll one pass at a time and rest the sheet between passes so the gluten stays relaxed. Use the facts above to set your plan before you start. When you know the time, the tools, and the target result, each step feels calmer and more certain.
Drying Time Control
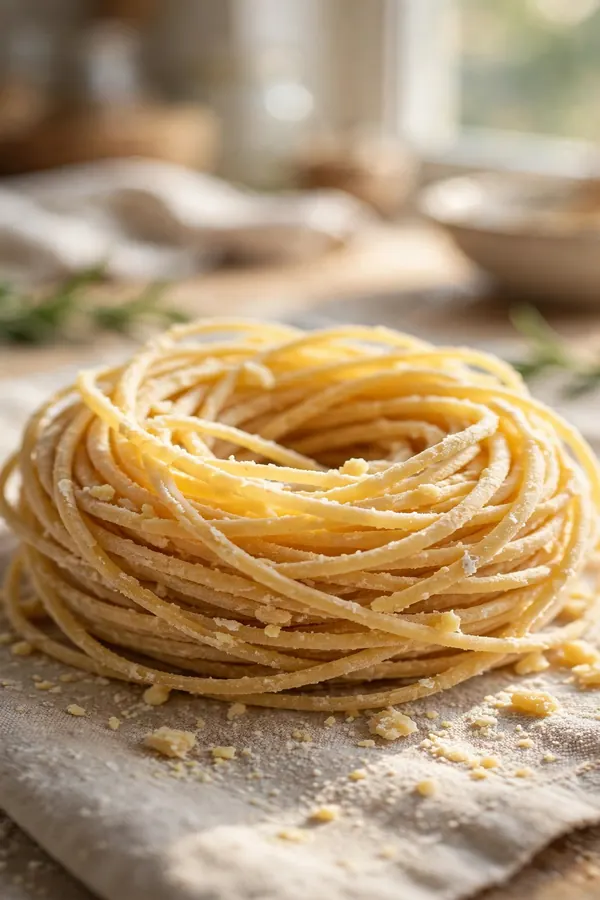
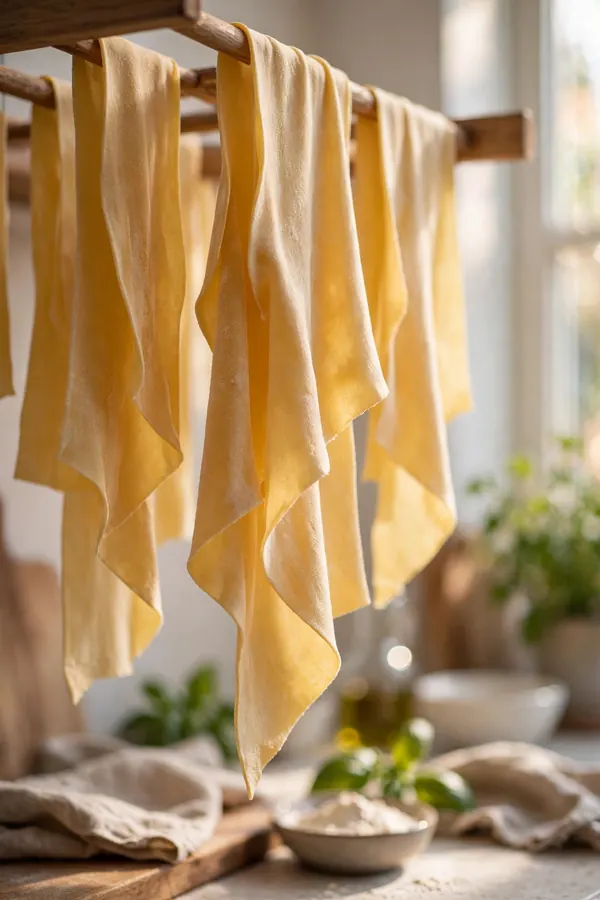
Dry the cut pasta on a floured tray in a single layer, and turn the strands once so both sides dry evenly. Dust with a little flour if the strands start to stick together. Keep the tray away from direct sun and strong drafts, which dry the edges too fast.
Stop drying while the pasta still bends a little, since bone-dry strands crack in the pot and turn brittle. Cook the batch the same day for the best texture, and freeze any extra in loose nests. Label the bag with the date so the oldest nests cook first.
Cooking Tender Pasta
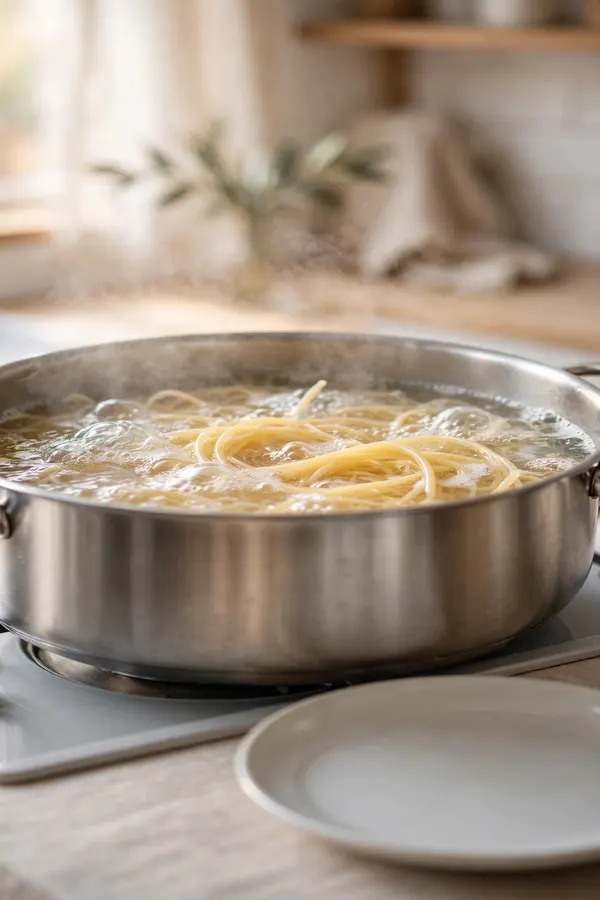
Boil a wide pot of salted water, slide the pasta in gently, and taste early so the bite stays tender. Follow the cooking steps below, and pull the pasta just before it turns soft, since it firms as it rests.
- Roll to the second thinnest setting.
- Rest sheets for 5 minutes before cutting.
- Cook in well salted boiling water.
- Taste at 2 minutes and drain when tender.
Final Texture Check
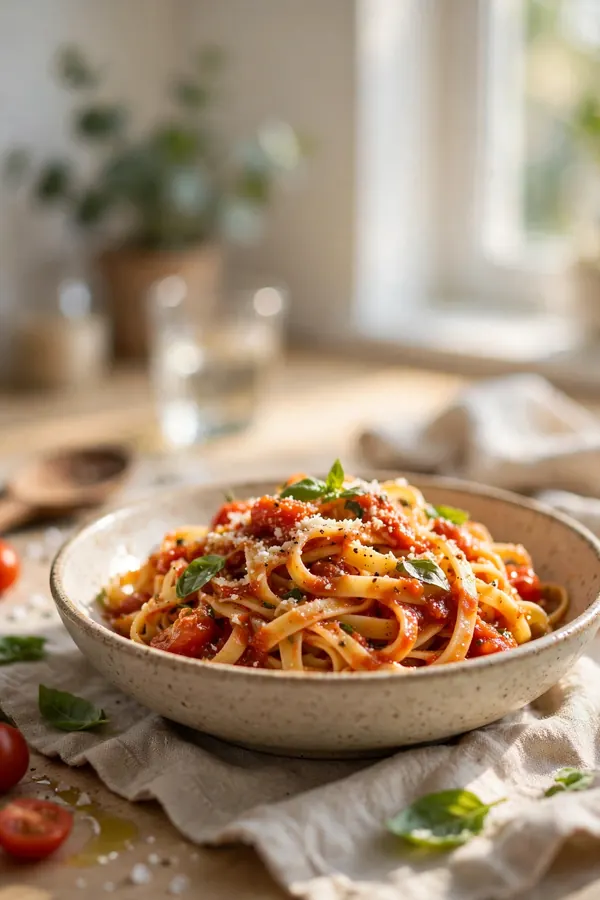
Quick Tip: Taste one strand before draining, and trust the bite over the clock. Tender pasta still resists slightly in the center. Note the cook time that worked for the next batch.
Judge the batch by texture alone: tender strands, no snap, and a bite that holds sauce without tearing. If one strand still feels stiff, give the pot one more minute and taste again. A careful last taste turns fresh pasta into a result worth serving again.
Conclusion
With these fixes, tough pasta dough can turn into a result you are proud to serve. Start with the biggest cause, change one thing at a time, and taste as you go so you know what actually helped. Small, steady adjustments beat a full recipe overhaul, and they teach you how your oven, your pans, and your ingredients behave. If you want one more rescue to study, read these weeping meringue fixes and add them to your baking notes. Keep this guide nearby, trust your senses, and enjoy the next batch.