How To Fix Dry Meatloaf? Easy Fix Guide
If your dry meatloaf turned out dry and crumbly, you are not alone. Dryness usually comes from very lean meat, too little binder, and baking past 160 F until the juices escape. The fix usually comes down to a few small choices you can change next time.
This guide walks through what went wrong, the exact steps that fix it, and the habits that keep it from happening again. Spot the weak step, adjust it, and test the result with a small batch first.
Work through the sections in order, or jump to the fix that matches your batch. For another rescue, see this sugar crust guide and keep building your skills with steady practice.
Why Meatloaf Dries Out
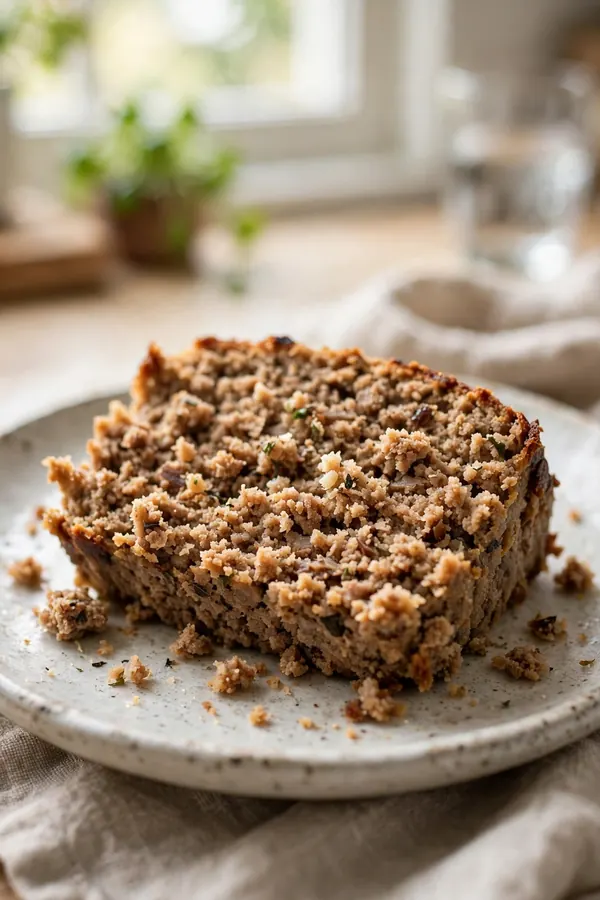
A dry loaf usually comes down to lean meat, too little binder, or baking past the pull point. In my experience, cooks blame the recipe when the real issue is one small habit that is easy to change.
Use meat with some fat, add a soaked panade, and pull the loaf at 160 F on a thermometer. Try the change on a small test batch first, then compare it side by side with your usual method. The difference will tell you whether you found the true cause or only part of it.
Pick Fattier Meat

An 80/20 blend keeps the loaf juicy, since lean meat alone dries out before the center cooks. Follow the steps below in order, and give each one your full attention. Rushing the early steps is how the same problem comes back, so slow down where it counts.
- Soak breadcrumbs in milk for 10 minutes.
- Mix gently with meat, egg, and seasonings.
- Shape a free form loaf on a sheet pan.
- Bake at 350 F until the center hits 160 F.
Soaked Panade Trick

Quick Tip: Mix the meat just until combined. Overmixing squeezes out moisture and turns the loaf dense and dry. Write the tip on your recipe card so you remember it next time.
Soaked crumbs swell with milk and hold juice inside the loaf as it bakes. Keep the tip in mind while you work, and check the result before you move to the next step. Good cooking is mostly good timing, and a quick pause to look, smell, and taste will catch most trouble early.
Pull At 160

Common Mistake: Many cooks bake by time alone and leave the loaf in until it looks very dark, which pushes it far past 160 F. A thermometer reading beats color, since a dark crust can hide a dry center.
The Fix: Use a thermometer and pull the loaf at 160 F. Carryover heat and a 15 minute rest finish it gently.
A thermometer removes the guesswork behind most dry slices. Check the center early, since carryover heat adds several degrees during the rest. Pull the loaf at 160 F, tent it loosely, and rest it for 15 minutes. The juices settle back into the meat and the slices hold together every time.
Shape Matters Here

What You Need:
- Ground beef 80/20: Enough fat to stay juicy without going greasy.
- Milk and breadcrumbs: Form a panade that traps moisture.
- Eggs: Bind the loaf so it slices cleanly.
- Onion and garlic: Add flavor and gentle moisture.
- Ketchup glaze: Seals the top and adds tang.
Gather everything before you start so you are not hunting for tools mid-recipe. Brush the glaze on in two coats so the first layer sets and the second adds shine without pooling. A calm, organized setup makes each step easier and keeps the timing on track.
Glaze Seals Moisture
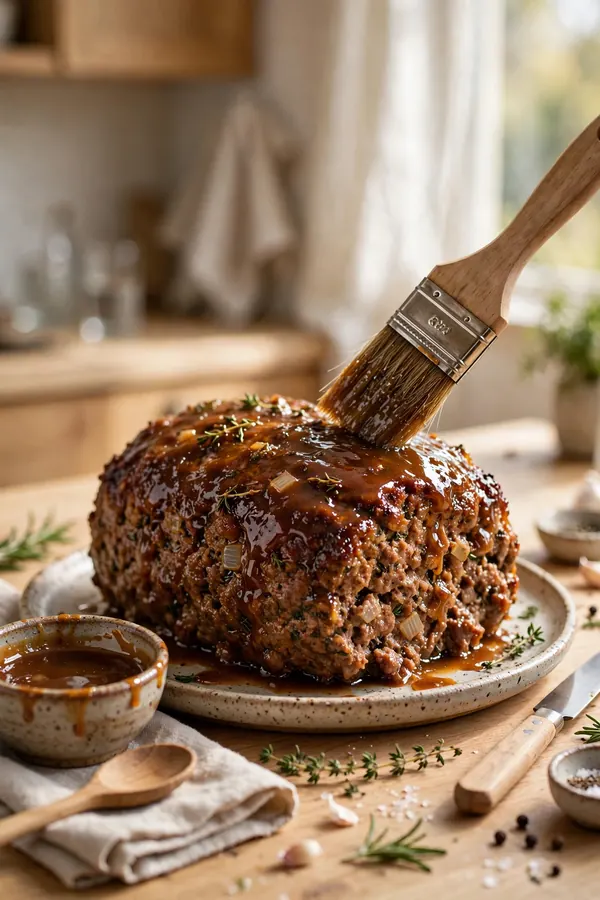
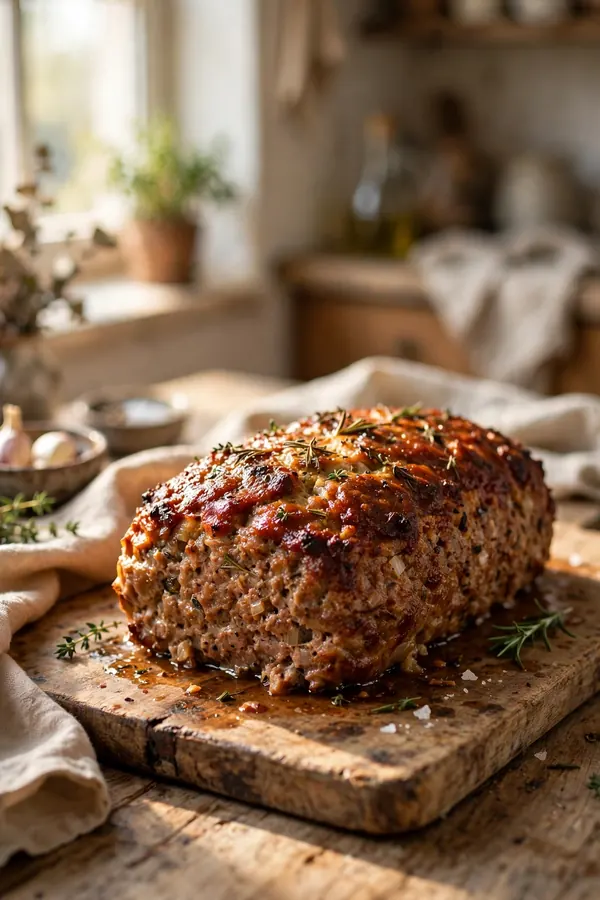
Before: The loaf looked firm and brown, yet each slice crumbled, tasted chalky, and needed sauce to go down. A glaze brushed on near the end seals the surface and holds moisture in.
After: With fattier meat, a panade, and a thermometer, the same loaf slices moist and holds together. The glaze adds a glossy coat that keeps each slice juicy.
A good glaze does more than add flavor. It seals the surface, slows moisture loss, and gives each slice a glossy finish. Brush it on during the last 15 minutes so it sets without burning. When the loaf rests, the glaze firms up and the slices stay moist from the first cut to the last.
Rest Before Slicing
Do This:
- Use 80/20 ground meat.
- Soak the panade first.
- Use a thermometer.
- Rest before slicing.
Avoid This:
- Do not use extra lean meat alone.
- Do not overmix.
- Do not bake past 160 F.
- Do not slice right away.
Resting lets juices settle back into the loaf, so slices stay moist instead of shedding liquid on the board. Keep this short list beside you while you cook, and check off each point as you finish it. A simple checklist beats memory when the kitchen gets busy.
Pan Choice Counts

Time Needed: 15 minutes of prep, about 1 hour of baking.
Difficulty: Easy, with a thermometer.
Cost: Budget friendly pantry ingredients.
Result: A moist loaf that slices cleanly.
A smaller pan packs the loaf tighter and keeps juices close, while a wide pan spreads them thin. Use the facts above to set your plan before you start. When you know the time, the tools, and the target result, each step feels calmer and more certain.
Leftovers Stay Moist
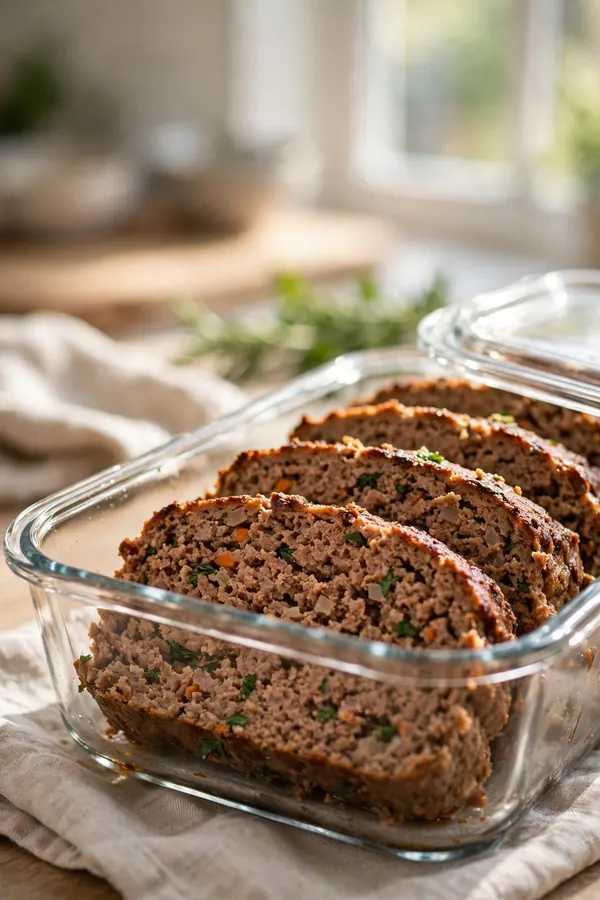
Slice leftovers before storing, and spoon a little gravy or broth over each portion to replace lost juice. A tight seal keeps the slices from drying in the fridge. Keep the slices in a single layer so they reheat evenly. Label the container with the date.
Reheat slices covered at a low temperature, and add a splash of broth if the edges look dry. Warm leftovers gently so the meat stays tender instead of turning tough. Eat refrigerated slices within three days for the best texture. Freeze extra slices in single portions for quick meals later.
Freezer Friendly Tips

Cool the loaf fully, slice it, and wrap portions tight so freezer air never dries the meat or dulls the glaze. Follow the freezing steps below, and thaw slices in the fridge overnight before reheating. Label each bag with the date and the slice count.
- Brush on the glaze in the last 15 minutes.
- Rest the loaf for 15 minutes.
- Slice with a sharp knife.
- Spoon pan juices over each slice.
Final Slice Check

Quick Tip: Cut one center slice and watch the juices before serving. A moist slice holds together and shows juice on the plate. Note the pull temperature that worked for the next loaf.
Judge the loaf by the center slice: moist meat, clean cuts, and juice that stays in the slice. If one end still looks dry, serve it with gravy and note the fix for next time. A careful last check turns a dry loaf into a juicier one on the next bake.
Conclusion
With these fixes, dry meatloaf can turn into a result you are proud to serve. Start with the biggest cause, change one thing at a time, and taste as you go so you know what actually helped. Small, steady adjustments beat a full recipe overhaul, and they teach you how your oven, your pans, and your ingredients behave. If you want one more rescue to study, read this greasy donuts guide and add it to your notes for next time. Keep this guide nearby, trust your senses, and enjoy the next batch.