How To Fix Bitter Caramelized Onions? Easy Fix Guide
If your bitter caramelized onions turned out bitter and burnt tasting, you are not alone. Bitterness comes from heat that is too high, too little fat, and stirring too rarely while the edges scorch. The fix usually comes down to a few small choices you can change next time.
This guide walks through what went wrong, the exact steps that fix it, and the habits that keep it from happening again. Spot the weak step, adjust it, and test the result with a small batch first.
Work through the sections in order, or jump to the fix that matches your batch. For another rescue, see our guide to cabbage soup fixes and keep building your skills.
Why Onions Turn Bitter

Sharp, burnt flavor usually starts when the heat climbs too high and the pan runs dry. In my experience, cooks blame the recipe when the real issue is one small habit that is easy to change.
Cook low and slow with enough fat, add a splash of water when the pan darkens, and stop at deep amber. Try the change on a small test batch first, then compare it side by side with your usual method. The difference will tell you whether you found the true cause or only part of it.
Low Heat Wins

Keep the burner low, keep the fat generous, loosen the pan with water, and pull the onions at deep amber. Follow the steps below in order, and give each one your full attention. Rushing the early steps is how the same problem comes back, so slow down where it counts.
- Slice onions evenly, about 1/4 inch thick.
- Warm butter and oil over medium low heat.
- Add onions and a pinch of salt.
- Cook for 30 to 40 minutes, stirring often.
Enough Fat First

Quick Tip: If the onions smell sharp or look nearly black, the heat is too high. Lower it at once and add a splash of water. Write the tip on your recipe card so you remember it next time.
Most batches turn harsh when the heat stays high and the fat runs short. Keep the tip in mind while you work, and check the result before you move to the next step. Good cooking is mostly good timing, and a quick pause to look, smell, and taste will catch most trouble early.
Stir On Schedule

Common Mistake: Many cooks rush onions on high heat, which burns the sugars and turns the whole batch bitter in minutes. Stirring on a steady schedule keeps every layer in contact with the pan without scorching.
The Fix: Drop to medium low, add a little fat and water, and give the onions the full 30 to 40 minutes they need. Stir every few minutes so the onions color evenly from edge to center.
Stirring on a schedule keeps every onion in contact with the pan for the same time. Scrape the browned bits back in, add a splash of water when the pan looks dry, and keep the heat low. The onions turn amber evenly, the sweetness builds slowly, and no patch gets dark enough to turn bitter.
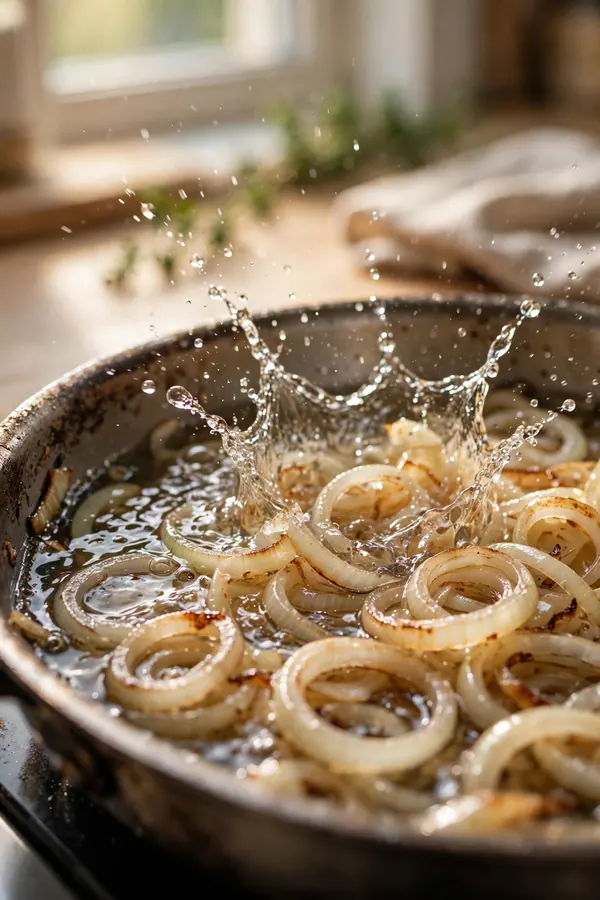
Water Splash Trick
What You Need:
- Yellow onions: Sweet enough to caramelize without burning.
- Butter and oil: Butter for flavor, oil to stop burning.
- Fine salt: Draws out water and builds sweetness.
- Water or stock: Loosens brown bits before they scorch.
- Wide pan: Spreads onions thin for even cooking.
Gather everything before you start so you are not hunting for tools mid-recipe. Set the fat first, stay on low heat, splash water when the color deepens, and stop while the onions still shine. A calm, organized setup makes each step easier and keeps the timing on track.
Pick Sweet Onions

Before: The onions looked dark and rich, yet one taste was sharp, burnt, and bitter enough to spoil the dish. Sweet onions start milder, so they turn golden without a sharp edge.
After: Cooked low and slow, the same onions turn sweet, glossy, and deeply amber, with no bite at all. Picking sweet onions gives the pan a head start on gentle flavor.
Sweet onions give you a head start, but technique still decides the result. Yellow onions work well when cooked low and slow with enough fat. A pinch of salt draws out moisture early, and a splash of water rescues a pan that starts to darken. Taste often, and stop when the color turns deep amber.
Stop At Amber

Do This:
- Use low heat.
- Stir every few minutes.
- Add water when the pan darkens.
- Stop at deep amber.
Avoid This:
- Do not use high heat.
- Do not crowd a small pan.
- Do not walk away long.
- Do not push past dark brown.
Low heat, plenty of fat, a splash of water at the right moment, and a stop at deep amber fix most batches. Keep this short list beside you while you cook, and check off each point as you finish it. A simple checklist beats memory when the kitchen gets busy.
Deglaze The Pan
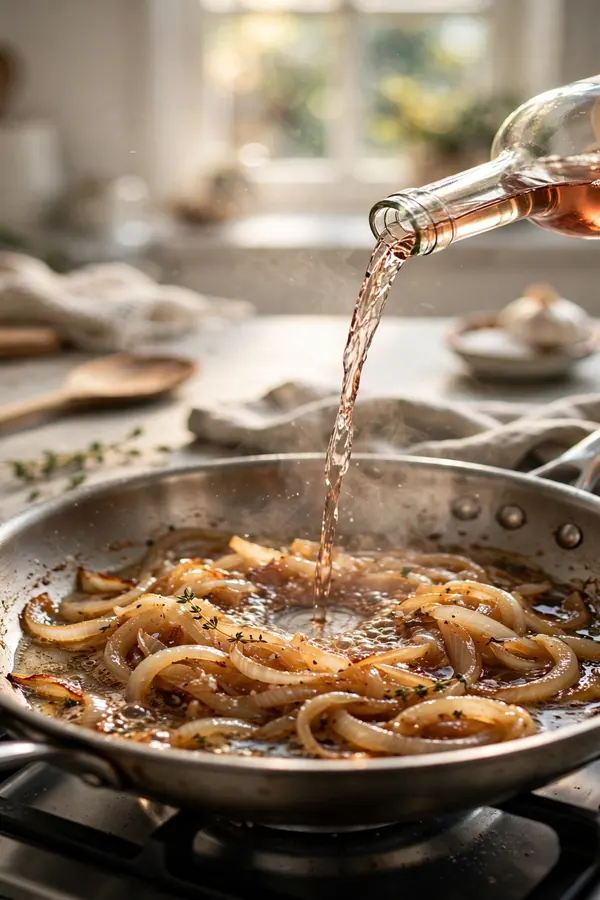
Time Needed: 2 minutes at the end of cooking.
Difficulty: Easy, one quick pour.
Cost: Only a splash of water, stock, or wine.
Result: Sweet pan flavor lifted into the onions.
Deglazing lifts the browned bits from the pan and turns them into deep flavor instead of burnt residue. Pour in a small splash of water or stock, then scrape the bottom gently as the liquid bubbles. Let the liquid cook down until the onions turn glossy and the pan looks clean.
Salt Timing Matters

Salt pulls water from the onions, so timing changes the whole batch. Add it early and the onions soften fast, yet the pan may stay wet too long. Add it late and the onions brown first, then season at the end. Either way, a small pinch beats a heavy hand.
Watch the color after salting and adjust the heat if the pan starts to darken. A splash of water buys time without washing away flavor. Taste near the end, then add a final pinch only if the sweetness needs balance. The onions should finish glossy, soft, and deeply amber.
Use Them Well

Once the onions turn deep amber, the next few minutes decide how good they taste on the plate. Keep the pan on low, work gently, and use the four moves below in order. Each one protects the sweetness the long cook built.
- Splash in water when the pan darkens.
- Scrape up the brown bits gently.
- Stop at deep amber, not dark brown.
- Taste and season before serving.
Final Taste Check

Quick Tip: Taste one spoonful before serving and check for sweetness, salt, and any sharp edge. If the flavor still bites, cook two more minutes on low with a splash of water. Serve only when the spoonful tastes sweet and mellow.
A final taste check catches trouble while the pan still offers a fix. Taste from the center of the pan, where the heat runs strongest, and compare it with a spoonful from the edge. Adjust salt, add water if needed, and serve the onions while they stay warm and glossy.
Conclusion
With these fixes, bitter caramelized onions can turn into a result you are proud to serve. Start with the biggest cause, change one thing at a time, and taste as you go so you know what actually helped. Small, steady adjustments beat a full recipe overhaul, and they teach you how your oven, your pans, and your ingredients behave. If you want one more rescue to study, read our guide to sugar crust fixes and add it to your notes. Keep this guide nearby, trust your senses, and enjoy the next batch.