Why Is My Cheese Sauce Clumpy? Easy Fix Guide
A pot of clumpy cheese sauce disappoints fast. Instead of a silky pour, you get grainy lumps, oily streaks, and a texture that never quite melts. The fix usually comes down to heat, cheese choice, or patience.
This guide walks through each fix in order, from grating to melting to serving. You need no special tools, just a little care and pantry staples. Most lumpy pots smooth out with one or two small changes. A gentle hand beats high heat every time. Small fixes make a big difference here. For a thin lentil dish instead, see this watery dal guide for a thick, comforting rescue.
Why Cheese Sauce Clumps

Cheese sauce clumps for three main reasons: too much heat, pre-shredded cheese, and adding too fast. High heat tightens the proteins and squeezes out oil. Pre-shredded cheese carries starch that turns grainy, and a big handful at once never melts evenly.
The good news is that each cause has a simple fix. Once you see which one hit your pot, you can correct it before serving. Think of cheese sauce as gentle work, not a race. A few small changes make a big difference here. Your patience shows in every smooth pour.
Grate Cheese Fresh

Fresh grated cheese melts far more smoothly than bagged shreds. Bagged cheese wears a coat of starch that stops clumping in the bag but turns grainy in sauce. A block and a grater fix this in minutes. Grate it just before cooking for the best melt.
- Buy a block of cheese and grate it on the large holes.
- Let the grated cheese sit at room temperature for ten minutes.
- Toss the shreds with a teaspoon of cornstarch for extra smoothness.
- Keep the cheese away from heat until the sauce is ready.
Low Heat Always

Quick Tip: Keep the burner on low from start to finish. Cheese sauce should never boil, since boiling splits it into oil and lumps. A gentle warmth melts cheese without breaking it.
If the sauce starts to bubble, pull the pot off the heat at once. Stir in the cheese off the burner, then return the pot only if needed. In my experience, low heat saves more sauces than any ingredient swap. Patience here is the whole secret.
Build a Smooth Roux

Common Mistake: Many cooks skip the roux and dump cheese into hot milk. The cheese melts unevenly, the sauce stays thin, and lumps form at once.
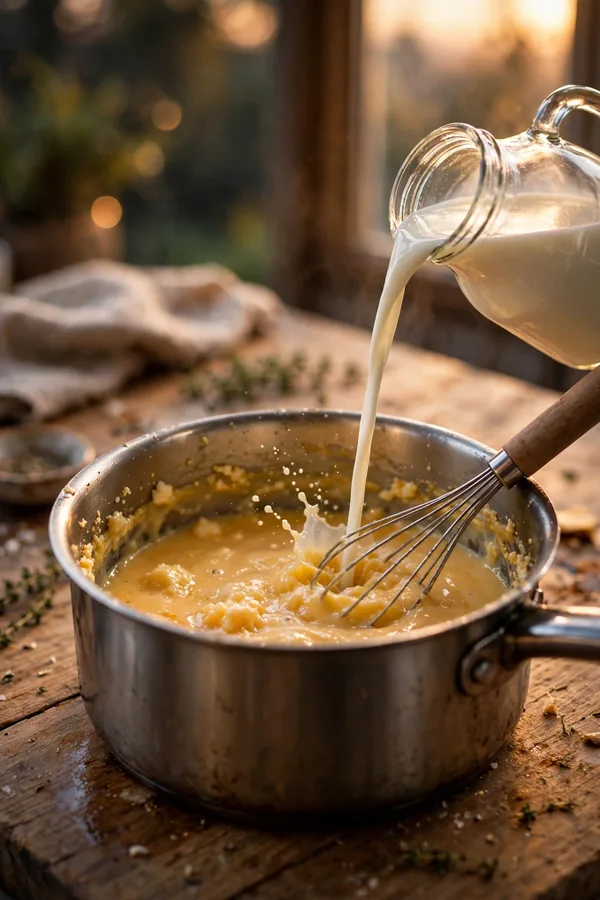
The Fix: Cook equal parts butter and flour for two minutes, then whisk in warm milk slowly. The roux gives the sauce body and keeps the cheese evenly spread.
Whisk constantly as the milk goes in, and wait for each splash to blend before adding more. A smooth base makes smooth sauce, and rushing here shows up later. Take your time and the pot rewards you. A calm pace beats a fast whisk every single time.
Add Cheese Slowly

What You Need:
- Block cheese: two cups, freshly grated for the smoothest melt.
- Butter: two spoonfuls start the roux.
- Flour: two spoonfuls thicken the base.
- Milk: two cups, warmed so it blends fast.
- Mustard: half a teaspoon sharpens the flavor.
Add cheese one small handful at a time, stirring until each melts before the next. A slow pace lets the proteins relax instead of seizing. When the last handful melts in, the sauce should pour like silk. Stop adding cheese the moment the sauce coats a spoon.
Milk, Cream, Evaporated

Before: Cold milk hit hot roux in one pour, seized into lumps, and never smoothed out. The sauce stayed thin in spots and thick in others, with cheese strings throughout.
After: Warm milk whisked in slowly gave a glossy base that took the cheese evenly. The sauce poured silky, coated the pasta, and held smooth on the plate.
Warm liquid blends into roux far better than cold. Heat the milk until it steams, then add it in small splashes. Evaporated milk works even better, since it resists splitting under gentle heat. Keep a can in the pantry for sauce nights. Your sauce will thank you.
Rescue a Lumpy Pot

Do This:
- Pull the pot off the heat the moment lumps appear.
- Whisk hard for a full minute to break up small lumps.
- Stir in a splash of warm milk to loosen the sauce.
- Blend with an immersion blender for a last rescue.
Avoid This:
- Do not crank the heat to melt the lumps.
- Do not add more cheese to a broken sauce.
- Do not whisk cold milk into a hot pot.
- Do not boil the sauce at any point.
A lumpy pot is rarely a lost pot. Low heat, steady whisking, and a splash of warm milk fix most lumps in minutes. Stay calm, work slowly, and the sauce usually comes back together. Rescue beats restart almost every single time. Trust the process and keep stirring.
Cheese Types Matter

Time Needed: About 20 minutes from roux to table.
Difficulty: Beginner friendly with gentle heat.
Cost: Uses cheese and milk you already own.
Best For: Mac and cheese, nachos, and vegetable sides.
Young cheddar, Monterey Jack, and Gruyere melt smoothly, while aged cheddar and Parmesan resist melting. Hard cheeses work best grated fine and added last. Match the cheese to the sauce and the pot stays silky. Read the cheese label before you start grating. Small choices matter.
Serve It Silky

Serving matters more than most cooks expect. Cheese sauce thickens as it cools, so a pot that looks perfect on the stove can turn stiff on the plate. Serve it promptly, and keep a splash of warm milk nearby.
Stir the sauce just before serving so it pours evenly. Pour over hot pasta or vegetables, not cold ones, so the sauce stays fluid. A warm plate keeps the sauce silky to the last bite. Your guests will notice the smooth, glossy pour. Serve it with pride and a steady hand.
Fix Leftover Sauce
Leftover cheese sauce thickens and splits in the fridge as the fat firms up. Do not throw it out, since a gentle reheat brings it back. The rescue takes five minutes and no special tools. Start with the gentlest fix and stop as soon as it flows.
- Warm the sauce slowly on low, stirring often.
- Add warm milk one splash at a time until it loosens.
- Whisk steadily until the sauce turns glossy again.
- Serve at once over hot food, not cold.
Next Sauce Checklist

Quick Tip: Keep this checklist near the stove for your next sauce. A glance before cooking saves a rescue later. Soon the habits feel automatic, and every pot lands silky and smooth.
Great cheese sauce comes from habits, not luck. Grate fresh, keep the heat low, add cheese slowly, and serve promptly. Check the texture early, adjust the next pot, and enjoy a sauce that stays silky to the last spoonful. That is a sauce worth repeating.
Conclusion
Silky cheese sauce comes from fresh grated cheese, low heat, and slow steady stirring. Fix those three habits and clumpy cheese sauce becomes a rare mishap instead of the usual result. Start with a smooth roux, add cheese a handful at a time, and keep the heat gentle. Your next pot should pour smoothly, coat every bite, and taste rich to the last spoonful. If another dish puzzles you, read this greasy brownies guide for clean brownie fixes. Keep this guide handy and cook with confidence every single time at the table. Serve proudly.