How To Stop Cheesecake From Sticking To The Pan? Easy Fix Guide
If your cheesecake sticking to pan turned out stuck fast to the pan, you are not alone. Sticking comes from a missing parchment circle, a crust baked onto bare metal, and slicing while the cake is still warm. The fix usually comes down to a few small choices you can change next time.
This guide walks through what went wrong, the exact steps that fix it, and the habits that keep it from happening again. Spot the weak step, adjust it, and test the result with a small batch first.
Work through the sections in order, or jump to the fix that matches your batch. For another rescue, see chewy granola fixes for crisp clusters with a steady crunch.
Why Cheesecake Sticks
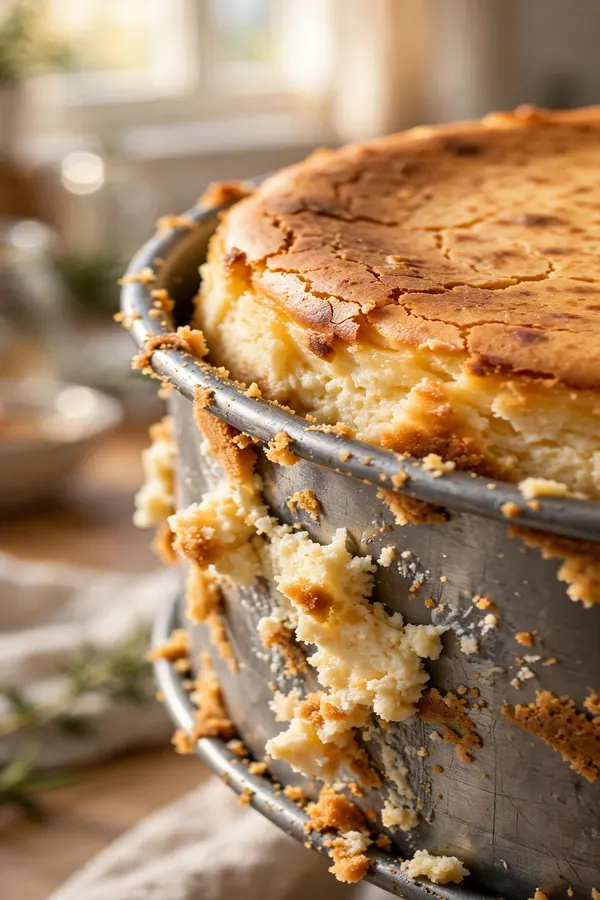
A stuck cake usually starts with no parchment, a crust gripping bare metal, and slicing before the chill sets. In my experience, cooks blame the recipe when the real issue is one small habit that is easy to change.
Line the pan with parchment, grease lightly, chill the cake fully, and warm the pan sides before release. Try the change on a small test batch first, then compare it side by side with your usual method. The difference will tell you whether you found the true cause or only part of it.
Parchment Circle Fix

Line the base, grease it lightly, chill the cake through, and warm the sides before release. Follow the steps below in order, and give each one your full attention. Rushing the early steps is how the same problem comes back, so slow down where it counts.
- Cut a parchment circle for the base.
- Grease the pan lightly and set the circle.
- Press the crust firmly and evenly.
- Bake, then chill for at least 4 hours.
Grease Lightly First

Quick Tip: Brush a thin coat of soft butter or oil over the base and sides, then blot any pools with a paper towel. A light film stops sticking without making the crust greasy. Too much fat will fry the edges and loosen the crust.
Greasing lightly gives the crust a clean release without adding grease to the finished cake. Use a pastry brush to spread one even layer, then check the corners where filling tends to grip. Let the coat set for a minute before you press in the crust.
Chill Fully Overnight

Common Mistake: Many bakers skip the parchment and try to lift a warm cake, which tears the crust and leaves half the base behind. A full overnight chill firms the filling so the cake releases in one piece.
The Fix: Line the base with parchment, chill the cake fully, and warm the pan sides before you release the ring. Run a thin knife around the ring only after the chill sets the cake firm.
Chilling overnight firms the filling so it releases in one clean piece. A fully set cheesecake shrinks slightly away from the sides as it cools. Run a thin knife around the edge before unmolding, and warm the outside of the pan briefly with a hot towel. The cake slides out smoothly with no torn edges.
Warm Pan Release

What You Need:
- Parchment paper: The single best sticking defense.
- Soft butter: Greases the pan thinly.
- Graham crumbs: Form a firm, clean crust.
- Springform pan: Releases the sides without lifting.
- Hot water: Warms the pan for release.
Gather everything before you start so you are not hunting for tools mid-recipe. Set parchment first, grease thinly, chill the cake fully, and warm the pan sides gently to free it. A calm, organized setup makes each step easier and keeps the timing on track.
Springform Tips Here

Before: The cake tasted rich, yet the crust clung to the pan, the slices tore, and the plate looked messy. A springform with a tight seal keeps the crust even and the release clean.
After: With parchment and a full chill, the same cake slides out clean and slices like a bakery cake. The springform ring lifts away without tearing the chilled crust.
A springform pan makes release far easier when it is prepared well. Grease the sides lightly, line the base with parchment, and latch the ring firmly before filling. After baking, cool the cake slowly, then chill it completely. The ring opens cleanly, and the sides stay perfectly smooth and neat.
Crust Ratio Matters

Do This:
- Use about 1 1/2 cups crumbs to 5 tablespoons melted butter.
- Press the crumbs in a firm, even layer.
- Chill the pressed crust for 30 minutes.
- Bake the crust briefly to set the base.
Avoid This:
- Do not add extra butter to fix dry crumbs.
- Do not leave thick spots or thin edges.
- Do not skip chilling before filling.
- Do not press with a wet hand.
The right ratio keeps the crust firm enough to hold the filling, yet tender enough to slice cleanly. Too much butter makes a greasy base that slides apart, while too little leaves dry crumbs that crumble. Measure both parts, mix until the crumbs look like damp sand, and press evenly.
Slice With Care
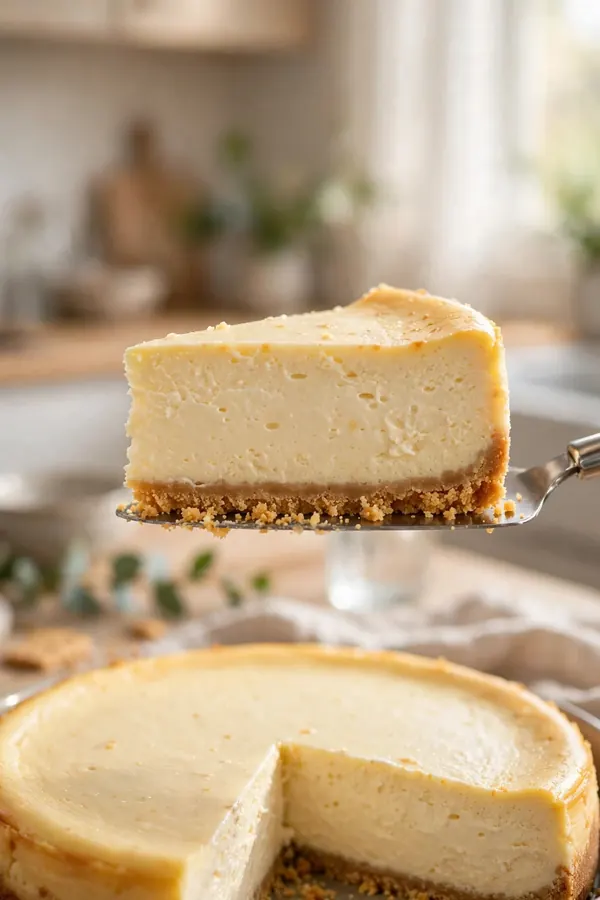
Time Needed: 5 minutes to slice and serve.
Difficulty: Easy, with a sharp knife.
Cost: No extra tools needed.
Result: Clean slices with whole crusts.
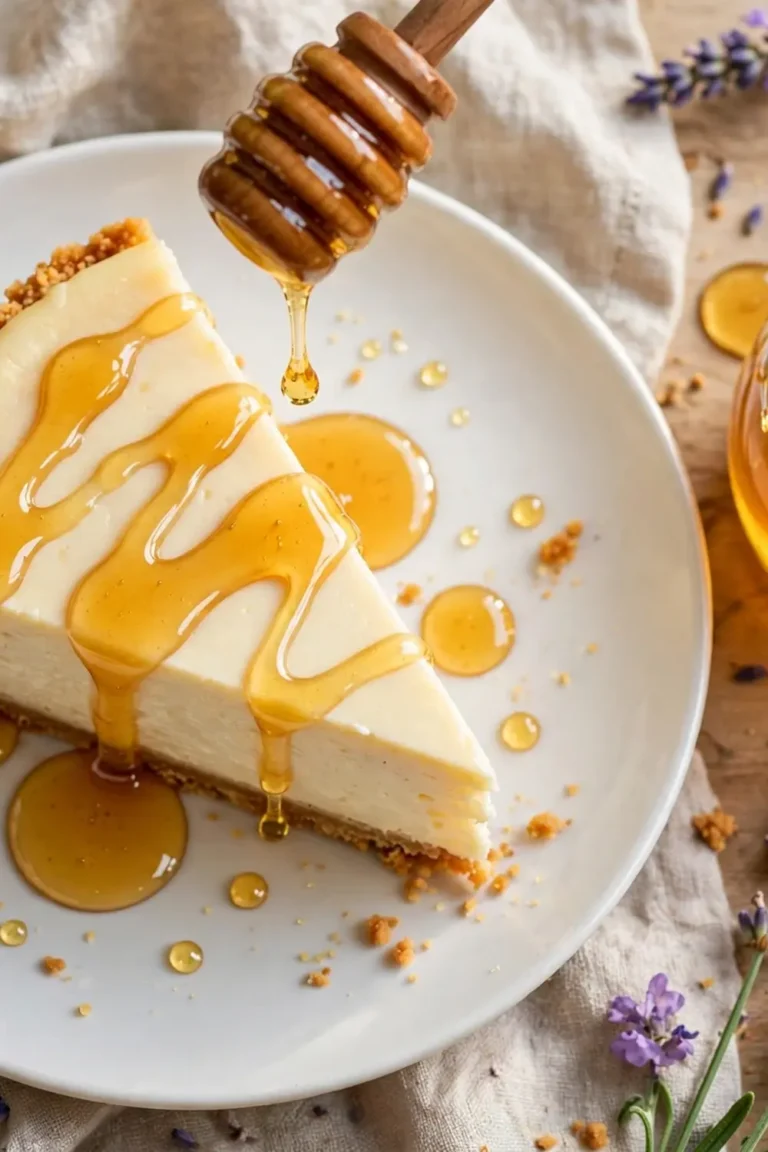
Slicing with care keeps the crust whole and the filling smooth from the first cut to the last. Use a long, thin knife and warm the blade under hot water, then wipe it dry. Cut with one slow downward stroke and clean the blade between slices.
Serve Without Cracks

Serving a cheesecake without cracks starts long before the knife comes out of the drawer. Cool the cake slowly, chill it fully, and handle the pan with care. Sudden temperature swings tighten the surface and open fine lines across the top. A gentle pace keeps the top smooth.
Set the cake on a flat plate and slice with a hot, dry knife for clean edges. Wipe the blade between cuts so crumbs never drag across the filling. Each slice should lift out whole, with smooth sides and no torn crust.
Freeze For Clean Cuts

A short freeze firms the filling and makes every slice land cleanly on the plate. Chill the cake well, free the pan gently, and use the four moves below in order. Each one keeps the slices neat, the crust whole, and the top smooth.
- Wrap a hot towel around the pan.
- Run a thin knife around the edge.
- Release the springform ring slowly.
- Slice with a hot, dry knife.
Final Release Check

Quick Tip: Check the edge before unmolding and look for a clean gap all the way around. If the cake still grips, warm the pan sides with a hot towel for one minute. Release only when the ring moves without pulling the crust.
A final release check saves the cake from tearing at the last step. Run a thin knife around the edge, warm the sides briefly, and watch the ring loosen. If the cake holds firm, open the ring slowly and lift it away. The sides should stand smooth and the base should stay whole.
Conclusion
With these fixes, cheesecake sticking to pan can turn into a result you are proud to serve. Start with the biggest cause, change one thing at a time, and taste as you go so you know what actually helped. Small, steady adjustments beat a full recipe overhaul, and they teach you how your oven, your pans, and your ingredients behave. If you want one more rescue to study, read the chicken tenders fixes and add them to your notes for next time. Keep this guide nearby, trust your senses, and enjoy the next batch.