23 Decadent Chocolate Peanut Butter Lasagna Desserts to Love
A chocolate peanut butter lasagna turns simple pantry staples into a showstopper dessert that everyone asks about. Creamy peanut butter, rich chocolate, and soft cookies stack into cool layers that slice beautifully. This collection brings twenty three ideas, from classic chilled slices to jars and frozen twists. Pick one tonight and watch the pan disappear.
Start with a cookie crust, a fluffy peanut butter filling, and a glossy chocolate top. Each layer chills until firm, and the whole dessert slices into neat stripes. In my experience, a lined pan makes lifting easy, and a warm knife gives the cleanest cuts. Most versions need no oven at all.
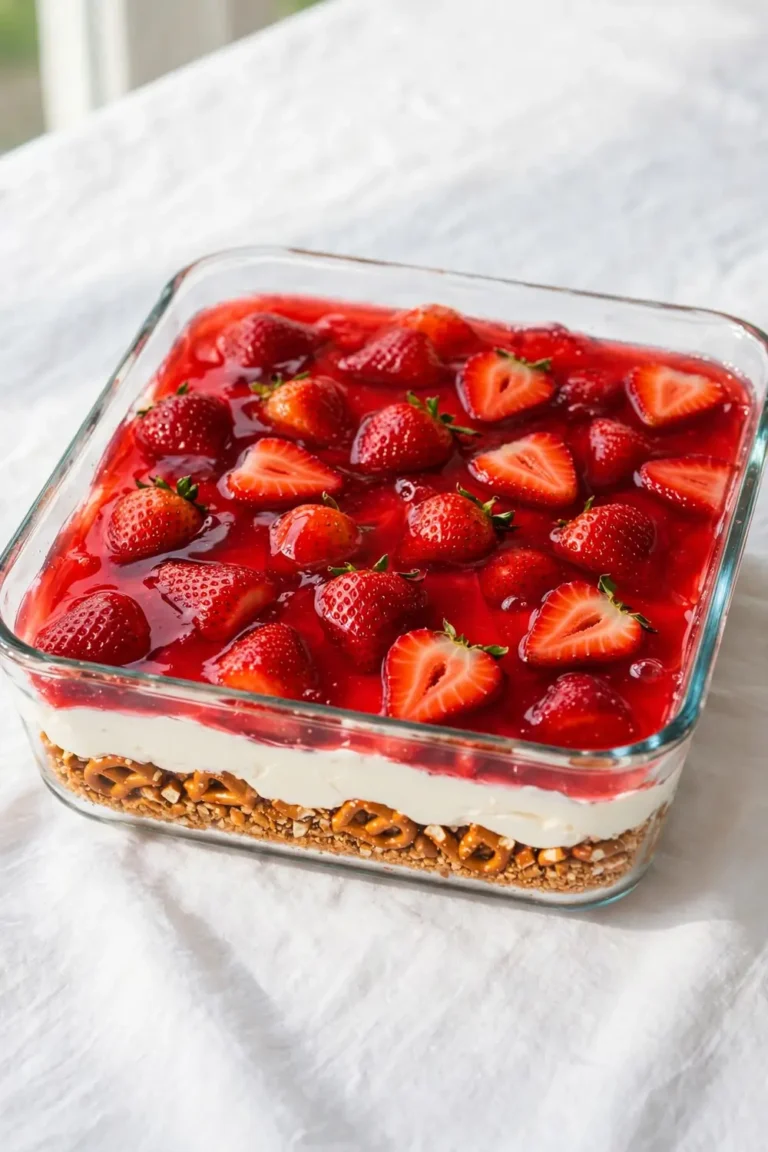
Serve this dessert from the fridge with coffee or cold milk. Leftovers keep well for days, and many versions freeze beautifully for later. The layers taste better after a night in the fridge, when the flavors settle together. If you love chilled layered desserts, try the strawberry pretzel salad next for a sweet salty twist.
Classic Creamy Layers
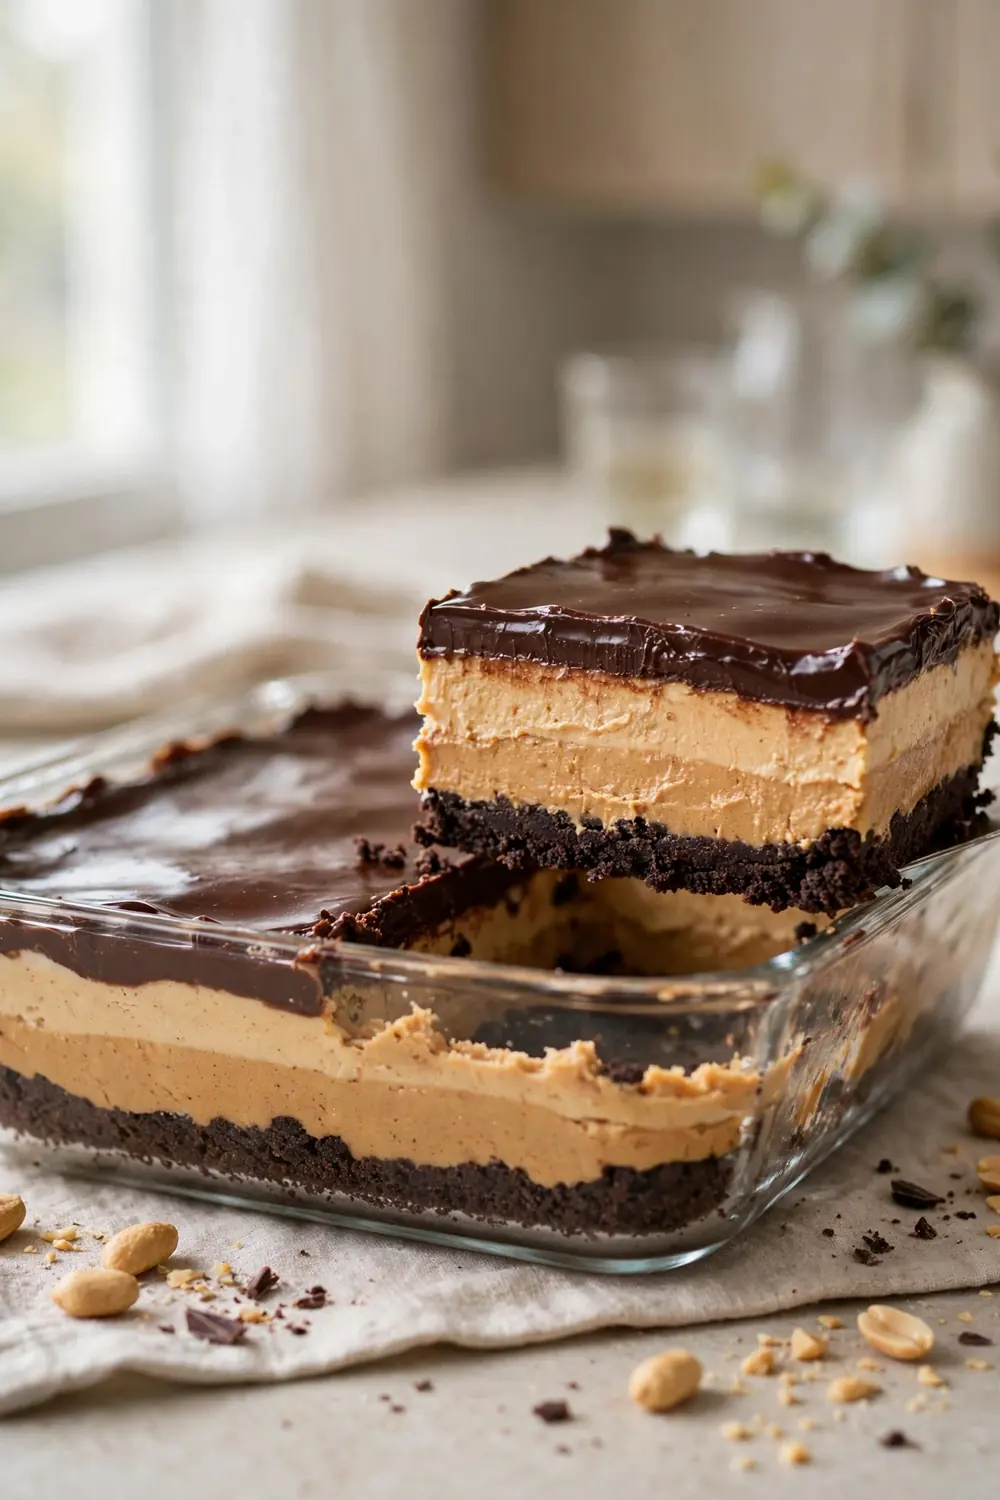
The classic version starts with a cookie crust, a peanut butter layer, and a glossy chocolate top. Each layer chills until firm, so every slice holds clean edges and shows pretty stripes. Use a springform pan or a lined dish for easy lifting and serving. This is the version potluck guests always ask about first.
Soften the cream cheese fully before beating, since lumps never smooth out once the layers chill. Fold the whipped topping gently to keep the peanut butter layer light and airy. Spread the chocolate while it is still pourable, then chill the pan at least four hours. A warm knife gives the cleanest cuts.
Crunchy Cookie Crust
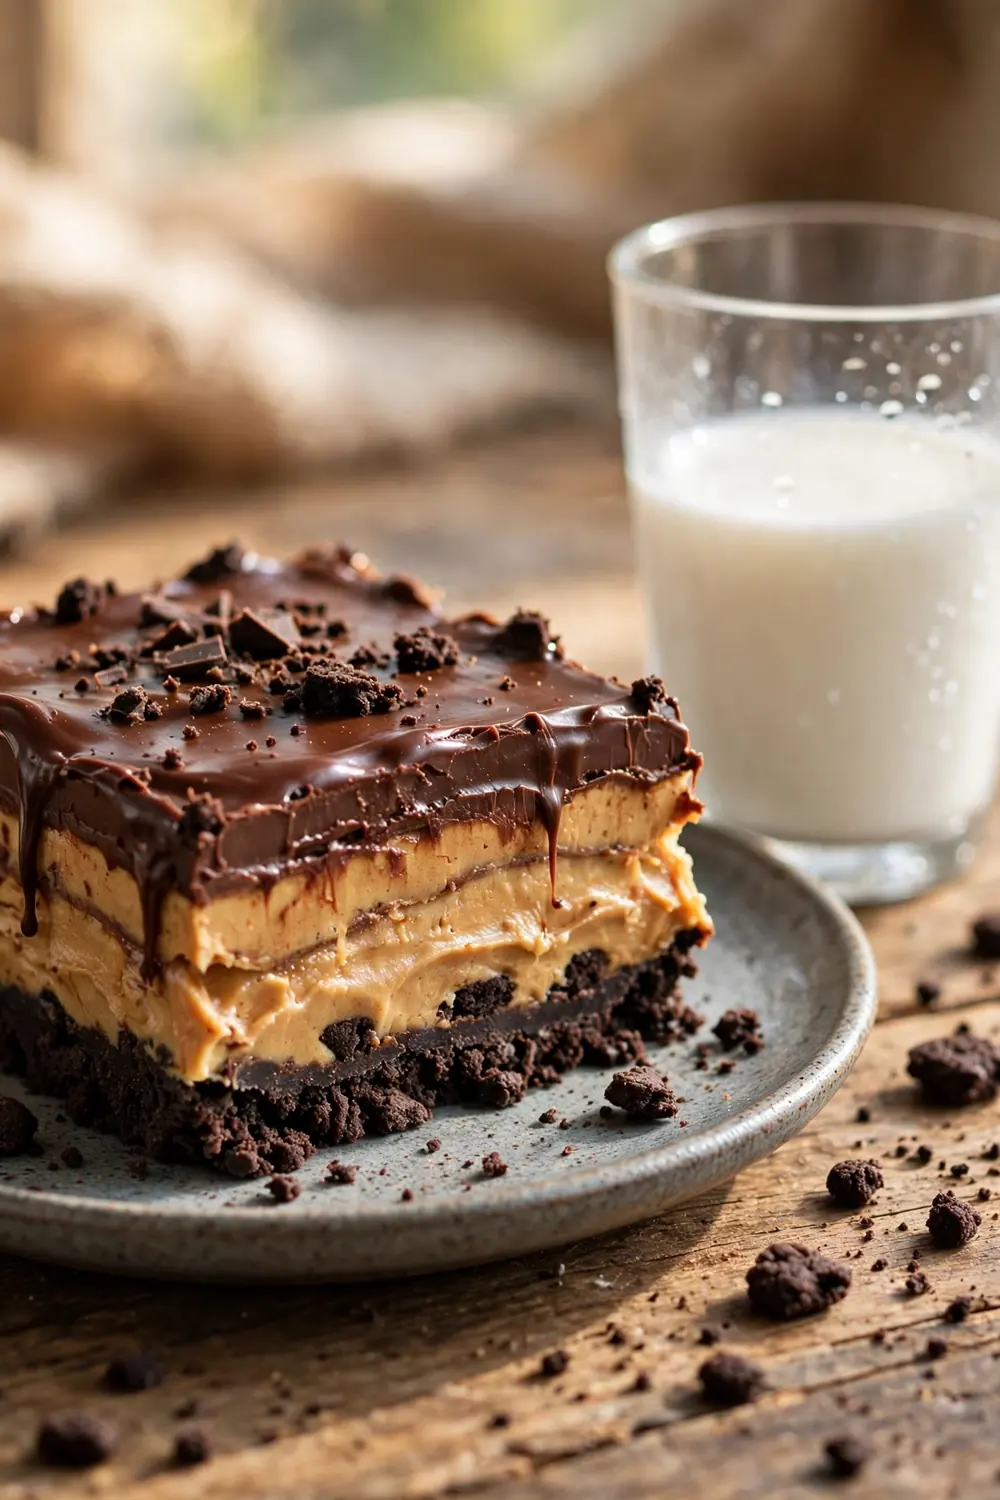
- Crush chocolate sandwich cookies fine, then mix them with melted butter until the crumbs clump together.
- Press the crumbs firmly into the pan with the bottom of a glass for a base that holds.
- Chill the crust for twenty minutes before adding filling so it sets crisp and firm.
- Save a spoonful of crumbs to scatter over the top for crunch in every bite.
A crunchy cookie crust gives this dessert its backbone and its best texture contrast. The dark crumbs taste like a chocolate cookie, while the creamy layers above stay soft and smooth. If the crust crumbles, press harder and chill longer next time. A sturdy base makes slicing easy and keeps each square looking bakery neat.
Salted Caramel Drizzle
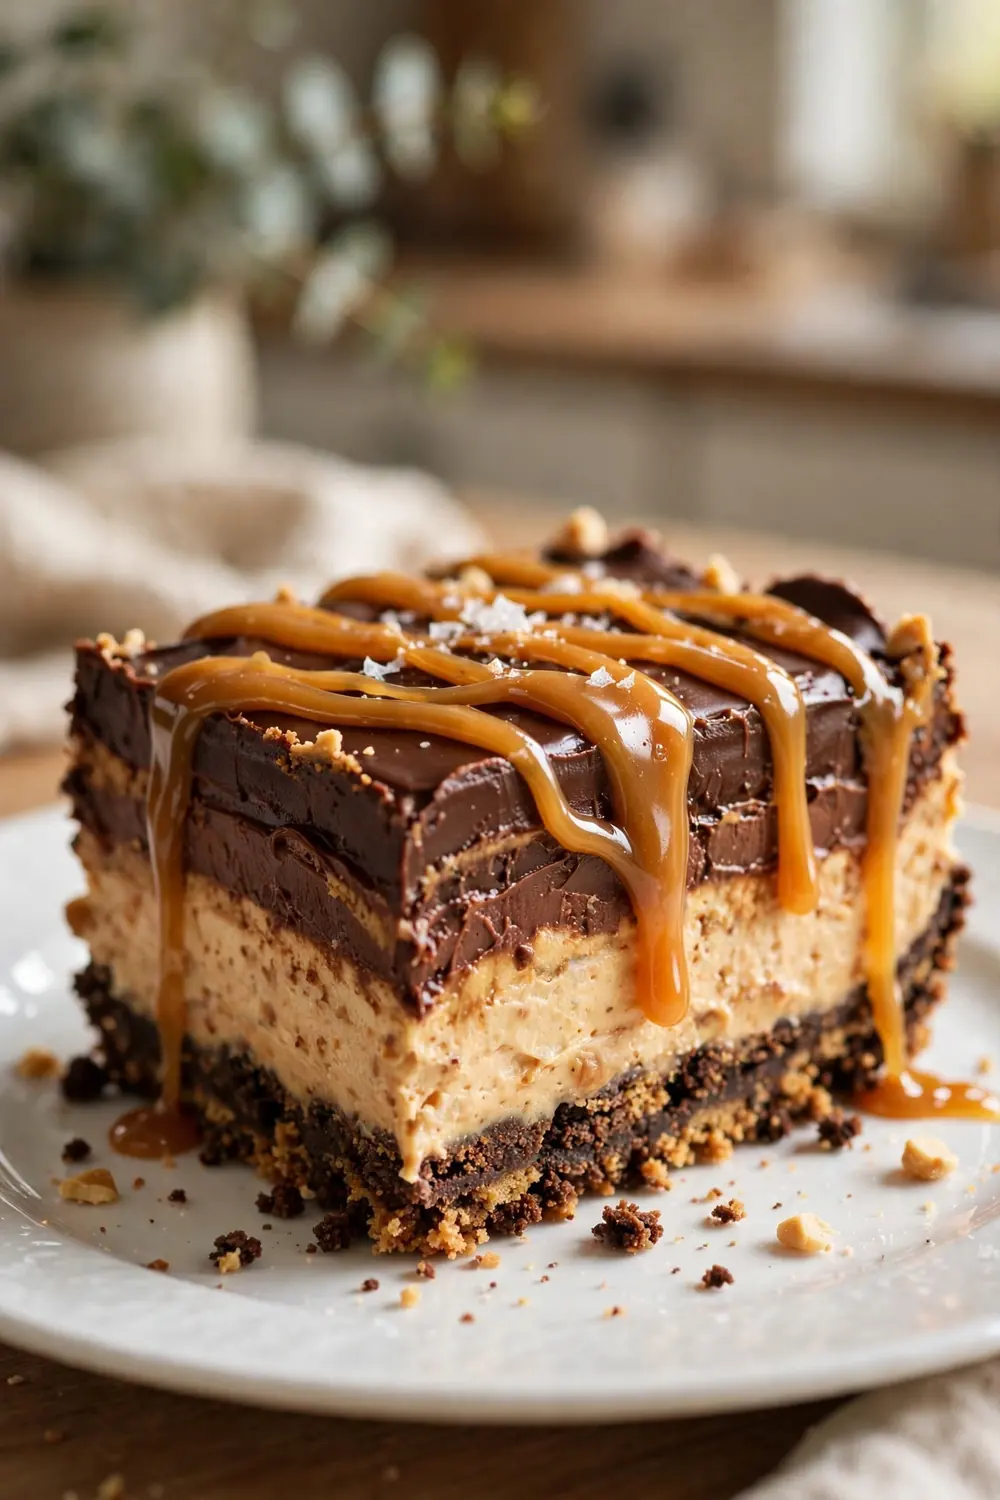
Quick Tip: Warm the caramel just until it pours in a thin ribbon, then drizzle it over the chilled chocolate top. A pinch of flaky salt on each slice keeps the sweetness balanced. Chill the dessert again for fifteen minutes so the caramel sets into glossy lines instead of sliding off.
Salted caramel turns a familiar dessert into something guests remember long after dinner ends. The buttery caramel pools into the chocolate top and adds a golden shine. A light hand works best here, since too much caramel overpowers the peanut butter. Serve small slices with coffee, and let everyone come back for seconds.
Peanut Butter Cup Chunks
BEFORE: A plain layered dessert can taste one note, even when the chocolate and peanut butter are good quality. The filling stays smooth, the top stays flat, and nothing surprises the spoon. Guests enjoy a slice, then move on without asking how you made it.
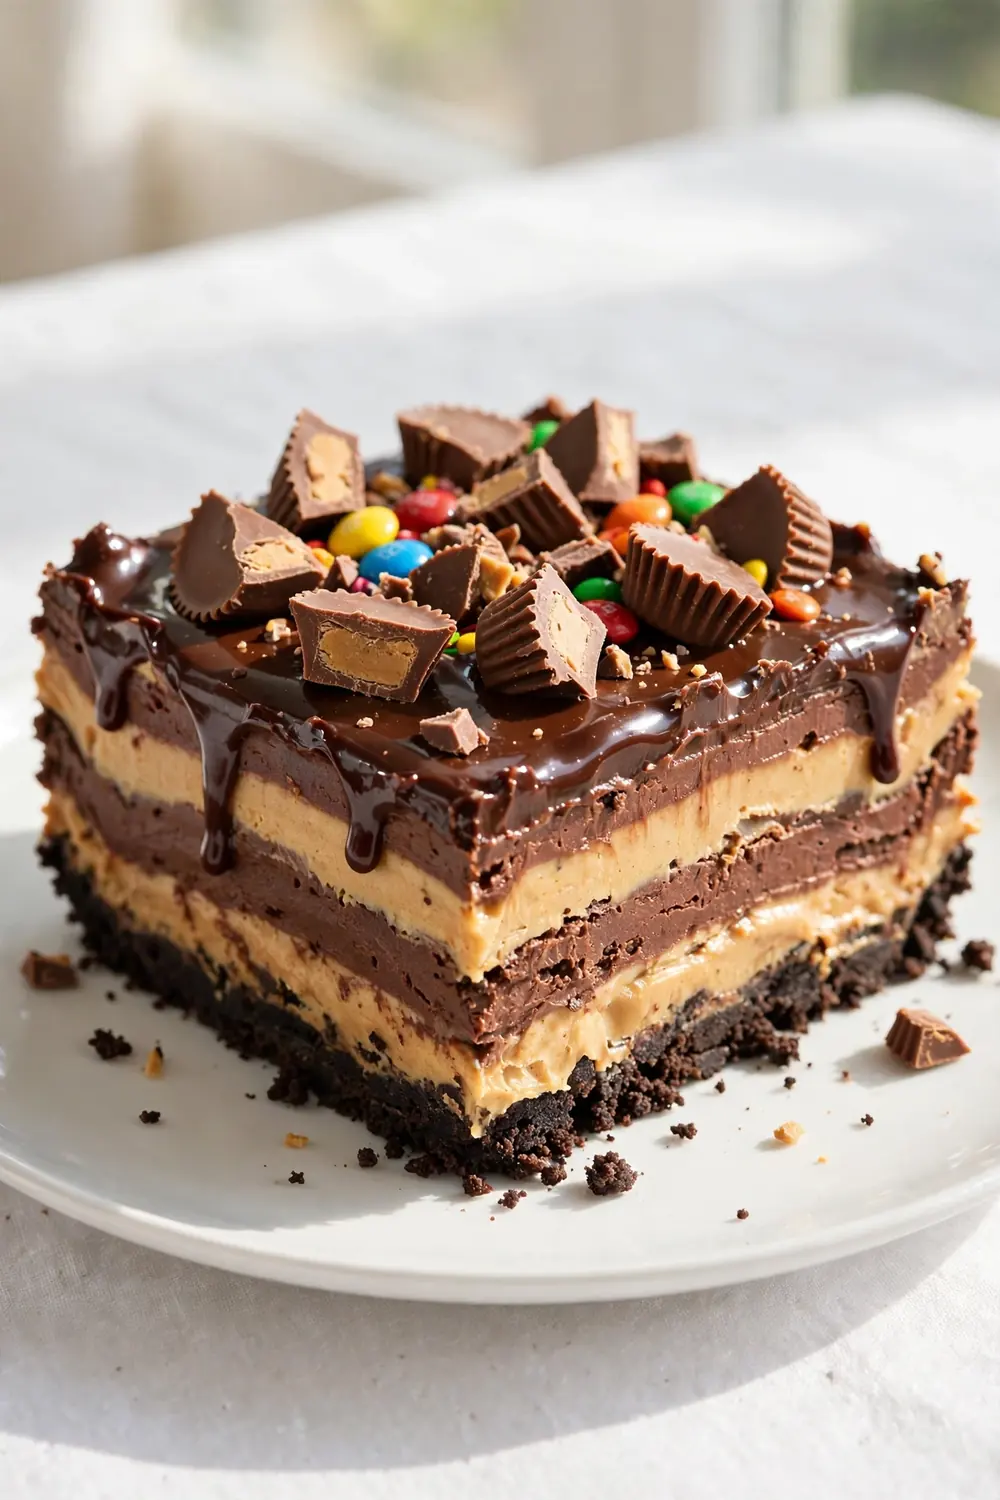
AFTER: Chopped peanut butter cups change everything, adding pockets of candy, crunch, and salty sweetness through every layer. Each bite lands differently, with chewy edges and creamy centers hiding in the filling. The top looks festive, the slices taste playful, and the pan empties fast at parties.
Freeze the cups for twenty minutes before chopping so the chocolate does not smear. Fold half the chunks into the peanut butter layer and scatter the rest over the top. Keep a few whole cups for garnish if you want a bakery style finish. This version always draws a crowd at bake sales.
Frozen Fudge Layers
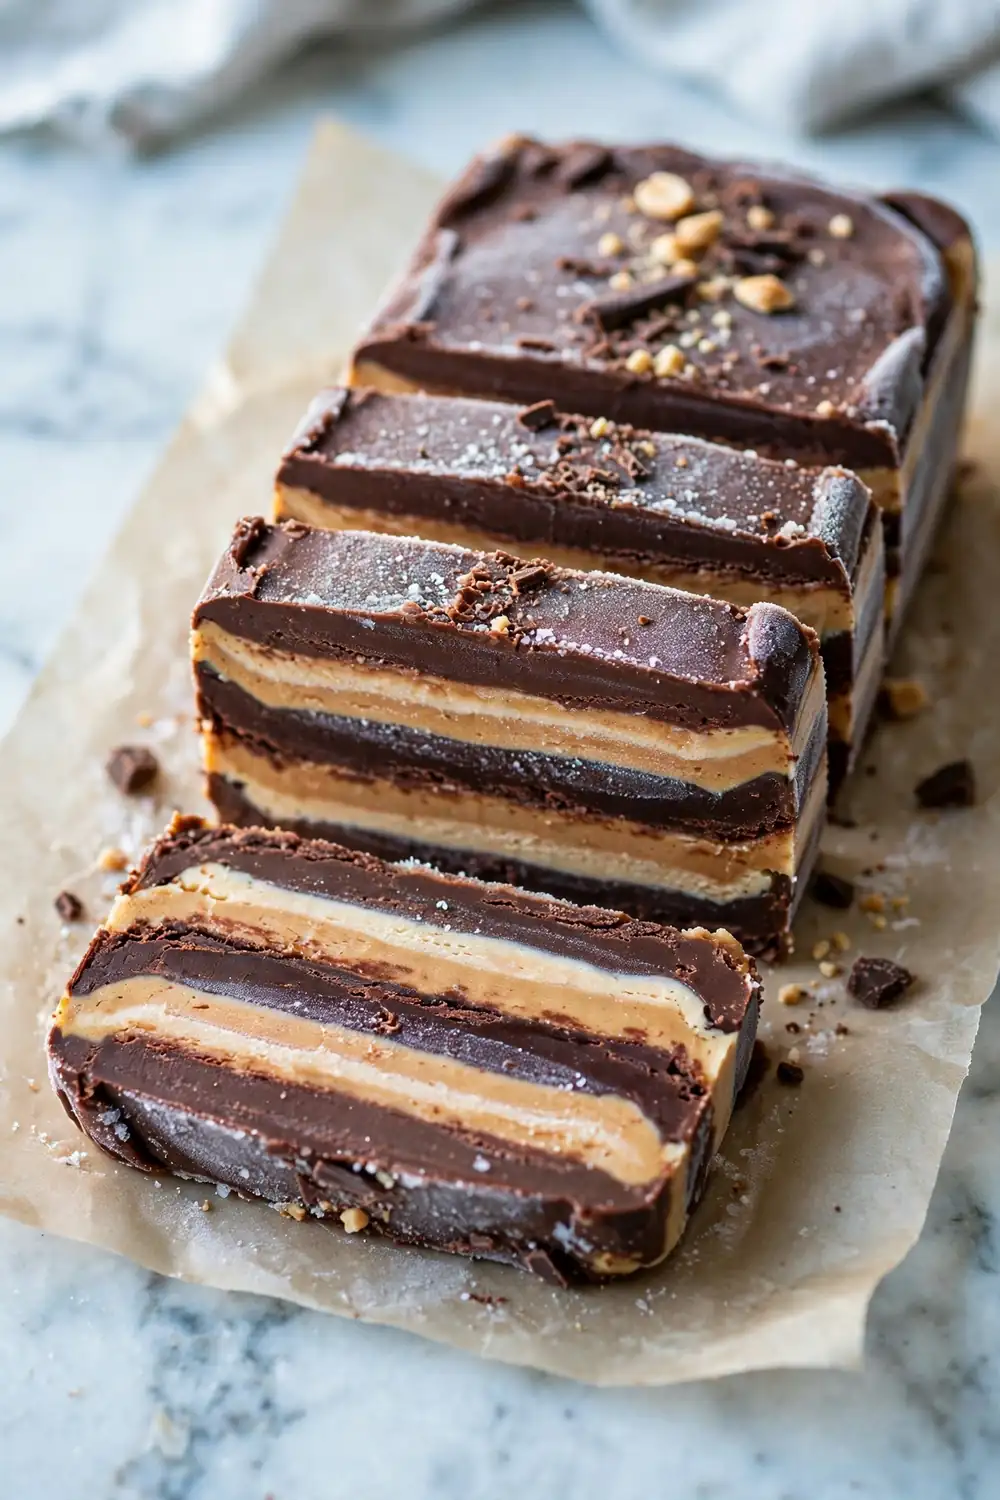
- Line a loaf pan with plastic wrap, leaving overhang on both long sides for easy lifting.
- Spread the peanut butter filling in an even layer, then freeze it for thirty minutes until firm.
- Pour warm fudge over the chilled filling and smooth it edge to edge with a spatula.
- Freeze the whole pan for four hours, then lift, slice, and serve straight from the freezer.
Frozen fudge layers taste like a candy bar crossed with an ice cream cake. The fudge stays chewy even straight from the freezer, while the peanut butter layer turns cool and dense. Let slices sit for five minutes before serving so the flavors open up. This version suits hot days and make ahead menus.
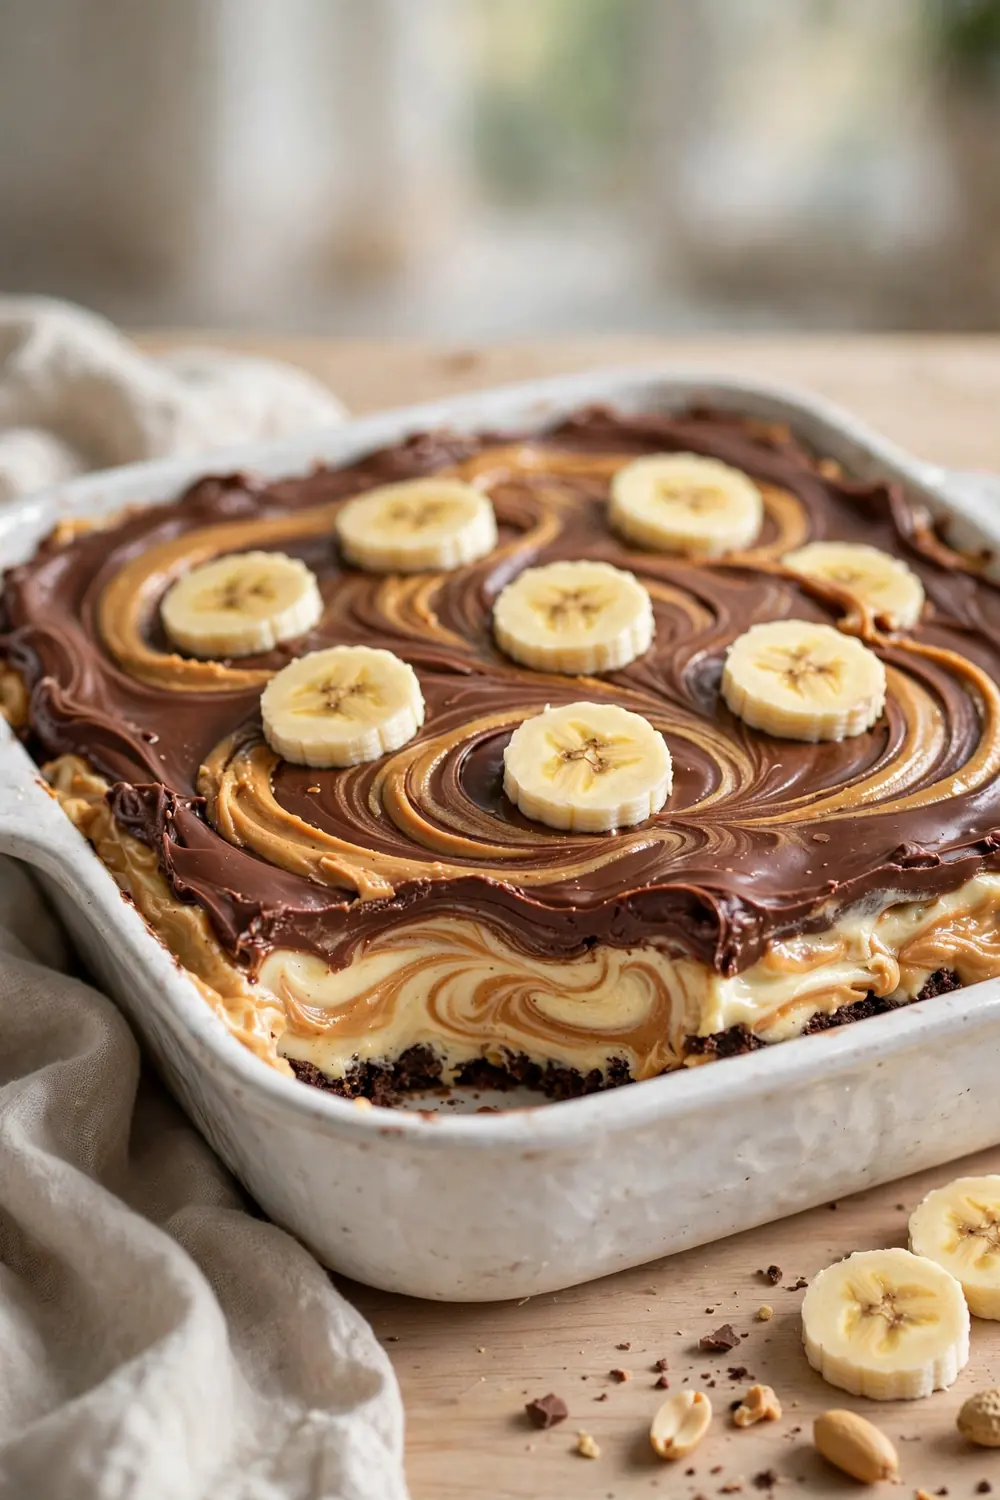
Banana Peanut Swirl
| Choice | Option A | Option B |
|---|---|---|
| Crust | Graham crumbs | Chocolate cookie crumbs |
| Fruit | Fresh banana slices | Caramelized banana |
| Swirl | Peanut butter ribbons | Chocolate peanut butter ribbons |
| Topping | Whipped cream | Whipped cream plus nuts |
Banana and peanut butter have always belonged together, and this version proves it again. Ripe bananas bring natural sweetness, so you can use less sugar in the filling. Slice the bananas just before layering to keep them bright. A squeeze of lemon on the fruit stops browning without changing the flavor.
Mini Mason Jars
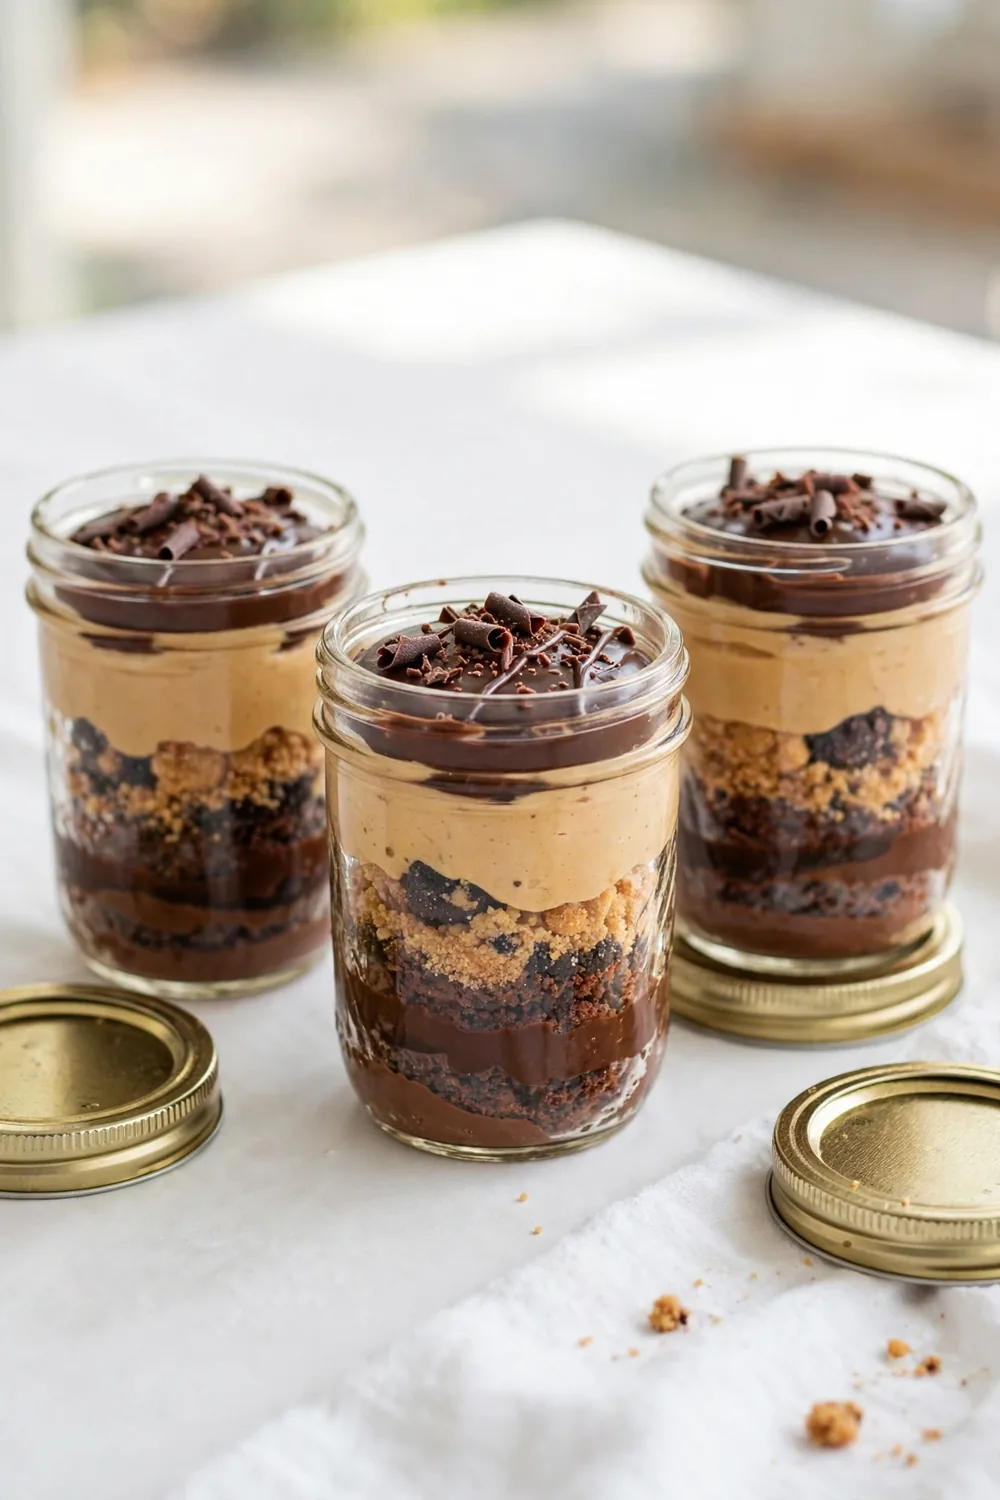
- Layer crumbs, filling, and chocolate in small jars for single serve treats.
- Chill the jars at least two hours so the layers set cleanly.
- Add a lid for easy transport to picnics and parties.
- Top each jar with chopped peanuts just before serving.
- Do not overfill the jars, or the lids will smear the chocolate top.
- Do not use warm filling, since it melts the layers together.
- Do not skip chilling, because soft jars collapse when scooped.
- Do not store the jars near strong smelling foods in the fridge.
Mini mason jars turn a big dessert into cute portions that guests love to grab. The glass shows off every stripe, so the jars double as table decor. Kids enjoy their own jar, and hosts skip the slicing entirely. Make a dozen ahead, keep them chilled, and hand them out when dessert time arrives.
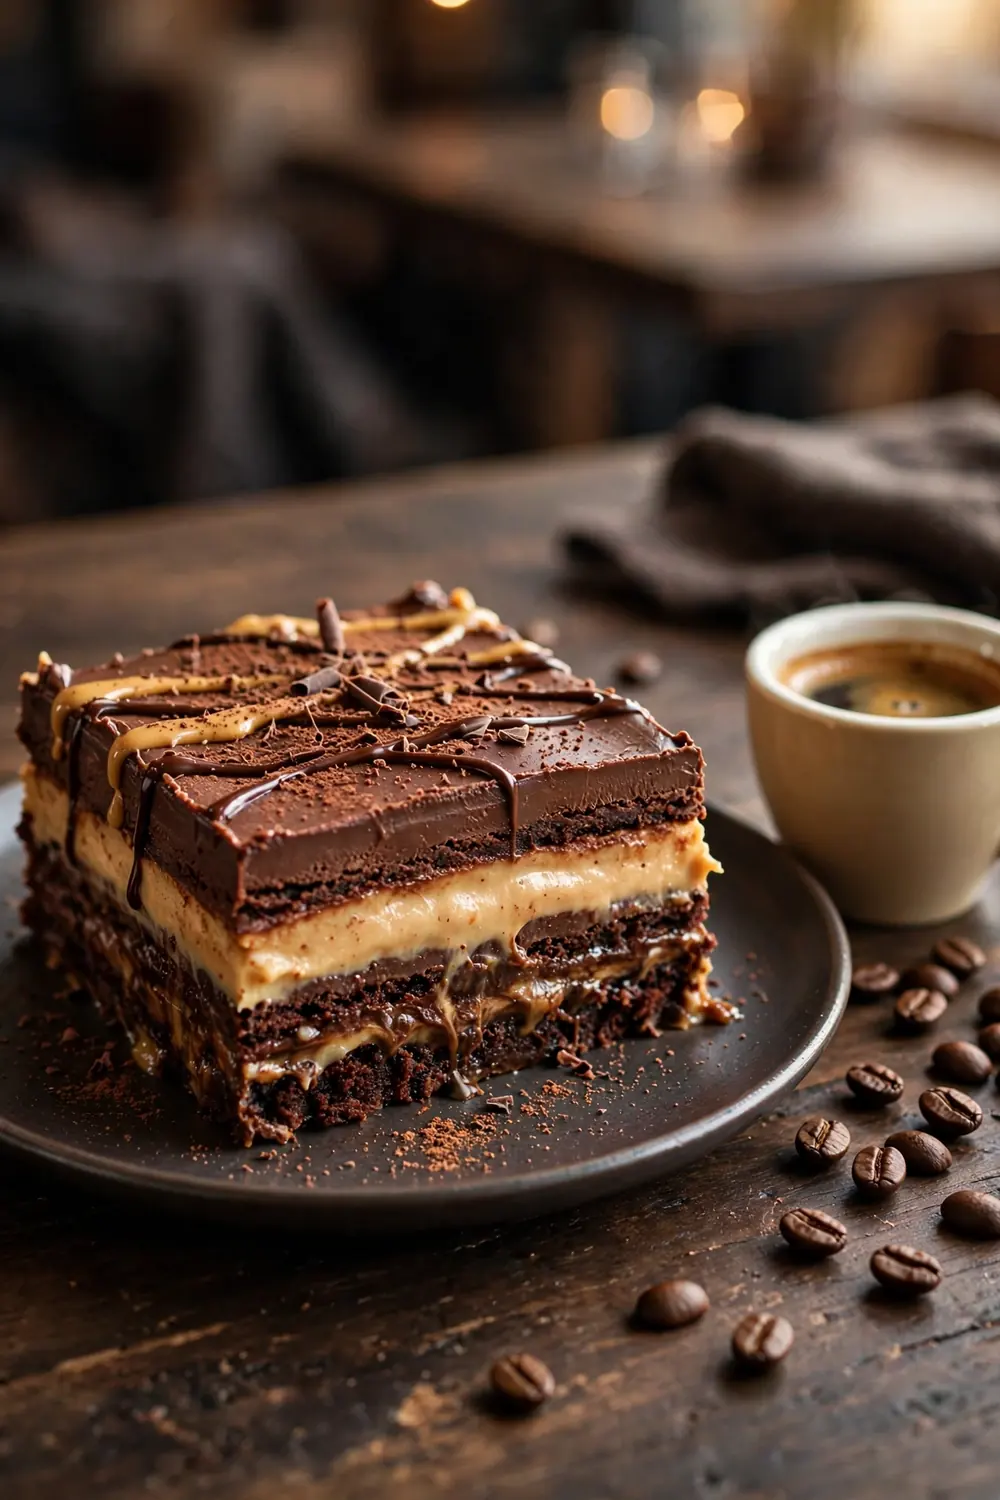
Espresso Mocha Twist
Cost: Medium, built on pantry staples plus espresso powder.
Time: About 30 minutes of hands on work plus chilling.
Skill Level: Easy, with no baking and simple layering.
Best For: Coffee lovers, dinner parties, and holiday tables.
Result: Deep mocha flavor with a creamy peanut butter center.
Espresso powder deepens the chocolate without making the dessert taste like coffee. A teaspoon in the chocolate layer adds a roasted note that grown ups notice. Keep the peanut butter layer classic so the mocha stays balanced. Serve small slices with cold milk or iced coffee for a cafe style finish.
Toasted Marshmallow Top
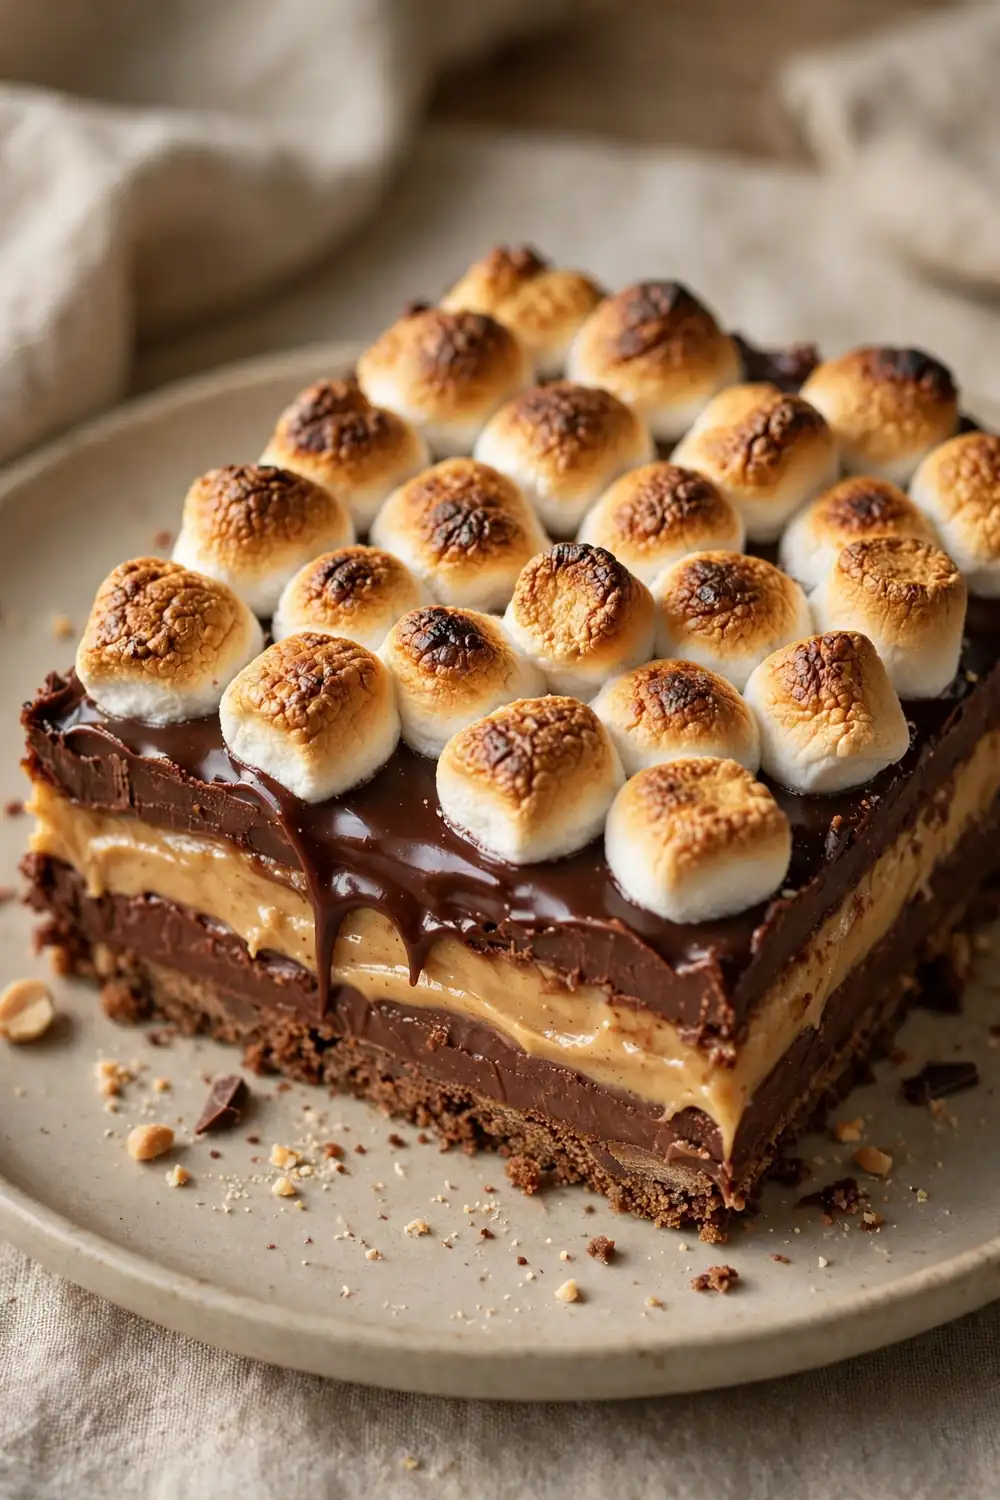
A toasted marshmallow top turns this dessert into a campfire treat. Pile mini marshmallows over the chilled chocolate layer, then toast them with a kitchen torch until golden. The tops puff, the edges crisp, and the center stays soft and gooey. Guests always smile when the pan arrives at the table.
Work quickly once the marshmallows go on, since they melt fast under heat. A torch gives the most control, but a hot broiler works if you watch it closely. Let the pan cool for ten minutes before slicing. The toasted top pairs beautifully with the salty peanut butter underneath.
Pretzel Salt Crunch
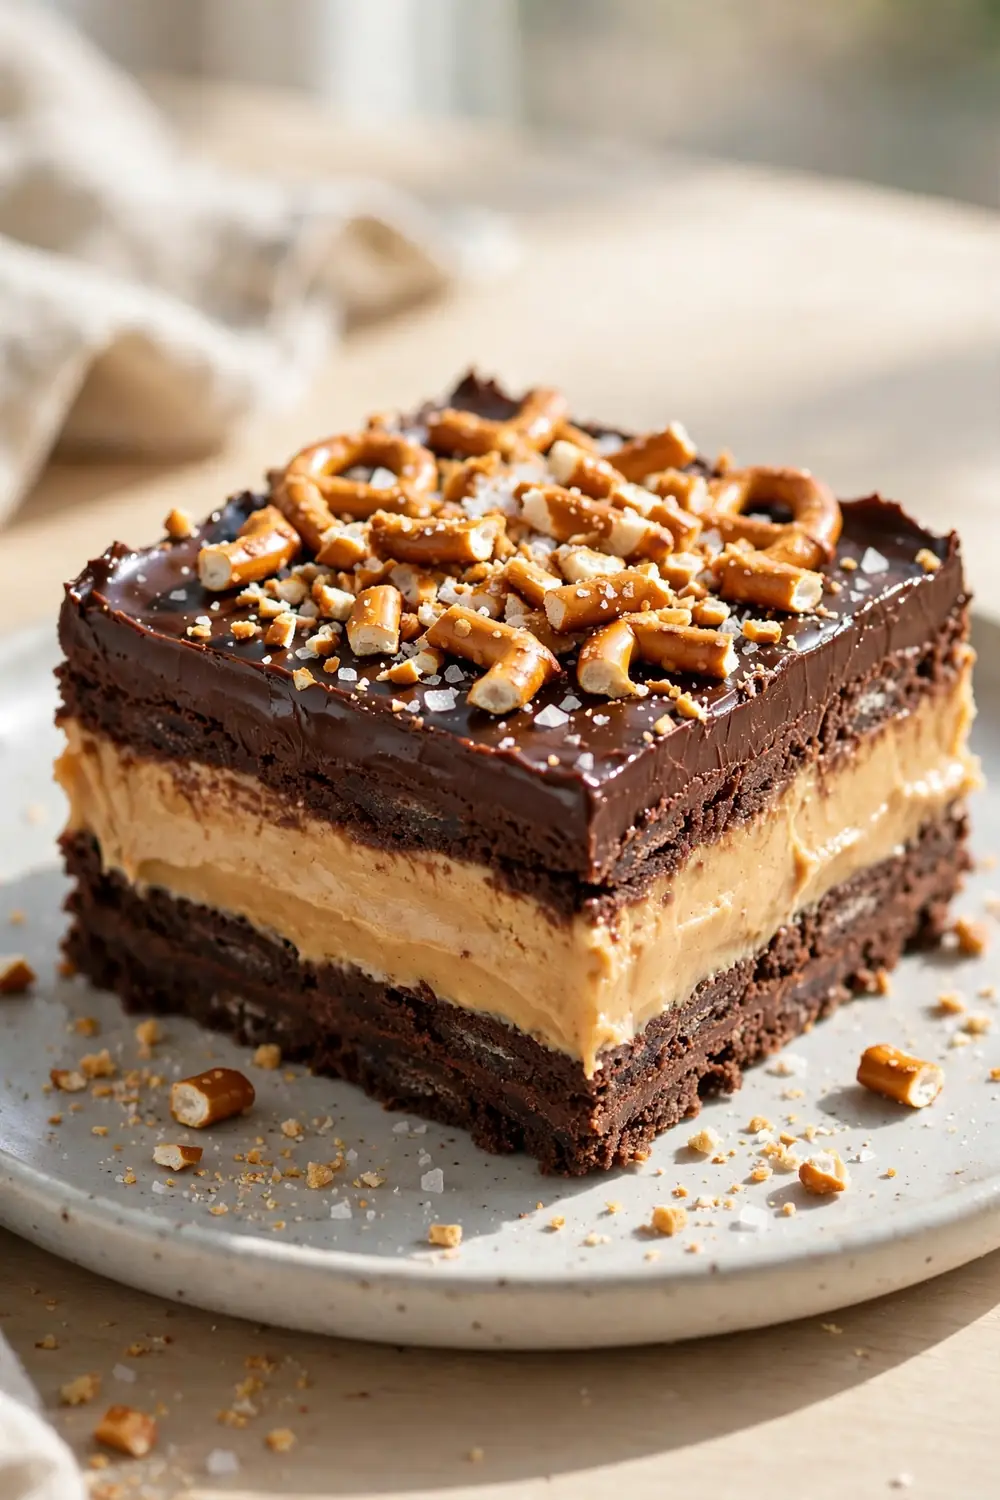
- Crush pretzels into small pieces, keeping some chunks for crunch.
- Fold the pretzel pieces into the crust or scatter them between layers.
- Add a pinch of coarse salt to the chocolate for a salty finish.
- Top with crushed pretzels just before serving so they stay crisp.
Pretzel salt crunch adds the salty snap that makes sweet desserts addictive. The pretzels stay crisp against the creamy filling and give every bite a surprise. Use thick rods or twists, since thin sticks turn soft faster. This version wins over guests who say they do not like very sweet desserts.
White Chocolate Drizzle
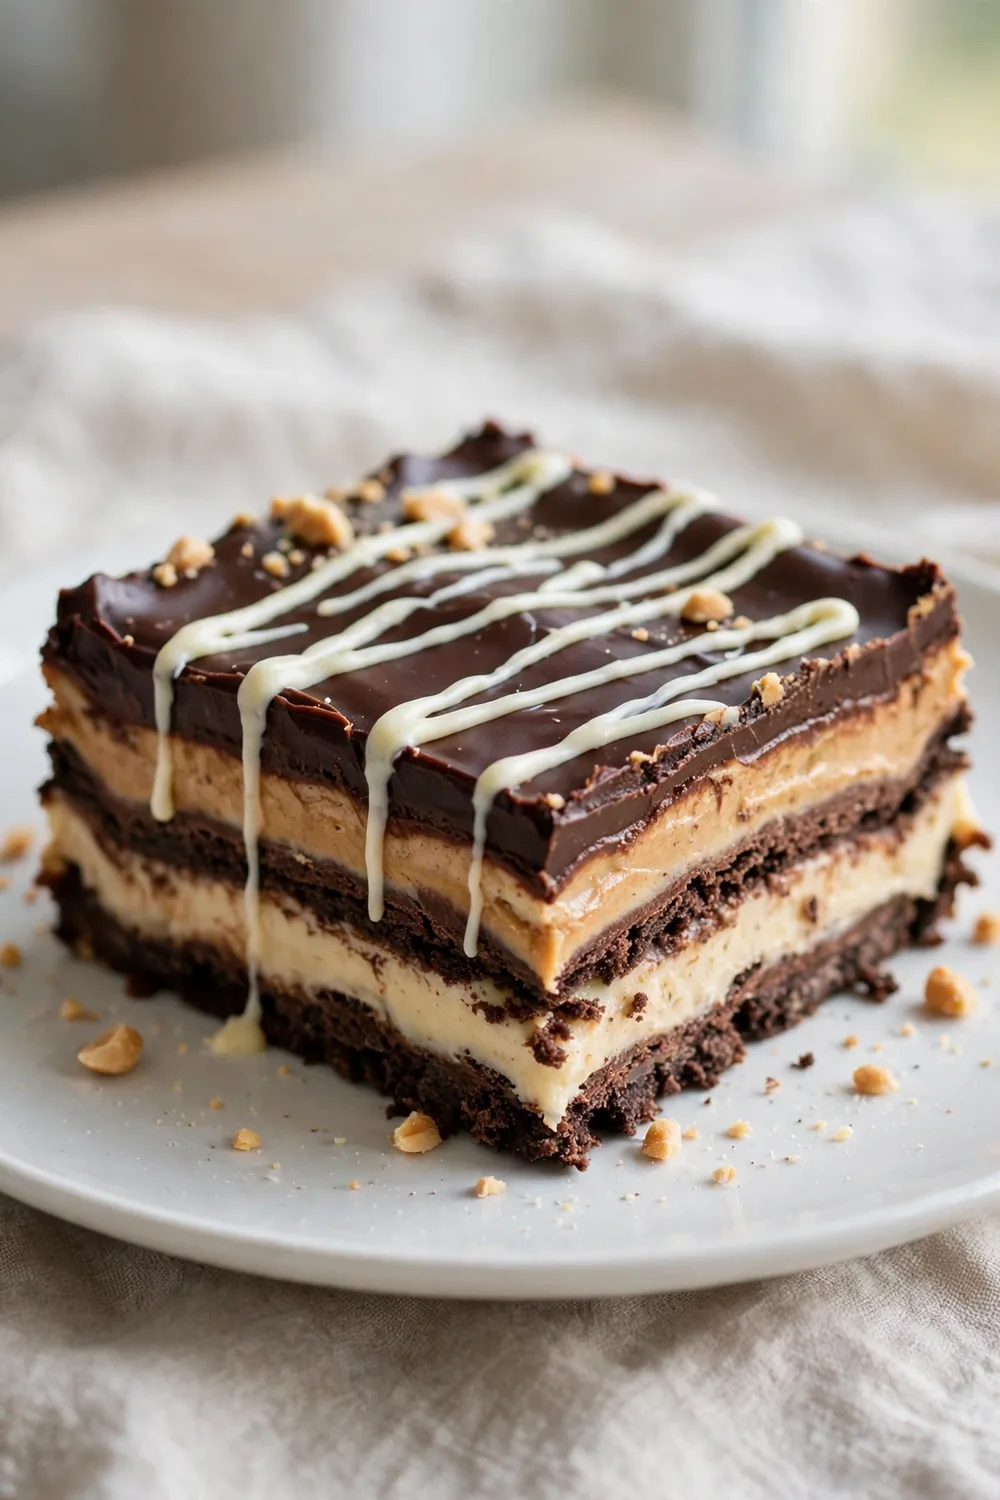
Quick Tip: Melt white chocolate with a teaspoon of coconut oil so it drizzles in thin lines. Use a zip bag with the corner snipped for clean zigzags across the chilled top. Let the drizzle set for ten minutes in the fridge before slicing, so the lines stay sharp and bright.
White chocolate drizzle gives the dark chocolate top a pretty contrast that looks bakery made. The pale zigzags stand out in photos and make each slice feel special. Keep the drizzle thin, since thick pools turn waxy as they cool. A few chopped peanuts over the drizzle finish the look.
Brownie Base Layers
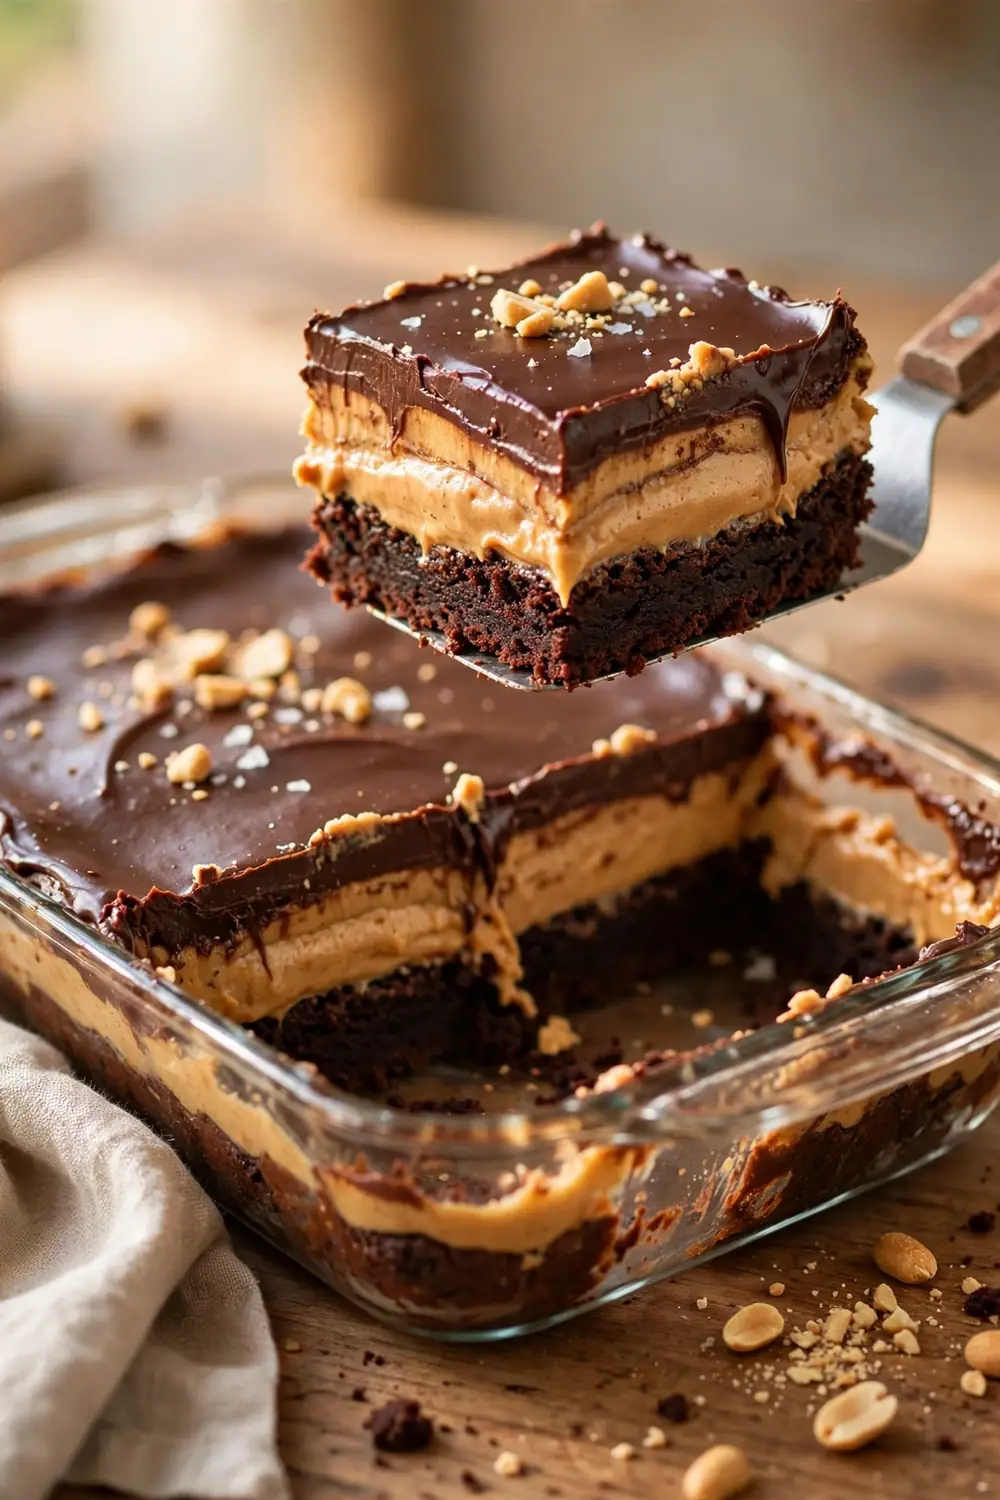
BEFORE: A cookie crust can feel thin under such rich filling, and some guests want a deeper chocolate base. The dessert tastes creamy, yet the bottom layer disappears after one bite. The whole slice leans sweet without a sturdy chocolate anchor. No crunch greets the spoon, and the base offers little flavor of its own.
AFTER: A fudgy brownie base changes the balance, giving each slice a dense chocolate foundation. The brownie holds the creamy layers up, adds chew, and makes the dessert taste like a candy shop special. Guests notice the base first and ask for the recipe. It turns a simple dessert into a bakery style showpiece.
Bake the brownie layer a day ahead so it cools fully and firms up. A thin brownie works best, since a thick one overpowers the peanut butter. Line the pan well for clean removal. This version suits chocolate lovers who want the richest slice on the table.
Coconut Cream Topping
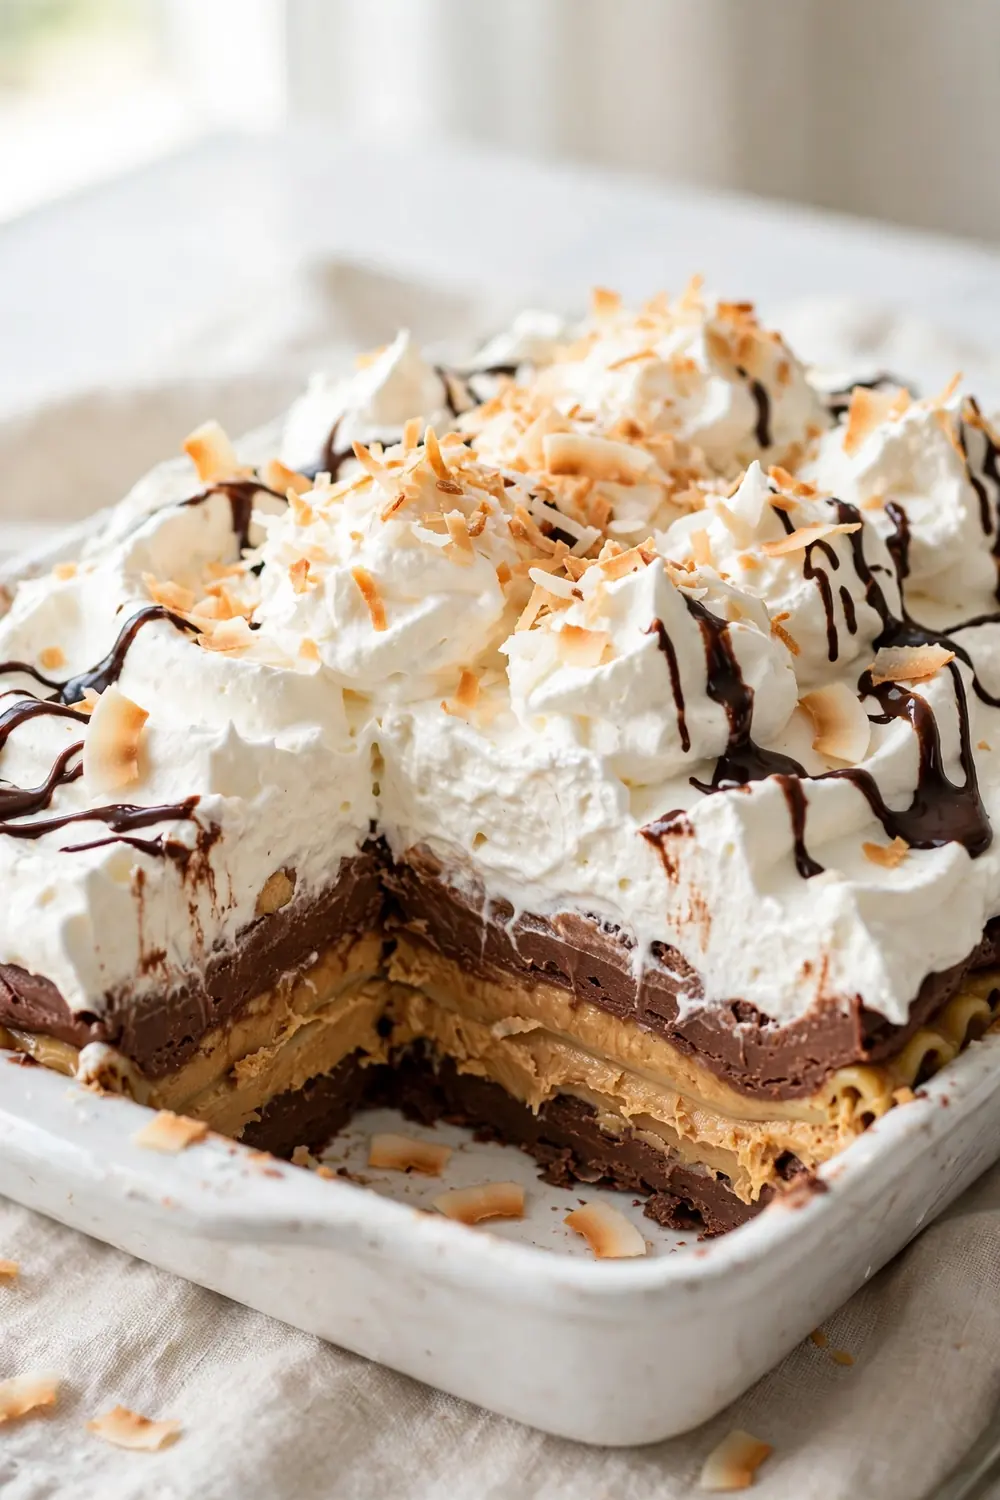
- Chill a can of full fat coconut milk overnight, then scoop out the thick cream.
- Whip the coconut cream with powdered sugar and vanilla until soft peaks form.
- Spread the whipped coconut cream over the chilled chocolate layer.
- Scatter toasted coconut flakes over the top just before serving.
Coconut cream topping adds a tropical note that lightens the rich layers below. The whipped cream stays fluffy, while the toasted flakes bring crunch and a nutty scent. Keep the dessert chilled until serving so the topping holds its shape. This version suits guests who enjoy a lighter finish.
Honey Roasted Peanuts
| Choice | Option A | Option B |
|---|---|---|
| Peanuts | Plain roasted | Honey roasted |
| Sweetness | Less honey in filling | Full honey drizzle |
| Crunch | Chopped fine | Rough chopped chunks |
| Finish | Whipped cream | Chocolate drizzle plus nuts |
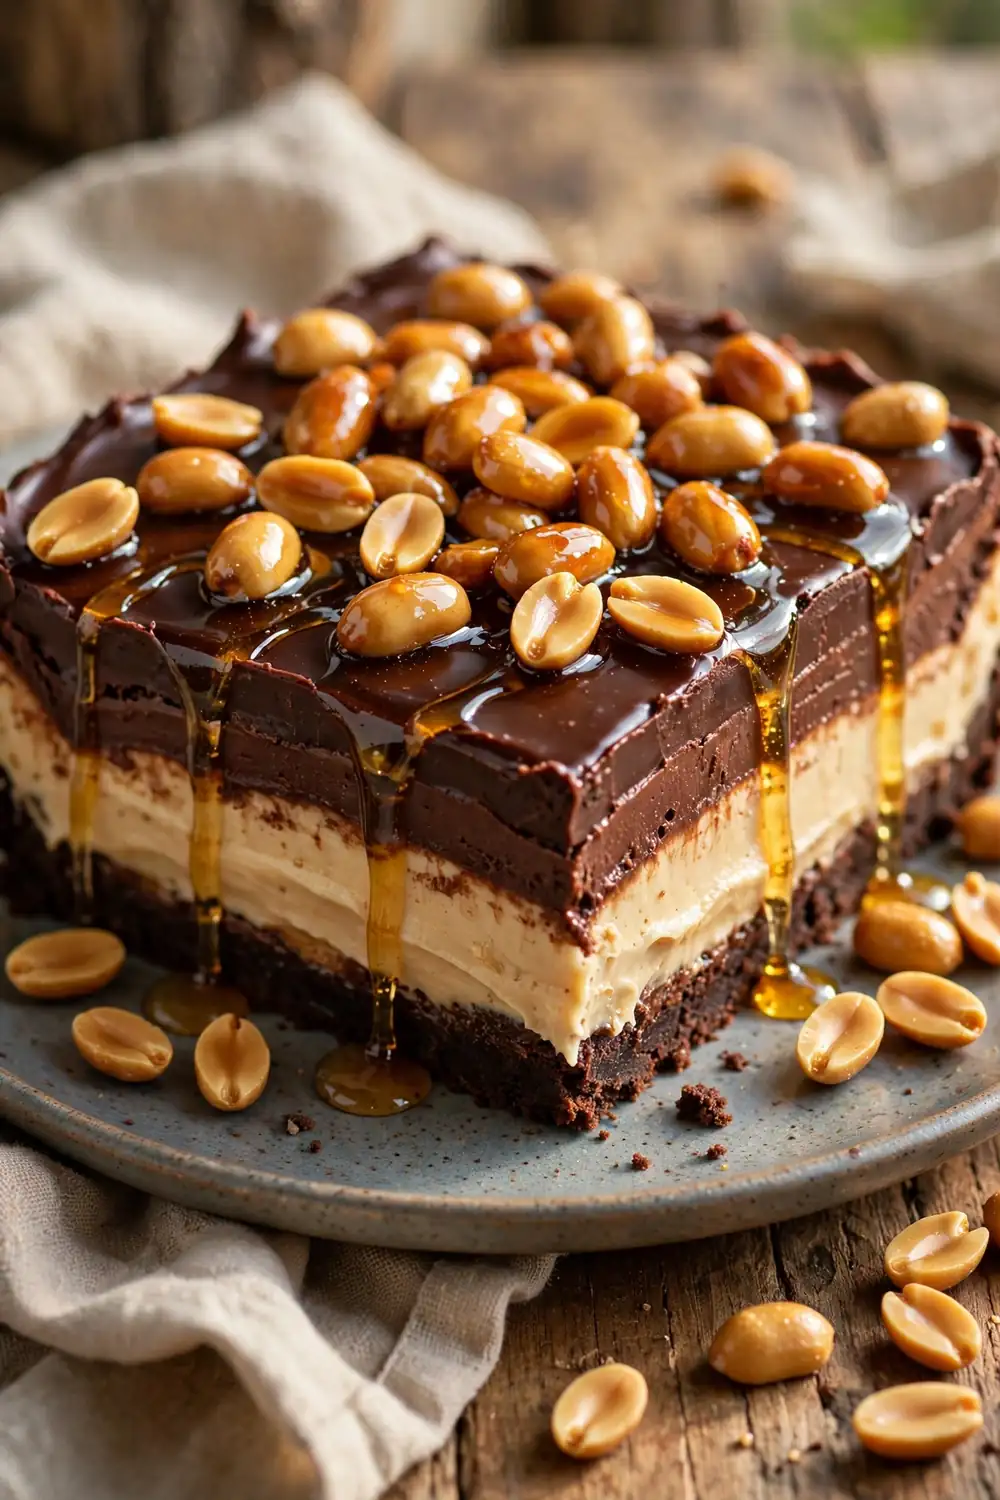
Honey roasted peanuts bring warm sweetness and a candy like crunch to every slice. Their glossy coating contrasts with the creamy filling and the dark chocolate top. Chop them rough so the pieces stay visible and crunchy. A drizzle of honey over the finished dessert ties the whole flavor together.
Dark Chocolate Ganache
- Use good dark chocolate with at least sixty percent cocoa for depth.
- Heat the cream until it simmers, then pour it over the chopped chocolate.
- Let the ganache rest two minutes before stirring it smooth.
- Pour the ganache over a well chilled filling so it sets fast.
- Do not boil the cream, since scorched cream tastes bitter.
- Do not stir the ganache too hard, or air bubbles will mark the surface.
- Do not pour warm ganache over soft filling, because the layers will blend.
- Do not skip the salt, since a pinch sharpens the chocolate flavor.
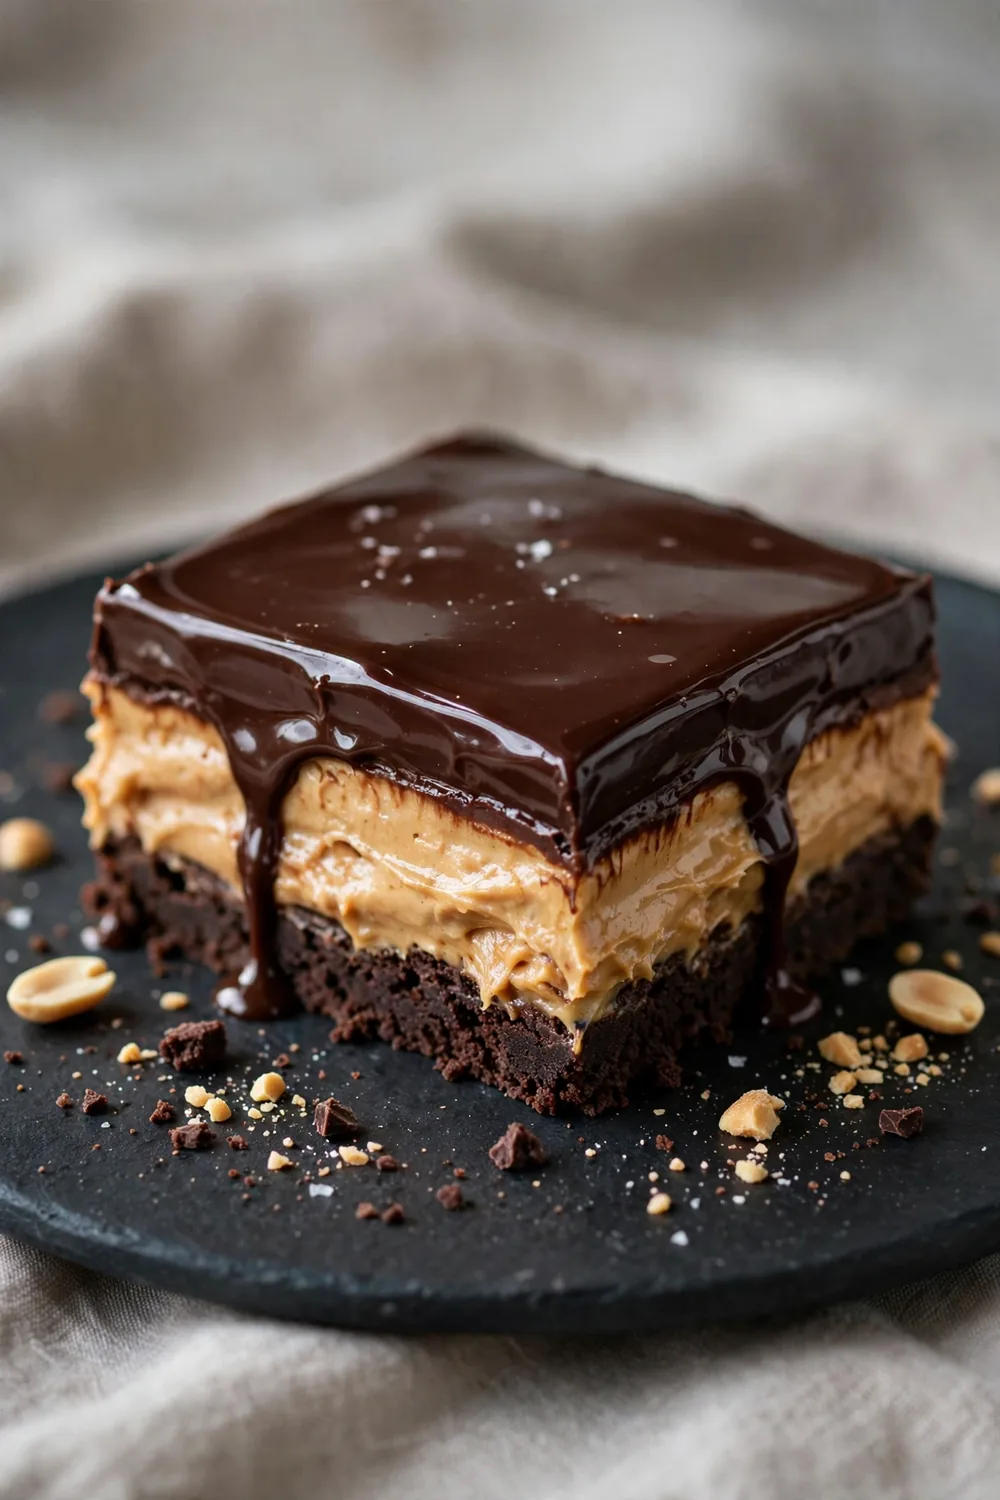
Dark chocolate ganache gives the top a glossy finish that looks like a chocolate shop creation. The deep cocoa flavor balances the sweet peanut butter layer underneath. Let the ganache cool slightly before pouring for the smoothest coat. A sharp knife and a warm blade give mirror clean slices.
Berry Chocolate Layers
Cost: Medium, with fresh berries as the main extra.
Time: About 35 minutes of hands on work plus chilling.
Skill Level: Easy, with simple layering and no baking.
Best For: Summer parties, brunches, and fresh fruit fans.
Result: Bright berry flavor against rich chocolate and peanut butter.
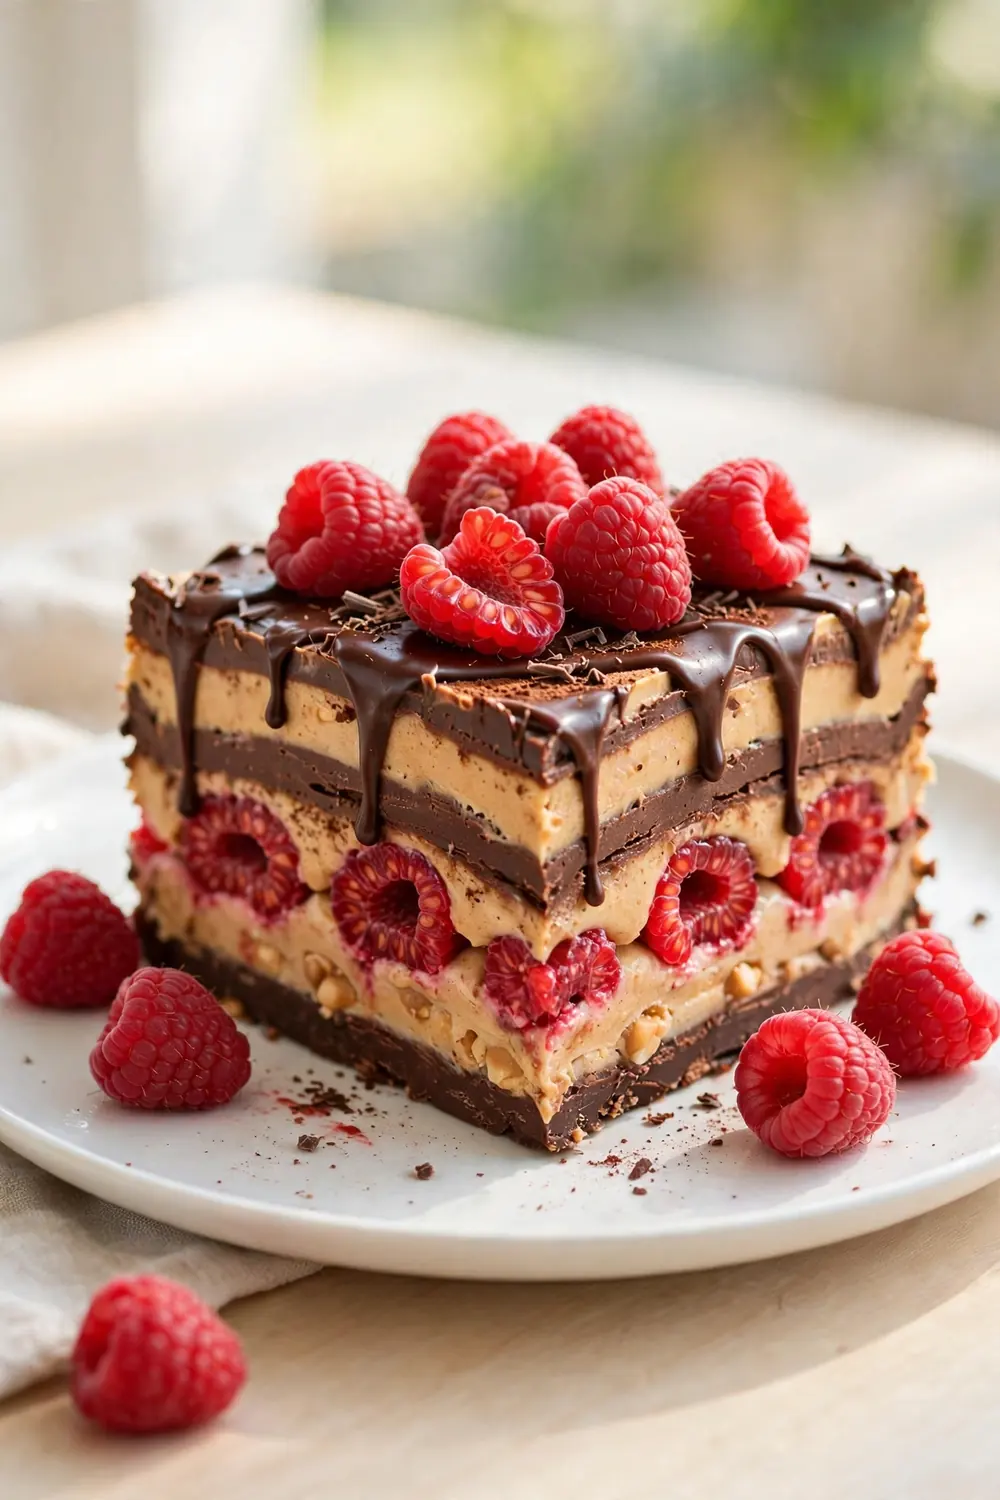
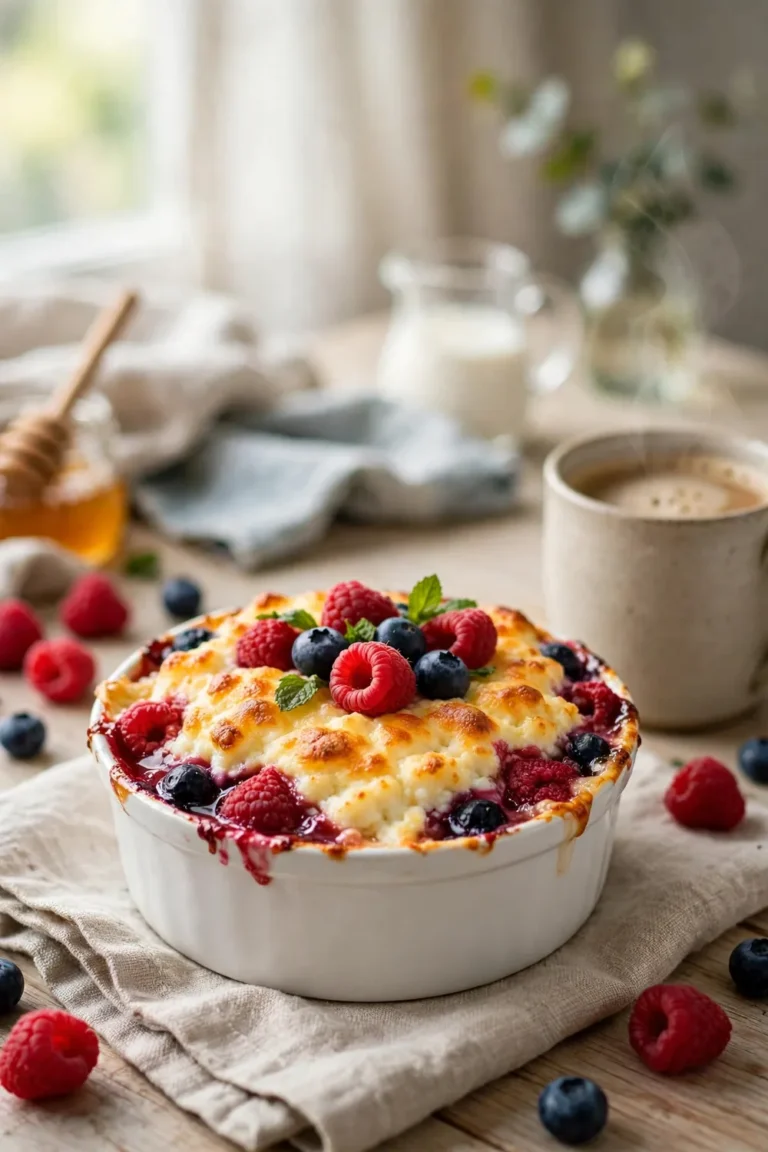
Fresh berries cut through the richness with bright, juicy flavor. Raspberries work best, since their tartness balances the sweet layers. Scatter the berries between the filling and the chocolate top. Pat them dry first so the juice does not stain the cream. A handful of mint leaves on top keeps the colors fresh and bright.
Caramelized Banana Topping
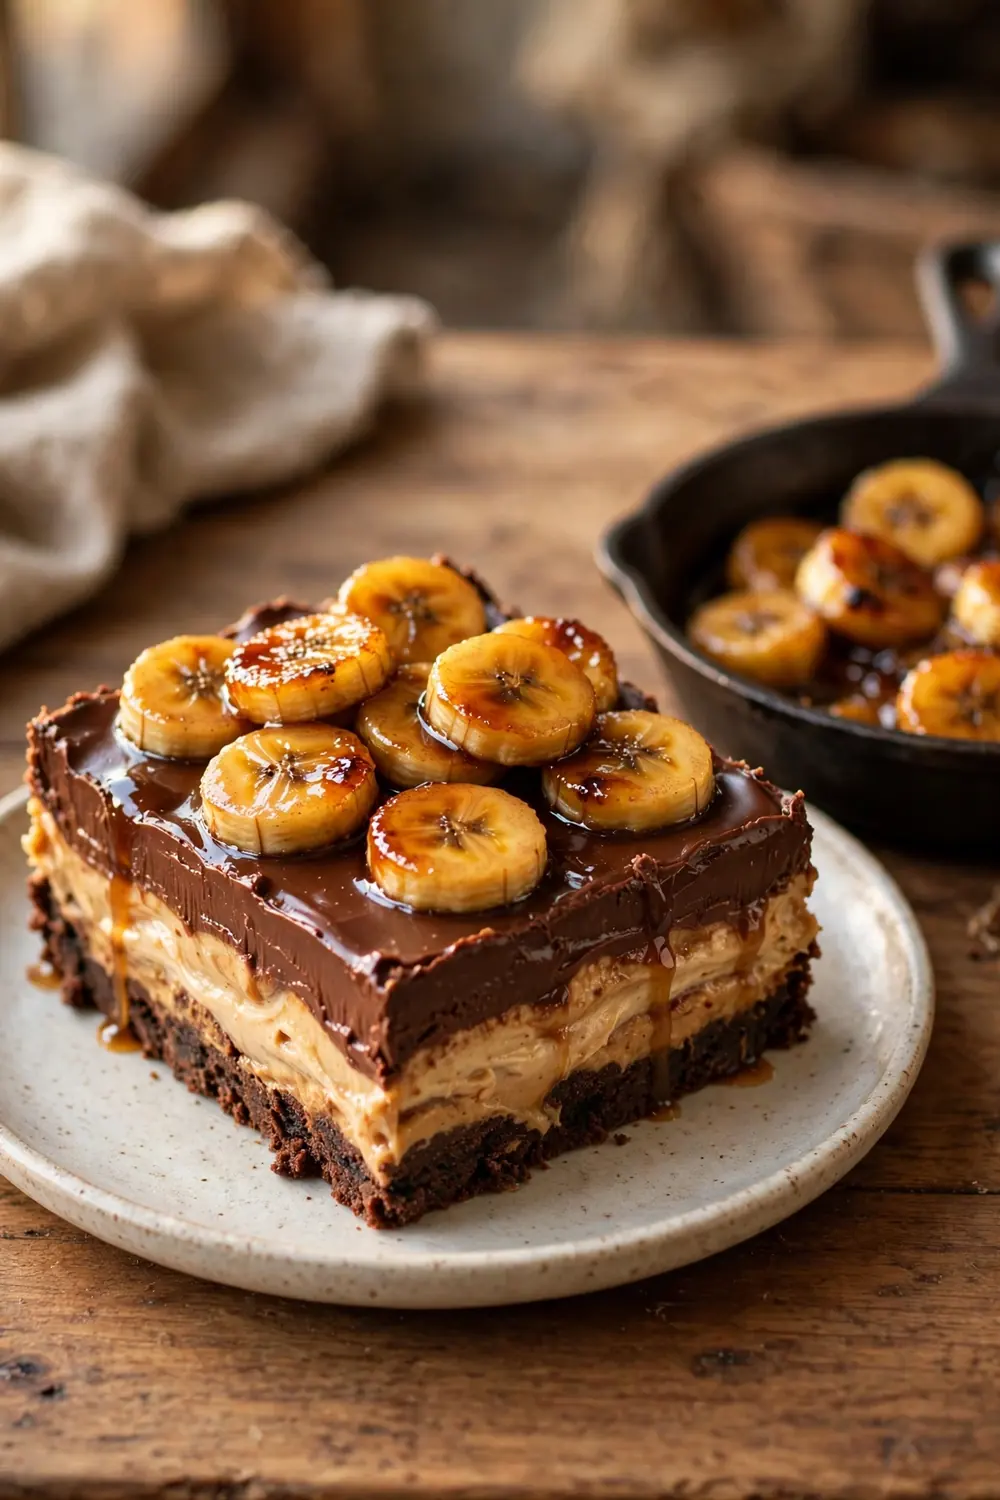
Caramelized banana topping adds warm, golden fruit to a cool dessert. Cook banana slices in butter and brown sugar until the edges turn amber and the centers soften. Spoon the warm bananas over chilled slices just before serving for a hot cold contrast. The warm fruit melts slightly into the chocolate top.
Use firm bananas so the slices hold their shape in the pan. A pinch of cinnamon in the caramel deepens the flavor without overpowering the peanut butter. Serve at once, since the bananas soften as they sit. This version feels like dessert at a cozy diner.
Cookie Dough Bits
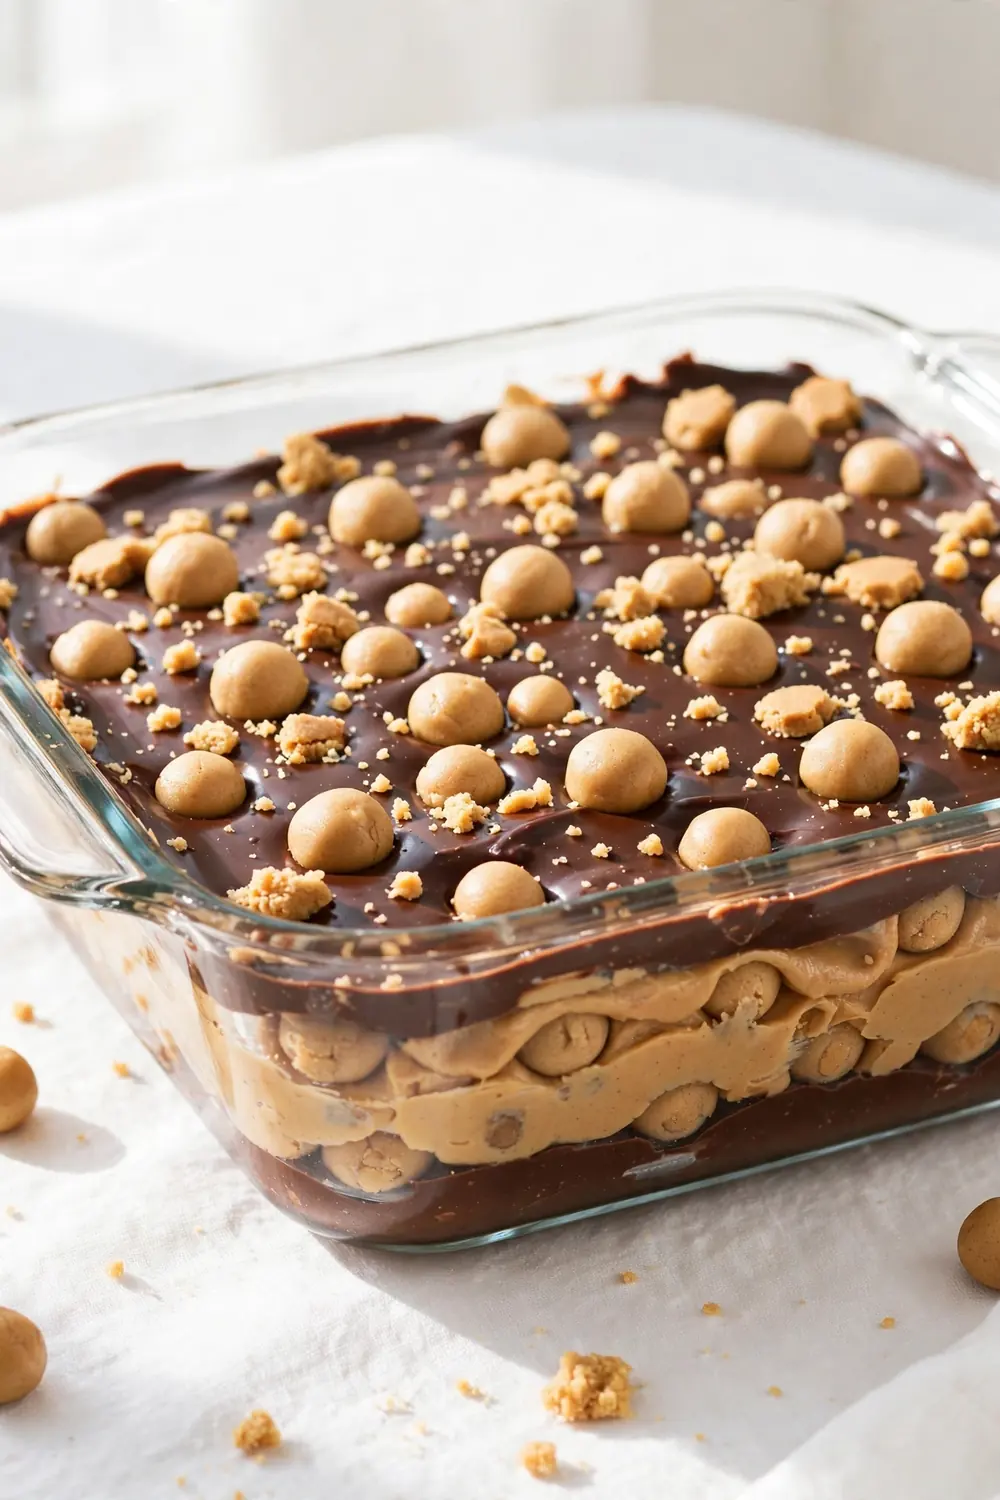
- Make eggless cookie dough so the bits stay safe to eat raw.
- Chill the dough for thirty minutes, then roll it into small balls.
- Fold half the dough bits into the peanut butter filling.
- Scatter the rest over the chocolate top for a playful finish.
Cookie dough bits turn each slice into a dessert with two treats in one. The chewy dough hides inside the creamy filling and surprises every spoonful. Keep the bits small so they spread evenly and slice cleanly. This version is a favorite with kids and cookie lovers alike.
Mint Chocolate Layer
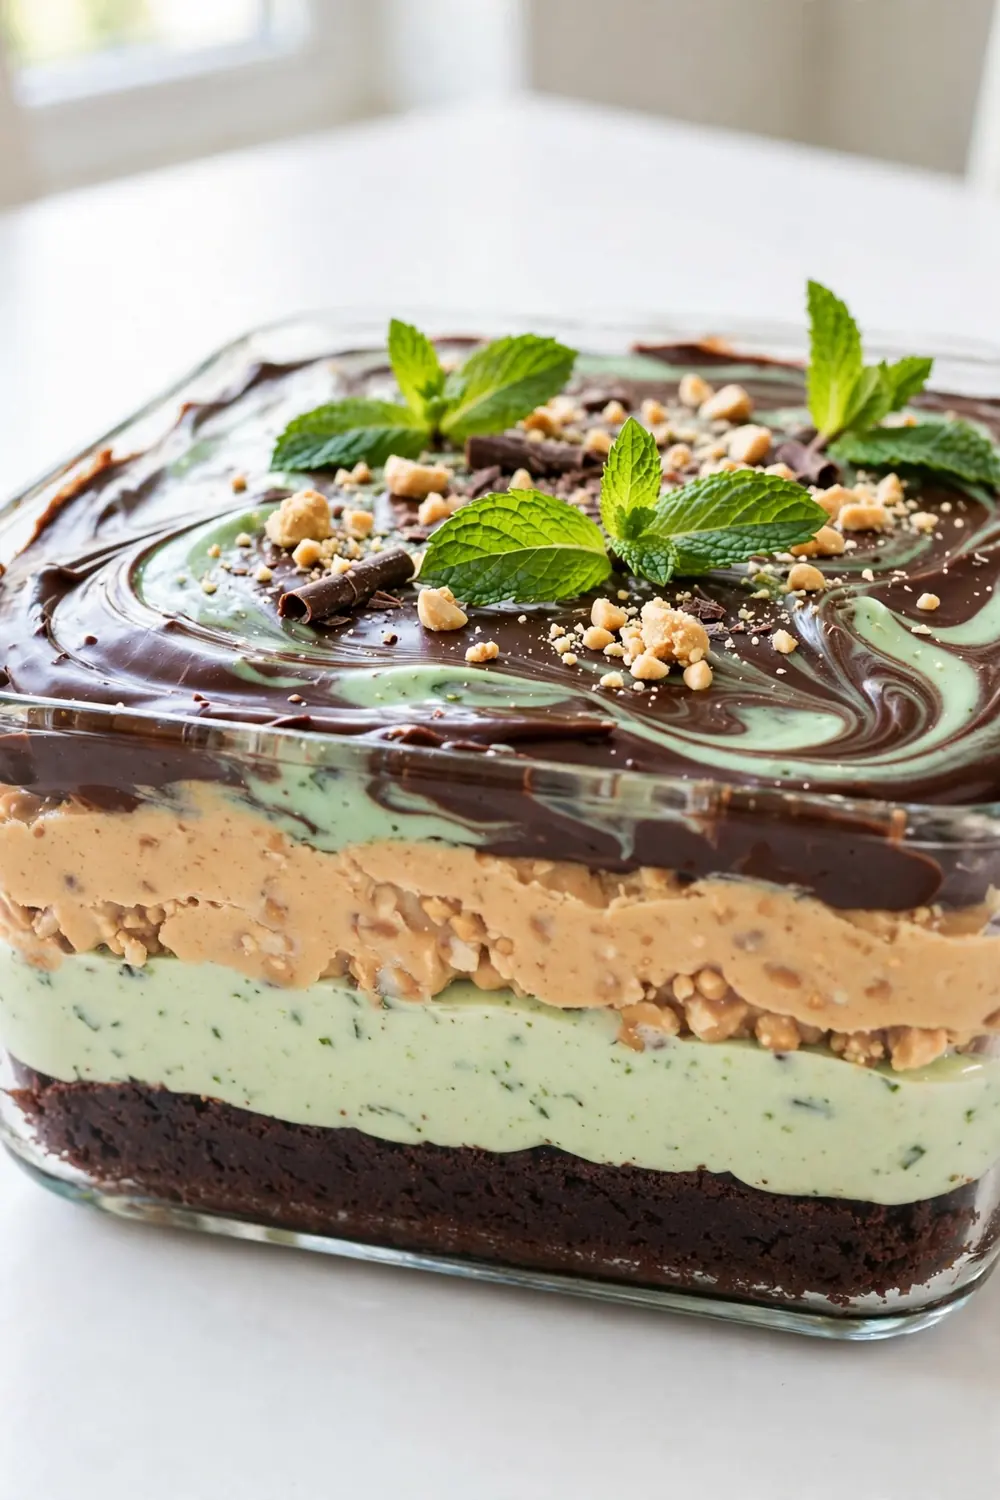
Quick Tip: Add peppermint extract one drop at a time, since mint grows strong fast. Taste the chocolate layer before pouring, and stop when the mint feels fresh but gentle. A few drops of green food coloring are optional, and fresh mint leaves make a clean garnish.
Mint chocolate layer brings a cool, fresh note that wakes up the rich dessert. The mint pairs well with dark chocolate and keeps the peanut butter from feeling heavy. Serve this version after a big dinner, when guests want something refreshing. A little mint goes a long way here.
Oreo Crumb Crust
BEFORE: A plain graham crust can taste bland next to bold chocolate and peanut butter. It softens under the filling, loses its crunch, and fades into the background. The dessert still tastes good, yet nothing about the base stands out. The filling covers it completely, and the plate lacks any crunch at all.
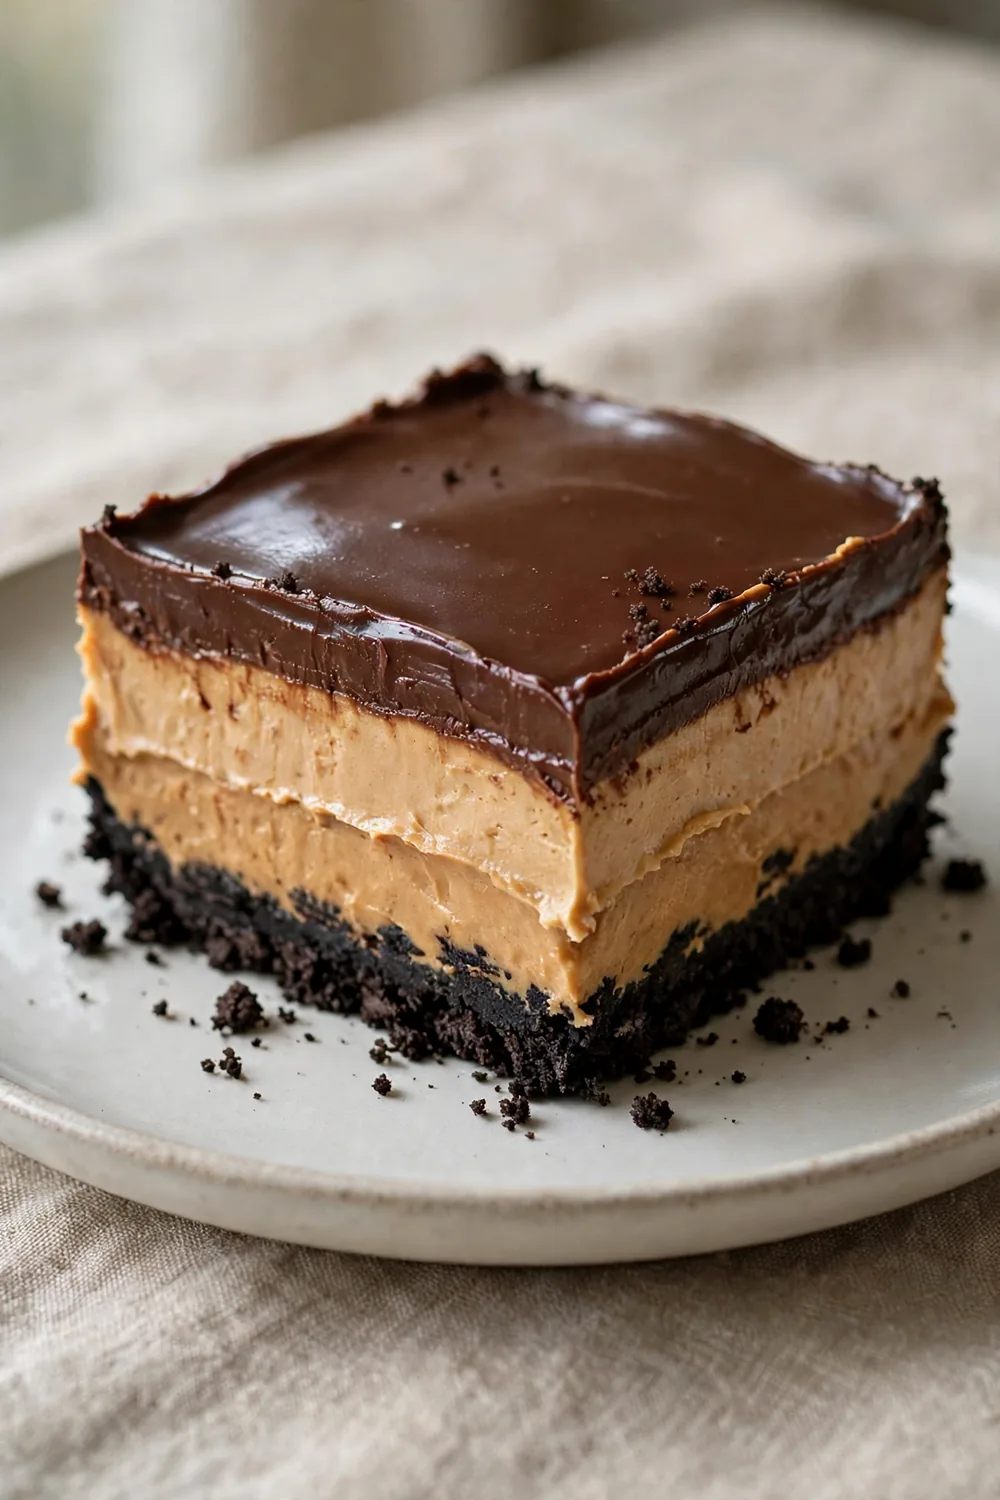
AFTER: An Oreo crumb crust fixes that with deep cocoa flavor and a sturdy crunch. The dark crumbs echo the chocolate top and hold firm under the creamy filling. Every bite starts with cookie crunch, then melts into peanut butter cream. The contrast makes the whole dessert taste complete.
Crush the cookies with their filling still on, since the cream helps the crust bind. Press the crumbs tight and chill the base before adding the filling. A thin crust works best here, so the layers stay balanced. Save extra crumbs for the top. This small step keeps every slice tidy and neat.
Caramel Peanut Clusters
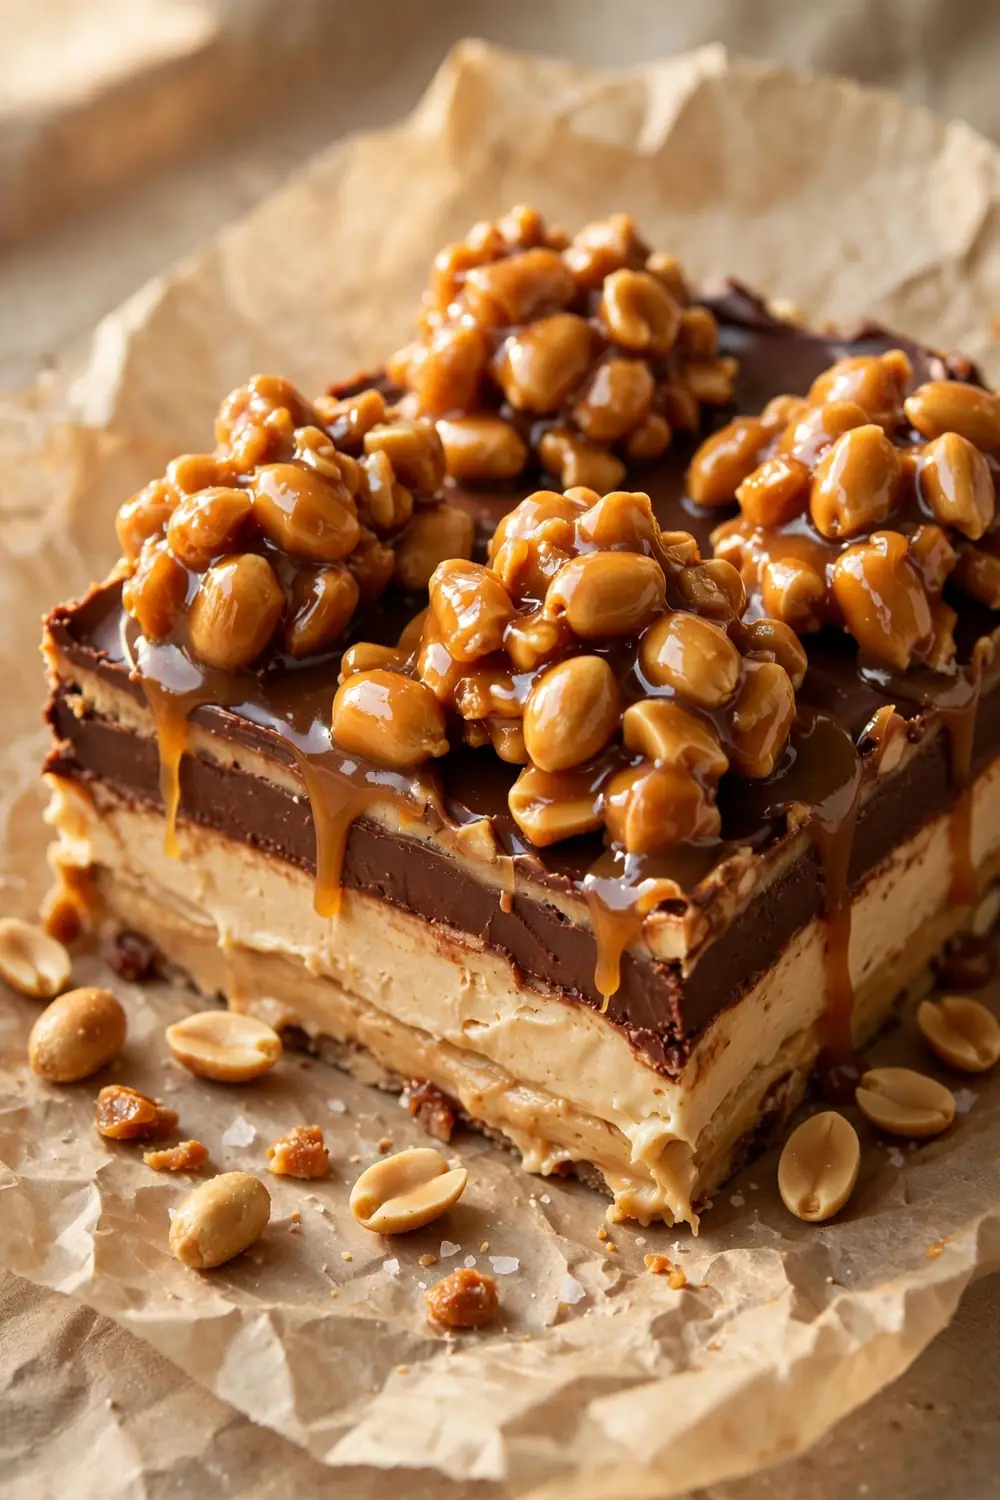
- Warm caramel candies with a splash of cream until smooth and pourable.
- Stir in roasted peanuts until every nut is coated.
- Drop small clusters onto parchment and let them set until firm.
- Arrange the clusters over the chilled dessert just before serving.
Caramel peanut clusters add a candy shop crunch that guests notice right away. The chewy caramel and salty peanuts sit on top like edible jewels. Make the clusters ahead and keep them in a sealed container. Add them at the last minute so the caramel stays crisp.
Whipped Cream Clouds
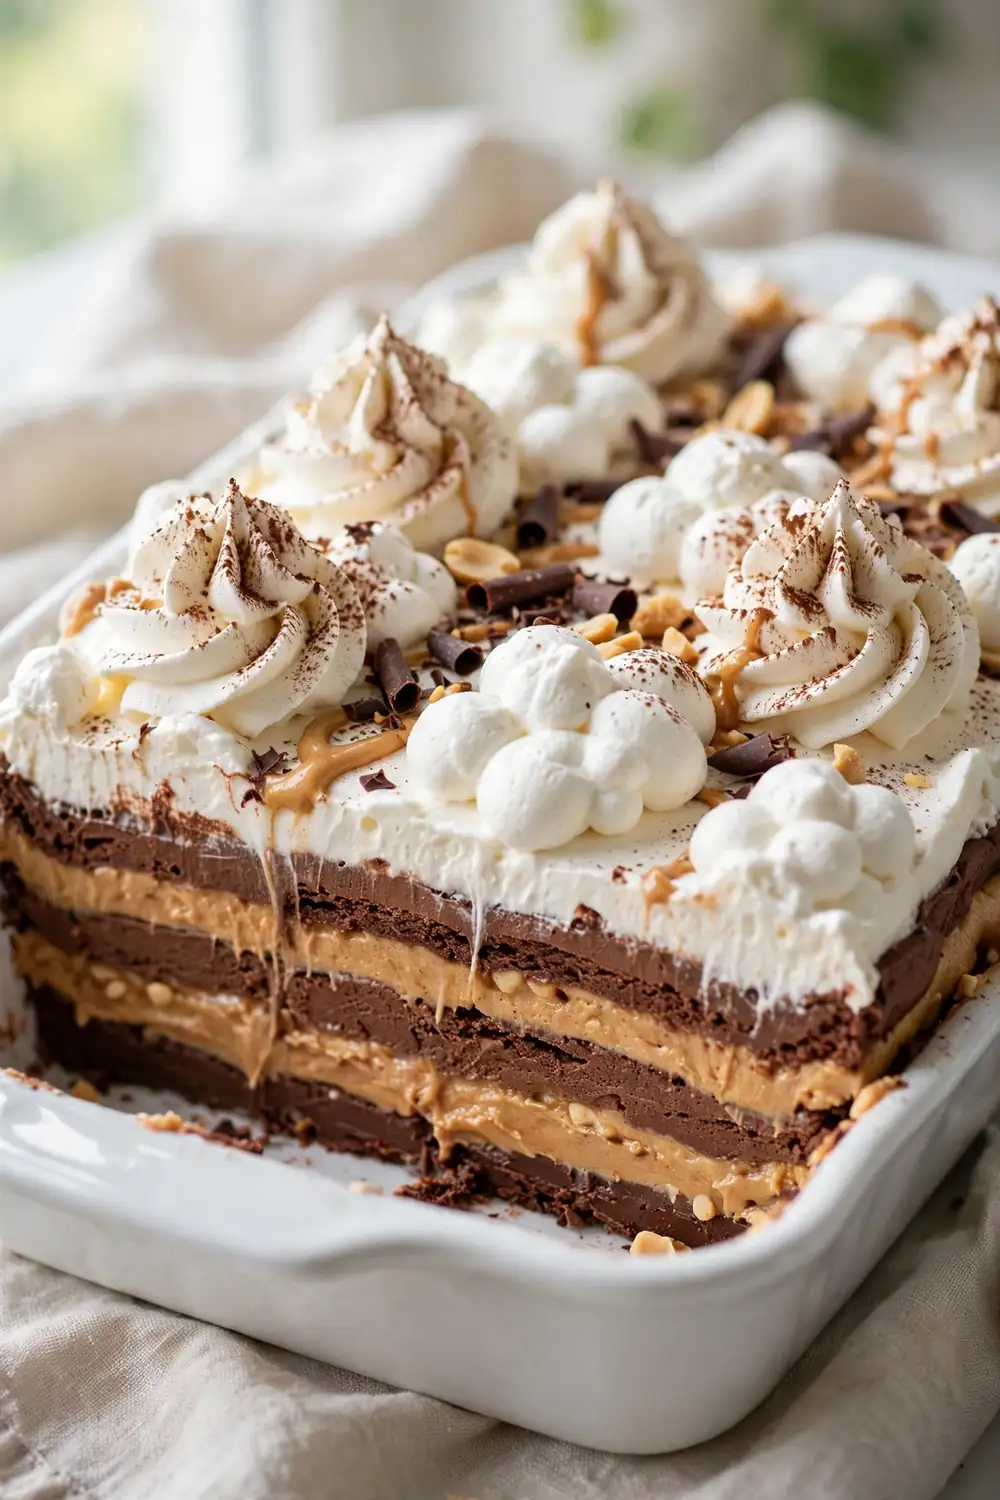
| Choice | Option A | Option B |
|---|---|---|
| Cream | Plain whipped cream | Vanilla bean whipped cream |
| Sweetness | Lightly sweetened | Unsweetened for contrast |
| Piping | Simple dollops | Piped rosettes |
| Garnish | Cocoa dust | Chocolate shavings plus peanuts |
Whipped cream clouds soften the rich layers with a light, airy finish. Pipe tall swirls over the chilled top and dust them with cocoa for a bakery look. Whip the cream just before serving so it holds its shape. This simple finish makes the dessert feel elegant without extra work.
Party Platter Slices
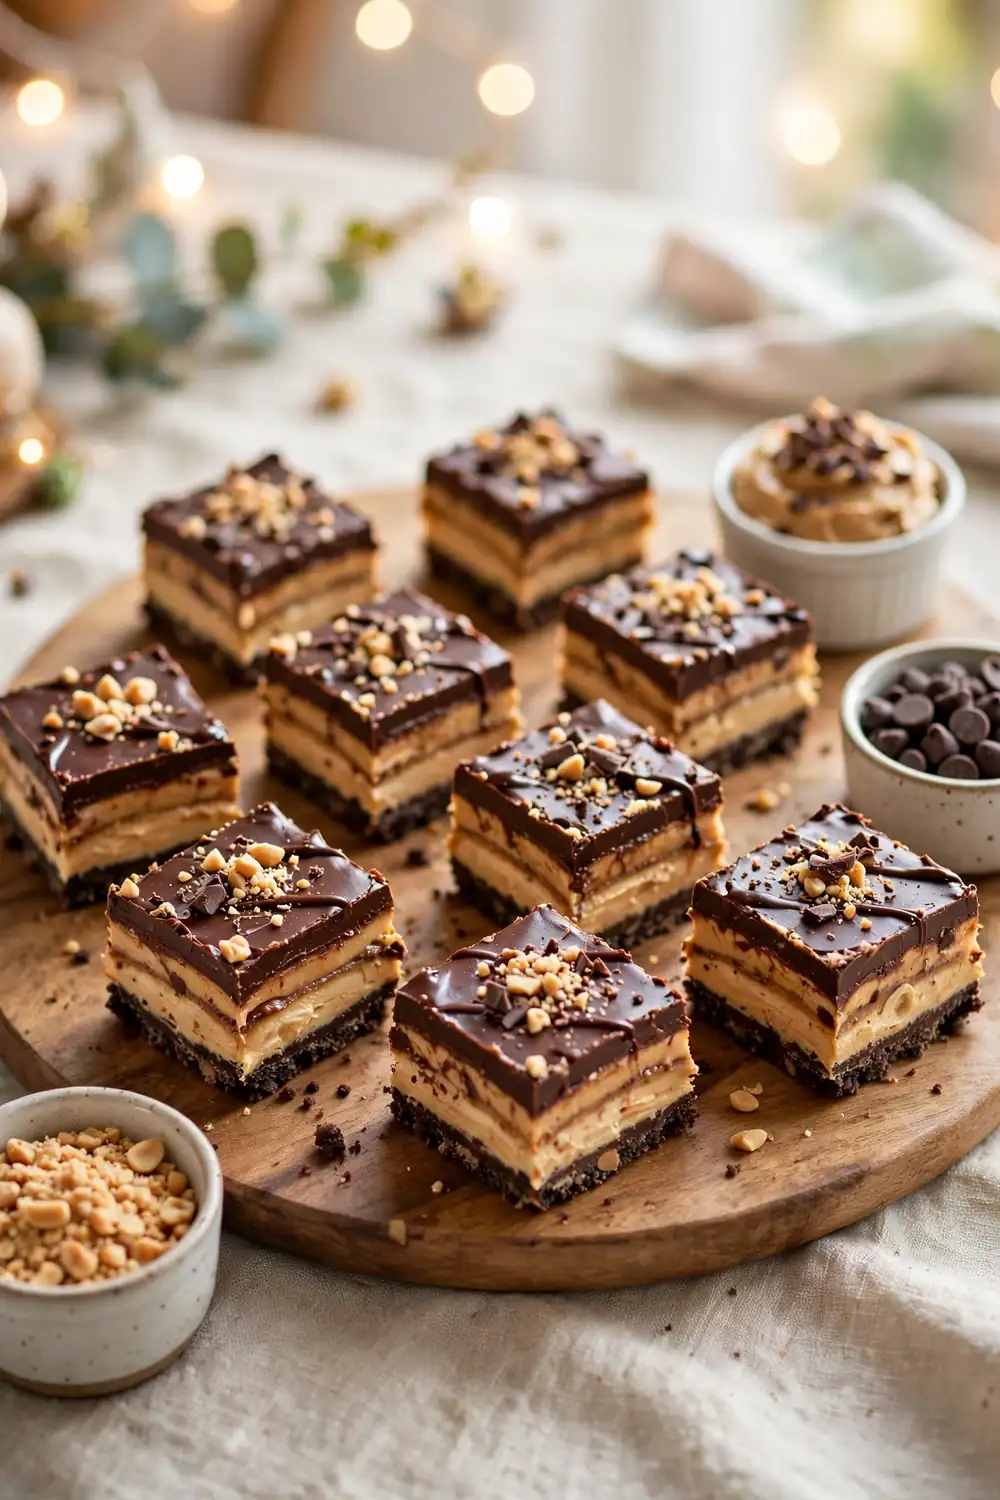
- Slice the chilled dessert into small squares for easy grabbing.
- Arrange the squares on a platter with space between each piece.
- Add small cups of extra toppings on the side.
- Keep the platter chilled until guests arrive.
- Do not cut warm slices, since the layers will slide apart.
- Do not stack the squares, or the chocolate tops will stick.
- Do not leave the platter out for hours in warm rooms.
- Do not forget serving picks or small plates for guests.
Party platter slices make this dessert the easiest dish on the buffet. Small squares let guests taste without committing to a big piece, and the platter looks generous. Refill the tray from the fridge as it empties. This version turns one pan into a crowd pleasing spread.
Conclusion
These twenty three ideas prove that a chocolate peanut butter lasagna can fit every table, from quiet weeknights to big holiday parties. Each version starts with the same creamy layers and ends somewhere new, from salty pretzel crunch to fresh mint. Pick one for tonight and enjoy the compliments.
Save this post on Pinterest so your next dessert plan has an answer waiting. Share it with a friend who loves no bake treats. If you enjoyed this dessert, lemon ricotta cake makes a bright citrus finish worth trying next. Tell us in the comments which version your family liked best.

2 Comments