Why Is My Cinnamon Roll Dough Not Rising? Easy Fix Guide
If your cinnamon rolls not rising in the bowl, you are not alone. Many home bakers watch a pale, flat dough and wonder what went wrong. The good news is that most causes are small and easy to fix with a few simple changes.
Dough rises when yeast wakes up, feeds, and releases gas that lifts the soft mass. Cold milk, old yeast, and heavy flour all slow that lift. In my experience, warmth and patience fix most slow batches.
This guide walks through each cause in order, from yeast and milk to kneading and rising time. Follow the steps, and your next batch should rise tall and bake soft. And if limp waffles are your trouble instead, see why soggy waffles happen and how to make them crisp.
Why Dough Stays Flat
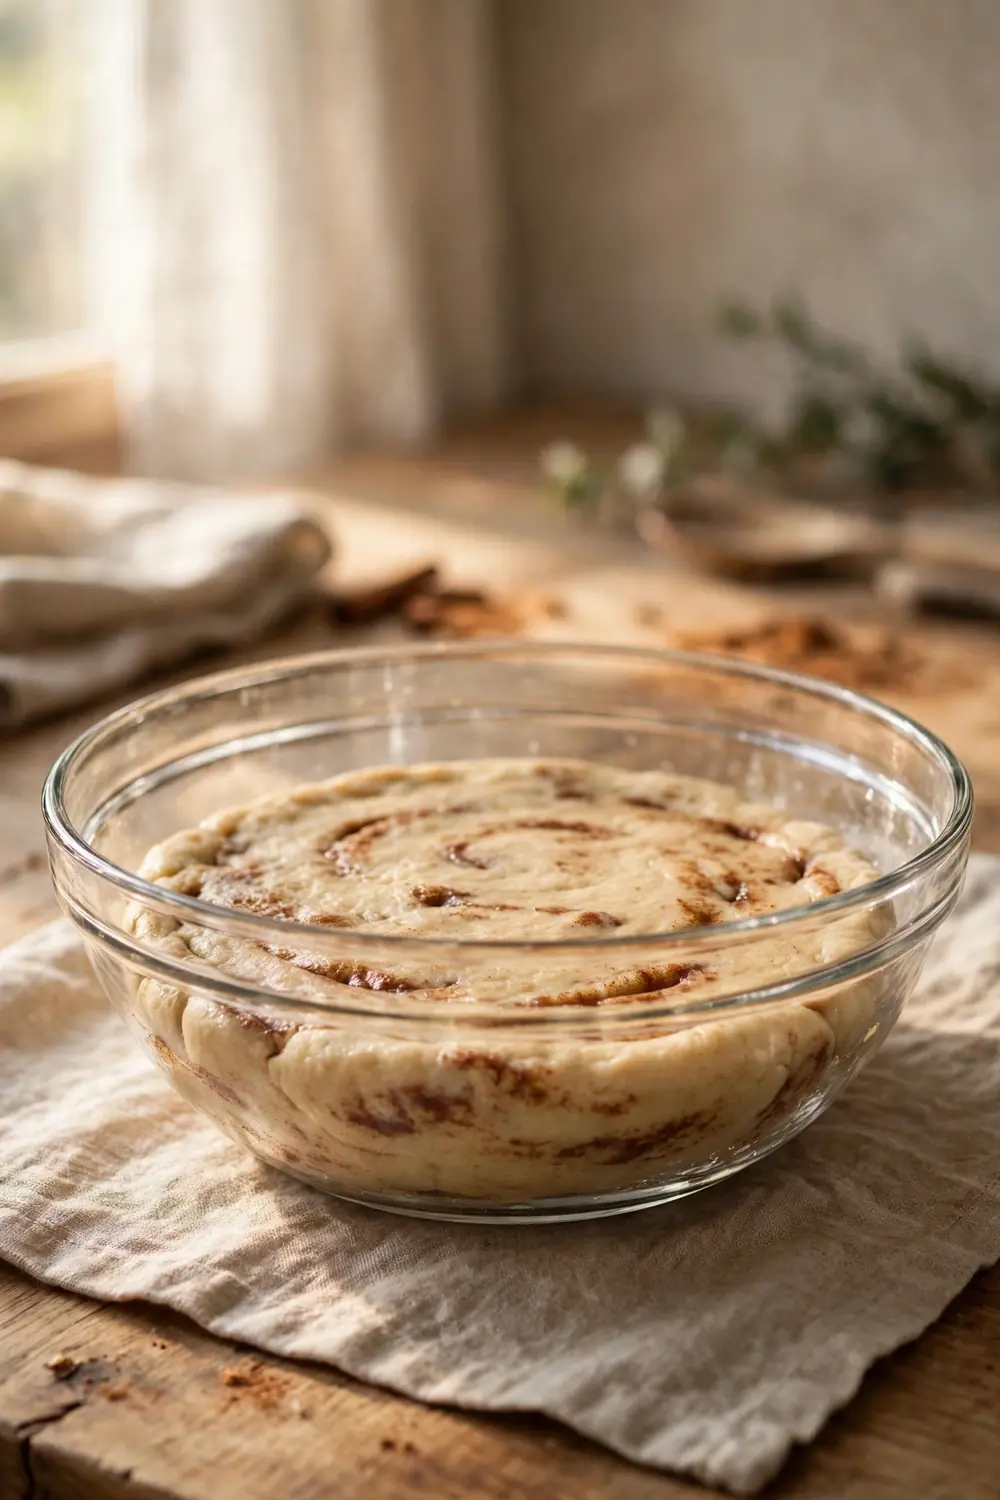
Dough stays flat when the yeast cannot produce enough gas to lift the mass. Cold liquid puts yeast to sleep, while old yeast may have lost its strength. Too much flour makes a heavy dough that gas cannot push upward. Each factor lowers the rise, so the dough looks dense and pale.
Flat dough also comes from short kneading and a cool room. Weak gluten lets gas escape, and a cold spot slows the yeast down. A dry crust can form if the bowl stays uncovered. Knowing the cause helps you pick the fix, so the next batch rises tall and bakes soft rather than staying dense.
Check the Yeast First

Yeast does the lifting, so weak yeast leaves dough flat. Check the date on the packet, and test a spoonful in warm water with a pinch of sugar. Fresh yeast foams within ten minutes, while dead yeast stays still. Replace the packet if the foam looks weak, since dead yeast cannot be fixed later.
Store yeast in a cool, dry place, and keep the packet sealed after opening. Heat and moisture weaken yeast fast, so a warm shelf can ruin a fresh packet. Use the amount the recipe lists, since too little yeast gives a slow rise. Fresh yeast and a quick foam test give a steady, tall rise.
Use Warm Milk
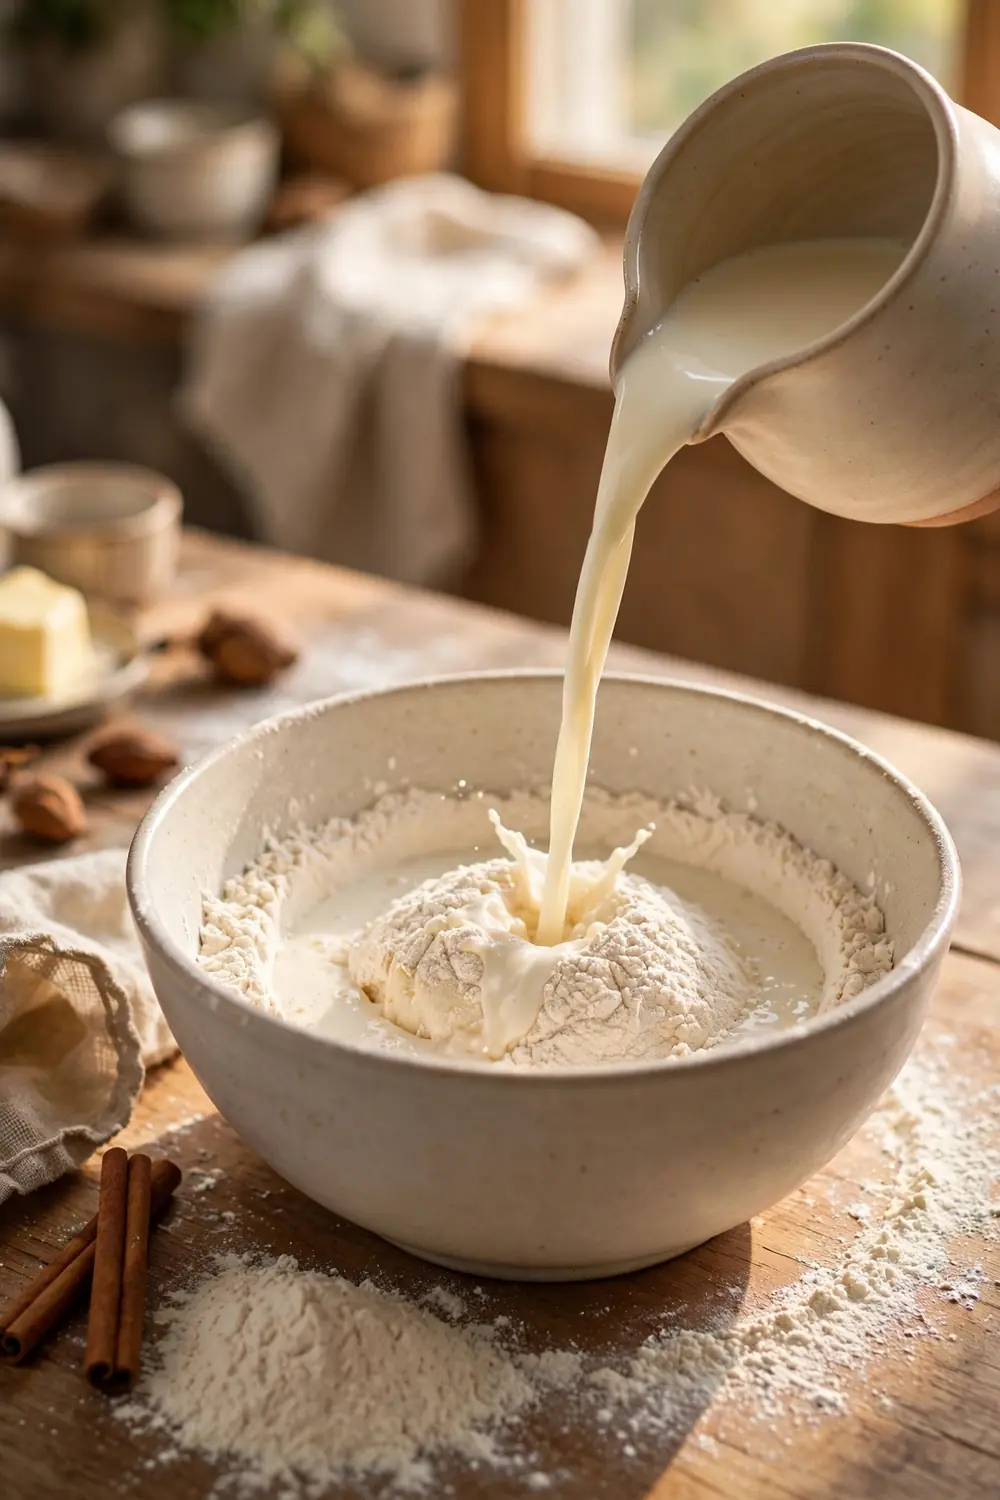
Warm milk wakes yeast and helps the dough rise. Cold milk slows yeast down, while hot milk can kill it. Aim for milk that feels warm on your wrist, near one hundred ten degrees. That gentle warmth lets yeast feed and release gas, so the dough starts to swell and grow.
Warm the milk in a small pan or in the microwave in short bursts. Stir well, and test the heat before adding yeast. If the milk feels hot, let it cool for a few minutes. Warm milk, fresh yeast, and a pinch of sugar give the dough a strong start and a steady rise.
Measure the Flour Right
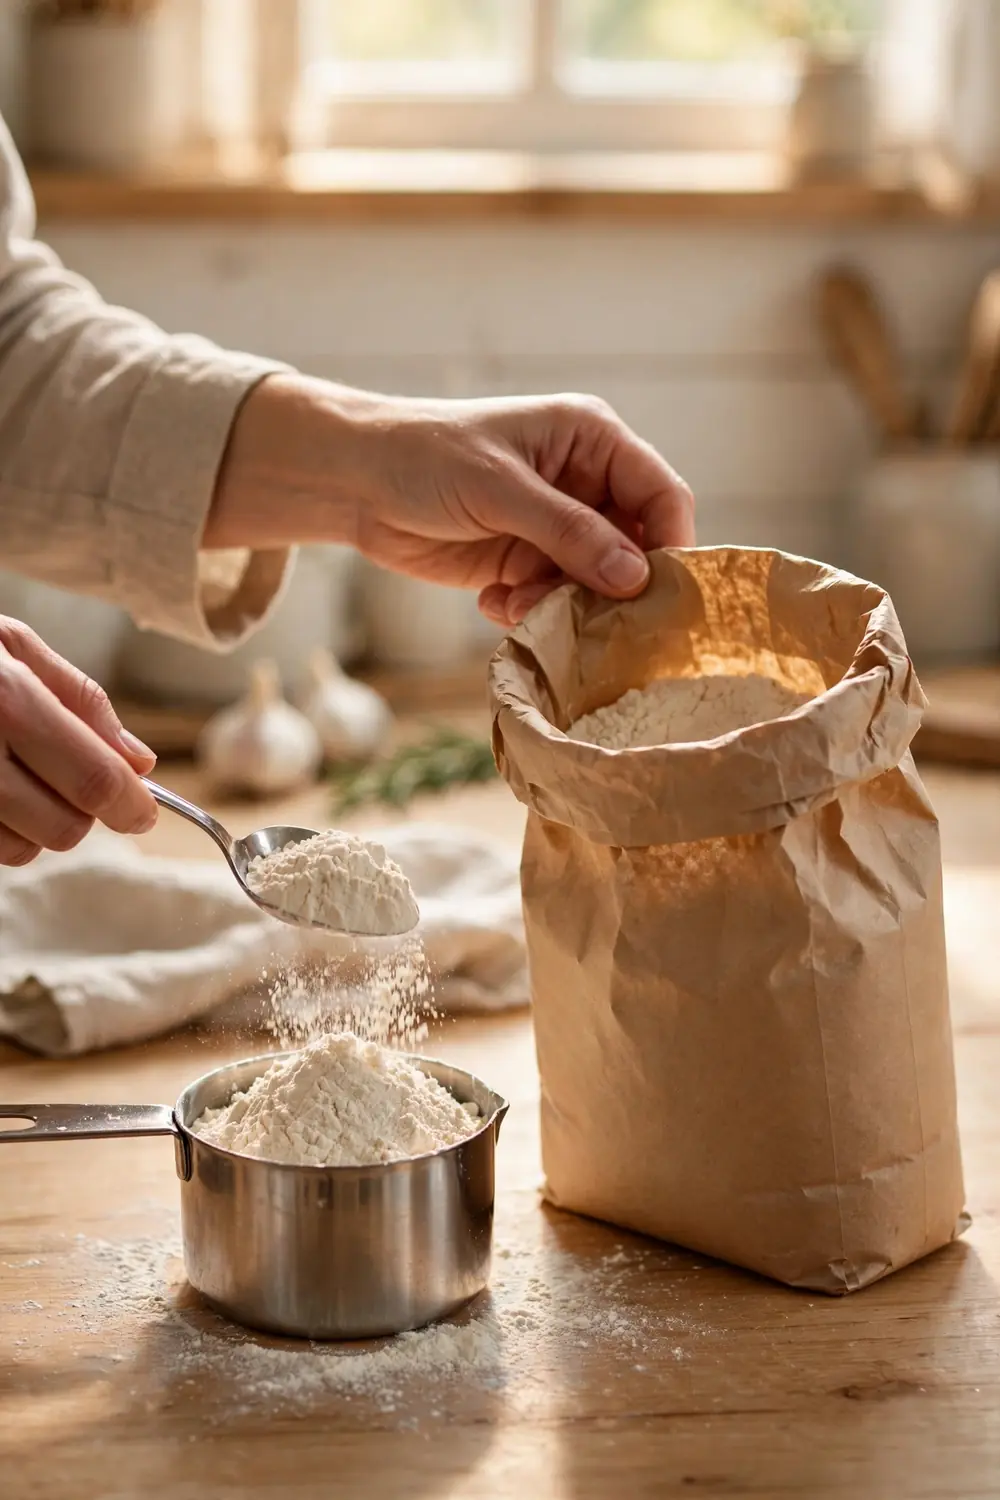
Too much flour is a common reason dough stays flat and heavy. Scooping straight from the bag packs the flour down and adds far more than the recipe needs. That extra flour soaks up moisture and leaves a stiff dough. Spoon the flour into the cup, then level it with a knife.
A kitchen scale removes the guesswork and gives the same result every time. Weigh the flour exactly as the recipe lists it, and the dough will feel soft and slightly sticky. If the dough feels dry, you likely added too much flour. Measure with care, and the texture improves at once.
Knead Until Smooth
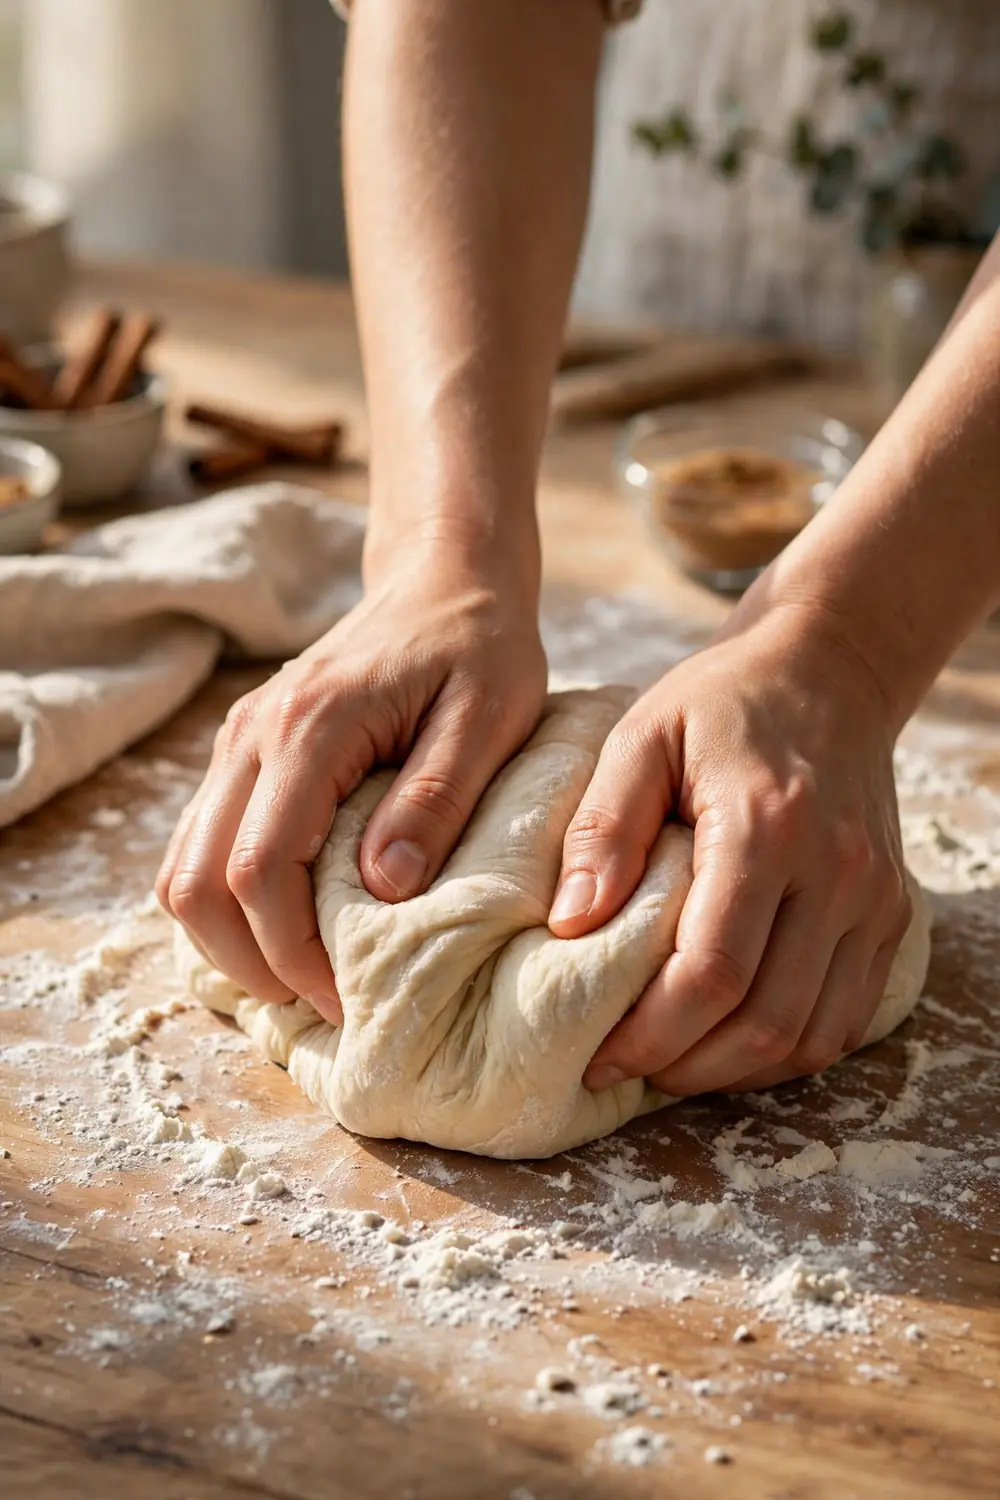
Kneading builds gluten, the stretchy network that traps gas and lifts the dough. Under kneaded dough tears easily and lets gas escape through weak spots. Knead gently on a lightly floured surface for eight to ten minutes. The dough should turn smooth, soft, and springy under your hands.
Press the dough forward with your palms, fold it back, and turn it a quarter turn. Repeat that motion in a steady rhythm without adding much flour. Too much extra flour makes the dough stiff and heavy. Stop when the dough springs back slowly after a gentle poke with one finger.
Let It Rise in Warmth
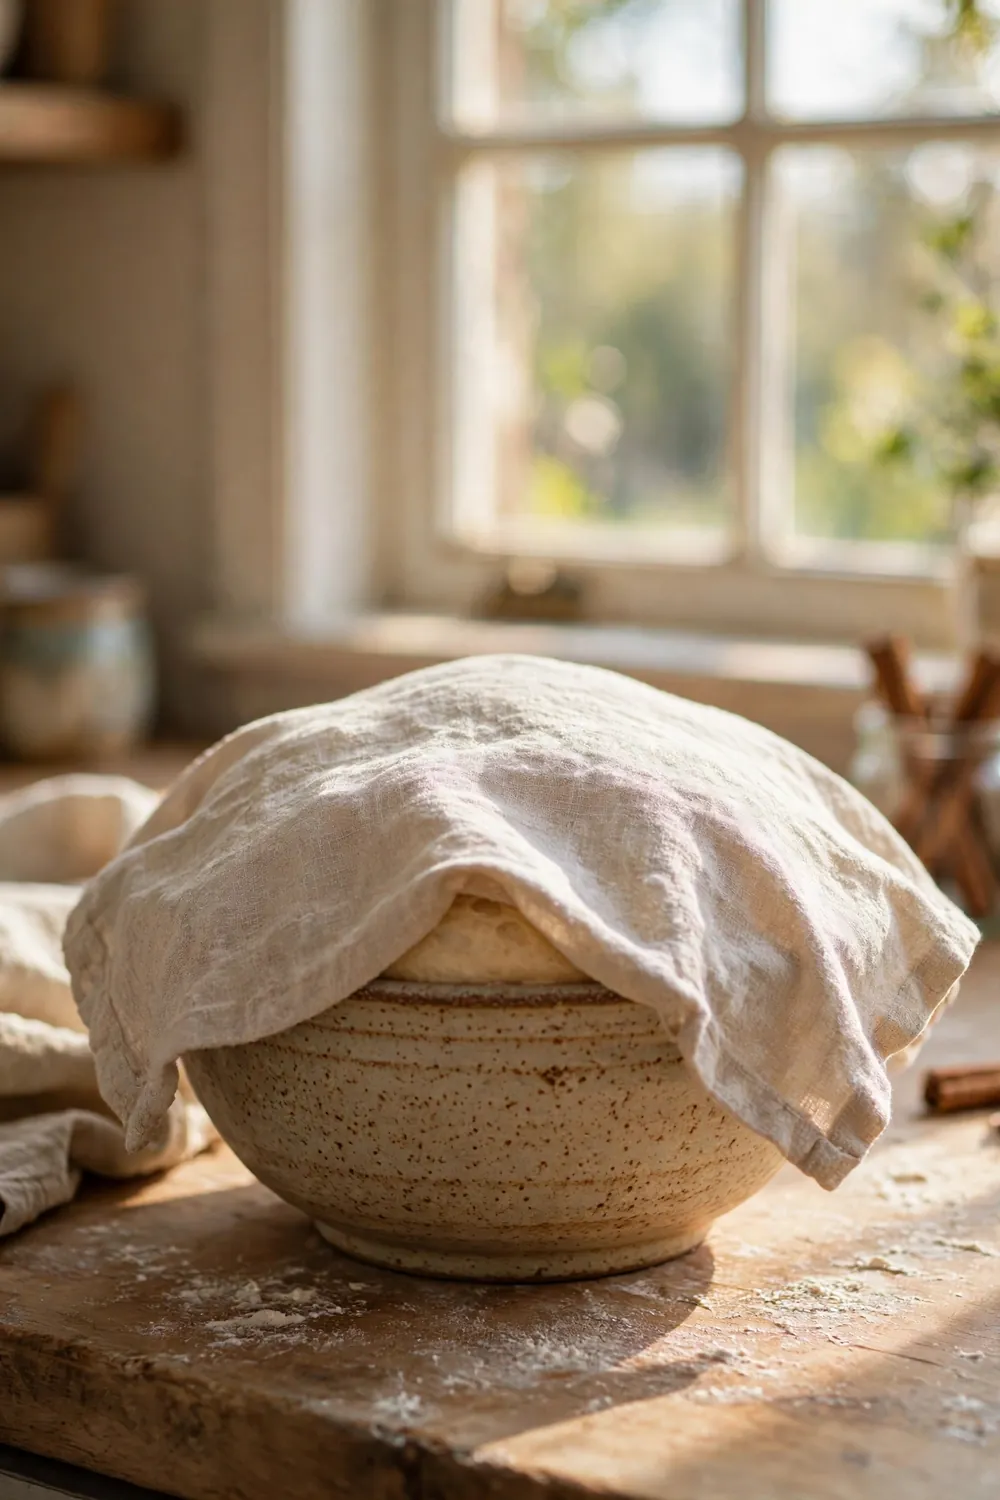
Yeast works best in a warm, draft free spot. A cold kitchen slows the rise, while a hot oven can dry the dough or kill the yeast. Place the covered bowl in a warm corner, near a preheated oven that is turned off. Gentle warmth keeps the yeast active and the dough growing steadily.
Cover the bowl with plastic wrap or a damp towel to hold in moisture. A dry crust stops the dough from stretching upward. Check the dough after an hour, and give it more time if the kitchen feels cool. A warm, covered bowl gives a tall, even rise without drying the surface.
Give It Enough Time
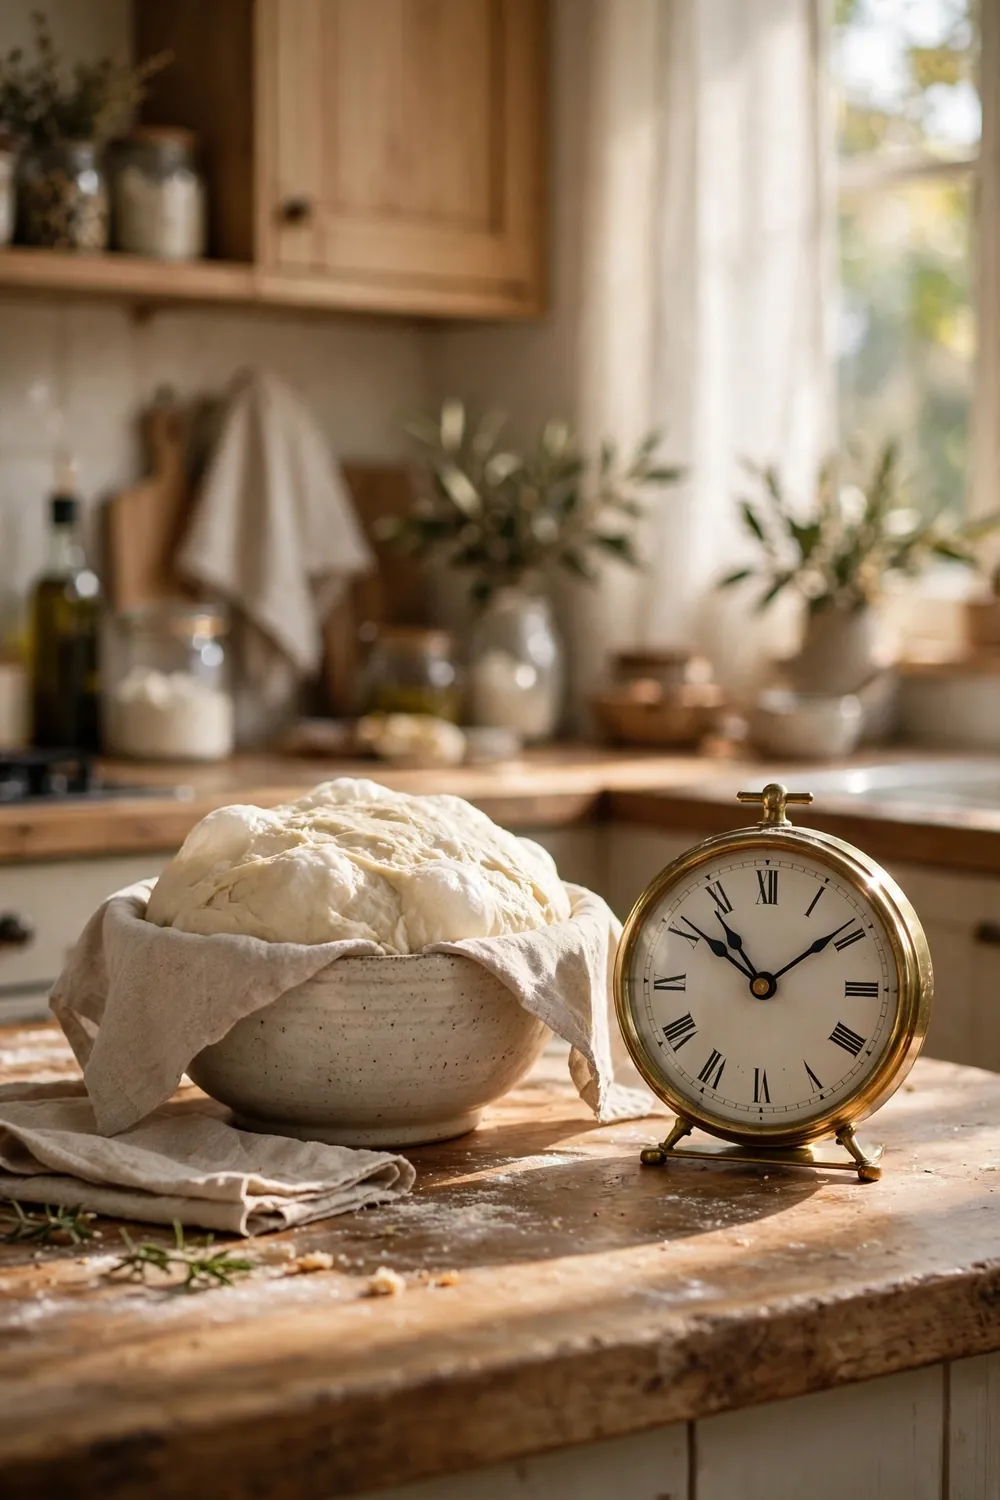
Rising takes time, and rushing the dough leaves it flat and dense. Most dough needs one to two hours to double in size. Watch the dough, not the clock, since a cool room slows yeast down. When the dough doubles, it holds enough gas to bake tall and soft.
Test the rise with a gentle poke. Press two fingers into the dough, and watch the dent. If the dent stays, the dough is ready to shape. If it springs back fast, give the dough more time. Patience at this stage gives tall rolls with a soft, open crumb.
Do Not Overfill
Too much filling can weigh the dough down and stop the rise. Thick layers of sugar and butter melt and leak, which makes the rolls heavy and wet. Spread a thin, even layer, and leave a small border at the edges. Less filling lets the dough rise tall and hold its shape.
Use soft butter, not melted butter, for the filling. Melted butter soaks into the dough and makes it soggy. Sprinkle the sugar and spice evenly, then roll the dough snugly without pressing hard. A light filling and a gentle roll keep the layers open and ready to rise.
Shape Rolls Gently
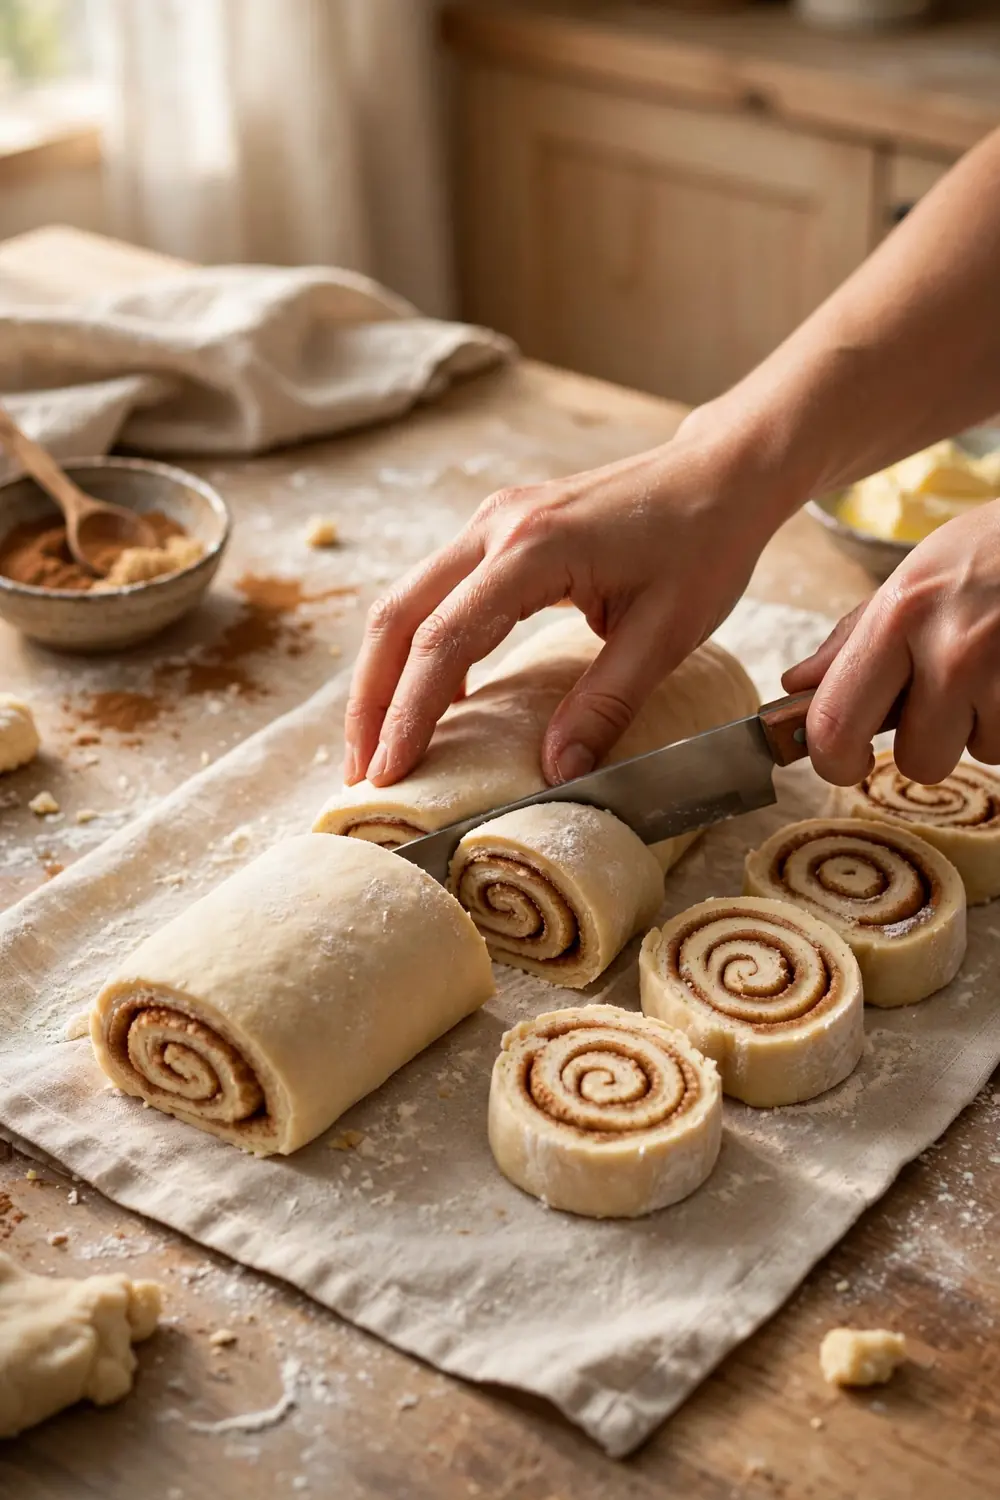
Rough shaping can knock the gas out of risen dough. Punching the dough flat removes the air that yeast built over hours. Press the dough gently, and handle it as little as possible. Keep the soft bubbles inside, so the rolls have lift left for the second rise.
Cut the rolled log with a sharp knife or plain thread. A dull knife drags the dough and seals the edges shut. Place the rolls close together in a greased pan, so they rise up instead of spreading out. Close neighbors help each roll climb taller in the warm pan.
Common Mistakes to Avoid
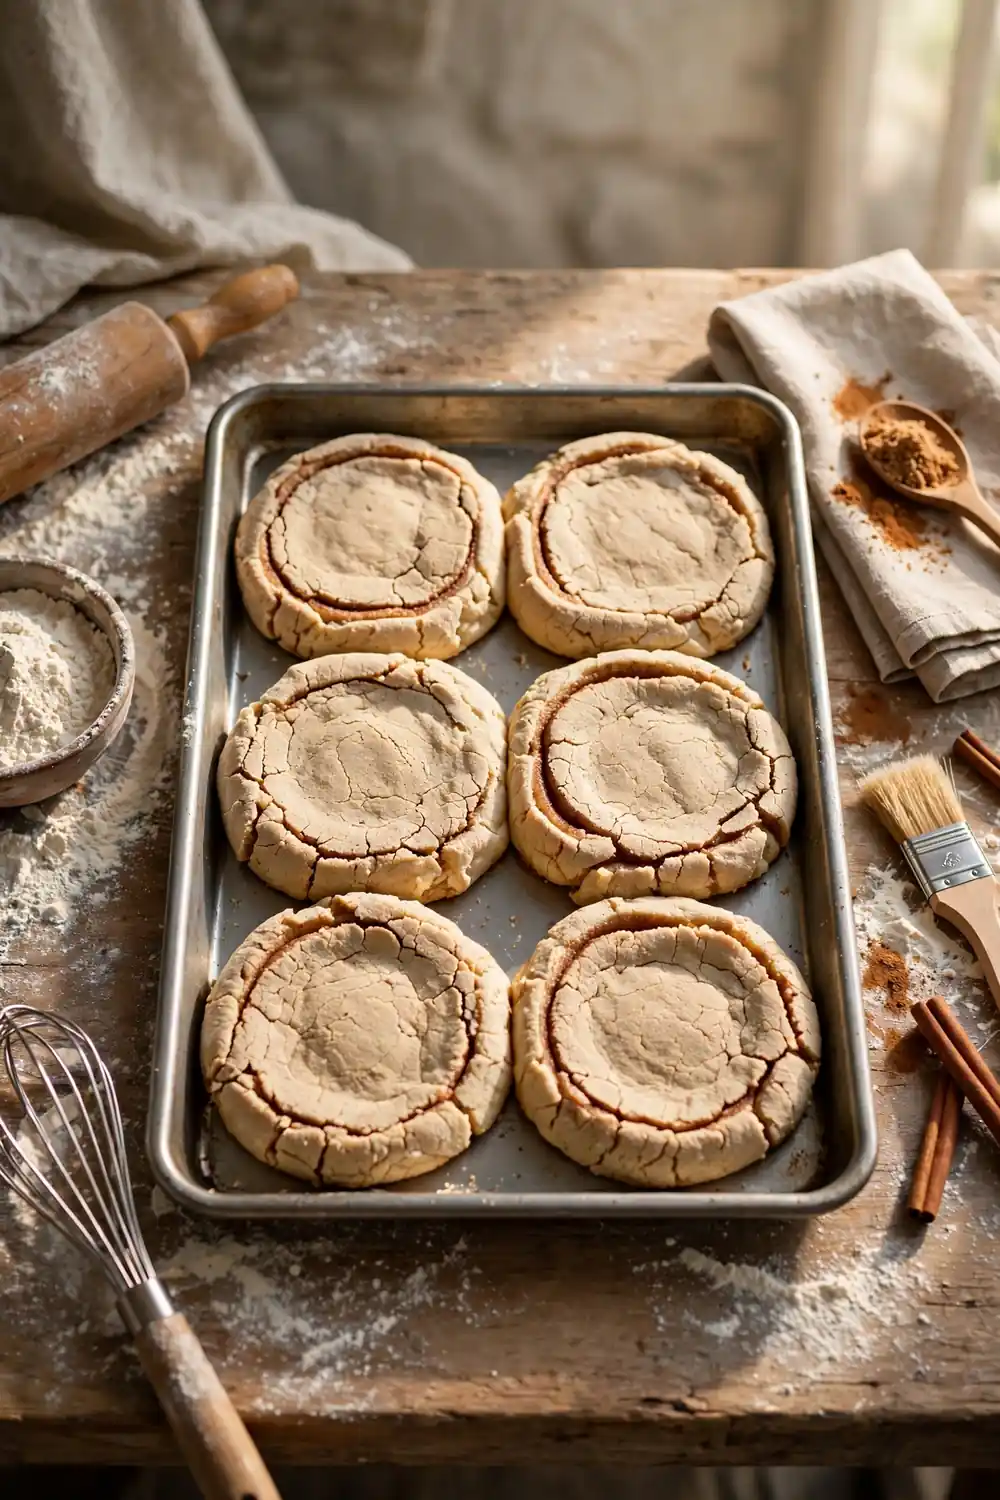
One common mistake is using water or milk that is too hot, which kills the yeast. Another is adding too much flour, which makes the dough heavy. A third is skipping the second rise, which leaves the rolls small. Each habit steals lift, even when the recipe itself is sound.
A second group of mistakes comes from old yeast and a cold room. Test the yeast before you mix, and rise the dough in a warm spot. Fix one habit at a time, starting with warm milk and fresh yeast. Small, steady changes give taller, softer rolls without changing the recipe.
What Risen Rolls Look Like
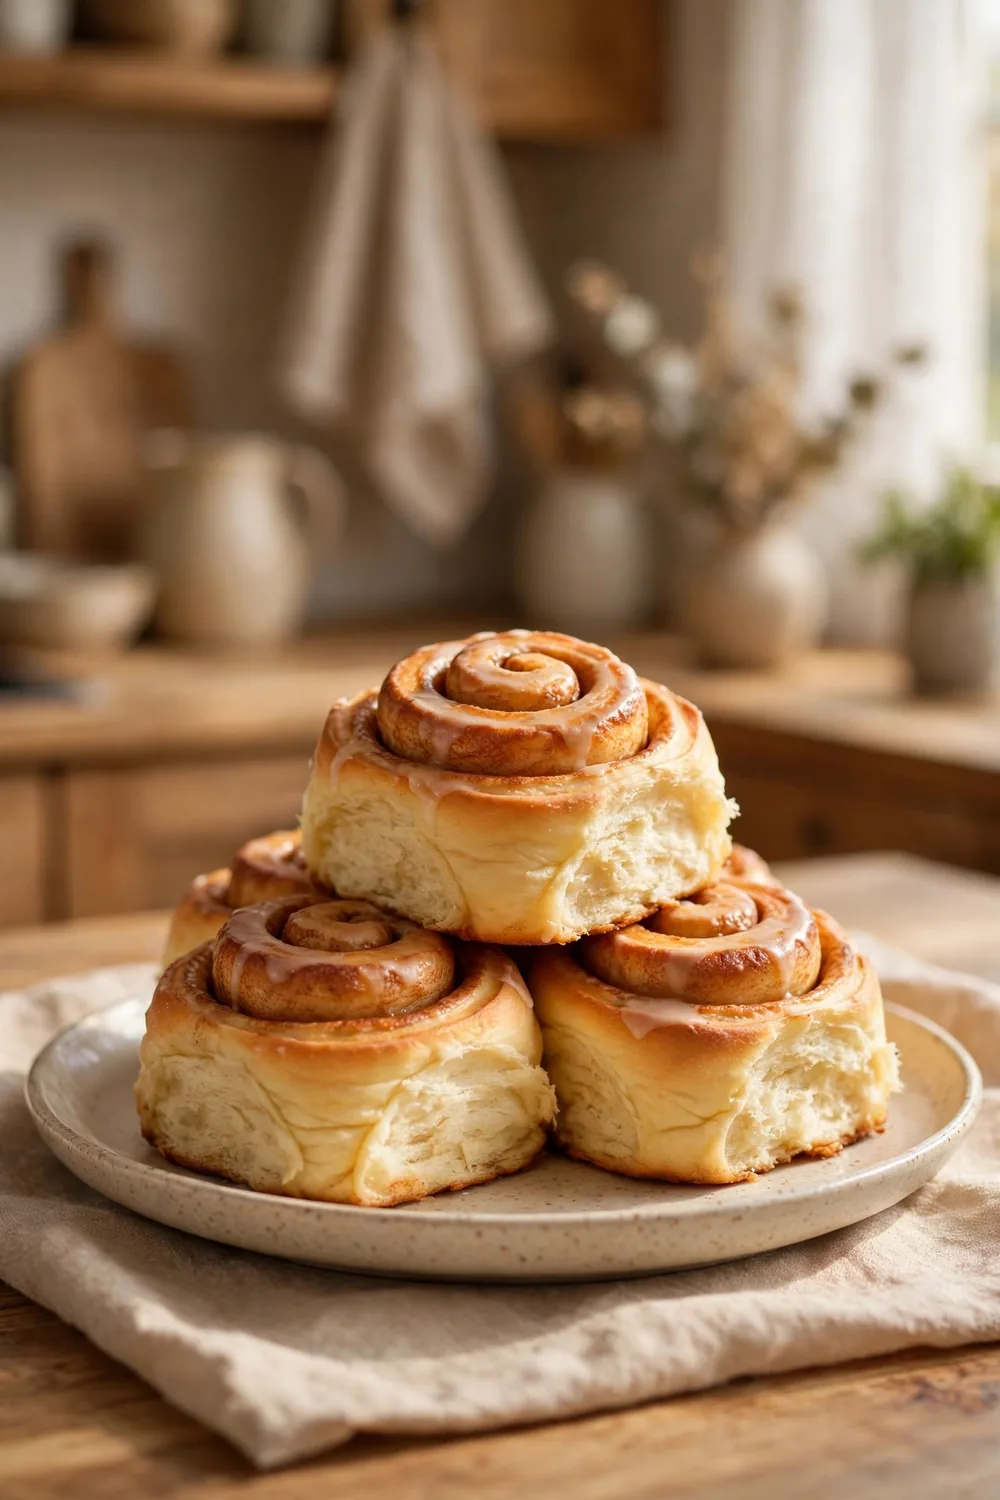
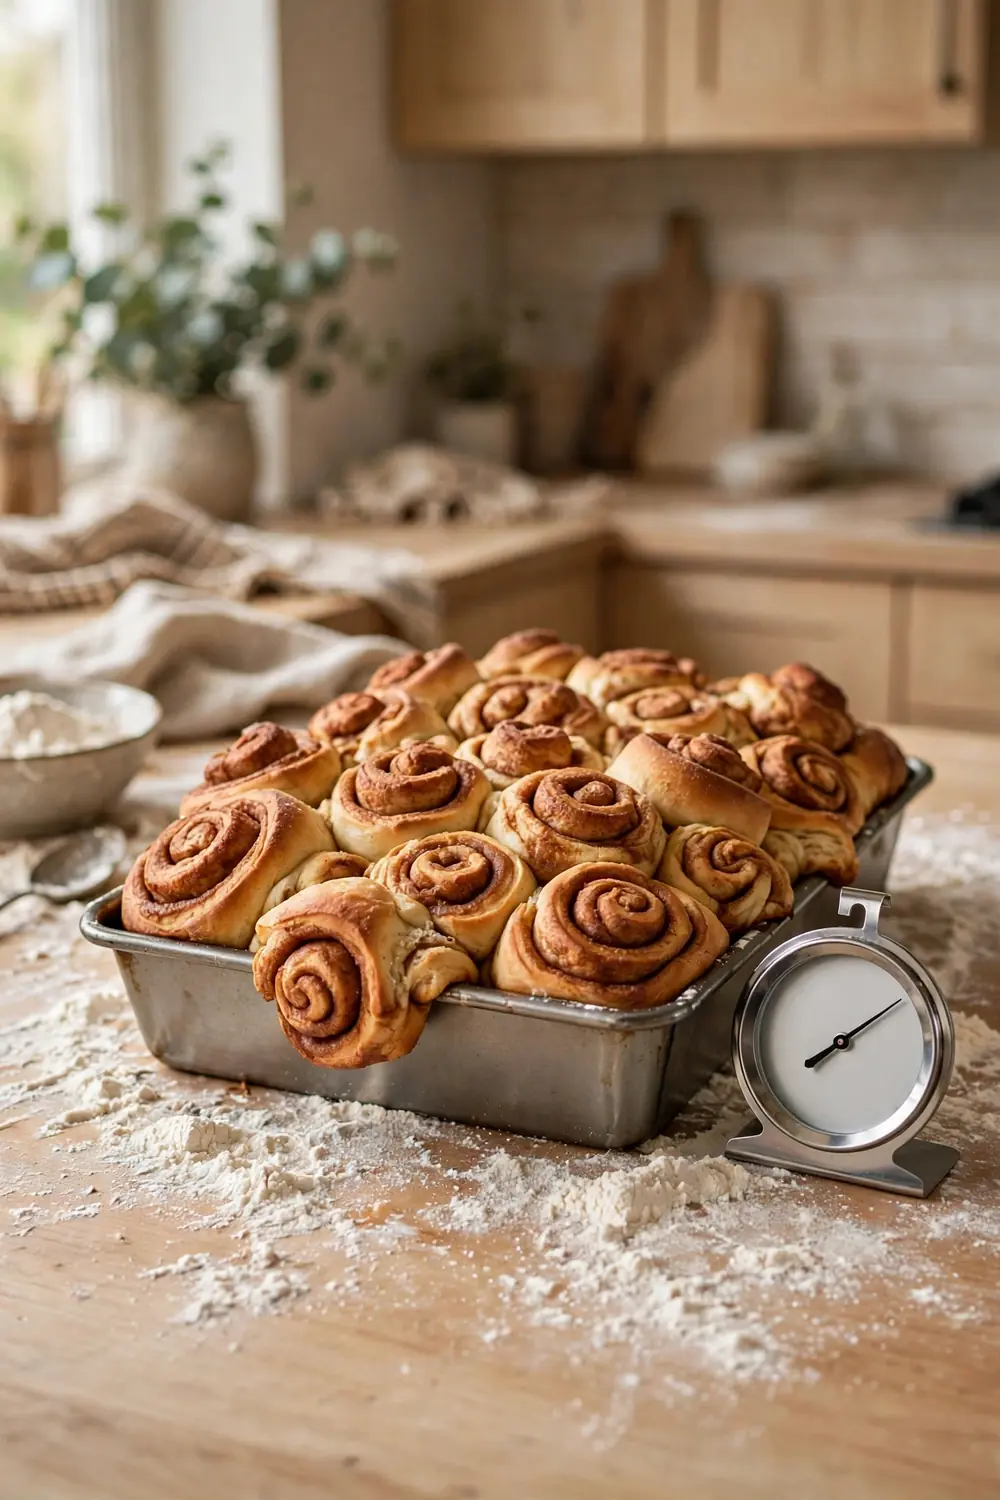
Risen rolls look puffy, tall, and soft around the edges. The dough feels light and springy, and the rolls touch each other in the pan. The surface looks smooth, with no dry crust. That full, puffy shape is the sign that yeast, warmth, and time worked well together.
Check the bake by looking for golden tops and soft sides. The rolls should pull apart with a gentle tug, and the center should feel soft, not gummy. Serve the rolls warm with butter, and enjoy the tall, tender texture you worked for. When the rolls stay tall, you know the fixes worked.
Conclusion
In short, cinnamon rolls not rising usually comes from sleepy yeast, cool milk, heavy flour, short kneading, or too little time. Fix those steps and each batch turns taller and softer. Warmth, fresh yeast, gentle kneading, and patience build a strong rise.
Start with the simplest fix first, then add the next one if the dough still stays flat. Small changes protect the flavor while the rise improves. Save this guide on Pinterest for your next batch.
Try the steps on your next batch, and if flat hard biscuits are your trouble instead, read our guide on flat hard biscuits for tall, tender results.




One Comment