Why Does My Key Lime Pie Not Set? Easy Fix Guide
If your runny key lime pie slumps when you slice it and pools juice on the plate, you are not alone. Many home bakers face this same dessert letdown, and the good news is that firm, neat slices take only a few careful habits.
The usual cause is a filling that never fully set. Too few eggs, too much juice, or too little baking can all leave the pie loose. Once the filling sets and chills, the slices hold their shape.
This guide walks you through each fix in order, from eggs to baking and chilling, so your next pie slices cleanly. For a frosting rescue next, read this cream frosting guide after this one.
Why Lime Pie Stays Runny

Lime pie stays loose when the filling lacks structure. Eggs are what set the filling, and without enough of them the juice stays liquid even after baking. Extra juice thins the mix further. The filling needs both enough eggs and enough bake time to set.
A short bake makes it worse, since the center never reaches the temperature where eggs set. The fix is the right egg count, a full bake, and a long chill. Give the pie a full chill overnight, and the slices will hold. Patience at this stage pays off in every slice.
Use Enough Eggs

Eggs set the filling, so use the full count the recipe calls for. Large eggs give the pie the structure it needs to slice cleanly. Whisk the yolks well, and stir in the condensed milk until the mix looks smooth and thick.
- Use four large egg yolks for a standard nine inch pie.
- Whisk the yolks until they look pale and thick.
- Stir in the condensed milk until smooth.
- Add the lime juice last and mix gently.
Measure Lime Juice
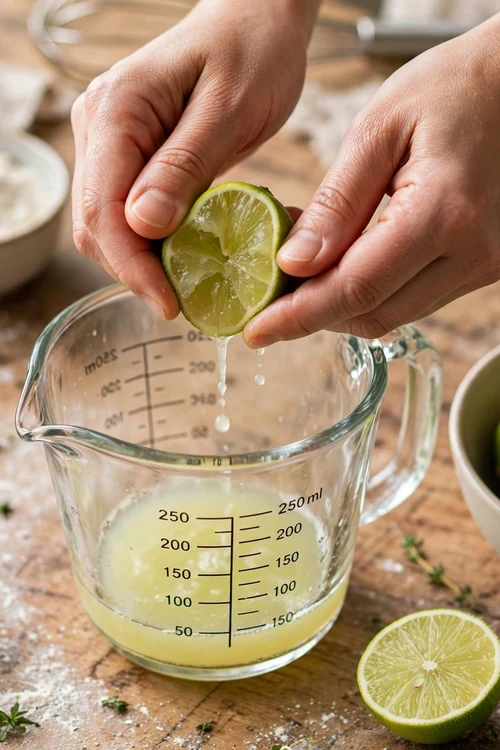
Quick Tip: Measure lime juice with a cup, not by counting limes. Limes vary in size and juice, and an extra quarter cup can tip a firm pie into a loose one.
Use half a cup of juice for a standard pie, and taste the filling before baking. It should taste bright and tangy, not watery. Fresh juice beats bottled juice for flavor. Squeeze the limes just before mixing for the brightest taste. A careful measure now saves a loose pie later.
Bake Until Set
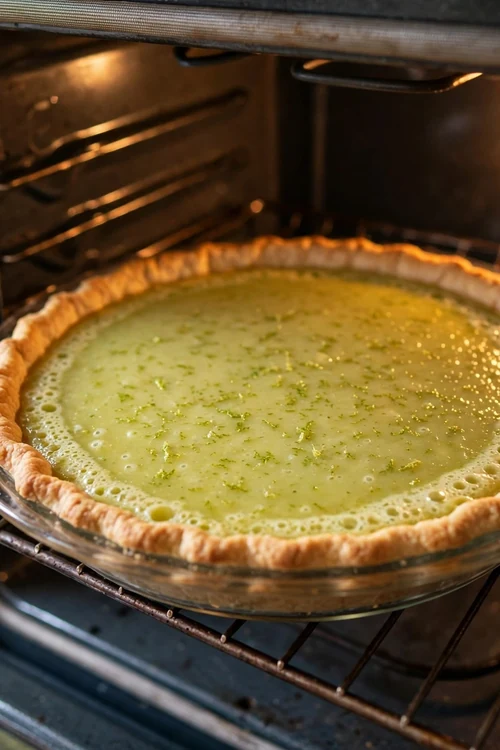
Common Mistake: Many bakers pull the pie out while the center still jiggles like liquid. A wobbly center means the eggs have not set, and the pie will stay loose no matter how long it chills.
The Fix: Bake until the edges look set and the center jiggles only slightly, like soft jelly. The filling will firm up as it cools and chills.
Bake at 350 F for 15 to 18 minutes for most recipes. If the center still sloshes when you nudge the pan, give it three more minutes and check again. A gentle jiggle like soft jelly means the pie is done. Trust the jiggle test more than the timer alone.
Chill Long Enough

What You Need:
- Sweetened condensed milk: Thickens the filling and balances the tart lime.
- Fresh limes: Give bright, true lime flavor.
- Egg yolks: Set the filling into a firm, sliceable custard.
- Graham cracker crust: Holds the filling and adds a sweet crunch.
- Pie dish: Bakes the pie evenly from edge to center.
Condensed milk is not the same as evaporated milk. The sweetened, thick kind gives the filling body and sweetness, while the thin kind leaves it loose. Check the can label before you pour, and never swap the two kinds. Sweetened condensed milk is the only right choice for this pie.
Fix Runny Pie
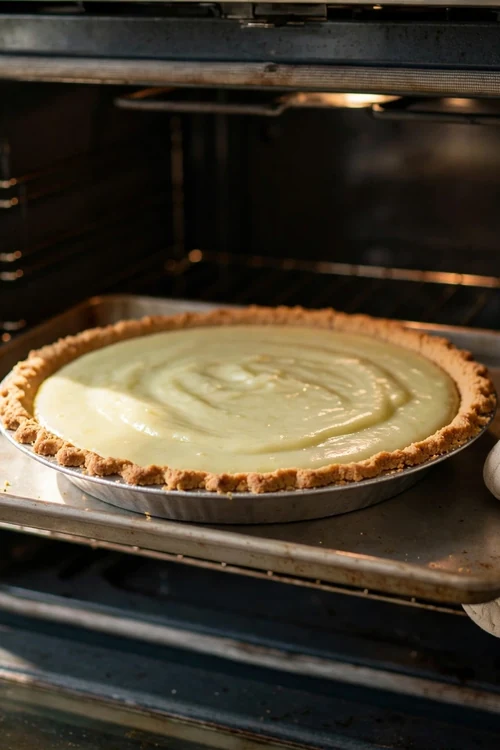
Before: Before the fix, the pie baked for only ten minutes with too much juice. The filling stayed liquid and slid off the crust.
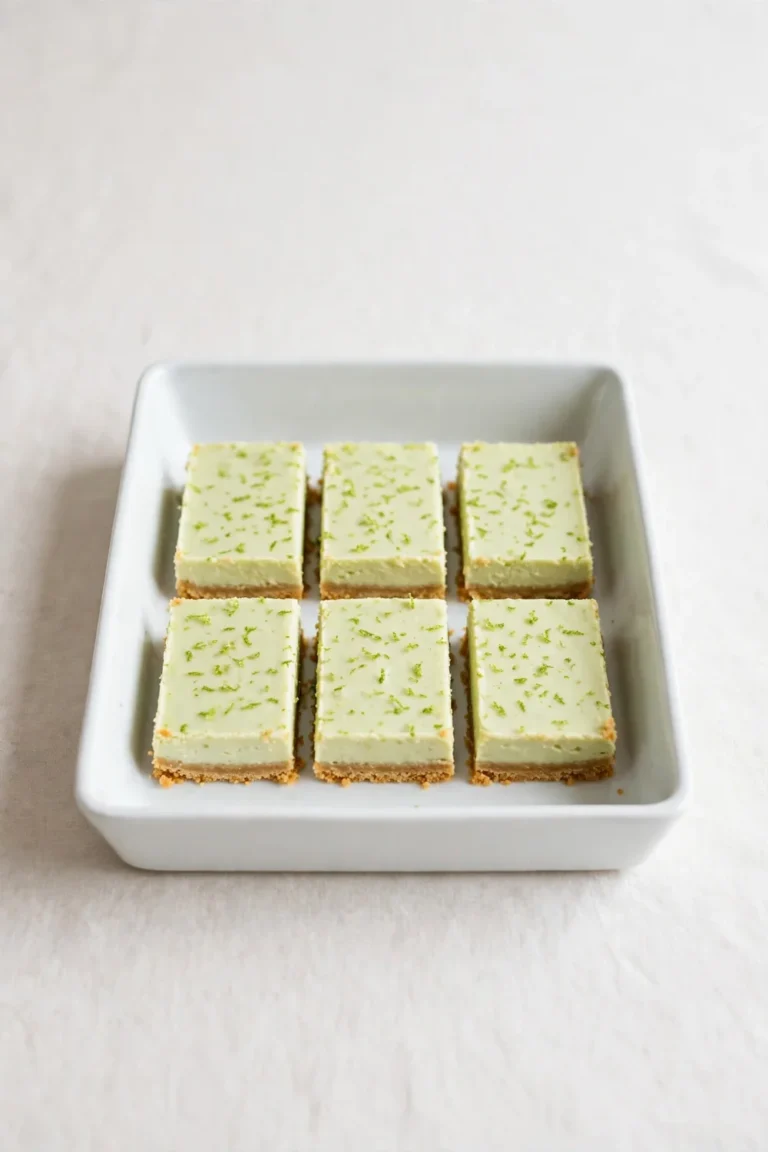
After: After the fix, the same filling bakes until the center barely jiggles, then chills overnight. The slices lift out cleanly and hold their shape.
Chill the pie for at least four hours, and overnight is better. Cold firms the custard fully, and a well chilled pie slices far more cleanly than a barely cool one. Plan ahead, and chill the pie overnight for the neatest slices. A full chill is the secret to neat, clean slices.
Build A Firm Crust

Do This:
- Press the crust firmly and evenly into the dish.
- Bake the crust for eight minutes before filling.
- Cool the crust fully before adding the filling.
Avoid This:
- Do not use a soft, unbaked crust, since it will turn soggy.
- Do not pour filling into a hot crust.
- Do not skip the crust bake to save time.
A firm crust supports the filling and keeps each slice neat. A soft crust soaks up juice and collapses under the knife. Bake the crust first, cool it fully, and press it firmly so it holds the filling well. A crisp, firm crust makes every single slice look truly professional.
Balance Sweet And Tart

Time Needed: About 15 to 18 minutes of baking plus 4 hours of chilling.
Difficulty: Easy, once the filling sets and the pie chills fully.
Cost: Low, since limes, eggs, and condensed milk cost little.
Best For: Summer desserts, potlucks, and make ahead treats.
Balance sweet and tart by tasting the filling before baking. It should taste bright and lively, with sweetness right behind the tang. A pinch of salt sharpens both flavors. Taste twice, since the filling sets milder than it tastes raw. A balanced filling tastes bright and lively, never harsh or flat.
Serve Neat Slices

A pie that slices cleanly starts with a sharp knife. Dip the knife in hot water, wipe it dry, and cut straight down. Clean cuts keep the filling in place. Wipe the blade between slices for the neatest edges. Clean cuts keep the filling neat and the plate tidy.
Serve each slice cold with a small dollop of whipped cream. The cream adds richness and hides any small cracks in the filling. Add the cream just before serving, and keep the pie chilled until the plates go out. Cold slices serve best on chilled plates for neat results.
Store Without Weeping

Store the pie covered in the fridge and slice it cold. Warm pie softens fast, so return the dish to the fridge between servings. Cover loosely so the topping stays neat, and slice with a warm, dry knife. Cold pie slices cleanly and holds its shape well.
- Cover the pie loosely with plastic wrap.
- Chill it for up to three days.
- Slice it cold with a warm, dry knife.
- Add whipped cream just before serving.
- Return leftovers to the fridge at once.
Final Set Check
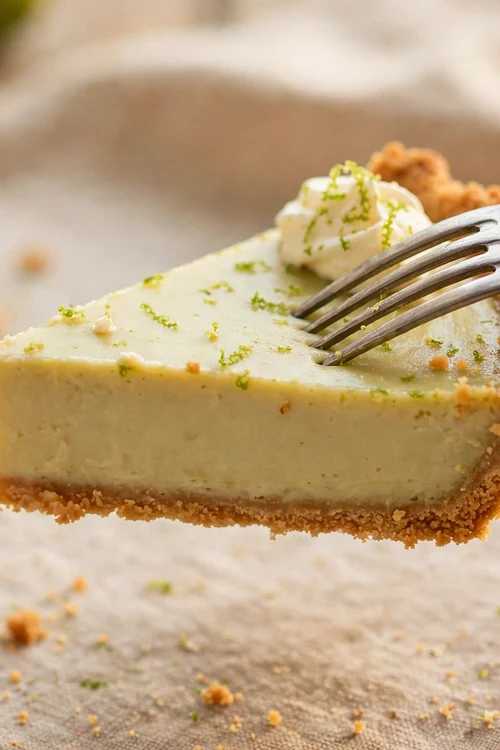
Quick Tip: Press one slice gently with a fork. Firm pie holds its shape and gives way slowly. If the slice slumps, chill the pie for two more hours before serving.
This quick check takes only a moment. A firm slice promises neat plates, and a longer chill now beats a loose pie at the table. Check one slice from the center, since the center sets last. A firm center means the pie is ready to serve with real pride today.
Conclusion
Fixing runny key lime pie comes down to enough eggs, a full bake, and a long cold chill. Those three habits turn a loose, slumping pie into neat slices with bright, tangy flavor. Try them on your next pie and enjoy every clean slice. Keep the eggs right and the chill long every time you bake, and neat pie slices will become your normal result. A firm crust and a full bake make all the difference, and your dessert will look as good as it tastes. For another dessert rescue, read this cheese sauce guide next.