How To Fix Split Cheese Sauce? Easy Fix Guide
If your split cheese sauce turns oily and grainy instead of smooth and glossy, you are not alone. Many home cooks face this same problem, and the good news is that a silky sauce takes only gentle heat and patience.
The usual cause is heat that runs too high. Boiling makes cheese proteins tighten and squeeze out fat, so the sauce breaks apart. Low heat keeps the cheese melting smoothly.
This guide walks you through each fix in order, from base to serving, so your next sauce stays creamy. For a pie rescue next, read this lime pie guide after this one.
Why Cheese Sauce Splits

Cheese sauce splits when its proteins tighten and push out fat. High heat makes the proteins clump, and the oil floats free instead of staying mixed. The result looks grainy, oily, and thin. Gentle heat is the only safe way to melt cheese.
Pre shredded cheese makes it worse, since the starch coating stops it from melting smoothly. Grating a block of cheese yourself fixes half the problem at once. Buy a block, grate it fresh, and keep the shreds cold until the base is ready. Freshly grated cheese melts faster and far more smoothly.
Use Low Heat

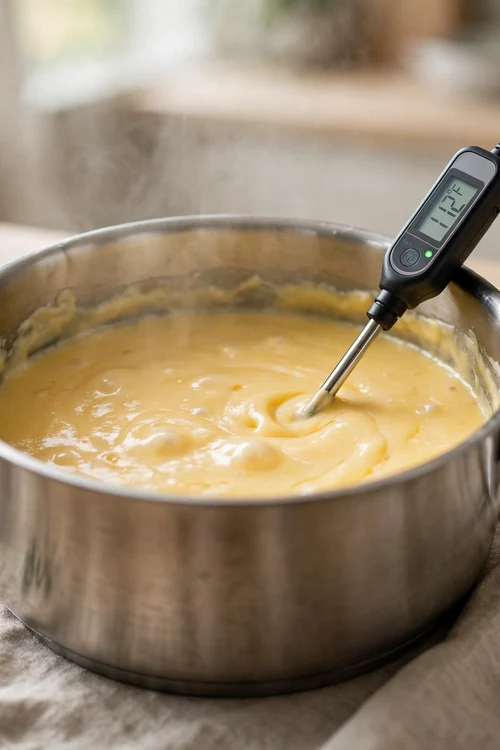
Low, steady heat is the first fix. The sauce should stay below a simmer, with no bubbles breaking the surface at all. Keep the burner on low from the start, and warm the milk base gently until it just steams.
- Set the burner to low before adding any cheese.
- Warm the milk base gently until it steams.
- Add cheese in small handfuls, not all at once.
- Stir slowly until each handful melts before adding more.
Make A Smooth Base

Quick Tip: Cook butter and flour together for two minutes to make a smooth base. The base thickens the sauce and holds the cheese in a stable, creamy mix.
Whisk the milk in slowly to avoid lumps. A smooth base before the cheese goes in means a smooth sauce after it melts. Rush this step and the sauce will stay grainy. Pour the milk in a thin stream, whisking all the time. Slow whisking now saves the sauce from graininess later.
Add Cheese Slowly

Common Mistake: Many cooks dump all the cheese in at once over high heat. The cheese seizes into a clump, and the sauce turns oily around it.
The Fix: Add grated cheese a small handful at a time on low heat. Wait for each handful to melt fully before adding the next.
Grate the cheese finely so it melts fast. Fine shreds blend into the sauce in seconds, while thick chunks need long heat that risks splitting. Grate the cheese just before cooking, and keep it cold so it melts evenly. Cold shreds melt evenly, so keep the bowl chilled until cooking.
Pick Melting Cheeses

What You Need:
- Block cheese: Melts smoothly without the starch on pre shredded bags.
- Butter and flour: Build a stable base that holds the sauce together.
- Whole milk: Gives the sauce body and a creamy texture.
- Whisk: Blends the sauce smoothly and breaks up small lumps.
- Lemon juice: A few drops help bring a split sauce back together.
Cheddar, Monterey Jack, and Gruyere melt well. Hard aged cheeses and low fat cheeses melt poorly, so save them for grating over the finished dish. Mix two melting cheeses for deeper flavor, and taste before you season. Two melting cheeses together give a deeper, richer flavor than one cheese alone.
Fix Broken Sauce

Before: Before the fix, the sauce boiled hard with all the cheese dumped in at once. It turned grainy and oily within minutes.
After: After the fix, the same cheese melts slowly into a glossy sauce on low heat. The sauce coats a spoon and stays smooth to the last serving.
If the sauce still splits, take it off the heat and whisk in a splash of warm milk. A few drops of lemon juice can also help the fat blend back in. Whisk slowly and patiently. The sauce should come back together within a minute.
Avoid Overheating
Do This:
- Keep the heat low from start to finish.
- Stir slowly and steadily, not fast.
- Serve the sauce as soon as it looks glossy.
Avoid This:
- Do not let the sauce boil at any point.
- Do not add cold cheese to a hot base.
- Do not reheat the sauce on high heat.
Cheese sauce waits for no one. It thickens as it cools and can split if reheated hard, so time your serving so the sauce meets the table fresh. Have the pasta or vegetables ready before the sauce finishes, and serve at once. Have every side ready before the sauce leaves the heat.
Season At End
Time Needed: About 15 to 20 minutes from base to serving.
Difficulty: Easy, once the heat stays low and steady.
Cost: Low to medium, since cheese is the main expense.
Best For: Pasta, vegetables, nachos, and baked dishes.
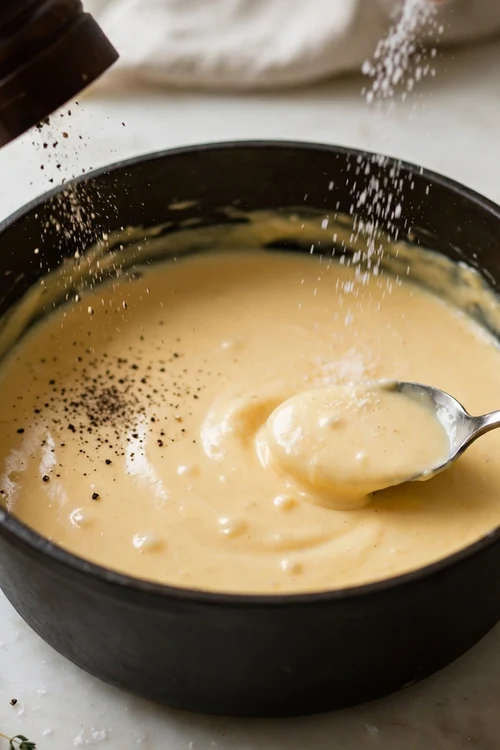
Season at the very end, after the cheese has melted. Salt tastes stronger in a finished sauce, and seasoning early can push the salt too far. Taste first, then add salt in small pinches until the flavor sings. A pinch at a time keeps the seasoning balanced and the flavor bright.
Serve Glossy Sauce

Sauce that thickens on standing can be loosened with warm milk, one tablespoon at a time. Stir gently over low heat until it flows smoothly again. Add the milk slowly, and stop as soon as the sauce coats a spoon. Stop adding milk once the sauce flows like thick cream.
If the sauce sits too long and splits, blend it briefly and return it to low heat. A short blend pulls the fat back in, and a splash of milk restores the shine. Blend only a few seconds, then whisk by hand. A quick blend fixes most split sauces fast.
Store Without Splitting

Store leftover sauce in a sealed container once it cools. Reheat it slowly with a splash of milk, whisking all the way. Cool the sauce quickly, and chill it within an hour so it stays fresh and smooth. A gentle reheat keeps the sauce glossy and smooth.
- Cool the sauce to room temperature within one hour.
- Move it to a sealed container.
- Chill it for up to three days.
- Reheat on low heat with a splash of milk.
- Whisk slowly until smooth and glossy.
Final Glossy Check

Quick Tip: Lift a spoonful and watch it fall back. Smooth sauce flows in a slow, glossy ribbon with no oil beads on top. If oil beads appear, whisk in a spoonful of warm milk.
This quick check takes only seconds. A glossy ribbon promises a creamy sauce, and a small fix now beats a split pot at the table. Check the sauce just before serving, since it thickens as it cools. A slow, glossy ribbon means the sauce is ready for the table.
Conclusion
Fixing split cheese sauce comes down to low heat, a smooth base, and adding cheese slowly. Those three habits turn an oily, grainy pot into a glossy sauce that coats everything beautifully. Try them on your next batch and enjoy sauce worth the cheese. Keep the heat low and the cheese slow every time you make this sauce, and glossy sauce will become your normal result. A smooth base and patient stirring make all the difference, and your pasta will taste better than ever. For another kitchen rescue, read this pilau rice guide next.