How To Fix Soggy Cake Bottom? Easy Fix Guide
If your soggy cake bottom stays wet and dense while the top looks done, you are not alone. Many home bakers face this same problem, and the good news is that a firm, even base takes only a few careful habits.
The usual causes are easy to spot. A cool oven, too much liquid, or a pan that traps steam can all leave the base underbaked. Once you see which cause fits your kitchen, the fix becomes clear.
This guide walks you through each fix in order, from oven heat to pans and cooling, so your next cake bakes evenly. For a bread rescue next, read sourdough bread after this one.
Why Cake Bottoms Sog

Cake bases turn wet when steam cannot escape. A cool oven sets the top slowly while the base sits in liquid batter, and a pan lined with foil or greased too heavily traps moisture underneath. The base stays pale and dense while the top looks done.
Too much liquid makes it worse, since the extra water pools at the bottom. The fix is a hot oven, the right pan, and a rack for cooling. Measure liquids carefully, and let the cake cool on a rack so steam escapes instead of soaking back into the crumb.
Preheat Oven Fully

A fully heated oven is the first fix. The batter should meet strong heat at once, so the base starts setting right away. A hot oven builds a firm base, and the crumb sets evenly from the bottom up. Give the oven fifteen minutes, and check it with a thermometer.
- Set the oven to the recipe temperature and wait at least 15 minutes.
- Check the temperature with an oven thermometer.
- Place the pan on the middle rack.
- Keep the door closed for the first two thirds of baking.
Pick The Right Pan

Quick Tip: Use light colored metal pans for even baking. Dark pans brown the outside fast while the inside stays wet, and glass pans hold heat long after baking ends.
Match the pan size to the recipe. A small pan makes a deep cake that struggles to bake through, while a wide pan makes a thin cake that dries out. The right pan size matters more than the brand. Choose the size the recipe names, and fill the pan only two thirds full.
Line Pans Correctly
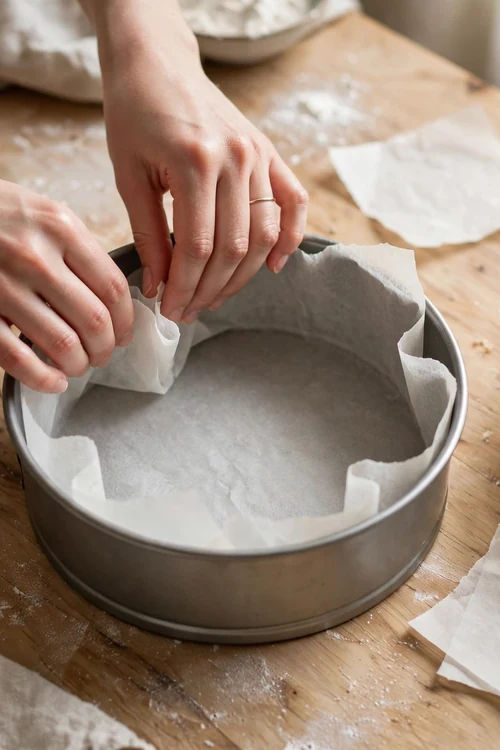
Common Mistake: Many bakers grease the pan heavily and skip the parchment. The extra grease pools under the batter and fries the base into a wet, dense layer.
The Fix: Grease the pan lightly, then line the base with a round of parchment. Dust the sides with a little flour and tap out the extra.
Parchment lets the base release cleanly without extra fat. The cake slides out easily, and the base stays dry and even instead of greasy. Cut the parchment round to fit the pan, and press it flat before adding batter. This small step saves the base of every cake you bake.
Measure Liquid Carefully

What You Need:
- Oven thermometer: Shows the true temperature behind the dial.
- Light metal pans: Bake the base gently and evenly.
- Parchment paper: Lines the base so the cake releases without grease pools.
- Cooling rack: Lets air reach the base so steam escapes fast.
- Cake tester: Checks the center without guessing.
A cooling rack is the tool most bakers undervalue. Leaving a cake in its pan on a counter traps steam under the base, while a rack lets air flow all around it. Buy a sturdy rack that fits your pans, and use it every time. The base dries fast once air reaches it.
Bake Long Enough

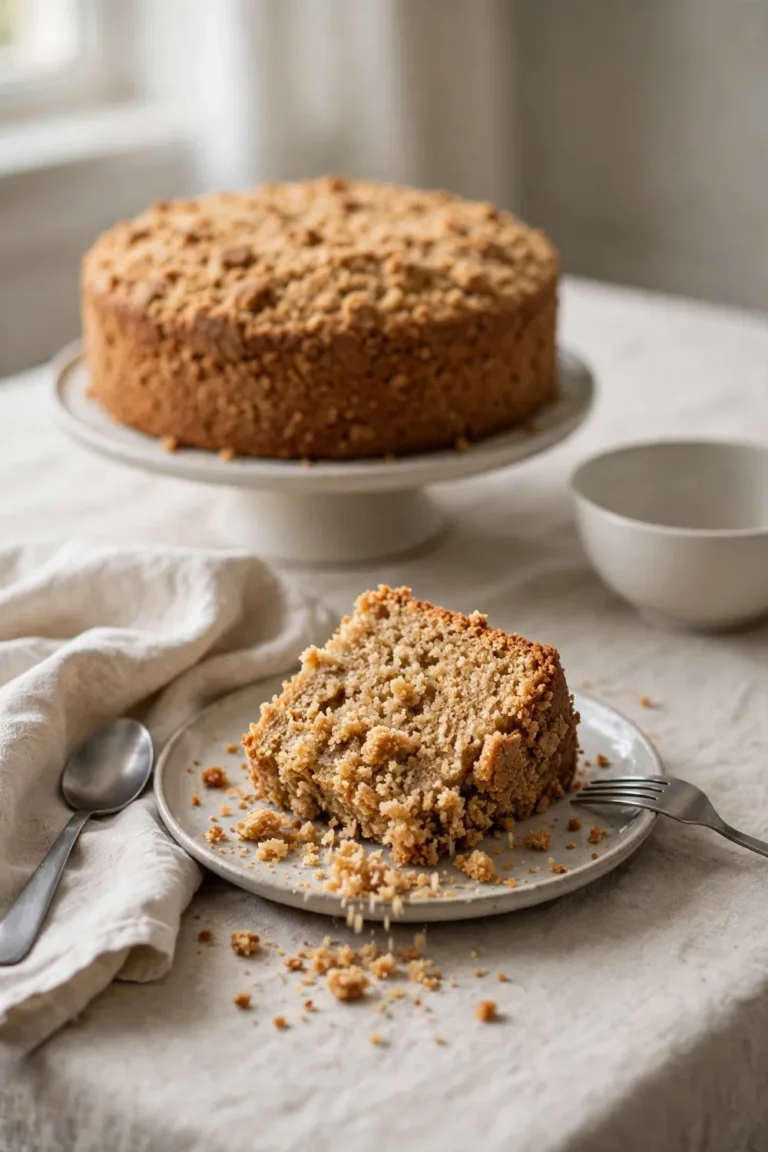
Before: Before the fix, the cake baked in a cool oven in a greased glass dish. The base stayed wet and heavy while the top looked done.
After: After the fix, the same batter bakes in a hot oven in a lined metal pan. The base sets firmly and the crumb stays even from top to bottom.
Test the center before removing the cake. A tester should come out with a few moist crumbs, not wet batter. If it looks wet, bake for five more minutes and test again. Check the center, not the edge, since the edge always sets first. Patience here saves the base.
Cool On A Rack

Do This:
- Turn the cake out onto a rack within ten minutes.
- Let the cake cool fully before wrapping or frosting.
- Store the cooled cake in a loose cover for the first hour.
Avoid This:
- Do not leave the cake in the pan until it goes cold.
- Do not wrap a warm cake in plastic, since steam will wet the base.
- Do not frost a cake that still feels warm.
Cooling is part of baking. A cake that cools on a rack finishes setting evenly, while a cake left in the pan keeps steaming from below. Turn the cake out within ten minutes, then leave it alone until fully cool. A patient cool gives you a firm, even base.
Fix Soggy Cake
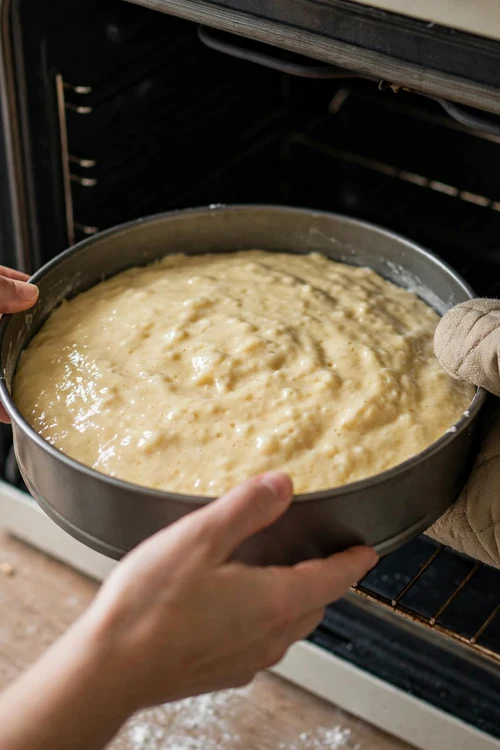
Time Needed: About 30 to 40 minutes of baking, plus one hour of cooling.
Difficulty: Easy, once the oven runs hot and the pan is lined.
Cost: Low, since parchment and a thermometer cost little.
Best For: Layer cakes, loaf cakes, and sheet cakes.
If your oven runs cool, raise the temperature by 15 degrees and check the cake five minutes early. A small adjustment often fixes a base that always stays wet. Write the adjustment on the recipe card so you remember it next time. Every oven has its own quirks.
Prevent Wet Bases
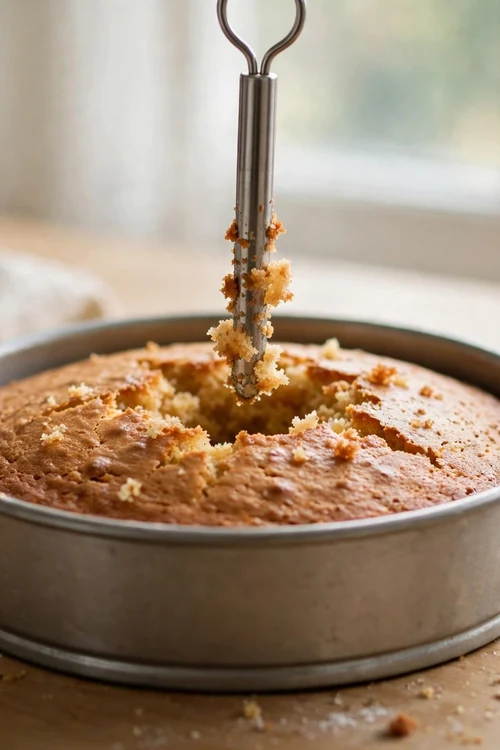
A cake with a wet base can sometimes be saved. Return it to a low oven at 300 F for five to eight minutes, then cool it on a rack. The gentle heat dries the base without overbaking the top. Watch it closely so the top stays soft.
If the base is very wet, serve the cake in slices with the base side up on the plate. A spoonful of whipped cream hides the soft base, and the flavor still shines. Serve the slices promptly, and keep the extra cream on the side.
Serve Firm Slices
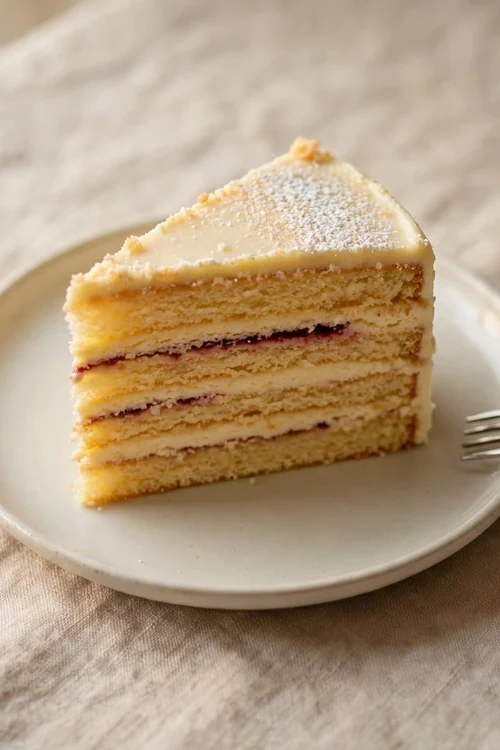
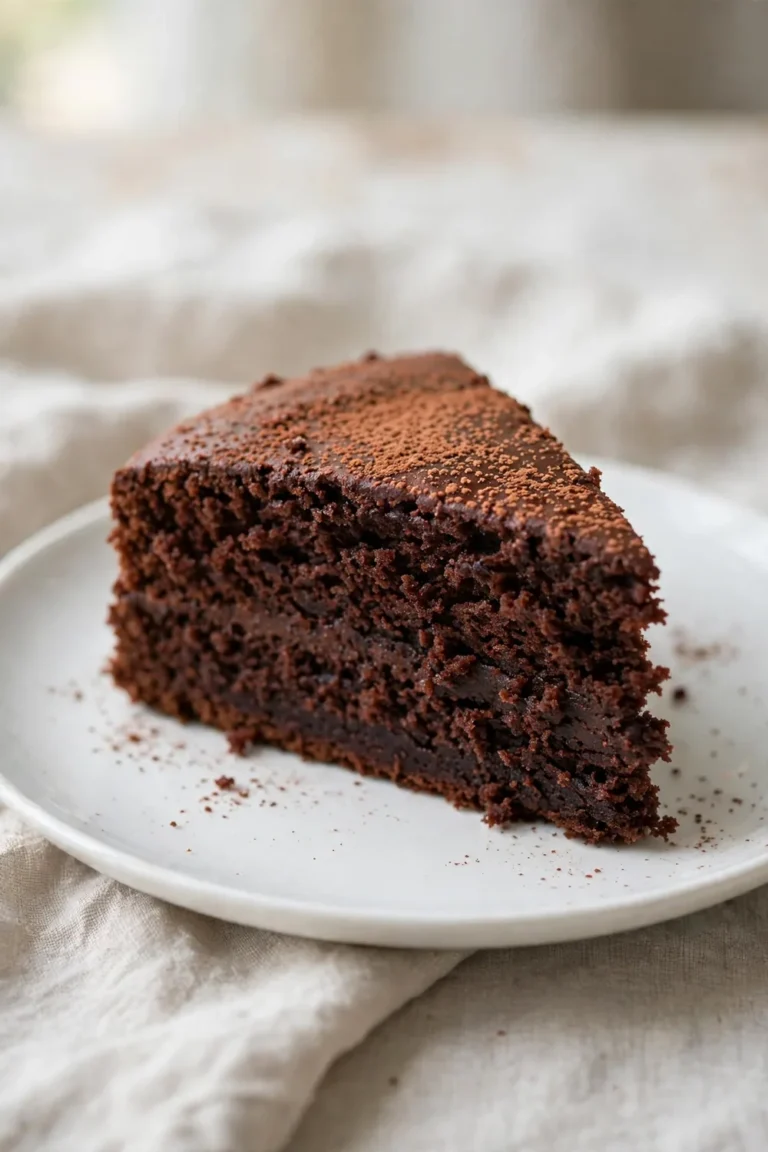
Serve cake at room temperature, sliced with a warm, dry knife. A clean cut shows an even crumb from top to base. Warm the knife under hot water, dry it, then cut with one smooth motion. Wipe the blade clean between slices for neat edges.
- Cool the cake fully on a rack.
- Cut slices with a long, sharp knife.
- Wipe the knife clean between cuts.
- Serve on plates while the crumb is fresh.
- Cover leftovers loosely once the cake is cool.
Final Base Check
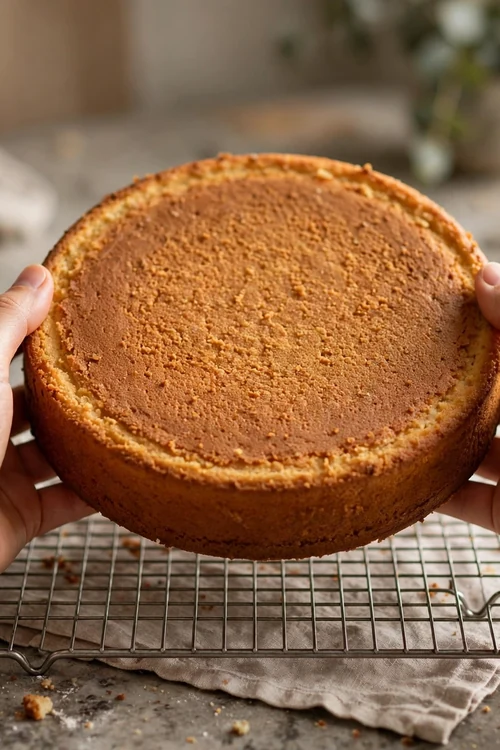
Quick Tip: Lift one slice and look at its base. A well baked cake has a firm, dry base that matches the rest of the crumb. If the base looks wet, cool the next cake on a rack sooner.
This quick check takes only a moment. A dry base means the whole cake baked evenly, and a small cooling change now saves every cake after it. Check a slice from the center of the cake, since the center shows the true bake. The center slice always tells the truth.
Conclusion
Fixing soggy cake bottom comes down to a hot oven, a lined metal pan, and cooling on a rack. Those three habits turn a wet, heavy base into a firm, even cake from top to bottom. Try them on your next bake and enjoy slices that hold together. Keep the oven hot and the cooling patient every time you bake, and firm even cakes will become your normal result. A lined pan and a rack do most of the work, and soon every slice will hold together beautifully. For another baking rescue, read red velvet next.