Why Is My French Toast Soggy in the Middle? Easy Fix Guide
If your soggy french toast comes out golden outside yet wet in the middle, you are not alone. Many home cooks face the same damp center with a trusted recipe. The good news is that a few small changes can fix the middle.
The middle stays wet when bread soaks up too much custard and the pan heat never reaches the center. Thin bread, a long soak, and high heat all work against a full cook. In my experience, short soaking and steady heat fix most middles.
This guide walks through each cause, from bread to cooking. Follow the steps, and your next slices should cook through and stay golden. And if split dressings are your trouble instead, see why separating salad dressing happens and how to keep it smooth.
Why French Toast Turns Soggy
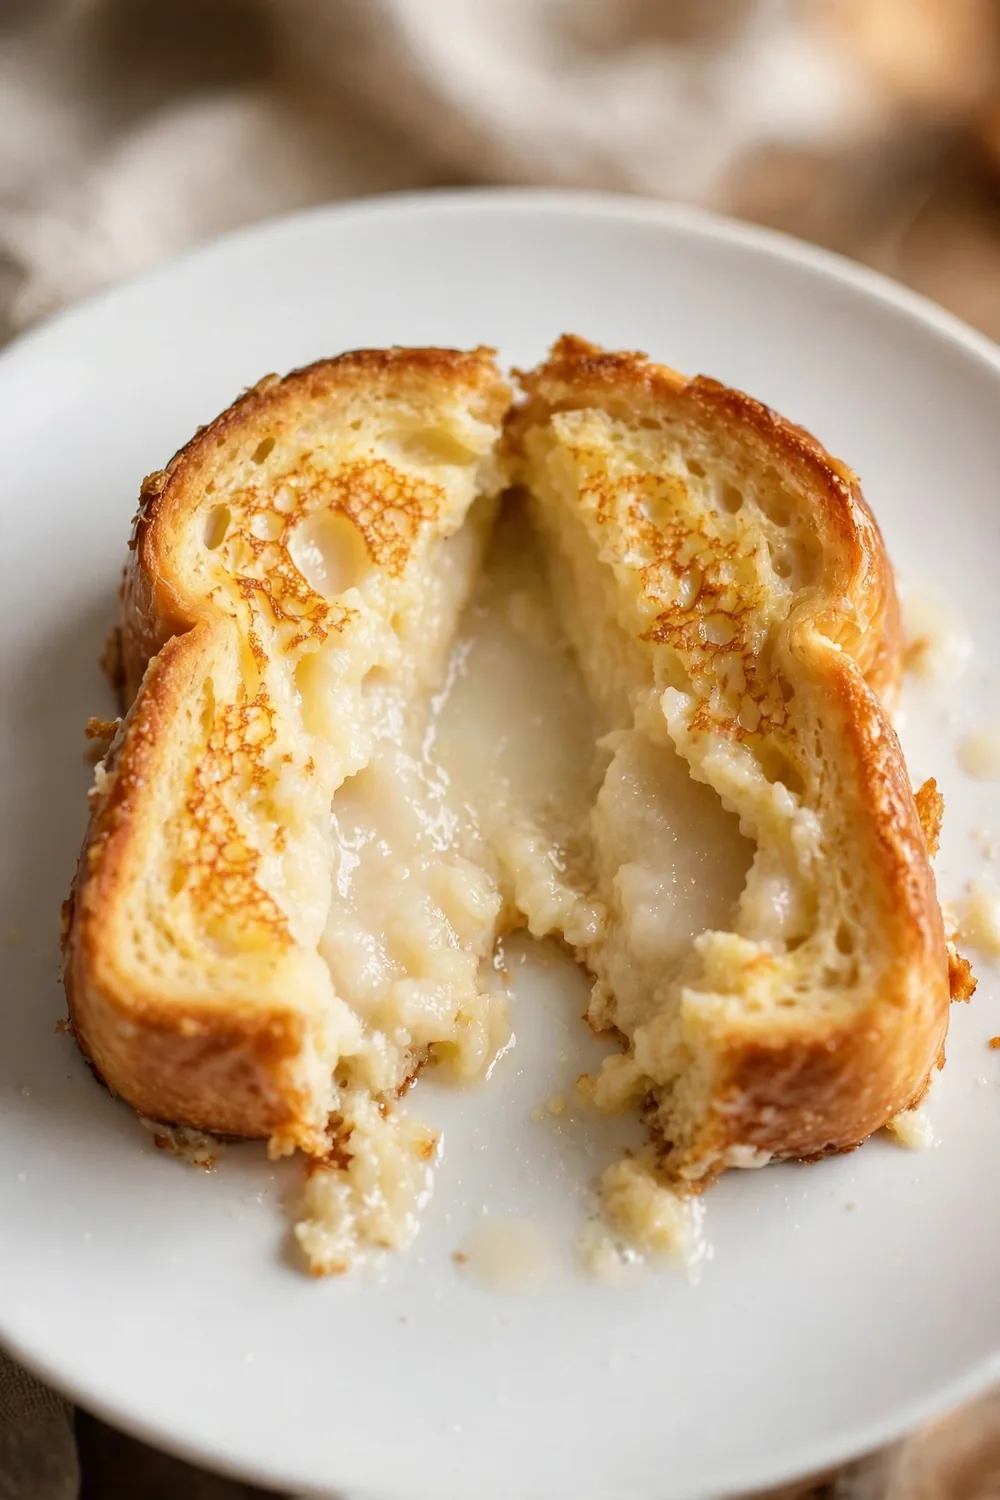
Before: Before the fix, thin slices soak up liquid fast, and a long soak fills them to the core. High heat then browns the outside before the center sets. Stacking hot slices traps steam and softens the crust too.
After: After the fix, thick slices hold their shape and the custard coats only the outside. Steady heat cooks the center through before the crust darkens. Each slice leaves the pan firm, with a crisp shell and a set middle.
French toast turns wet in the middle when the bread holds more custard than the heat can cook through. A cool pan also slows the cook, so the center stays raw while the outside darkens. Knowing the cause helps you pick the fix, so the next batch cooks through and stays firm.
Use Thick Bread Slices
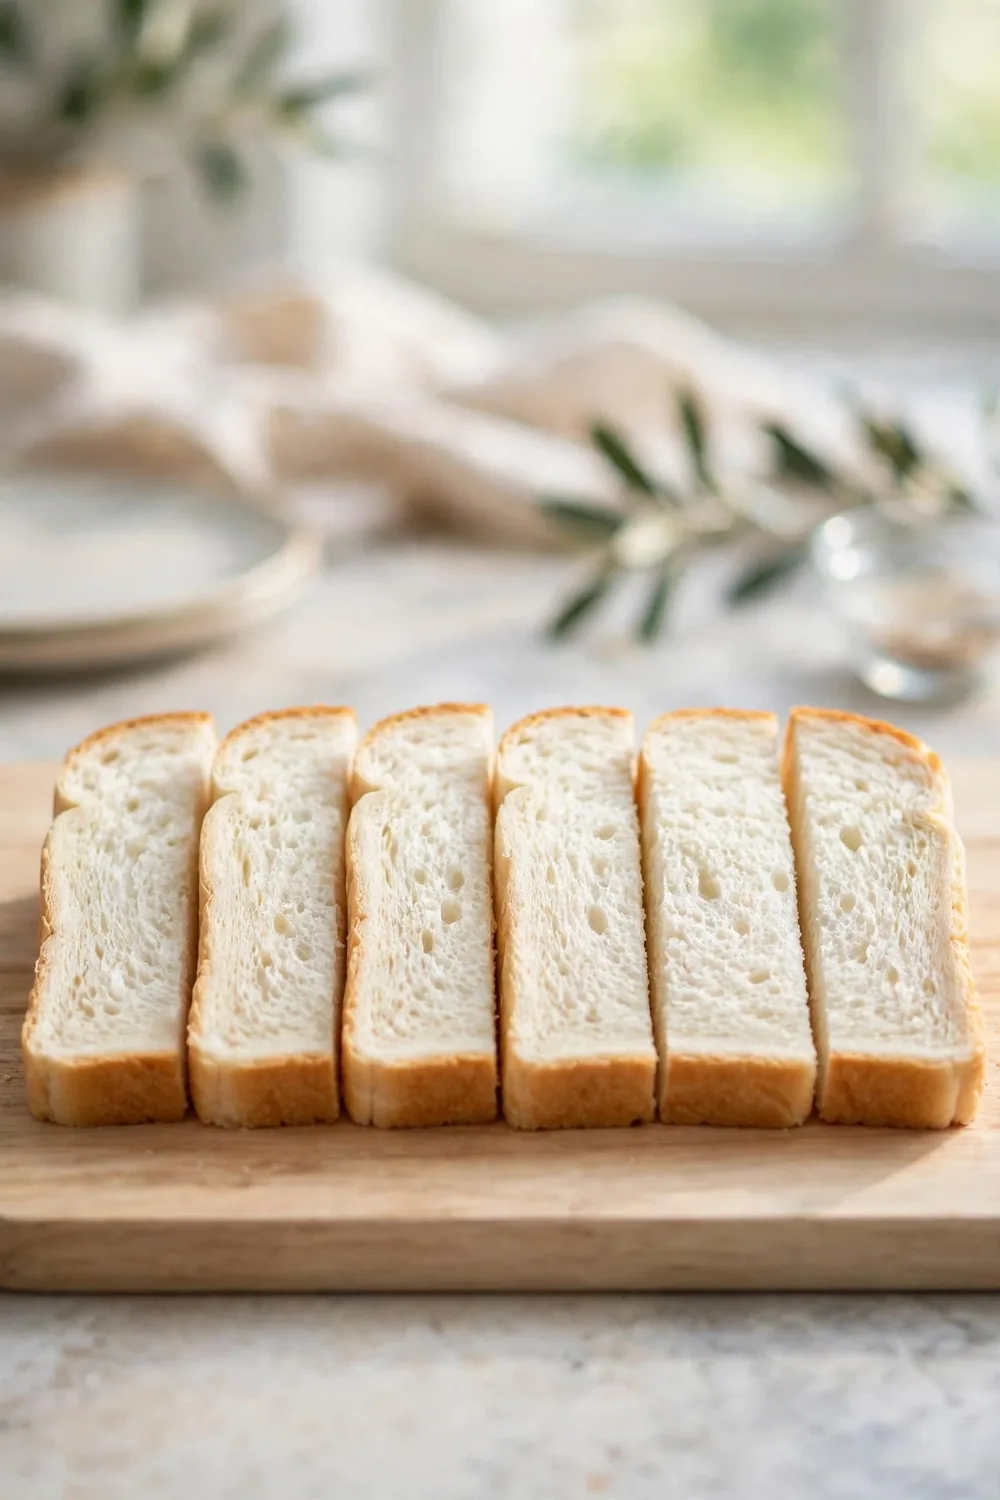
Thick bread is the first defense against a wet center. Slices at least three quarters of an inch thick hold their shape in custard instead of collapsing. Thin sandwich bread turns to mush fast and never cooks through. A sturdy crumb gives the heat time to reach the center.
- Choose brioche, challah, or day old country bread.
- Slice the loaf at least three quarters of an inch thick.
- Trim any thin end pieces that would soak through.
- If the loaf feels soft, let the slices sit out for an hour first.
Mix a Rich Custard

Do This:
- Use more eggs and less milk than a thin mix.
- Add a splash of cream for body and a pinch of salt.
- Whisk until smooth, with no streaks of white.
Avoid This:
- Do not drown the bread in a thin, milky mix.
- Do not add much sugar, since sugar in the pan burns.
- Do not add more than a few drops of vanilla.
A rich custard coats the bread without drowning it. A splash of cream adds body, and a pinch of salt sharpens the flavor. A balanced custard cooks into a golden shell with a set center. Keep the bowl shallow so each slice dips evenly. Taste the mix for sweetness before you dip.
Preheat the Pan Well

A hot pan sets the outside at once and starts cooking the center. Melt butter over medium heat until it foams and smells nutty. A cool pan lets the bread sit in fat and soak up grease instead of crisping. Give the pan two minutes to heat before the first slice goes in.
Butter that browns fast means the heat is too high. Test the heat with a drop of custard, since it should sizzle at once. Keep the pan hot between batches so each slice cooks the same way. Wipe out dark crumbs between batches so nothing burns.
Do Not Soak Too Long
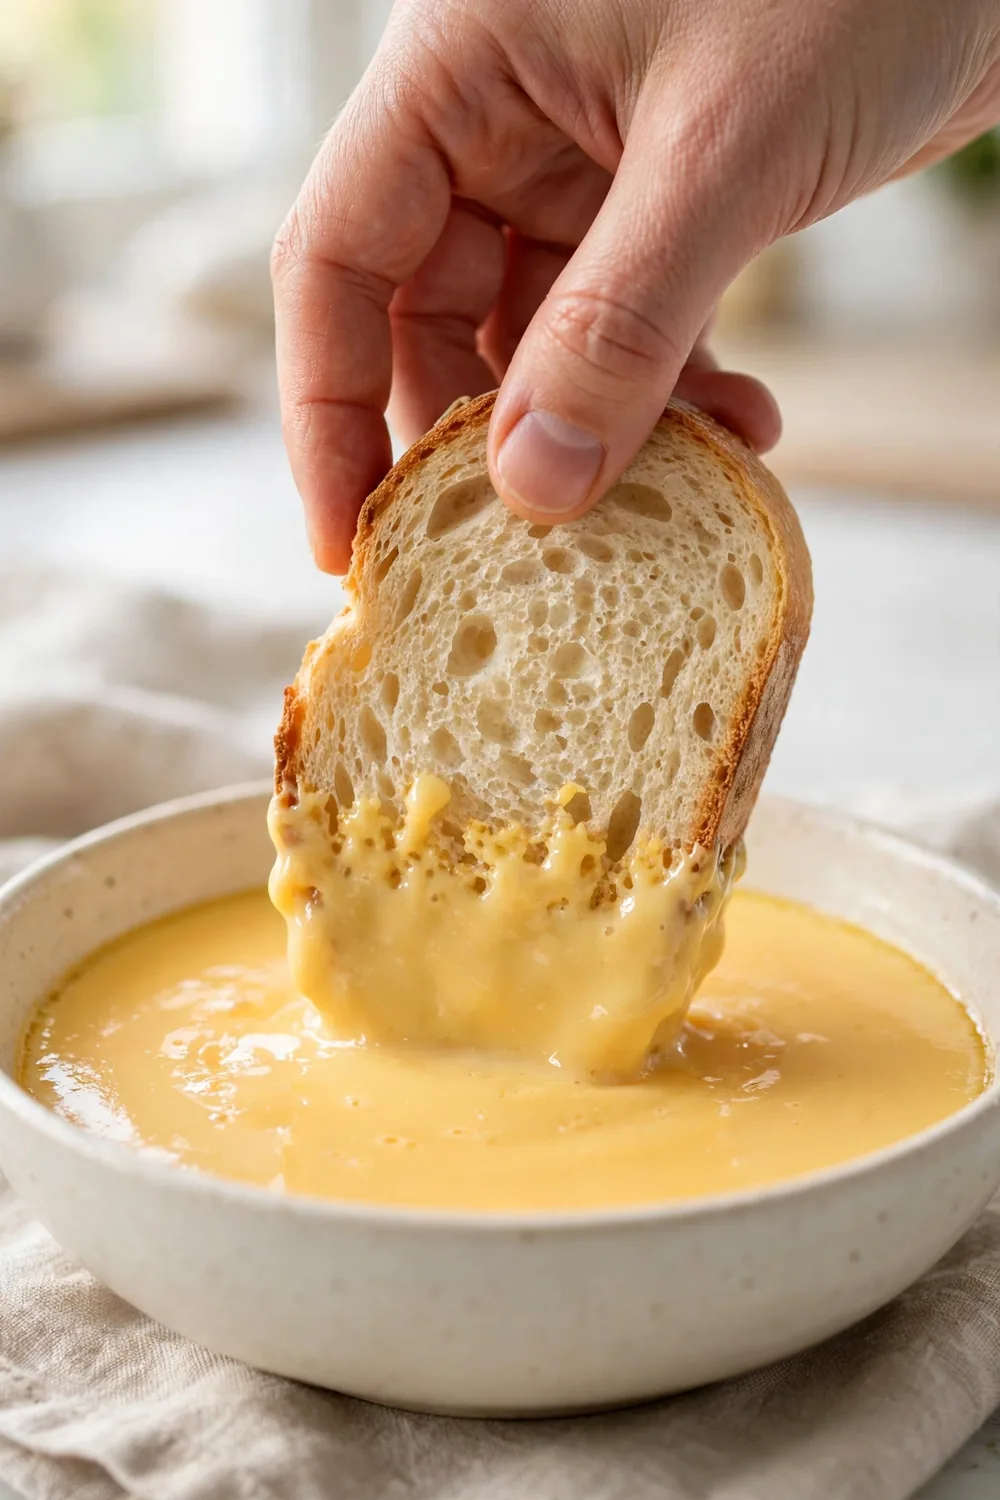
Soak time: 20 seconds per side
Lift tool: Fork
Feel: Moist surface, not soaked through
Warning sign: Slice tears or feels heavy
A quick dip coats the outside and leaves the center dry enough to cook through. Lay each slice in the custard for twenty seconds a side. Lift it with a fork and let custard drip back into the bowl. The slice should feel moist on the surface, not soaked through.
Cook on Medium Heat

Quick Tip: Set the burner to medium and let each side take its time. A gentle sizzle is the sound of the right heat. If the outside darkens too fast, lower the heat a notch and give the center more time.
Medium heat cooks the center through before the outside burns. High heat browns the crust fast and leaves the middle raw. Steady heat lets the custard set all the way through the slice. Each side needs about two to three minutes, depending on thickness. Watch the edges, since they should turn golden and firm.
Flip Once and Wait
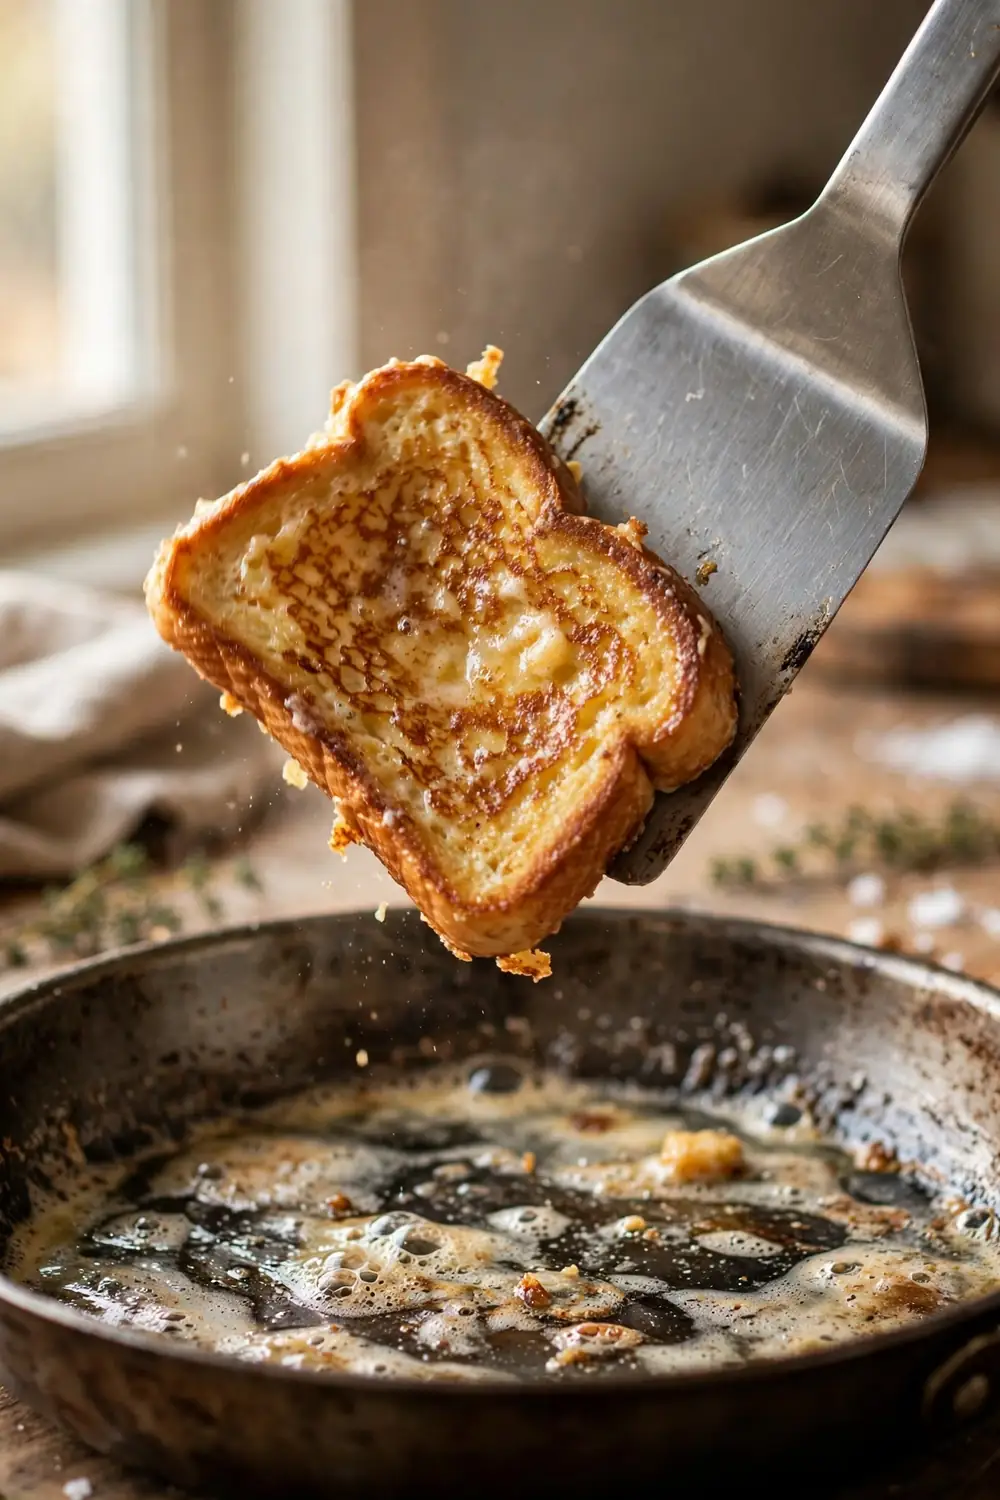
Common Mistake: Most cooks flip twice and peek often, which cools the pan and breaks the set surface. Peeking and lifting early lets heat escape and softens the crust. The second side then cooks unevenly.
The Fix: Wait until the first side is deep golden before you turn the slice. Slide a thin spatula under the slice and turn it in one smooth motion. Press the slice lightly so the second side meets the pan fully.
One flip keeps the crust intact and the heat steady. Leave the slice alone until the second side matches the first in color. Patience here gives a crisp shell and a fully cooked center. Flipping twice cools the pan and breaks the crust you worked to build.
Keep Slices in One Layer
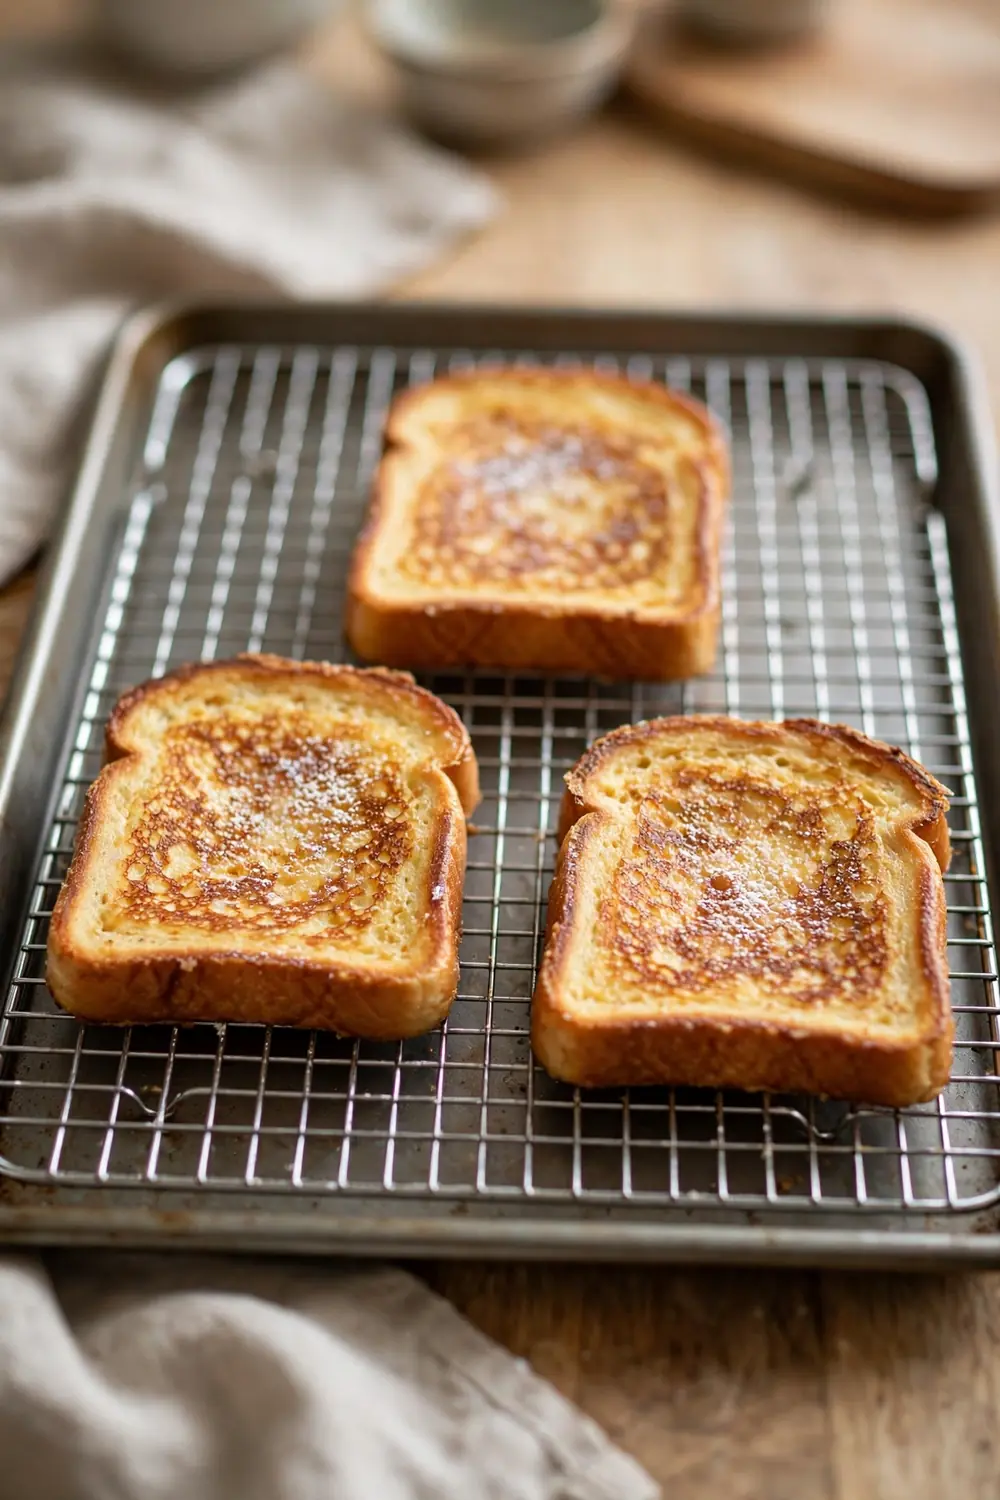
What You Need:
- Pan: A standard pan fits two slices at a time.
- Spatula: A thin spatula turns each slice without breaking it.
- Rack: A wire rack holds finished slices warm while you cook.
- Space: A finger width of space keeps steam from building up.
Space in the pan lets heat reach every slice evenly. Crowding drops the pan temperature and steams the bread instead of frying it. Cook two slices at a time in a standard pan, and no more. Steam trapped between slices keeps the middles wet and soft.
Let Steam Escape
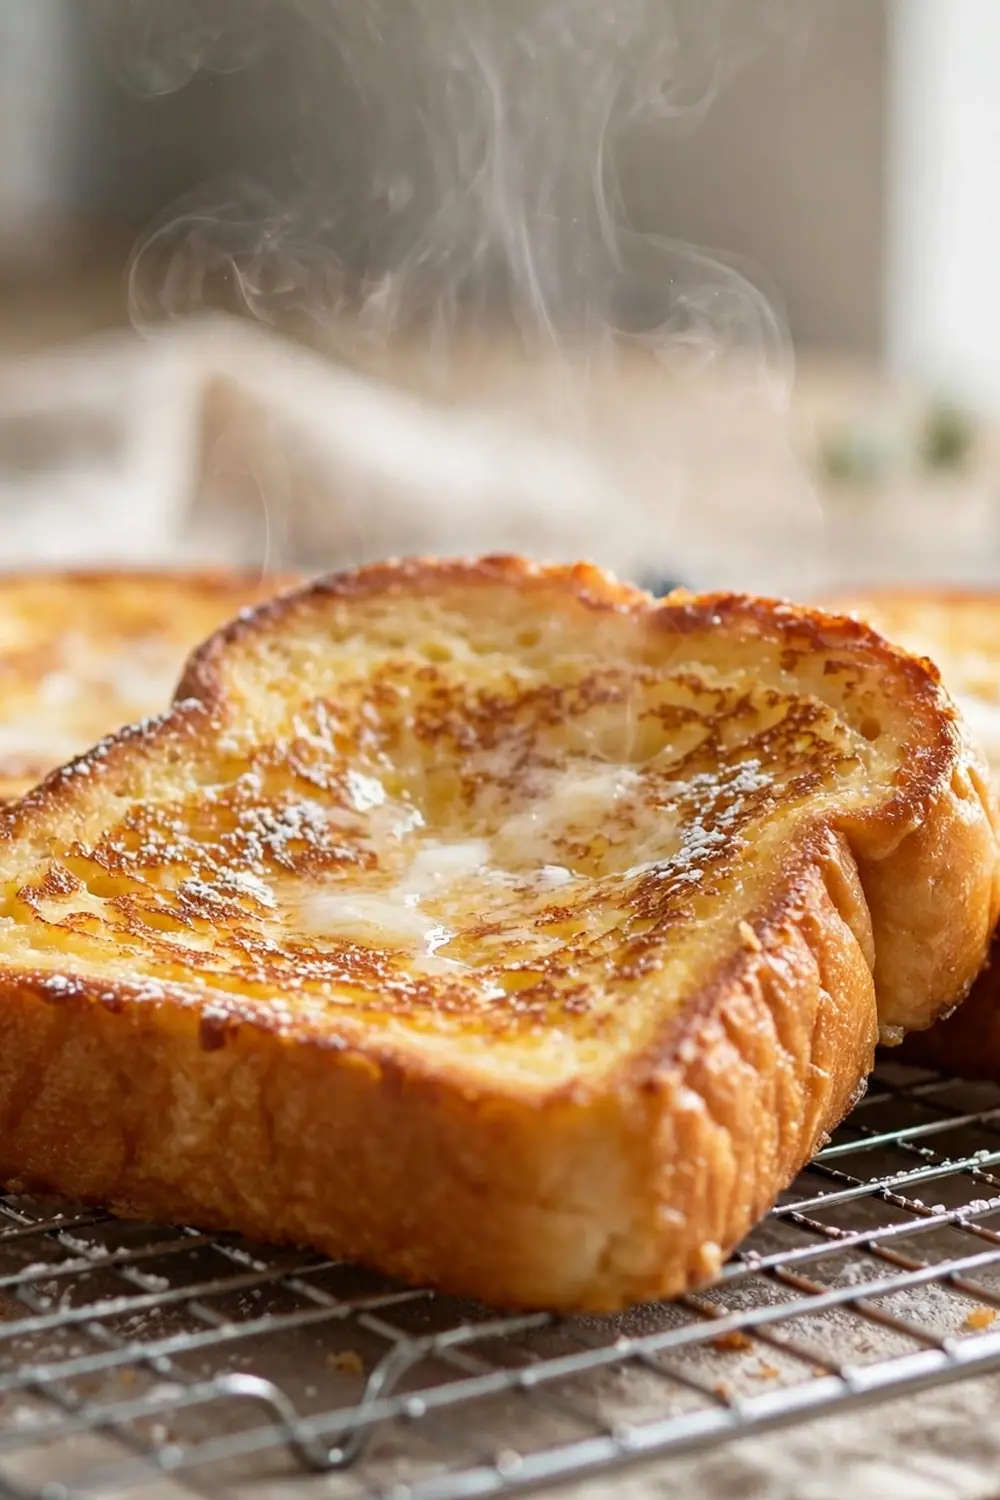
Do This:
- Hold each slice upright a few seconds so steam leaves both sides.
- Move each slice to a wire rack, not a plate.
- Let air move under and around the slice while you cook the next batch.
Avoid This:
- Do not stack hot slices, since trapped steam softens the crust.
- Do not cover the rack with a towel, since a cover traps steam.
- Do not leave slices on a plate, since steam pools underneath.
Steam is the enemy of crisp French toast after cooking. A slice fresh from the pan still holds hot steam inside. If you stack it or cover it, that steam softens the crust within minutes. A short rest on the rack keeps the shell crisp while you cook the next batch.
Common Mistakes to Avoid
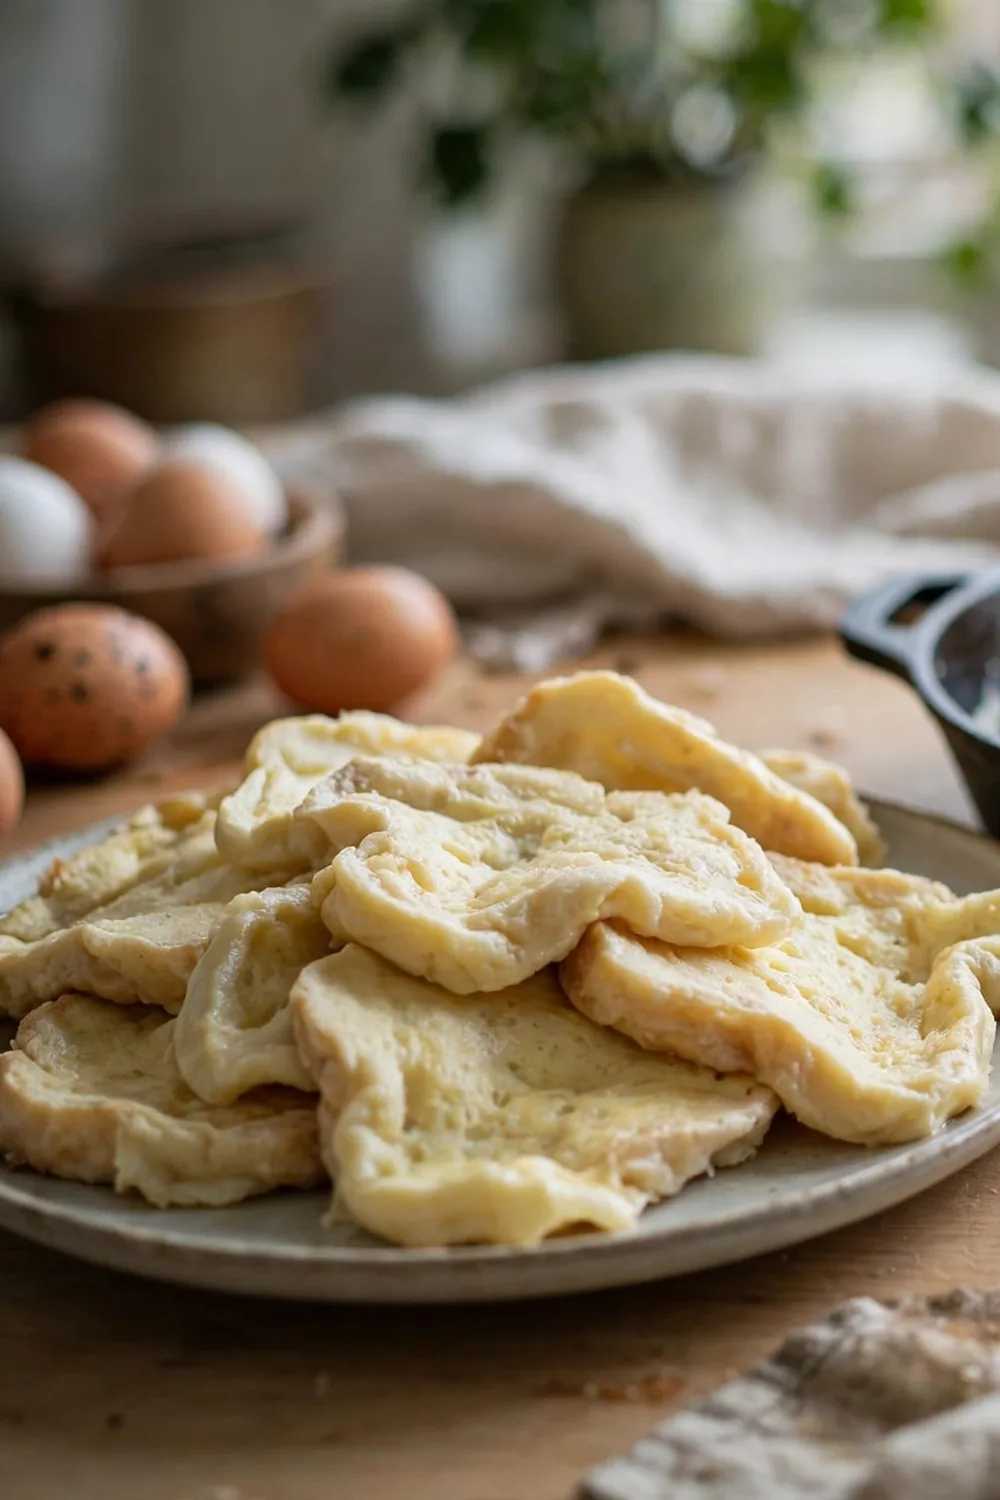
Most soggy centers come from a few repeatable habits, not a bad recipe. Fix one habit at a time, starting with thick bread and a short soak. The list below covers the mistakes I see most often in home kitchens. Each habit softens the center, even when the recipe is sound.
- Do not soak thin bread until it falls apart.
- Do not cook on high heat, which burns the outside and leaves the middle raw.
- Do not stack hot slices on a plate, which traps steam.
- Do not crowd the pan, since crowding drops the heat and steams the bread.
- Do not flip twice, since flipping breaks the crust.
What Golden Toast Looks Like

Golden French toast shows a deep even color and a dry, firm surface. The outside feels crisp when pressed, and the inside stays soft but set. The slice holds its shape when lifted. That firm, golden shell is the sign that bread, custard, and heat worked together.
Cut a test slice to check the center, since it should look cooked and custardy, not wet. Serve the slices warm with toppings at the table. When the shell stays crisp and the center stays set, you know the fixes worked. Golden color and a firm center mean the batch is ready.
Conclusion
In short, soggy french toast comes from thin bread, a long soak, high heat, crowding, and trapped steam. Fix those steps and each batch cooks through. Thick bread, short soaking, steady heat, and rack cooling build a crisp shell with a set center.
Start with the simplest fix first. Small changes protect the flavor while the texture improves. Save this guide on Pinterest for your next breakfast.
Try the steps on your next batch, and if limp waffles are your trouble too, read our guide on soggy waffles for a crisp breakfast fix.