How To Fix Royal Icing That Is Too Stiff? Easy Fix Guide
If your stiff royal icing turned out too stiff to pipe or spread, you are not alone. Stiffness comes from too much powdered sugar, too little liquid, and air drying that hardens the surface while you work. The fix usually comes down to a few small choices you can change next time.
This guide walks through what went wrong, the exact steps that fix it, and the habits that keep it from happening again. Spot the weak step, adjust it, and test the result with a small batch first.
Work through the sections in order, or jump to the fix that matches your batch. For another rescue, see these brioche dough fixes for a smoother bake and keep building your skills.
Why Royal Icing Stiffens

Three small habits cause most stiffness. That single weak step often explains the whole result, and once you see it, the fix feels clear. In my experience, cooks blame the recipe when the real issue is one small habit that is easy to change.
Add water a few drops at a time, stir gently, and keep the bowl covered with a damp towel between uses. Try the change on a small test batch first, then compare it side by side with your usual method. The difference will tell you whether you found the true cause or only part of it.
Add Water By Drops
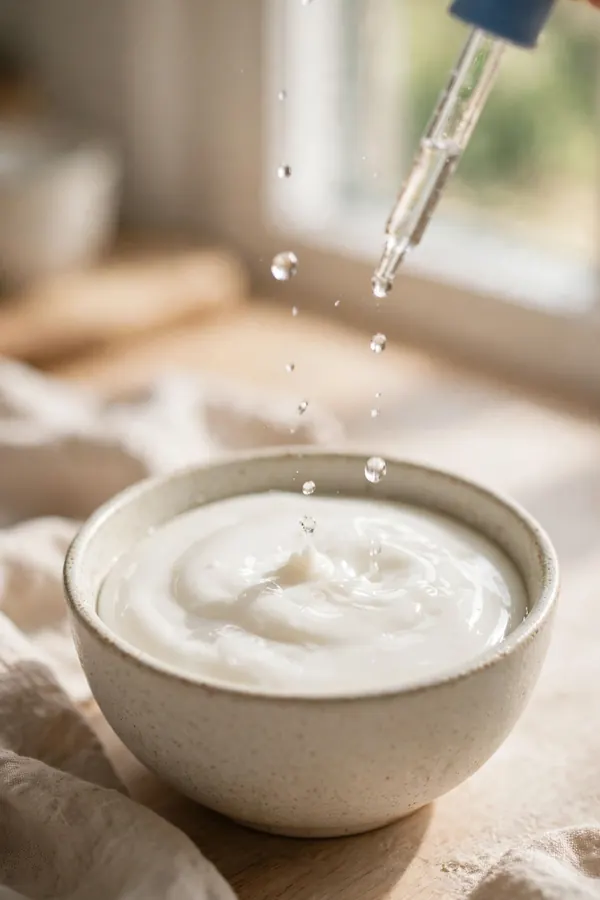
A few drops of water loosen stiff icing faster than a big splash ever will. Follow the steps below in order, and give each one your full attention. Rushing the early steps is how the same problem comes back, so slow down where it counts.
- Add water 1/2 teaspoon at a time.
- Stir slowly to avoid air bubbles.
- Test with a ribbon count.
- Stop when the ribbon melts in 10 seconds.
Stir Gently Slowly

Quick Tip: Stir royal icing slowly. Fast beating whips in air, and air bubbles pop later and leave pits in the finish. Write the tip on your recipe card so you remember it next time.
Slow, gentle stirring keeps air out and the finish smooth. Keep the tip in mind while you work, and check the result before you move to the next step. Good cooking is mostly good timing, and a quick pause to look, smell, and taste will catch most trouble early.
Cover Between Uses

Common Mistake: Many decorators add a big pour of water to stiff icing, which swings it straight past flooding into runny soup. Keeping the bowl covered between uses stops a crust from forming on top.
The Fix: Add water by drops, stir, and test the ribbon after each addition so you land on the exact thickness you need. Cover the bowl with a damp towel whenever you pause decorating.
Air is the enemy of smooth icing. Keep the bowl covered with a damp cloth between uses, and press plastic wrap right against the surface for longer breaks. Stir gently before piping, since vigorous beating whips in bubbles. Covered icing stays soft, pipes cleanly, and holds its shape on the cookie.
Consistency Tests Here

What You Need:
- Powdered sugar: Sifted so the icing stays smooth.
- Meringue powder: Builds structure without eggs.
- Water: Added by drops for control.
- Lemon juice: Brightens flavor and helps flow.
- Damp towel: Keeps the surface from crusting.
Gather everything before you start so you are not hunting for tools mid-recipe. Test the ribbon after every few drops, since the shift from stiff to fluid can happen very fast. A calm, organized setup makes each step easier and keeps the timing on track.
Meringue Powder Ratio

Before: The icing felt like paste, tore from the bag, and cracked the moment it left the tip. The right meringue powder ratio keeps the icing firm yet flexible.
After: Thinned by drops and kept covered, the same icing pipes smooth lines and dries with a clean shine. Measured meringue powder stops cracking while the icing sets.
The powder ratio decides whether the icing flows or cracks. Too much powder makes a stiff paste that tears the bag and crumbles on the cookie. Start with the recipe amount, then adjust with water a few drops at a time. A smooth ribbon that holds a soft peak pipes best.
Color And Thickness

Do This:
- Add water by drops.
- Stir slowly.
- Cover the bowl.
- Test the ribbon count.
Avoid This:
- Do not pour water in.
- Do not beat fast.
- Do not leave the bowl open.
- Do not pipe dried edges.
Gel color thins the bowl slightly, so add the color first and adjust the water only after that. Keep this short list beside you while you cook, and check off each point as you finish it. A simple checklist beats memory when the kitchen gets busy.
Pipe Without Cracking

Time Needed: 10 minutes to mix and adjust.
Difficulty: Easy, with a light hand.
Cost: Sugar, meringue powder, and water.
Result: Smooth icing that pipes cleanly.
A bag that pipes smoothly now can still crust over, so work steadily and keep it covered. Use the facts above to set your plan before you start. When you know the time, the tools, and the target result, each step feels calmer and more certain.
Fix Dried Edges

Crusted edges form where air reaches the bowl, so cover the surface between piping rounds. Press plastic wrap right against the icing, not just over the rim. That seal stops the skin that turns into lumps in the tip. Work with small batches so the bowl stays covered most of the time.
If the tip clogs, wipe the crust away and stir the bowl before piping again. A quick stir breaks up dry bits before they reach the bag. Clean edges and a covered bowl keep the next round smooth.
Store Icing Right

Leftover icing keeps well when air stays out of the container. Press wrap against the surface, seal the lid tightly, and store the bowl in a cool spot. Work through the steps below to keep each batch smooth until the next decorating day.
- Cover the bowl with a damp towel.
- Stir again before piping.
- Thin a little more for flooding.
- Pipe promptly and cover leftovers.
Final Flow Check

Quick Tip: Lift the spoon and watch the ribbon fall. A ribbon that melts back smooth in ten seconds pipes clean lines.
Run this check before every piping round, and adjust with drops of water every time the ribbon holds its shape. A smooth flow means fewer clogs, cleaner edges, steadier lines, and calmer decorating. One quick test saves the whole batch from a rough and uneven finish.
Conclusion
With these fixes, stiff royal icing can turn into a result you are proud to serve. Start with the biggest cause, change one thing at a time, and taste as you go so you know what actually helped. Small, steady adjustments beat a full recipe overhaul, and they teach you how your oven, your pans, and your ingredients behave. If you want one more rescue to study, read these cookie icing fixes for a firm set and add them to your notes. Keep this guide nearby, trust your senses, and enjoy the next batch.