Why Is My Brioche Dough Too Sticky? Easy Fix Guide
If your sticky brioche dough turned out sticky and impossible to shape, you are not alone. Stickiness is normal in brioche, but it turns unworkable when the butter is too warm, the dough is undermixed, or it never gets a cold rest. The fix usually comes down to a few small choices you can change next time.
This guide walks through what went wrong, the exact steps that fix it, and the habits that keep it from happening again. Spot the weak step, adjust it, and test the result with a small batch first.
Work through the sections in order, or jump to the fix that matches your batch. For another rescue, see this banana bread guide and keep building your skills with steady practice.
Why Brioche Sticks

Three small habits cause most stickiness. That single weak step often explains the whole result, and once you see it, the fix feels clear. In my experience, cooks blame the recipe when the real issue is one small habit that is easy to change.
Chill the dough overnight, work with cool hands and a scraper, and add flour only in tiny amounts. Try the change on a small test batch first, then compare it side by side with your usual method. The difference will tell you whether you found the true cause or only part of it.
Chill Overnight First

A cold overnight rest firms the butter and turns a sticky dough into a workable one. Follow the steps below in order, and give each one your full attention. Rushing the early steps is how the same problem comes back, so slow down where it counts.
- Mix flour, eggs, milk, and yeast first.
- Add cool butter a little at a time.
- Knead until smooth and elastic.
- Chill the dough overnight.
Butter Temperature Counts

Quick Tip: Wet your hands lightly or chill them before shaping. Cool hands pick up far less dough than warm ones. Write the tip on your recipe card so you remember it next time.
Cool butter is the line between rich dough and a greasy mess. Keep the tip in mind while you work, and check the result before you move to the next step. Good cooking is mostly good timing, and a quick pause to look, smell, and taste will catch most trouble early.
Mix Until Smooth

Common Mistake: Many bakers keep adding flour to sticky brioche, which dries the crumb and turns a rich loaf into plain bread. Mixing until smooth and chilling the dough handles the stickiness without extra flour.
The Fix: Resist the flour. Chill the dough, use a scraper, and let the cold firm up the butter so the dough handles easily.
Brioche dough should feel soft and tacky, not dry or stiff. Mix until it pulls away from the bowl and passes the windowpane test, then stop. Cold butter added in small pieces keeps the dough manageable and rich. A fully developed dough shapes cleanly and bakes into a soft, even crumb.
Scraper Is Essential
What You Need:
- Bread flour: Builds strength for rich dough.
- Cool butter: Adds richness without melting out.
- Eggs: Enrich the dough and add color.
- Whole milk: Softens the crumb.
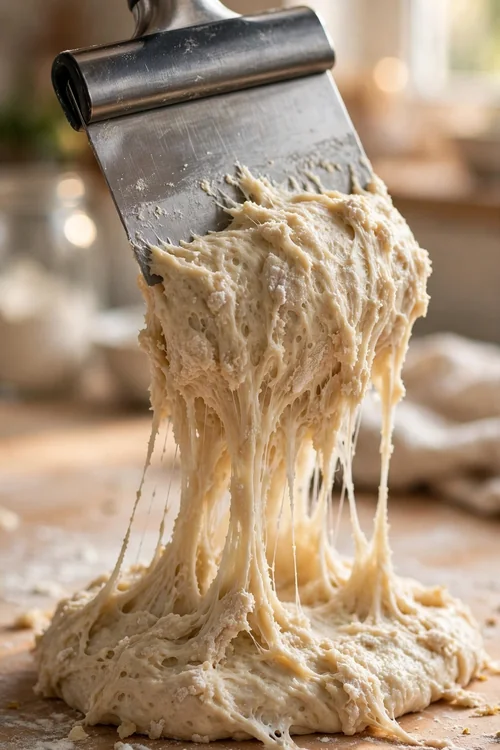
- Bench scraper: Moves dough without extra flour.
Gather everything before you start so you are not hunting for tools mid-recipe. Slide the scraper under the dough instead of adding flour, since extra flour slowly dries out the crumb. A calm, organized setup makes each step easier and keeps the timing on track.
Flour Sparingly Only

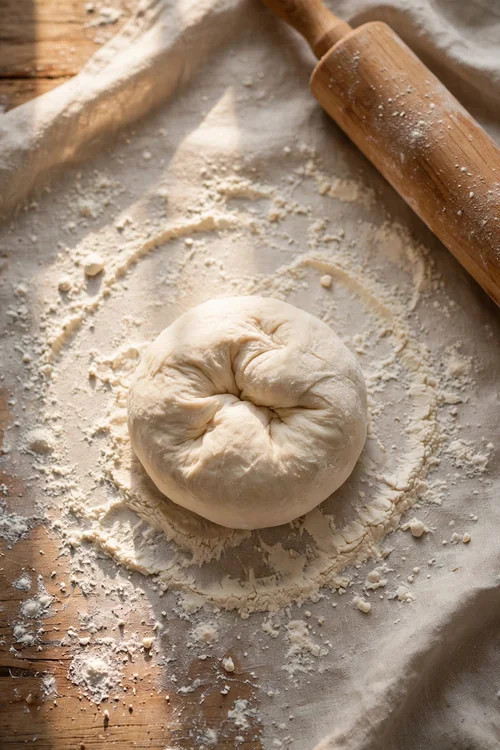
Before: The dough glued itself to the board, the hands, and the scraper, and shaping felt hopeless. Flour used sparingly keeps the dough rich instead of dry and stiff.
After: Chilled and handled with a scraper, the same dough shapes cleanly and bakes into a soft, rich loaf. A light dusting of flour is all the dough needs to shape cleanly.
Extra flour feels like a quick rescue, but it ruins the soft crumb. Dust your hands and the bench lightly, and use a scraper instead of handfuls of flour. A short chill firms the butter and makes the dough easy to handle. The baked loaf stays tender, golden, and rich.
Cold Hands Help

Do This:
- Keep the dough cold while shaping.
- Use cool butter.
- Work with a scraper.
- Shape while cold.
Avoid This:
- Do not add handfuls of flour.
- Do not use melted butter.
- Do not shape warm dough.
- Do not rush the proof.
Cool hands and a cold scraper lift the dough cleanly without tearing, stretching, or warming it at all. Keep this short list beside you while you cook, and check off each point as you finish it. A simple checklist beats memory when the kitchen gets busy.
Shape While Cold

Time Needed: 20 minutes of mixing plus an overnight chill.
Difficulty: Medium, with patience.
Cost: Flour, butter, and eggs.
Result: A soft, rich, golden loaf.
Cold dough holds its shape well, so shape quickly and return the tray to the fridge at once. Use the facts above to set your plan before you start. When you know the time, the tools, and the target result, each step feels calmer and more certain.
Proofing Patience Here

Proofing turns a dense, cold loaf into a light one, but only when the dough stays warm enough to rise. Set the tray in a draft-free spot near a warm oven. Watch for a clear puff, not a fixed clock, since cool kitchens slow every rise.
If the loaf still looks flat after an hour, move it somewhere warmer and wait longer. Press the dough gently, and bake only when the dent springs back slowly. Patience at this stage decides how soft the crumb turns out. A rushed proof bakes into a tight, heavy loaf.
Bake Golden Brown

A well-proofed loaf bakes into a deep gold crust with a soft, rich center. Brush the top with egg wash, slide the tray into a hot oven, and watch the color closely. Work through the steps below, and pull the loaf when it sounds hollow.
- Shape the cold dough with a scraper.
- Proof until puffy, about 1 hour.
- Brush with egg wash.
- Bake at 350 F until deep gold.
Final Soft Check
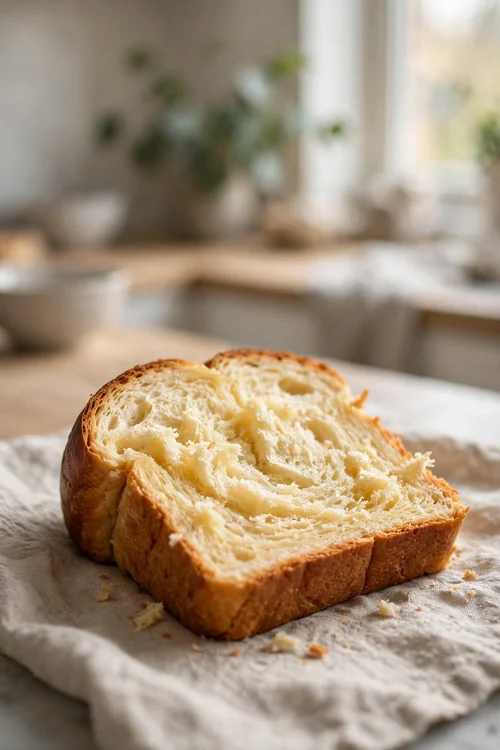
Quick Tip: Press the cooled loaf gently and listen for a soft spring. A loaf that springs back slowly stayed moist inside.
Slice the loaf only after it cools fully, so the crumb sets instead of tearing apart. Use a sharp serrated knife and long, light, steady sawing strokes. A cool loaf slices cleanly, and each thick slice shows the soft, even, golden crumb you worked for.
Conclusion
With these fixes, sticky brioche dough can turn into a result you are proud to serve. Start with the biggest cause, change one thing at a time, and taste as you go so you know what actually helped. Small, steady adjustments beat a full recipe overhaul, and they teach you how your oven, your pans, and your ingredients behave. If you want one more rescue to study, read this royal icing guide and add it to your notes for next time. Keep this guide nearby, trust your senses, and enjoy the next batch.