Why Does My Meringue Weep And Get Sticky? Easy Fix Guide
If your weeping meringue turned out leaking golden beads and puddles, you are not alone. Weeping usually comes from undissolved sugar, humid air, or meringue spread over a cold filling that never seals at the edges. The fix usually comes down to a few small choices you can change next time.
This guide walks through what went wrong, the exact steps that fix it, and the habits that keep it from happening again. Spot the weak step, adjust it, and test the result with a small batch first.
Work through the sections in order, or jump to the fix that matches your batch. For another rescue, see our guide to pasta dough fixes and keep building your skills.
Why Meringue Weeps

Beads on a meringue usually point to sugar, humidity, or a cold filling that never sealed. In my experience, cooks blame the recipe when the real issue is one small habit that is easy to change.
Dissolve the sugar fully, spread the meringue over hot filling, and seal it to the crust edge before baking. Try the change on a small test batch first, then compare it side by side with your usual method. The difference will tell you whether you found the true cause or only part of it.
Dissolve Sugar Fully
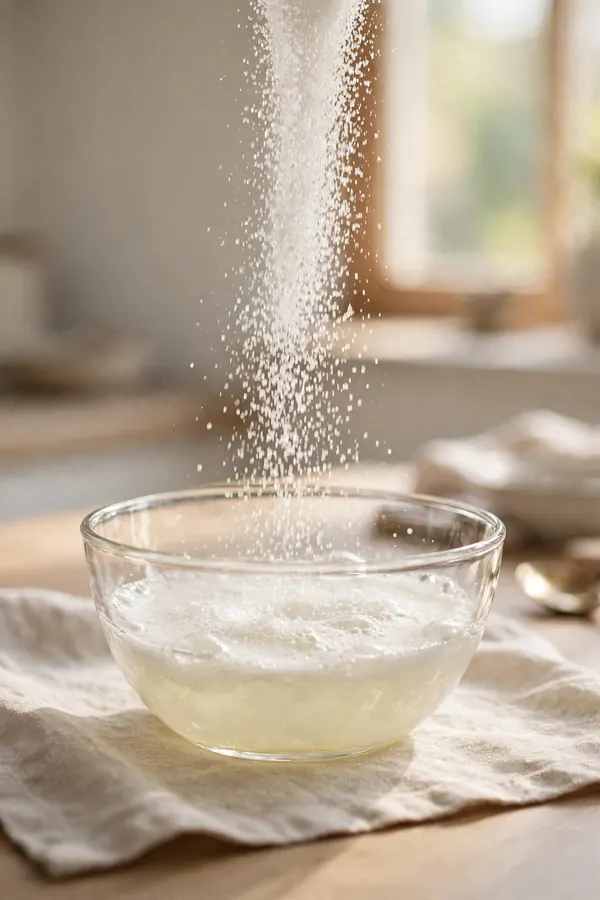
Rub a pinch between two fingers, and keep beating while any grit remains, since dissolved sugar holds the foam steady. Follow the steps below in order, and give each one your full attention. Rushing the early steps is how the same problem comes back, so slow down where it counts.
- Warm whites and sugar over a pot until the sugar melts.
- Whip with cream of tartar to stiff, glossy peaks.
- Spread over hot filling right away.
- Seal the meringue to the crust edge.
Spread Over Hot Filling
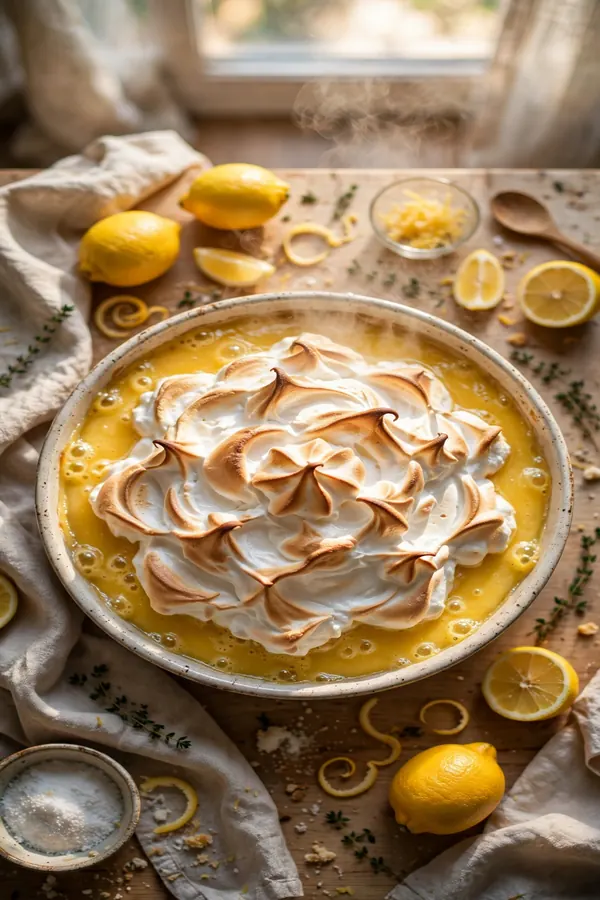
Quick Tip: Rub a little meringue between your fingers. If it feels gritty, keep beating until the sugar fully dissolves. Write the tip on your recipe card so you remember it next time.
Hot filling grips the topping and seals the edge before beads can form. Keep the tip in mind while you work, and check the result before you move to the next step. Good cooking is mostly good timing, and a quick pause to look, smell, and taste will catch most trouble early.
Seal The Edges

Common Mistake: Many cooks spread meringue over a cold filling, which leaves a gap where water collects and beads appear on top. Spread the meringue all the way to the crust so the filling stays sealed on every side.
The Fix: Keep the filling hot, spread the meringue at once, and press it to the crust edge so no gap stays open. Check the edge all around before baking so no bare filling shows.
Once you fix the mistake, the rest of the recipe usually falls into place. Test the corrected step on a small batch, note what changed, and keep the new habit for every future batch. A small test pie shows the difference clearly before you commit to a full dessert today.
Beat To Stiff Peaks
What You Need:
- Fresh egg whites: Whip higher and hold shape better than older whites.
- Fine sugar: Dissolves faster and leaves no grit to weep.
- Cream of tartar: Stabilizes the foam and keeps peaks firm.
- Cornstarch: A small amount helps bind free water.
- Hot filling: Seals the base so beads cannot form.
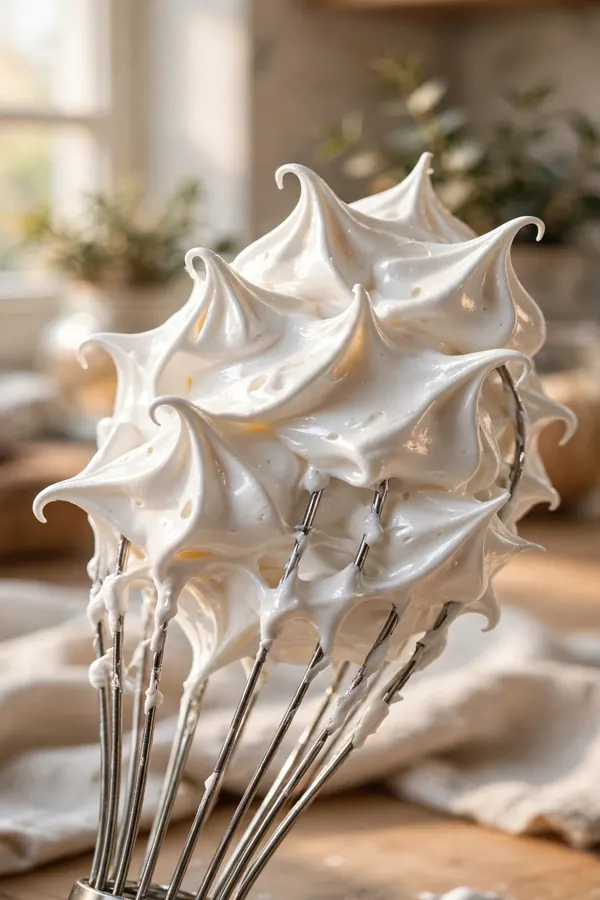
Gather everything before you start so you are not hunting for tools mid-recipe. Beat to peaks that stand straight when the whisk lifts, and stop before the foam turns grainy and dry. A calm, organized setup makes each step easier and keeps the timing on track.
Humidity Control Tips

Before: The pie looked tall and proud, yet golden syrup beads formed within an hour and puddled on the plate. Humid air makes the beads worse, so bake on a dry day when you can.
After: With dissolved sugar and a sealed edge, the same pie stays dry, glossy, and firm for hours. Low humidity and a sealed edge keep the top dry long after baking.
The change between the two is rarely dramatic on its own, yet the final result feels completely different. That is the power of fixing the root cause instead of covering up the symptom. Dissolved sugar and a sealed edge together keep the meringue dry and glossy for hours on end.
Bake Low Slowly

Do This:
- Dissolve the sugar fully.
- Use hot filling.
- Seal to the crust edge.
- Bake on a dry day when possible.
Avoid This:
- Do not spread over cold filling.
- Do not underbeat the whites.
- Do not refrigerate a hot pie.
- Do not leave gaps at the edge.
Low heat dries the foam gently, so the shell sets crisp without browning, cracking, or pulling away from the crust. Keep this short list beside you while you cook, and check off each point as you finish it. A simple checklist beats memory when the kitchen gets busy.
Cooling Without Tears

Time Needed: 20 minutes of active work, plus baking and cooling.
Difficulty: Medium, but very learnable.
Cost: Only eggs, sugar, and pantry staples.
Result: A dry, glossy meringue that holds its peaks.
Cool the pie slowly in the turned-off oven so the topping settles without shrinking or beading. Use the facts above to set your plan before you start. When you know the time, the tools, and the target result, each step feels calmer and more certain.
Storage Rules Matter

Refrigerate the pie uncovered for the first hour so surface moisture escapes instead of settling on the topping. A cold, dry fridge keeps the foam firm and the crust crisp. Do not stack anything on the pie, and leave space around it for air to move.
Cover the pie loosely after chilling, and keep it away from onions, citrus, and other strong fridge smells. Serve within a day, since the topping softens the longer it waits. If a few beads appear, blot them gently with a paper towel right before serving.
Rescue A Wet Top
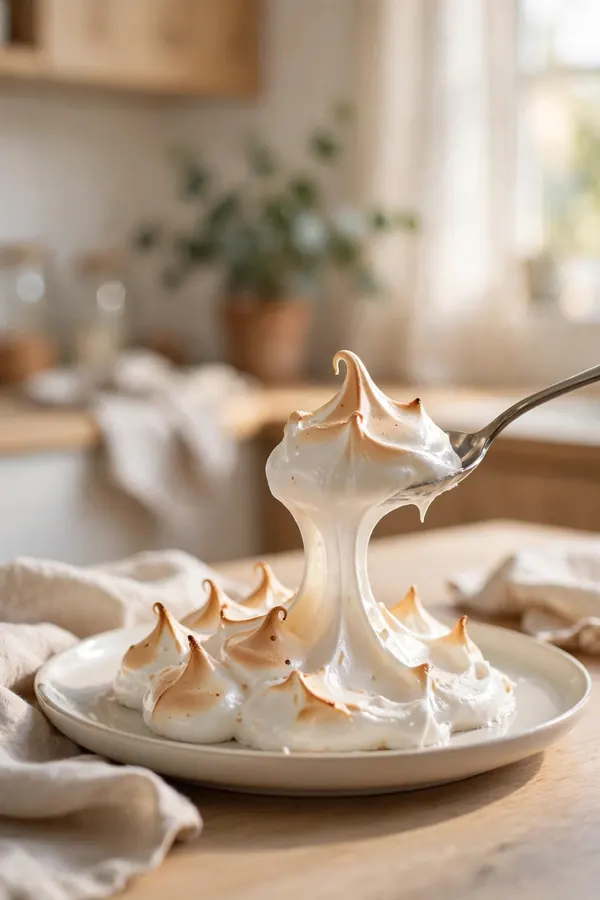
Blot beads gently, return the pie to low heat for a few minutes, and cool it slowly so the topping resets without shrinking. Work through the rescue steps below in order, and check the surface in bright light before serving.
- Bake at 325 F until the peaks turn light gold.
- Turn the oven off and rest the pie 10 minutes.
- Cool at room temperature, away from steam.
- Slice with a wet, sharp knife.
Final Shine Check

Quick Tip: Look at the topping in bright light and check for shine without beads. A glossy, even surface means the sugar dissolved and the seal held. Note the bake time that worked for the next pie.
Finish with a slow look across the whole pie: firm peaks, a sealed edge, and a glossy top with no beads. If one spot still looks wet, blot it and give the pie a few more minutes of cool air. A careful last look turns a rescued topping into a result worth serving.
Conclusion
With these fixes, weeping meringue can turn into a result you are proud to serve. Start with the biggest cause, change one thing at a time, and taste as you go so you know what actually helped. Small, steady adjustments beat a full recipe overhaul, and they teach you how your oven, your pans, and your ingredients behave. If you want one more rescue to study, read our guide to dry cake fixes and add it to your notes. Keep this guide nearby, trust your senses, and enjoy the next batch.