How To Fix Watery Mashed Cauliflower? Easy Fix Guide
If your watery mashed cauliflower turned out thin, watery, and loose, you are not alone. Wateriness comes from boiling the cauliflower, skipping a dry out step, and adding liquid before the mash is thick. The fix usually comes down to a few small choices you can change next time.
This guide walks through what went wrong, the exact steps that fix it, and the habits that keep it from happening again. Spot the weak step, adjust it, and test the result with a small batch first.
Work through the sections in order, or jump to the fix that matches your batch. For another rescue, see these chicken tenders fixes for juicy results and keep building your skills.
Why Mash Turns Watery

Thin, loose mash usually starts with boiled florets, no drying step, and dairy poured in too fast. In my experience, cooks blame the recipe when the real issue is one small habit that is easy to change.
Roast or steam the cauliflower, dry it in the hot pan, and add butter and cream a spoon at a time. Try the change on a small test batch first, then compare it side by side with your usual method. The difference will tell you whether you found the true cause or only part of it.
Roast Instead Of Boiling

Roast the florets, dry them in the hot pan, then fold in dairy one spoon at a time until thick. Follow the steps below in order, and give each one your full attention. Rushing the early steps is how the same problem comes back, so slow down where it counts.
- Roast florets at 425 F until golden.
- Return them to the hot pan for 2 minutes.
- Blend until smooth.
- Add butter and cream one spoon at a time.
Dry It Out First

Quick Tip: If the mash still looks loose, cook it in the pan on low for 3 minutes, stirring often, until steam stops rising. Write the tip on your recipe card so you remember it next time. A tiny reminder at the right moment saves a whole batch.
Boiling soaks the florets, and skipping the dry out step leaves that water in. Keep the tip in mind while you work, and check the result before you move to the next step. Good cooking is mostly good timing, and a quick pause to look, smell, and taste will catch most trouble early.
Add Dairy Slowly

Common Mistake: Many cooks boil cauliflower and mash it straight from the water, so the mash starts watery and never recovers. Adding dairy slowly lets you stop as soon as the mash turns creamy.
The Fix: Roast or steam instead, dry the florets in the hot pan, and only then mash with small amounts of dairy. Mash in a little dairy at a time and check the texture after each spoonful.
Dairy should loosen the mash, not flood it. Add warm milk or cream one spoonful at a time, mashing well after each addition. Stop as soon as the texture looks creamy and holds a soft peak. The mash stays thick, the flavor stays rich, and reheated leftovers will not weep liquid into the bowl.
Use A Food Processor

What You Need:
- Fresh cauliflower: Roasts drier than frozen.
- Butter: Adds body and rich flavor.
- Cream cheese: Thickens the mash fast.
- Garlic: Roasted garlic adds depth.
- Parmesan: Adds savory thickness.
Gather everything before you start so you are not hunting for tools mid-recipe. Start with roasted florets, drive off the steam in the pan, and add butter and cream slowly as the mash thickens. A calm, organized setup makes each step easier and keeps the timing on track.
Season At The End
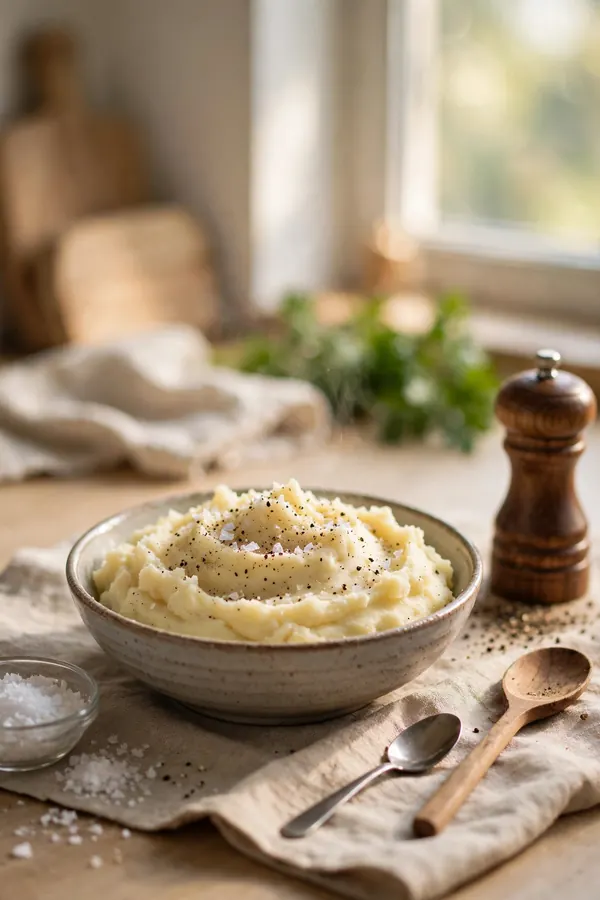
Before: The mash looked pale and loose, slid across the plate, and pooled water around the edges. Seasoning at the end keeps the salt from drawing out more water during cooking.
After: Roasted, dried, and mashed slowly, the same cauliflower turns thick, creamy, and spoon standing. Salt added last brightens the mash without loosening it.
Seasoning at the end keeps every flavor sharp and balanced. Salt added too early draws water out and thins the mash while it sits. Taste after mashing, then adjust salt, pepper, and a knob of butter. A squeeze of lemon or a pinch of nutmeg lifts the flavor without adding any extra liquid.
Butter Builds Body

Do This:
- Roast or steam the florets.
- Dry them in the hot pan.
- Add dairy a spoon at a time.
- Season after mashing.
Avoid This:
- Do not boil and mash wet.
- Do not add all the cream at once.
- Do not overblend to soup.
- Do not salt before draining.
Roasted florets, a dry pan, dairy by the spoonful, and seasoning last give a mash that holds its shape. Keep this short list beside you while you cook, and check off each point as you finish it. A simple checklist beats memory when the kitchen gets busy.
Cheese Thickens Nicely

Time Needed: 2 minutes to melt and stir.
Difficulty: Easy, one handful at a time.
Cost: Only a small block of cheese.
Result: A thick, creamy mash that holds.
Cheese thickens the mash because melted fat and protein bind loose liquid into a smooth body. Add a small handful of finely grated cheese at a time, stirring well after each addition. Keep the heat low so the cheese melts instead of turning grainy or oily. Stop once the mash holds a soft peak.
Serve Right Away
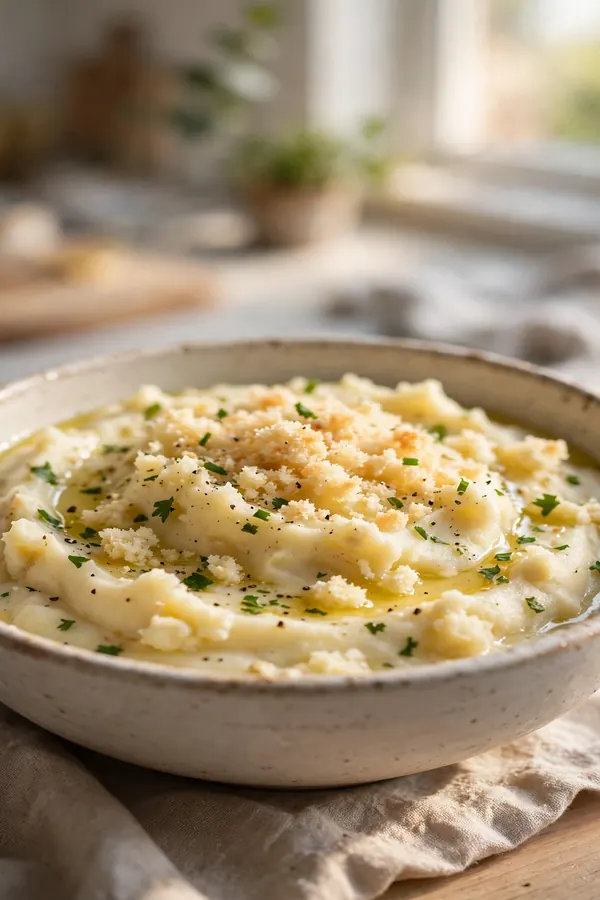
Serving the mash right away keeps it thick, hot, and creamy. Move it to a warm bowl as soon as the texture turns smooth. A cold bowl drags the temperature down and lets liquid pool at the edges. Warm bowls hold the shape much better.
Spread the mash with the back of a spoon and set a small pat of butter on top. The butter melts into a glossy finish and adds rich flavor. Serve at once, since the mash thickens fast as it cools and reheats less smoothly later.
Reheat Thick Again

Reheating can thin the mash again, so warm it slowly over low heat and build the body back. Stir in the thickener, season carefully, and use the four moves below in order. Each one brings the texture back toward fresh.
- Blend in cream cheese for body.
- Season with salt and pepper.
- Rest for 2 minutes to thicken.
- Serve hot with a butter pat.
Final Creamy Check

Quick Tip: Drag the spoon across the pan and watch how the mash settles behind it. If liquid pools in the path, cook two more minutes on low while stirring. Serve only when the spoon leaves a clean, slow trail.
A final creamy check keeps a loose mash from reaching the table. Scoop a spoonful, hold it up, and watch whether it slides or holds its shape. Adjust the seasoning, add a spoon of cream cheese if needed, and serve the mash while it stays hot and thick.
Conclusion
With these fixes, watery mashed cauliflower can turn into a result you are proud to serve. Start with the biggest cause, change one thing at a time, and taste as you go so you know what actually helped. Small, steady adjustments beat a full recipe overhaul, and they teach you how your oven, your pans, and your ingredients behave. If you want one more rescue to study, read these cabbage soup fixes for a fresher pot and add them to your notes. Keep this guide nearby, trust your senses, and enjoy the next batch.