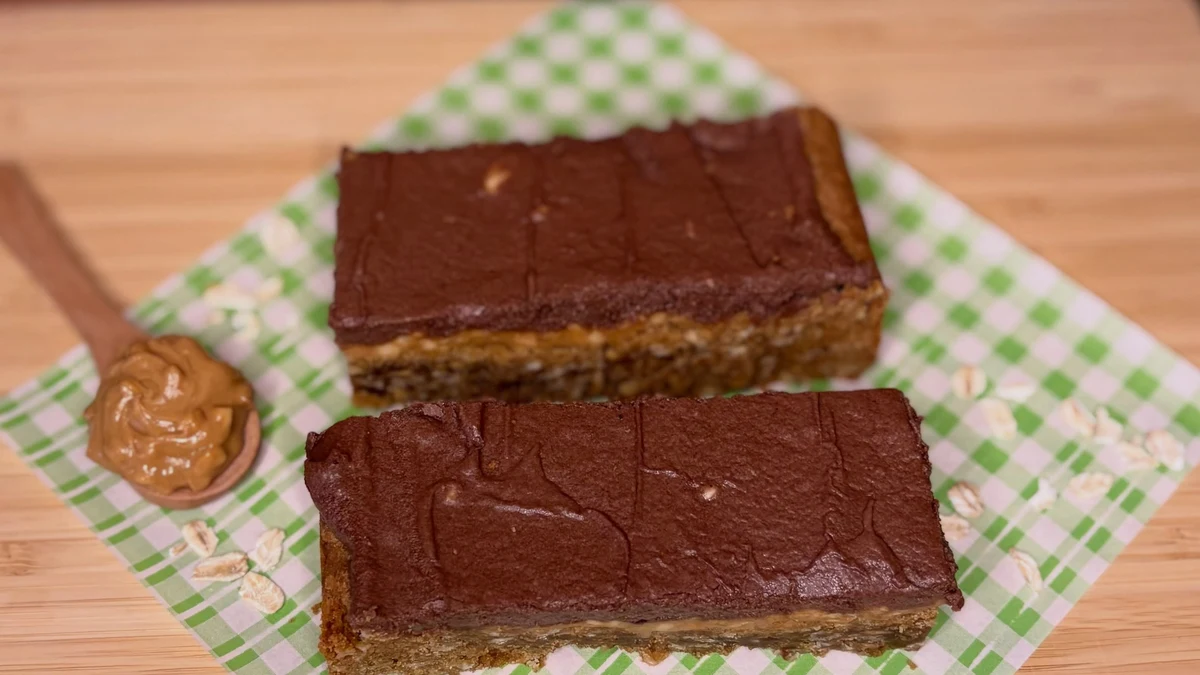
22 Fascinating Chocolate Peanut Butter Oatmeal Bars
Few snacks vanish from my kitchen counter faster than a fresh pan of chocolate peanut butter oatmeal bars, still glossy on top and smelling like a candy shop. That rich, fudgy bite over a chewy oat base tastes like childhood, all grown up.
This collection gathers twenty two versions worth saving, from the classic no-bake stack and a baked chewy pan to pretzel crunch bars, mini bites, and a holiday gift tray that travels beautifully.
Every version keeps the same promise: real peanut butter flavor, honest pantry ingredients, and clear steps that respect a busy weeknight. Pick one for tonight, save the rest for later, and watch the pan empty itself.
Classic No-Bake Bars
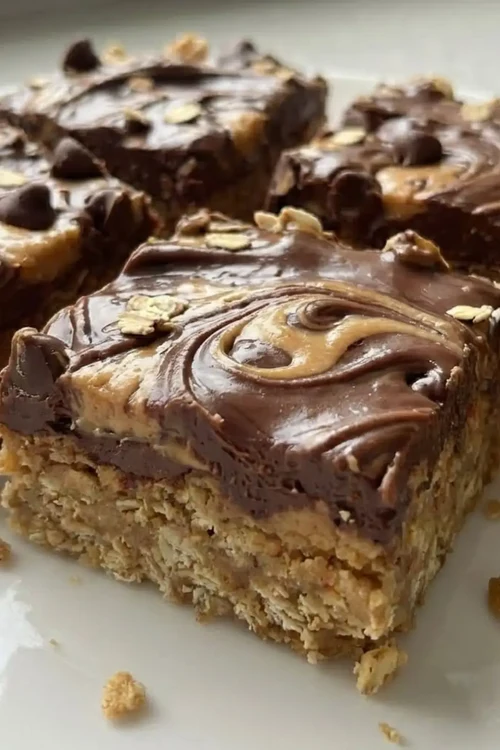
Image Credit: @recipesofholly
The classic starts where every bar lover wants it to start: oats folded through warm peanut butter and honey, pressed into a pan, and crowned with a smooth layer of melted chocolate. No oven, no fuss, and the whole pan sets in the fridge while dinner cooks itself nearby.
Press the base firmly with the bottom of a measuring cup so every slice cuts clean instead of crumbling at the edges. In my experience, a full hour of chilling is the difference between bars you serve proudly and bars you spoon into bowls and call dessert anyway.
Baked Chewy Pan Bars
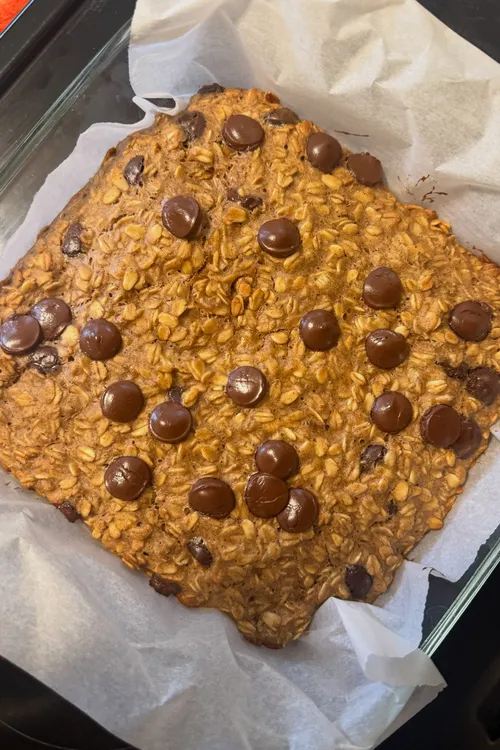
Image Credit: @munchin_withmo
- Bake the oat base just until the edges turn golden, because the center keeps cooking as the pan cools on the counter.
- Stir the chocolate into the warm peanut butter layer off the heat so it stays glossy instead of seizing into grainy streaks.
- Line the pan with parchment and leave a little overhang, since those paper handles lift the whole slab out in one piece.
- Score the chocolate top lightly before it fully sets, and every baked square separates along clean lines later.
- Let the pan cool a full thirty minutes before slicing, because warm bars bend where chilled ones snap neatly.
A baked pan eats differently from the no-bake kind, chewier at the edges and almost cake like in the middle where the oats soften into the batter. Serve these slightly warm with cold milk nearby, and the tray rarely survives long enough to need a storage container at all.
Chocolate Drizzle Finish
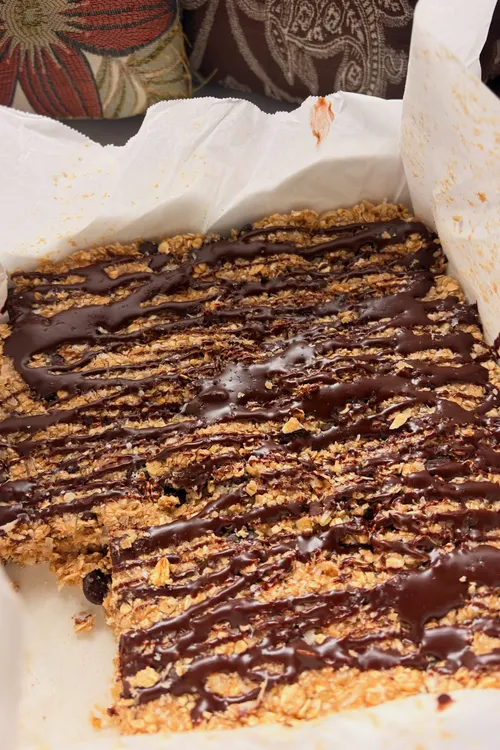
Image Credit: @bakedbyalonna
Quick Tip: Melt the chocolate with a spoon of coconut oil so it pours in thin ribbons instead of thick blobs. Drizzle from a fork held high above the pan for fine lines that look bakery made. Chill ten minutes and the shine sets like glass.
A plain pan turns party ready with nothing more than those dark ribbons crossing the top, and guests always assume the finish took far longer than it did. I have noticed the drizzle hides small cracks and uneven edges too, which makes it my favorite rescue for rushed batches.
From Soggy To Sliceable
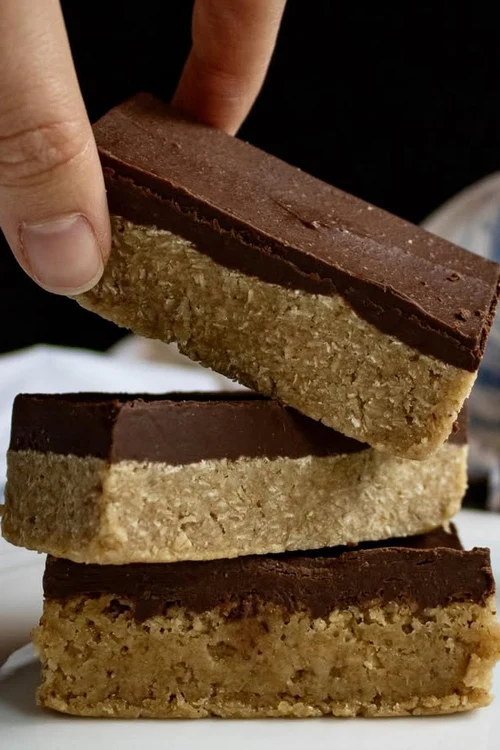
Image Credit: @bonboneriecincy
Before: A fresh pan looks promising, yet the first knife cut drags through soft bars that slump against each other and smear chocolate across the plate. The flavor is there, but the slices lean, the edges crumble, and nobody reaches for a second piece with real confidence at all.
After: One patient hour in the fridge and the same pan cuts like a bakery case, each bar standing tall with clean sides and a glossy top that holds its shape. Slices stack without sticking, travel without leaning, and disappear from the plate in neat, confident handfuls all evening.
Firmness is mostly patience, not ingredients, and learning to wait separates the pans people photograph from the ones they quietly scrape into bowls. Chill first, slice second, and let the cold do the work your knife never could on a warm, impatient batch straight from the counter.
Five Ingredient Pantry Bars
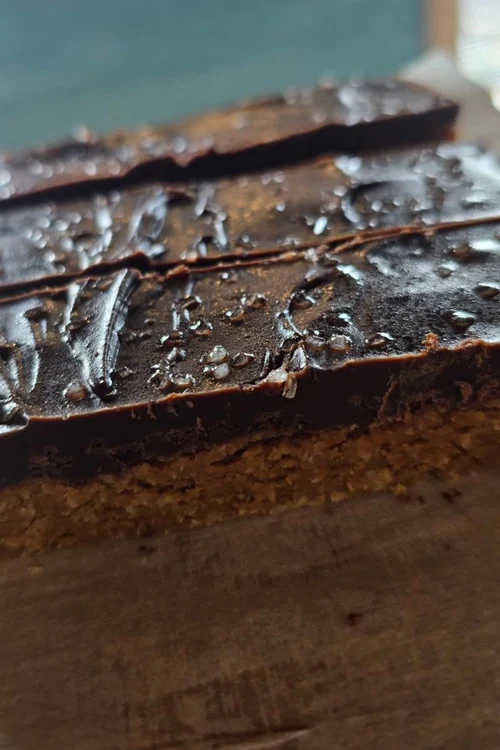
Image Credit: @masons_place
- Warm peanut butter and honey together until pourable, then stir in vanilla and a pinch of salt for depth.
- Fold in the oats a cup at a time so every flake gets coated instead of hiding in dry pockets.
- Press the mixture firmly into a lined pan, smoothing the top with damp hands to stop it sticking.
- Spread melted chocolate over the warm base in one even layer, right to the corners of the pan.
- Chill at least one hour, then lift the slab out and cut it into bars with a long knife.
Five honest ingredients and one pan are all that stand between a bare pantry and a tray of bars worth sharing with neighbors. Nothing here needs a special trip or a specialty store, which is exactly why this version gets made more than any other in my kitchen.
Stovetop Vs Oven Method
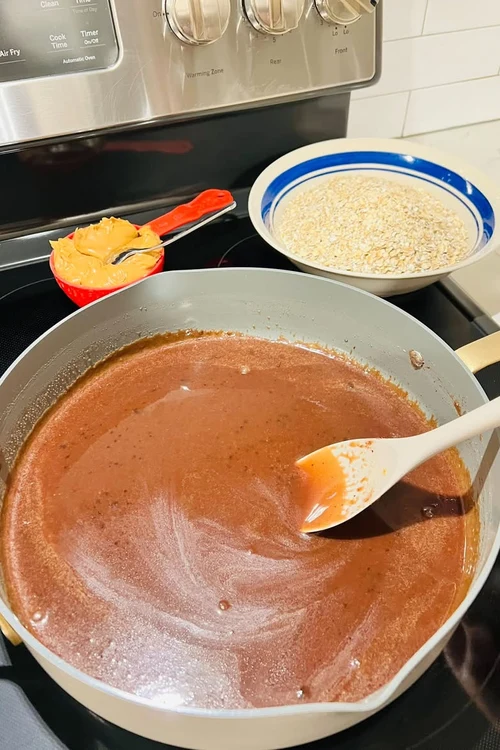
Image Credit: @mandy_lopez410
| Point | Stovetop | Oven |
|---|---|---|
| Texture | Fudgy and dense, almost brownie like in the center | Chewier edges with a firmer, sliceable crumb |
| Time | Ten minutes of cooking, then a fridge set | Twenty five minutes of baking, then cooling |
| Best batch | Small weeknight pans when the oven stays off | Big trays for guests and weekend baking |
| Cleanup | One saucepan and one pan to wash | One bowl, one pan, and a hot oven |
Neither method wins outright, because they suit different evenings in the same kitchen. Stovetop bars stay fudgy and fast for weeknights, while the oven batch turns out chewier and sliceable for guests. I keep both in rotation and choose by the clock, not by habit, most weeks.
Lunchbox Packing Rules
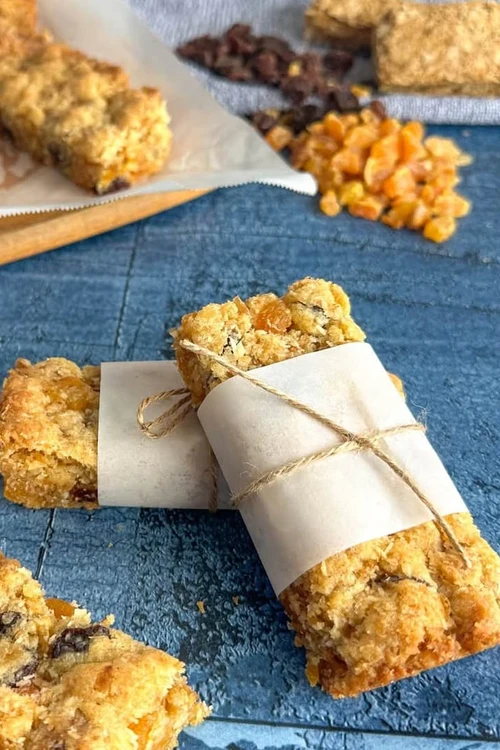
Image Credit: @justamumnz
- DO: Chill the bars completely before packing, so the chocolate top stays neat instead of smearing the lid.
- DO: Wrap singles in parchment squares, which keeps layers from sticking through a warm school morning.
- DO: Pack the bar beside a cold pack on hot days, well away from direct sun in the bag.
- DO: Slice lunchbox bars slightly smaller, since small hands finish a modest bar without crumbs everywhere.
- DON’T: Pack a warm pan’s bars straight into a sealed box, where trapped steam softens every edge.
- DON’T: Send the chocolate topped side facing down, or the lid wears the best part of the bar.
- DON’T: Skip the napkin, because peanut butter fingers find sleeves, books, and car seats with uncanny aim.
- DON’T: Freeze the whole week’s bars in one block, since daily thawing turns the last ones soggy.
A well packed bar survives the bus ride, the backpack, and the long morning until lunch without losing its shape or its shine. Pack them the night before, and mornings run calmer for everyone, including the cook who only has to point at the fridge and smile at breakfast.
Snack Bar Facts
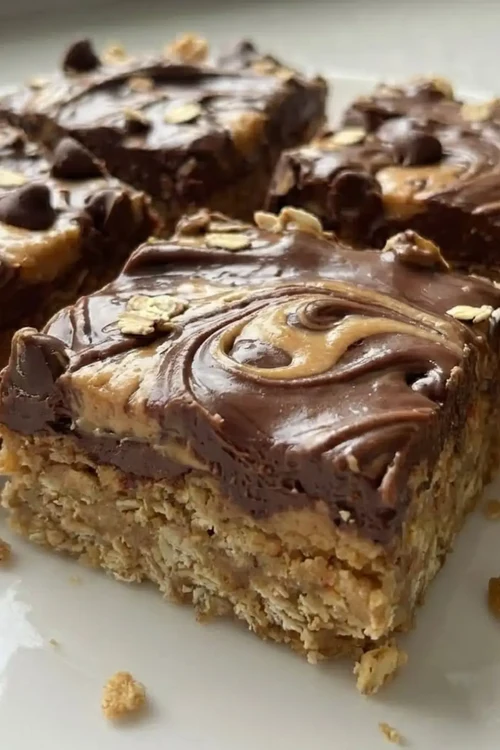
Image Credit: @hollysbakeblog
Cost: Low, pantry oats and peanut butter carry the batch.
Time Needed: About twenty minutes of work, plus chilling.
Difficulty: Easy, one bowl and one pan to wash.
Best For: After school snacks and desk drawer stashes.
Few homemade snacks ask this little and give this much back, which is why a pan rarely lasts two days in a busy house. Double the batch when the calendar looks crowded, because the second tray disappears at exactly the same cheerful speed as the first one did.
Double Chocolate Chunk Bars
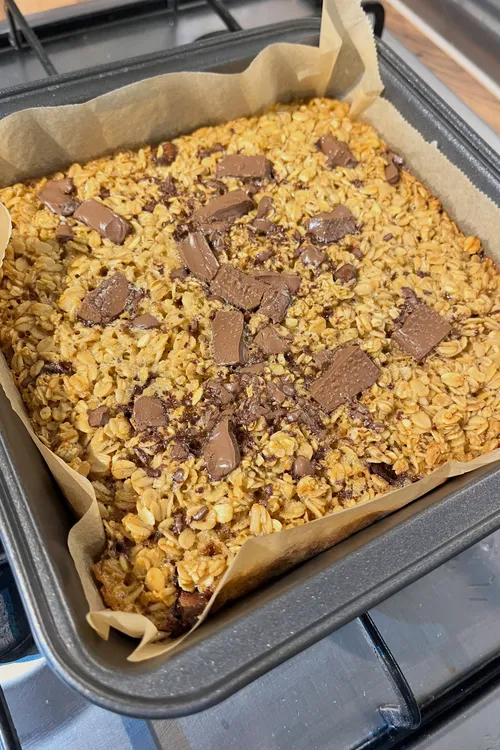
Image Credit: @bakingasmylovelanguage
Some nights the regular chocolate layer simply is not enough, and that is when the chunks go in. A handful of chopped dark chocolate folded through the warm oat base melts into pockets, so every bite alternates between chewy oats and little fudge like pools of richness throughout.
Chop the chocolate by hand instead of reaching for chips, because uneven pieces melt at different speeds and keep the texture interesting from edge to center. I’ve noticed the corner bars, where the chunks gather thickest, are always the first ones claimed when the pan hits the table.
Swirled Top Bars

Image Credit: @vintagelanecafe
- Drop small spoonfuls of warm peanut butter across the melted chocolate while it is still wet and glossy.
- Drag a toothpick through the drops in slow S curves, turning each blob into a marbled ribbon.
- Work quickly and with a light hand, because over swirling muddies the pattern into plain brown.
- Stop while the two colors still read clearly, since the chill will set whatever pattern you leave.
- Wipe the toothpick between passes so the lines stay clean instead of dragging crumbs across the top.
The swirl costs nothing but ninety seconds, yet it makes a plain pan look like it came from a bakery window downtown. Guests photograph these before they taste them, and the marbled top is usually the first detail anyone mentions when they ask for the recipe afterward tonight.
Chilled Fridge Bars
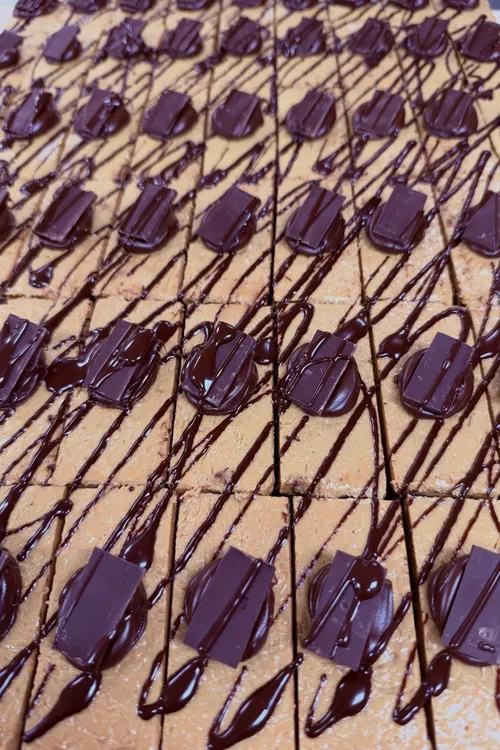
Image Credit: @colarussosbakery
Quick Tip: Slice the slab fridge cold with a long knife warmed under the tap and wiped between cuts. Cold bars part cleanly, and the warm blade glides through chocolate without cracking the glossy top. Ten minutes out softens each bite back to chewy.
Cold storage is the quiet hero of this whole collection, firming the base, setting the top, and keeping the peanut butter flavor bright for days. I keep a tray at the back of the fridge where it is coldest, mostly so the bars survive until the weekend honestly.
From Crumbly To Firm
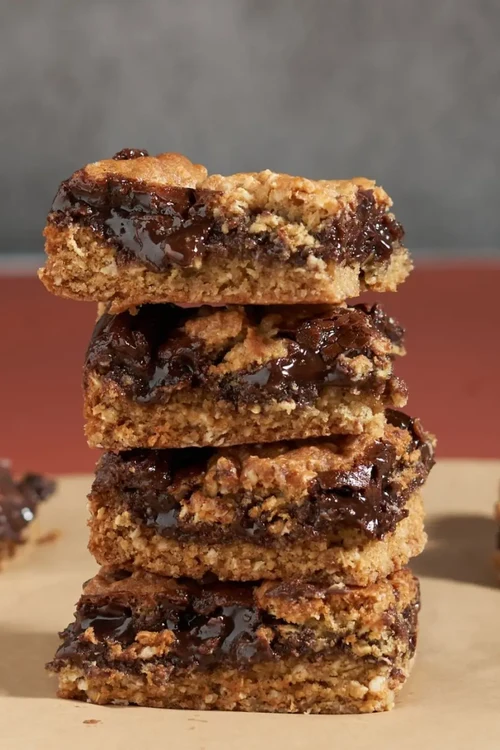
Image Credit: @bakersfield_revelbars
Before: The pan smells wonderful, yet the bars fall apart the moment a knife touches them, shedding oat crumbs across the counter and collapsing into sweet rubble. Lunchboxes come home with bar dust, and the cook quietly wonders whether the whole idea was doomed from the very start.
After: Ten extra minutes of pressing and a proper chill later, the same recipe slices into bars that hold together in one hand. The edges stay tidy, the chocolate top stays put, and each bar survives the trip from plate to lunchbox without leaving a crumb trail behind.
Firm bars are built, not wished for, and the two habits that matter are pressing hard and chilling long. Weigh the top of the pan down with a second pan while it chills, and even a first timer’s batch comes out sliceable, stackable, and ready for the week.
Meal Prep Sunday Batch
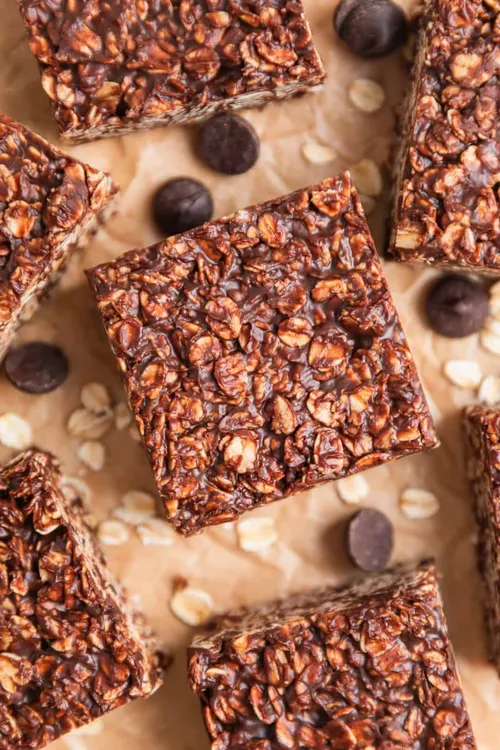
Image Credit: @lemonsandzest
- Double the base recipe and press it into the largest rimmed pan you own, smoothing the top flat.
- Bake or chill the slab whole, then score it into twenty four bars before the top fully sets.
- Cut along the scores, wrap each bar in parchment, and stack the bundles in one big container.
- Refrigerate half for the week ahead and freeze the rest in a single layer for later weeks.
- Label the container with the date, because even great bars fade after a month in the cold.
One quiet hour on Sunday buys a week of grab and go snacks that taste like a bakery treat instead of a compromise. My family plans around this tray now, and the school week runs smoother when breakfast and lunchbox duty are already handled before Monday even starts outside.
Crunchy Vs Chewy Texture
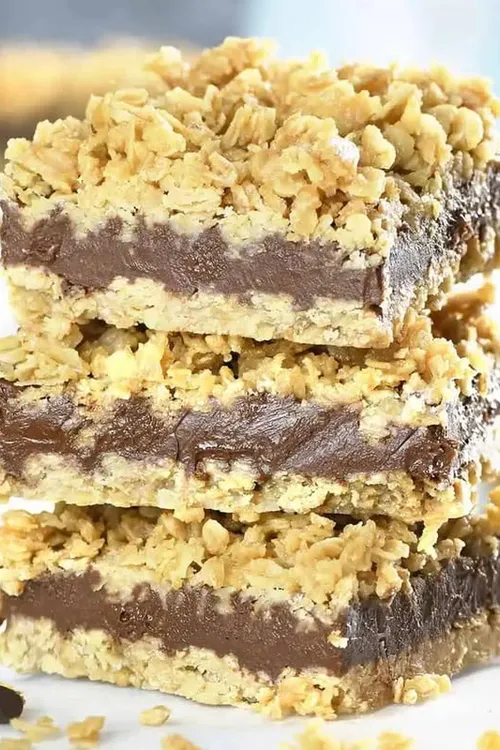
Image Credit: @omgchocolatedesserts
Crunchy: A longer bake and a thinner press give bars that snap at the edges and stay crisp for days in a tin. Toasted oats and a restrained hand with the honey keep the bite firm, and the chocolate top cracks audibly when you break a bar in half.
Chewy: A shorter bake, a thicker press, and an extra spoon of honey keep the center soft and bendy in the best way. These bars pull slightly when warm and settle into a dense, satisfying chew that pairs beautifully with the snap of cold chocolate on top.
Most pans in my kitchen land somewhere between the two, crisp at the rim and chewy in the middle where the slab stays thickest. Decide which camp your house belongs to before you start, because the bake time, not the ingredient list, is what truly casts the vote.
Freezer Storage Rules
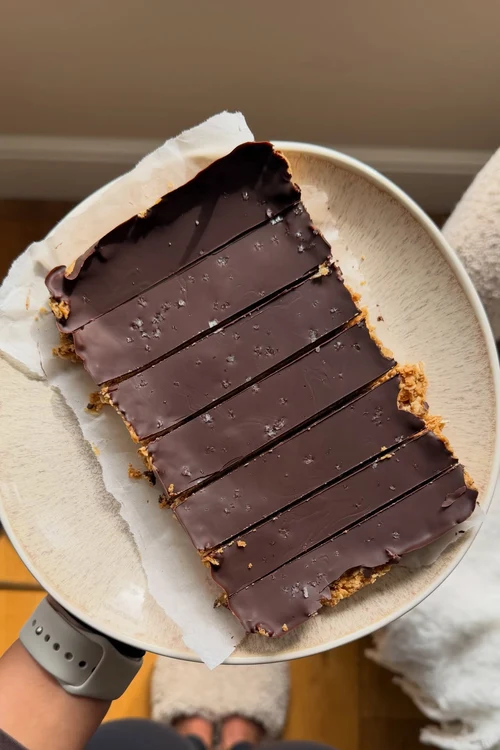
Image Credit: @yourconstantcravings
| DO | DON’T |
|---|---|
| Freeze bars in a single layer first, then stack them with parchment between layers | Freeze the whole slab unsliced, which thaws unevenly and cuts ragged |
| Wrap each bar before freezing so portions thaw one at a time | Leave bars unwrapped, where freezer air dries the edges pale |
| Use the frozen stash within one month for the best flavor | Keep bars frozen for months and expect fresh pan flavor |
| Thaw on the counter for twenty minutes before serving | Microwave frozen bars, which melts the top and toughens the base |
Frozen bars thaw in about twenty minutes on the counter, or overnight in the fridge for the next day’s lunchboxes without any fuss. Keep a small stash frozen at all times, and a bare pantry day still ends with something homemade, chocolate topped, and ready to share warmly.
Protein Packed Gym Bars
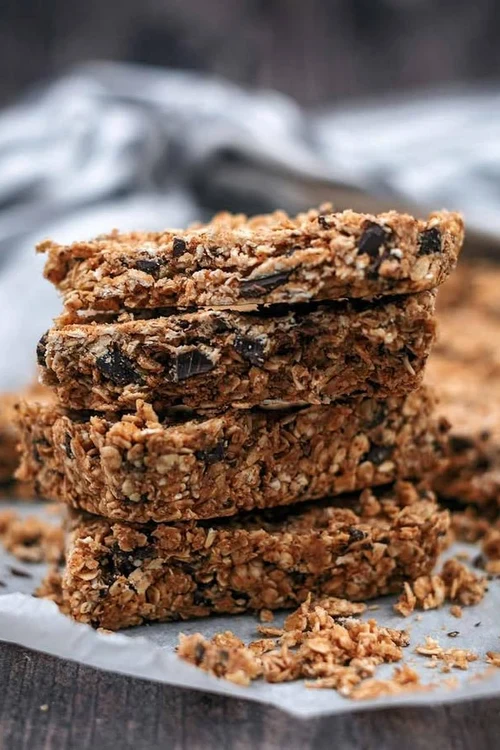
Image Credit: @hungryhealthyhappy
Cost: Moderate, nuts and seeds raise the price a little.
Time Needed: Thirty minutes, plus a firm hour of chilling.
Result: Dense, filling bars that hold up in a gym bag.
Works In: Post workout snacks, hikes, and long work shifts.
A bar that actually fills you up changes the whole afternoon, and these dense squares have rescued more long workdays than I can count anymore. The secret is generosity with the nuts and seeds, folded in last so their crunch survives against the soft, chocolatey oat base underneath.
Banana Sweetened Bars
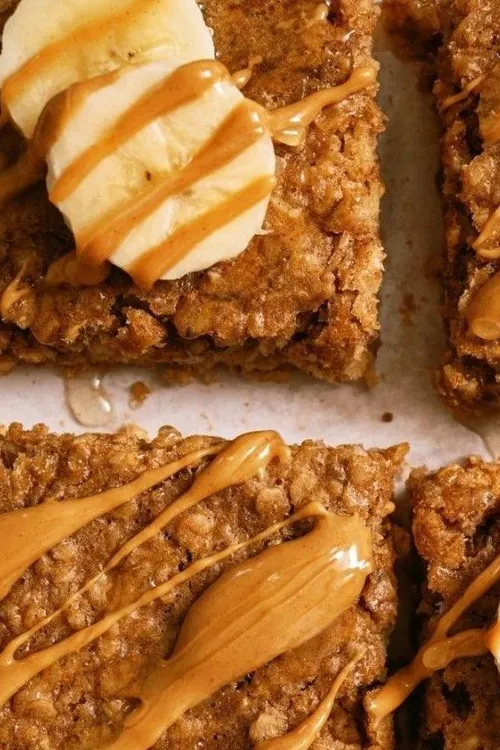
Image Credit: @sixsistersstuff
Ripe bananas bring their own sugar to the pan, which means this version skips the honey without tasting like a compromise at all. The fruit melts into the oat base as it bakes, leaving gentle sweetness and a soft, almost cake like crumb under the usual chocolate top.
Use the spottiest bananas on the counter, the ones nobody wants for snacking, because their sugar is highest and their flavor deepest right now. Mash them completely smooth before stirring through, and no pale chunks will interrupt the dark, even crumb your knife reveals in every single slice.
Salted Pretzel Crunch Bars
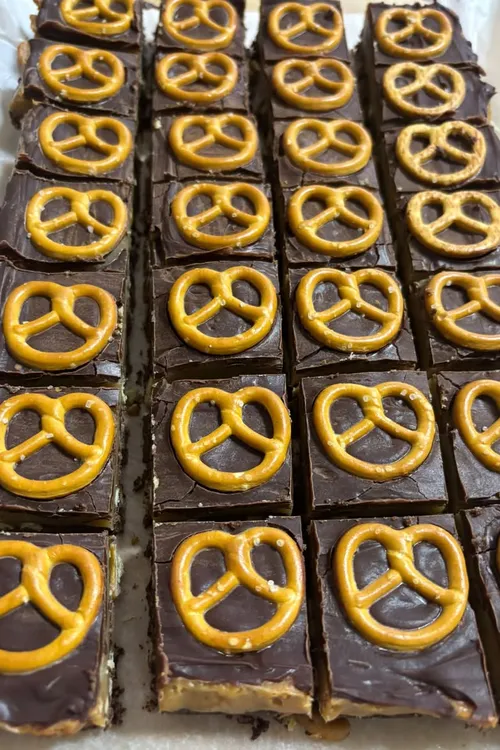
Image Credit: @anunbrokenhorse
- Press whole mini pretzels gently into the warm chocolate top in neat rows before it sets.
- Scatter crushed pretzel pieces over any bare patches, since every bite deserves both crunch and salt.
- Sprinkle a pinch of flaky salt across the finished pan, lightly, so the sweet layers stay in charge.
- Add the pretzels at serving week, not freezer week, because their crunch fades fast in cold storage.
- Break one bar over vanilla ice cream once, and you will understand why this version has fans.
Salt against chocolate is an old friendship, and the pretzel brings a sturdy crunch that chips and sprinkles never quite manage on their own. Serve these at game night with cold drinks nearby, and watch the salty sweet tray empty faster than the plain one beside it.
Mini Bar Bites
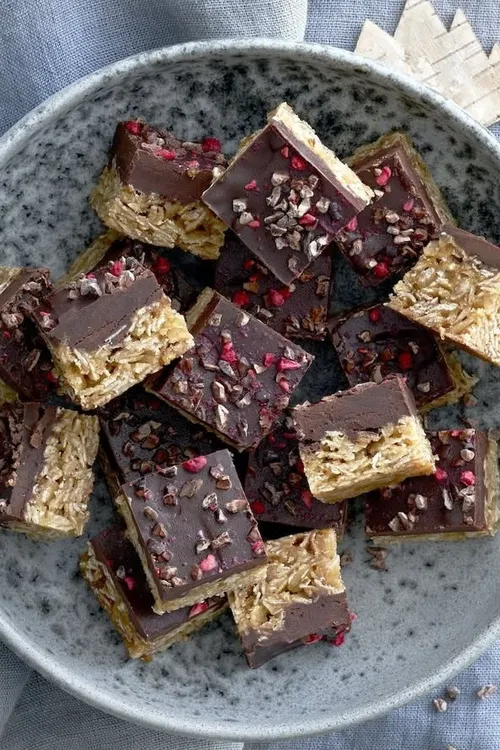
Image Credit: @spisbedre
Quick Tip: Cut the chilled slab into one inch squares instead of full bars, then re-dip the cut edges in melted chocolate for a finished look. Small bites chill faster and portion easier at parties. They disappear at roughly twice the speed of regular bars.
Mini bites solve the party math problem, giving every guest a taste without committing anyone to a full bar after a big dinner. They also freeze in a single layer like little bricks, so a quiet evening of cutting becomes an instant dessert spread whenever friends drop by.
From Bland To Bakery
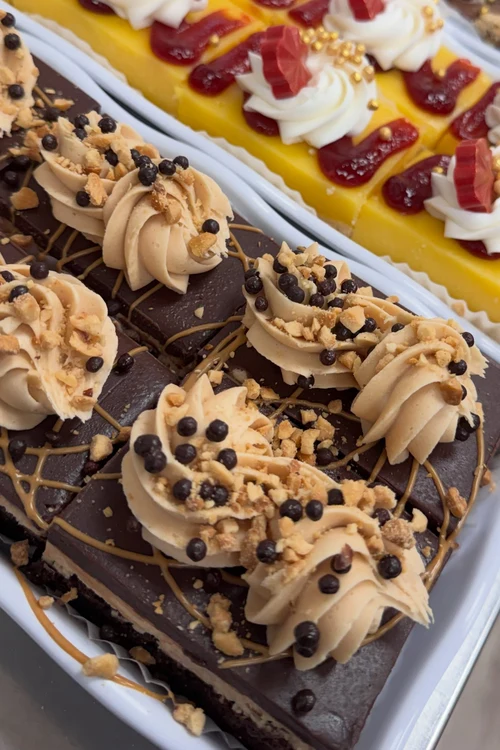
Image Credit: @sugarblossomcakeshop
Before: The bars taste fine, technically, but fine is all anyone says about them, and the second half of each bar tends to stay on the plate. Nothing is wrong, exactly, yet nothing pulls you back for another bite either, and the pan lingers in the fridge for days.
After: A pinch of salt, a real vanilla splash, and brown butter in the base turn the same recipe into the pan everyone asks about afterward. The flavor reads deep and deliberate now, the edges caramelize, and slices vanish before the coffee has even finished brewing on busy mornings.
Bakery flavor is mostly small decisions stacked together, salt, vanilla, and patience with the butter, rather than any secret ingredient flown in. Make those three upgrades once, and your plain pan becomes the recipe friends text you about at midnight, asking what you changed this time around.
Holiday Gift Tray Bars
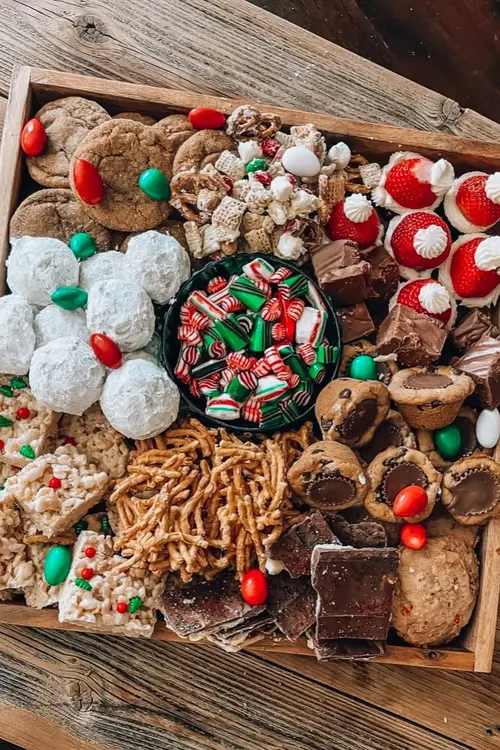
Image Credit: @auntiemomosbakery
- Cut the chilled slab into neat fingers or squares, keeping every edge clean and the sizes even.
- Set each bar on a small parchment square so the chocolate tops never touch or smear together.
- Arrange the bars on a sturdy tray in overlapping rows, tallest stacks at the center for height.
- Fill the gaps with wrapped candies or nuts so nothing slides during the drive across town.
- Cover the tray loosely with a clean towel for the trip, never tight plastic against the tops.
A tray of homemade bars says what a store bought box never quite manages, that someone thought about you before the holiday rush began. Wrap a few extras for the host, because the cook who gives bars away always gets asked back, usually with a request attached too.
Rice Cereal Vs Oat Base
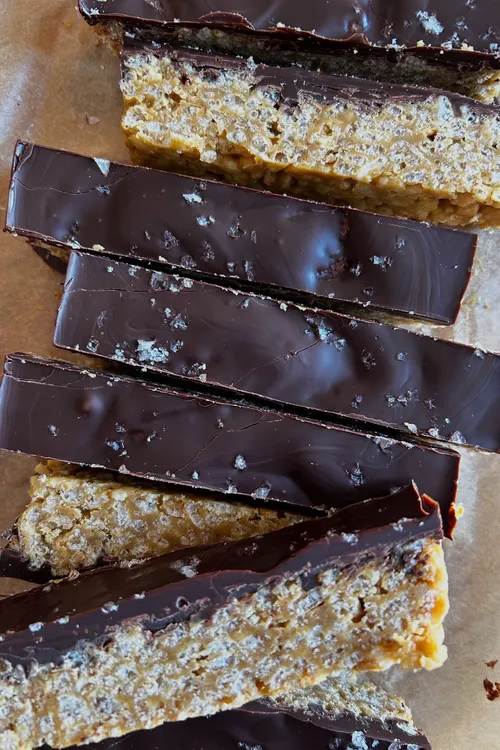
Image Credit: @harvestandnourish
- Texture: Crispy rice bars stay light and shattering, while oat bars chew dense and hearty from the first bite.
- Flavor depth: Oats toast into a nutty base that carries peanut butter proudly, while rice cereal lets the chocolate lead.
- Keeping quality: Oat bars hold a week in the fridge, while cereal bars lose their snap after two days.
- Best crowd: Kids reach for the crispy batch first, while adults quietly finish the oat tray every single time.
Neither base wins outright, and the honest answer depends on the crowd standing in your kitchen that day. Make the crispy batch for parties and the oat batch for the week’s lunches, and both trays will come home empty for completely different, equally happy reasons in the end.
Conclusion
Twenty two pans later, the lesson stays simple: great chocolate peanut butter oatmeal bars balance a chewy oat base with deep peanut butter flavor and a proper glossy top. None of it asks for fancy equipment, a long ingredient list, or any special skill at all.
Start with the classic no-bake stack, keep a freezer batch ready for the hard weeks, and save the pretzel crunch pan for game night with friends. Pin this collection, share it with a fellow bar lover, and tell me which tray your family finished first tonight. My cherry almond cake makes the same kind of cozy teatime companion on slow afternoons.