Why Is My Chicken Skin Not Crispy In The Oven? Easy Fix Guide
Nothing beats crispy chicken skin that shatters under the fork, yet most home cooks end up with soft, rubbery skin instead. The usual culprits are moisture on the surface, a pan that is not hot enough, and lifting the pieces too soon. Each one has a simple fix.
You will learn how to dry the skin, when to salt, which fats help, and how to use the pan, oven, and grill for a reliable crunch. The steps work for thighs, breasts, wings, and whole birds.
Once the method clicks, crisp skin becomes the easy part of dinner, and the next guide on garlicky soup shows how to calm an overpowering garlic broth back into balance.
Why Skin Turns Soggy

Skin turns soggy when surface moisture steams instead of frying, and the pan is usually the culprit. A wet bird in a crowded pan drops the temperature, and the skin boils in its own juices instead of crisping. Covering the pan too early traps the same steam, and the skin never recovers.
The fix starts before cooking: dry the skin well, give each piece space, and let the heat do its work without moving the pieces around. Patience matters more than high flame, because steady medium heat renders fat slowly and evenly, and the skin turns golden.
Dry Skin Is Key

Drying the skin is the single biggest step toward a shattering crunch. Do it the night before if you can, or at least an hour ahead. Pat the skin dry, rest it uncovered in the fridge, and pat it once more before cooking. Follow these steps for skin that crackles.
- Pat the skin dry with paper towels, pressing gently on every side.
- Set the pieces skin side up on a rack over a tray in the fridge, uncovered.
- Let cold air dry the surface for 1 hour, or overnight for the best result.
- Pat once more right before seasoning and cooking.
Salt Timing Matters

Quick Tip: Salt the skin at least 40 minutes before cooking, or right before it hits the pan. Salting in between draws out moisture and leaves the surface damp at the worst moment.
Salt does two jobs here: it seasons the meat and it helps the skin dry. A dry brine in the fridge overnight gives the deepest flavor and the crispiest finish. Use about half a teaspoon of kosher salt per pound, and skip extra salt in the pan. The overnight rest does the work for you.
Best Fats For Crisping

Common Mistake: Many cooks start skin side up, or they move the pieces every minute to check. The skin never gets the long, steady contact it needs, and it stays pale and soft.
The Fix: Start skin side down in a cold or barely warm pan, then bring the heat up slowly. The fat renders out gradually, and the skin fries in it like a shallow confit.
Leave the pieces alone for at least 8 minutes before peeking. When the skin releases easily and looks deep golden, it is ready to flip. Rushing this step is the most common reason for rubbery skin, and patience fixes it. Let the fat render fully, and the skin will turn crisp.
Pan Searing Basics

What You Need:
- Heavy skillet: Cast iron or stainless steel holds steady heat and fries the skin evenly.
- Paper towels: For patting the skin dry before and after the fridge rest.
- Wire rack and tray: Lets cold air reach the skin from all sides while it dries.
- Neutral oil: A thin film helps the first contact, but the chicken fat does most of the work.
- Tongs: For flipping without piercing the skin and losing juice.
You do not need special equipment beyond a heavy pan and a rack. A hot oven and a little patience handle the rest, and the method works for any cut. Keep the pieces in a single layer so steam can escape instead of softening the crust. Space matters as much as heat for the finish.
Oven Method That Works

Before: Before, my chicken skin stayed pale and flabby because I crowded the pan and flipped too soon. The meat was fine, but the skin went straight to the bin.
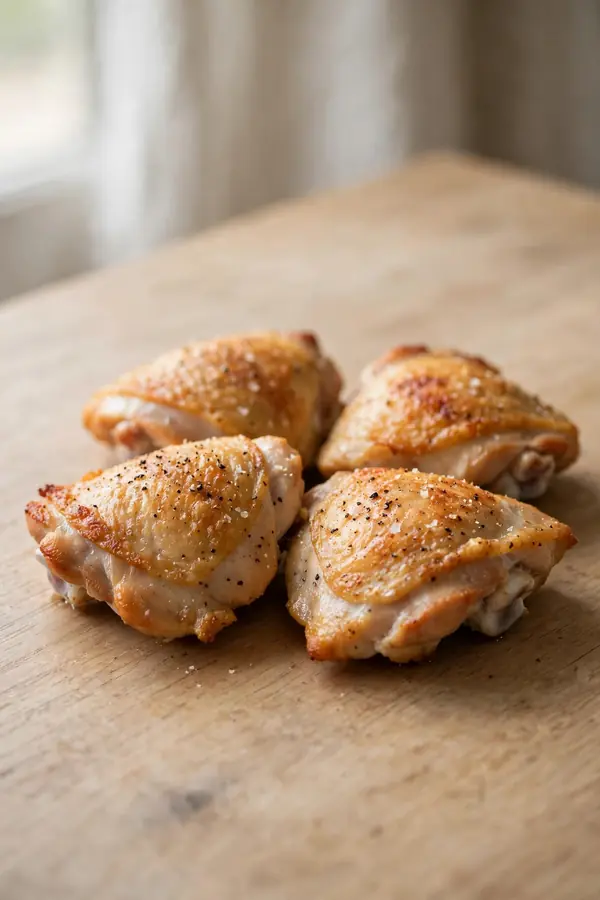
After: After drying the skin overnight and starting skin side down in a cool pan, the same thighs come out with a deep golden shell that crackles when you cut it. The skin stays crisp through the meal, and nothing goes to the bin.
The method feels slow at first, but the results speak for themselves. Steady heat, dry skin, and no fidgeting turn an ordinary weeknight thigh into something worth remembering. Give the skin time, and it will reward you with a shattering crunch. The slow start is the secret to the crisp finish.
Grill Skin Without Burning

Do This:
- Dry the skin well, then dry it once more.
- Give each piece at least an inch of space.
- Render the fat slowly over medium heat.
- Rest the chicken skin side up so steam escapes.
Avoid This:
- Do not cover the pan while the skin crisps.
- Do not crowd the pan, since steam kills crunch.
- Do not flip before the skin releases on its own.
- Do not sauce the skin until the moment you serve.
These four habits cover most failures, and they work for every cut. Once they feel automatic, you can adapt the method to any cut, from wings to a whole bird, without a second thought. Dry, space, render slowly, and rest skin side up. Repeat the routine, and crisp skin follows every time.
Resting Keeps Crunch
- Time Needed: About 25 to 40 minutes, including drying time.
- Difficulty: Easy to medium, mostly patience.
- Cost: No extra cost beyond salt and paper towels.
- Best For: Thighs, breasts, wings, and whole birds.
Skin crisps best between 350 and 425 degrees Fahrenheit, depending on the method. Cold start pan searing works well for thighs, while the oven suits a whole bird. The crunch fades if the chicken sits covered, so serve promptly. Rest skin side up, and let steam escape while you plate the sides.
Sauce Without Softening Skin
On the grill, the same rules apply with one extra danger: flare ups. Fat dripping onto coals can char the skin before it crisps. Use two heat zones, with one side hot and one side gentle, and move pieces as needed. Two zones give you control when the fat starts to drip.
Start skin side down over the gentler zone, lid closed, and let the fat render slowly. Finish over higher heat for a minute or two of char free crisping. Keep a spray bottle of water handy for flare ups, but use it sparingly.
Fixing Rubbery Skin Fast

If the skin turns rubbery, a short rescue in a hot oven or under the broiler can save it. Act quickly, and keep the meat from drying out. A hot broiler bubbles the skin back to crisp in minutes. Follow these steps to rescue rubbery skin without overcooking the meat.
- Place the pieces skin side up on a rack over a tray.
- Slide under a hot broiler for 2 to 3 minutes, watching closely.
- Pull as soon as the skin bubbles and turns deep golden.
- Rest for 3 minutes skin side up, then serve at once.
Serving Crisp Every Time

Quick Tip: Hold sauces until serving, and spoon them beside the chicken rather than over the skin. A glossy glaze is fine if it goes on at the last second and the plate goes straight to the table.
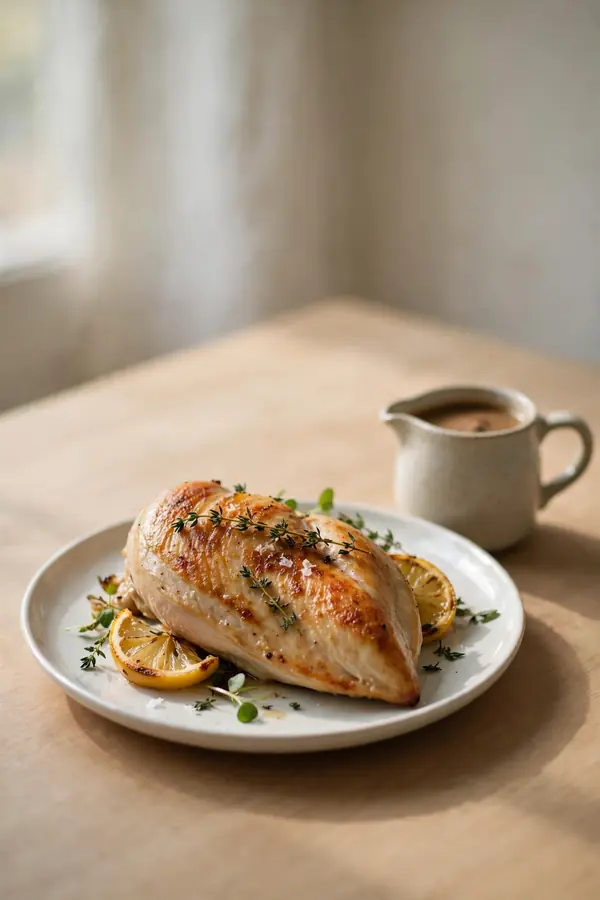
Crisp skin is a short lived pleasure, so timing matters at serving. Plate the sides first, then add the chicken, then sauce around it. The first crunchy bite makes the extra planning worthwhile, and the table will notice the difference. Serve promptly, and the crunch will last to the last bite.
Conclusion
Great crunch is not luck, it is dry skin, steady heat, and patience. Keep the method in mind whenever crispy chicken skin is on the menu, and your thighs, wings, and whole birds will come out shattering instead of soggy. Dry the skin early, give each piece space, and let the fat render slowly. Rest the chicken skin side up and serve promptly so the crunch lasts to the first bite. With these habits in place, crisp skin becomes the easy part of dinner. For the fix that came before this one, see our pink chicken guide for safe, juicy results.