How To Fix Chicken Pink Inside But Cooked Outside? Easy Fix Guide
Seeing chicken pink inside can ruin an otherwise good dinner, even when the meat is fully cooked and safe to eat. Color alone is a poor guide, because young birds, brines, and smoke can all leave a rosy tint behind. A thermometer tells the truth in seconds.
You will learn which temperatures matter for each cut, why juices run pink, and how resting and slicing change what you see. The fixes below are simple, and they work for every cooking method.
Once you trust the thermometer over color, every batch turns out safer and juicier, and the next guide, chicken skin, shows how to get shattering crisp skin without drying the meat.
Why Chicken Looks Pink
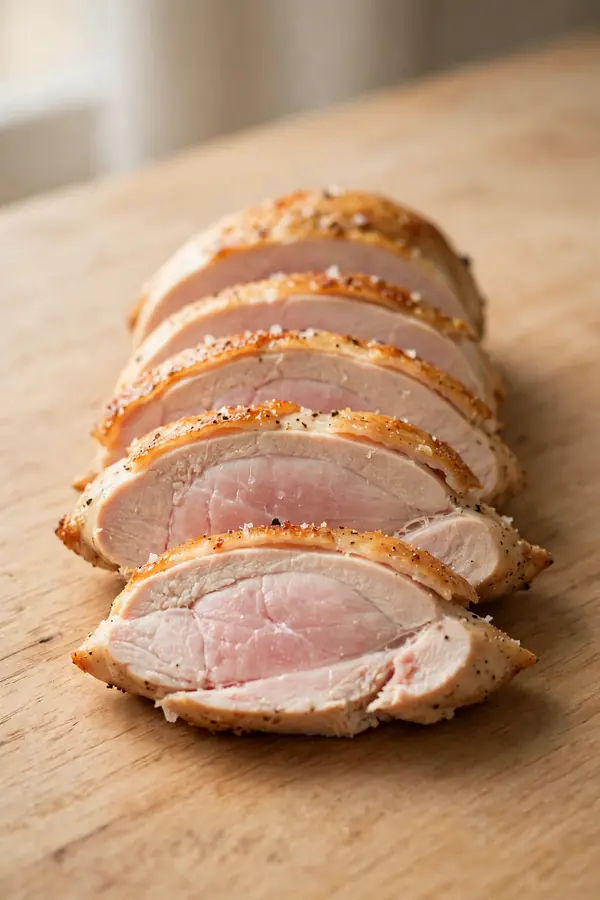
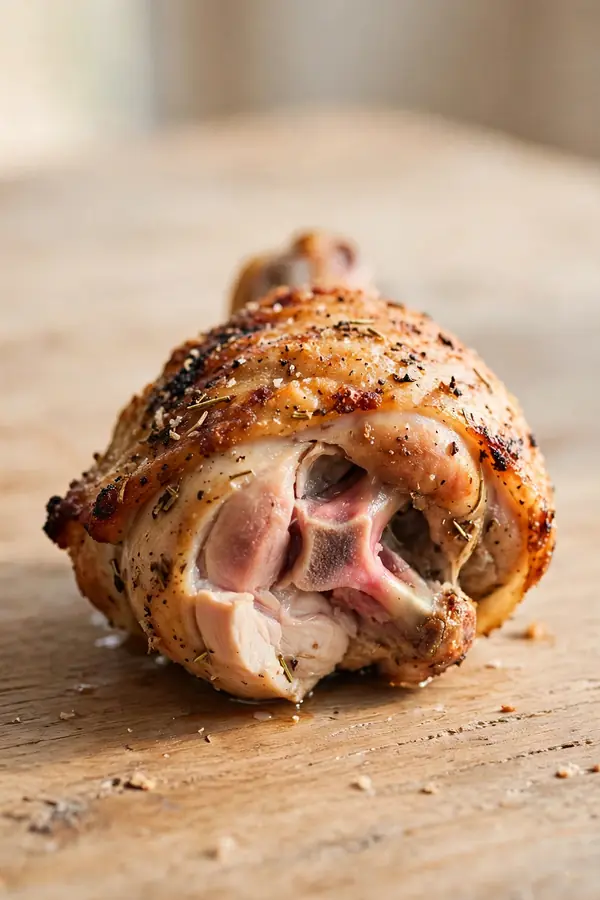
A pink tint in cooked poultry usually comes from hemoglobin in young birds, not from raw meat. The pigment is most visible near bones and joints, where blood vessels sit close to the surface. It can survive normal cooking and still look alarming on the plate, even at a safe temperature.
Nitrates in brines, celery powder, and even some tap water can also lock in a rosy color. Smoking adds a pink ring for the same reason. None of these signs mean the meat is unsafe, but only a thermometer can settle the question for good.
Thermometer Beats Color Checks
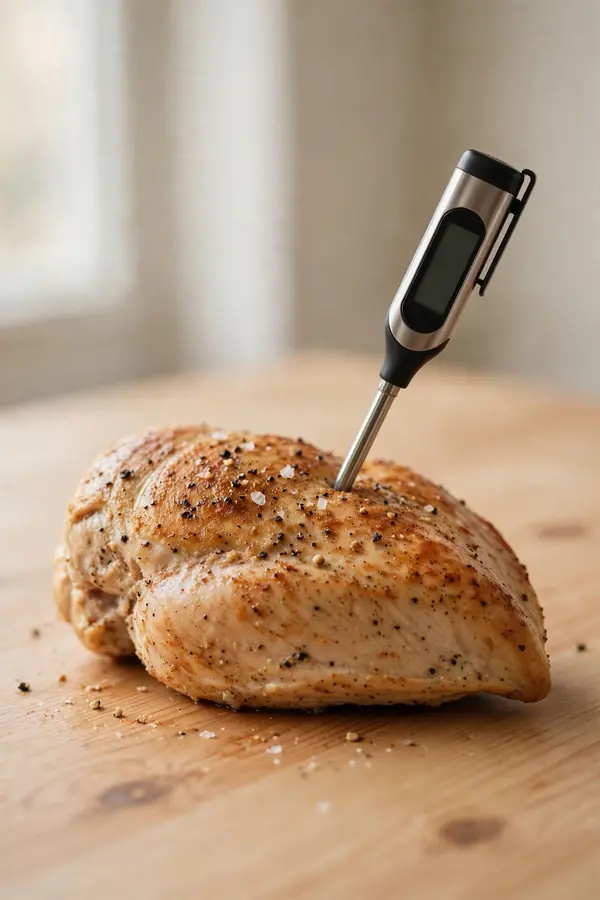
An instant read thermometer removes all guessing and takes about three seconds per check. Keep it near the stove so checking becomes a habit, not a chore. Check the thickest part, away from bone, and trust the number over the color. Follow these steps for a fast, reliable check.
- Insert the probe into the thickest part of the meat, away from bone and fat.
- Wait until the reading steadies, then compare it with the safe target for that cut.
- Check two spots on large pieces, since ovens and grills heat unevenly.
- Wash the probe with hot soapy water before the next check.
Safe Temperatures Explained

Quick Tip: Pull poultry at 165 degrees Fahrenheit in the thickest part, and let it rest. The temperature will hold steady, and the juices will settle instead of running out when you slice.
Dark meat can go a little higher, up to 175 degrees, without drying out, because it holds more fat and connective tissue. Breasts dry out fast past 165 degrees, so check them early. In my experience, a two degree head start on the thermometer beats a minute of extra oven time every time.
Resting Changes Color

Common Mistake: Many cooks cut into the bird right out of the oven to check the color. The juices rush out, the meat looks wet and pink, and the texture turns dry within minutes.
The Fix: Rest breasts for five minutes and whole birds for fifteen minutes before slicing. The heat spreads evenly during the rest, and the juices redistribute through the meat.
If the center still looks rosy after resting, check the temperature again before deciding. A rested bird at 165 degrees is done, even if a small spot near the bone stays pink. Slice thin and serve without worry, and tell guests the number if they ask. The thermometer settles the question better than color can.
Thighs Versus Breasts
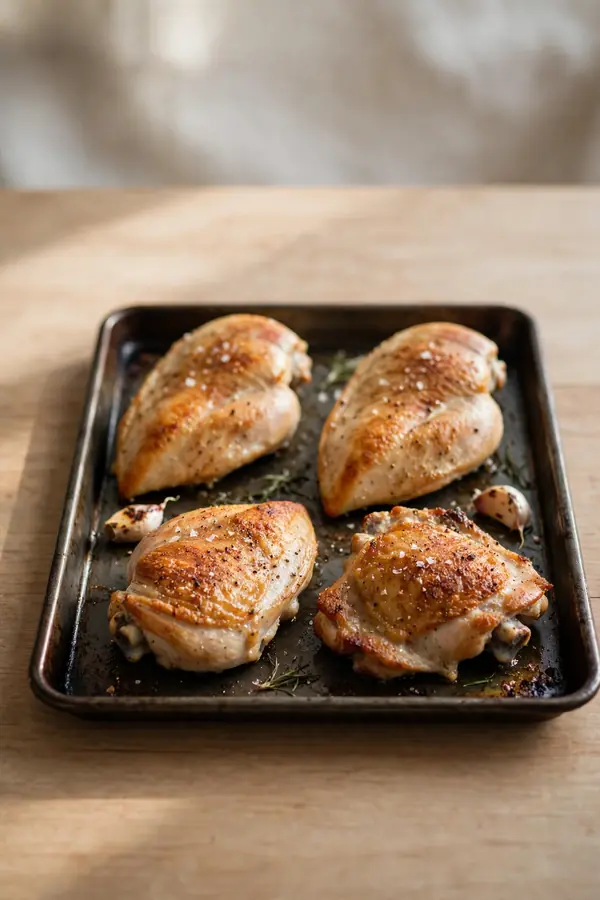
What You Need:
- Instant read thermometer: The only tool that proves doneness, faster and more honestly than color or juices.
- Sharp carving knife: Clean slices show the true interior without tearing fibers and squeezing out juice.
- Cutting board with a groove: Catches resting juices so they stay on the plate instead of running across the counter.
- Foil tent: Keeps the bird warm during resting without steaming the skin soft.
You do not need fancy gear to get this right. A basic digital thermometer costs little and lasts for years. Keep it in the same drawer as your tongs so you reach for it every time poultry is on the menu. A sharp knife and a grooved board finish the kit.
Brining Keeps Juices Clear

Before: Before, I judged doneness by color and clear juices, and I overcooked almost every breast. The meat came out dry, stringy, and pale, and dinner felt like a gamble.
After: After switching to a thermometer, the same chicken stays juicy and safe. The rosy tint near the bone no longer scares me, because the number on the screen settles it.
The change is small but the results are dramatic, and it works for every cut. Once you see juicy meat at a confirmed 165 degrees, you will never go back to guessing by color. Trust the tool, and dinner gets both safer and tastier. The number on the screen ends the debate every time.
Bone Area Stays Pink
Do This:
- Check the thickest part of the meat, away from bone.
- Let poultry rest before slicing.
- Wash the thermometer between checks.
- Write the target temperature on a sticky note until it sticks.
Avoid This:
- Do not judge doneness by juice color alone.
- Do not press the meat flat to squeeze out juices.
- Do not reinsert a dirty probe into cooked meat.
- Do not slice a whole bird the second it leaves the oven.
These habits take only seconds and they remove the biggest source of poultry anxiety. The goal is a calm kitchen where every bird comes out juicy, safe, and ready to serve. Check the temperature, rest the meat, and slice with confidence. Repeat the routine, and calm cooking follows every time.
Smoking Creates Pink Rings

- Time Needed: About 3 seconds per temperature check.
- Difficulty: Easy, once the thermometer is within reach.
- Tools Required: Instant read thermometer, sharp knife, cutting board.
- Best For: Roasted, grilled, pan fried, and smoked poultry.
Pink color near bones is normal in young birds and in brined or smoked meat, so do not panic at the sight. The USDA target for poultry is 165 degrees Fahrenheit. Resting improves both texture and the final color, so give the bird time before you slice. The thermometer confirms safety better than color can.
Slicing Checks That Work
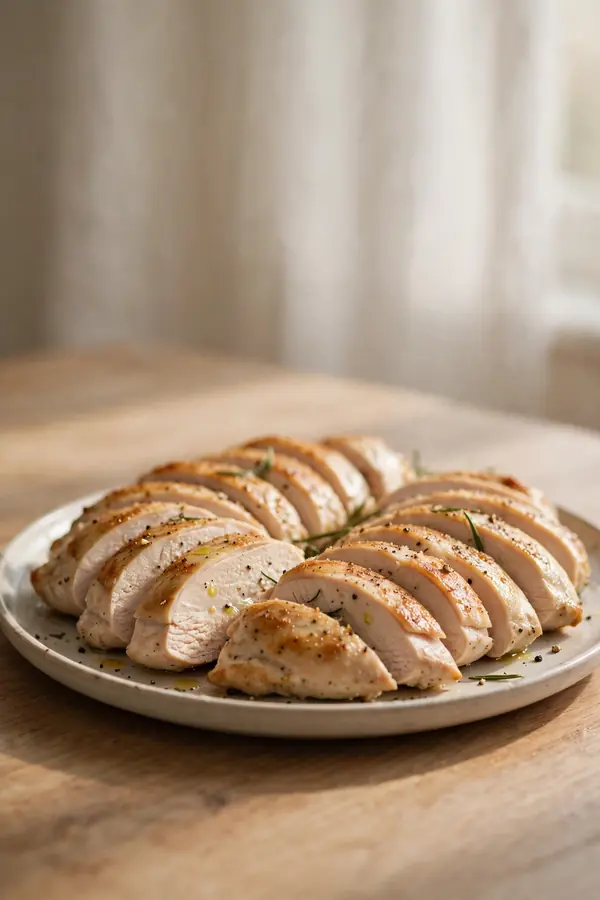
A clean slicing check starts after resting, with a sharp knife and one confident cut through the thickest part. Look at the texture as well as the color, since fully cooked meat feels firm and springy rather than soft and translucent. One clean cut tells you more than a dozen pokes.
If the interior is glossy, jelly like, or soft, return the pieces to the heat for a few minutes and check again. If it is firm and the thermometer reads 165 degrees, serve it. The small rosy patch near the bone is harmless, and the meat is safe.
Fixing Undercooked Pieces Fast
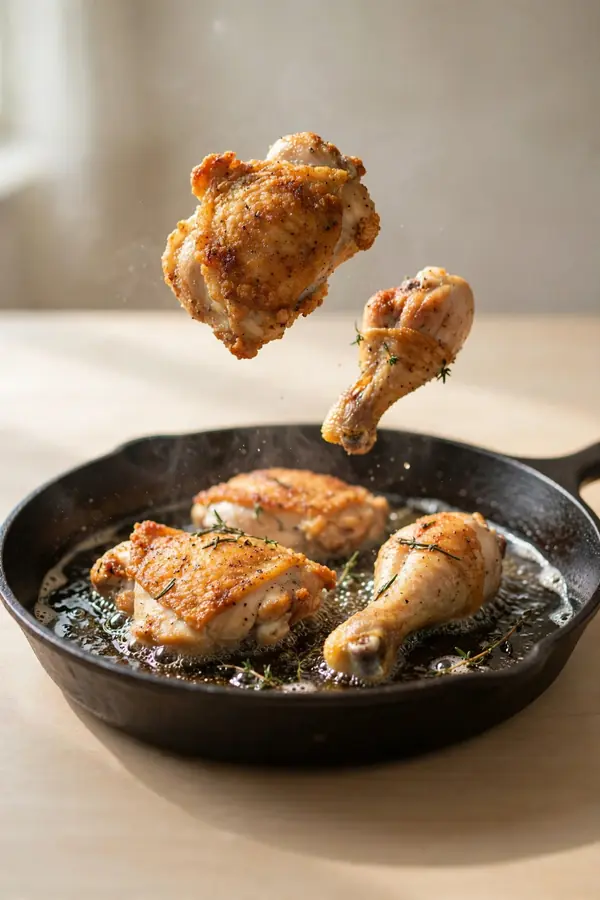
When a piece is undercooked, a quick return to the heat fixes it without ruining dinner. Work fast, keep the pieces hot, and recheck before serving. Heat in a single layer, flip once, and check the thickest part again. Follow these steps to fix undercooked pieces without drying them out.
- Return undercooked pieces to the pan or oven in a single layer.
- Heat for 3 to 5 minutes, flipping once for even cooking.
- Recheck the thickest part with the thermometer.
- Rest for two minutes, then slice and serve.
Serving With Confidence

Quick Tip: Serve with a bright sauce or a squeeze of lemon, which makes any faint rosy tint less noticeable. Guests notice flavor and juiciness far more than a small color difference near the bone.
Confidence comes from the number on the thermometer, not from the shade of the meat. When you can state the final temperature, nobody at the table worries. Cook to the number, rest the meat, slice cleanly, and enjoy dinner. The number ends the debate, and the meal tastes better for it.
Conclusion
A rosy tint does not have to mean a ruined dinner. Now you know that chicken pink inside often comes from young birds, brines, or smoke, and that a thermometer gives the only answer that matters. Cook to 165 degrees, rest the meat, and slice with confidence. Keep the thermometer in the same drawer as your tongs so checking becomes a habit. Over time you will stop worrying about color and start trusting the number. Serve dinner with confidence tonight. For the guide that came before this one, see pizza dough.