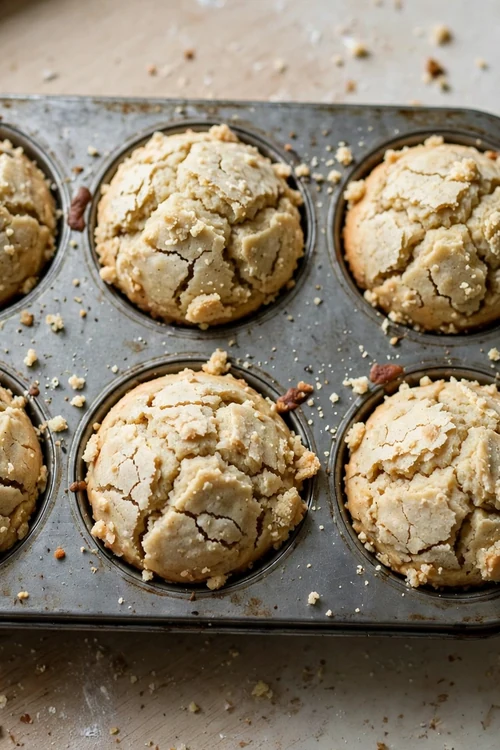
Why Does My Cinnamon Roll Dough Come Out Dry? Easy Fix Guide
If your dry cinnamon roll dough tears when you roll it and feels stiff in the bowl, you are not alone. The good news is that most stiff dough can still be saved with small changes.
The usual causes are simple. Too much flour, warm dry air, or a long rest without cover can pull moisture out before the rolls ever reach the oven. Once you spot which cause fits your kitchen, the fix gets easier.
This guide walks you through each fix in order, from measuring flour to proofing and baking, so your next batch turns out soft, tender, and full of cinnamon flavor. If your vegetables turned soft too, read roasted vegetables next for a rescue.
Why Roll Dough Dries

Roll dough dries out when flour outweighs liquid. Scooping flour straight from the bag packs it down, so a cup can hold far more than the recipe intends. Dry air and a long uncovered rest make the problem worse, since the surface loses moisture first. A scale keeps the flour honest, since scooped cups vary widely.
The result is dough that tears instead of stretching. It resists rolling, cracks at the edges, and bakes into firm, crumbly rolls. In my experience, the fix starts before you add more flour, by checking how the dough actually feels in your hands.
Measure Flour Correctly

Measuring flour the right way prevents most stiffness. A kitchen scale is the most reliable tool, but spooning and leveling works well too. A scale beats cups for accuracy, and spooning plus leveling is next best. Hold back the last quarter cup until the dough shows its true feel.
- Fluff the flour in its container with a spoon so it loosens up.
- Spoon the flour into the measuring cup until it mounds above the rim.
- Level the top with the back of a knife, without shaking or tapping.
- Hold back the last quarter cup and add it only if the dough still feels wet.
Add Moisture Slowly

Quick Tip: Add liquid one tablespoon at a time and knead for a full minute after each addition. Small additions keep you in control, so the dough turns soft without going sticky.
Warm milk or water works better than cold liquid, since it blends into the dough faster. If the dough still looks shaggy after two tablespoons, let it rest for ten minutes. The flour will absorb the moisture, and the texture often improves on its own.
Knead Gently Enough

Common Mistake: Many bakers knead stiff dough harder and longer, hoping force will soften it. Hard kneading builds too much structure and squeezes out air, which leaves the rolls dense and tough.
The Fix: Knead with light, steady pressure for six to eight minutes. Push the dough away, fold it back, and turn it a quarter turn. Stop when it feels smooth and springs back slowly after a poke.
If the dough fights you, give it a five minute rest. Resting lets the flour hydrate and the gluten relax, so the next round of kneading feels much easier and the dough stays soft. If the dough still resists, cover it and rest it for ten more minutes.
Fix Stiff Dough
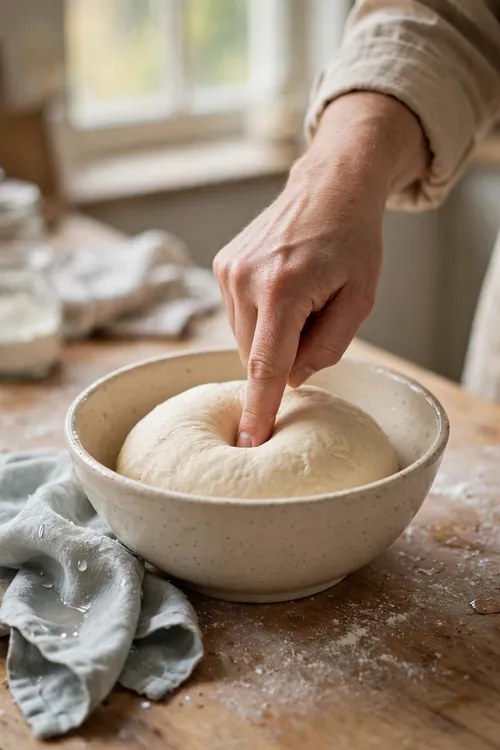
What You Need:
- Warm milk: Adds moisture and a soft crumb when mixed in a spoonful at a time.
- Soft butter: Brings richness and keeps the baked rolls tender for longer.
- Damp towel: Covers the bowl during rests so the surface never dries out.
- Plastic wrap: Seals the bowl better than a towel on very dry days.
- Spray bottle: Mists the surface lightly if the dough starts to look dry.
Keep these basics within reach before you start. Fixing stiff dough is much easier when you can add a spoonful of milk or cover the bowl right away, instead of hunting for supplies mid bake. A spray bottle and a damp towel cost little and save many batches.
Proof Without Drying
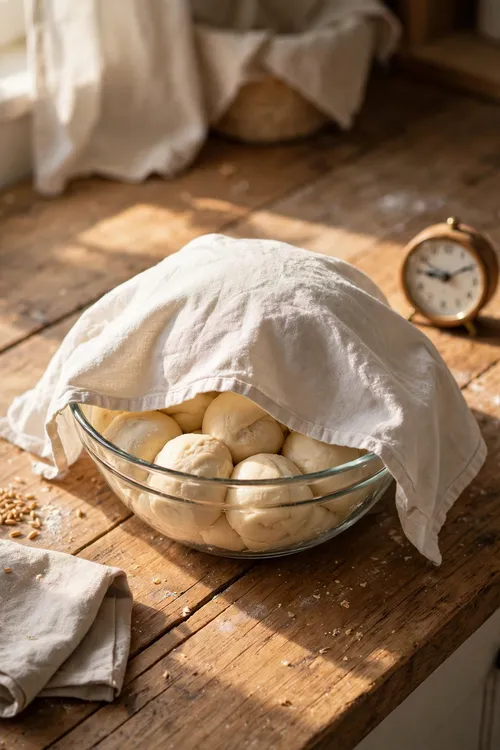
Before: Before the fix, the dough sat uncovered on the counter for an hour. A dry skin formed on top, and the rolls baked up tight and pale.
After: After the fix, the same dough rests under a damp towel in a warm spot. It rises evenly, stays soft to the touch, and bakes into golden, pillowy rolls.
Proofing is where soft rolls are won or lost. A warm, covered spot near a simmering pot works well, and the dough should roughly double in size. If the room is cool, give it extra time rather than extra heat. Check the dough with the poke test in a cool room.
Roll And Fill

Do This:
- Roll the dough to an even thickness so every roll bakes at the same pace.
- Spread the filling gently, leaving a small clean border at the far edge.
- Roll the log snugly but without pulling, so the layers stay tender.
Avoid This:
- Do not press the rolling pin hard, or the dough will tear.
- Do not use extra flour on the board unless the dough truly sticks.
- Do not stretch the log longer after rolling, since that thins the layers.
A gentle hand at this stage protects all the moisture you worked to restore. Even, relaxed layers rise higher and stay softer than tight, stressed ones. Even layers also bake more evenly, so every roll in the pan finishes at the same time. A rushed roll shows up as dry edges and a pale center.
Bake Soft Rolls

Time Needed: About 25 to 30 minutes in a 350 F oven.
Difficulty: Easy, once the dough feels soft before baking.
Cost: Low, since the fix uses milk and butter you already have.
Best For: Home bakers rescuing a batch that feels stiff.
Bake until the tops turn deep golden and the centers feel set. Pull the pan a minute early if you are unsure, since rolls keep firming as they cool. A light brush of melted butter adds shine and softness. A light glaze of icing after baking also locks in softness.
Rescue Dry Rolls

Even after baking, dry rolls can often be rescued. Warm each roll for ten seconds in the microwave with a damp paper towel over it, or brush it with warm milk and rest it under a towel for five minutes. A damp towel and gentle warmth revive most rolls.
For a bigger rescue, warm the rolls in a covered pan with two tablespoons of milk at low heat. The steam softens the crumb without making it soggy. Serve them warm, and most people will never guess the dough started out stiff. Serve warm, and few will guess the start.
Store Rolls Fresh

Storing rolls the right way keeps them soft for days. Cool them first, then seal them well so air cannot dry them out. Cool the rolls until just warm, then seal them tightly so air cannot dry them. A sealed container keeps them soft for two days at room temperature.
- Let the rolls cool until just barely warm to the touch.
- Place parchment between layers if you stack them in a container.
- Seal the container tightly and keep it at room temperature for up to two days.
- For longer storage, freeze the rolls in a sealed bag for up to one month.
- Reheat frozen rolls covered at 300 F until warm all the way through.
Final Texture Check

Quick Tip: Tear one roll open before serving. The inside should look soft and layered, not tight or crumbly. If it still looks dry, brush the batch with warm milk and rest it covered for ten minutes.
This last check takes only a moment and saves the whole batch. A roll that looks moist inside will taste moist too, and a quick fix now beats a dry plate at the table. If the roll still feels firm, brush it with warm milk and rest it covered.
Conclusion
Fixing dry cinnamon roll dough comes down to careful measuring, gentle kneading, and keeping the dough covered while it rests. Small changes at each step add up to rolls that stay soft, tender, and full of warm cinnamon flavor. Try the fixes on your next batch, and share the results with someone who loves fresh rolls. A little patience with measuring and resting goes a long way, and soon the whole process will feel easy and natural. For another common baking rescue, read sweet cake next for a lighter result.