Why Is My Turkey Dry Even After Basting? Easy Fix Guide
Nothing stings like carving the bird and finding dry turkey after basting, tough and stringy when you hoped for juicy slices. You basted on schedule, yet the breast disappointed you. The good news is that this problem has clear causes, and each one has a fix.
Most dry birds trace back to heat, timing, or skipped steps. A hot oven, no brine, or carving too soon can each squeeze juice from the breast. Small slips stack up fast, and spooning pan juices over the skin cannot undo them.
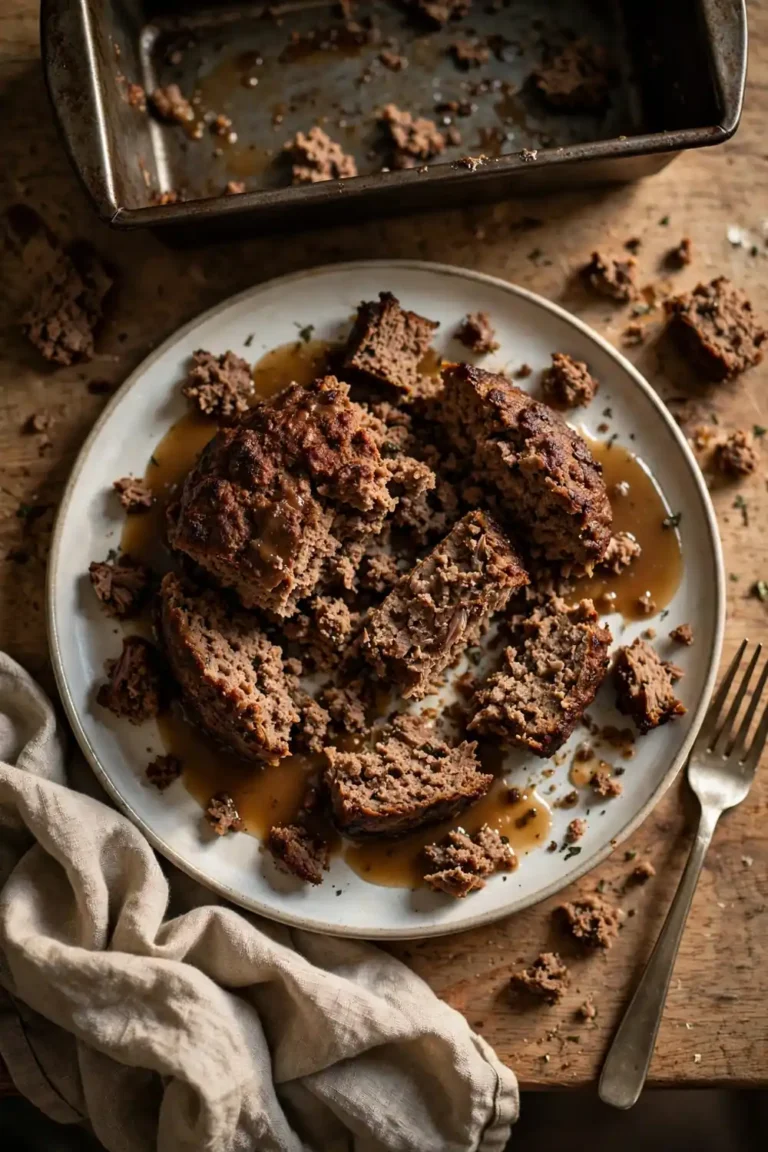
This guide walks through each cause with a fix you can try right away. You need no special tools, just a few small changes. If your meatloaf also falls apart, see our guide on fixing meatloaf falling apart for firm, juicy slices.
Why Basting Does Not Work
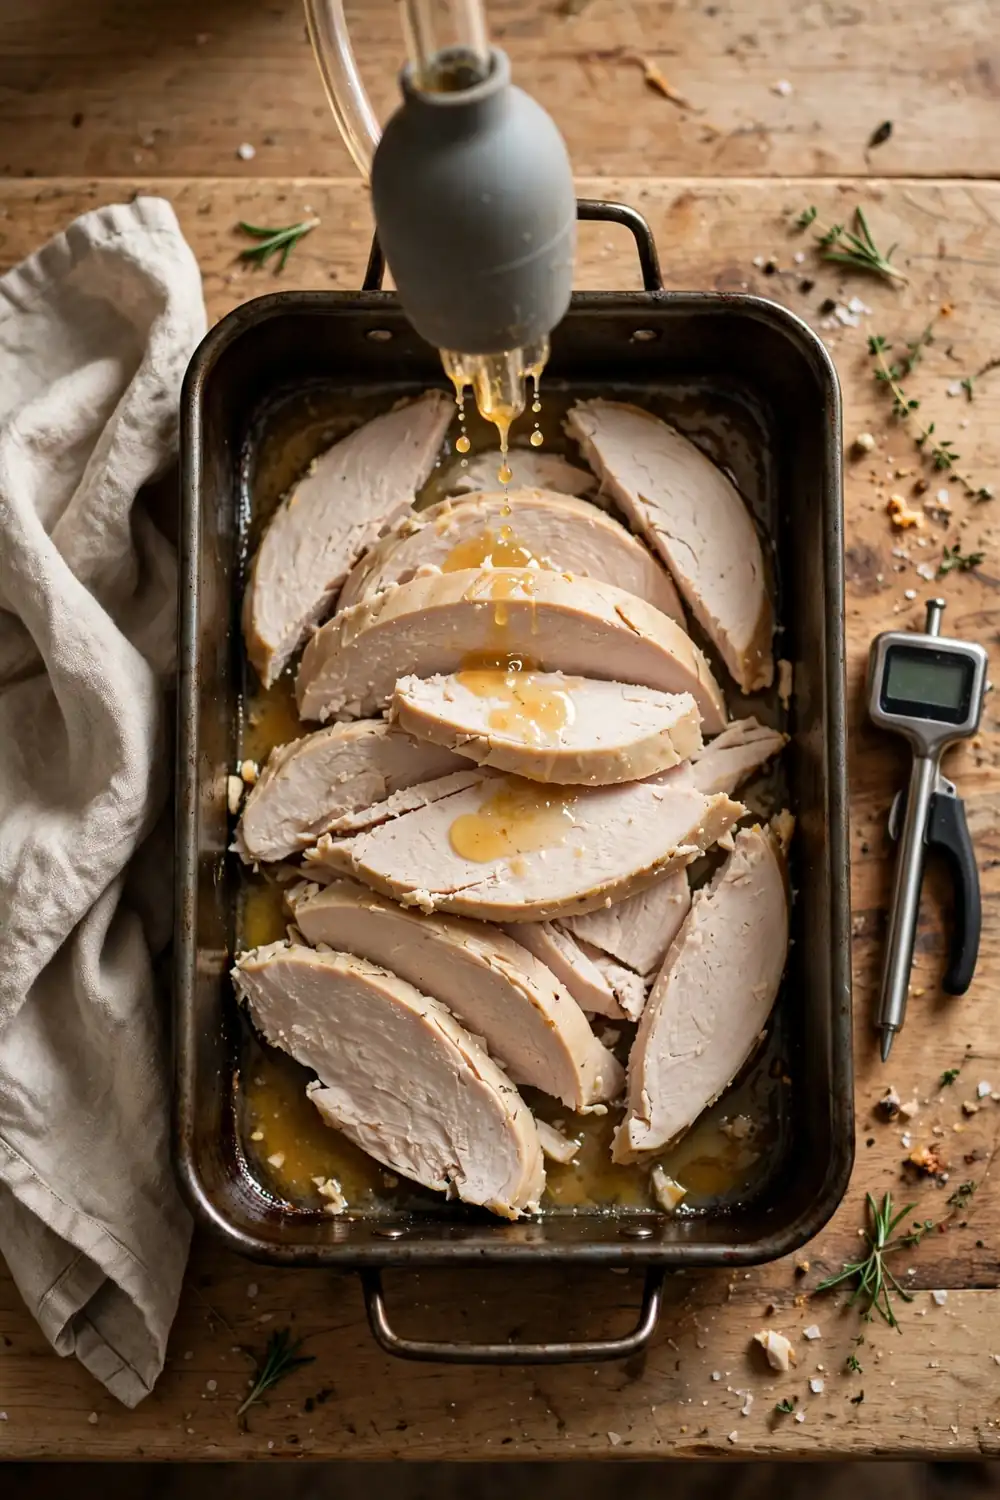
You baste the bird again and again, hoping the spooned juices keep the meat moist, yet the breast still turns dry. The skin looks golden and crisp, but the fork meets tough, stringy meat. Basting only wets the skin, never the meat deep inside the thick breast.
Basting cannot push moisture through skin into meat, so the breast dries no matter how often you spoon. Each time you open the door, heat escapes and the oven cools. In my experience, brining and resting fix what basting never can, so skip the spoon and trust those steps instead.
Pick the Right Turkey
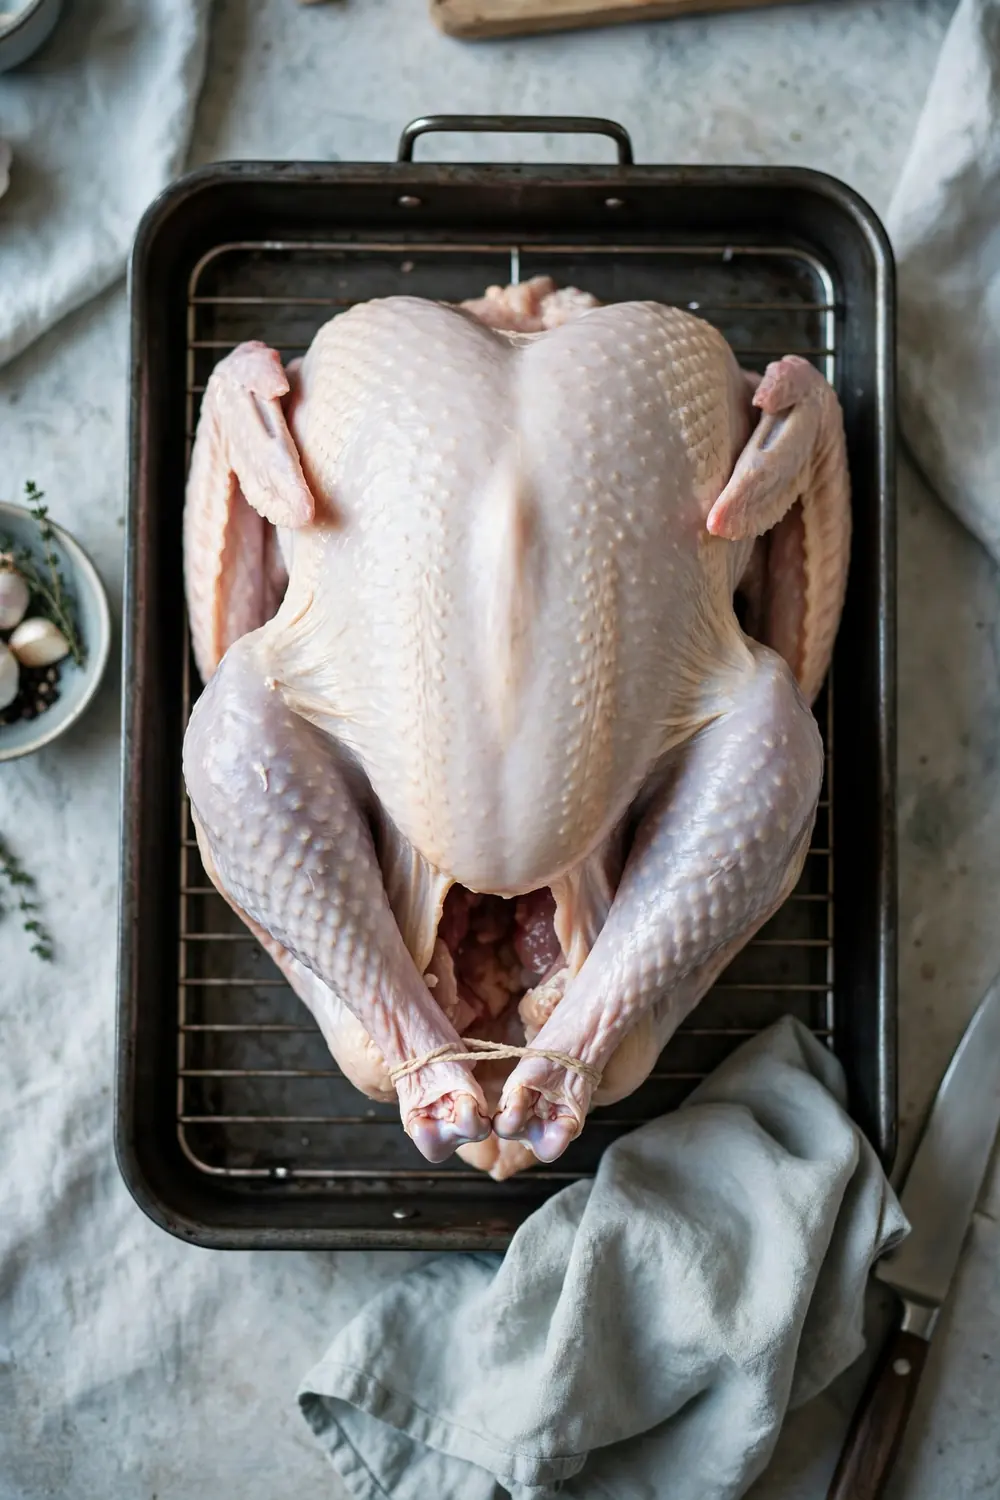
The bird you buy shapes the result more than any later step, and a lean, oversized turkey dries out fast. A fresh bird with a plump breast and even shape roasts gently. Pick well now, and every later fix works better for you.
- Choose a fresh turkey, never one thawed twice, since repeat thawing dries the meat.
- Pick a 12 to 14 pound bird, which cooks more evenly than a giant one.
- Look for a plump breast and a balanced shape with no flat spots.
- Keep the turkey cold in the fridge until it goes into the oven.
Brine Before You Roast
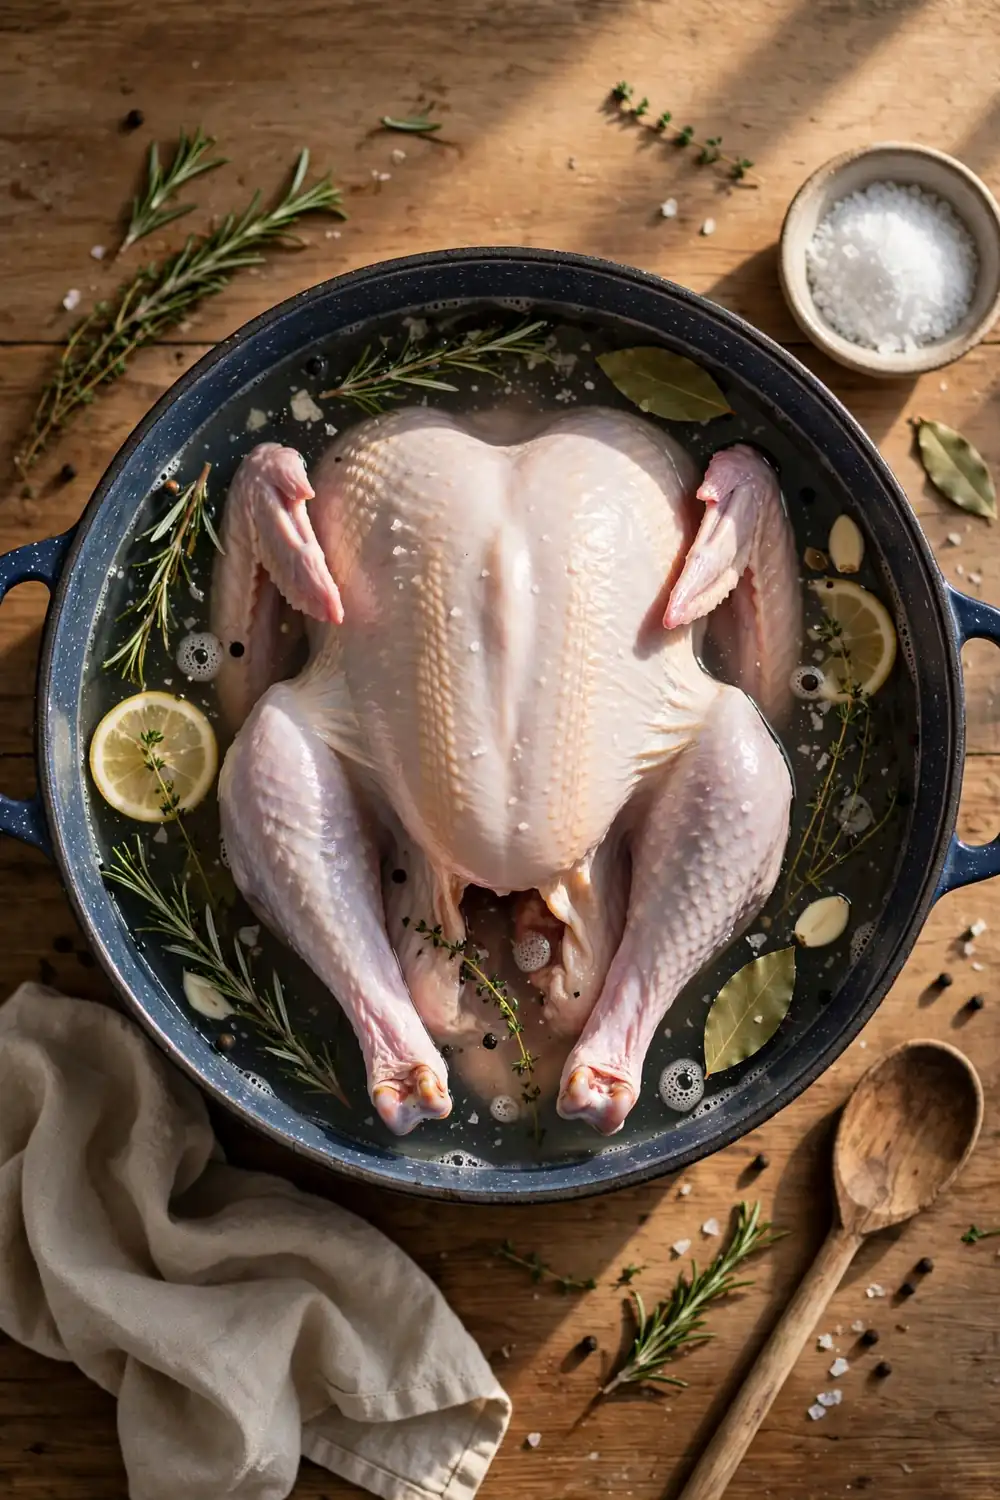
Quick Tip: Brining is the single best fix for dry turkey, since salty water seasons the meat deep inside. A brined bird holds more juice through the long roast, so brine once and the turkey stays moist.
Soak the turkey in salty water overnight in the fridge, then pat it dry before roasting. The brine seasons the meat all the way through, so each slice stays juicy and tender. Brining takes planning, yet the payoff is worth the wait at the table.
Roast Low and Slow
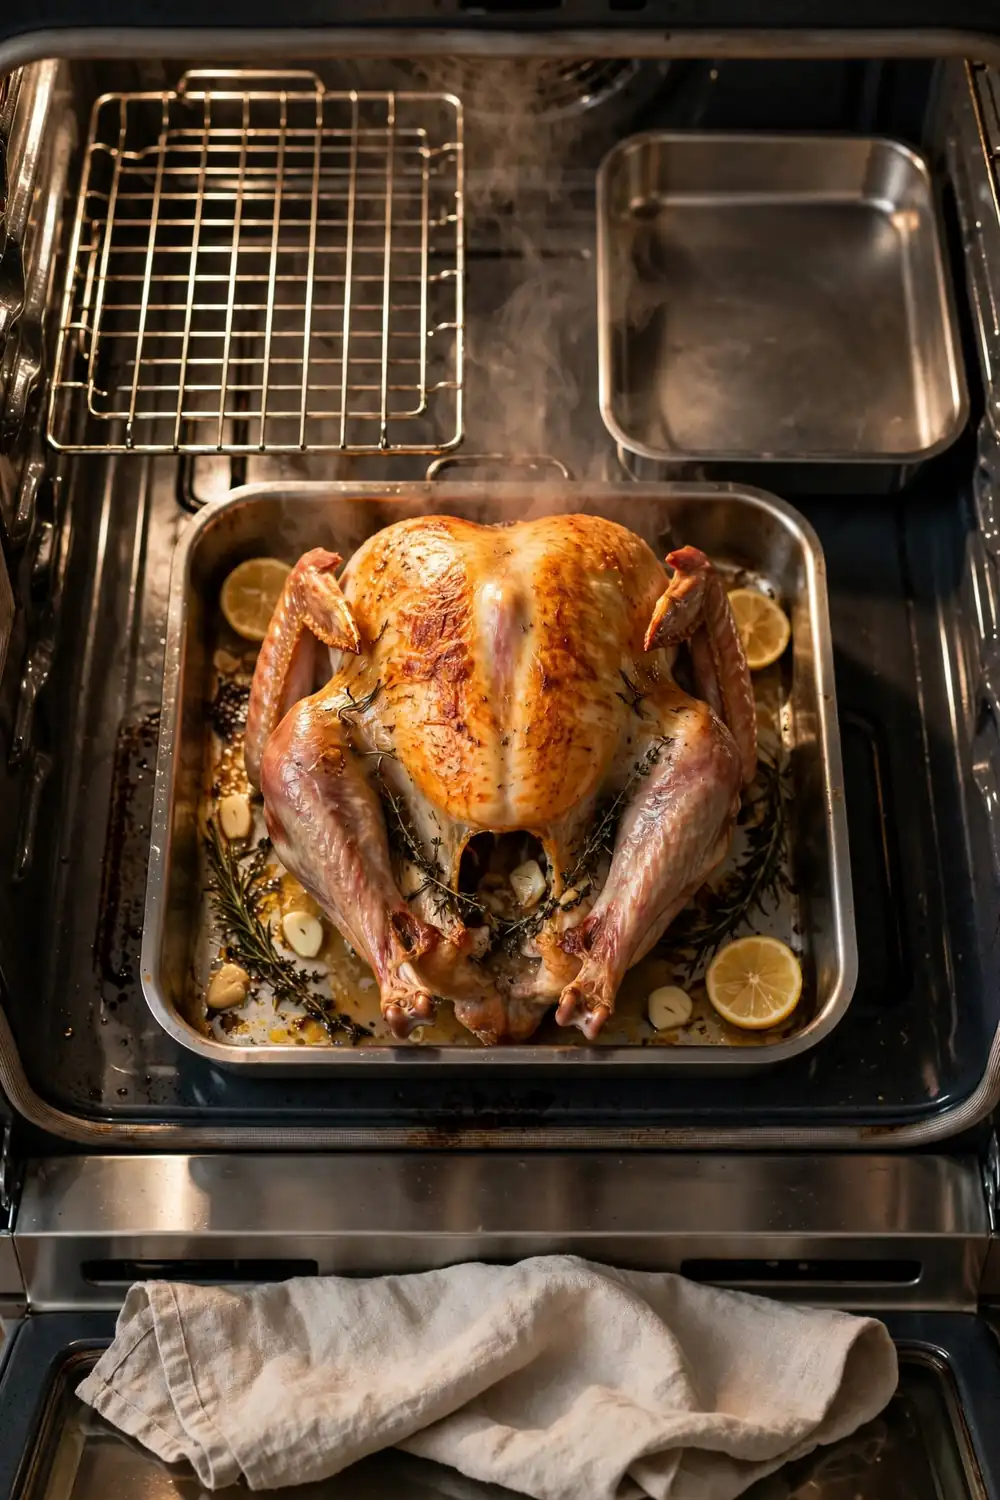
Common Mistake: Many cooks roast at high heat to save time, and the breast dries out fast. The skin browns early while the meat inside turns tough. The bird needs steady, gentle heat, not a blast, to stay juicy.
The Fix: Roast at 325 degrees and let the bird cook slowly. The breast stays moist and the meat cooks evenly. Low heat is the simplest fix for a juicy turkey.
High heat squeezes juice from the breast long before the legs finish cooking, and the gap only grows. Gentle heat lets the whole bird cook evenly without drying the meat. Roast low once, and the turkey stays juicy through every slice at the table tonight.
Check Temperature Early
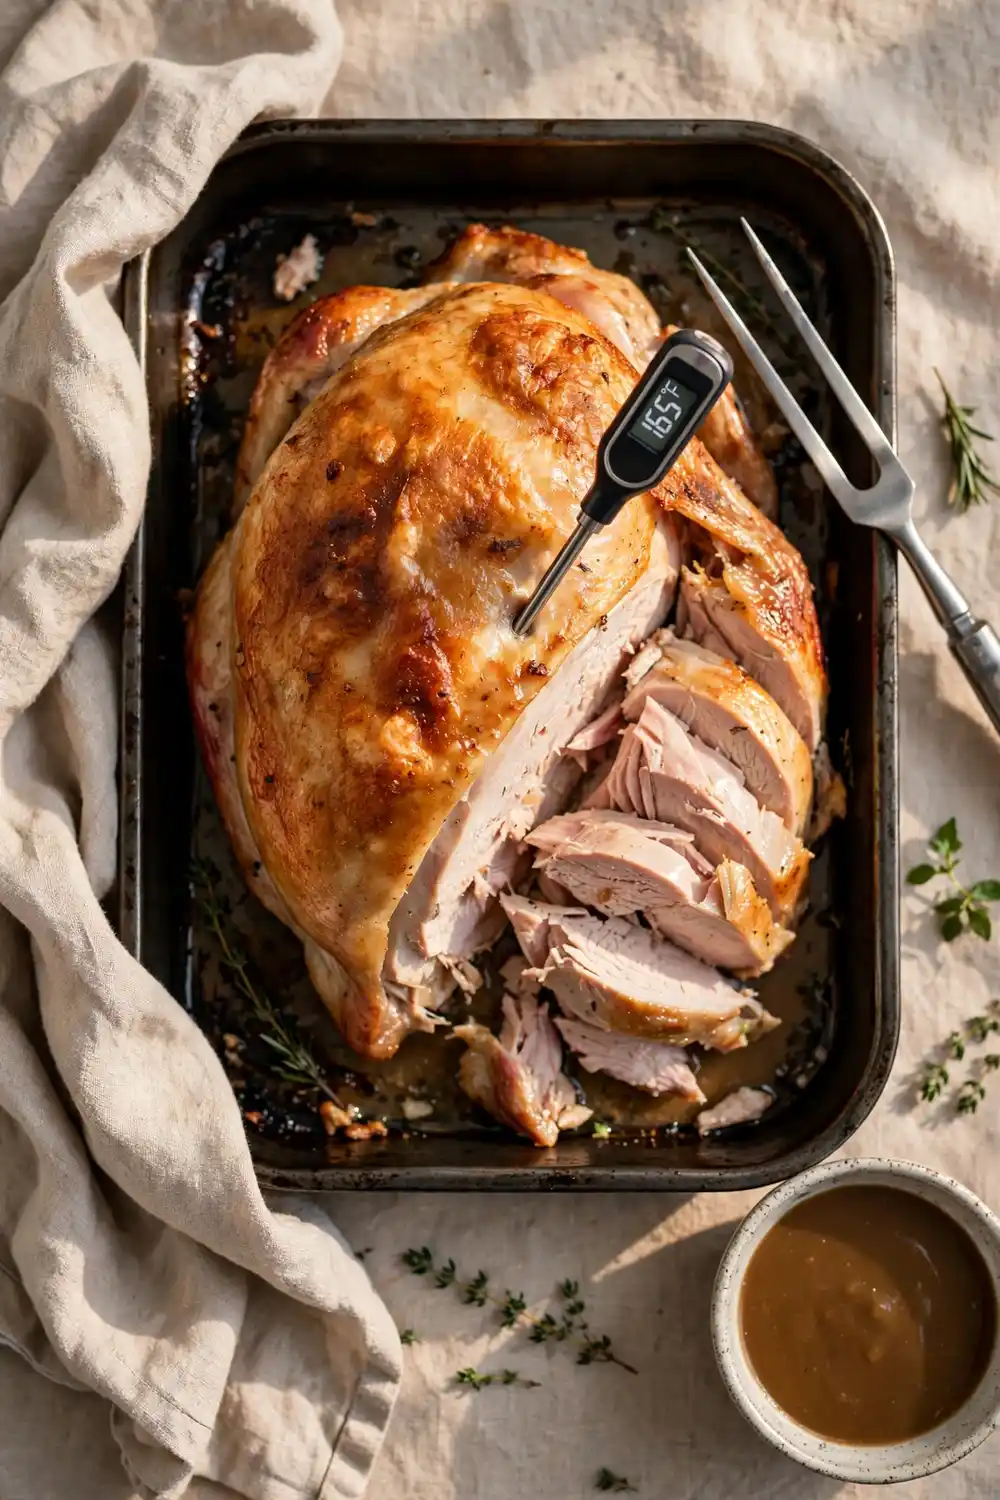
What You Need:
- Instant-read thermometer: It gives a fast, exact reading in the thickest part.
- Roasting pan: It holds the bird steady while you check the temperature.
- Foil: A loose tent keeps the breast warm while the bird rests.
- Timer: It reminds you to check early, before the breast overcooks.
A few extra degrees turn a juicy breast dry fast, so the thermometer matters more than the timer. Push the probe into the thickest part of the breast, away from bone. Pull the bird at 160 degrees, and carryover heat finishes the job while it rests.
Shield the Breast
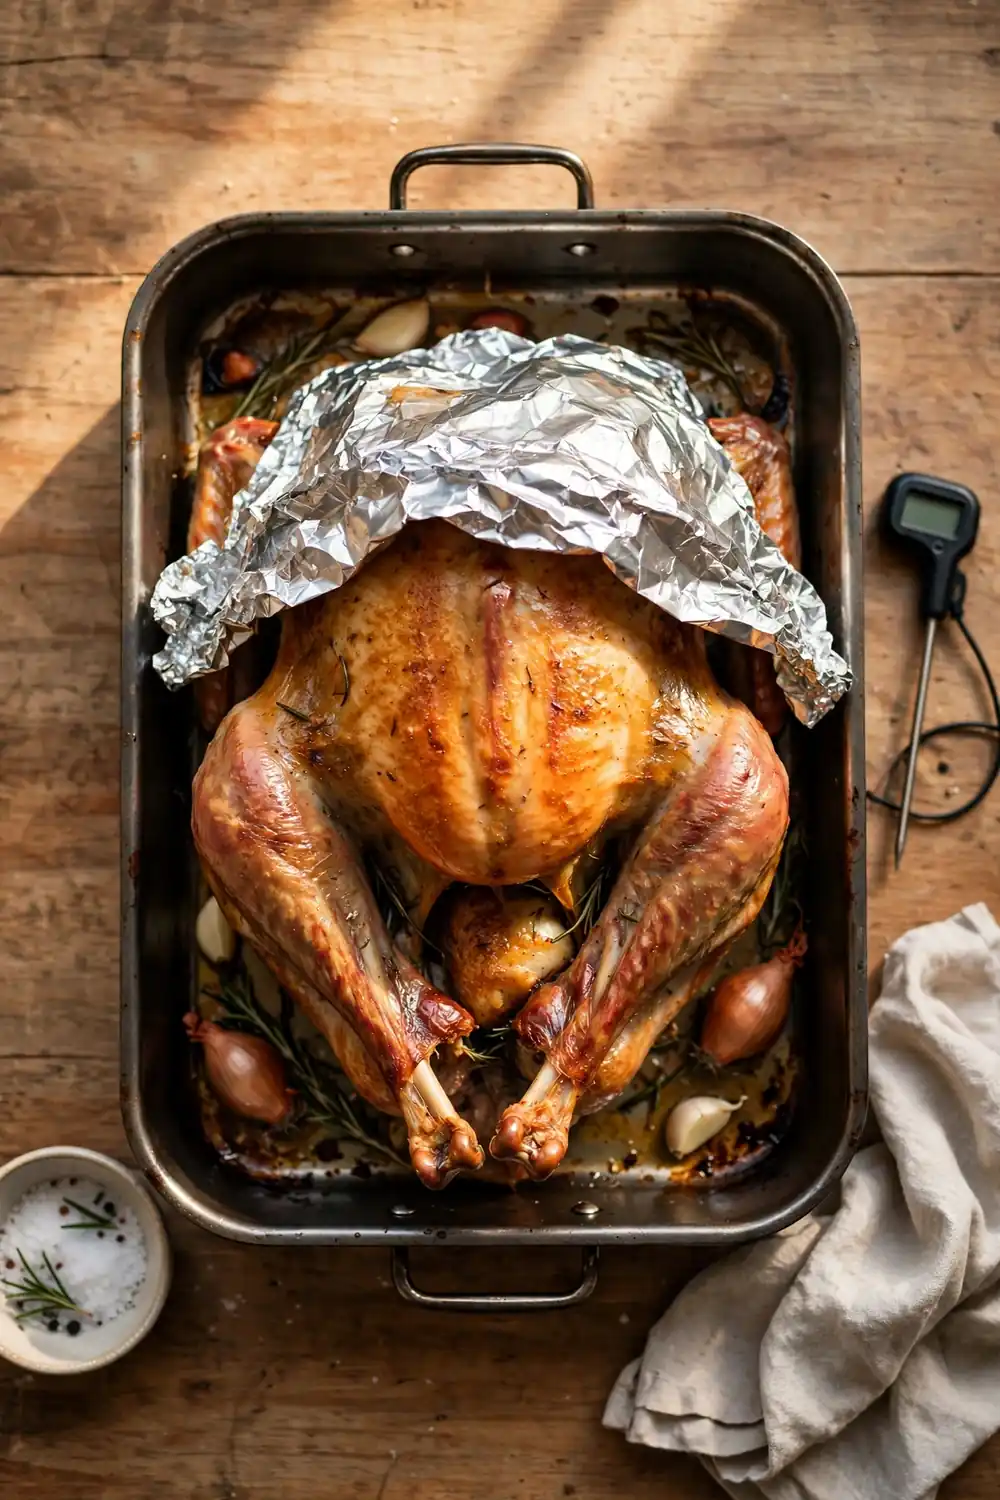
Before: Without a shield, the breast takes the full oven heat and dries first. The legs still need time, so the breast overcooks while you wait. The skin browns fast, but the meat turns tough.
After: With a loose foil tent, the breast cooks gently and finishes with the legs. The meat stays moist, and the skin still turns golden at the end. Every slice cuts tender from the same bird.
The breast cooks faster than the legs, so it needs shelter in a hot oven. Lay a loose foil tent over the breast once the skin turns golden. Shield it once, and the whole bird finishes juicy together at dinner tonight. Remove the tent near the end so the skin crisps.
Rest the Turkey Right
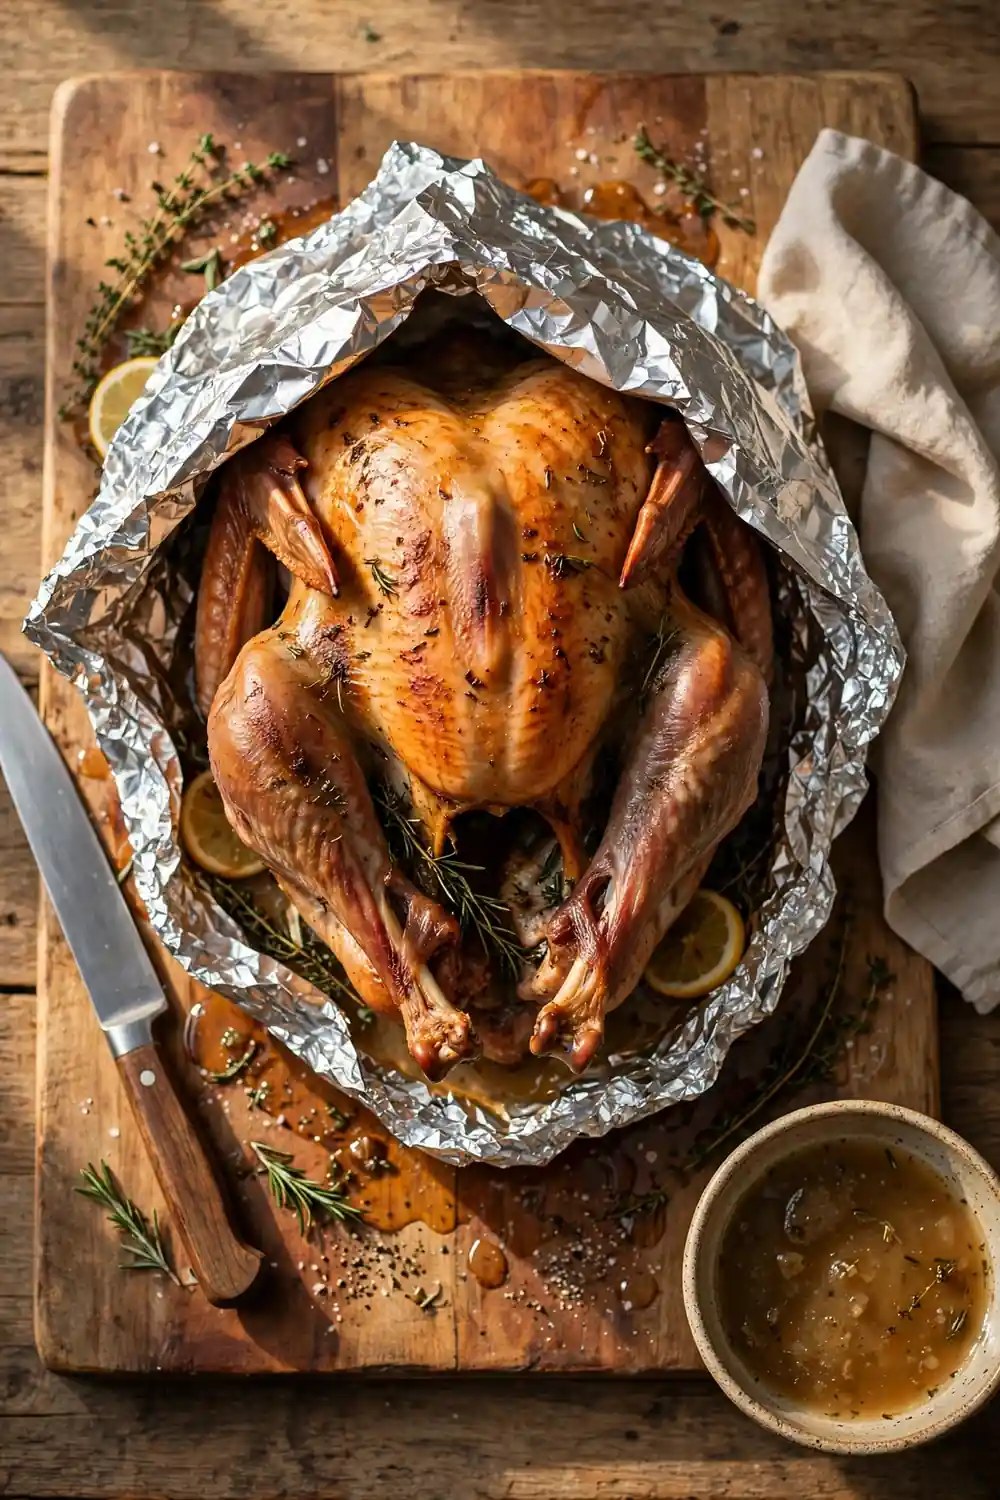
Do This:
- Tent the bird loosely with foil as soon as it leaves the oven.
- Rest it for thirty minutes before you carve a single slice.
- Keep the bird on a warm board away from cold drafts.
Avoid This:
- Do not carve straight from the oven, since the juices run onto the board.
- Do not wrap the bird tightly, since trapped steam softens the skin.
- Do not skip the rest to serve faster, since dry slices follow.
Resting lets the juices settle back into the meat instead of spilling onto the board. A rested bird carves clean, and each slice stays moist and tender. Give the turkey patience now, and it pays you back at the table. Resting is the easiest fix on this list, and it costs nothing but time.
Fix a Dry Turkey Fast
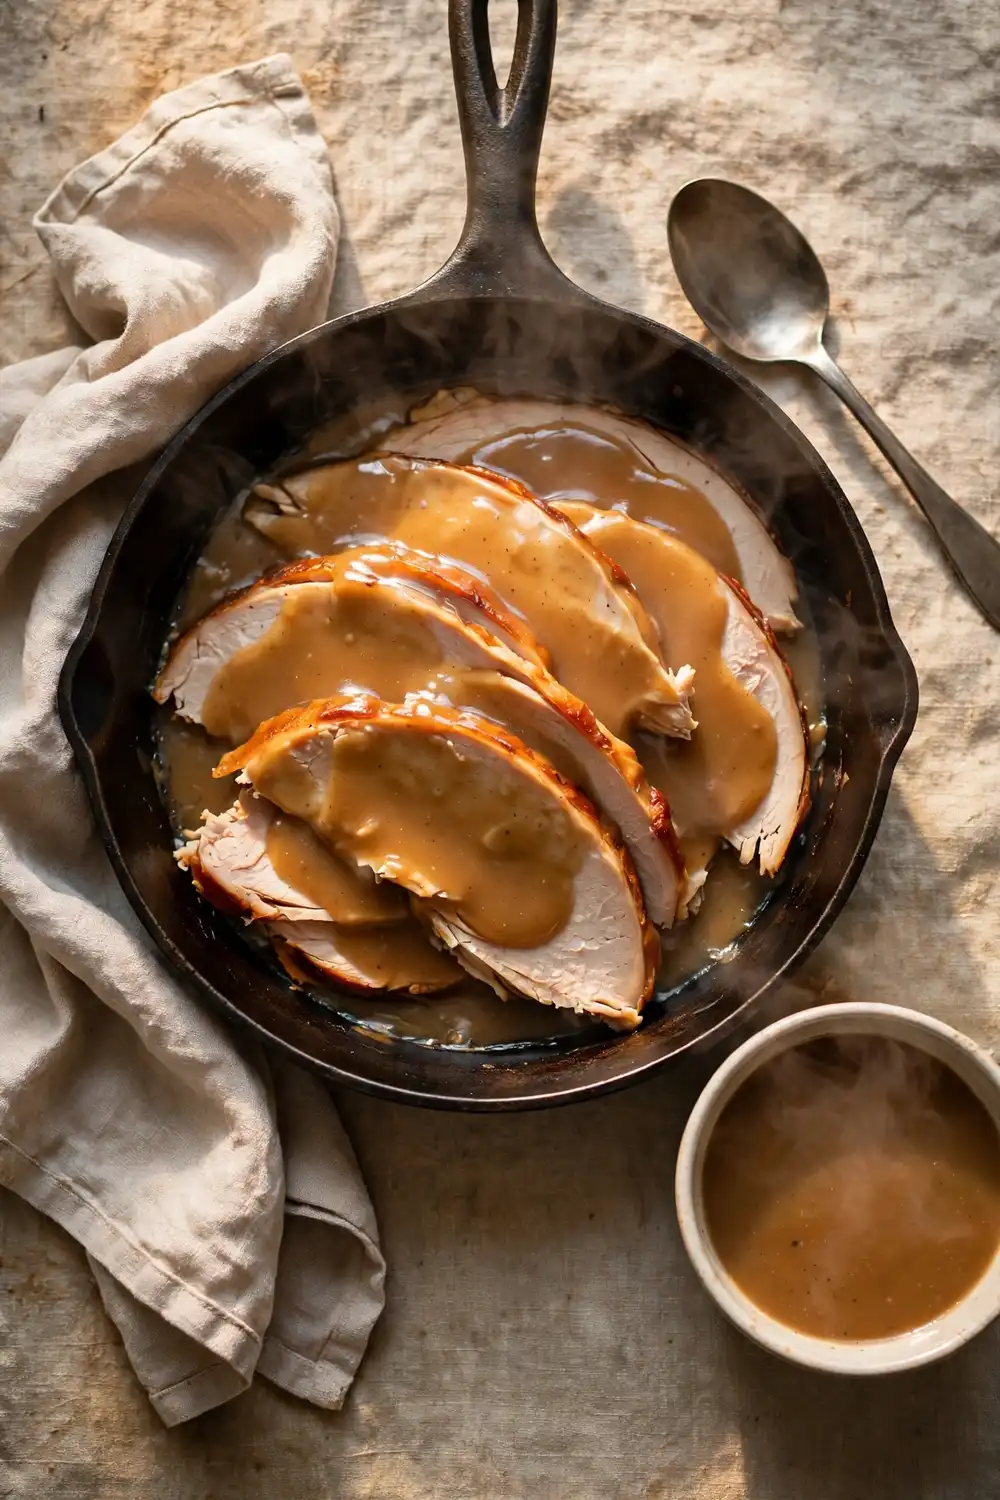
Best rescue: Warm gravy over sliced turkey
Rescue time: Ten minutes of gentle reheating
Risk: High heat dries the slices even more
Result: Moist slices that taste freshly carved
A dry turkey is not lost, and warm gravy plus gentle heat can still save it. Lay the slices in a pan, spoon gravy over them, and warm them slowly on low heat. Trust the gentle fix, and the turkey turns moist again for dinner.
Store Turkey the Right Way
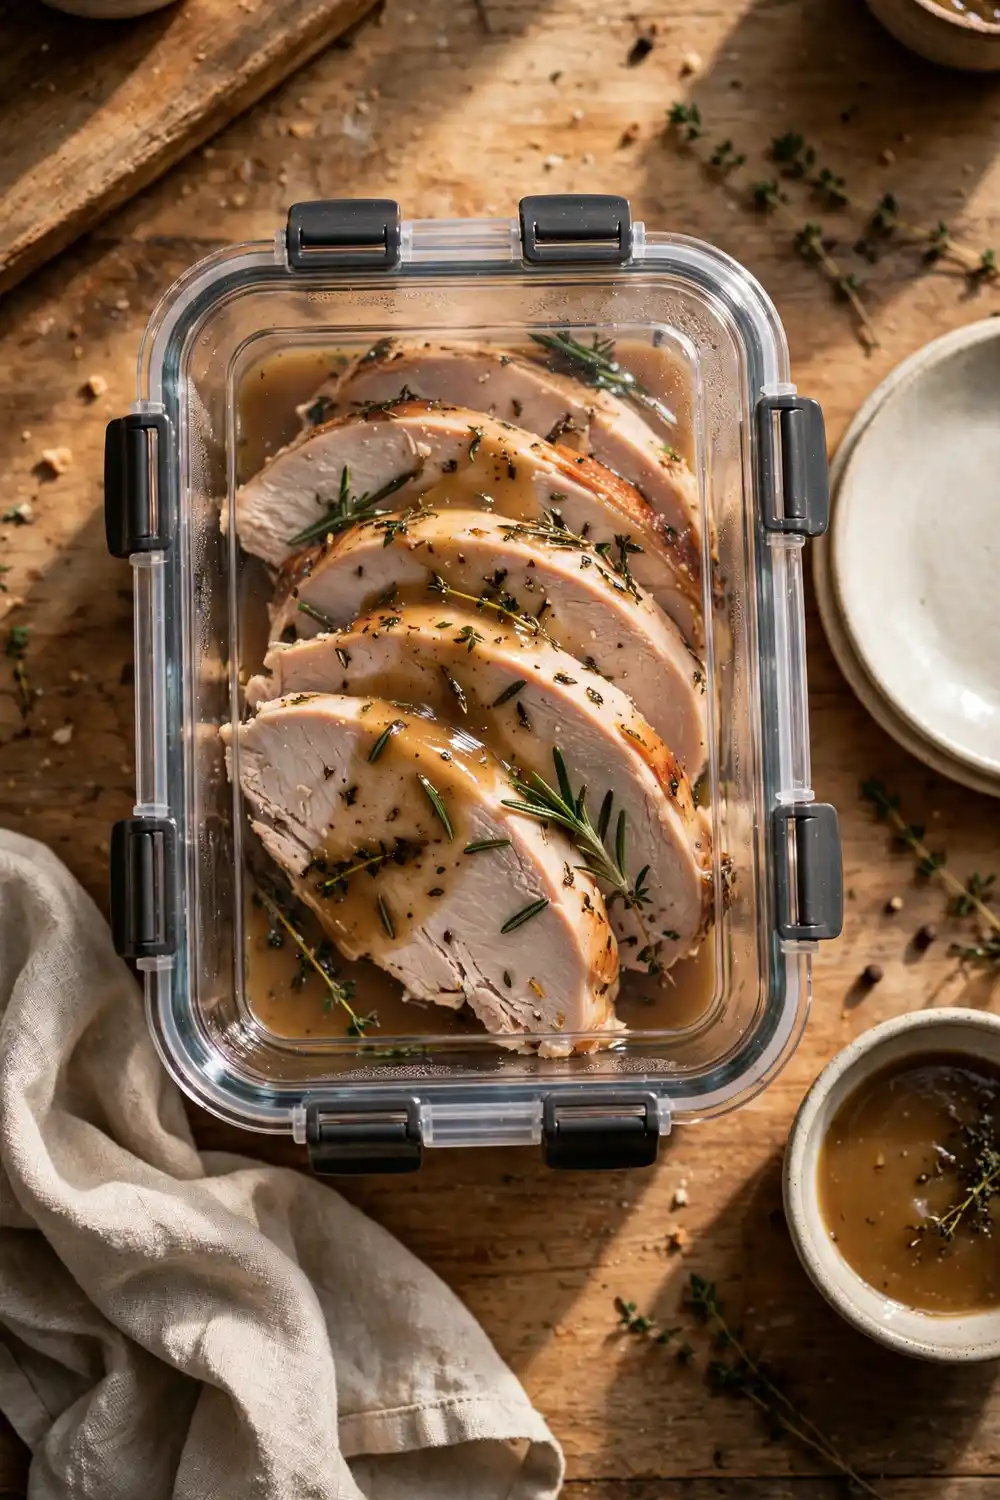
Fridge air dries turkey fast, even when the bird came out perfect on the day you roasted it. Cold air pulls moisture from uncovered slices, and the texture turns hard and stringy. A dry slice loses its juicy bite as it sits in the fridge.
Keep the turkey in a sealed container with a little gravy for up to three days, then reheat it gently. Layer the slices flat so they never stick together in the container. Good storage keeps the turkey moist, soft, and ready for the next meal.
Common Mistakes to Avoid
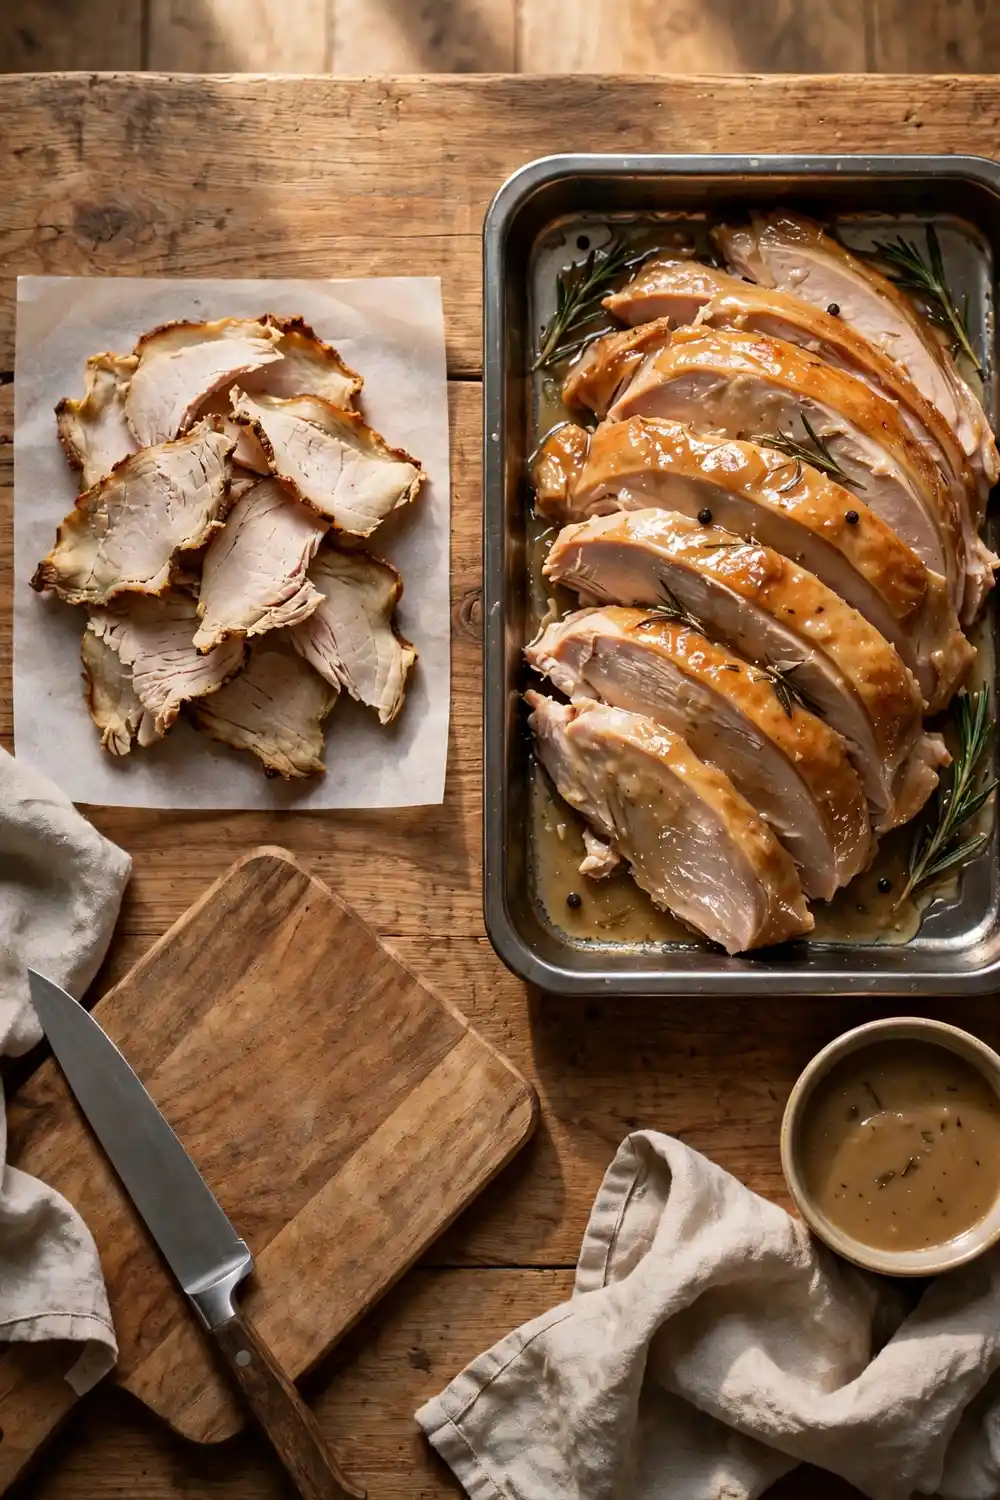
Most dry turkeys come from the same few mistakes, and each one is easy to fix. Change one habit at a time, starting with the brine and the heat. The list below covers the slips I see most often in home kitchens.
- Do not skip the brine before roasting.
- Do not roast the turkey at high heat.
- Do not baste and open the oven door often.
- Do not carve the turkey before it rests.
What Juicy Turkey Looks Like
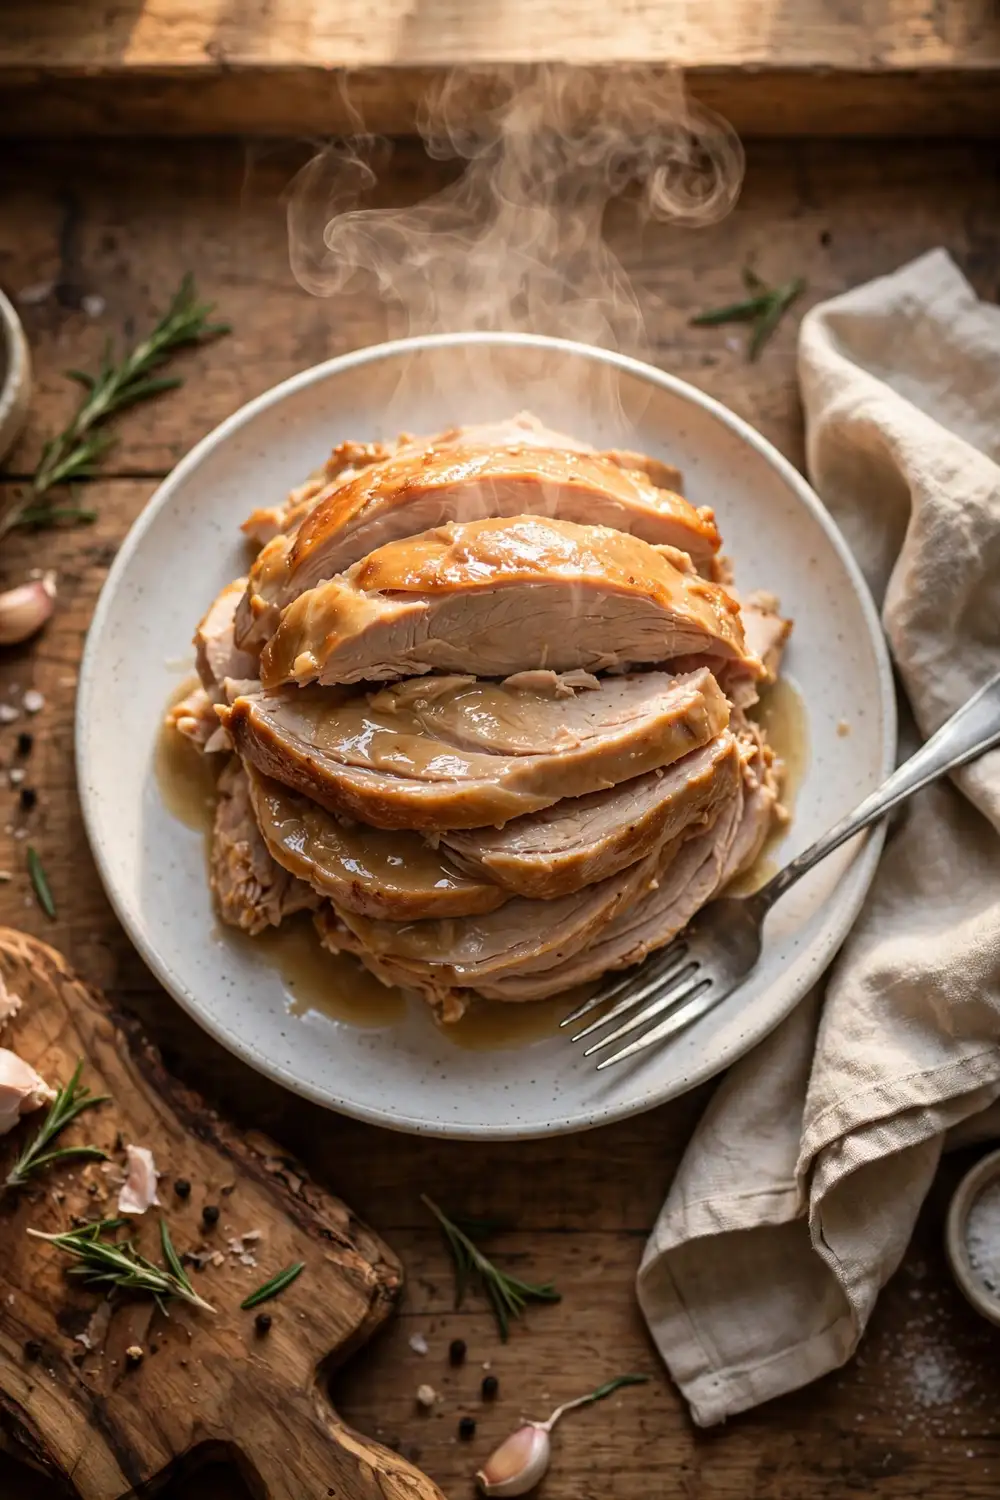
Quick Tip: Juicy turkey looks moist and tender, with meat that pulls apart easily. The slices feel soft, never dry or stringy. Trust these signs more than the color of the skin.
Good turkey shows its success before you taste a single bite. The slices look moist and tender, the meat pulls apart, and each piece holds its shape on the plate. That finish is what every fix on this list works toward for you at the table.
Conclusion
Dry turkey after basting is not bad luck in the kitchen. It comes from small, fixable causes, and now you know each one. Brine the bird, watch the heat, and the next turkey can surprise you.
Pick one fix from this guide and try it on your next turkey. Save this post on Pinterest so the fixes are there when you need them, and share it with anyone whose turkey turns out dry.
I have seen how making this one change can completely shift the result. Cook your next turkey with these fixes and enjoy a juicy, tender slice.

One Comment