Why Does My Cheesecake Have A Soggy Crust? Easy Fix Guide
A soggy cheesecake crust turns a beautiful dessert into a soft, crumbling mess. The usual causes are too little butter, no pre-bake, and water sneaking in during a water bath. Every one of them is easy to prevent.
You will learn the crumb to butter ratio that holds, how to bake the base first, and how to wrap a springform pan so it stays dry. The fixes work for baked and no bake cheesecakes alike.
Once the base stays firm, slicing becomes the easy part, and the next guide, buttercream, shows how to keep buttercream from melting in warm weather.
Why Crusts Go Soggy

Crusts go soggy when butter is short, crumbs are coarse, or liquid seeps in from a water bath. A loose crust acts like a sponge, soaking up filling and bath water alike. Fine crumbs, enough butter, and a firm press keep the base crisp through baking.
Skipping the pre-bake is the most common mistake, and it ruins more bases than any other step. Without a short bake, the butter never sets the crumbs into a firm sheet, and the filling softens the base from above while it bakes. A ten minute pre-bake sets the crumbs for good.
Choosing The Right Crumbs
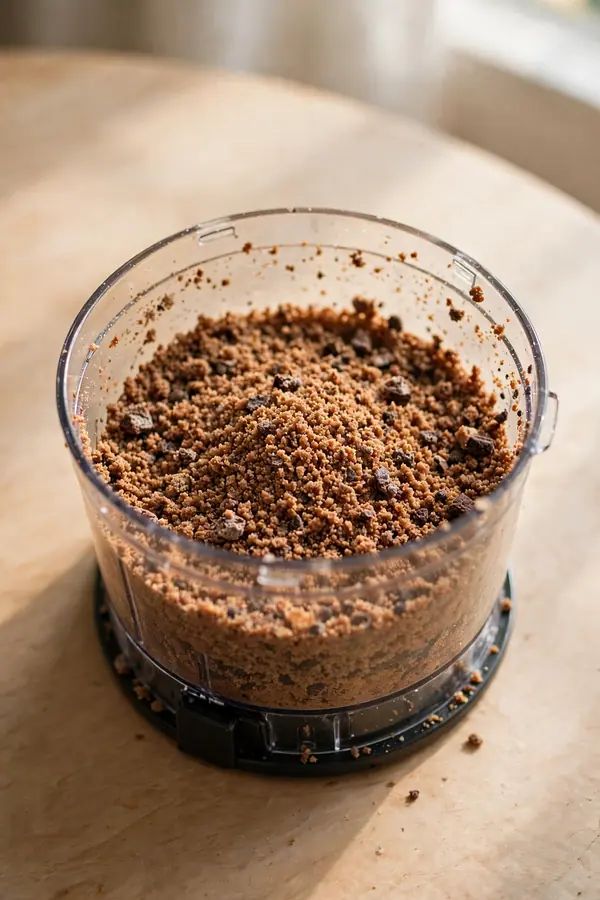
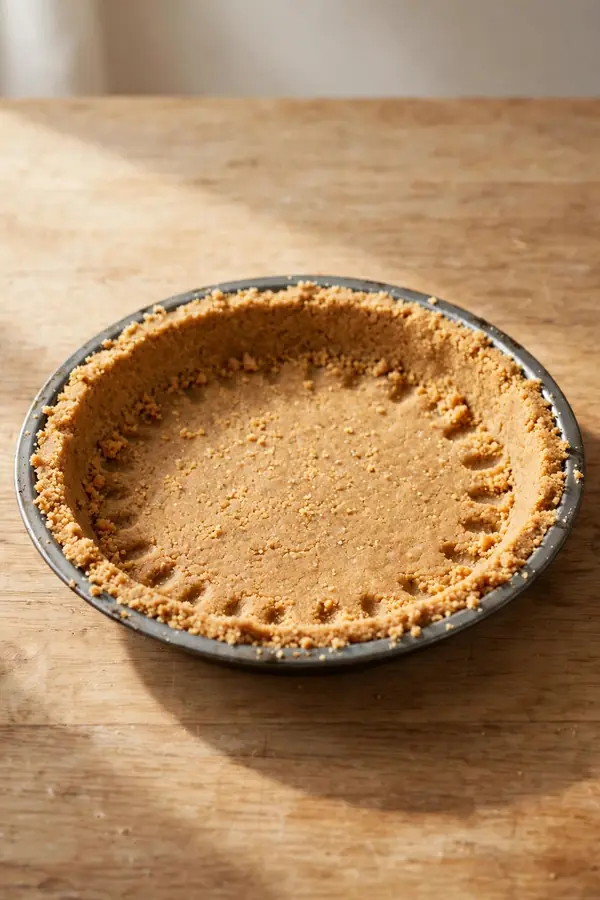
Fine, even crumbs pack tighter and hold together better than coarse ones. Take the time to process them properly, and sift out any large chunks. Pulse the cookies or crackers until the crumbs look like damp sand. Follow these steps for crumbs that press into a firm base.
- Pulse cookies or graham crackers until the crumbs look like damp sand.
- Sift out any large chunks and pulse them again.
- Measure crumbs after processing, not before, for an accurate ratio.
- Press firmly and evenly across the base and a little up the sides.
Baking The Crust First
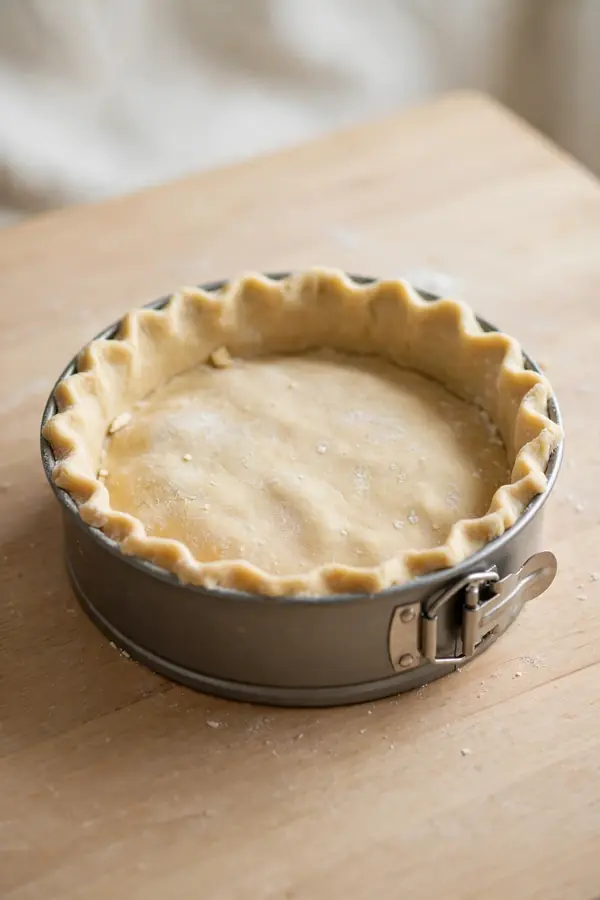
Quick Tip: Bake the crust alone at 325 degrees for 8 to 10 minutes before adding filling. The short bake melts the butter into the crumbs and sets them into a crisp sheet.
Let the crust cool for 10 minutes before pouring in the filling. A hot crust softens again if cold filling hits it, while a cooled crust holds its shape. This one pause fixes more crusts than any other step, and it costs nothing. Cool the crust on a rack, and the base will stay crisp.
Butter Ratios That Hold
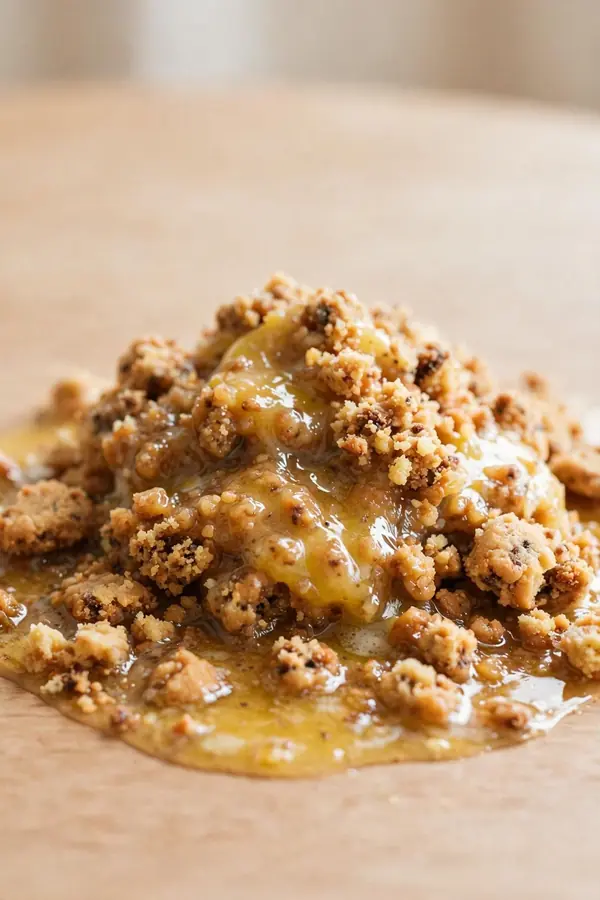
Common Mistake: Many bakers eyeball the butter and end up with a dry, crumbly base that never sets. Others add far too much, and the crust turns greasy and soft.
The Fix: Use 5 tablespoons of melted butter for every 1.5 cups of fine crumbs, plus a tablespoon of sugar. The mixture should clump when squeezed and hold a firm edge.
Press the crumbs with the bottom of a measuring cup for even pressure. A firm, even layer resists soaking far better than a loosely patted one. Press across the base, then up the sides, and check for thin spots. A firm press and the right butter ratio give a base that holds a clean edge.
Wrapping Pans Against Leaks
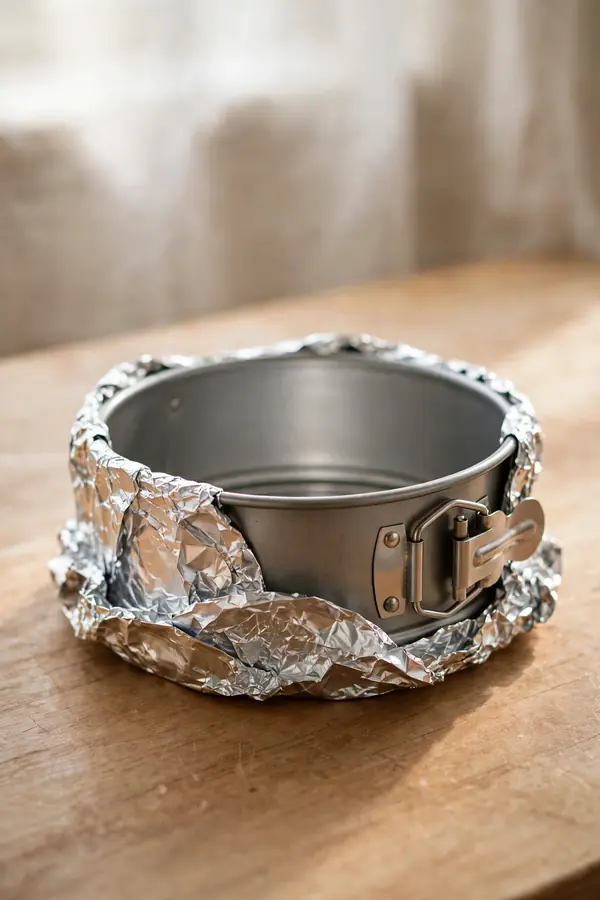
What You Need:
- Springform pan: Releases cleanly so the firm crust stays intact.
- Heavy duty foil: Two layers wrapped tightly keep bath water out.
- Oven safe bag: A large slow cooker liner around the pan adds leak protection.
- Measuring cup: Presses crumbs evenly across the base.
- Wire rack: Lets air reach the base while the crust cools.
Double wrapping the pan is worth the extra minute, and it saves the base. Water baths leak through tiny gaps in foil, and a single layer rarely holds. Use two layers plus a liner for full protection. Check the wrap for tears before the pan goes into the bath every time.
Cooling Without Condensation
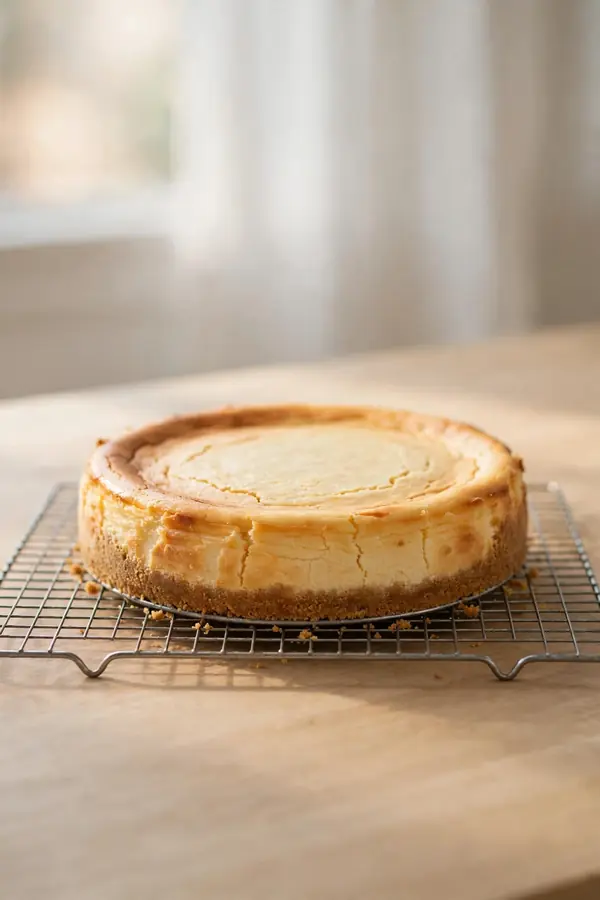
Before: Before the fix, my cheesecake bases came out soft and wet, and slices slumped on the plate. The filling tasted great, but the base was a disappointment every time.
After: After pre-baking, measuring the butter, and double wrapping the pan, the same recipe gives a crisp base that holds a clean edge. Slices stand up and cut neatly.
The difference is in the prep, not the recipe, and it shows at the first slice. A few careful steps before baking decide whether the crust stays crisp or goes soft. Pre-bake the base, measure the butter, and double wrap the pan. Keep the routine steady, and crisp bases follow every time.
Chilling For Clean Slices
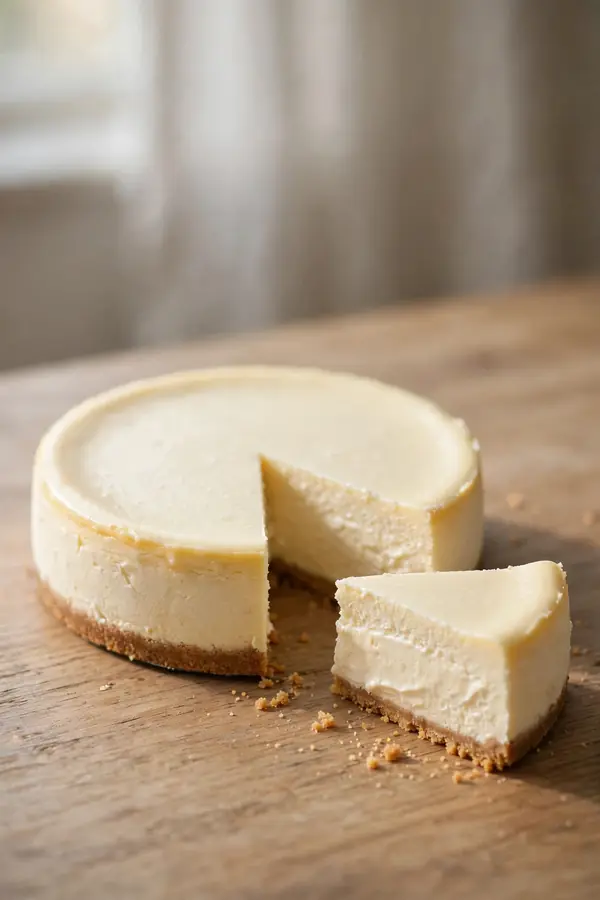
Do This:
- Pre-bake the crust for 8 to 10 minutes.
- Cool the crust before adding filling.
- Double wrap the pan for water baths.
- Chill the finished cake overnight for firm slices.
Avoid This:
- Do not use coarse, uneven crumbs.
- Do not skip the pre-bake step.
- Do not pour filling onto a hot crust.
- Do not slice while the cake is still warm.
These habits protect the crust at every stage, from mixing to serving. Once they are routine, soggy bases become a thing of the past. Pre-bake the base, cool it before filling, double wrap the pan, and chill overnight. Repeat the routine, and firm bases follow every time. It works for both styles.
Fixing A Soft Crust
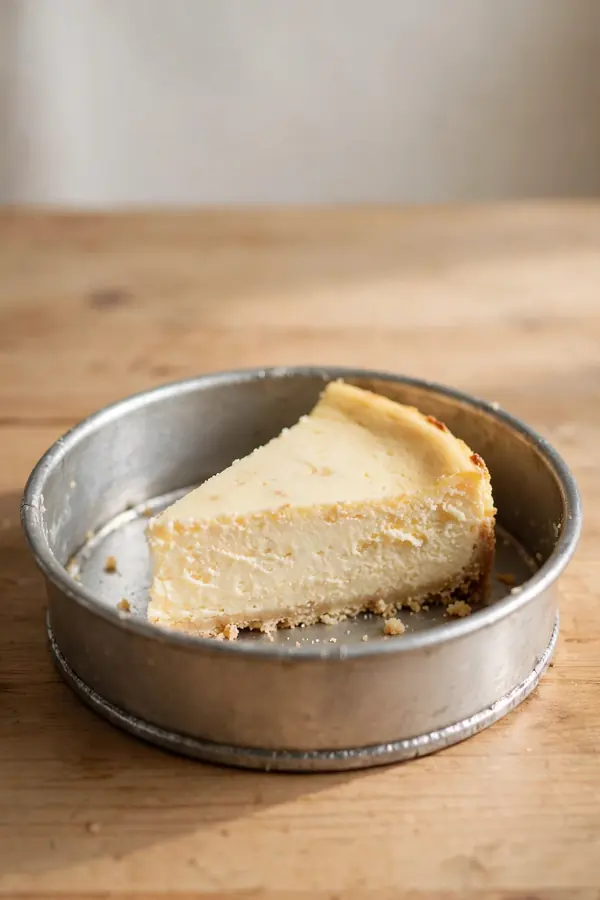
- Time Needed: About 10 minutes of crust prep plus chilling.
- Difficulty: Easy, mostly measuring and pressing.
- Cost: No extra cost beyond foil and crumbs.
- Best For: Baked and no bake cheesecakes.
A baked crust needs 325 degrees for 8 to 10 minutes. A no bake crust needs at least 4 hours in the fridge, or overnight for the firmest set. Overnight chilling gives the cleanest slices for either style, and patience pays off. Chill the finished cake overnight, and the base will cut cleanly.
No Bake Crust Fixes
If the finished cake already has a soft base, chill it longer and serve it in the pan. A long cold rest firms the butter and helps the crumbs hold together for slicing. The fridge is the simplest rescue, and it needs no extra tools or steps.
For a badly soft crust, freeze the cake for an hour, slice it cold, and serve the slices on chilled plates. The cold firms the base enough to hold a clean shape while guests eat. A hot, dry knife gives the cleanest cuts, so wipe it between slices.
Serving Firm Slices
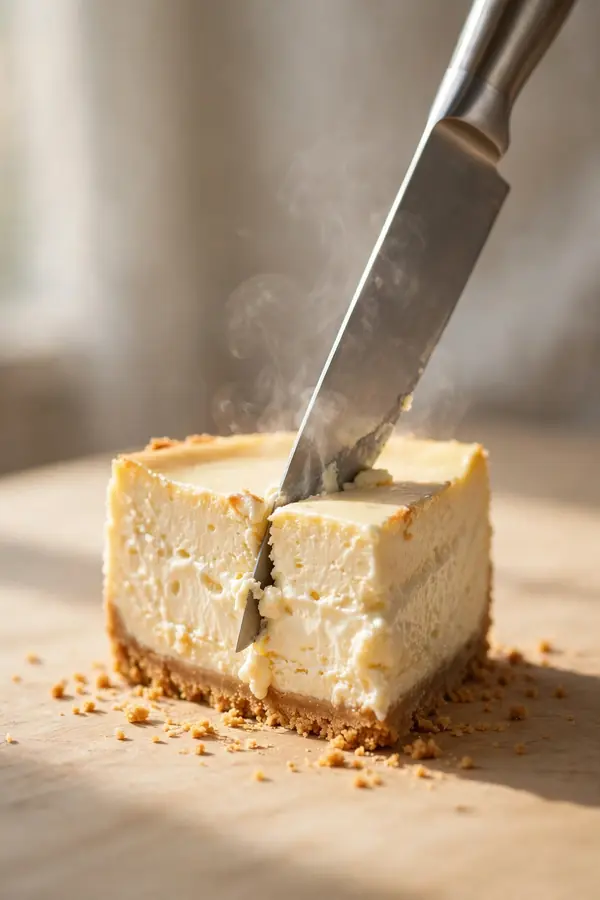
No bake crusts rely on cold butter and pressure, not heat. Press firmly, chill well, and give them the full resting time. Melt the butter, mix it evenly through fine crumbs, and press hard. Follow these steps for a no bake base that holds its shape.
- Melt the butter and mix it evenly through fine crumbs.
- Press hard across the base and up the sides.
- Chill for at least 4 hours, or overnight.
- Slice with a hot, dry knife for clean edges.
Crust Success Checklist
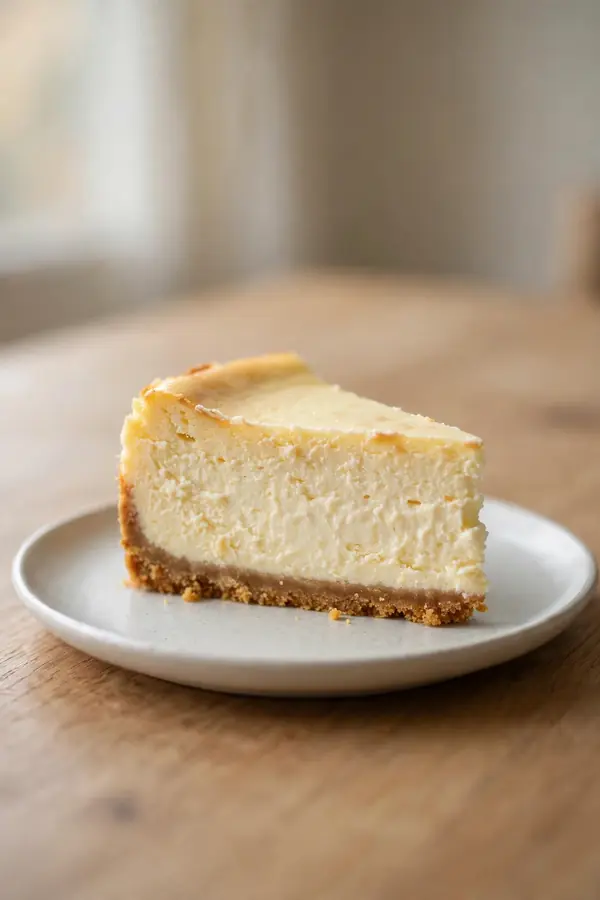
Quick Tip: Run a thin knife under hot water, dry it, and cut with one smooth motion. Wipe and reheat between slices. A clean, hot blade keeps the firm base from crumbling.
Firm crusts make the whole dessert feel professional, and they are easy to achieve. With the right ratio, a pre-bake, and a good chill, every slice will stand tall. Measure the butter, press the crumbs firmly, and chill overnight. Keep the routine steady, and firm crusts follow every time. The routine works for both styles.
Conclusion
A crisp base is all about prep and patience. Keep in mind that soggy cheesecake crust comes from loose crumbs, short butter, skipped pre-bakes, and leaky water baths. Fix those four, and every slice will hold its edge. Measure the butter, press the crumbs firmly, pre-bake for ten minutes, and double wrap the pan before the water bath. Chill the finished cake overnight for the cleanest slices. With those habits in place, the base will stay firm every time. For the fix that came before this one, see our pasta sauce guide.