Why Does My Quiche Have a Soggy Bottom? Easy Fix Guide
A soggy quiche bottom can turn a proud bake into a limp slice, even when the top looks golden and set. The crust stays pale and wet because steam, liquid filling, and low heat work against it. The cause is easy to find, and the fix is simple.
Most wet crusts come from raw pastry, watery vegetables, or a cool oven shelf. Filling leaks moisture as it bakes, and the base never gets hot enough to crisp. Each cause has a clear fix you can use today.
This guide walks through blind baking, draining, oven heat, and cooling, so your next quiche slices clean with a crisp base. And if a wet lasagna is your trouble instead, see why watery lasagna happens and how to fix the layers.
Why Quiche Bottoms Stay Soggy
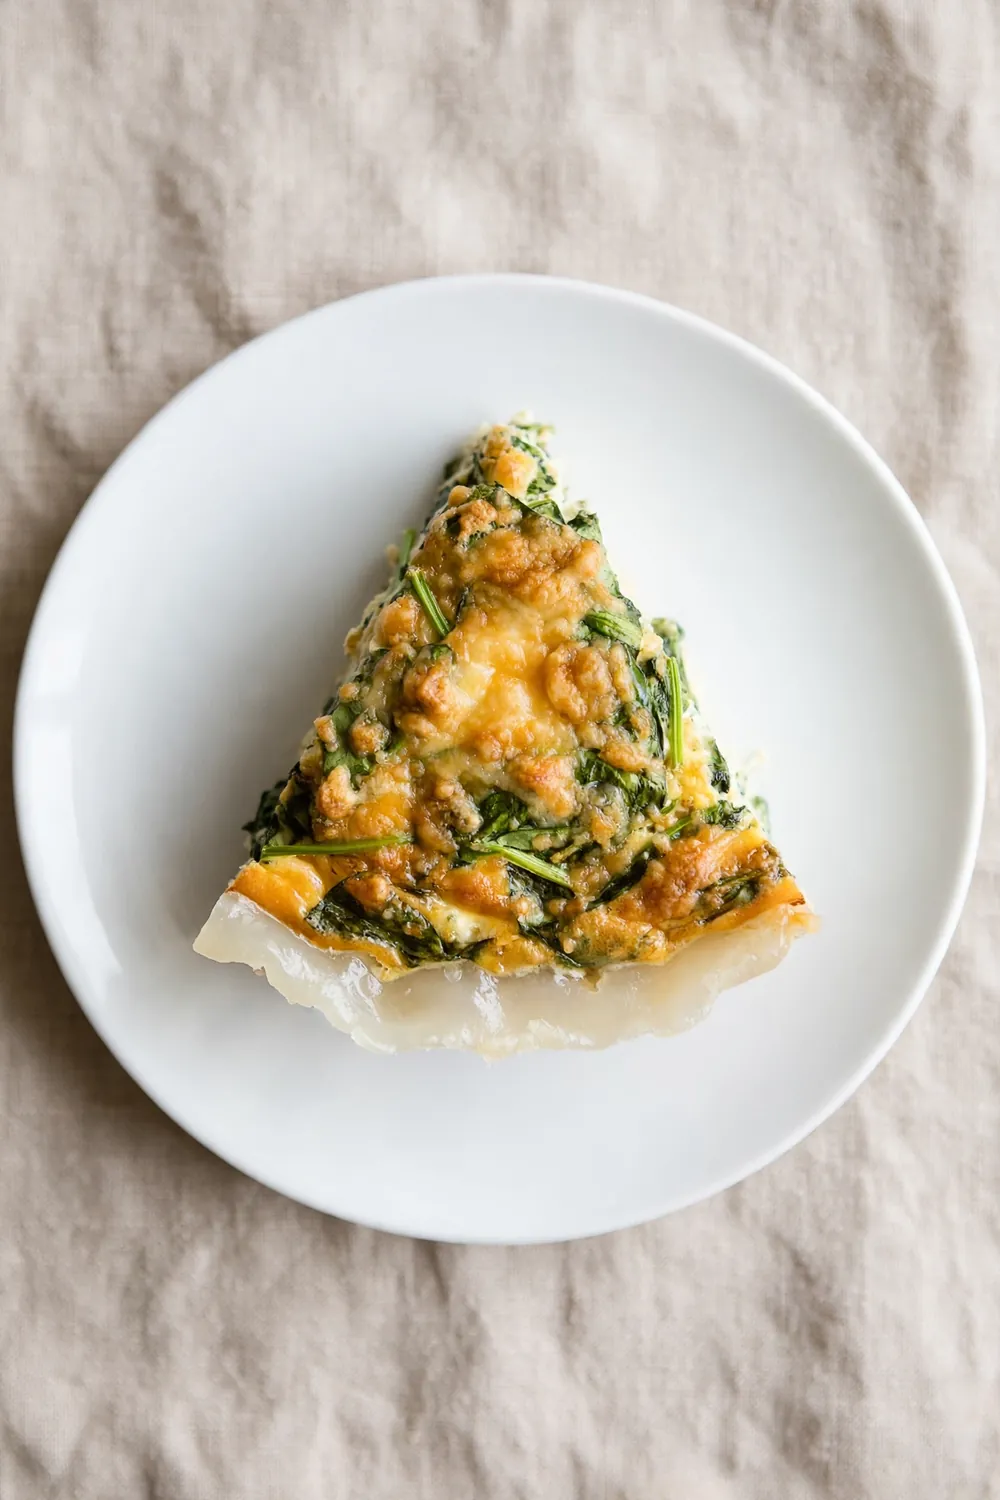
Main cause: moisture trapped under the filling
Second cause: pastry that never dries out
Third cause: a cool shelf slowing base heat
Result: a pale, wet base under a golden top
A quiche base stays wet when moisture gets trapped under the filling and the pastry never dries out. Vegetables, ham, and cheese release water as they heat, and that liquid pools at the bottom. A cool shelf slows base heat, so the crust steams rather than turning crisp.
Blind Bake the Crust
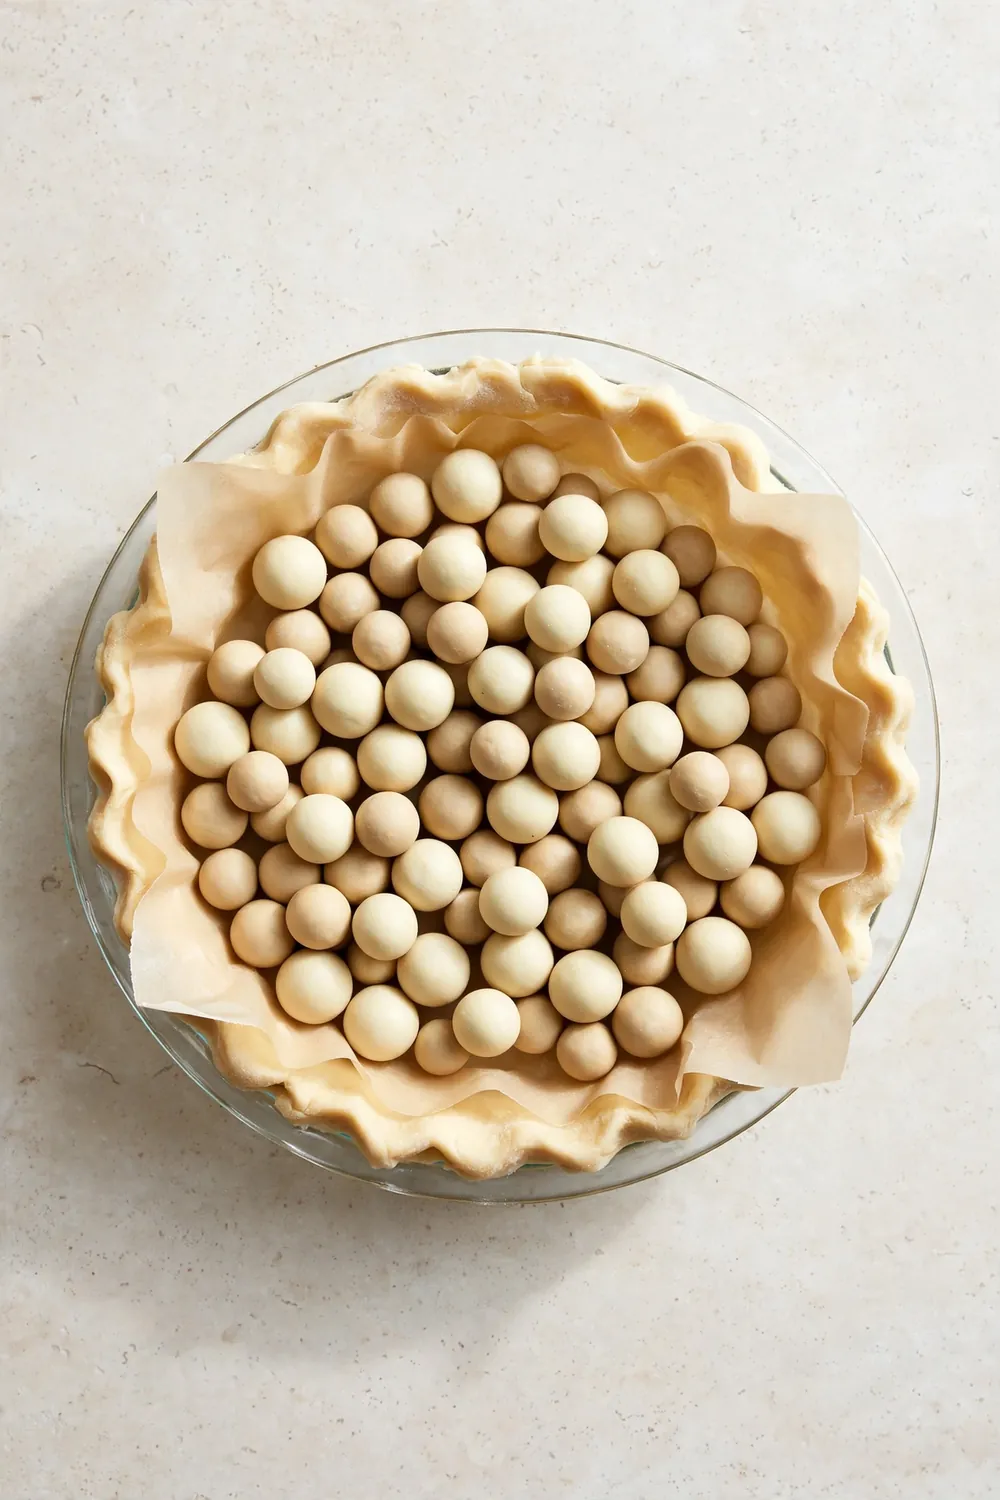
Blind baking sets the pastry before wet filling ever touches it, so the base starts crisp and stays firm. Line the shell with parchment and pie weights, and bake until the edges turn gold. Then lift the weights, and bake a few minutes more to dry the center.
A light egg wash seals tiny cracks and adds a moisture barrier before filling goes in. Brush one beaten egg over the hot base, then return the shell to the oven for two minutes. The thin coat sets fast and keeps liquid from soaking through.
Preheat the Baking Sheet
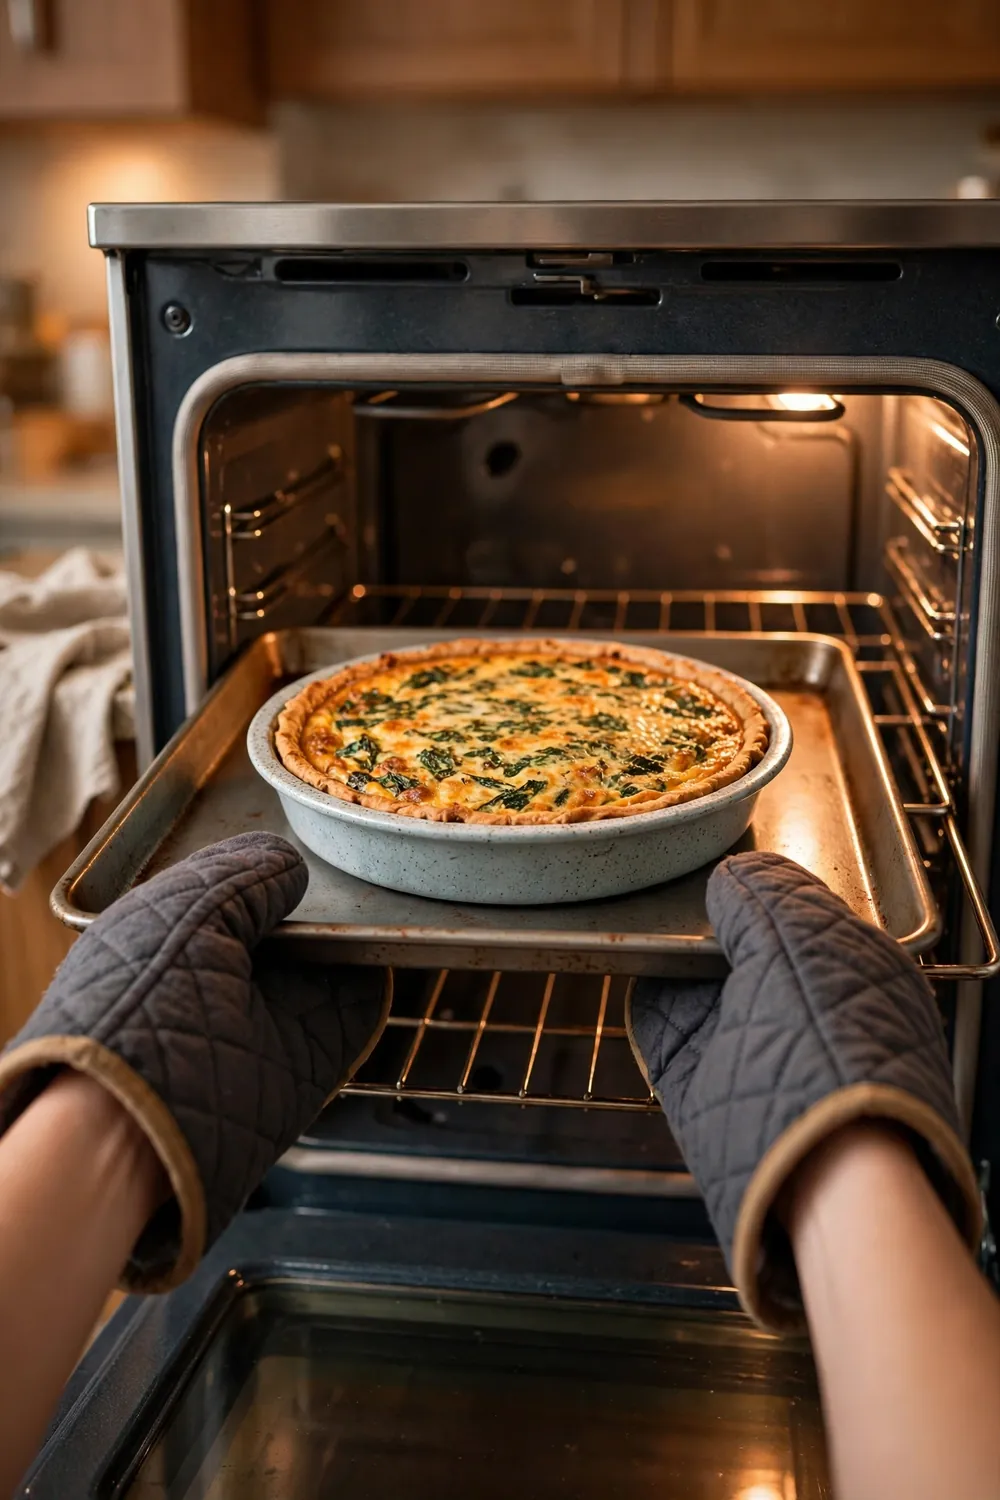
A hot baking sheet gives the base instant heat the moment the quiche goes in. Place a heavy metal sheet on the lowest oven rack while the oven heats, and let it get fully hot. Set the quiche dish straight onto the hot sheet.
- Place a heavy metal sheet on the lowest oven rack while the oven heats.
- Let the sheet get fully hot before the quiche goes in.
- Set the quiche dish straight onto the hot sheet.
- Keep the oven door closed while you slide the dish in, so heat stays high.
Drain Wet Fillings
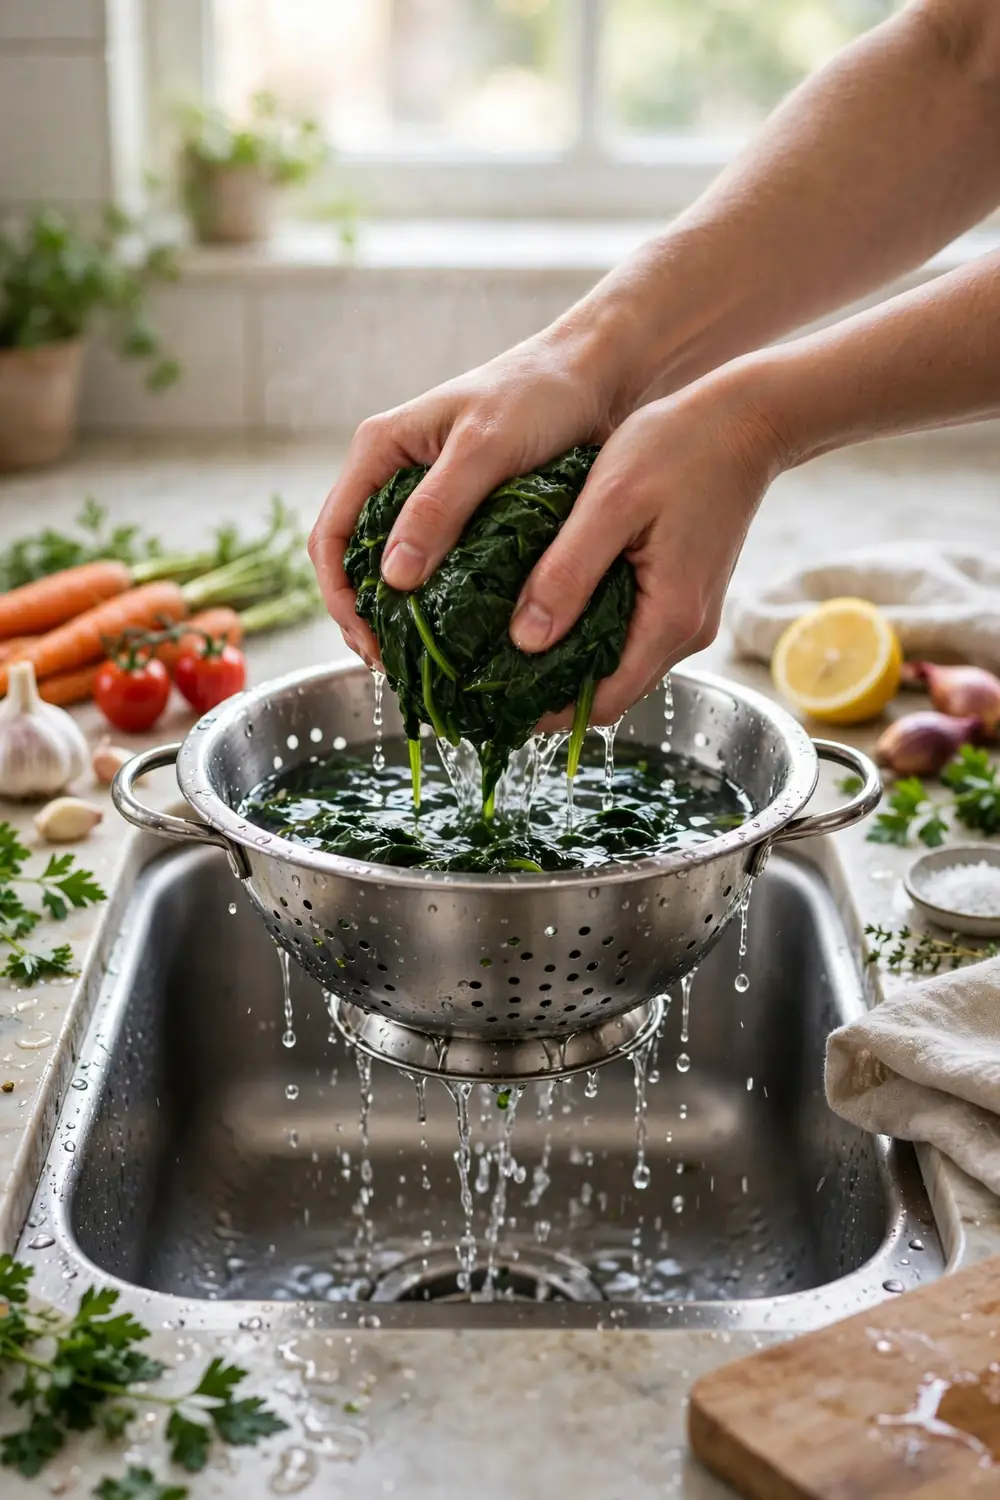
Quick Tip: Cook wet vegetables first, then press out every drop in a colander. Dry filling means the custard sets firm instead of watering the base.
Wet vegetables are the main source of liquid in many quiches, so drain them well before mixing. Cook spinach, mushrooms, zucchini, or onions first, then press out every drop. Let the cooked mix cool and blot it with paper towels. Cheese and cured meat also release moisture, so choose firm types and pat them dry.
Do Not Overfill
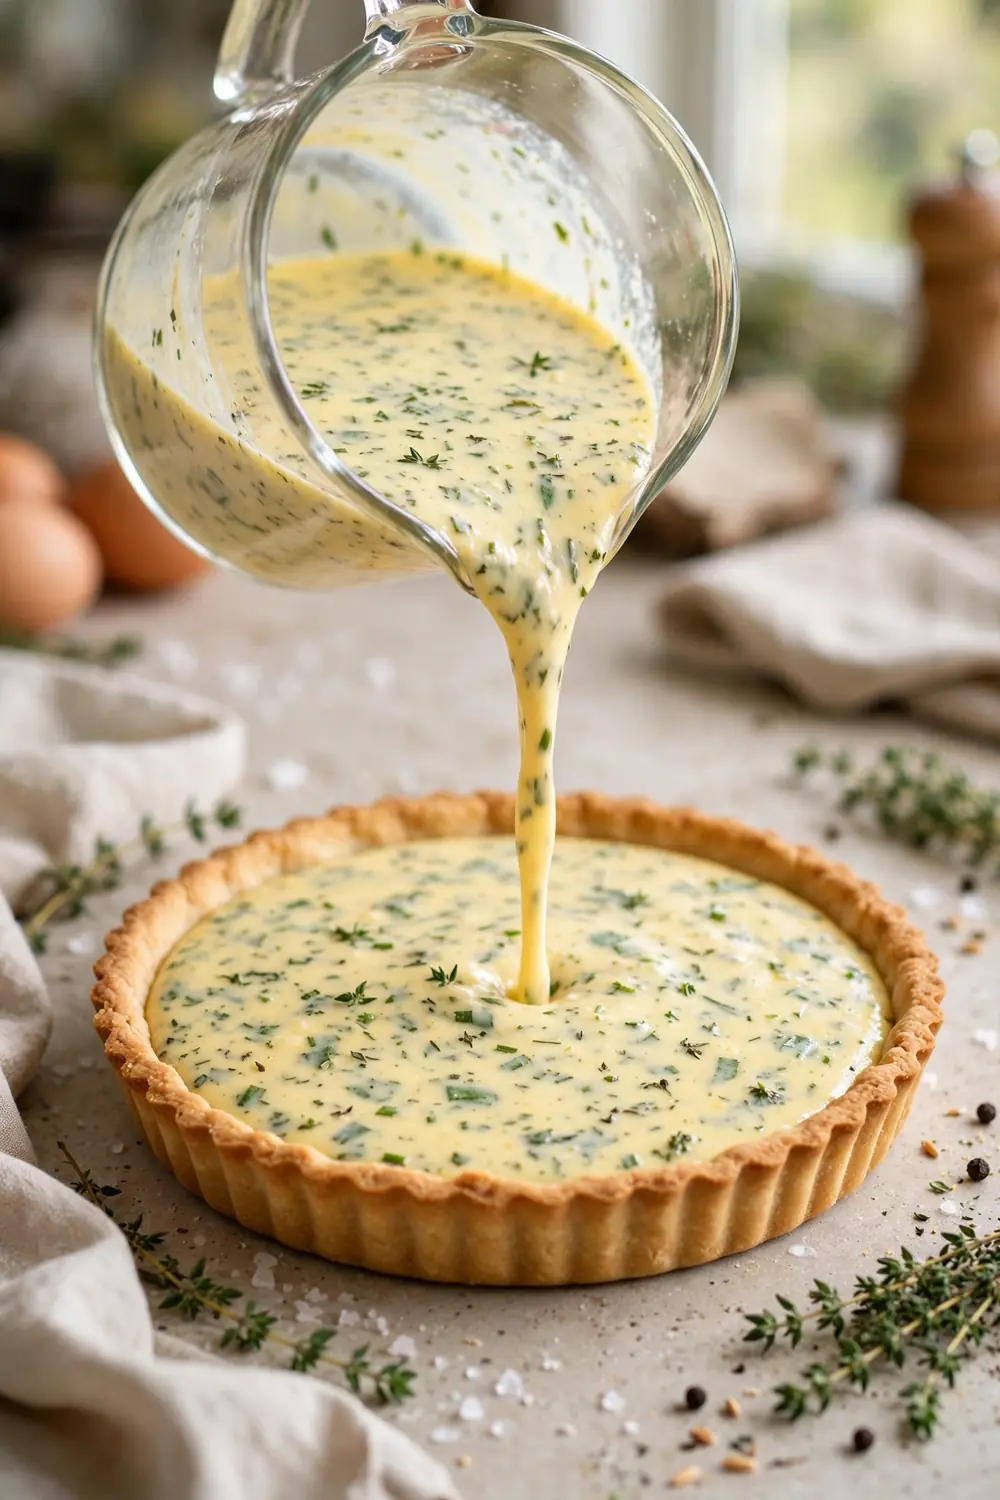
Common Mistake: Most cooks fill the shell to the rim, and custard spills over the edges. The spill soaks the pastry from the outside in, and the center stays underbaked.
The Fix: Fill the shell only three quarters full, leaving space for the custard to rise. That margin keeps the bake even and the base dry.
Spread filling evenly so no thick pocket of wet mix sits in one spot. Keep chunks small and level, and pour custard in two slow passes. Check the rim from the side before baking, since the eye misses a high fill from above. If it looks full, spoon a little back out.
Use Enough Eggs
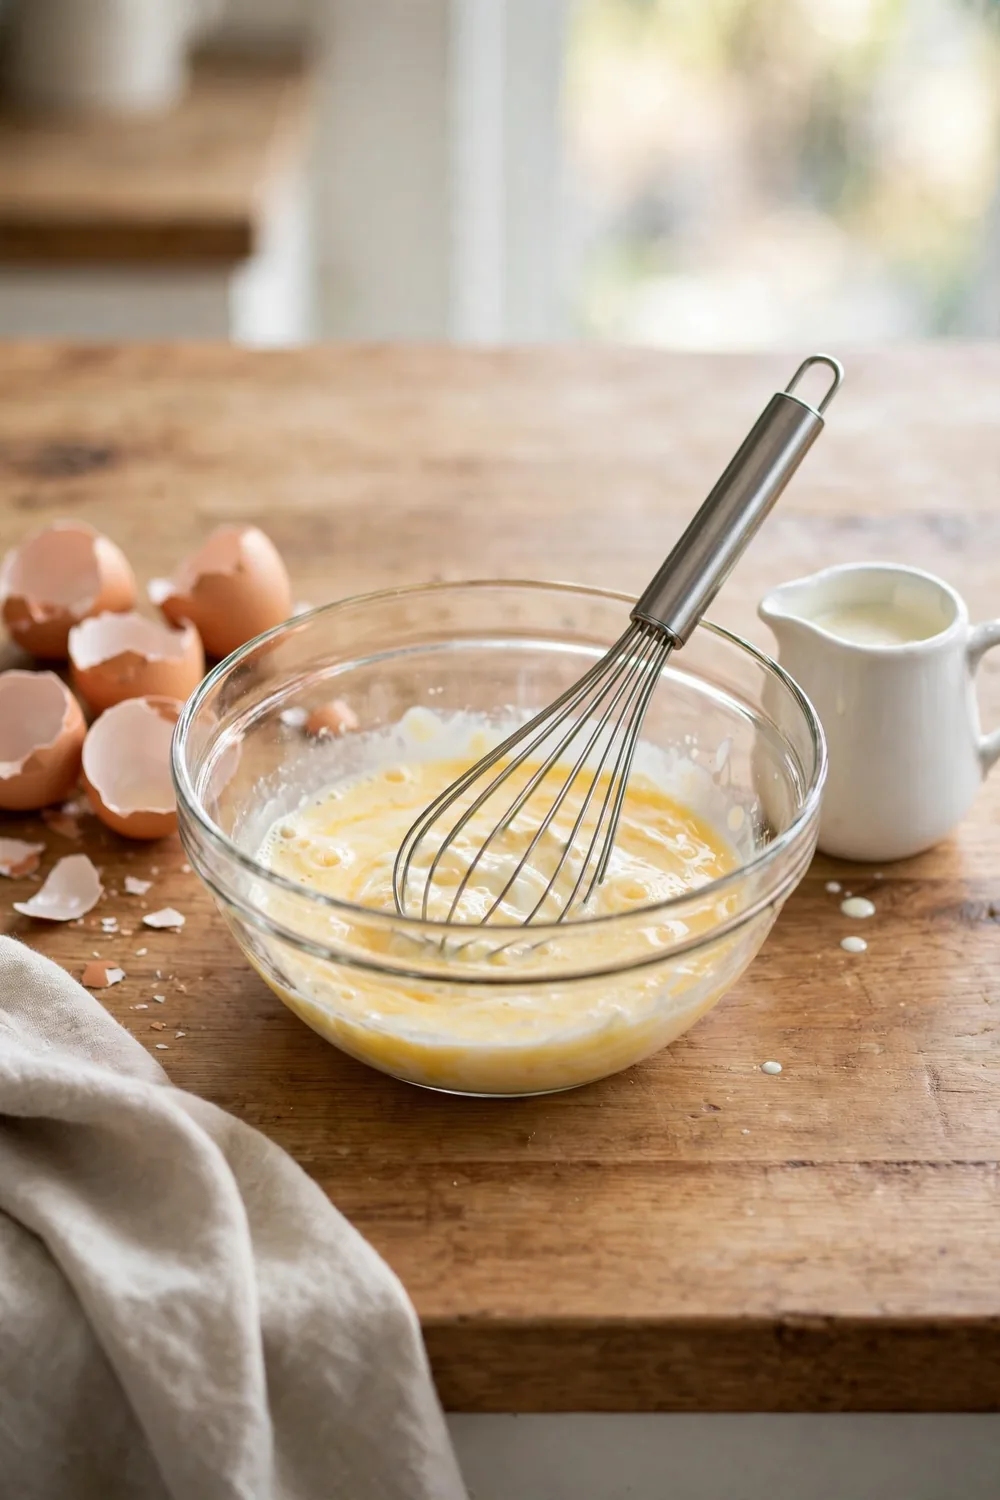
What You Need:
- Eggs: Use about one egg for every half cup of cream or milk.
- Cream: Measure with care, since too much liquid loosens the filling.
- Whisk: Mix until smooth, with no streaks left.
- Bowl: Whisk the custard here before pouring it in.
Eggs set the custard and hold liquid in place, so the ratio matters more than many cooks expect. Too few eggs leave a loose filling that leaks moisture into the crust. Too many eggs can turn the filling rubbery, so keep the balance steady. Pour custard slowly and stop before it reaches the rim.
Bake It Low and Slow
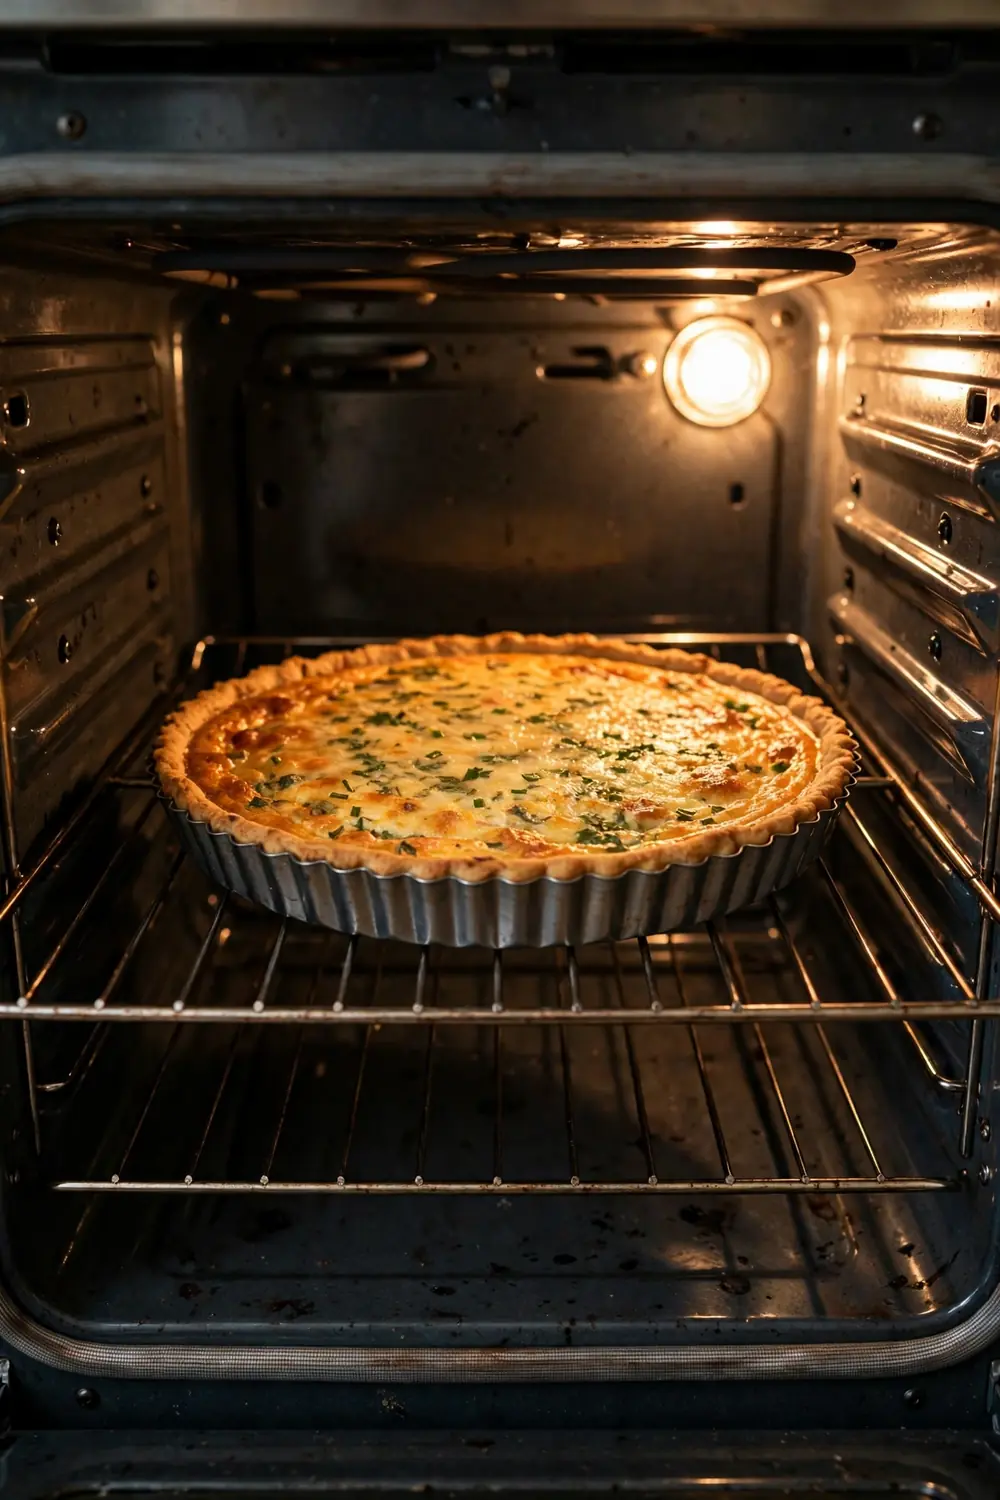
Before: High heat browns the top fast while leaving the bottom damp. The custard curdles, and moisture gets pushed into the base instead of setting gently.
After: Gentle heat lets custard set evenly without curdling or pushing moisture into the base. The edges feel set, the center trembles slightly, and the base turns crisp.
Bake at 350 degrees Fahrenheit, on the lowest rack, until the edges feel set and the center still trembles slightly. That soft wobble firms up as the quiche cools. Resist opening the door early, since each peek drops the temperature. If the top browns too soon, tent foil loosely over it and keep baking.
Cool It Before Slicing
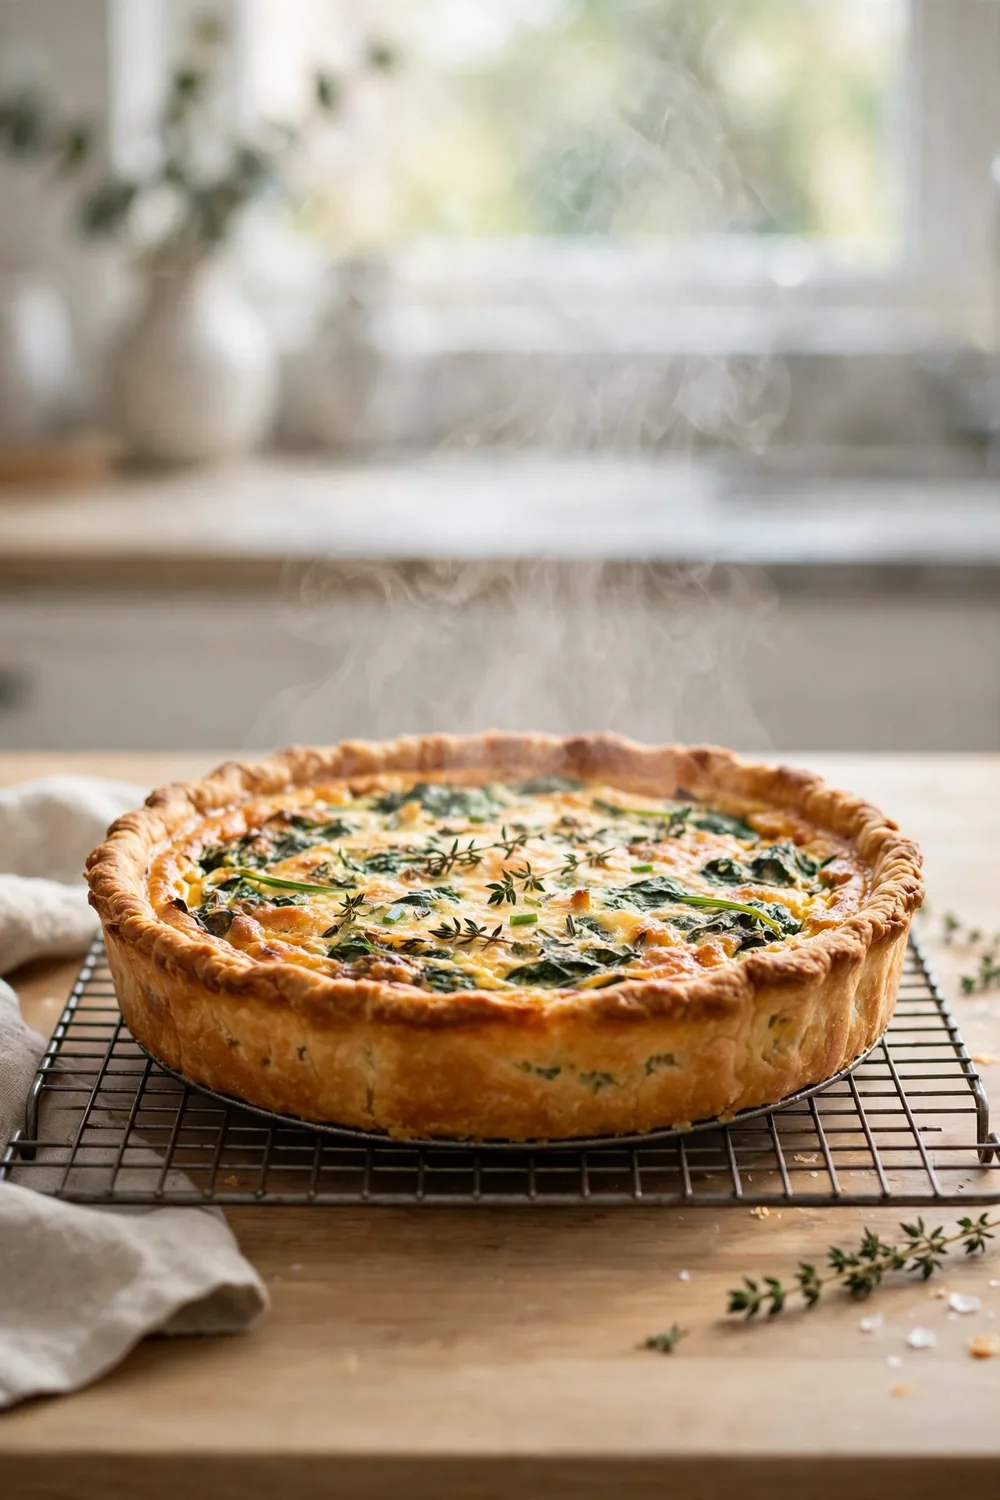
Do This:
- Lift the quiche onto a wire rack and let steam escape from all sides.
- Wait at least twenty minutes, until the center feels set.
- Use a sharp knife for clean slices.
Avoid This:
- Do not cut early, since hot custard has not set and moisture spreads back into the crust.
- Do not rush cooling in the fridge, since fast chilling can soften the crust.
- Do not slice while the dish feels hot, since the base needs time to dry.
Cooling is when custard firms and the base finishes drying, so cutting early undoes the baking. The base crisps a little more as heat leaves. Room temperature cooling lets the set spread evenly from edge to center. Clean slices prove the rest was worth it.
Choose the Right Dish
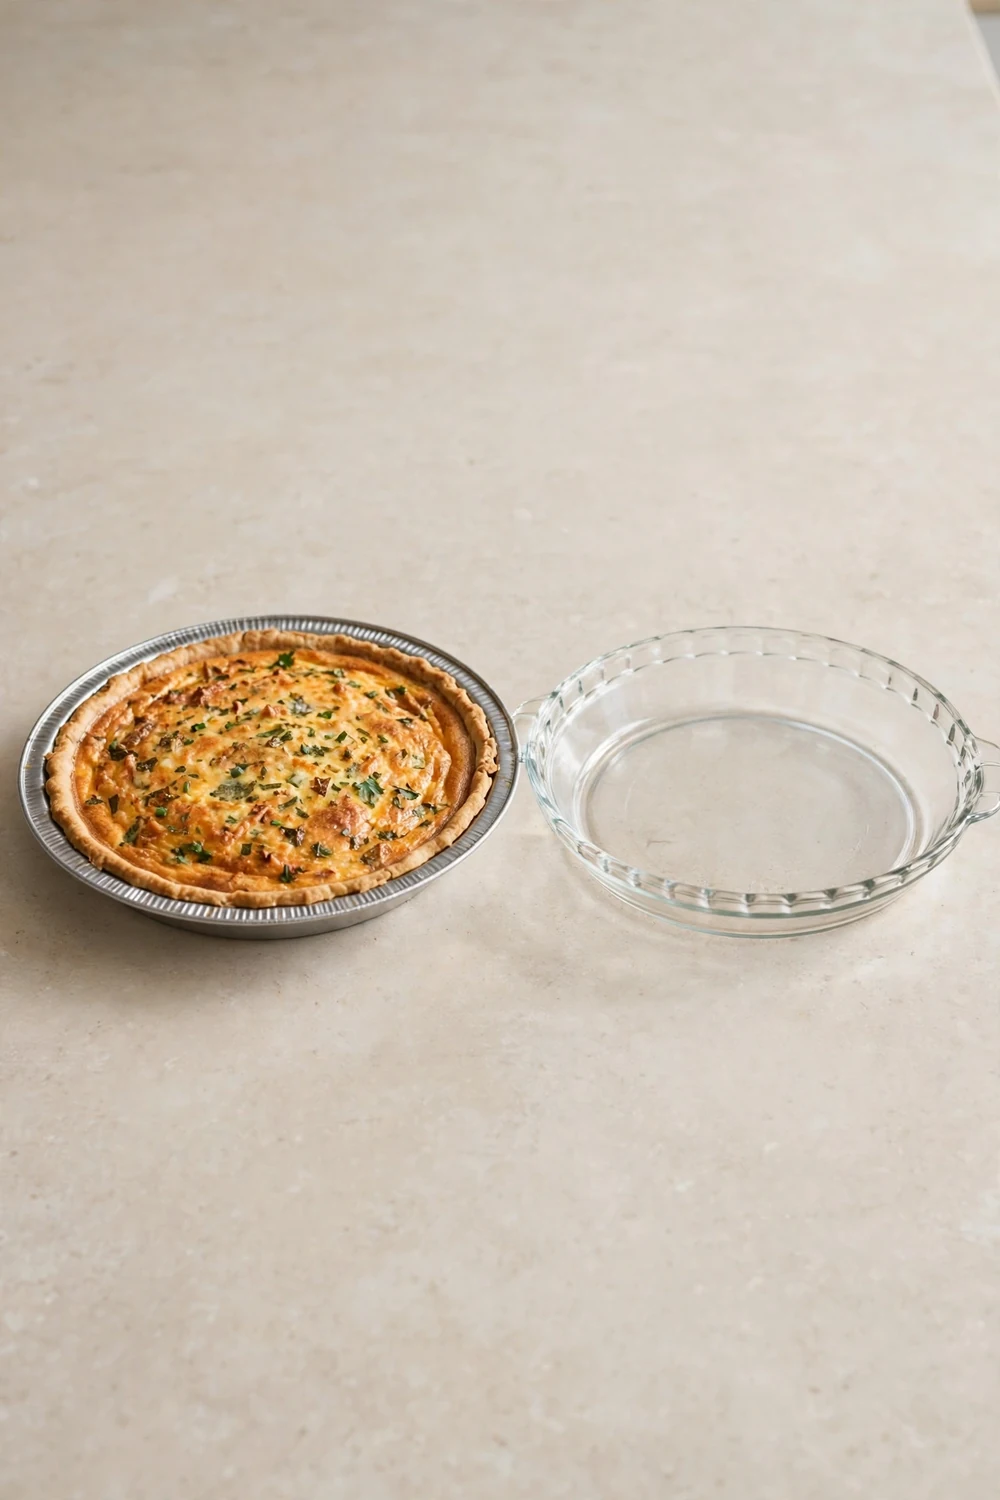
Best heat: metal pans conduct heat fast and brown the base well
Slow choice: thick ceramic heats slowly and needs extra time
Best size: a nine inch pan, shallow rather than deep
Fit tip: press pastry snugly into corners with no air gaps
The dish shapes how heat reaches the base, so material and size both matter. A dark metal pan absorbs heat better than a shiny one, so it crisps the base faster. Grease the dish lightly, then press pastry snugly into corners. Air pockets lift the crust away from heat and leave pale soft spots.
Common Mistakes to Avoid
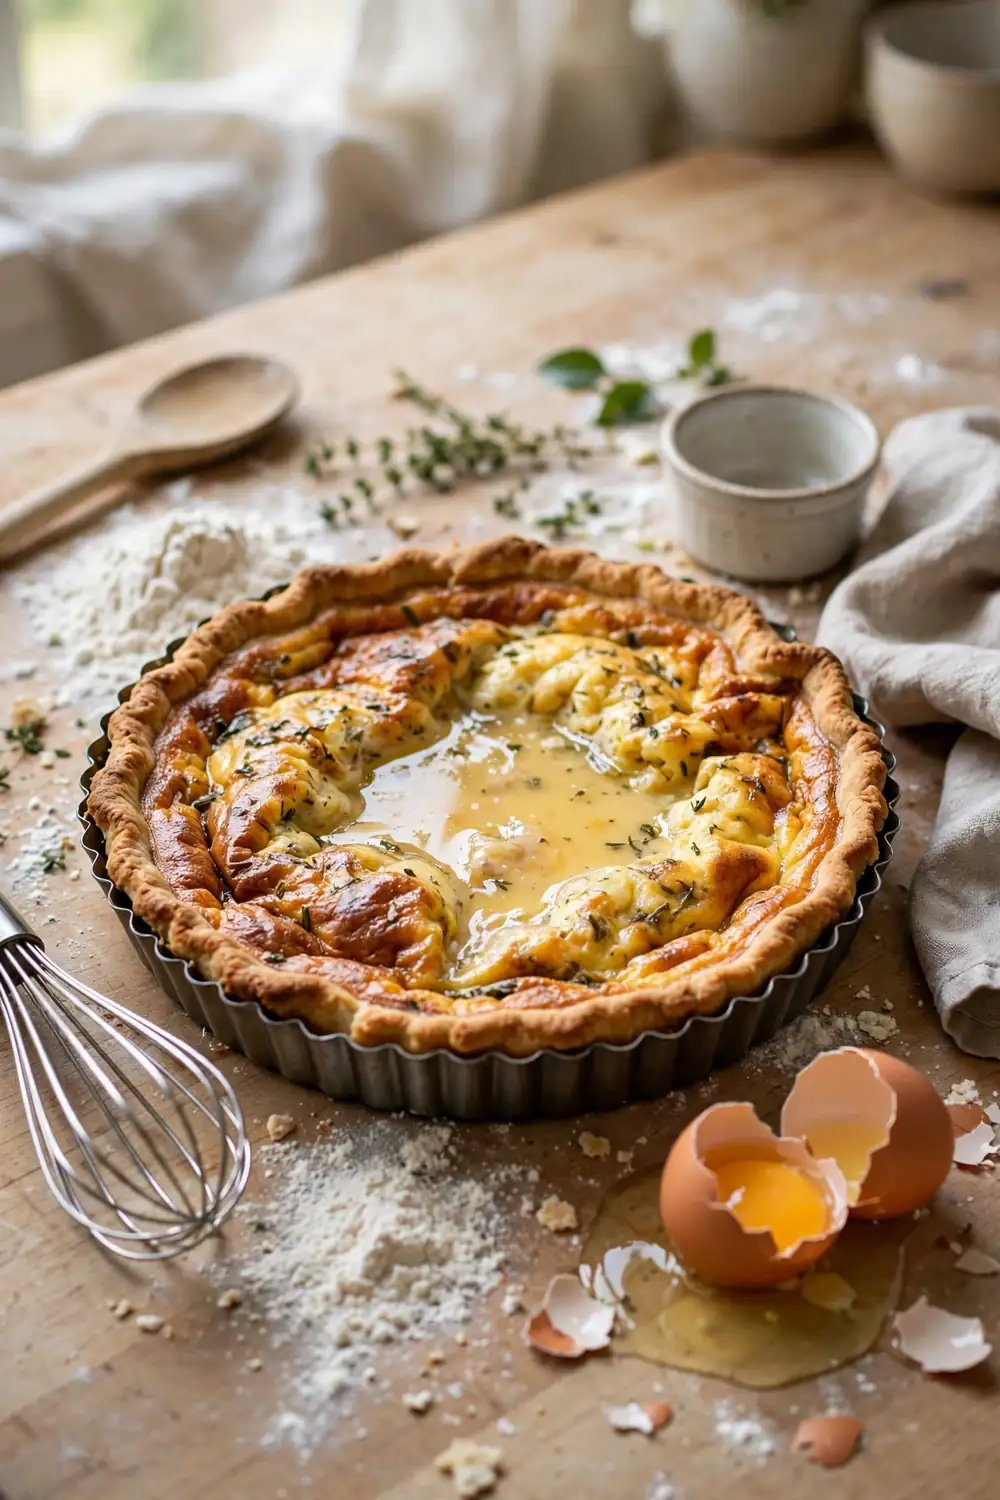
Many wet bases come from small habits that are easy to fix once you spot them. Skipping blind baking leaves raw pastry under wet filling. Adding undrained vegetables floods the shell with liquid. Baking on a high rack keeps heat away from the base.
Cutting a hot quiche is the most common mistake, since custard needs time to set. Opening the oven door drops heat and slows the base bake. Overfilling spills custard and soaks the pastry. Check each step once, and your next quiche will slice clean with a crisp base.
What Crisp Quiche Looks Like
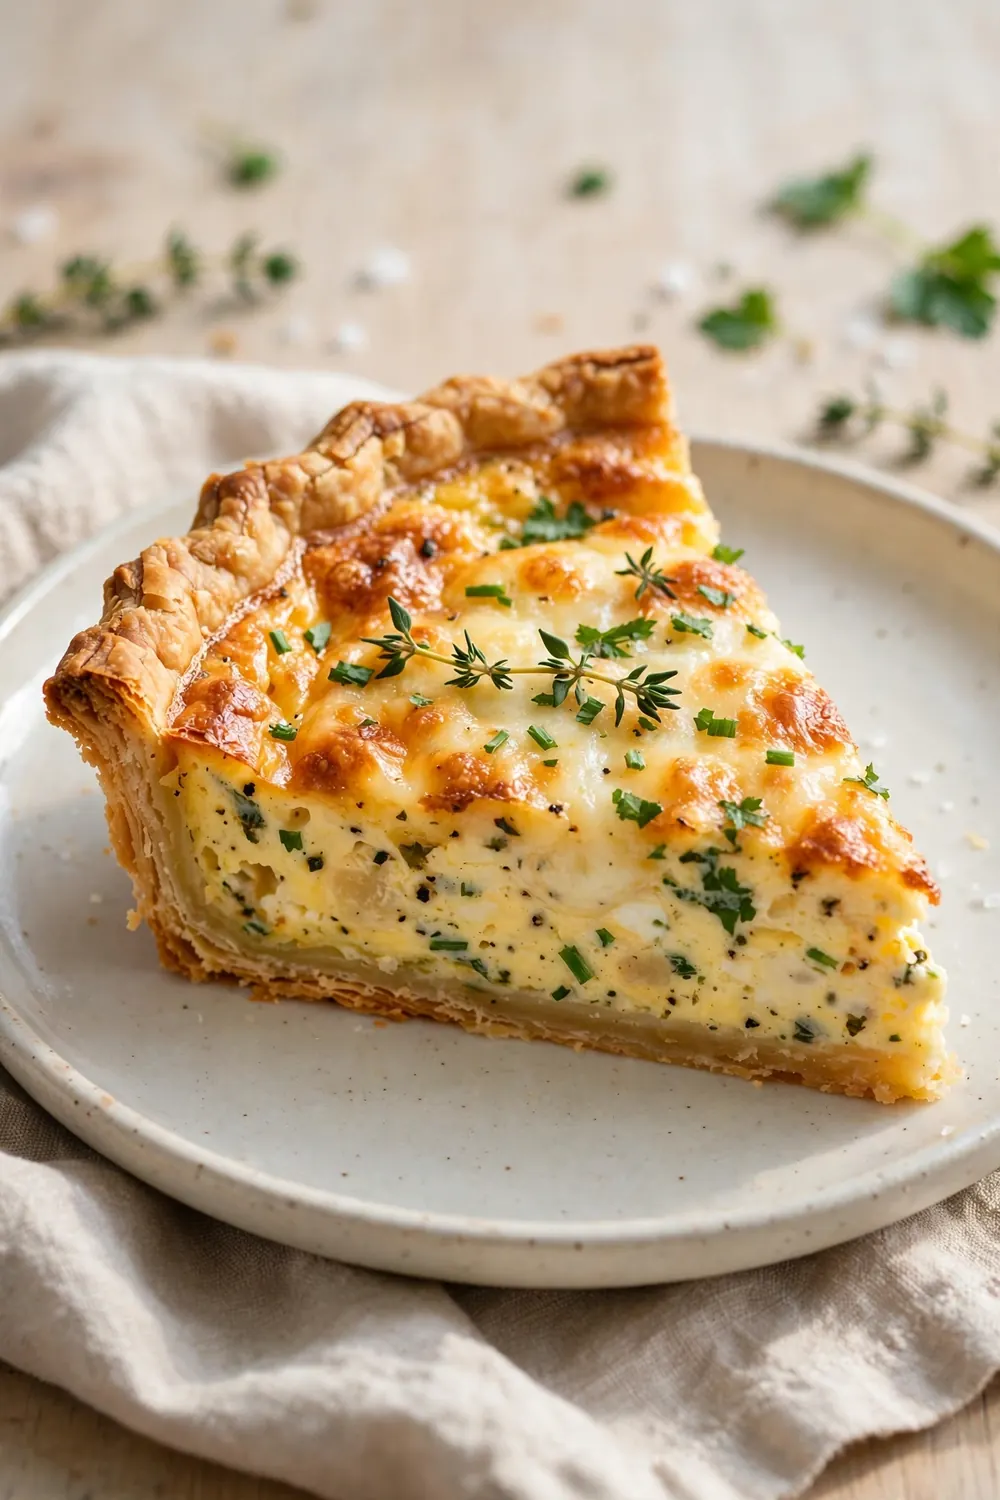
A crisp quiche lifts clean from the dish and holds its wedge shape on the plate. The base looks golden, feels firm to the touch, and sounds crisp when tapped. The custard stays set, with no liquid pooling around the slice.
- Check the base color, since it should look golden, not pale.
- Tap the base gently, since it should feel firm and sound crisp.
- Check the slice after five minutes, since it should still hold its shape.
- Taste for balance, with creamy custard, savory filling, and a buttery crust.
Conclusion
In short, a soggy quiche bottom usually comes from raw pastry, wet filling, low base heat, overfilling, and cutting too soon. Blind bake the crust, preheat the baking sheet, drain wet fillings, use enough eggs, avoid overfilling, bake low and slow, and cool before slicing for a crisp base.
Save this guide on Pinterest and try these fixes with your next quiche. Start with blind baking and draining, then add the other steps as they become habit.
Try the steps on your next bake, too. If you enjoy kitchen fixes like this, read our guide to runny fruit pie filling for another simple bake day rescue.


2 Comments