How To Fix Dry Turkey After Cooking? Easy Fix Guide
If your dry cooked turkey slices into chalky, crumbly meat that needs gallons of gravy, you are not alone. Many home cooks face this same holiday letdown, and the good news is that juicy turkey takes only a few steady habits.
The usual cause is overcooking. Turkey dries out fast once it passes its safe temperature, and the breast dries first. A thermometer and a good rest protect the meat.
This guide walks you through each fix in order, from brining to roasting and carving, so your next bird stays juicy. For a pork rescue next, read this pulled pork guide after this one.
Why Turkey Dries Out
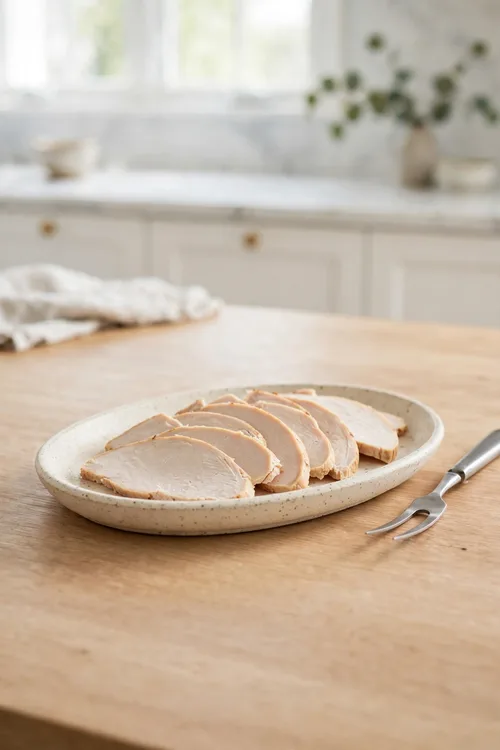
Turkey dries out because it is very lean, especially the breast. Lean meat holds little fat to keep it moist, so every extra degree of heat squeezes out more juice. Once the juices leave, no gravy can truly put them back. The breast needs the most care. Heat is the main enemy here.
A hot oven and a long roast make it worse. The fix is a brine, a thermometer, and pulling the bird out at the right moment. Watch the temperature closely in the last half hour, and trust the thermometer over the timer.
Brine For Juiciness

Brining is the best insurance for juicy turkey. A salt water soak helps the meat hold onto moisture through a long roast. The salt loosens the muscle fibers so they trap water, and the bird stays juicy even if it roasts a little long.
- Dissolve one cup of salt in four quarts of cold water.
- Add herbs like thyme and bay leaves if you like.
- Submerge the turkey and chill it for 12 to 24 hours.
- Rinse and pat the bird dry before roasting.
Use A Thermometer

Quick Tip: Use a meat thermometer in the thickest part of the thigh. Pull the turkey when it reads 160 F, since the temperature will rise to 165 F while it rests.
Do not trust the pop up timer alone, since it often triggers too late. A simple probe thermometer gives you the truth, and it costs less than one ruined bird. Check the thickest part of the thigh, away from bone, for the truest reading. A good thermometer pays for itself in one holiday roast.
Roast At Right Heat

Common Mistake: Many cooks roast the turkey at very high heat for the whole time. The outside browns fast while the inside keeps cooking long after the skin looks done.
The Fix: Start at 425 F for 30 minutes to brown the skin, then drop to 325 F for the rest of the roast. Gentle heat cooks the meat evenly without drying it.
Tent the breast with foil if it browns too fast. The foil shields the leanest meat while the thighs finish cooking, so both parts reach the table juicy. Tuck the foil loosely so steam escapes, and remove it near the end for crisp skin. Crisp skin is the reward for removing the foil on time.
Rest Before Carving

What You Need:
- Roasting pan: Holds the bird steady and catches the drippings for gravy.
- Rack: Lifts the turkey so hot air reaches all sides.
- Meat thermometer: Tells you exactly when the turkey is done.
- Foil: Tents the breast and keeps the resting bird warm.
- Carving knife: Cuts clean slices without shredding the meat.
A rack matters more than a fancy pan. Air under the bird means the bottom roasts instead of stewing in drippings, and the skin turns crisp all over. Set the rack inside the pan, and pour a cup of water into the pan to keep drippings from burning.
Fix Dry Turkey
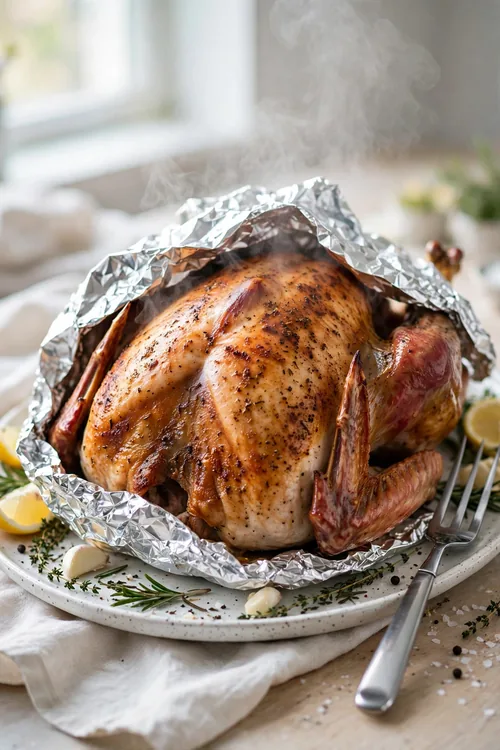
Before: Before the fix, the turkey roasted until the timer popped and the meat read far past safe temperature. The slices came out chalky and dry.
After: After the fix, the same bird leaves the oven at 160 F and rests under foil. The slices come out juicy, tender, and full of flavor.
Rest the bird for at least 30 minutes before carving. Resting lets the juices settle back into the meat instead of running out onto the board. Tent the bird loosely with foil, and use the rest time to finish the gravy and sides. The board should stay nearly dry when you start carving.
Carve Against Grain

Do This:
- Carve the breast in thin slices across the grain.
- Keep the dark meat in larger, juicy pieces.
- Arrange the slices snugly so they stay warm.
Avoid This:
- Do not carve straight down the breast in thick slabs.
- Do not carve on a cold plate that chills the meat.
- Do not leave the carved meat sitting uncovered.
Cutting across the grain shortens the muscle fibers, so each bite feels tender. Thin slices also pick up gravy better than thick slabs. Use a long, sharp knife and one smooth stroke per slice. Keep the slices snug on a warm platter. Thin, even slices make the platter look as good as it tastes.
Serve With Gravy

Time Needed: About 13 minutes per pound at 325 F, plus 30 minutes of resting.
Difficulty: Easy to medium, once the thermometer guides the roast.
Cost: Medium, since the bird is the main expense.
Best For: Holiday dinners and large family meals.
Serve the turkey with warm gravy on the side, not poured over the whole platter. Guests can add as much as they like, and the meat stays crisp skinned longer. Warm the gravy just before serving, and keep a small ladle in the boat. Keep the gravy boat on the table for second helpings.
Store Without Drying

Leftover turkey dries out fast in the fridge. Store slices in a sealed container with a few spoonfuls of gravy or broth poured over them. The liquid keeps the meat moist for days. Seal the container tightly, and use the leftovers within three days. Label the container with the date.
Slice only what you need for each meal. A whole piece of leftover turkey stays juicier than a pile of pre cut slices, since less surface is exposed to air. Wrap the leftover piece tightly before it goes back in the fridge. Cold air is the enemy of leftover meat.
Reheat Gently Always

Reheat turkey gently, never at a hard boil. Low heat with a splash of broth warms the meat without squeezing out more juice. Cover the pan so the steam stays in, and check the slices often so they warm without drying.
- Place the slices in a pan with two tablespoons of broth.
- Cover the pan with a lid or foil.
- Warm on low heat for five to eight minutes.
- Check that the meat feels warm all the way through.
- Serve at once with fresh gravy.
Final Juicy Check

Quick Tip: Press one slice gently with a fork. Juicy turkey gives a little and shows moisture on the surface. If the slice feels dry, spoon warm gravy over it and rest it covered for five minutes.
This quick check takes only a moment. A moist slice promises a happy table, and a short gravy rest now beats a dry plate at dinner. Check a slice from the thickest part of the breast, since it dries first. A small fix now beats a dry plate at the table.
Conclusion
Fixing dry cooked turkey comes down to brining, a thermometer, and a patient rest. Those three habits turn a chalky bird into juicy, tender meat that needs little gravy. Try them on your next roast and enjoy turkey worth gathering for. Keep the brine steady and the thermometer handy every time you roast, and juicy turkey will become your normal result. A patient rest makes all the difference, and your holiday table will thank you for it this year. For another roast rescue, read this sourdough bread guide next for steady baking.


