Why Is My Brisket Dry? Easy Fix Guide
Dry brisket is heartbreaking after a long cook. The slices look smoky and promising, then chew dry and stiff. The fix is usually moisture, slicing, and resting.
Brisket is a hard working muscle with two parts that cook at different rates. Lean slices dry out fast when the meat overcooks or rests too briefly. A marbled cut forgives more mistakes than a lean one. Low heat melts collagen slowly while the meat stays juicy.
This guide covers choosing, cooking, wrapping, and slicing in order. If breakfast potatoes are next, the hash browns guide crisps up soggy shreds for a perfect breakfast.
Why Brisket Dries Out
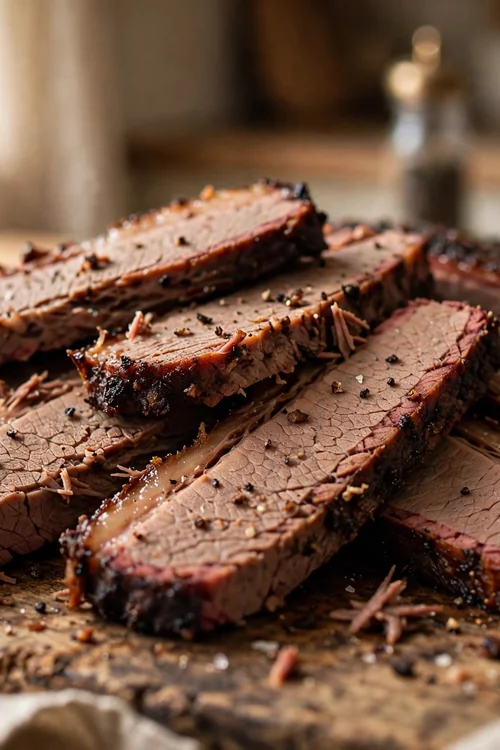
Brisket dries when it cooks past tender into stiff. The muscle fibers tighten, squeeze out juice, and leave dry slices even under a good bark. A long rest and correct slicing help, but overcooking is the root cause. Brisket has two muscles that cook at different speeds, so the lean flat dries first.
Cooking too hot makes it worse by drying the outside before collagen melts inside. In my experience, low heat and a tenderness test beat any timer. Low heat and a long rest give both muscles time to finish evenly.
Pick A Marbled Cut

A well marbled brisket forgives more mistakes than a lean one. Look for a thick flat with a fat cap and visible marbling. A whole packer gives you both the lean flat and the rich point. Look for even marbling and a flexible flat when you shop.
- Choose a brisket with a flexible, thick flat.
- Look for white marbling through the meat.
- Keep a quarter inch fat cap for moisture.
- Skip very thin flats that dry fast.
- Buy a little more than you need for trimming.
Trim Fat Wisely

Quick Tip: Trim hard, waxy fat but leave soft fat on the cap. Hard fat never renders and stays chewy. Soft fat melts into the meat and keeps slices juicy.
Round sharp corners so the brisket cooks evenly. Thin corners overcook and dry out long before the thick center turns tender. Leave a quarter inch of fat cap so the meat bastes as it cooks. Trim hard fat that never renders, since it stays chewy.
Cook Low And Slow

Common Mistake: Cooking brisket at 350 degrees to finish faster. The outside hardens, the inside stalls, and the meat never gets the slow melt it needs. The result is dry and tough at once.
The Fix: Cook at 225 to 250 degrees and let the brisket take its time. Low heat melts collagen into gelatin while the meat stays juicy.
Use a water pan in the smoker or oven for humid heat. Moist air slows drying and helps the bark stay tender instead of hard. Hold the cooker steady and resist opening the lid, since each peek costs heat and moisture. A water pan inside the cooker helps keep the air humid.
Wrap At Stall
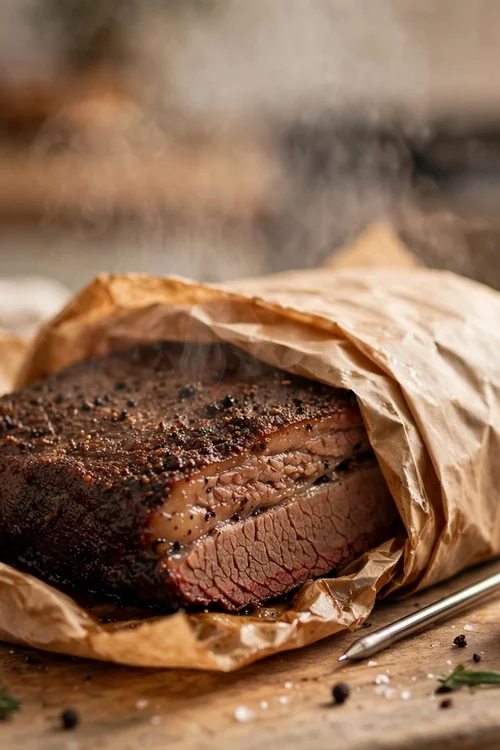
What You Need:
- Probe thermometer: Track the internal temperature through the stall.
- Butcher paper or foil: A wrap traps moisture past the stall.
- Sharp slicing knife: Clean cuts keep slices whole.
- Water pan: Humid heat slows surface drying.
- Cooler or towels: A long rest in a cooler keeps the meat warm.
Wrapping is the turning point of the cook. Past the stall, a wrap protects the bark and lets the inside finish without drying. Wrap in butcher paper or foil once the bark sets and the temperature stalls. The wrap pushes through the stall and keeps moisture inside.
Check Tenderness Right

Before: A lean brisket cooked hot and unwrapped came out dry, with a hard bark and stiff slices. Extra sauce could not fix the texture.
After: A marbled brisket cooked low, wrapped past the stall, and rested for two hours sliced tender and juicy. The same cut tasted completely different.
Brisket rewards patience more than any rub or sauce. Give it low heat, a wrap, and a long rest. Probe the thickest part of the flat, since it finishes last. The meat is ready when the probe slides in like soft butter. Trust feel over numbers here.
Fix Dry Slices

Do This:
- Cook at 225 to 250 degrees.
- Wrap when the bark sets and the stall begins.
- Test tenderness with a probe, not the clock.
- Rest at least one hour, ideally two.
Avoid This:
- Do not cook at high heat.
- Do not slice with the grain.
- Do not skip the rest.
- Do not reheat slices on high heat.
A probe should slide into tender brisket like soft butter. If it meets resistance, the meat needs more time, not more heat. Lay slices in warm broth and cover the pan so the meat drinks up moisture. Serve with extra sauce on the side for anyone who wants more.
Rescue Tough Brisket

Time Needed: About 10 to 14 hours plus resting.
Difficulty: Moderate, mostly patience.
Cost: A large cut, bought once.
Best For: Weekend cooks and gatherings.
Plan backwards from serving time. A brisket that finishes early rests happily in a cooler, but a late brisket cannot be rushed. Return tough slices to low heat wrapped in foil with a splash of broth. Check every thirty minutes until the meat yields easily.
Slice Against Grain

If the slices are already dry, warm them gently in beef broth. Lay the slices in a pan, add warm broth halfway up, cover with foil, and heat at 300 degrees for 20 minutes. The meat absorbs moisture and softens. Find the grain lines before slicing and cut across them, not along them. Short fibers chew tender instead of stringy.
Serve the slices with warm broth spooned over the top. A little jus on the plate hides dryness and adds rich flavor. Slice only what you serve, and keep the rest in one piece so it stays moist.
Rest Brisket Long
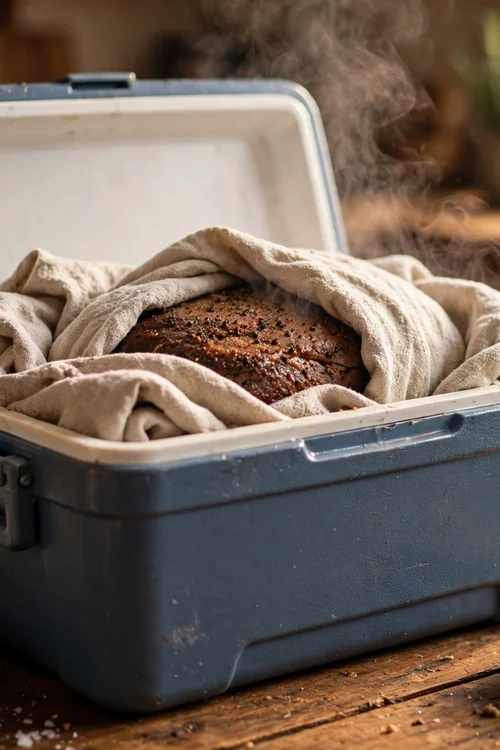
Brisket needs a long rest to finish evenly and stay juicy. Slicing too soon spills juice onto the board and leaves dry slices. A wrapped rest of one to two hours lets the juices settle back through the whole cut.
- Keep the brisket wrapped in butcher paper or foil.
- Set it in a cooler lined with clean towels.
- Rest for one to two hours until it cools to warm.
- Unwrap on a board and slice against the grain.
- Spoon the resting juices over the slices before serving.
Plan Better Briskets

Quick Tip: Slice brisket against the grain in pencil thick slices. Slicing with the grain leaves long, chewy fibers. Short fibers across the grain feel tender even from a lean flat.
Separate the point from the flat before slicing, since the grain runs different ways. Mark the grain direction with a small cut before cooking so you can find it later. Buy the cut a day ahead and season it the night before. A steady cooker and patience beat rushing every time.
Conclusion
Dry brisket comes down to heat, moisture, slicing, and rest. Cook low, wrap past the stall, test with a probe, and rest long before slicing against the grain. Those habits give juicy slices every time. For another meat rescue, the pork ribs guide turns tough ribs tender every single time.
Plan the cook backwards from serving time so the meat can rest without pressure. A brisket that finishes early rests happily in a cooler. Give it low heat, a wrap, and a long rest, and the slices will stay juicy.