Why Is My Chocolate Cake Not Moist? Easy Fix Guide
A slice of dry chocolate cake disappoints before the first bite ends. The crumb turns dusty, the frosting slides off, and the whole cake tastes more like cocoa powder than dessert. The fix usually hides in measuring, mixing, or minutes in the oven.
This guide walks through each fix in order, from batter to baking to serving. You need no special tools, just a little care and pantry staples. Most dry cakes improve with one or two small changes. A careful bake beats a fancy recipe every time. For brownies that turn greasy instead, see greasy brownies for the opposite rescue.
Why Chocolate Cake Dries

Chocolate cake dries out for three main reasons: too much flour, too much heat, and too much mixing. Extra flour soaks up moisture, a hot oven bakes the crumb hard, and long mixing builds tough gluten. Cocoa powder itself is drying, so it needs extra liquid to balance.
The good news is that each cause has a simple fix. Once you see which one hit your cake, you can correct the next bake in minutes. Think of cake baking as gentle work, not a race. A few small changes make a big difference here.
Measure Flour Right

Flour is the most common source of dry cake, because scooping packs in far too much. A cup scooped from the bag can hold a quarter cup extra. Weighing flour fixes this problem in one move. Your scale is the cheapest cake upgrade there is.
- Weigh flour with a kitchen scale: 120 grams per cup is standard.
- If you lack a scale, spoon flour into the cup and level it off.
- Never pack flour down or tap the cup while measuring.
- Measure cocoa the same way, since it packs down too.
Do Not Overbake

Quick Tip: Start checking the cake five minutes before the timer ends. A toothpick should come out with a few moist crumbs, not wet batter and not bone dry. Those crumbs mean the cake will finish in the pan.
Ovens run hot or cool, so trust the toothpick more than the clock. A cake that bakes even five minutes too long loses moisture it never regains. In my experience, early checks save more cakes than any recipe change. Set a second timer and watch closely.
Add Moisture Richly

Common Mistake: Many bakers cut the sugar or fat to make a lighter cake, then wonder why the crumb turns dry. Sugar and fat both hold moisture, so cutting them dries the cake twice over.
The Fix: Keep the recipe ratios as written, and add moisture with sour cream or buttermilk. A half cup of sour cream adds richness without thinning the batter.
Hot coffee also deepens chocolate flavor while adding liquid. Swap half the milk for hot coffee and the crumb stays soft longer. Small swaps like these keep the cake tender without changing the recipe much. Taste the batter for balance before it goes in the oven.
Oil Versus Butter

What You Need:
- Neutral oil: a third of a cup keeps the crumb soft for days.
- Butter: half a cup adds flavor but firms up when chilled.
- Buttermilk: one cup adds tang and tender crumb.
- Sour cream: half a cup adds richness and moisture.
- Hot coffee: half a cup deepens chocolate without bitterness.
Oil cakes stay soft longer, while butter cakes taste richer fresh from the oven. Many bakers use half oil and half butter for the best of both. Pick the mix that suits your serving plan, then keep the ratios steady. A steady hand with fat keeps every cake tender.
Pan Size Matters

Before: The batter went into a pan too small, baked into a thick slab, and dried at the edges while the center stayed raw. The cake cracked, domed, and crumbled on slicing.
After: The same batter in the right pan baked evenly, rose level, and sliced clean. The crumb stayed soft, the edges matched the middle, and the cake looked bakery made.
A pan too small makes a thick cake that overbakes outside and underbakes inside. A pan too large makes a thin cake that dries in minutes. Use the pan size the recipe calls for, and check the batter depth before baking. The right pan is half the battle.
Mix With Care
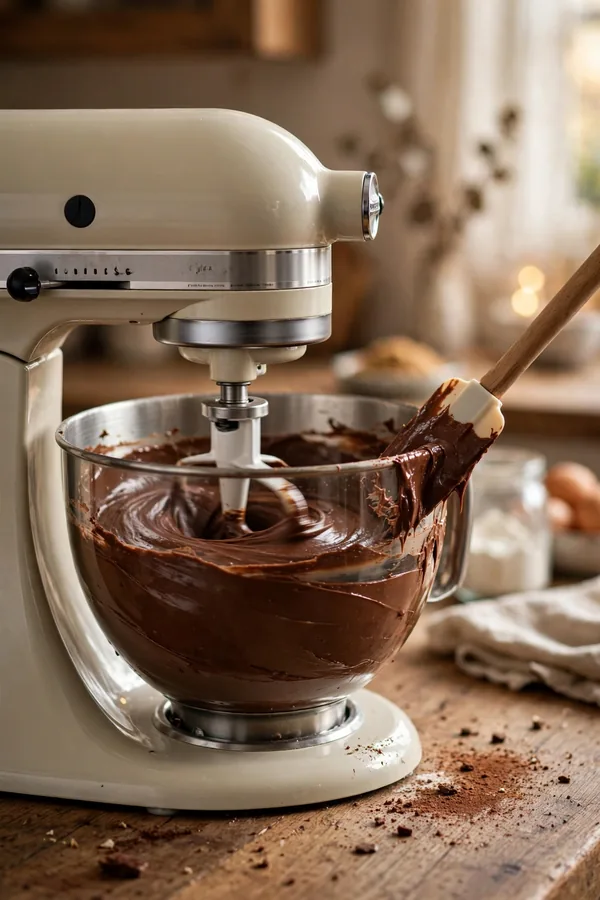
Do This:
- Mix on low speed until the flour just disappears.
- Scrape the bowl once to catch dry pockets.
- Fold in chocolate chips gently by hand.
- Stop the moment the batter looks smooth and even.
Avoid This:
- Do not beat the batter on high after adding flour.
- Do not mix until the batter turns thick and elastic.
- Do not add all the liquid at once.
- Do not open the oven door in the first twenty minutes.
Gentle mixing keeps the crumb soft and open. Hard beating builds gluten that turns the cake tough and dry. Treat the batter like something fragile, and the cake will reward you with a tender slice. Patience at the mixer beats speed every single time. Trust the process here.
Simple Syrup Rescue

Time Needed: About 5 minutes to brush on syrup.
Difficulty: Easy, with a pastry brush.
Cost: Uses sugar and water you already own.
Best For: Dry layers and make-ahead cakes.
Simple syrup is the fastest rescue for a cake that baked too long. Brush warm syrup over each layer and let it soak in before frosting. The cake turns moist again without tasting wet or sweet. Keep a jar in the fridge for every bake.
Cool the Cake Well
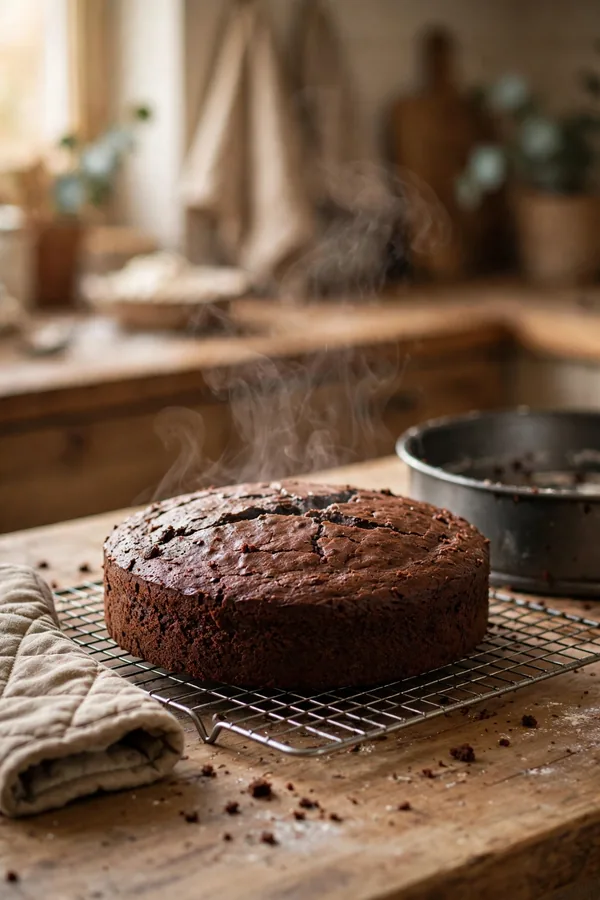
Cooling matters more than most bakers expect. A cake left in a hot pan keeps baking and dries from the edges in. A cake rushed to the rack can crack and lose crumbs. The pan keeps cooking the cake long after the oven stops.
Let the cake rest in the pan for ten minutes, then turn it onto a rack. Cover it loosely once cool so the crumb stays soft. Never frost a warm cake, since the frosting melts and slides. Patience here pays off in every slice. Wait for full coolness.
Fix a Dry Slice

Already baked a dry cake? Do not throw it out. A warm soak or a rich frosting can save most slices, and a few tricks make them worth serving. The rescue takes minutes and no special tools. Start with the simplest fix first.
- Brush each layer with warm simple syrup and let it soak.
- Spread a thick layer of frosting to seal in moisture.
- Serve with ice cream or whipped cream for extra richness.
- Warm slices for ten seconds in the microwave before serving.
Next Cake Checklist

Quick Tip: Keep this checklist inside a cupboard door for your next bake. A glance before mixing saves a rescue later. Soon the habits feel automatic, and every cake lands moist and rich.
Great cake comes from habits, not luck. Weigh the flour, mix gently, test early, and cool with care. Check the crumb early, adjust the next bake, and enjoy a cake that stays moist to the last slice. That is a cake worth repeating. Your oven will thank you.
Conclusion
Moist chocolate cake comes from careful measuring, gentle mixing, and pulling the pan out right on time. Fix those three habits and dry chocolate cake becomes a rare mishap instead of the usual result. Start with weighed flour, mix only until combined, and test early. Your next cake should slice softly, stay tender for days, and taste rich to the last crumb. If another dish puzzles you, read pasta salad for creamy salad fixes. Keep this guide handy and bake with confidence every single time at the table. Your family will ask for seconds.