Why Did My Brownies Come Out Greasy? Easy Fix Guide
A tray of greasy brownies looks shiny in the worst way. Oil pools on top, the squares slide apart, and each bite leaves a slick film. The fix usually comes down to fat, heat, or patience.
This guide walks through each fix in order, from batter to baking to serving. You need no special tools, just a little care and pantry staples. Most oily trays improve with one or two small changes. A careful bake beats a fancy recipe every time. Small fixes make a big difference here. For a sauce that clumps instead, see this cheese sauce guide for a silky rescue.
Why Brownies Turn Oily

Brownies turn oily for three main reasons: too much fat, too much heat, and cutting too soon. Extra butter pools on top instead of binding into the crumb. A hot oven melts the fat out, and a warm tray never lets it set.
The good news is that each cause has a simple fix. Once you see which one hit your tray, you can correct the next bake in minutes. Think of brownies as a dish that rewards patience, not speed. A few small changes make a big difference here.
Measure Fat Right

Butter is the most common source of oily brownies, because eyeballing adds far too much. A tablespoon too many leaves a visible sheen on every square. Weighing butter fixes this problem in one move. Your scale is the cheapest baking upgrade there is.
- Weigh butter with a kitchen scale: 115 grams per stick is standard.
- Melt butter gently on low heat, never until it sizzles.
- Let melted butter cool for five minutes before mixing.
- Measure oil the same way, with a scale or a clear cup.
Cool Before Cutting

Quick Tip: Let the tray cool fully, at least one hour, before you cut a single square. Warm brownies are still soft and oily inside. A full cool-down lets the fat set and the crumb firm up.
Chill the tray for thirty minutes in the fridge if you are short on time. Cold brownies slice cleanly and hold their shape on the plate. In my experience, patience at this step fixes more trays than any recipe change. Set a timer and walk away.
Pick the Right Pan

Common Mistake: Many bakers use a glass pan at the same heat as a metal one, then wonder why the edges fry. Glass holds heat longer and pushes fat out of the crumb.
The Fix: Use a light metal pan and drop the oven heat by ten degrees if your recipe was written for glass. Metal bakes evenly and lets the tray cool faster.
Line the pan with parchment so the brownies lift out cleanly. A lined pan also stops the edges from overbaking against hot metal. Small pan choices like these keep every square even and rich. Check the pan size before the batter goes in. The right pan is half the battle.
Blot the Extra Oil

What You Need:
- Paper towels: a few sheets blot surface oil fast.
- Wire rack: lifts the tray so air cools it evenly.
- Parchment: lines the pan and stops sticking.
- Fridge space: thirty minutes of chill sets the fat.
- Sharp knife: a clean blade cuts without dragging oil.
If oil already pools on top, press a paper towel gently across the surface. Lift, do not rub, so the crust stays intact. Repeat with a fresh sheet until the shine fades, then let the tray cool fully. This quick fix saves the tray without any rework.
Bake, Rest, Set

Before: The tray came out hot, got cut at once, and slid into oily puddles on the plate. The squares fell apart, the frosting melted, and serving felt messy.
After: The same tray, rested an hour and chilled briefly, sliced into neat squares with matte tops. The crumb stayed fudgy, the edges held, and the plate looked bakery made.
Resting is the quiet step most bakers skip. Heat keeps fat liquid, so a hot tray always looks oily. Give the tray time to cool, and the fat settles back into the crumb where it belongs. Patience here beats a hotter oven every time. Trust the cool-down.
Fix the Butter Ratio

Do This:
- Use the butter amount the recipe calls for, weighed not eyeballed.
- Cream butter and sugar until just combined, not whipped.
- Add eggs one at a time for a smooth batter.
- Check the batter: it should look thick, not shiny and loose.
Avoid This:
- Do not add extra butter for richness.
- Do not melt butter until it browns unless the recipe says so.
- Do not swap in oil cup for cup without adjusting.
- Do not double the recipe without scaling the pan too.
Ratios matter more than any single ingredient in brownies. Butter, sugar, eggs, and flour work as a team, and extra fat tips the whole tray. Keep the ratios steady and the texture follows. A steady hand with fat keeps every tray fudgy. Trust the recipe here.
Chocolate Choices Matter

Time Needed: About 45 minutes, plus one hour of cooling.
Difficulty: Beginner friendly with easy steps.
Cost: Uses pantry staples you already own.
Best For: Bake sales, lunchboxes, and weekend treats.
Cocoa powder brownies need more fat than melted chocolate ones, so follow the recipe type. Dutch cocoa absorbs more liquid, while natural cocoa stays lighter. Match the chocolate to the recipe and the tray stays balanced. Read the cocoa label before you start mixing. Small details matter.
Serve Without Shine

Serving matters more than most bakers expect. A warm tray always looks oily, even when the bake was perfect. A cool tray shows the true finish, matte on top and fudgy inside.
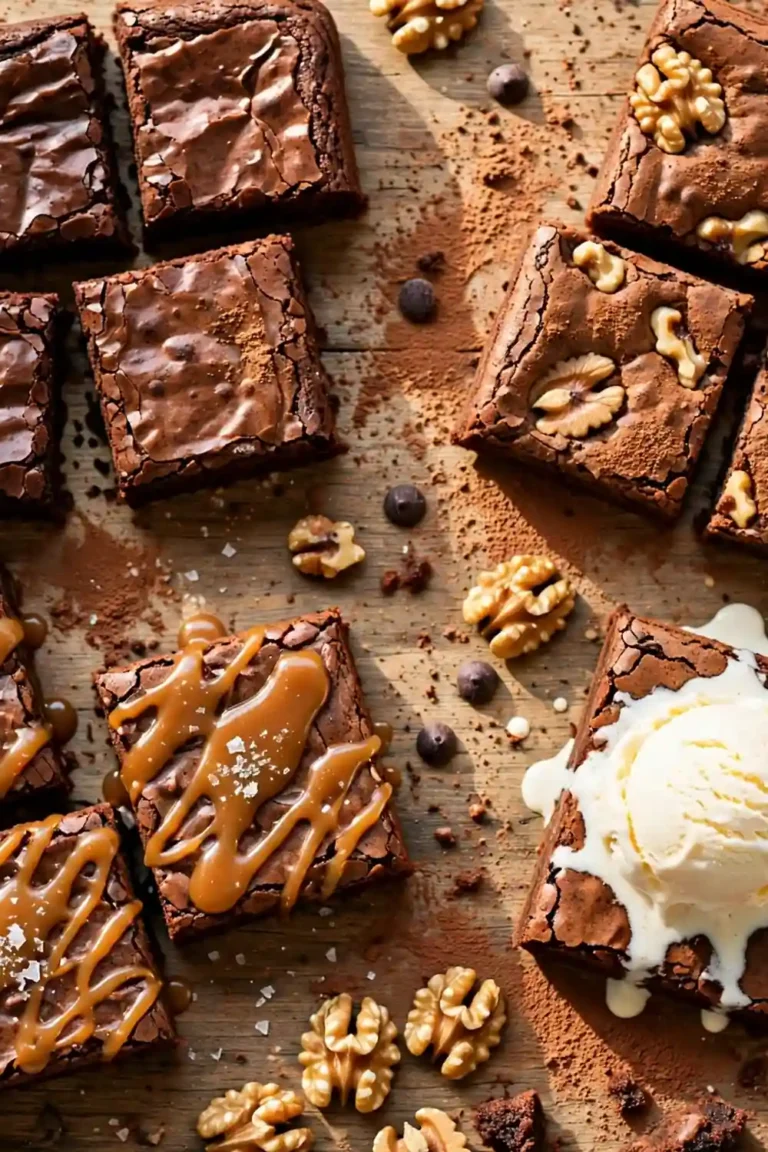
Cut with a sharp knife wiped clean between cuts. Plate the squares with space between them so they never sit in a shared puddle. A dusting of cocoa or powdered sugar hides any last sheen and adds a finished look. Serve at cool room temperature for the best texture. Your guests will notice the clean, neat squares. Serve proudly.
Rescue Oily Brownies

Already baked an oily tray? Do not throw it out. A chill and a blot can save most squares, and a few tricks make them worth serving. The rescue takes minutes and no special tools. Start with the simplest fix first.
- Blot the surface gently with a paper towel, then chill the tray.
- Chill for thirty minutes until the fat firms up.
- Cut with a sharp knife, wiping the blade between cuts.
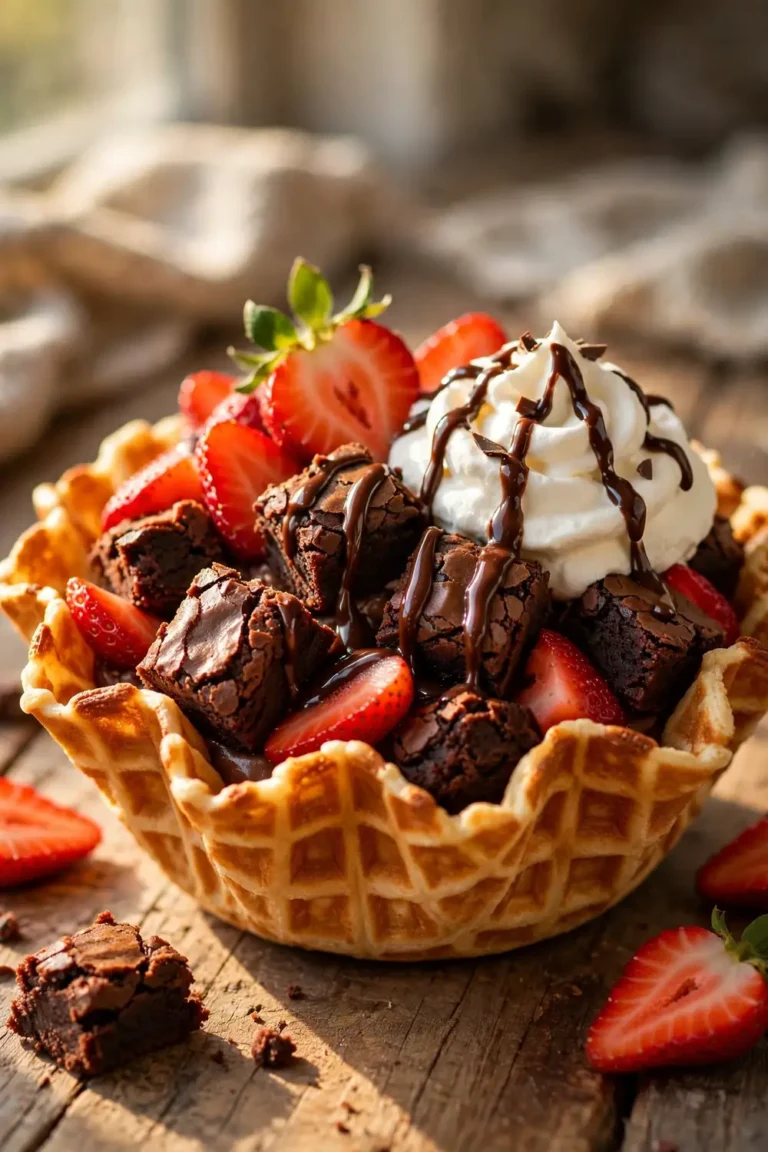
- Serve with ice cream or berries to balance the richness.
Next Batch Checklist

Quick Tip: Keep this checklist inside a cupboard door for your next bake. A glance before mixing saves a rescue later. Soon the habits feel automatic, and every tray lands fudgy and clean.
Great brownies come from habits, not luck. Weigh the butter, use the right pan, bake at the right heat, and cool fully before cutting. Check the shine early, adjust the next bake, and enjoy squares that stay fudgy to the last bite. That is a tray worth repeating.
Conclusion
Fudgy brownies come from measured fat, the right pan, and a full cool-down before cutting. Fix those three habits and greasy brownies become a rare mishap instead of the usual result. Start with weighed butter, bake at the right heat, and let the tray set. Your next batch should slice cleanly, stay rich without shine, and taste deep to the last square. If another dish puzzles you, read this chocolate cake guide for moist cake fixes. Keep this guide handy and bake with confidence every single time at the table. Your family will ask for seconds.