Why Are My Cream Puffs Not Puffing Up? Easy Fix Guide
A tray of flat cream puffs is a letdown after all that piping. The shells rise, then sink into sad discs, and the cream has nowhere to go. The fix usually comes down to drying, eggs, or oven heat.
This guide walks through each fix in order, from choux to baking to filling. You need no special tools, just a little care and pantry staples. Most flat shells rise well with one or two small changes. A hot oven and a dry paste beat luck every time. For a filling that stays runny instead, see this runny custard guide for a smooth, set rescue.
Why Cream Puffs Fall

Cream puffs fall for three main reasons: wet choux, too many eggs, and opening the oven. Wet paste cannot hold steam, extra eggs make a slack batter, and a cold blast from the door collapses rising shells.
The good news is that each cause has a simple fix. Once you see which one hit your tray, you can correct the next batch in minutes. Think of choux as gentle work, not a race. A few small changes make a big difference here. Your patience shows in every tall golden puff.
Cook the Choux Well

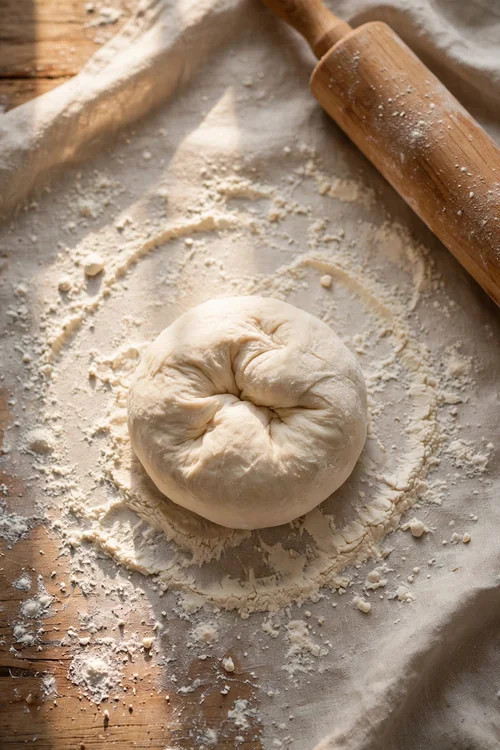
Choux starts on the stove, not in the oven. Butter and water come to a boil, flour goes in at once, and the mix cooks until it pulls away. This step builds the structure that later traps steam. Cook it a full two minutes.
- Bring water and butter to a rolling boil together.
- Add all the flour at once and stir hard with a wooden spoon.
- Cook on low for two minutes until the paste pulls away.
- Move the paste to a bowl and let it cool five minutes.
Dry the Paste

Quick Tip: Dry the paste on the stove until a thin film coats the pan bottom. That film means the water has cooked off and the paste is ready. Skip this step and the puffs will never rise well.
Stir the paste over low heat and watch for the film to form. The paste should pull into a smooth ball that leaves the pan clean. In my experience, a well dried paste fixes more puffs than any oven tweak. Do not rush this step.
Add Eggs Slowly

Common Mistake: Many bakers dump all the eggs in at once, then wonder why the batter turns slack. Too many eggs make a loose paste that spreads instead of puffing.
The Fix: Beat in one egg at a time, mixing fully before the next. The paste should fall from the spoon in a slow V shape, not run off in a stream.
Stop adding eggs when the paste looks glossy and holds a soft peak. One egg too many can sink the whole tray. Trust the texture, not the count, and the puffs will rise. A careful hand here saves the whole batch. Watch the paste, not the clock.
Pipe Even Puffs
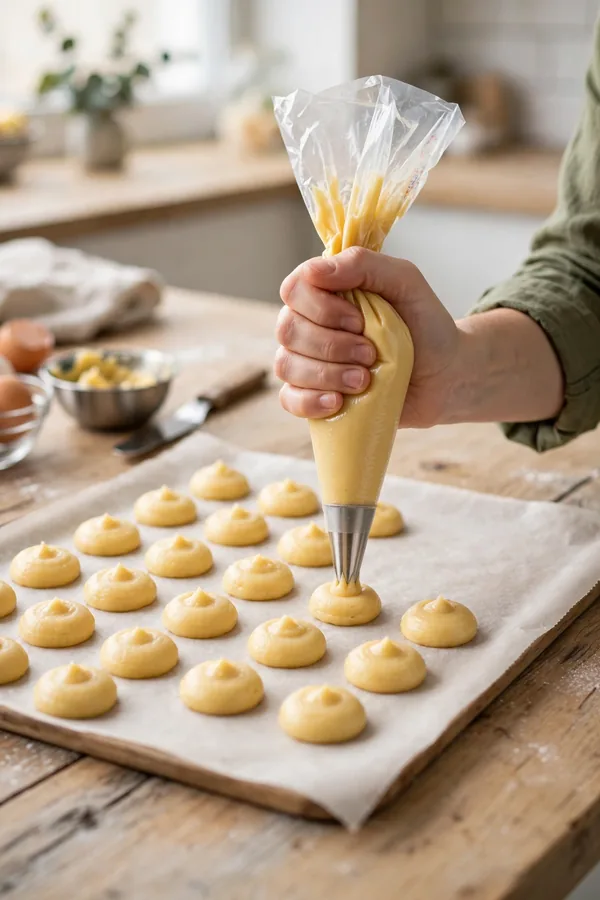
What You Need:
- Piping bag: a large round tip keeps shells even.
- Parchment: lines the tray and stops sticking.
- Water: wet fingers smooth the peaks flat.
- Space: two inches between shells lets steam flow.
- Egg wash: a light brush adds golden color.
Pipe shells the same size so they bake evenly. Uneven shells mean some burn while others stay flat. Smooth each peak with a wet finger so the tops bake round. Even piping is a quiet fix that pays off. Take your time at the tray.
Hot Oven, No Peeking

Before: The oven door opened twice to check, and every puff sank the moment cold air rushed in. The tray came out flat, pale, and damp inside.
After: The same batch baked undisturbed at high heat, puffed tall, and turned golden. The shells stayed crisp, hollow, and ready for cream.
Start the oven hot, about 200 degrees, and do not open the door for the first twenty minutes. Steam does the lifting, and cold air steals it. Trust the timer and let the heat work. A shut door beats a quick peek every time. Wait for the timer.
Fill at the End

Do This:
- Cool shells fully on a rack before filling.
- Poke a small hole to let steam escape.
- Fill just before serving so shells stay crisp.
- Chill filled puffs only briefly before serving.
Avoid This:
- Do not fill warm shells, since the cream melts.
- Do not skip the cooling rack.
- Do not open the oven during the rise.
- Do not pipe shells too close together.
Filling too early softens even perfect shells. Cream is wet, and wet shells turn soggy fast. Fill at the last moment, and the puffs stay crisp to the last bite. Timing at serving matters as much as baking. Plan to fill right before the table.
Choux Ratios Matter

Time Needed: About 50 minutes, plus cooling time.
Difficulty: Beginner friendly with care.
Cost: Uses pantry staples you already own.
Best For: Dinner parties and weekend baking.
Choux uses equal weights of water, butter, and flour, with eggs to bind. Too much water makes slack paste, while too little makes stiff paste that cracks. Keep the ratios steady and the puffs follow. Measure first and the paste stays in control. Trust the recipe here.
Cool Before Filling

Cooling matters more than most bakers expect. A warm shell traps steam inside and turns soft as it sits. A cool shell stays crisp, hollow, and ready for cream.
Move the shells to a rack at once and poke a small hole in each. The hole lets steam escape so the shells dry crisp. Cool fully before filling, since even a warm shell melts cream. Patience here pays off in every crisp bite. Never fill a warm shell, no matter the rush. Wait for full coolness before the cream today.
Rescue Flat Puffs
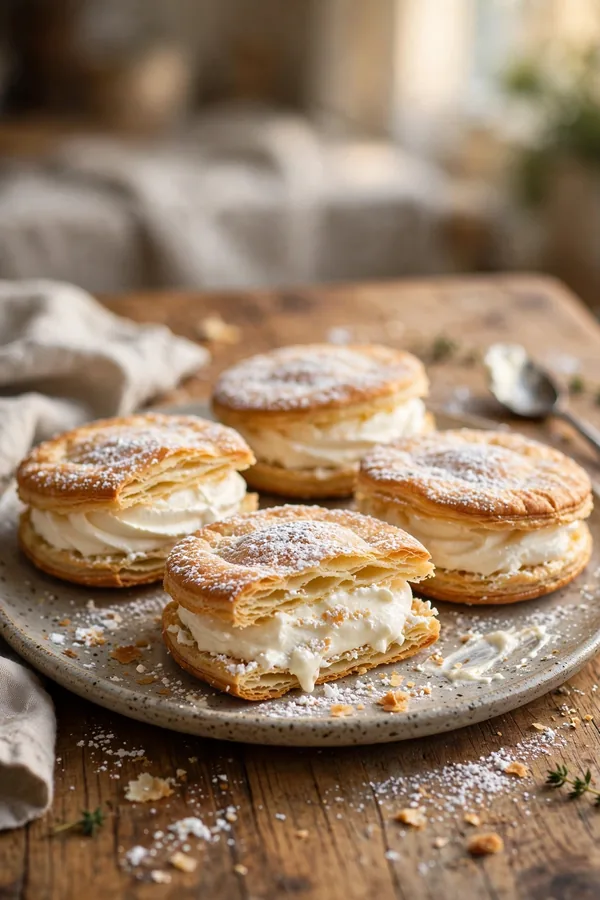
Already baked flat shells? Do not throw them out. Flat puffs still taste good, and a few tricks make them worth serving. The rescue takes minutes and no special tools. Start with the simplest fix first, and waste nothing. Every shell has a second use.
- Slice flat shells in half and fill like small sandwiches.
- Crisp them in a hot oven for five minutes.
- Fill with cream and dust with powdered sugar.
- Serve at once so the shells stay crisp.
Next Puff Checklist

Quick Tip: Keep this checklist near the oven for your next batch. A glance before baking saves a rescue later. Soon the habits feel automatic, and every tray lands tall and golden.
Great puffs come from habits, not luck. Dry the paste, add eggs slowly, bake hot without peeking, and cool fully. Check the rise early, adjust the next batch, and enjoy puffs that stay tall to the last bite. That is a tray worth repeating. Your oven will thank you.
Conclusion
Tall cream puffs come from a well dried choux, eggs added slowly, and a hot undisturbed bake. Fix those three habits and flat cream puffs become a rare mishap instead of the usual result. Start with a dry paste, pipe even shells, and keep the oven shut. Your next batch should puff high, hold its shape, and cradle cream to the last bite. If another dish puzzles you, read this crepe batter guide for silky batter fixes. Keep this guide handy and bake with confidence every single time at the table. Serve proudly.